A collection of walks, discoveries, insights and pictures of exploring Dartmoor National Park
October 19, 2020
NORTH BOVEY PARISH BOUNDARY “B” STONES ON EASDON HILL
Steve Grigg and Frank Collinson
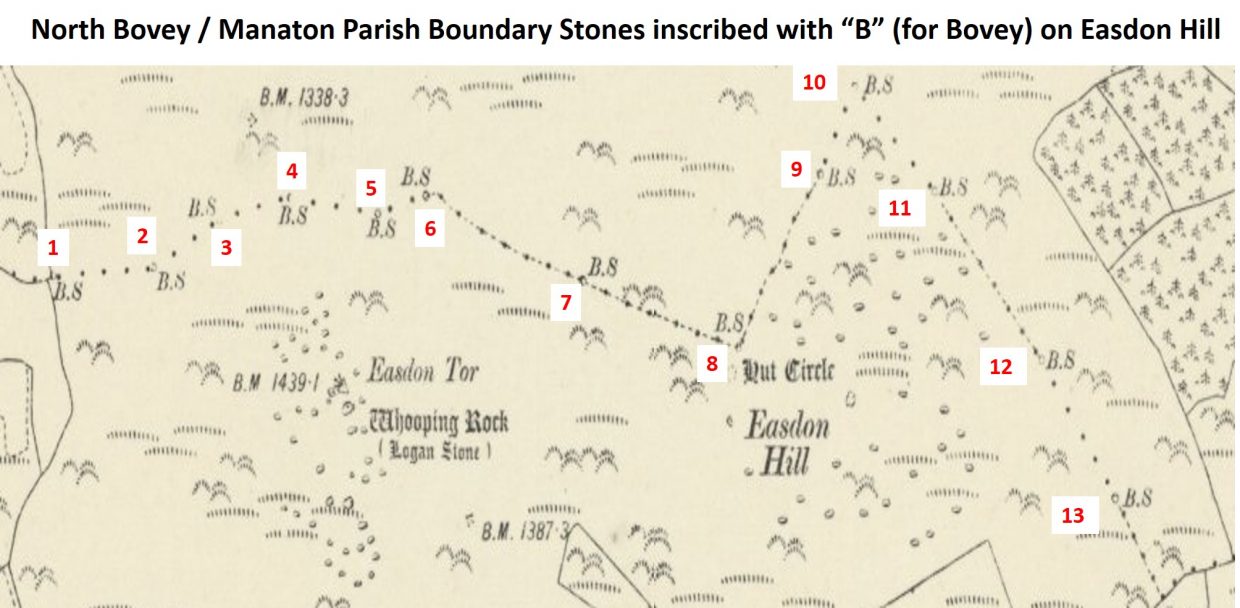
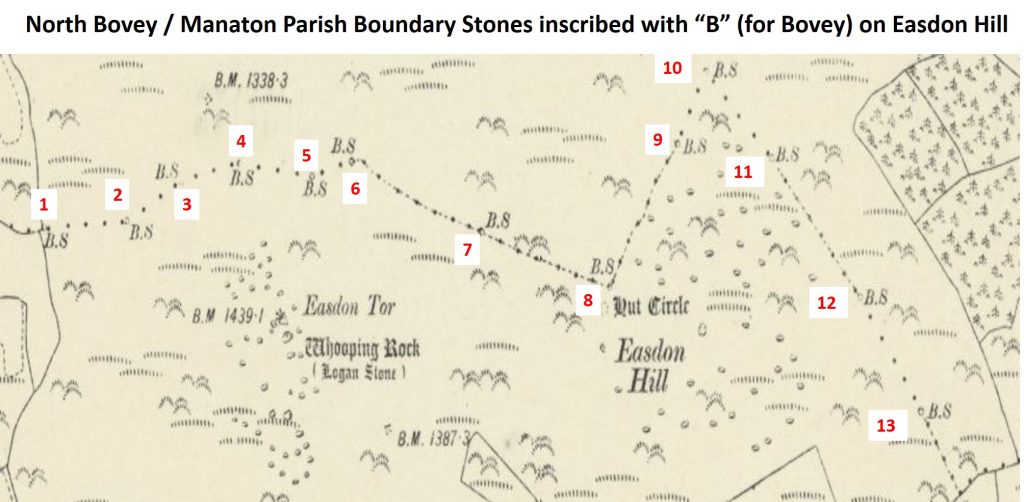
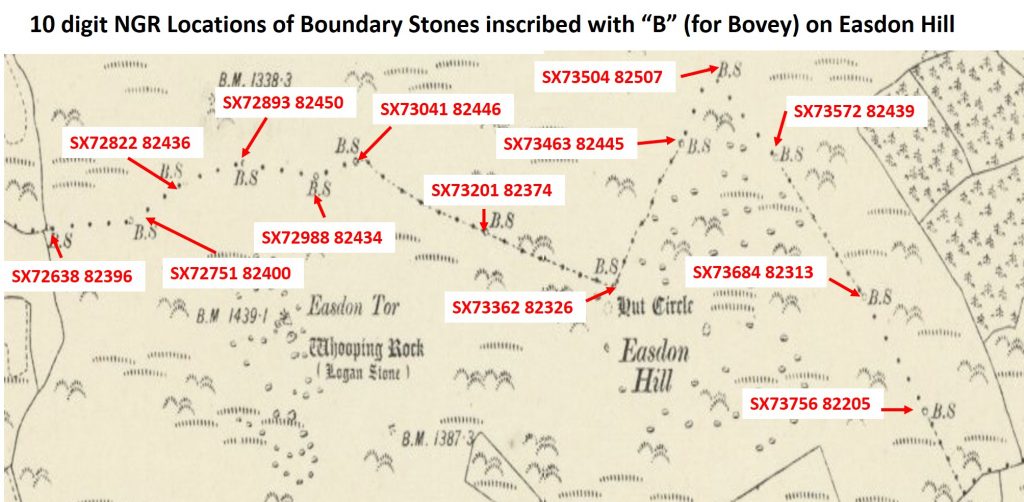
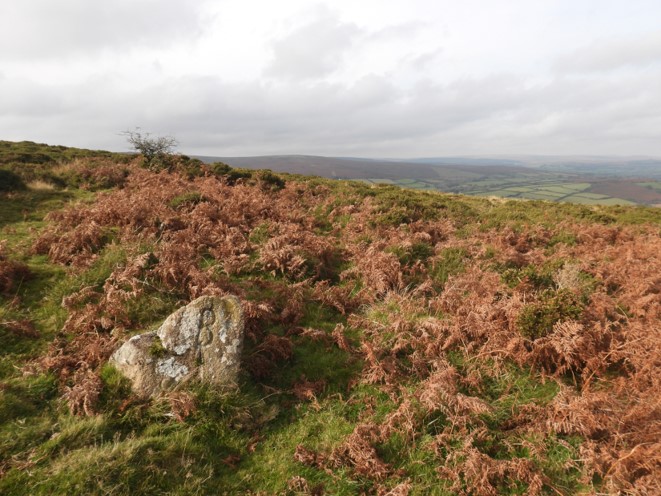
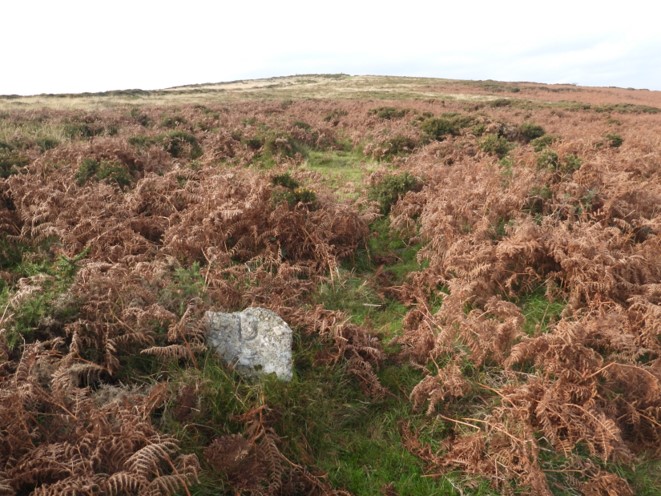
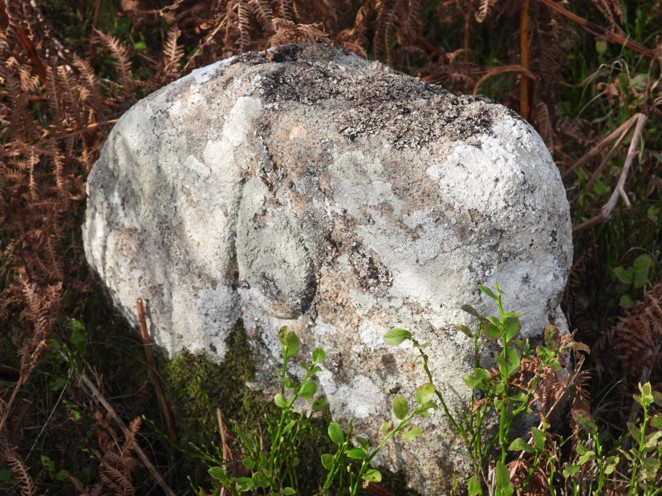
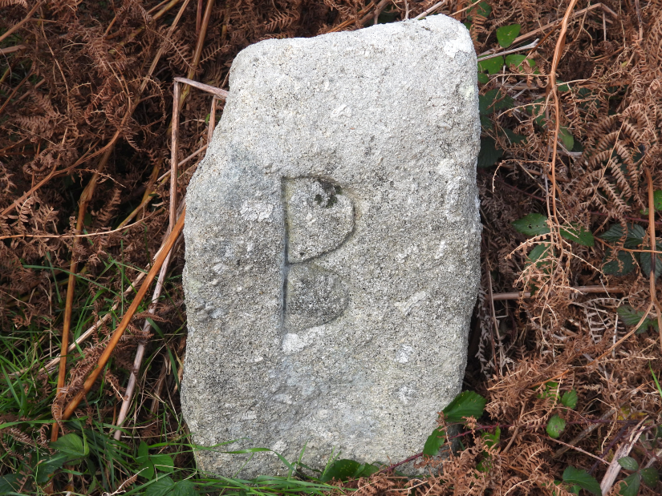
The North Bovey parish southern boundary borders the neighbouring parish of Manaton. Where the parish boundary crosses Easdon Hill, which lies a few km SW of North Bovey village, there are 13 boundary marker stones which have a deep “B” insciption – “B” standing for (B)ovey. All the boundary markers are shown on the modern OS map and lie on public access land. Much of the hill is overgrown with gorse and bracken, thus making the finding of around half of these stones quite difficult. This post is a photographic record of all the 13 boundary marker stones and details 10 digit National Grid References (NGRs), where each is located.
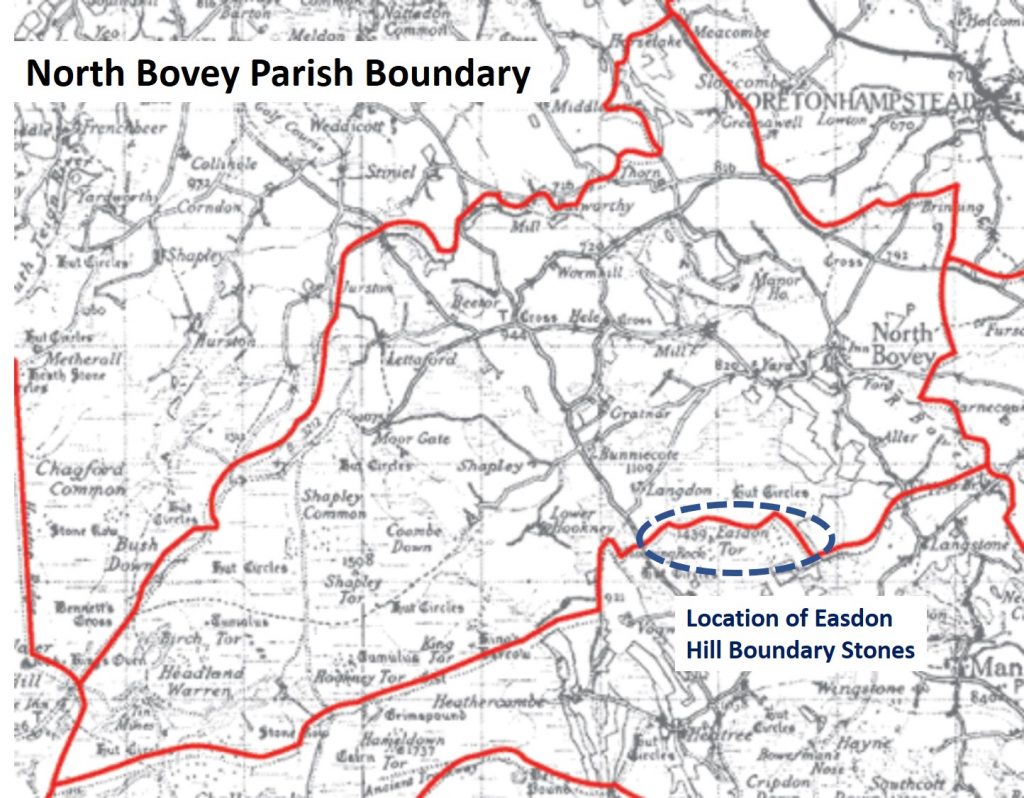
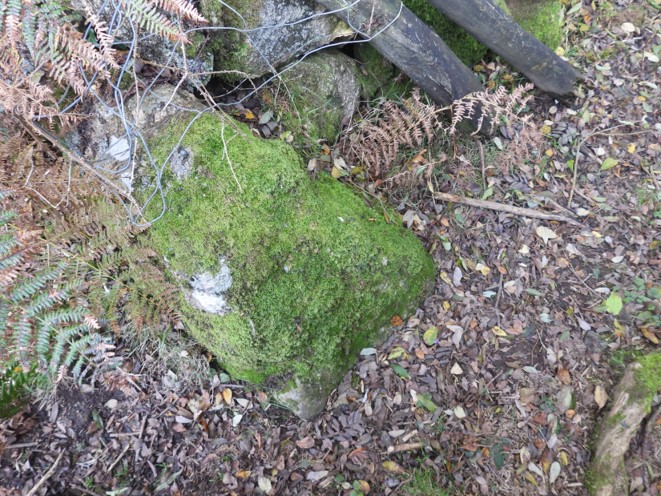
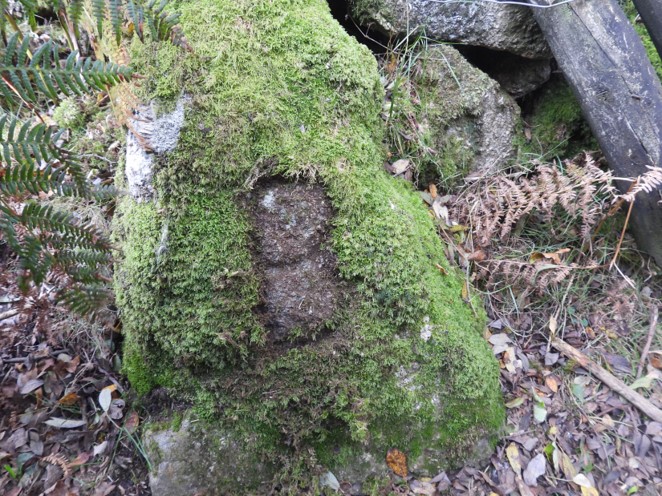
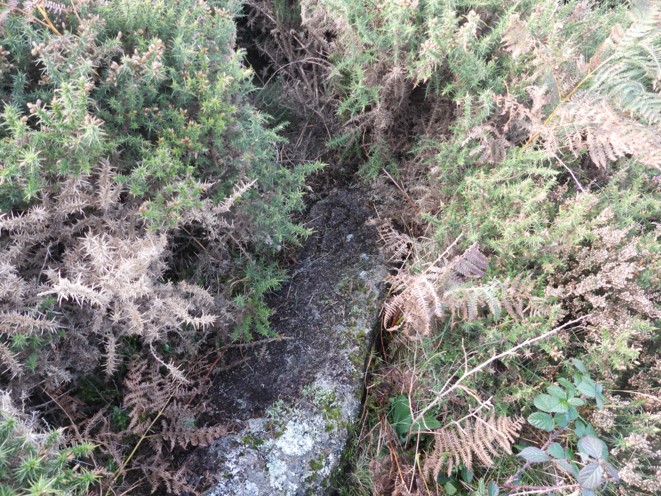
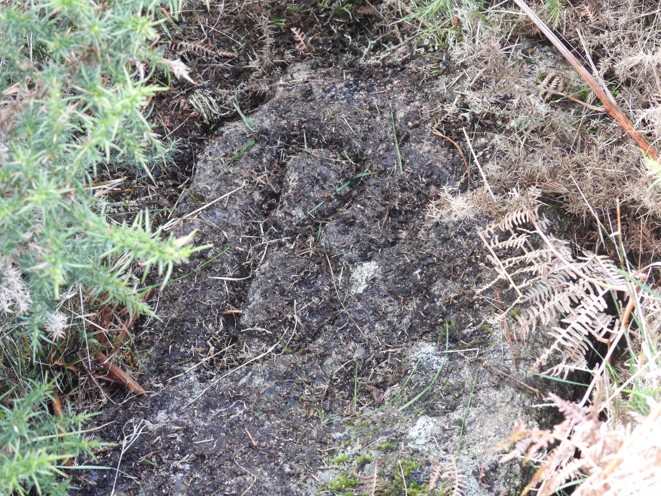
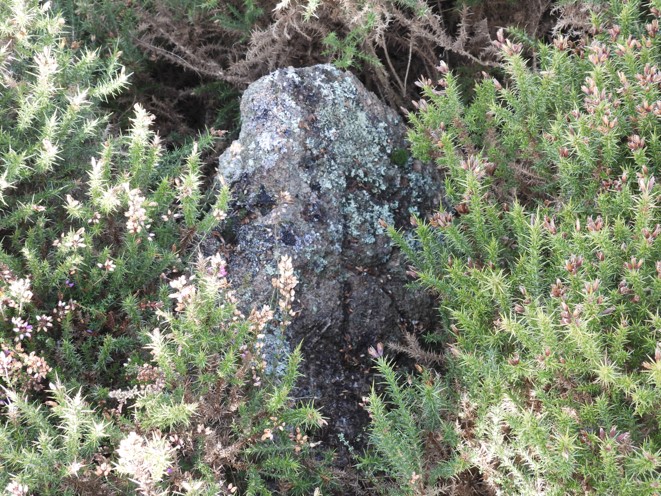
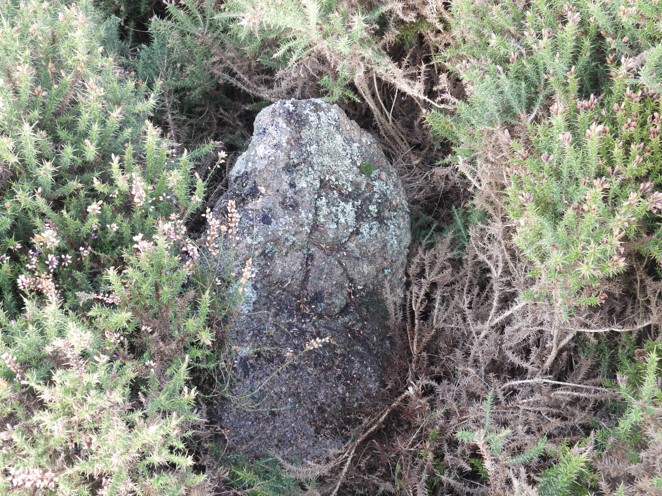
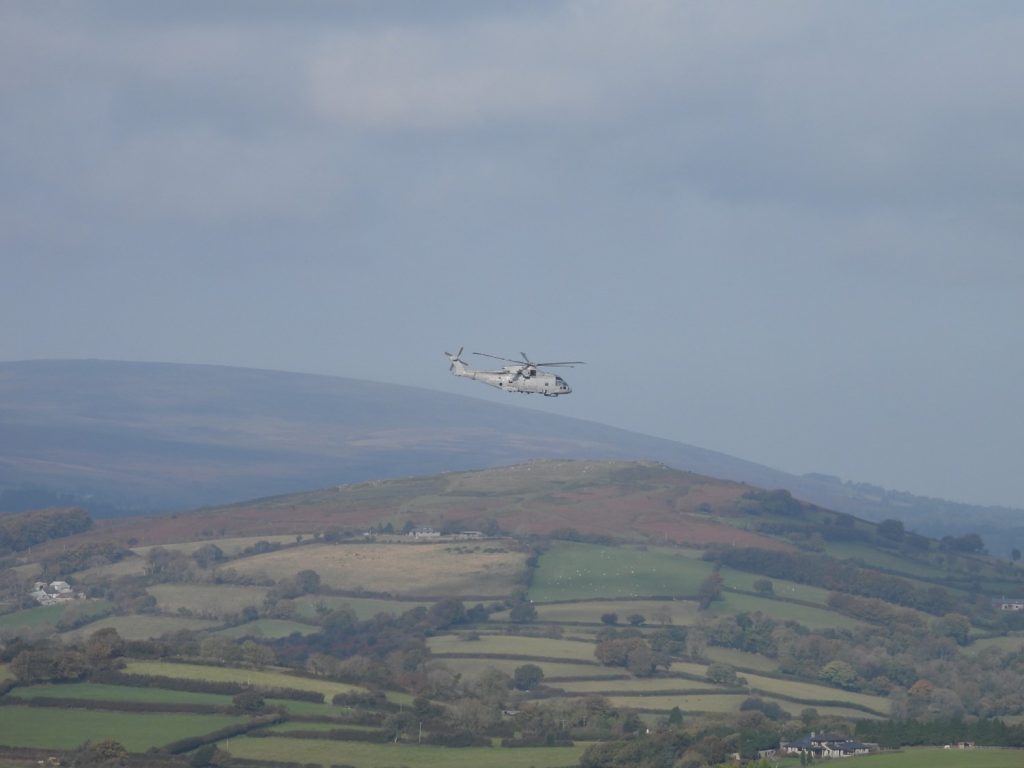
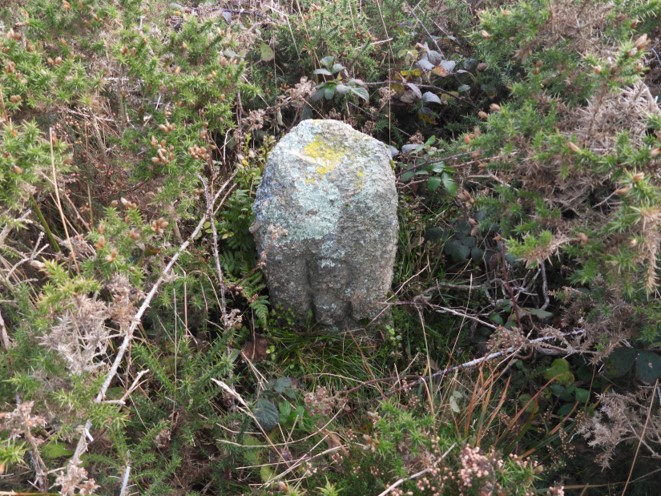
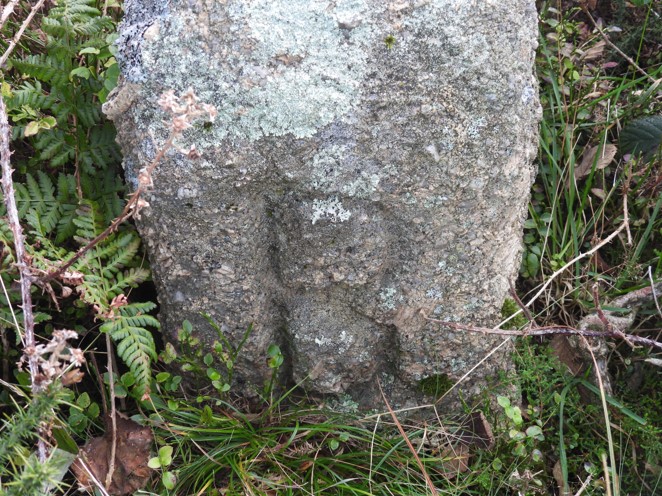
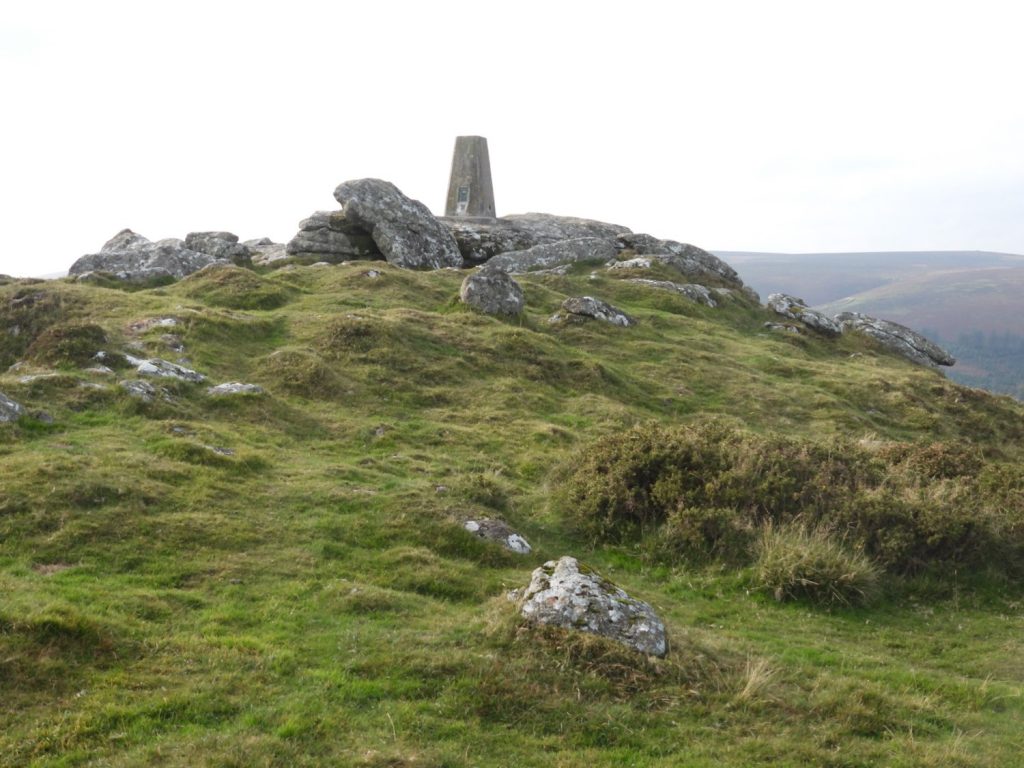
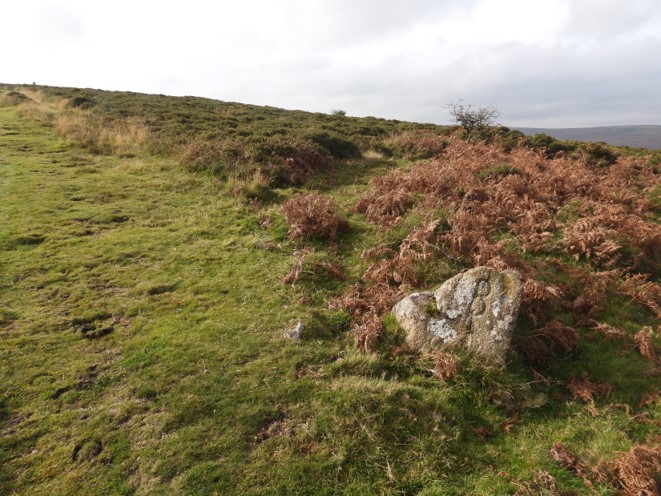
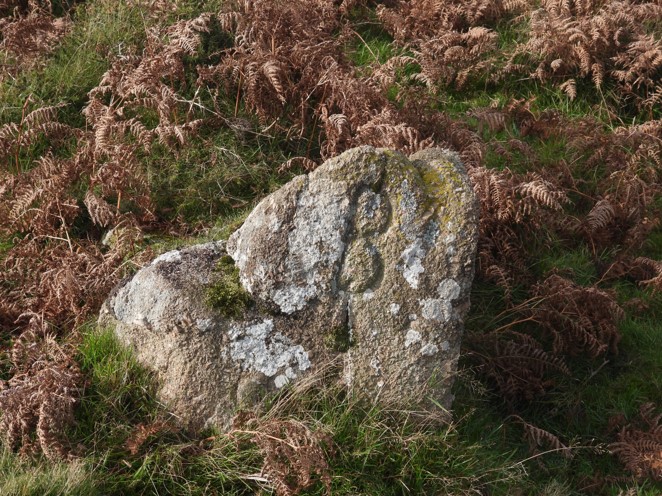
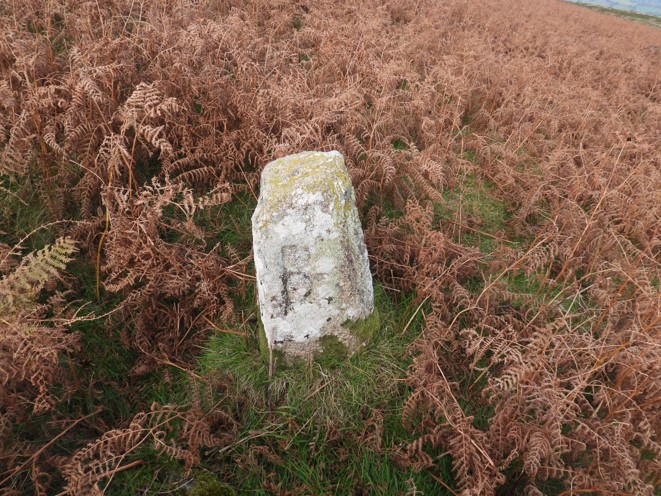
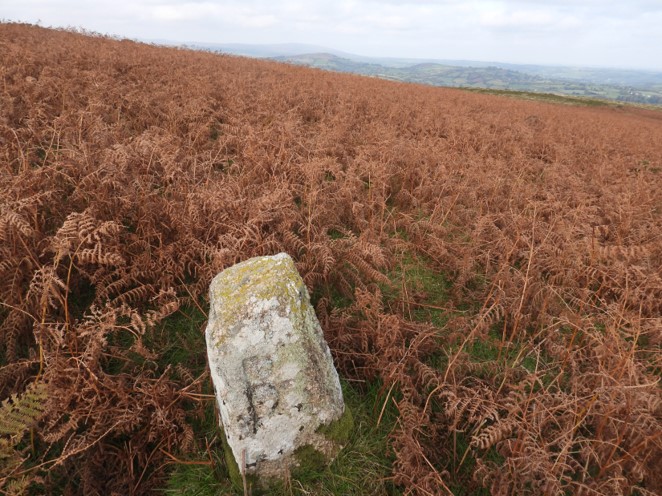
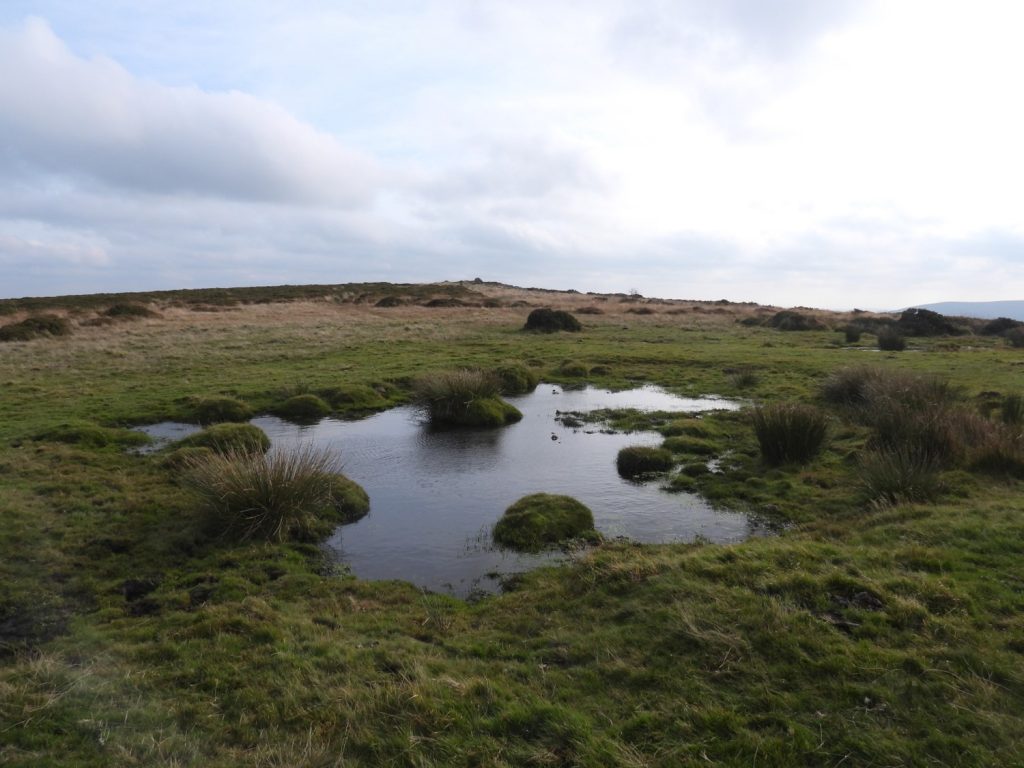
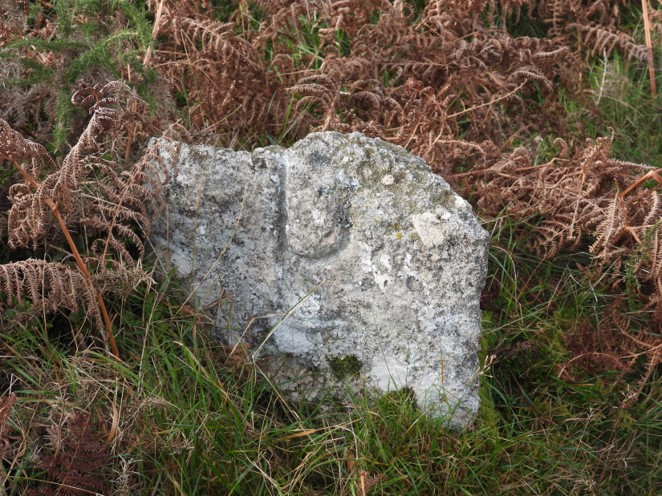
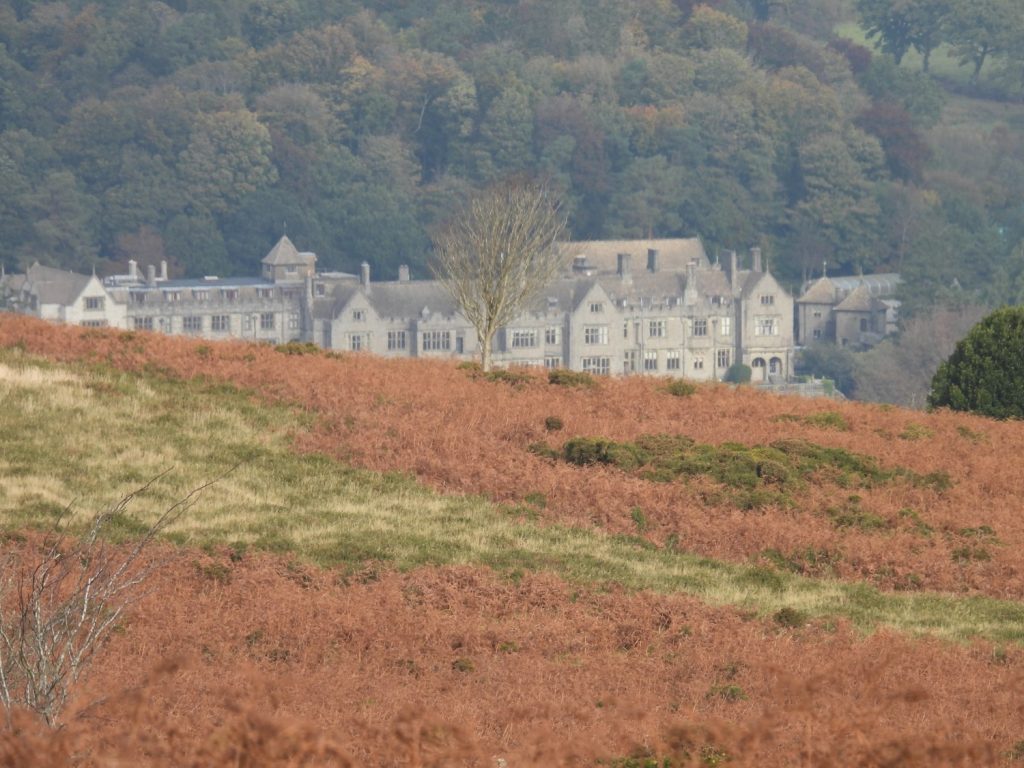
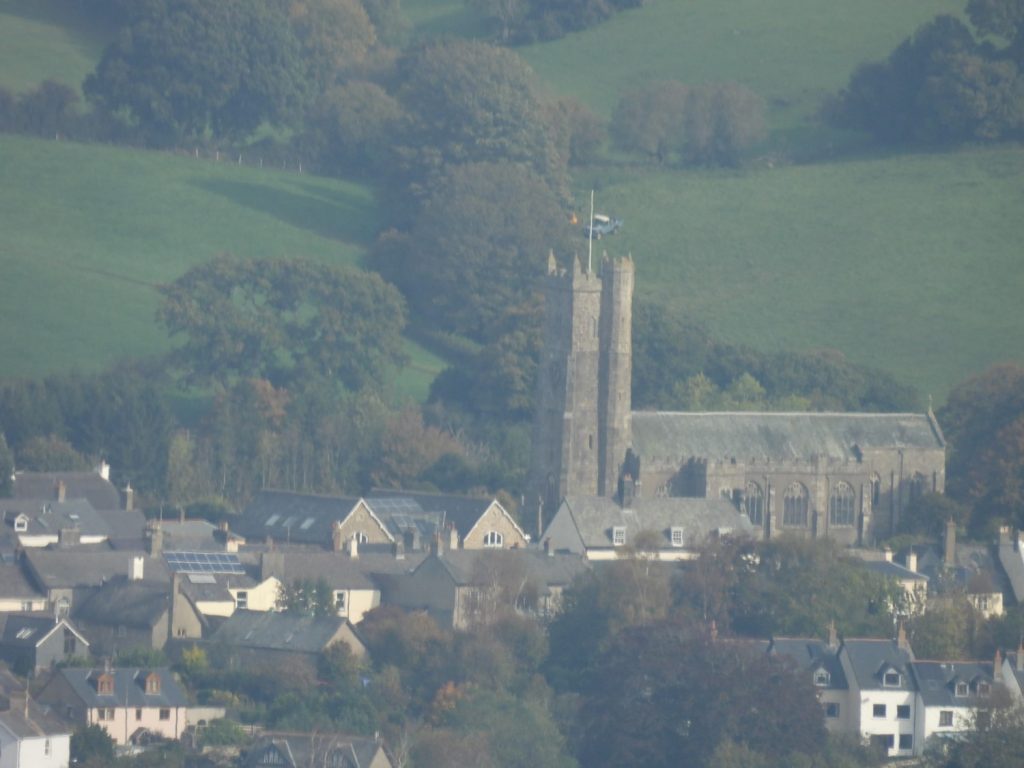
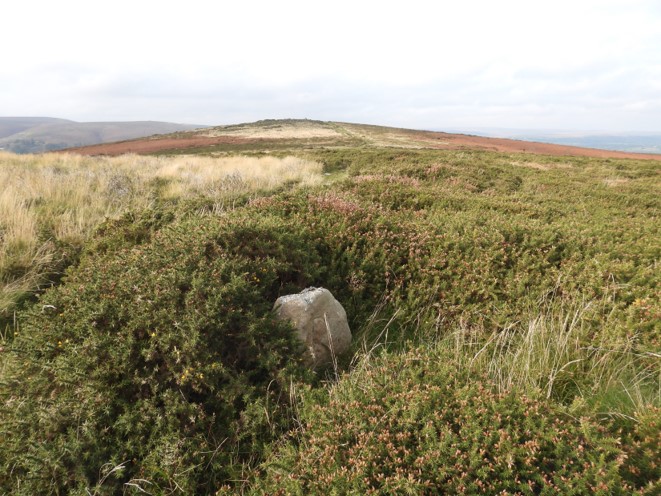
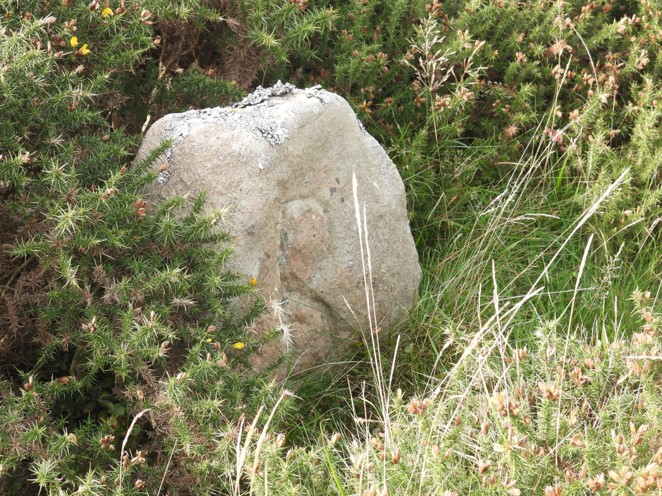
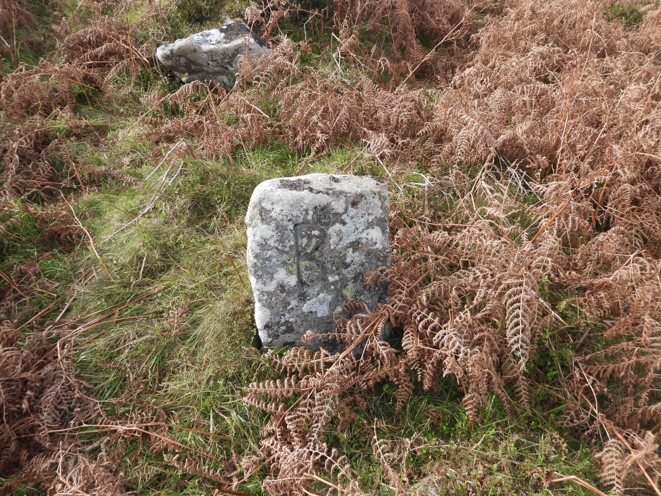
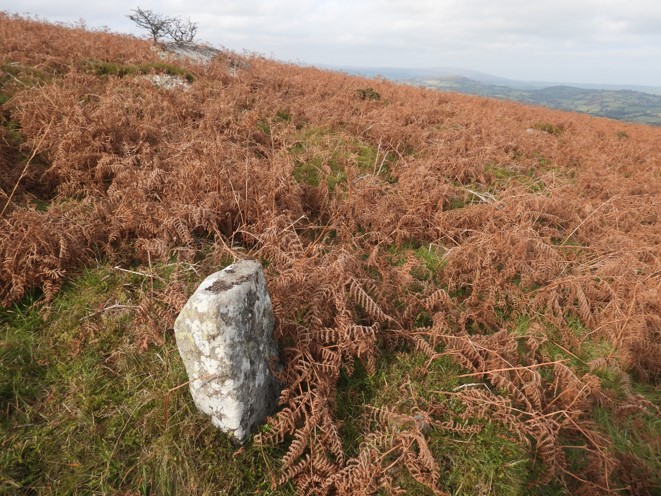
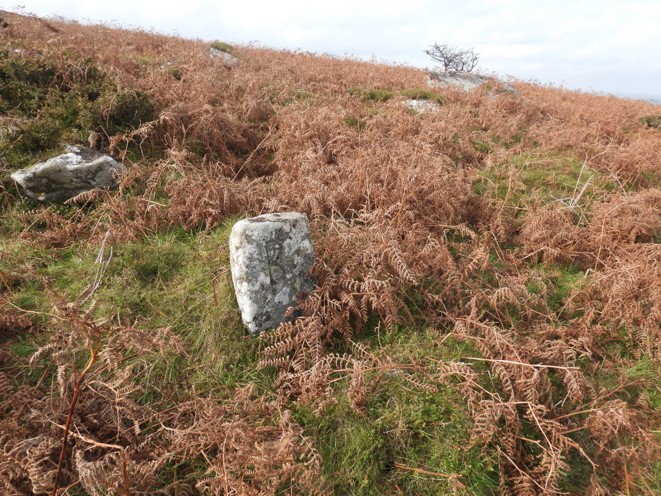
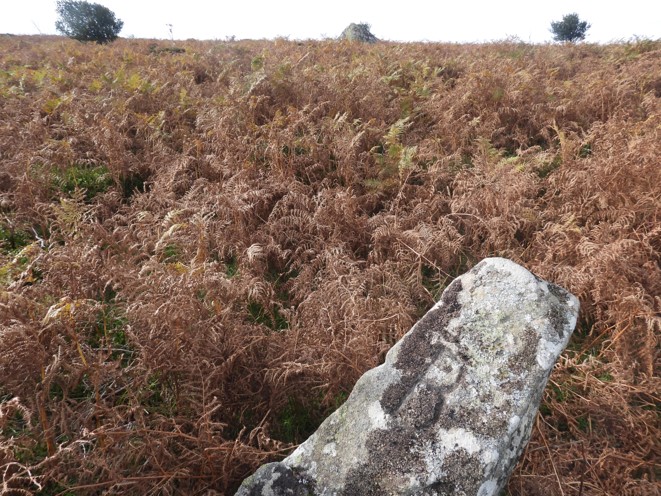
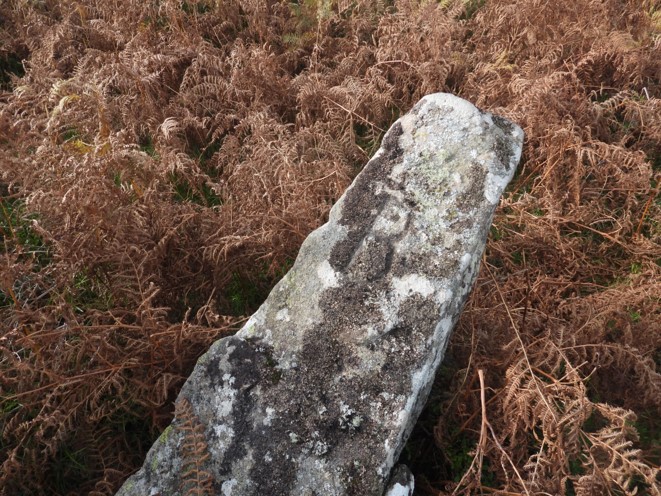
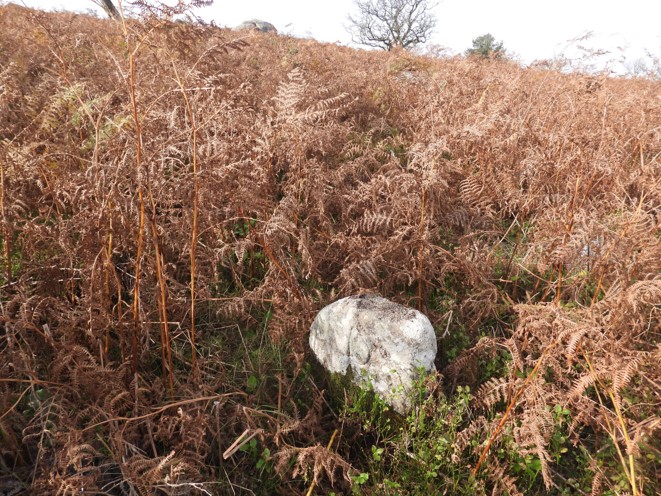
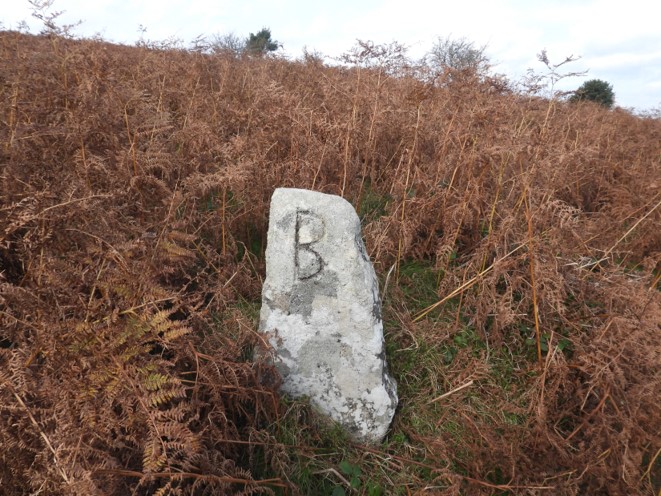
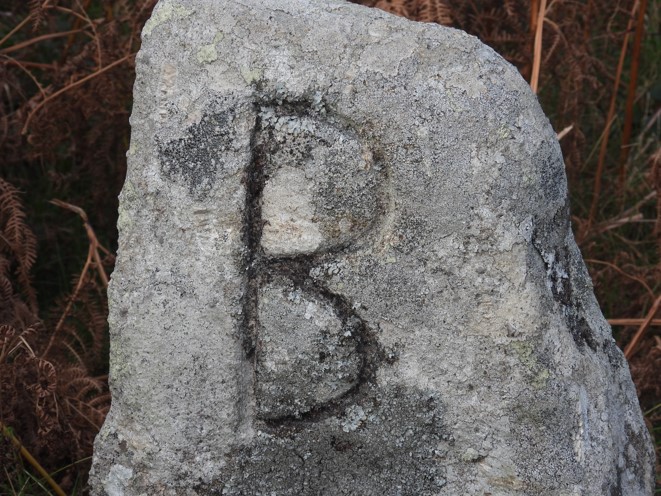
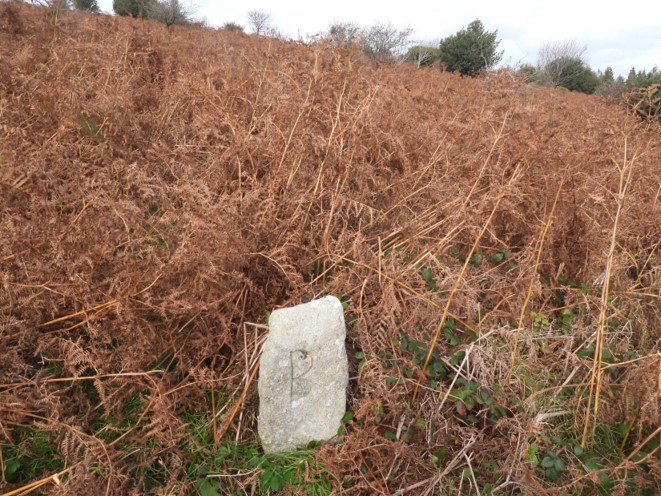
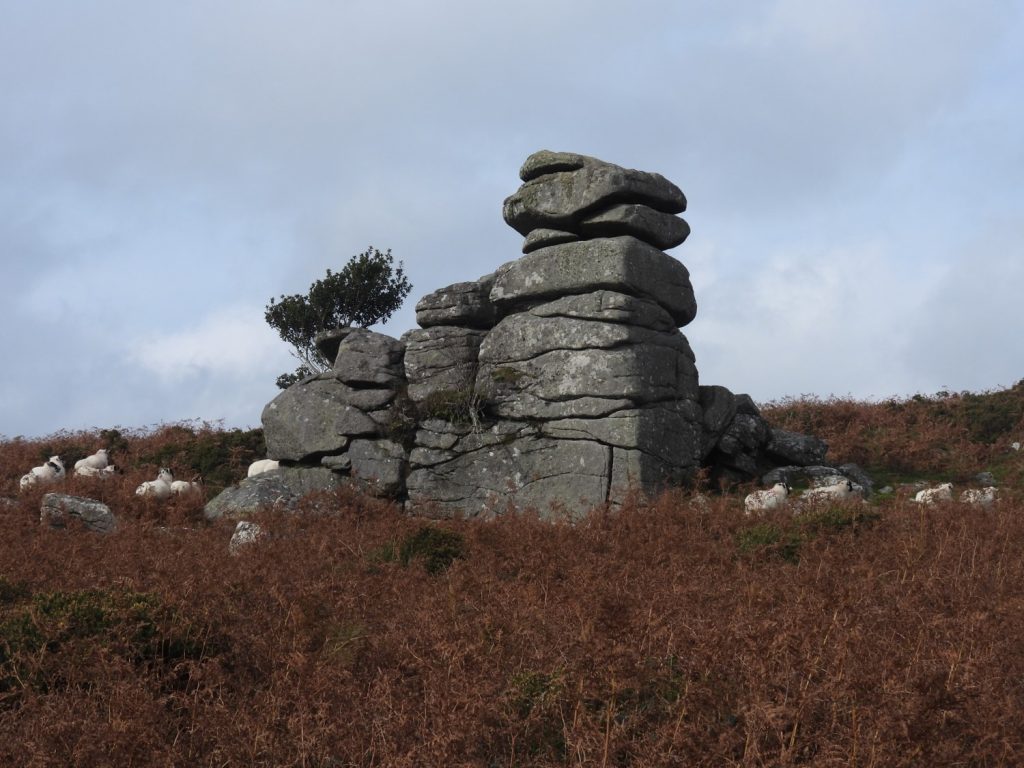
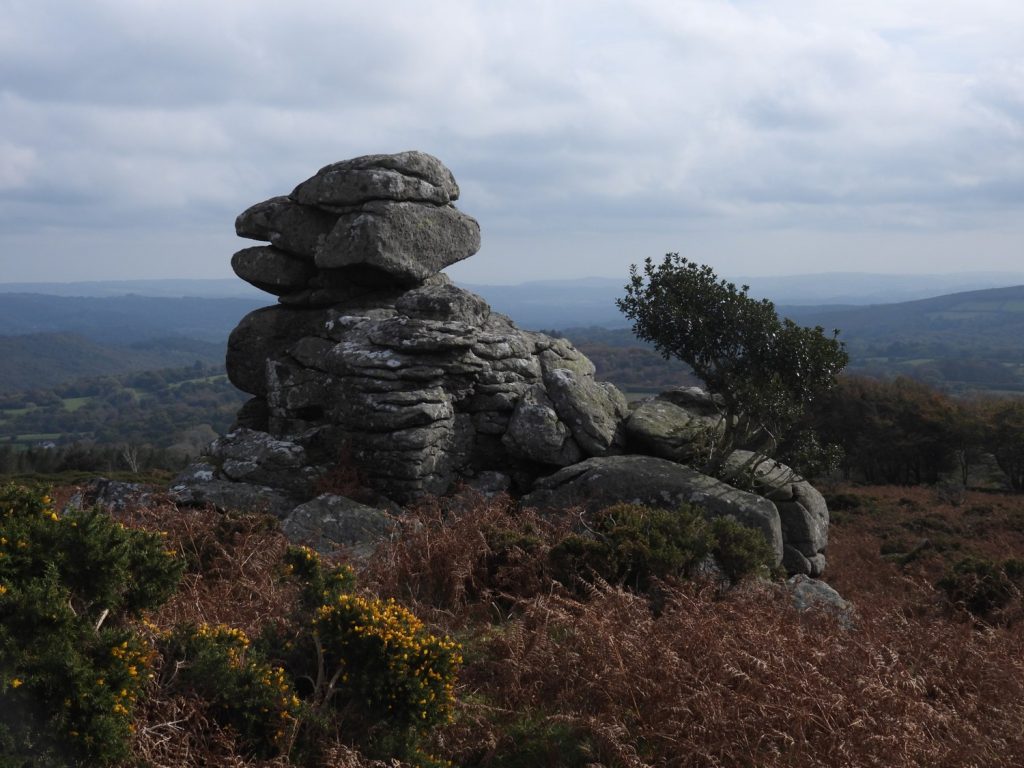
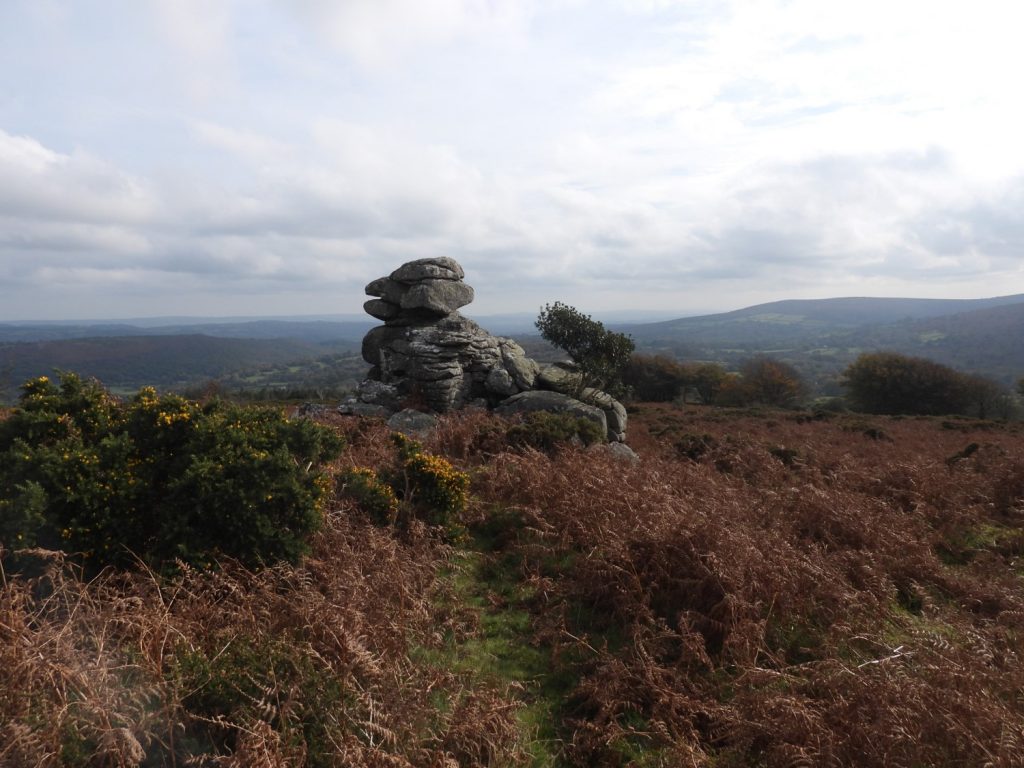
The North Bovey parish boundary map showing the location of the boundary stonesThe 13 “B” stones shown on a 19th Century map10 digit NGR locations of the 13 “B” stones overlaid on a 19th Century mapBoundary Stone 1 is on west side of the hill on a wall corner and when found was very moss coveredWith a small bit of “gardening” on boundary stone 1 “B” inscription was a little more evident.The second boundary stone is deeply buried in gorse and is recumbentA close up of the “B” on boundary stone 2The third boundary stone is deeply buried in gorse but is uprightClearing away some of the gorse the “B” becomes a bit more evident on the third stoneWhilst climbing the hill between boundary stones 3 and 4, this helicopter flew by. Meldon Hill with its field systems are under it.The fourth boundary stones has two hazards; it is in in an area of thick gorse and the ground is quite wet and boggyClose up of the fourth boundary stone.From boundary stone 4, the easiest route is to follow a well defined track up to the trig point atop the hillThe fifth boundary stone is by far and away the easiest to find being next to the track leading downhill (north) from the trig. This stone looks like an natural original earthfast stoneClose up of the fifth stone. With the sunshine, the outline of the “B” is very well defined.The fifth stone with King Tor visible on the mid horizonThe sixth stone is close to the fifth stone but buried in bracken. Ok to find in the Autumn or Winter but would be more difficult during the Summer months, when the bracken is highA slightly different angle on the sixth stone looking north west(ish) towards Meldon Hill and Cosdon Hill of the (very far) horizonEn-route between the sixth and seventh stones the hill top pool is passedThe seventh stone is easy to locate and appears to have the top of the stone chipped off, thus the “B” has been damaged.Close up of the seventh stoneEn-route to the eighth stone, Bovey Castle can be seen in the valley below (north)Moretonhampstead church. Photograph taken from the same location as that of Bovey CastleThe eighth stone surrounded by blanket of gorse but nevertheless easily foundClose up of the eighth stoneStones 1 through 8, are approx aligned west to east. Stone nine can be found north east (ish) from stone eight.From stone eight to stone nine, care should be taken as the area is uneven and rocky in placesThe ninth stone is nicely out in the open and is easily foundThe tenth stone is semi-recumbent and is the most northerly of all the stonesThe tenth stone would be the tallest of all the stones, if it were fully upright.The eleventh stone is SW from the tenth stone. The bracken in the photograph looks benign, however in this area it was pretty “ankle grabbing”, which would make searching for this stone in the Summer that much harderThe eleventh stone in detail, quite a short stone, which will be buried in vegetation in the SummerTravelling SW from the eleventh stone, the twelfth stone can be locatedDetail of the twelfth stoneThe thirteenth and final stone is SW from the twelfth stone, once again in “ankle tugging” brackenClose up of the thirteenth stoneRetracing steps from the thirteenth stone back toward the twelfth stone and path can be found, which if followed west then north will lead to Figgie Daniel Rock, a fabulous location for a lunch spotFiggie Daniel in Autumn sunshineFiggie Daniel with its Autumnal coat