A collection of walks, discoveries, insights and pictures of exploring Dartmoor National Park
July 16, 2023
East Friendship Consols (East Wheal Friendship Mine) on Cudliptown Down
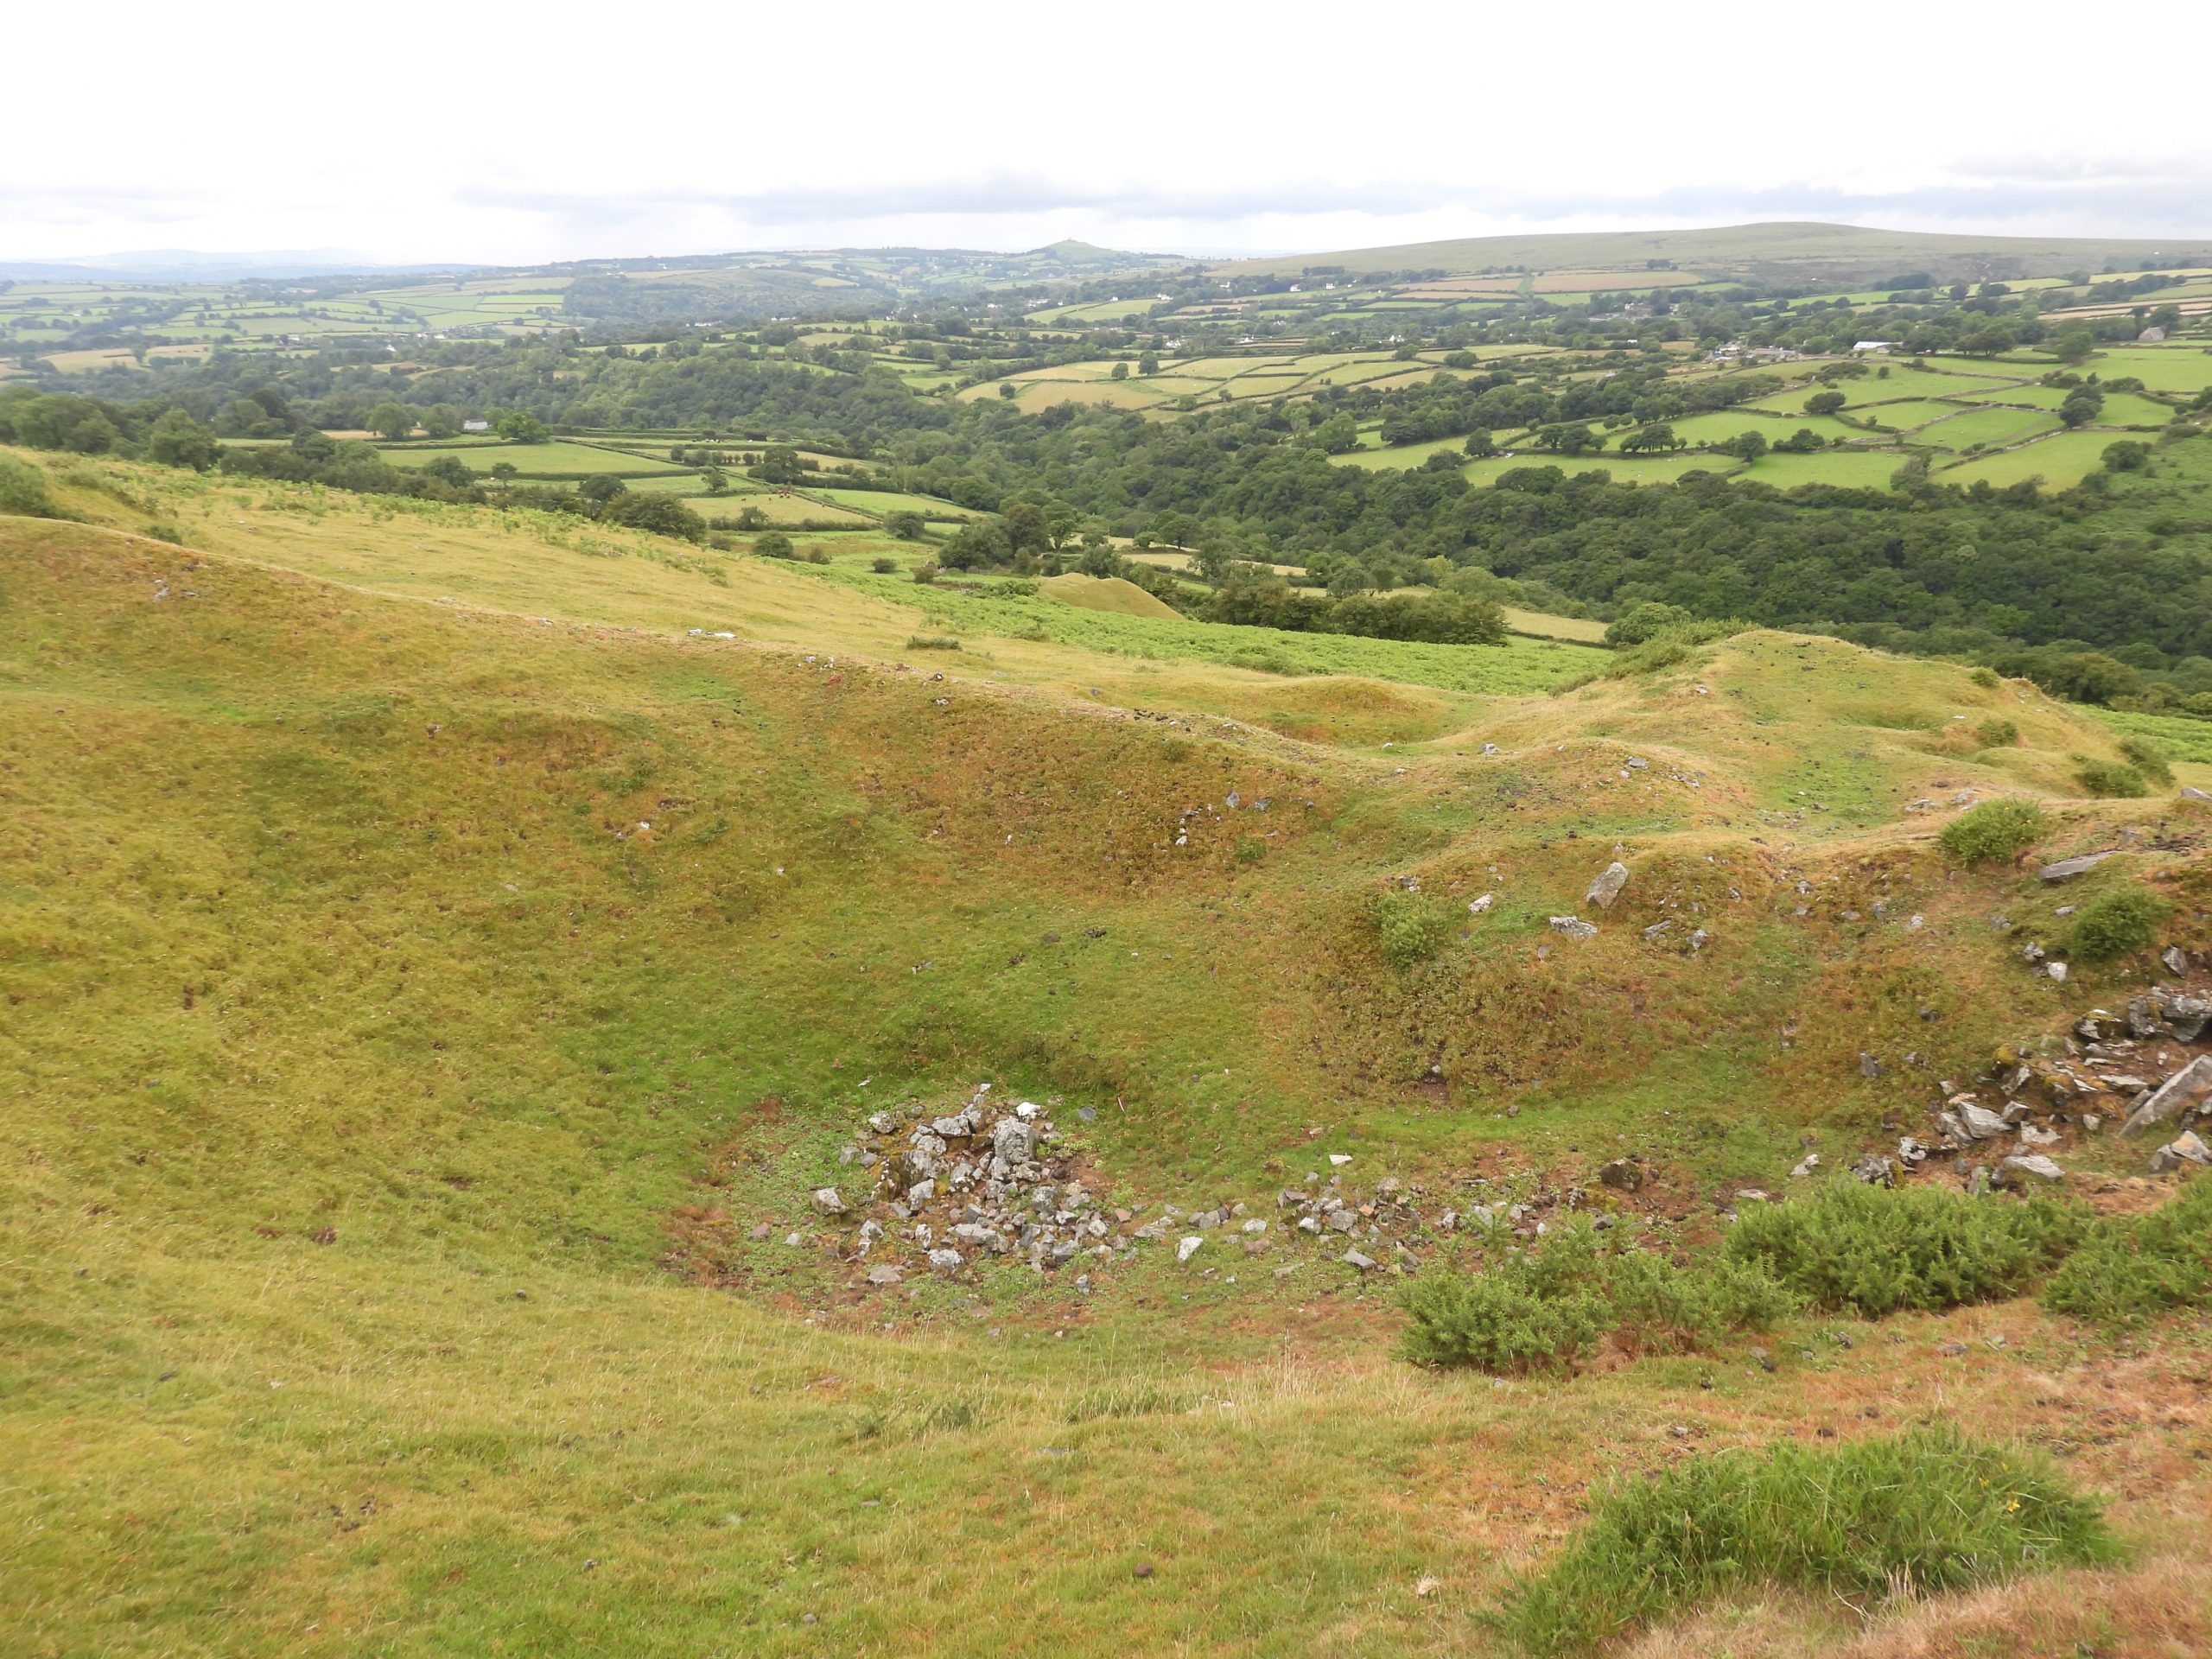
The stark visible evidence of mining operations on the Western slopes of Cudliptown Down are clear to see from the Cudliptown to Wapsworthy road as well as from in and around the Horndon area and beyond to the North West. That said, there is little annotation on the modern OS Map to record that any such operations took place. The limited map annotations are very subtle with just; a black line to indicate where a mine building once stood, a spring (Spr) recorded which is actually an adit and an earth work next to the spring which is actually the spoil from the adit. So what was this mining operation ?
The Heritage Gateway record (MDV56624) does provide some information but is a little vague insofar as it only describes the area as “a complex of features associated with mining, probably of 19th century date, situated on the moderate to steep NW slope of Cudliptown Down”. The record does, however, describe features falling into three groups, namely a) A building, b) trenches, three shafts, trial pits and a leat plus c) An adit. There is very little background to the operation in this record.
With a little research, the author discovered the key to unlock the mystery was held by Chris Wordingham of Peter Tavy, who shared a comprehensive report he had written (dated February 2017) about the mine, titled : East Wheal Friendship, Cudliptown, Peter Tavy – An Historical Survey. My thanks to Chris for sharing his report.
In summary, the mining operation was a part of East Friendship Consols, which was set up in 1852 but lasted barely 4 years. It all began on 5th November 1852, when Rev. Edward Atkyns Bray, Lord of Cudliptown Manor, granted a 21 year mining sett / lease of Cudliptown Common with dues at 1/15th. The mining sett / lease was set up to look for yellow, black, and grey copper ore which was expected to be found on an Eastern extension of the course of the main (Wheal Friendship) lode. The mine was recorded in the Mining Journal as East Wheal Friendship and was in all probability no more than just a prospecting mine.
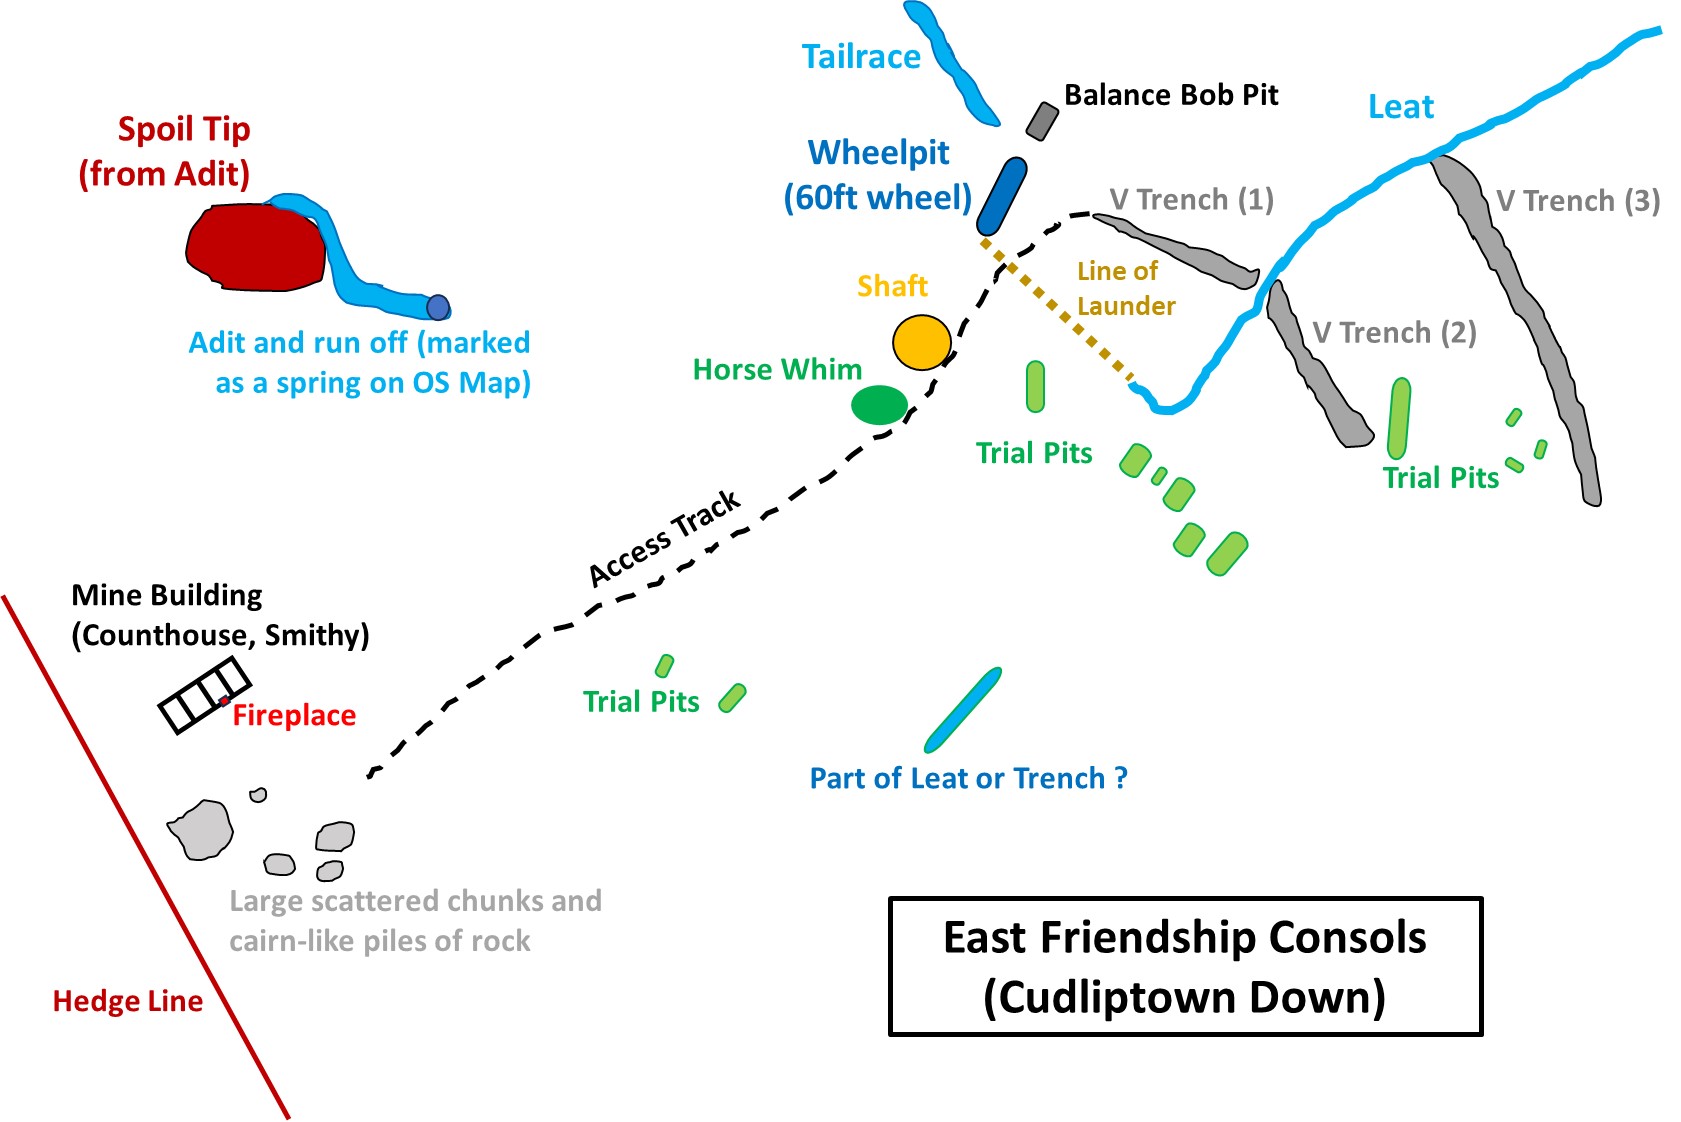
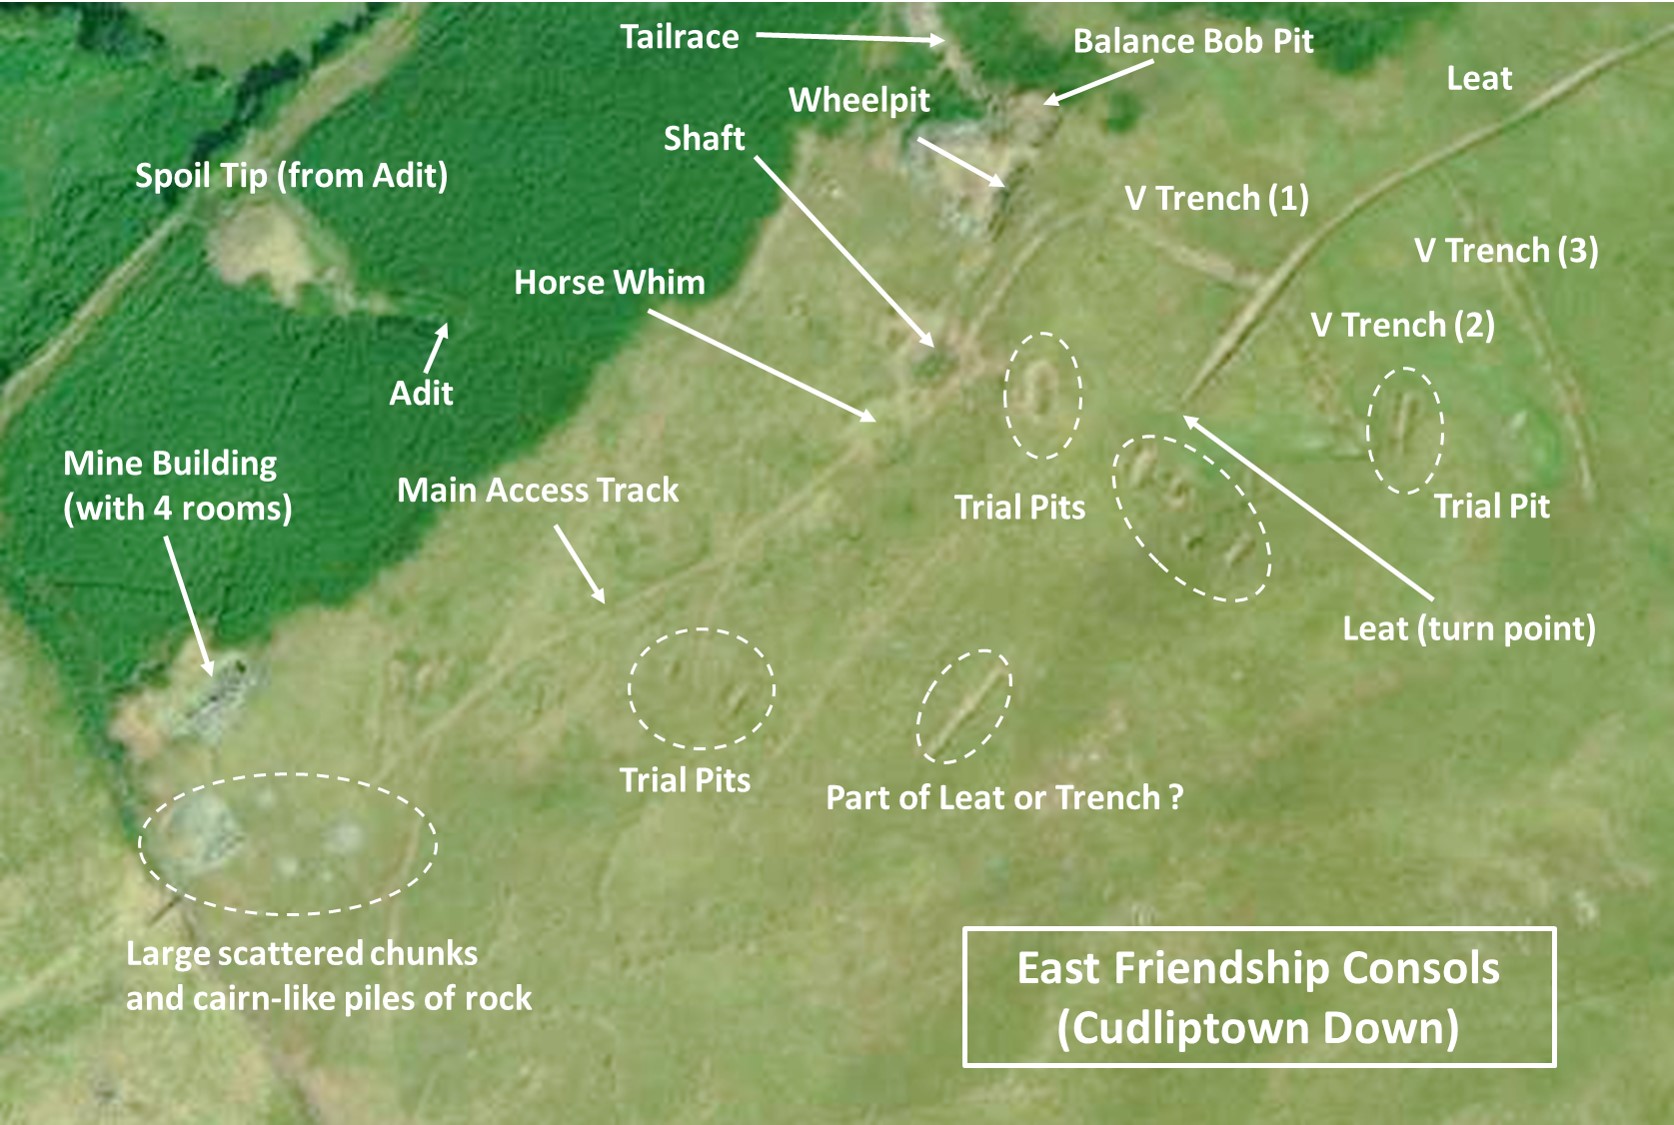
Armed with the Heritage Gateway record, Chris Wordingham’s report and a Google Earth Satellite image of the area, the author visited the area in July 2023. The combined information from the above three sources has resulted in this interpretive post of the mine. On his return from the area, the author had an opportunity to meet Chris and share his thoughts. If anyone has any other interpretations on this mine, the author would be grateful to hear from them.
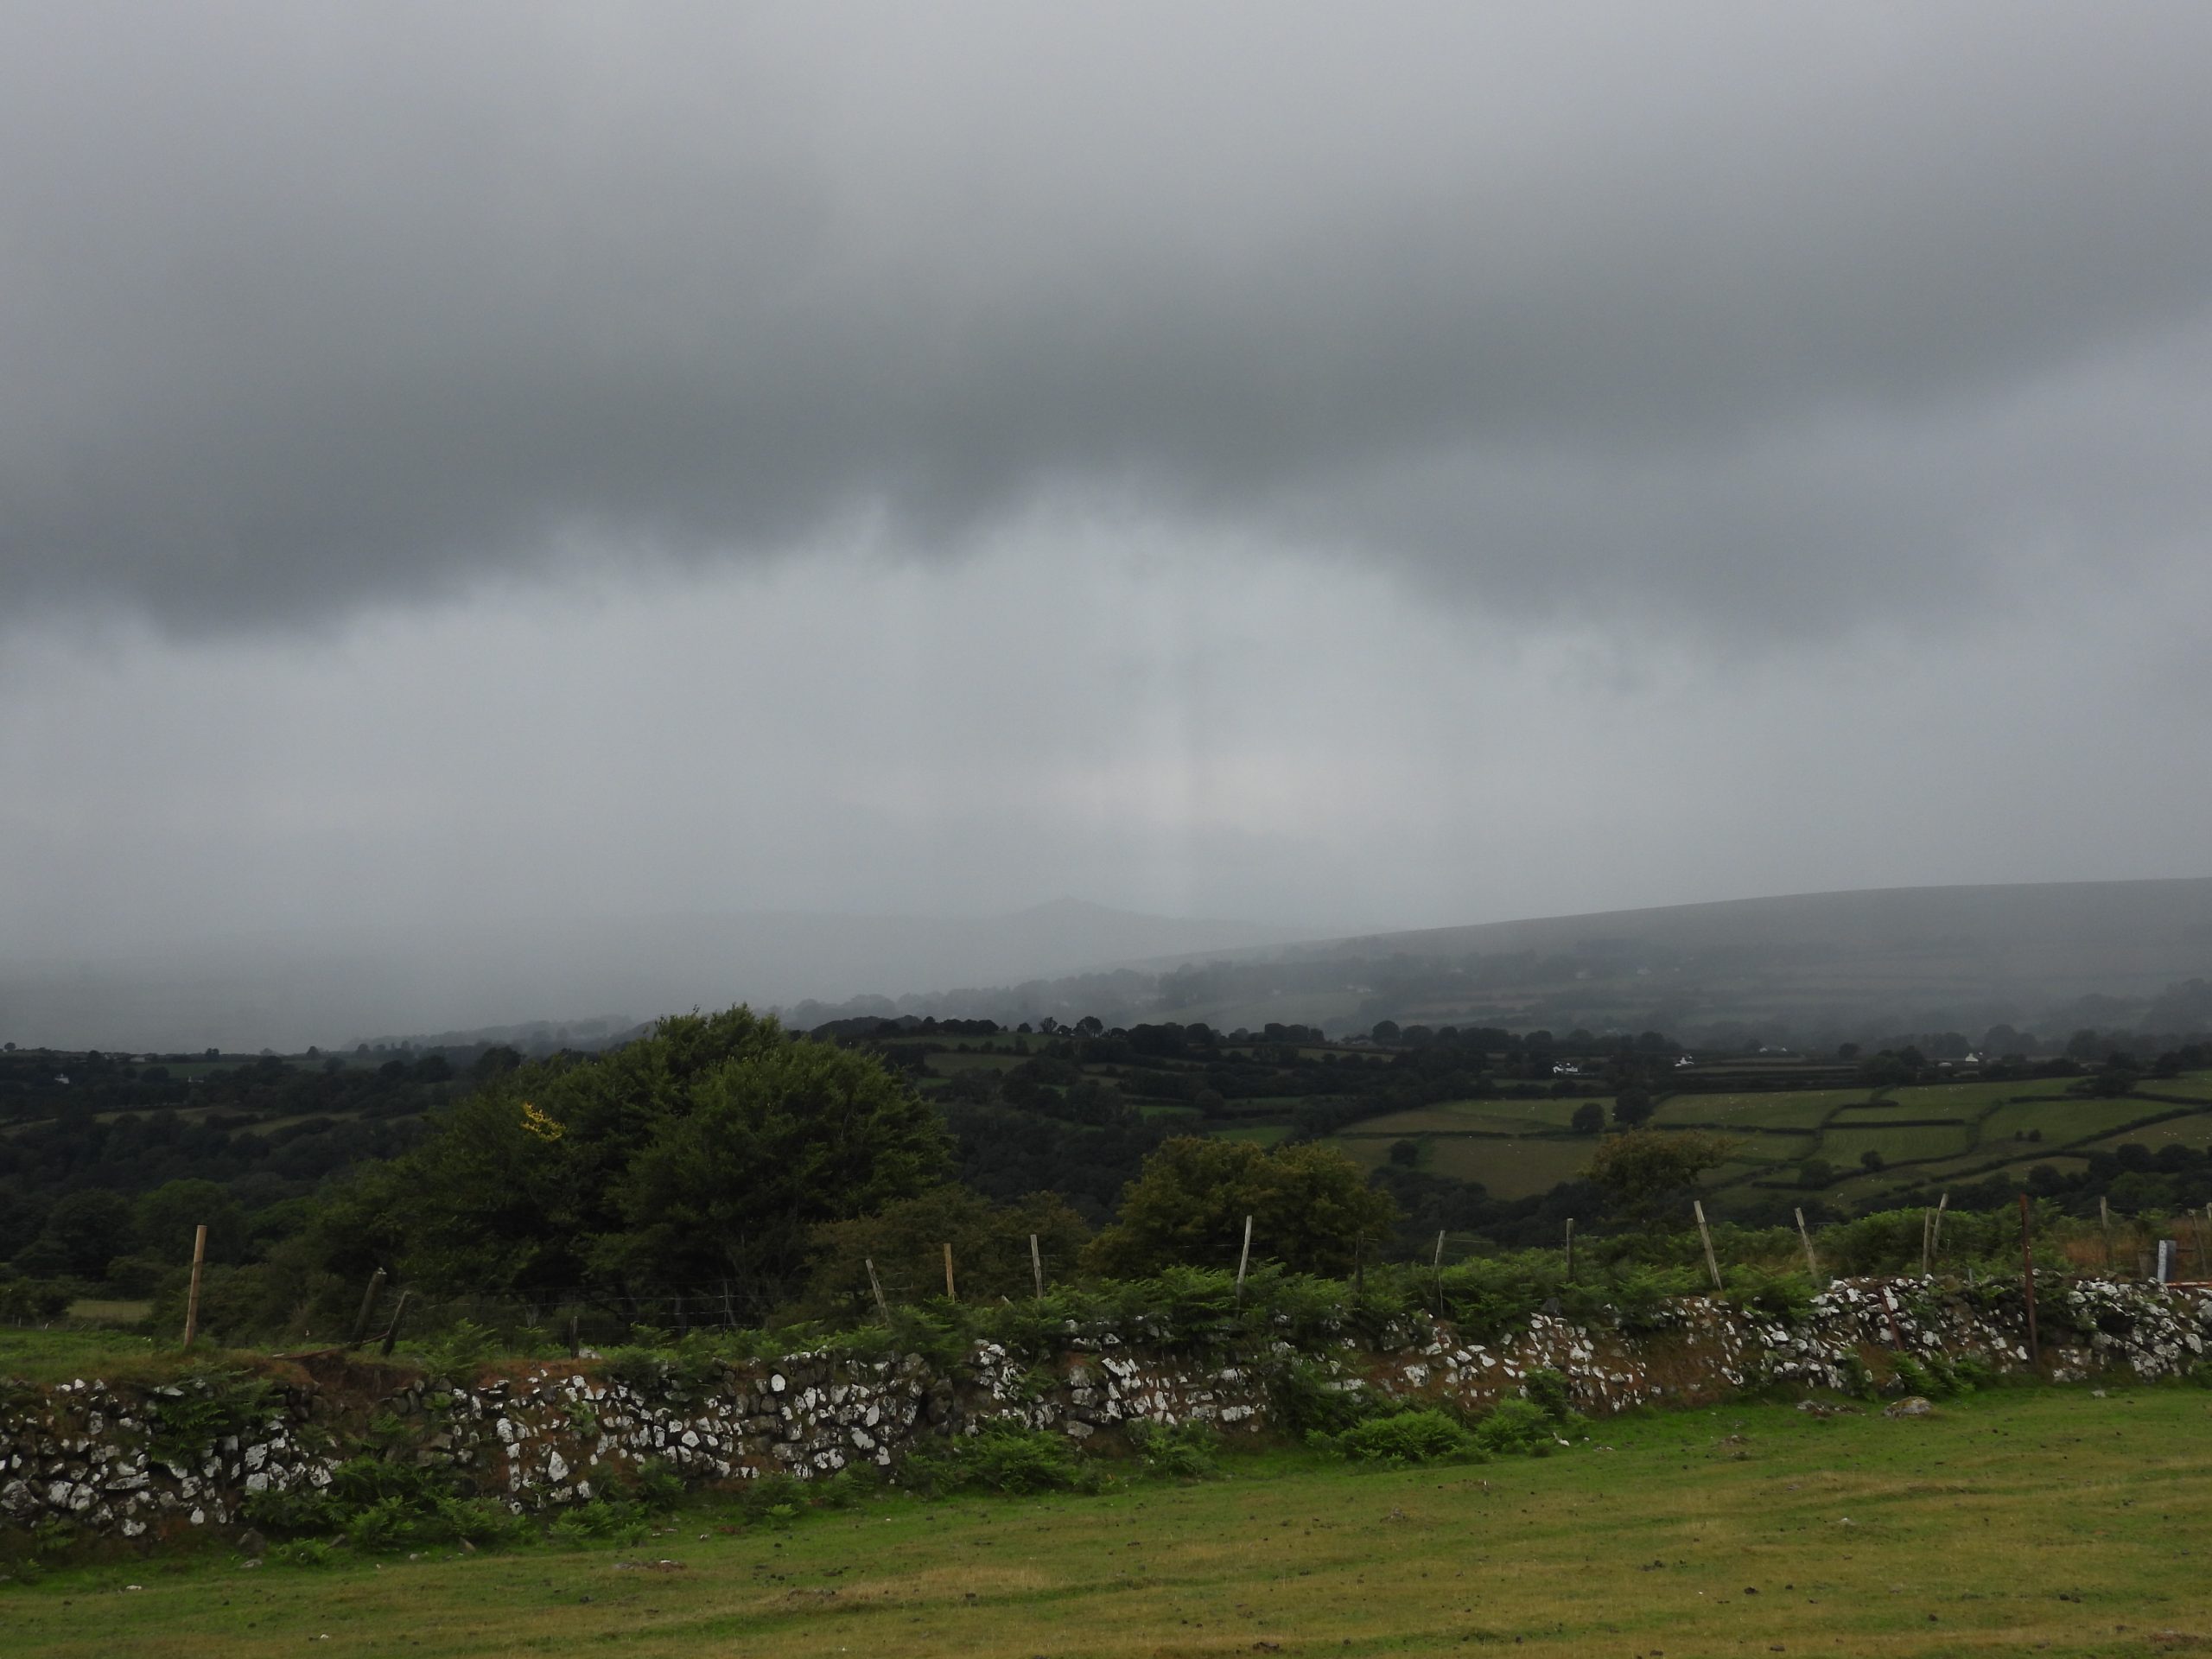
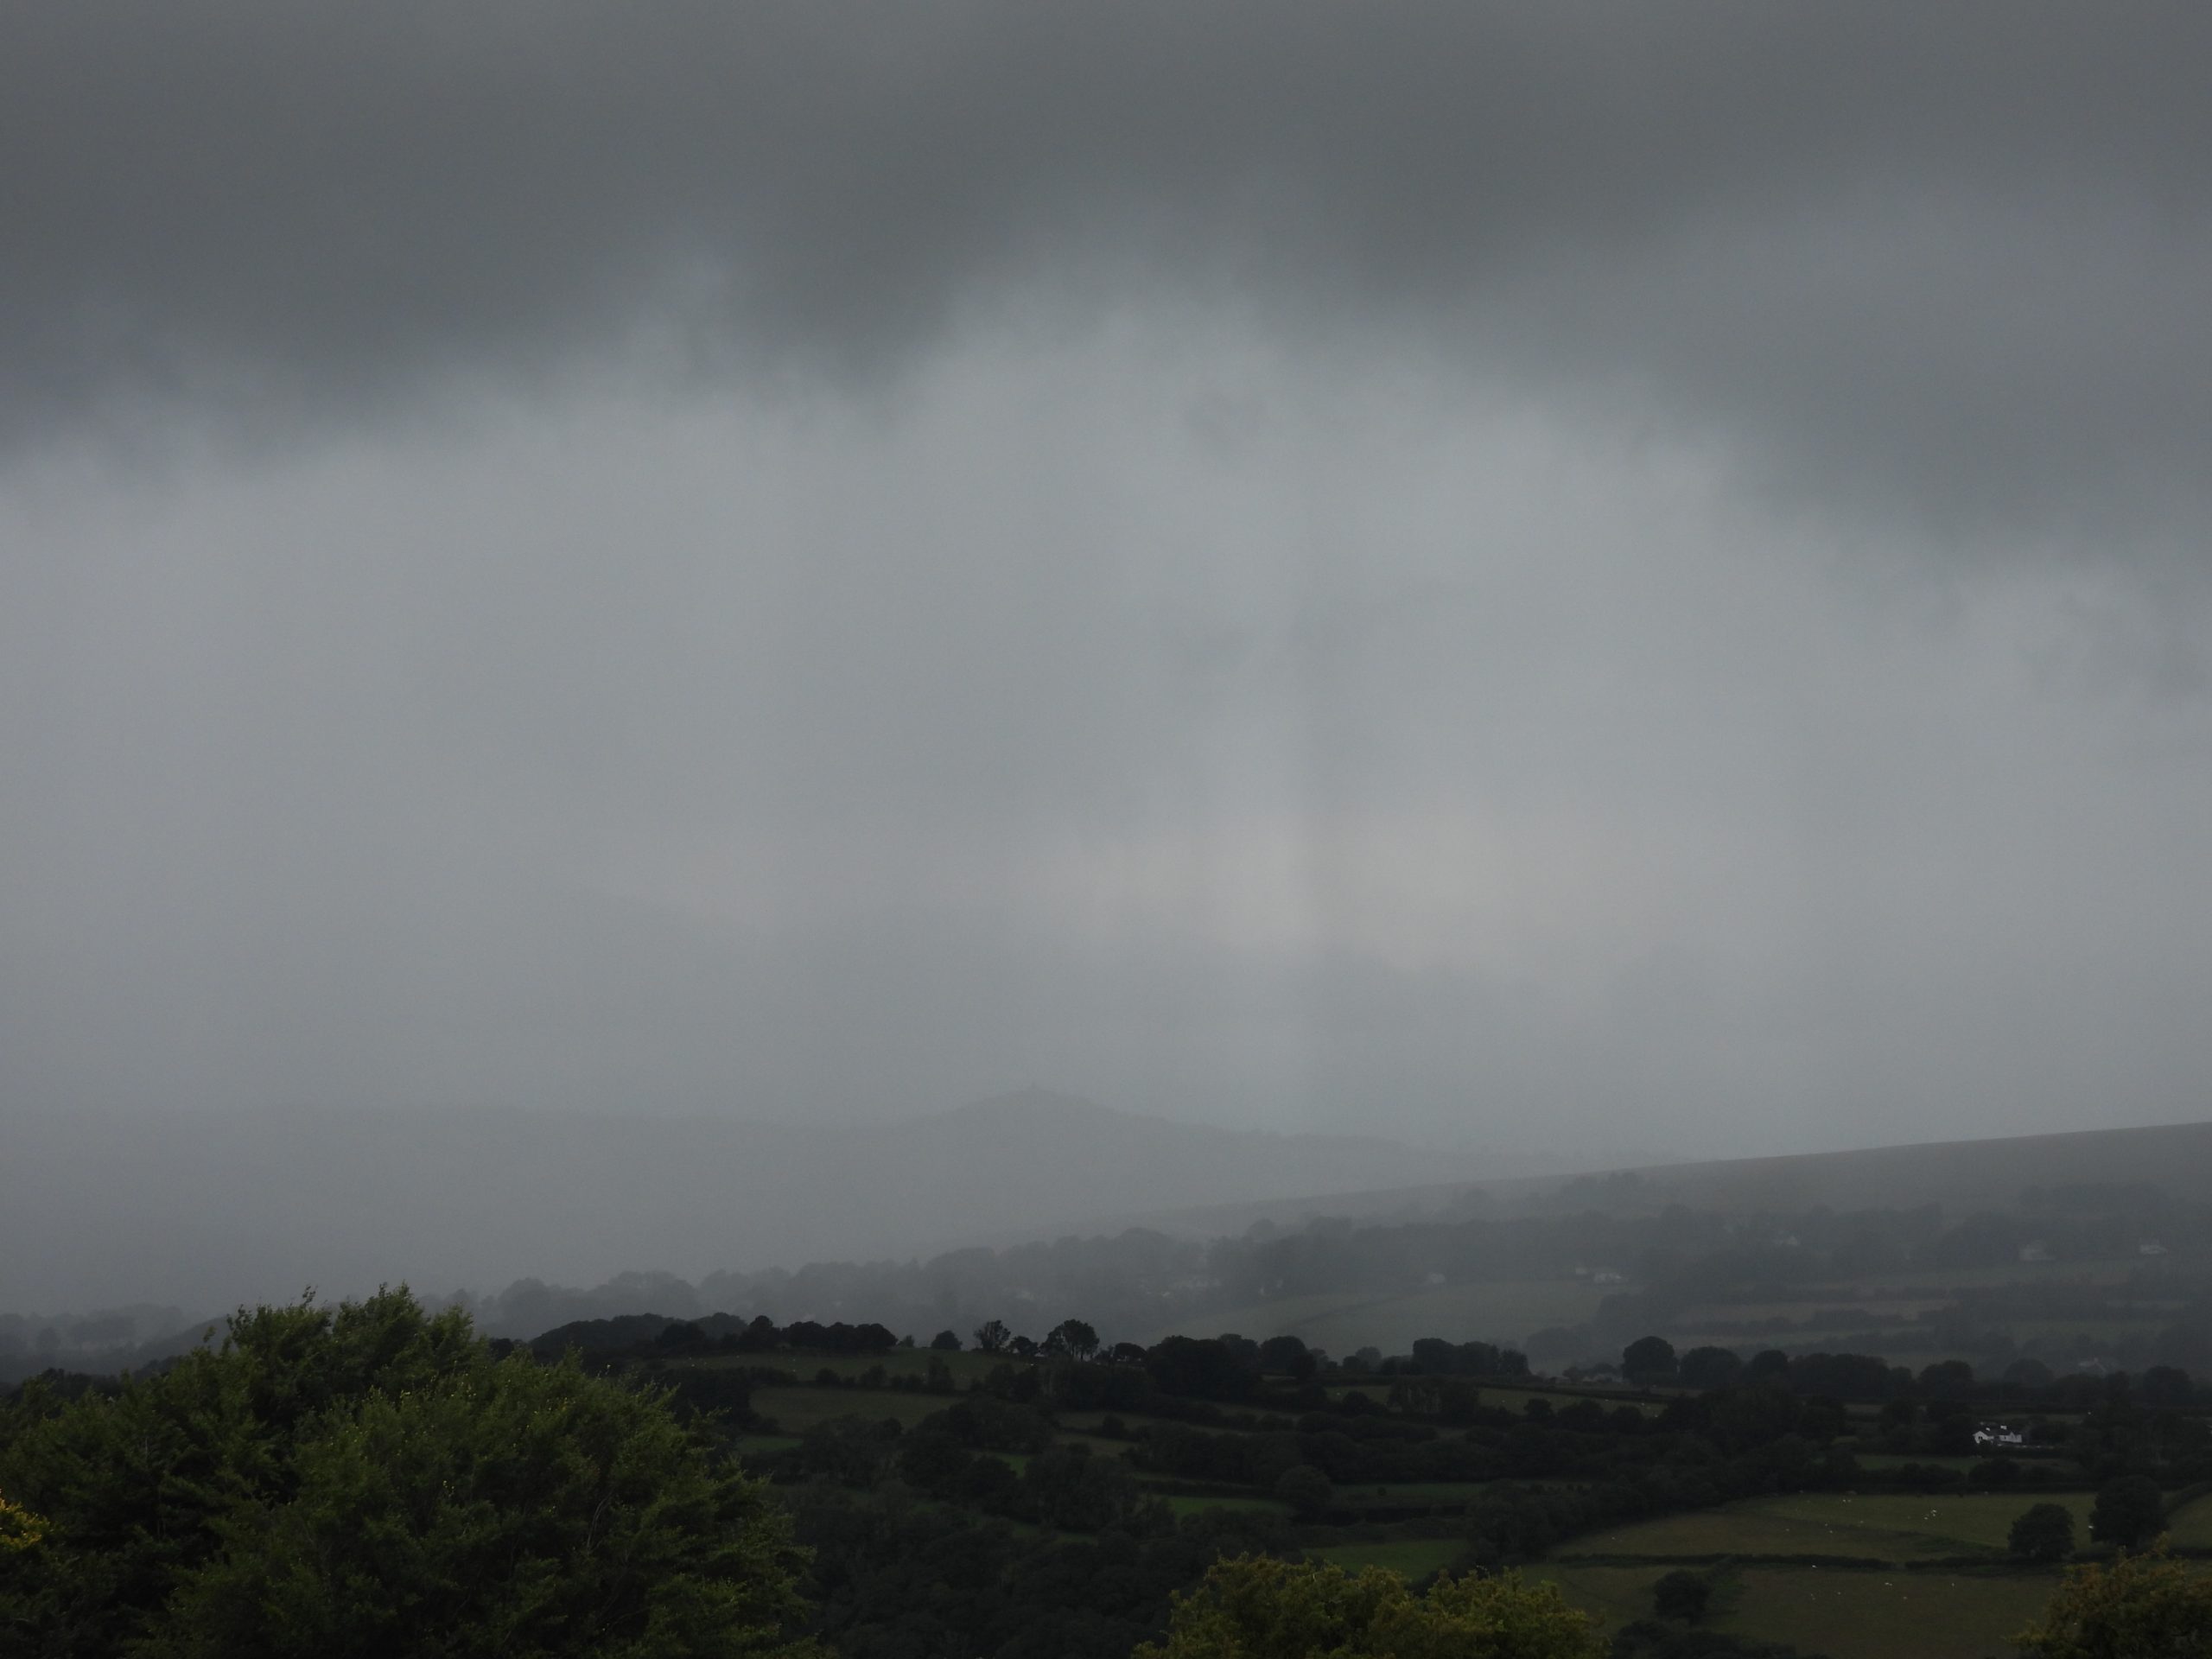
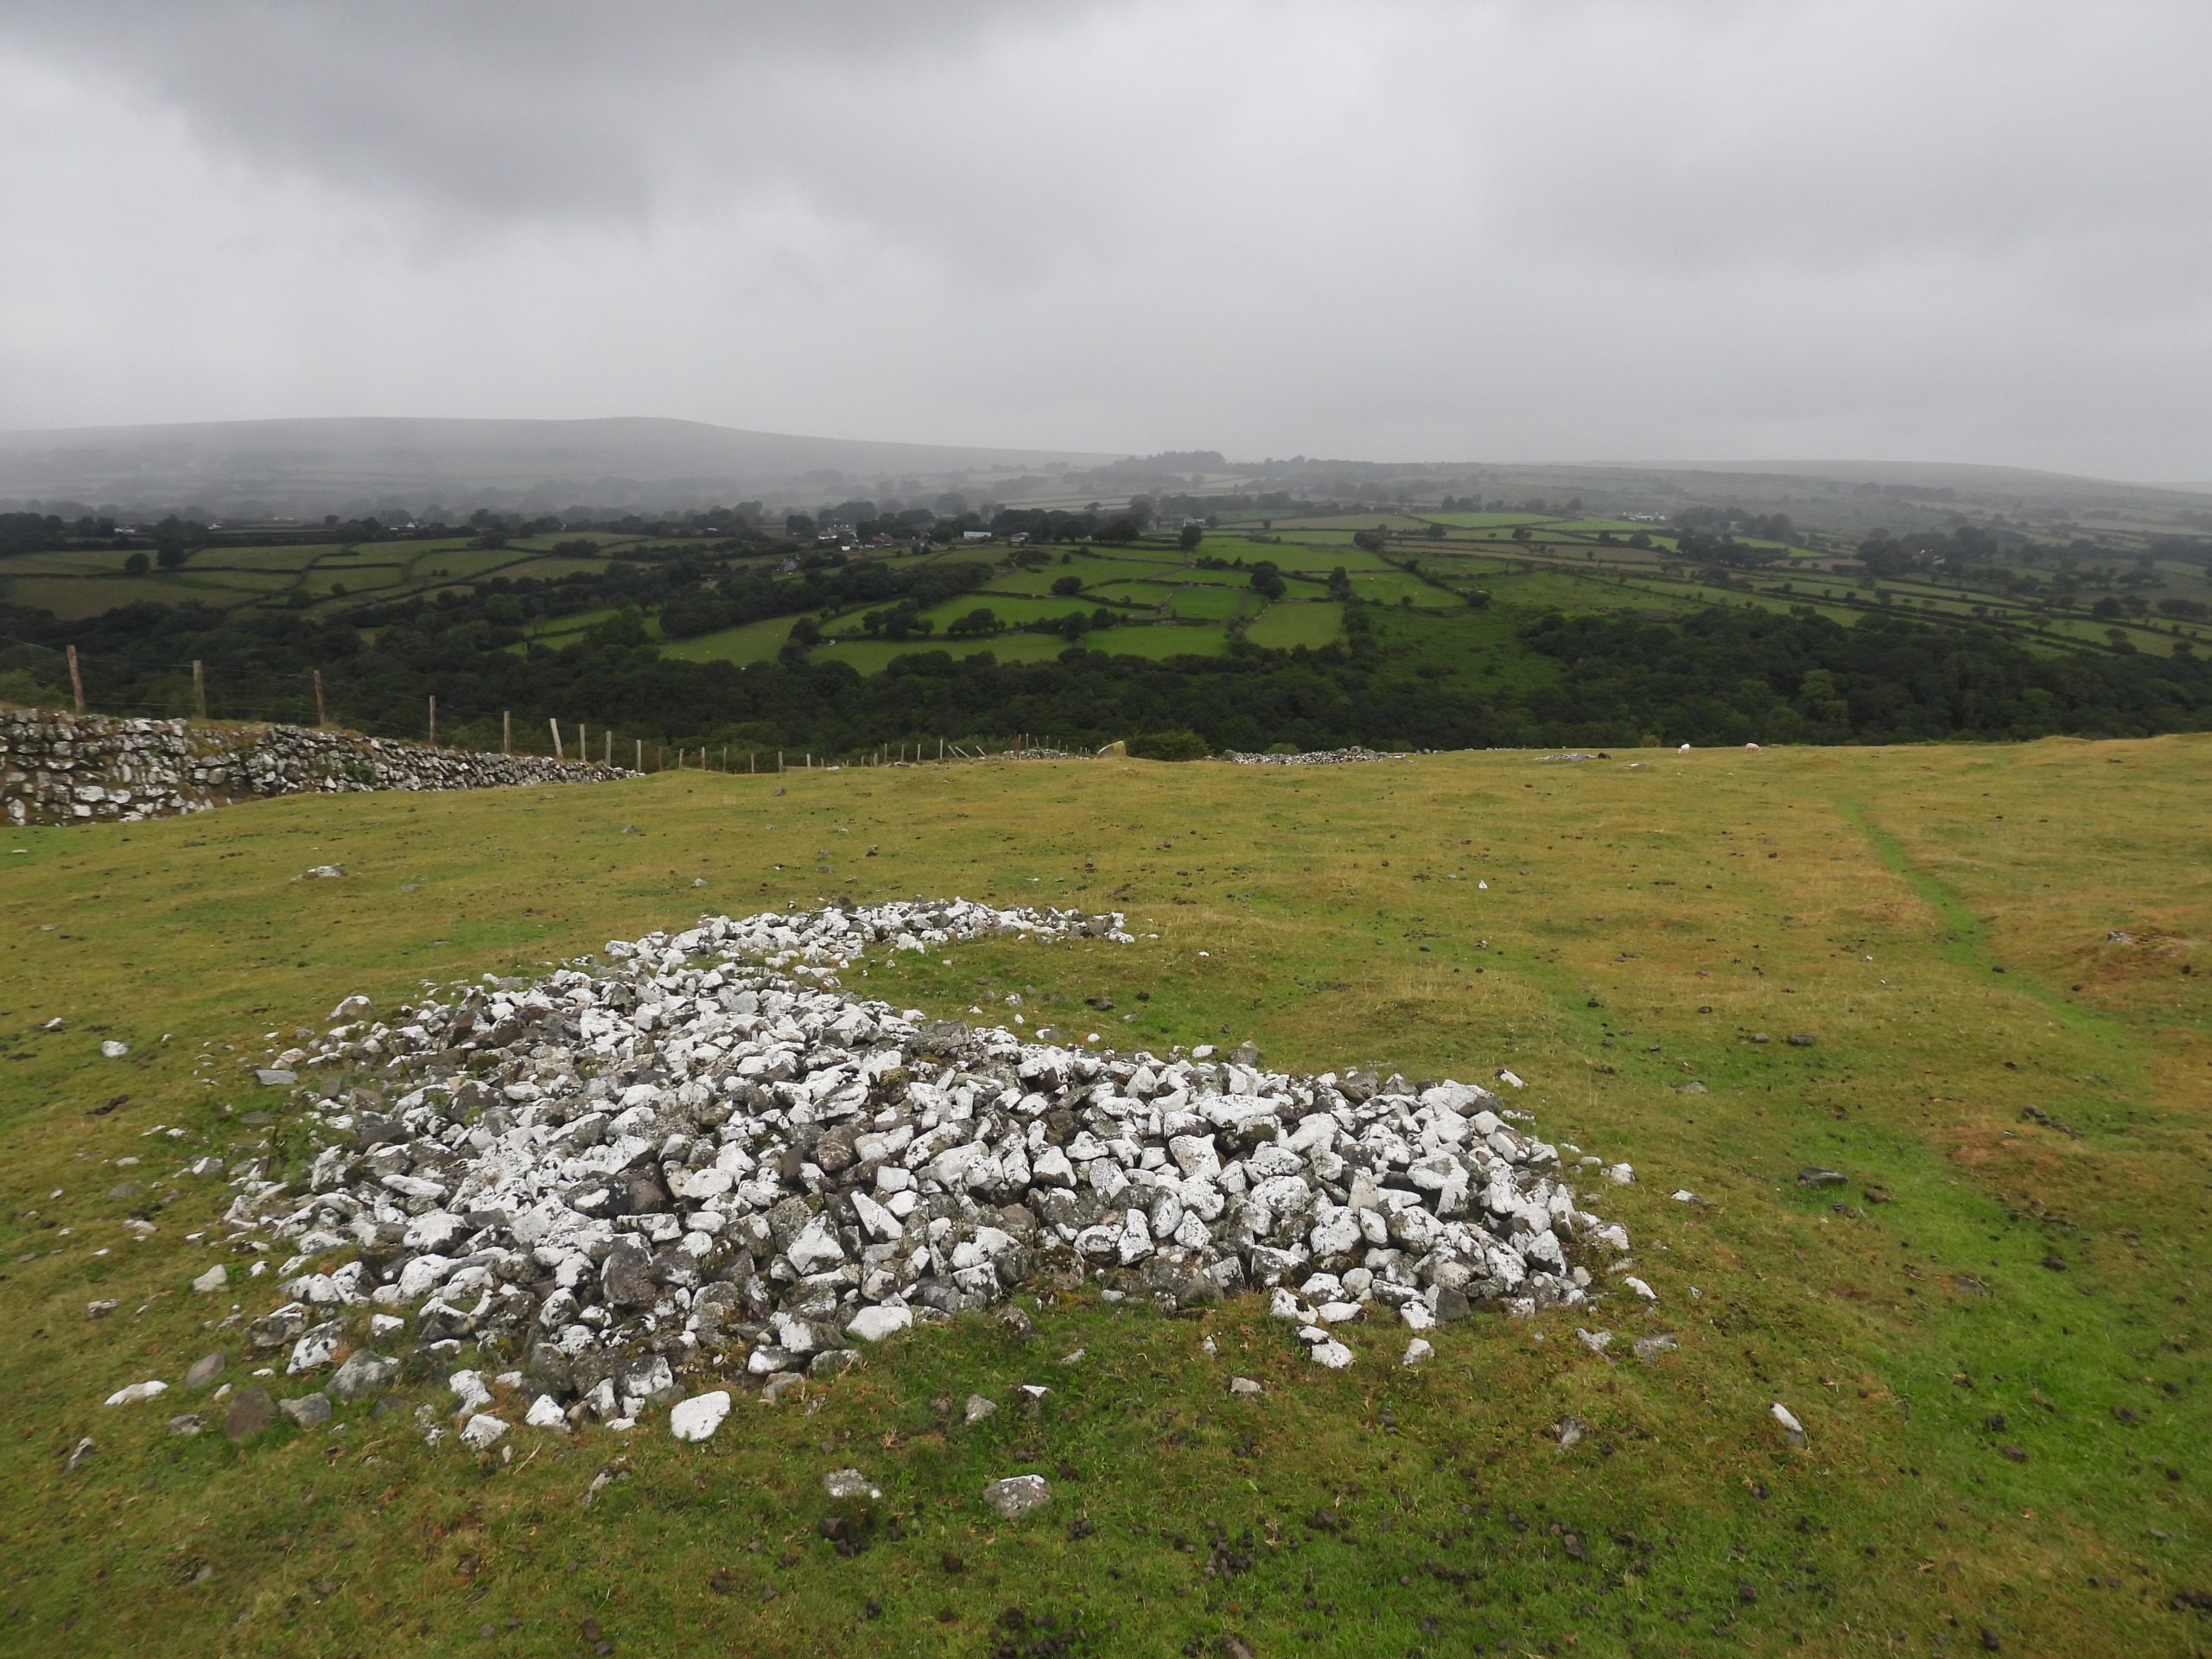
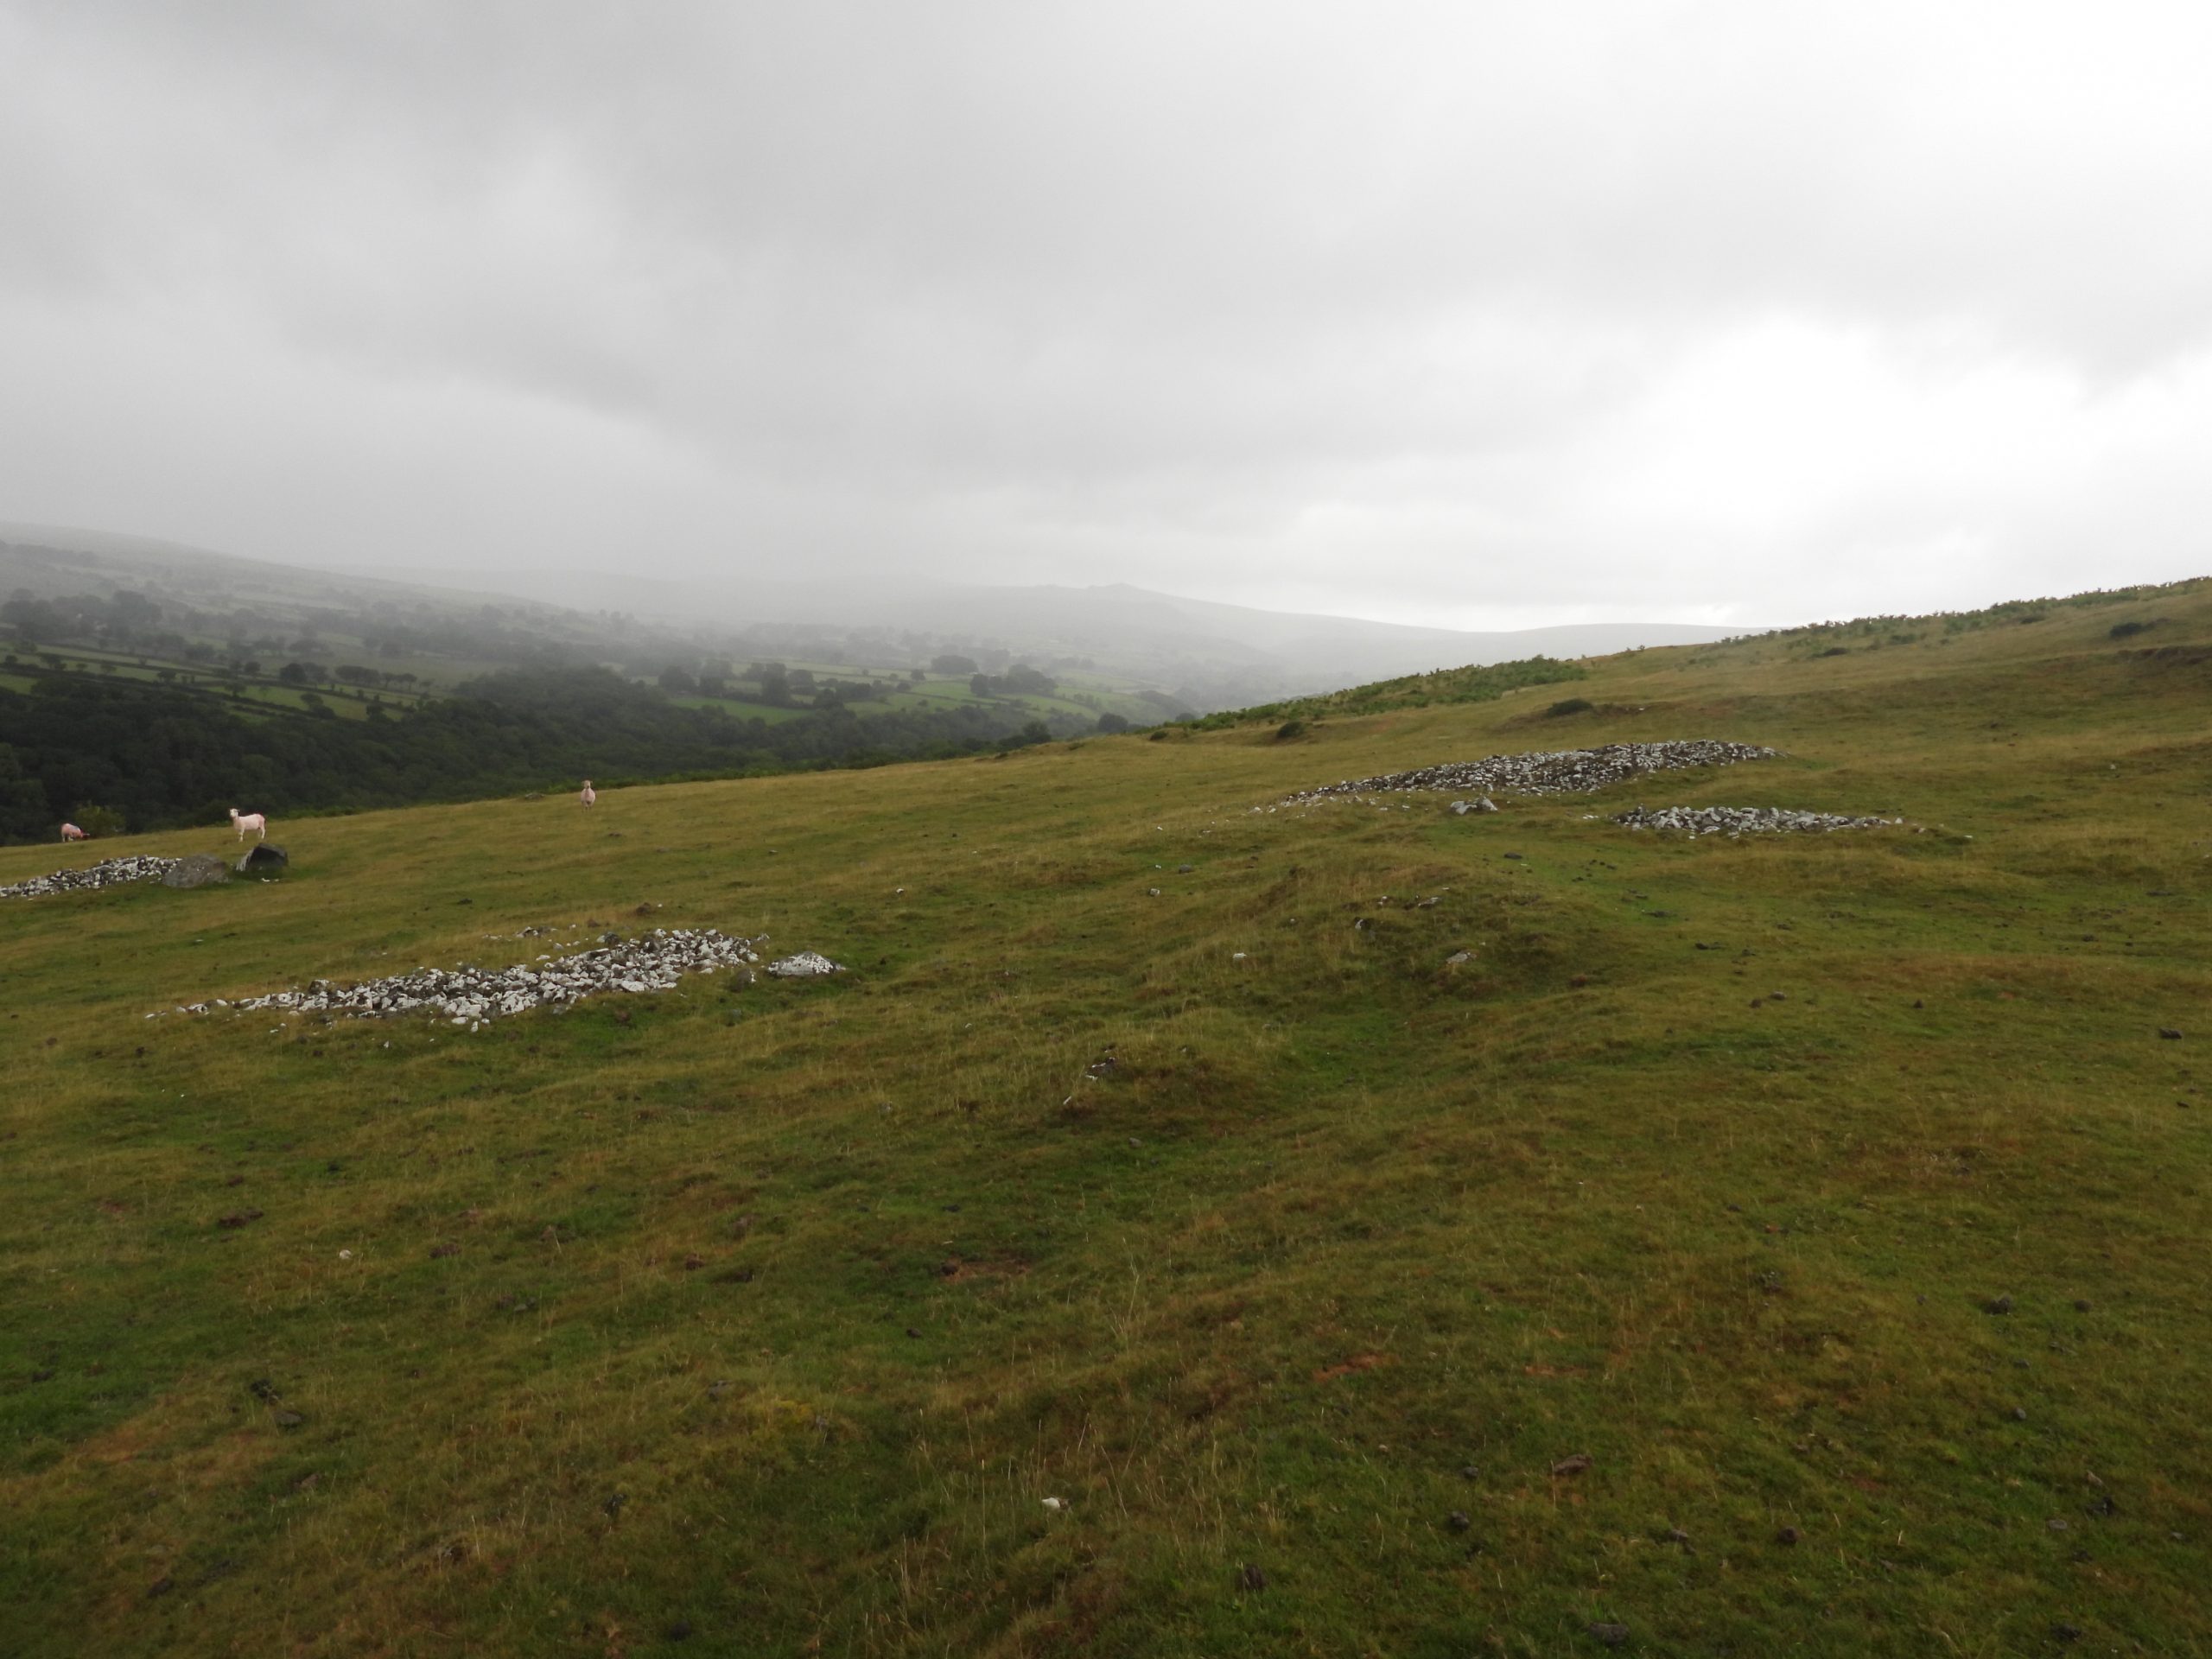
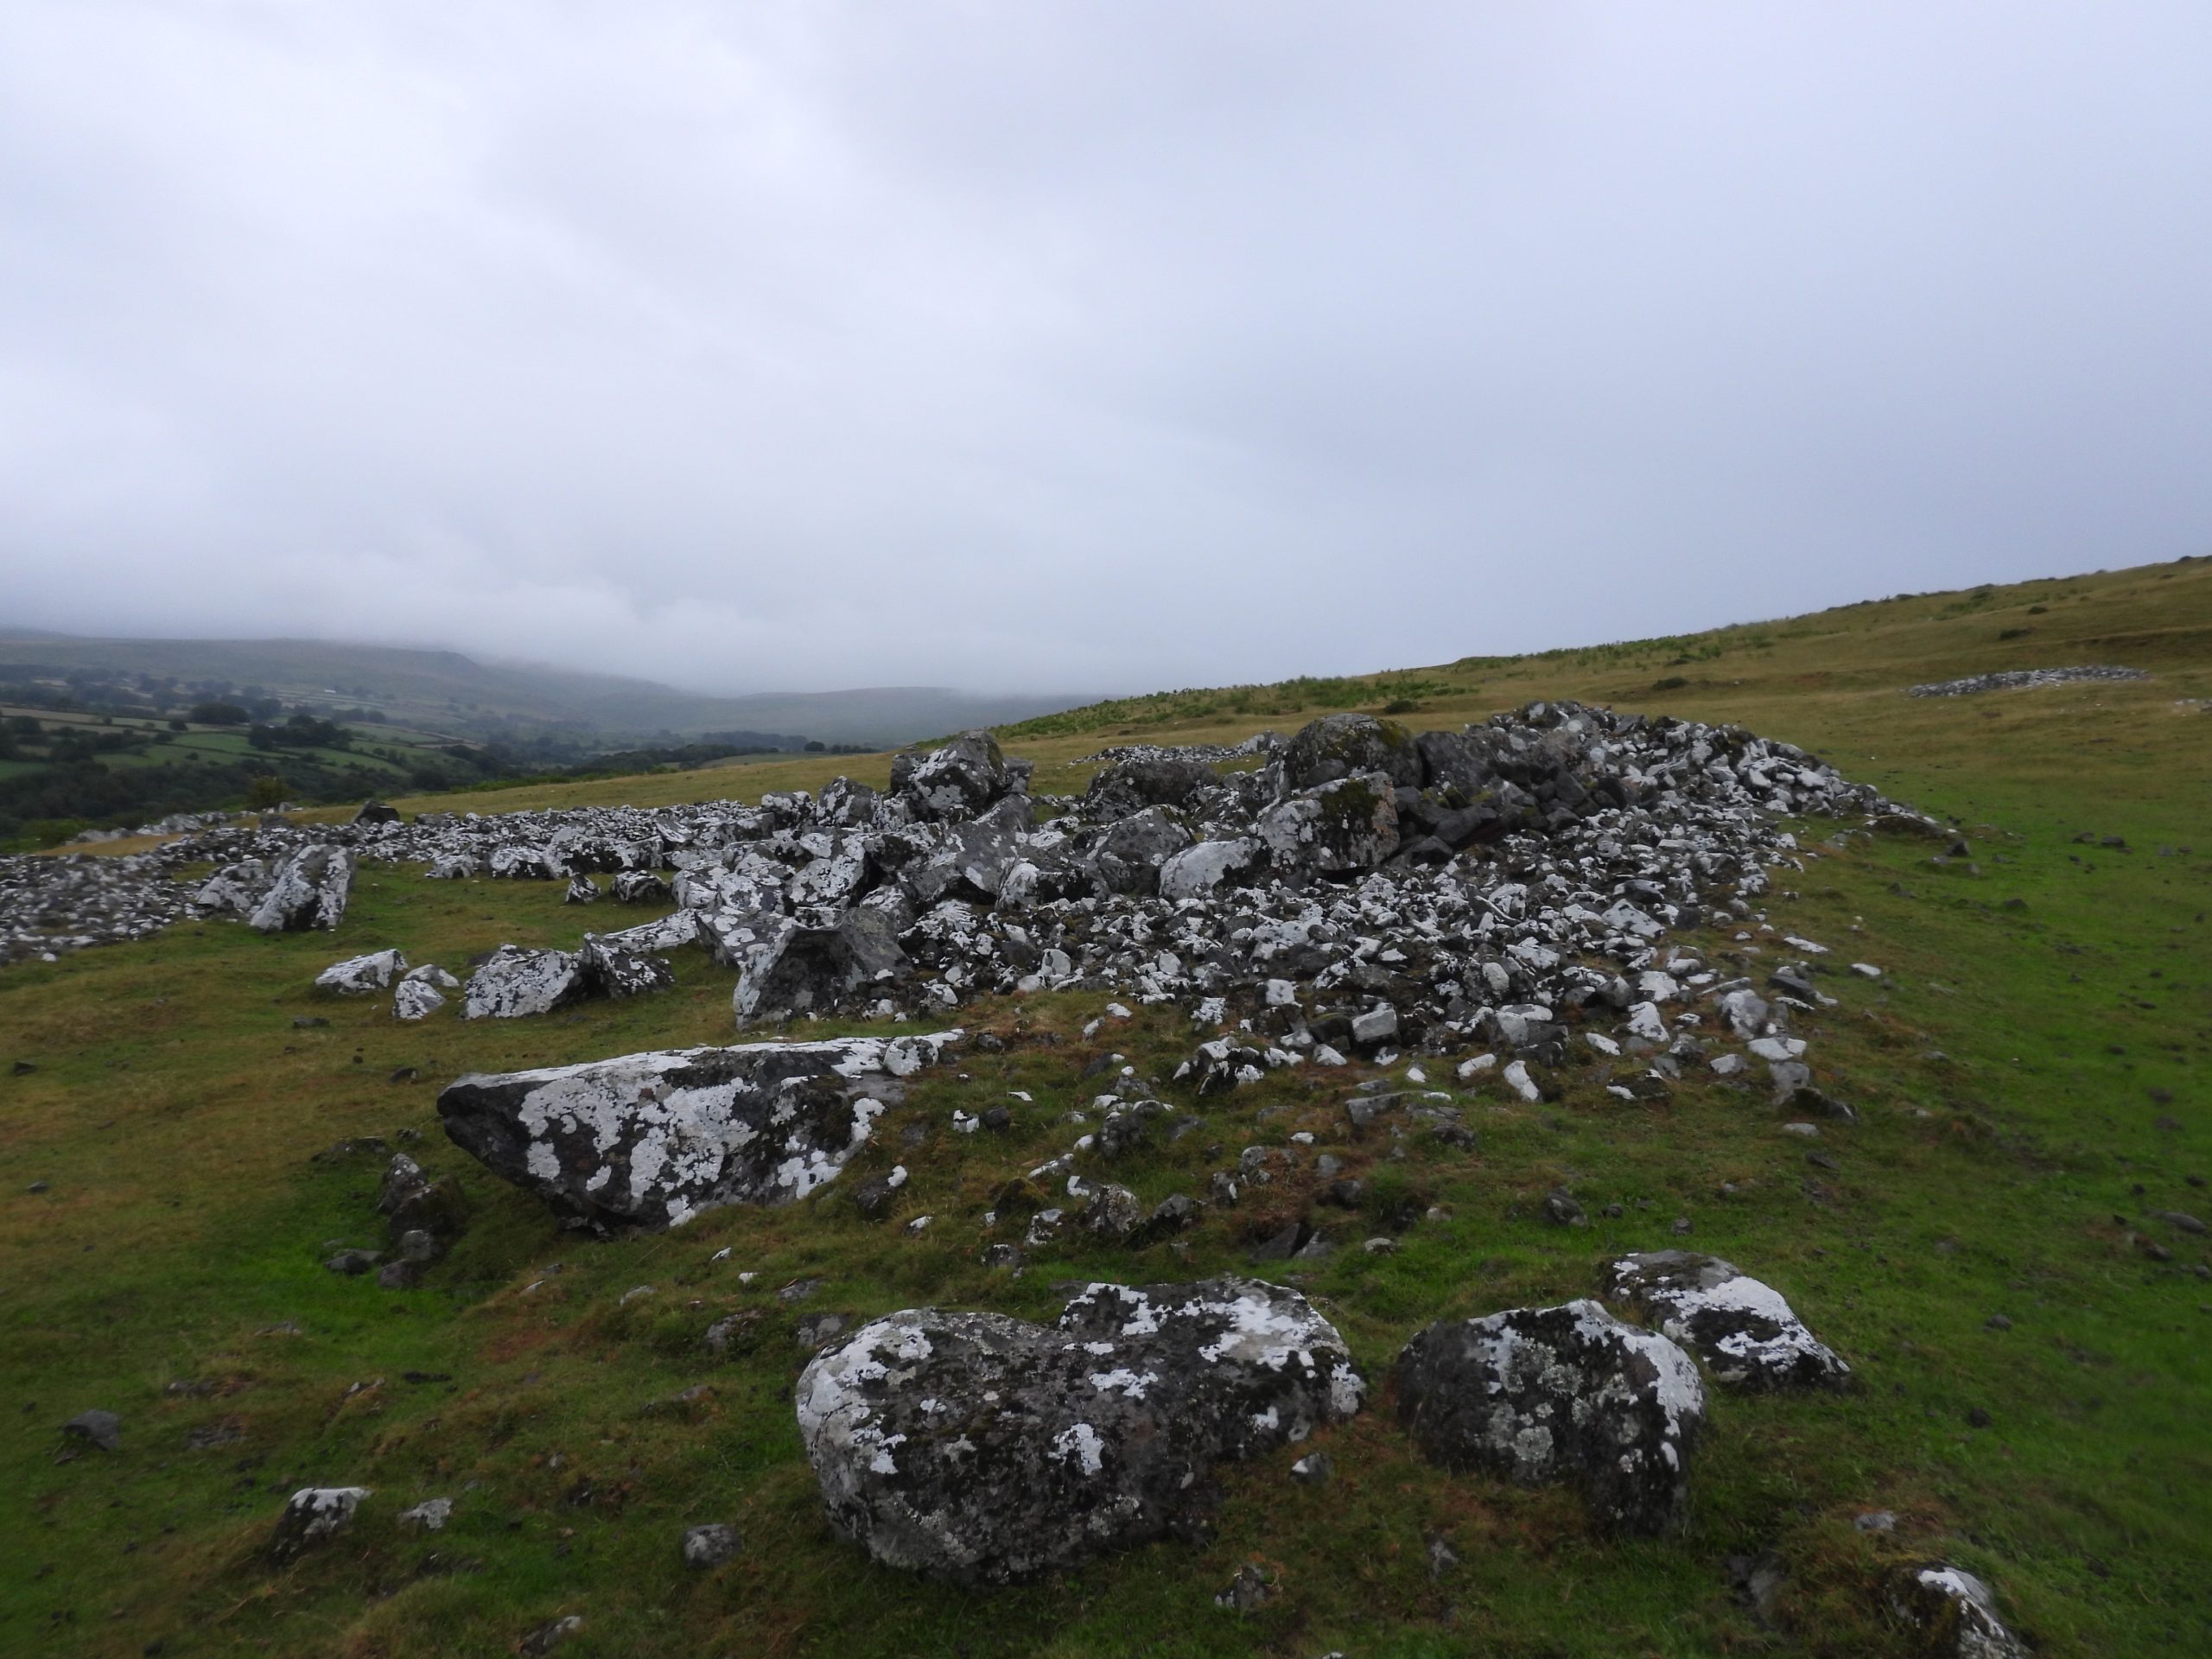
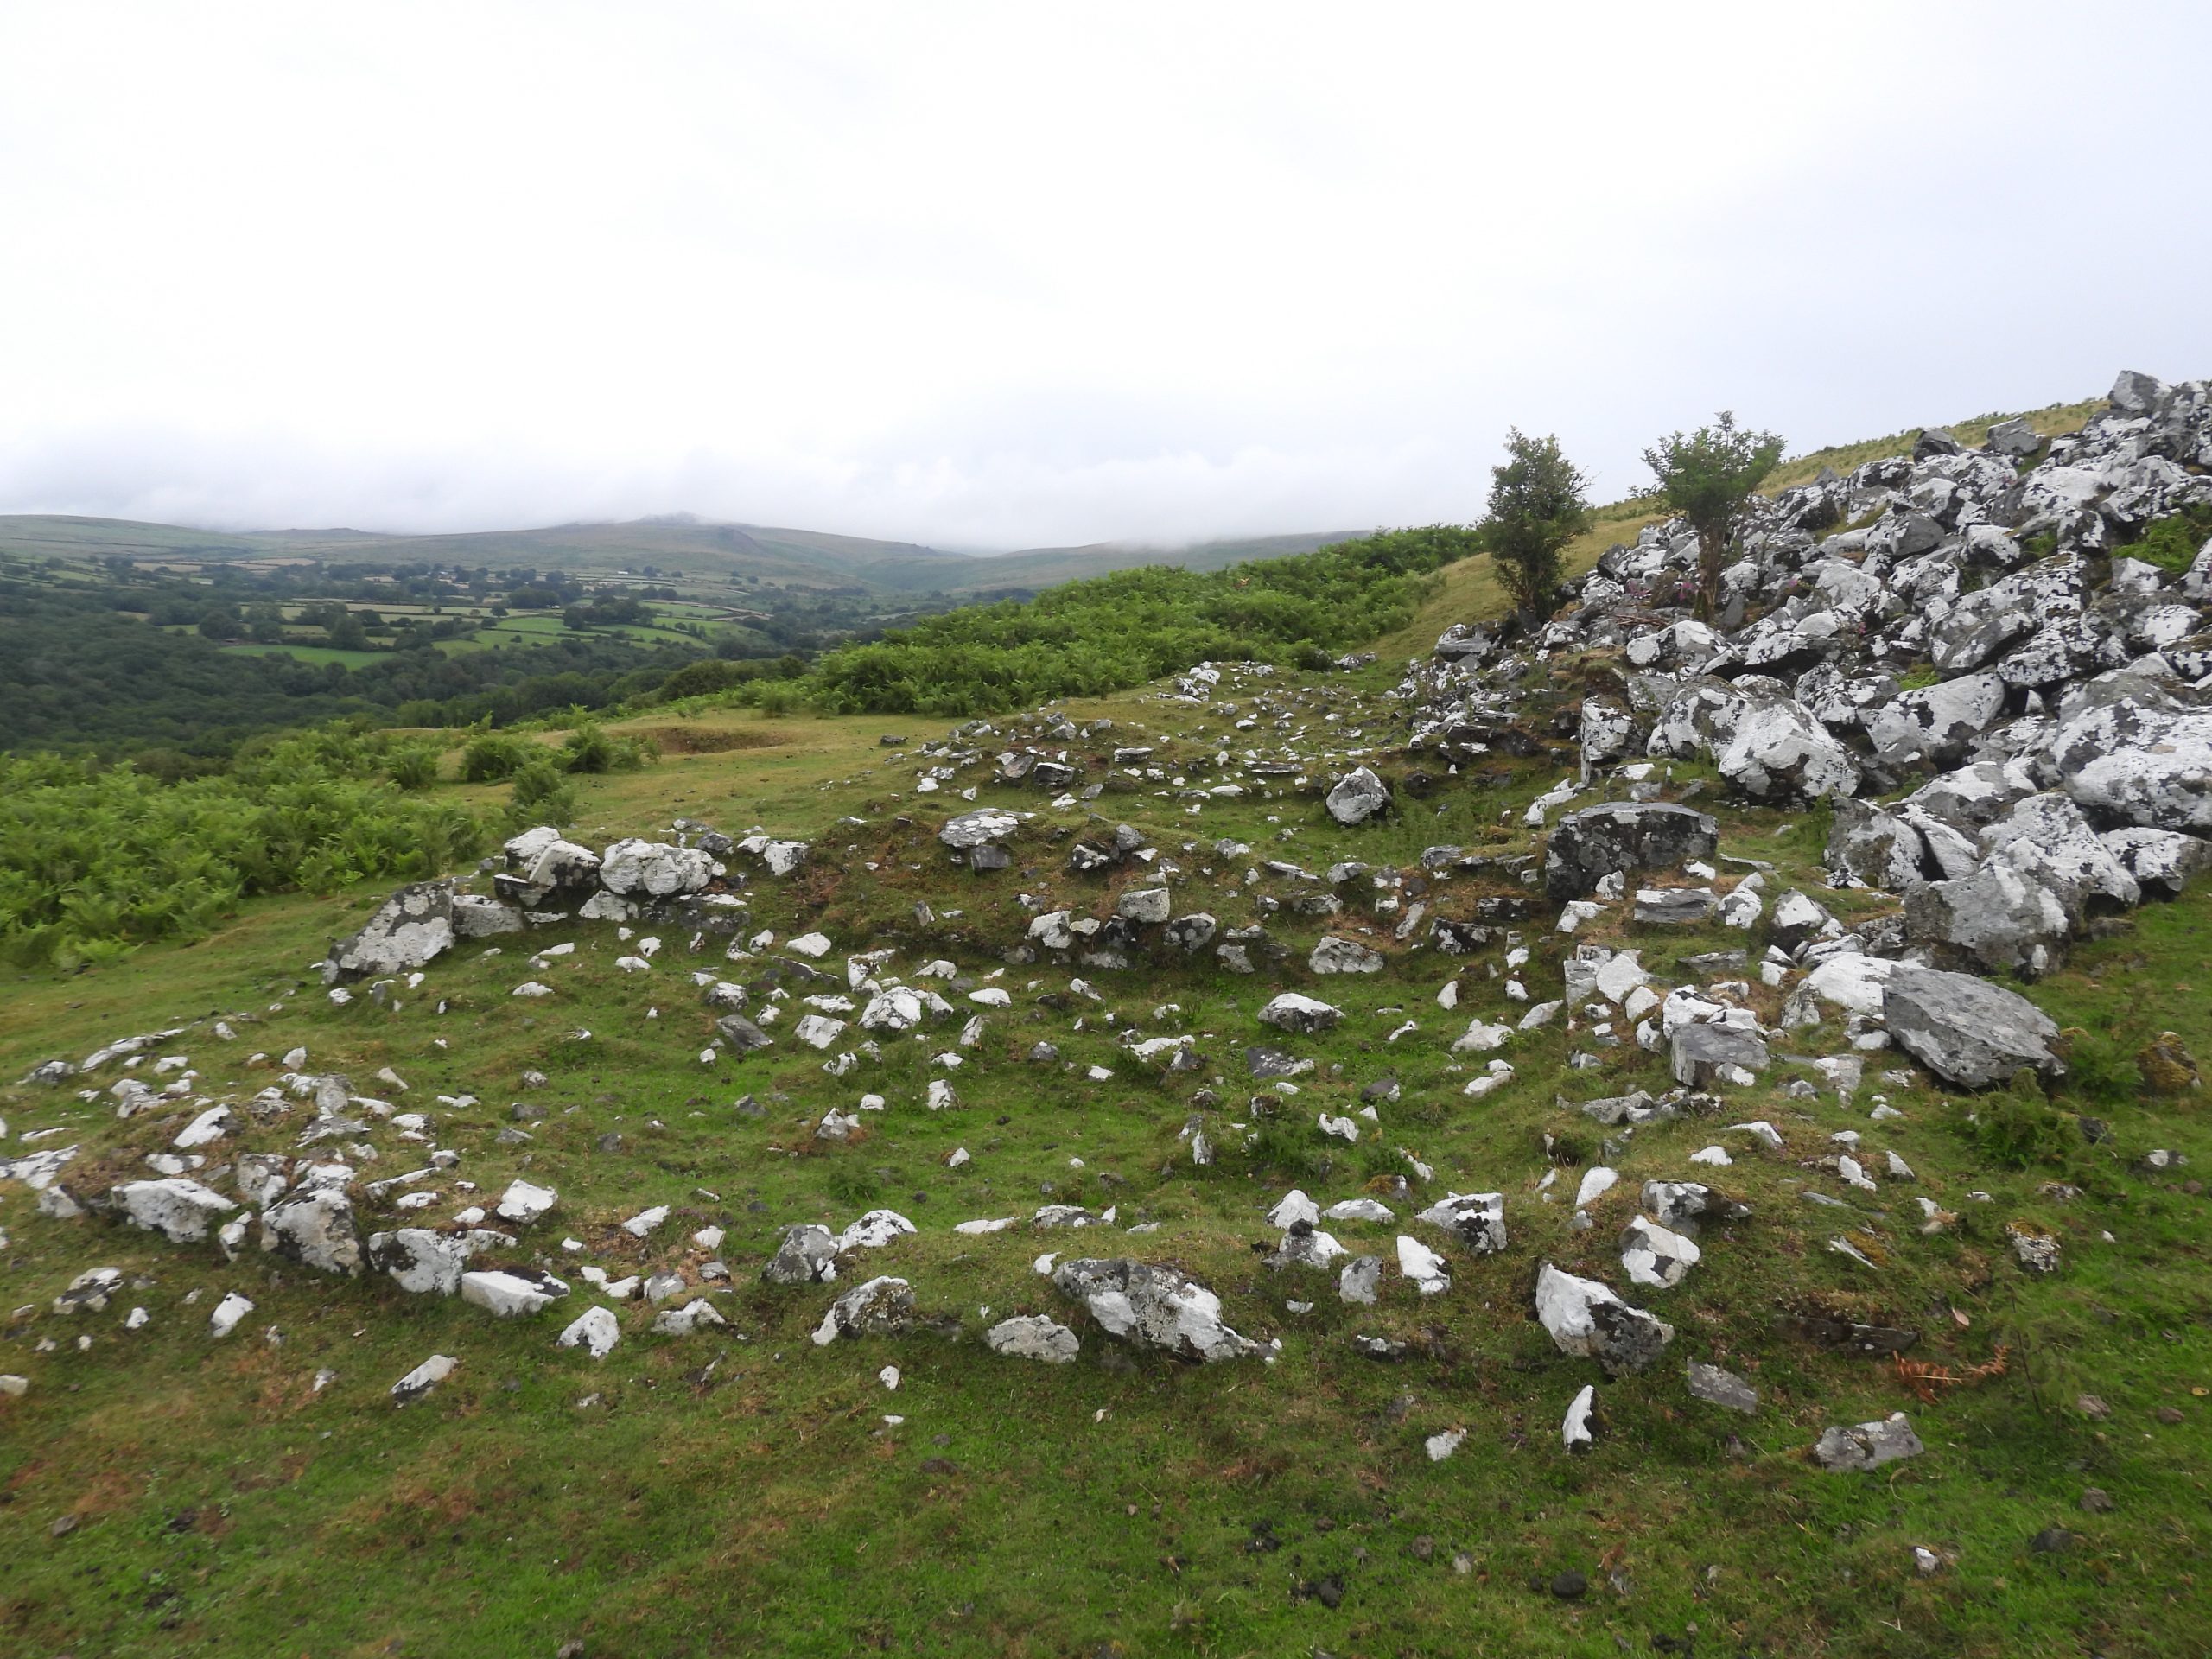
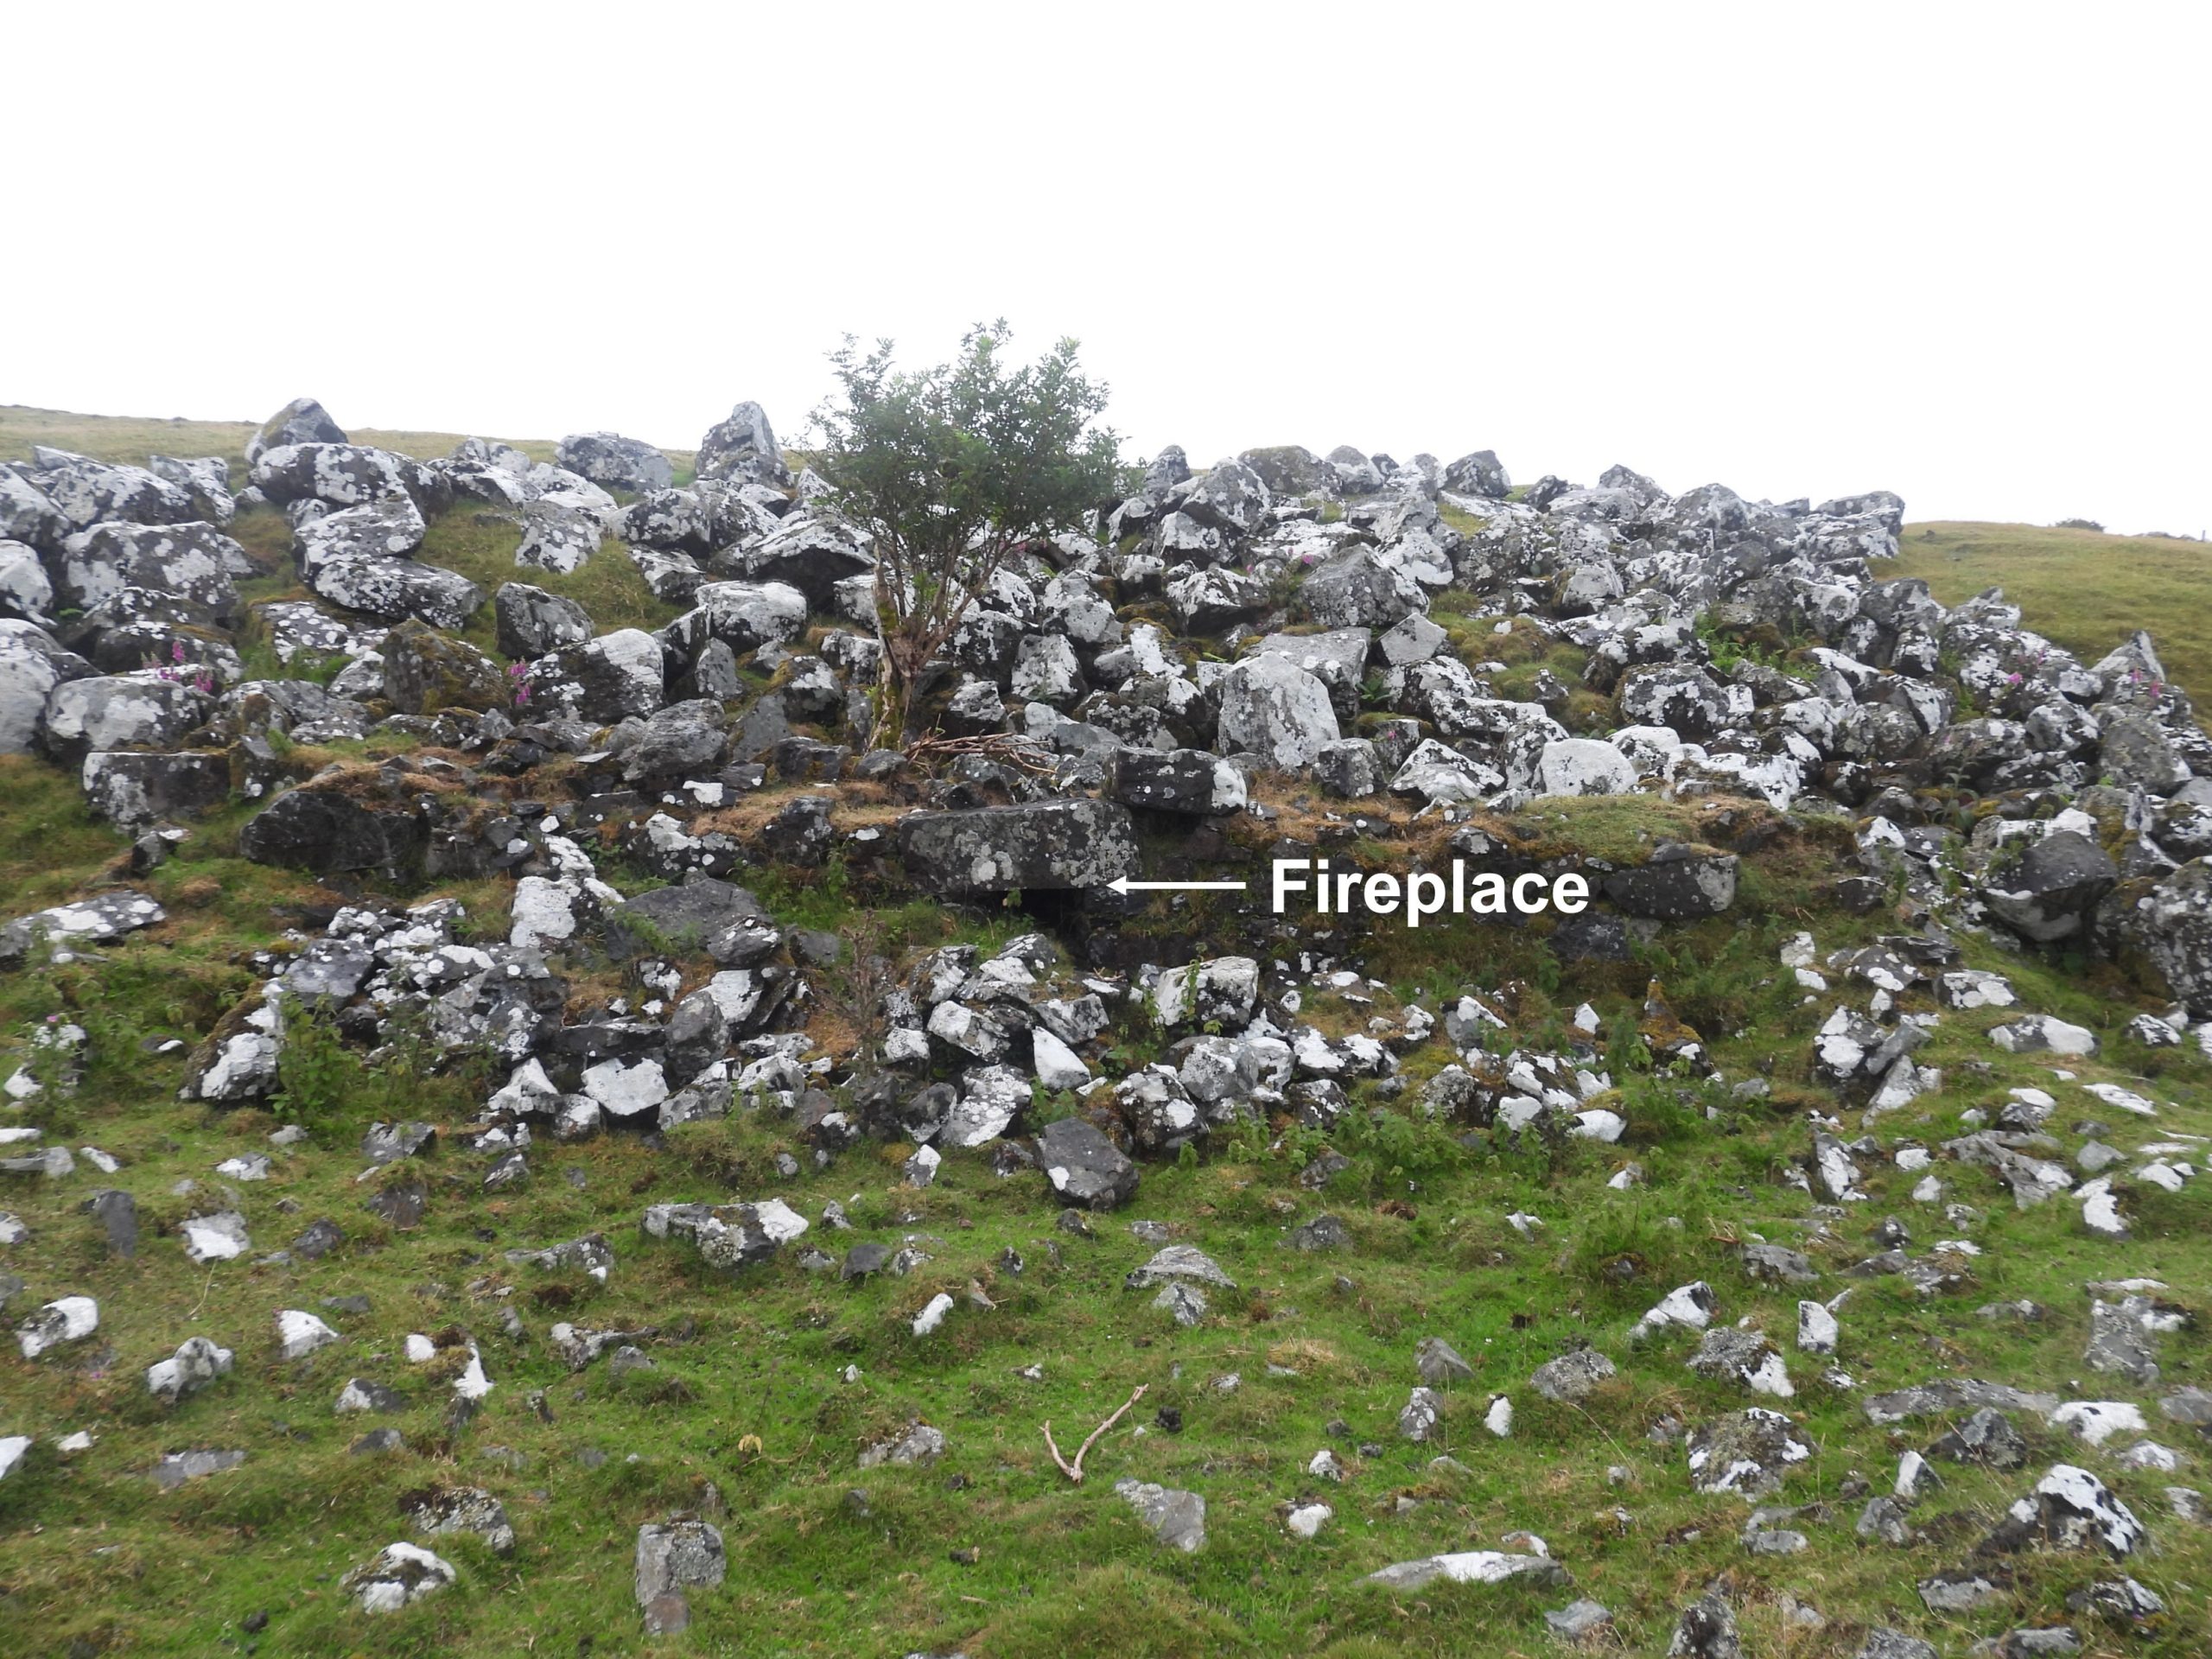
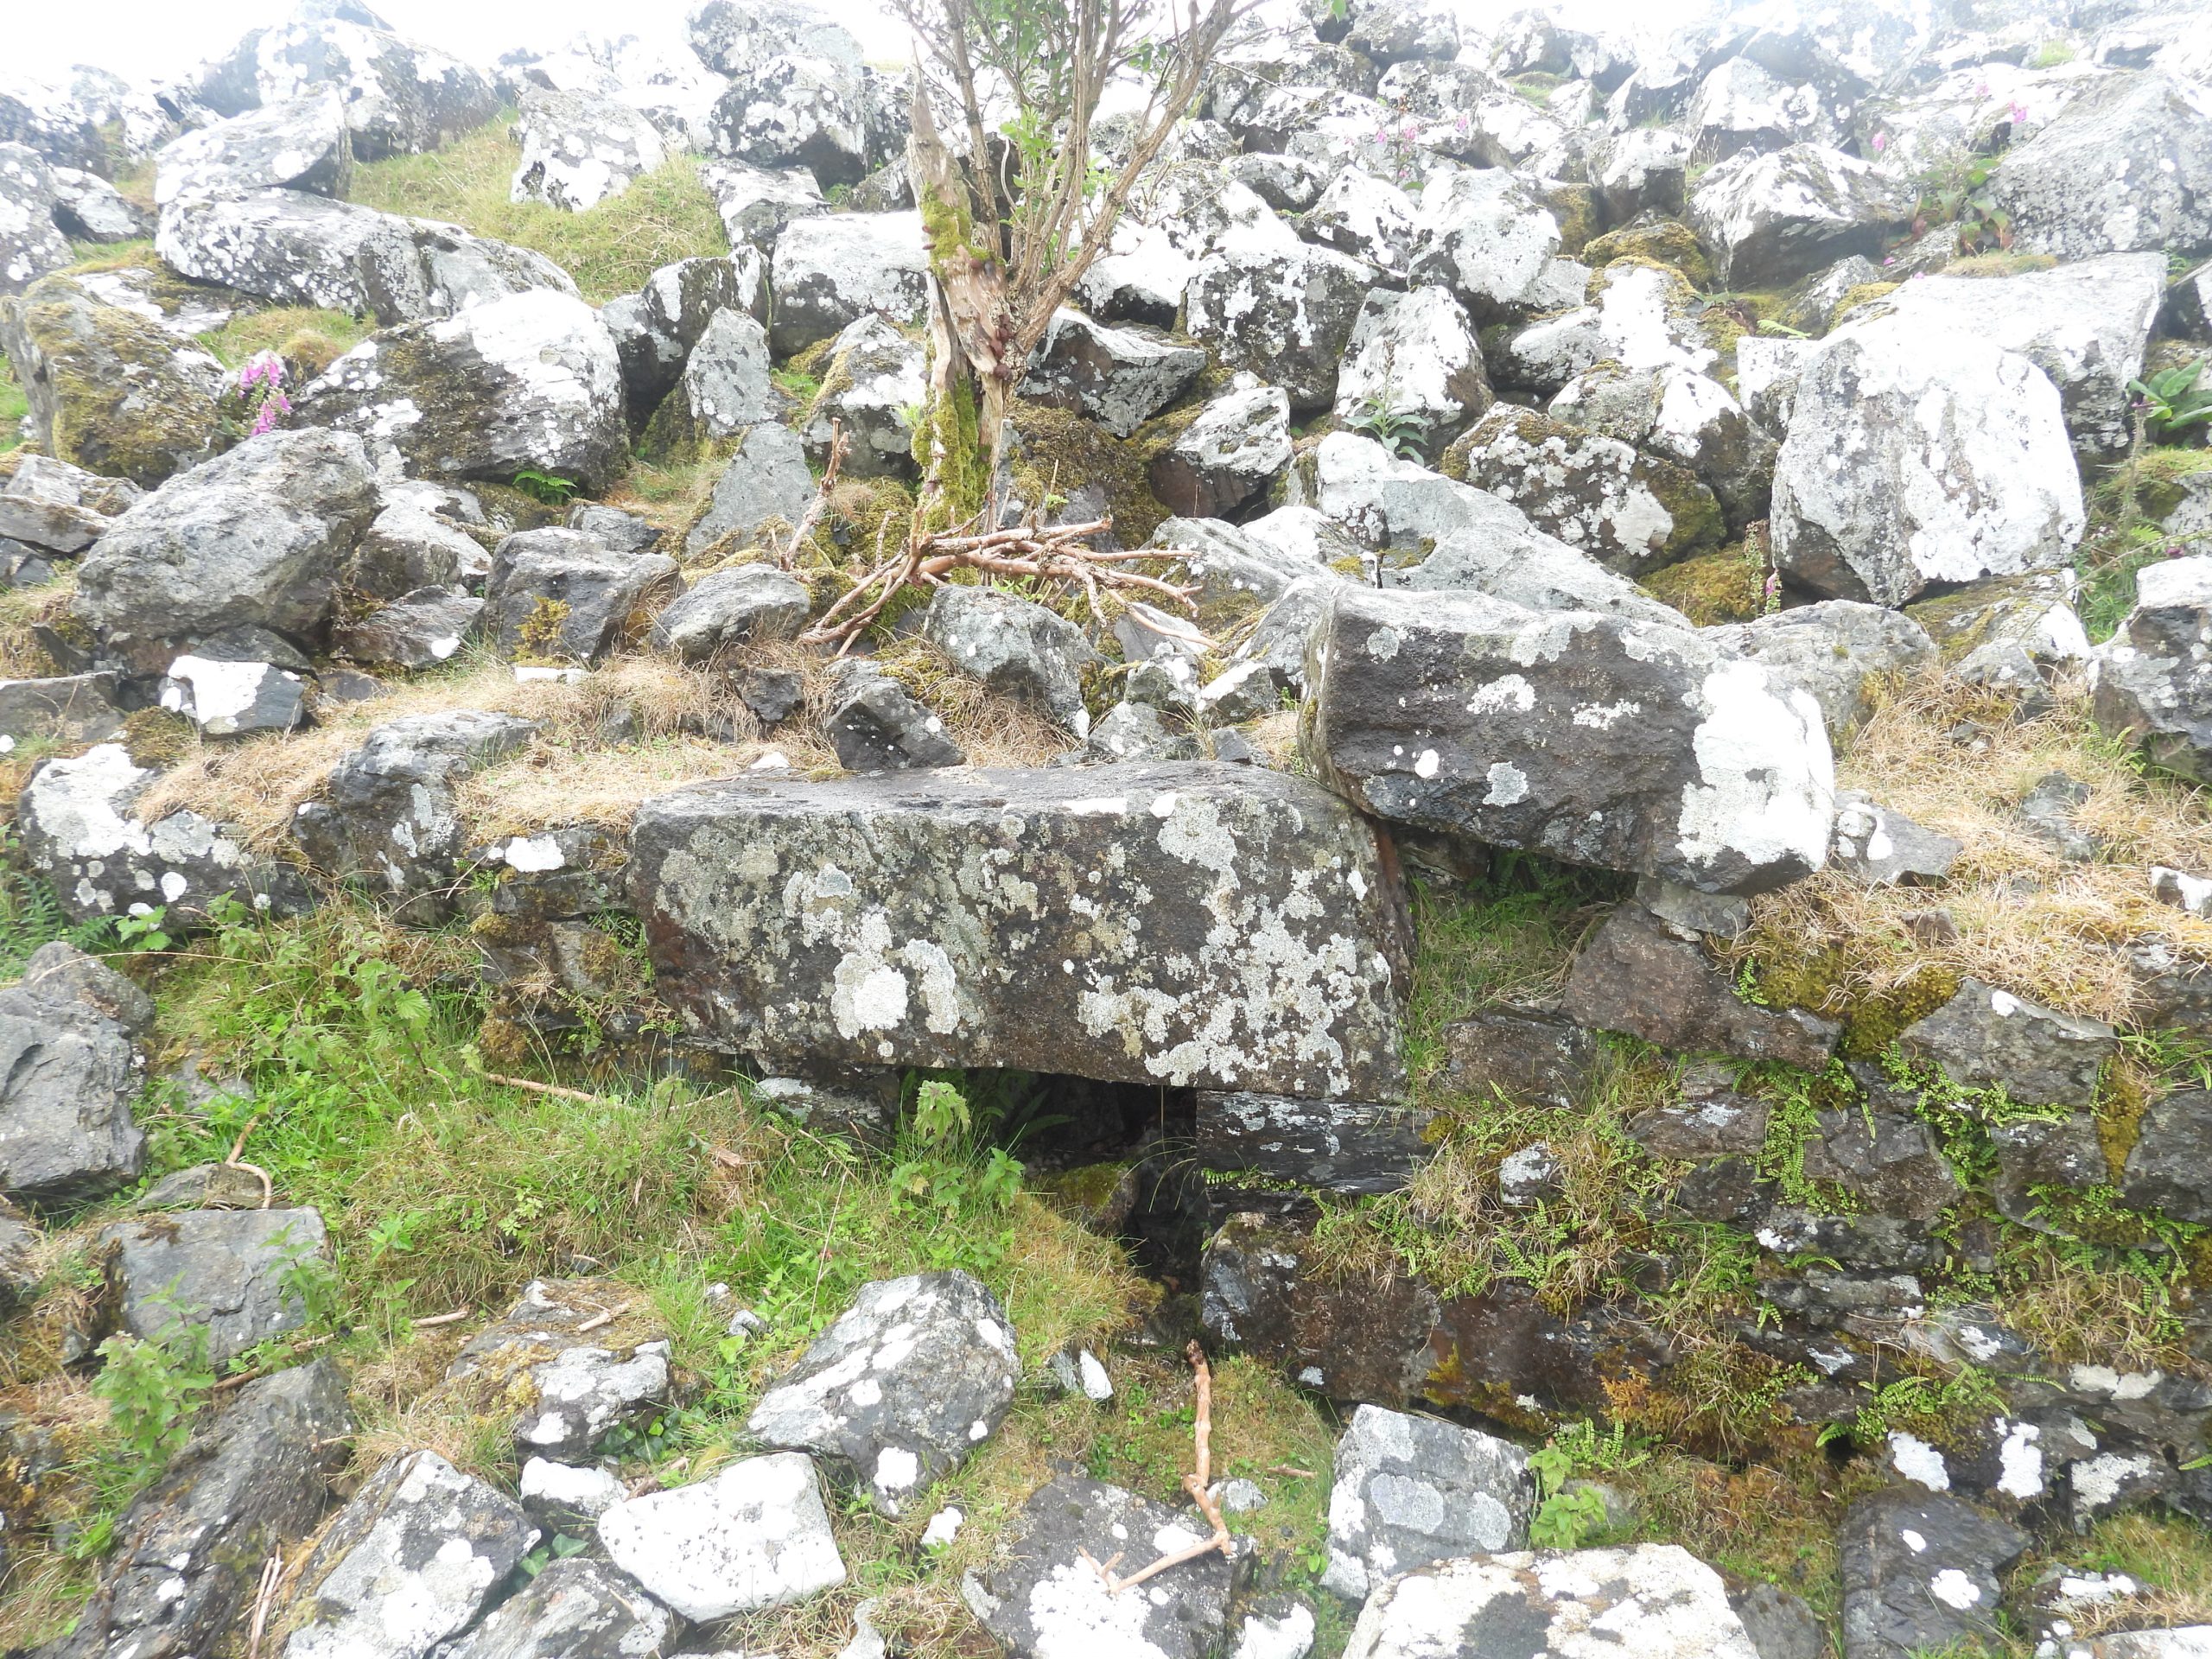
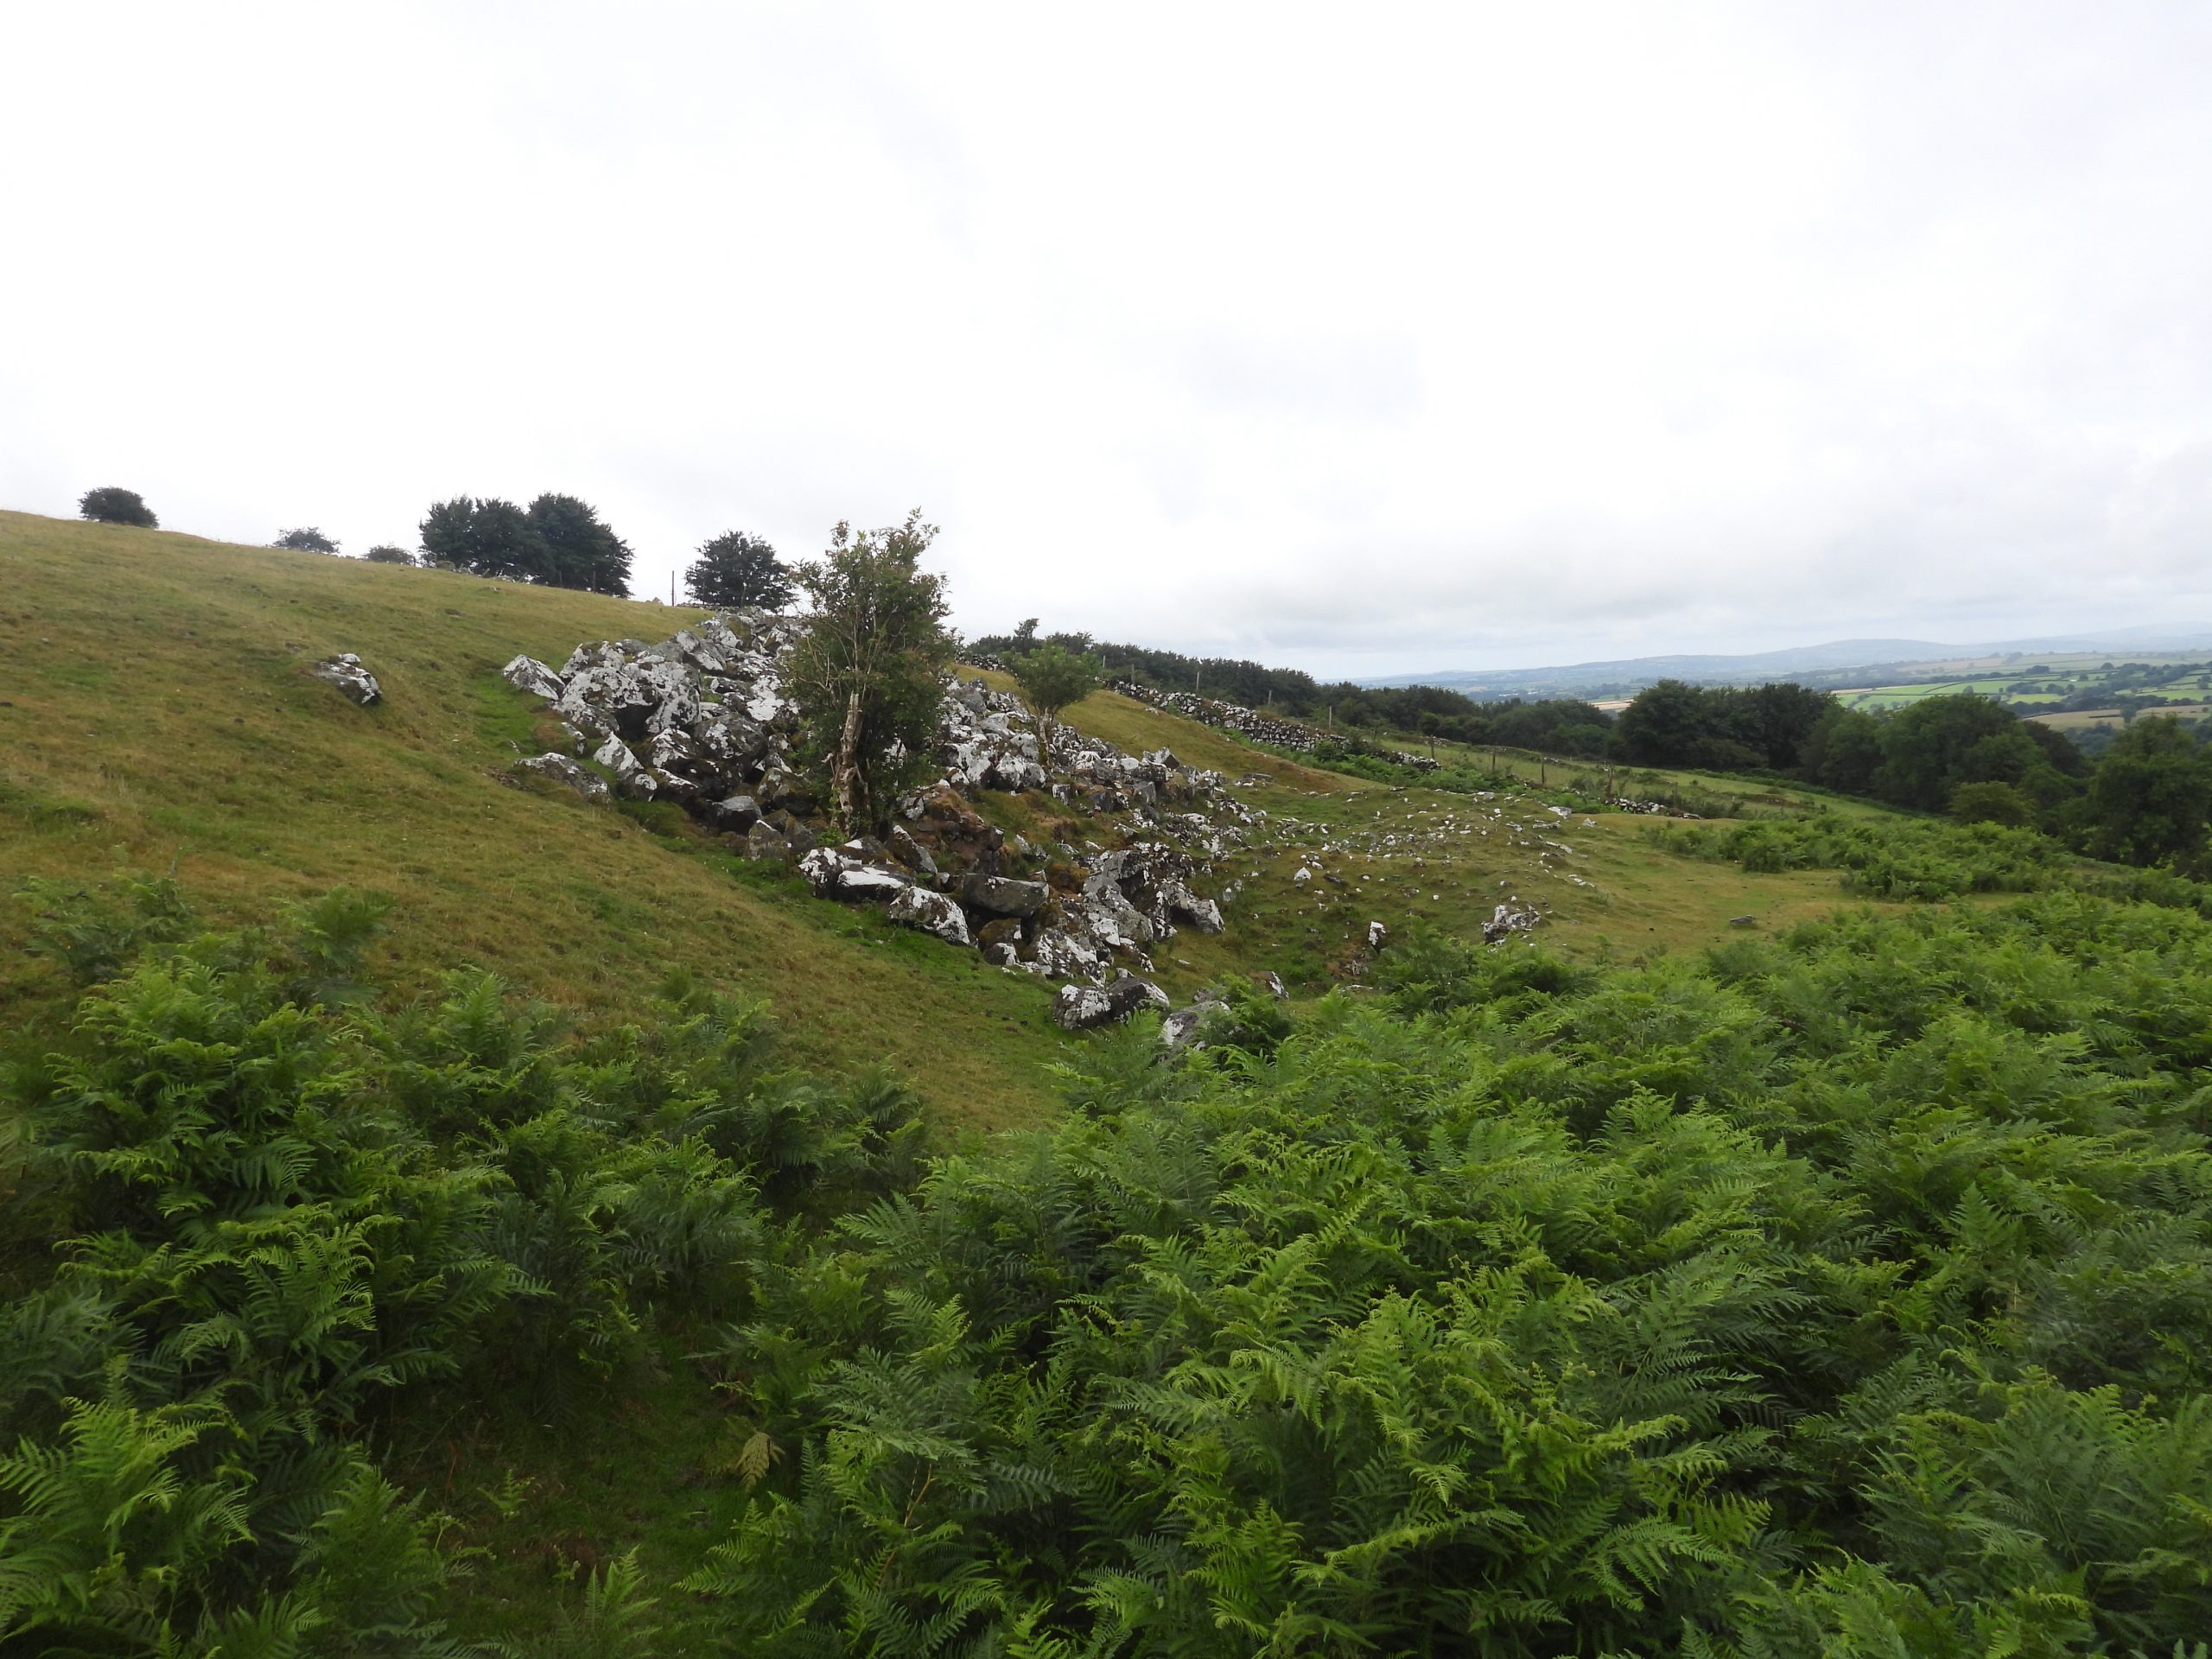
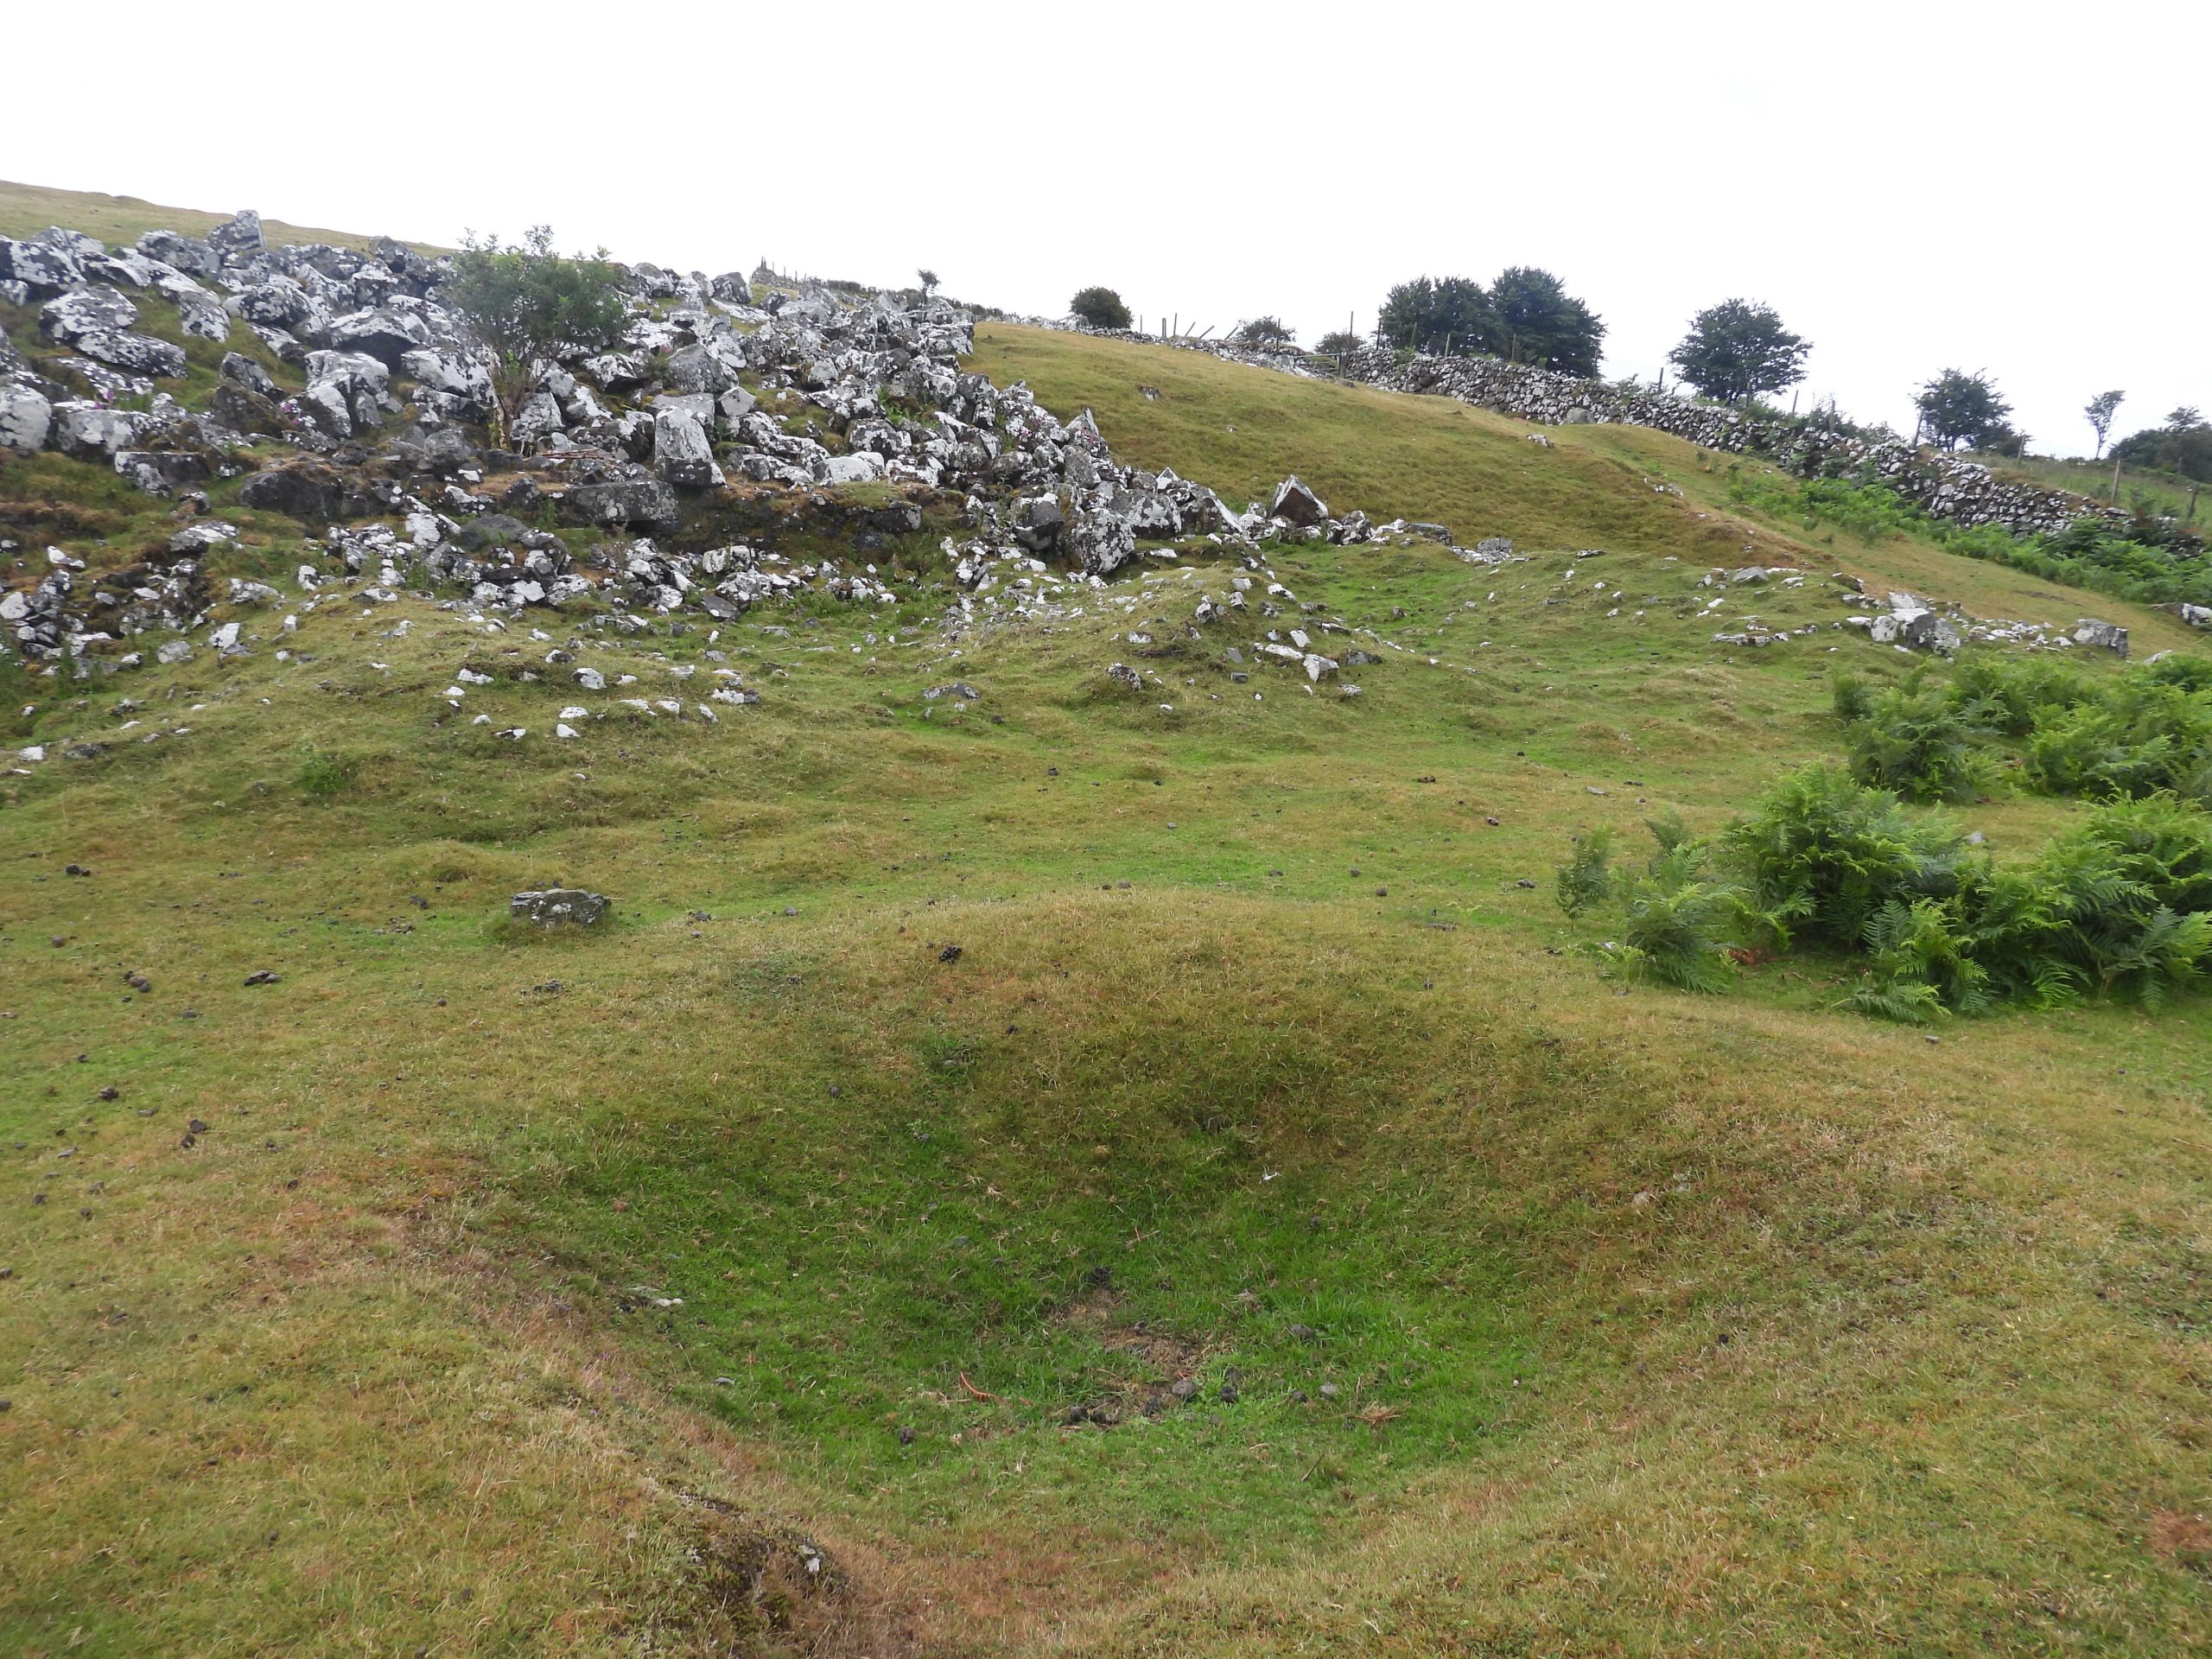
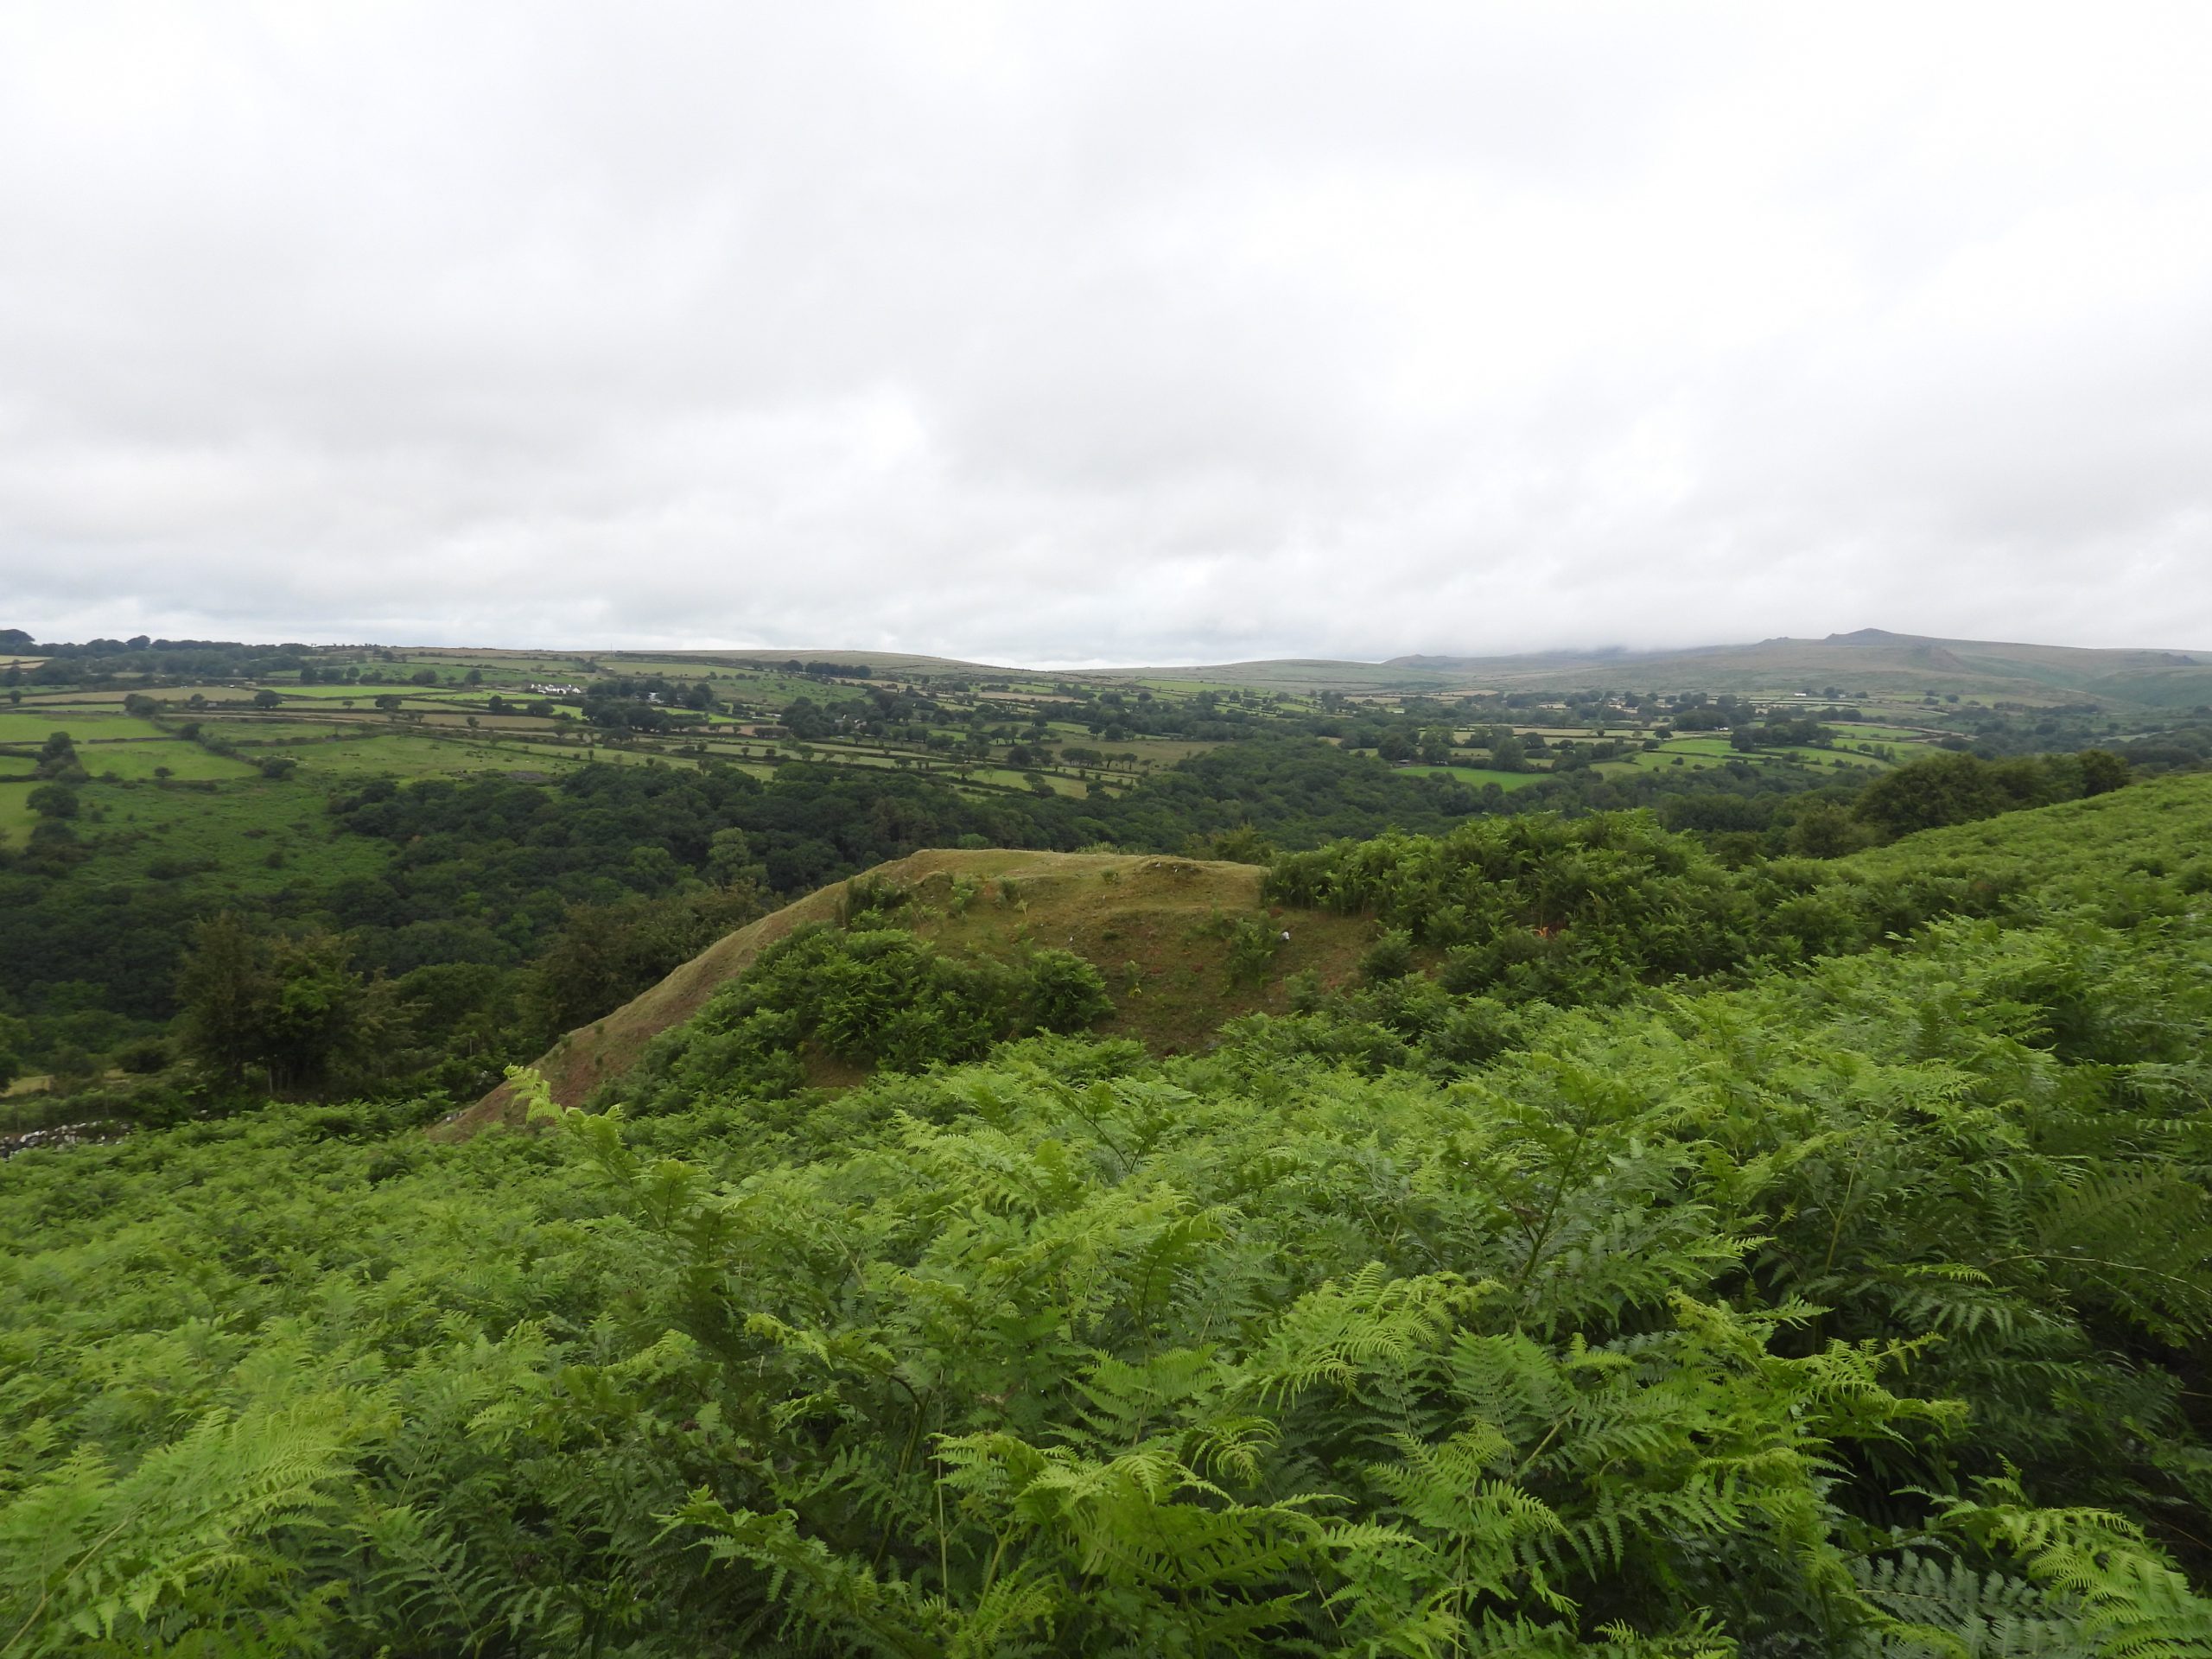
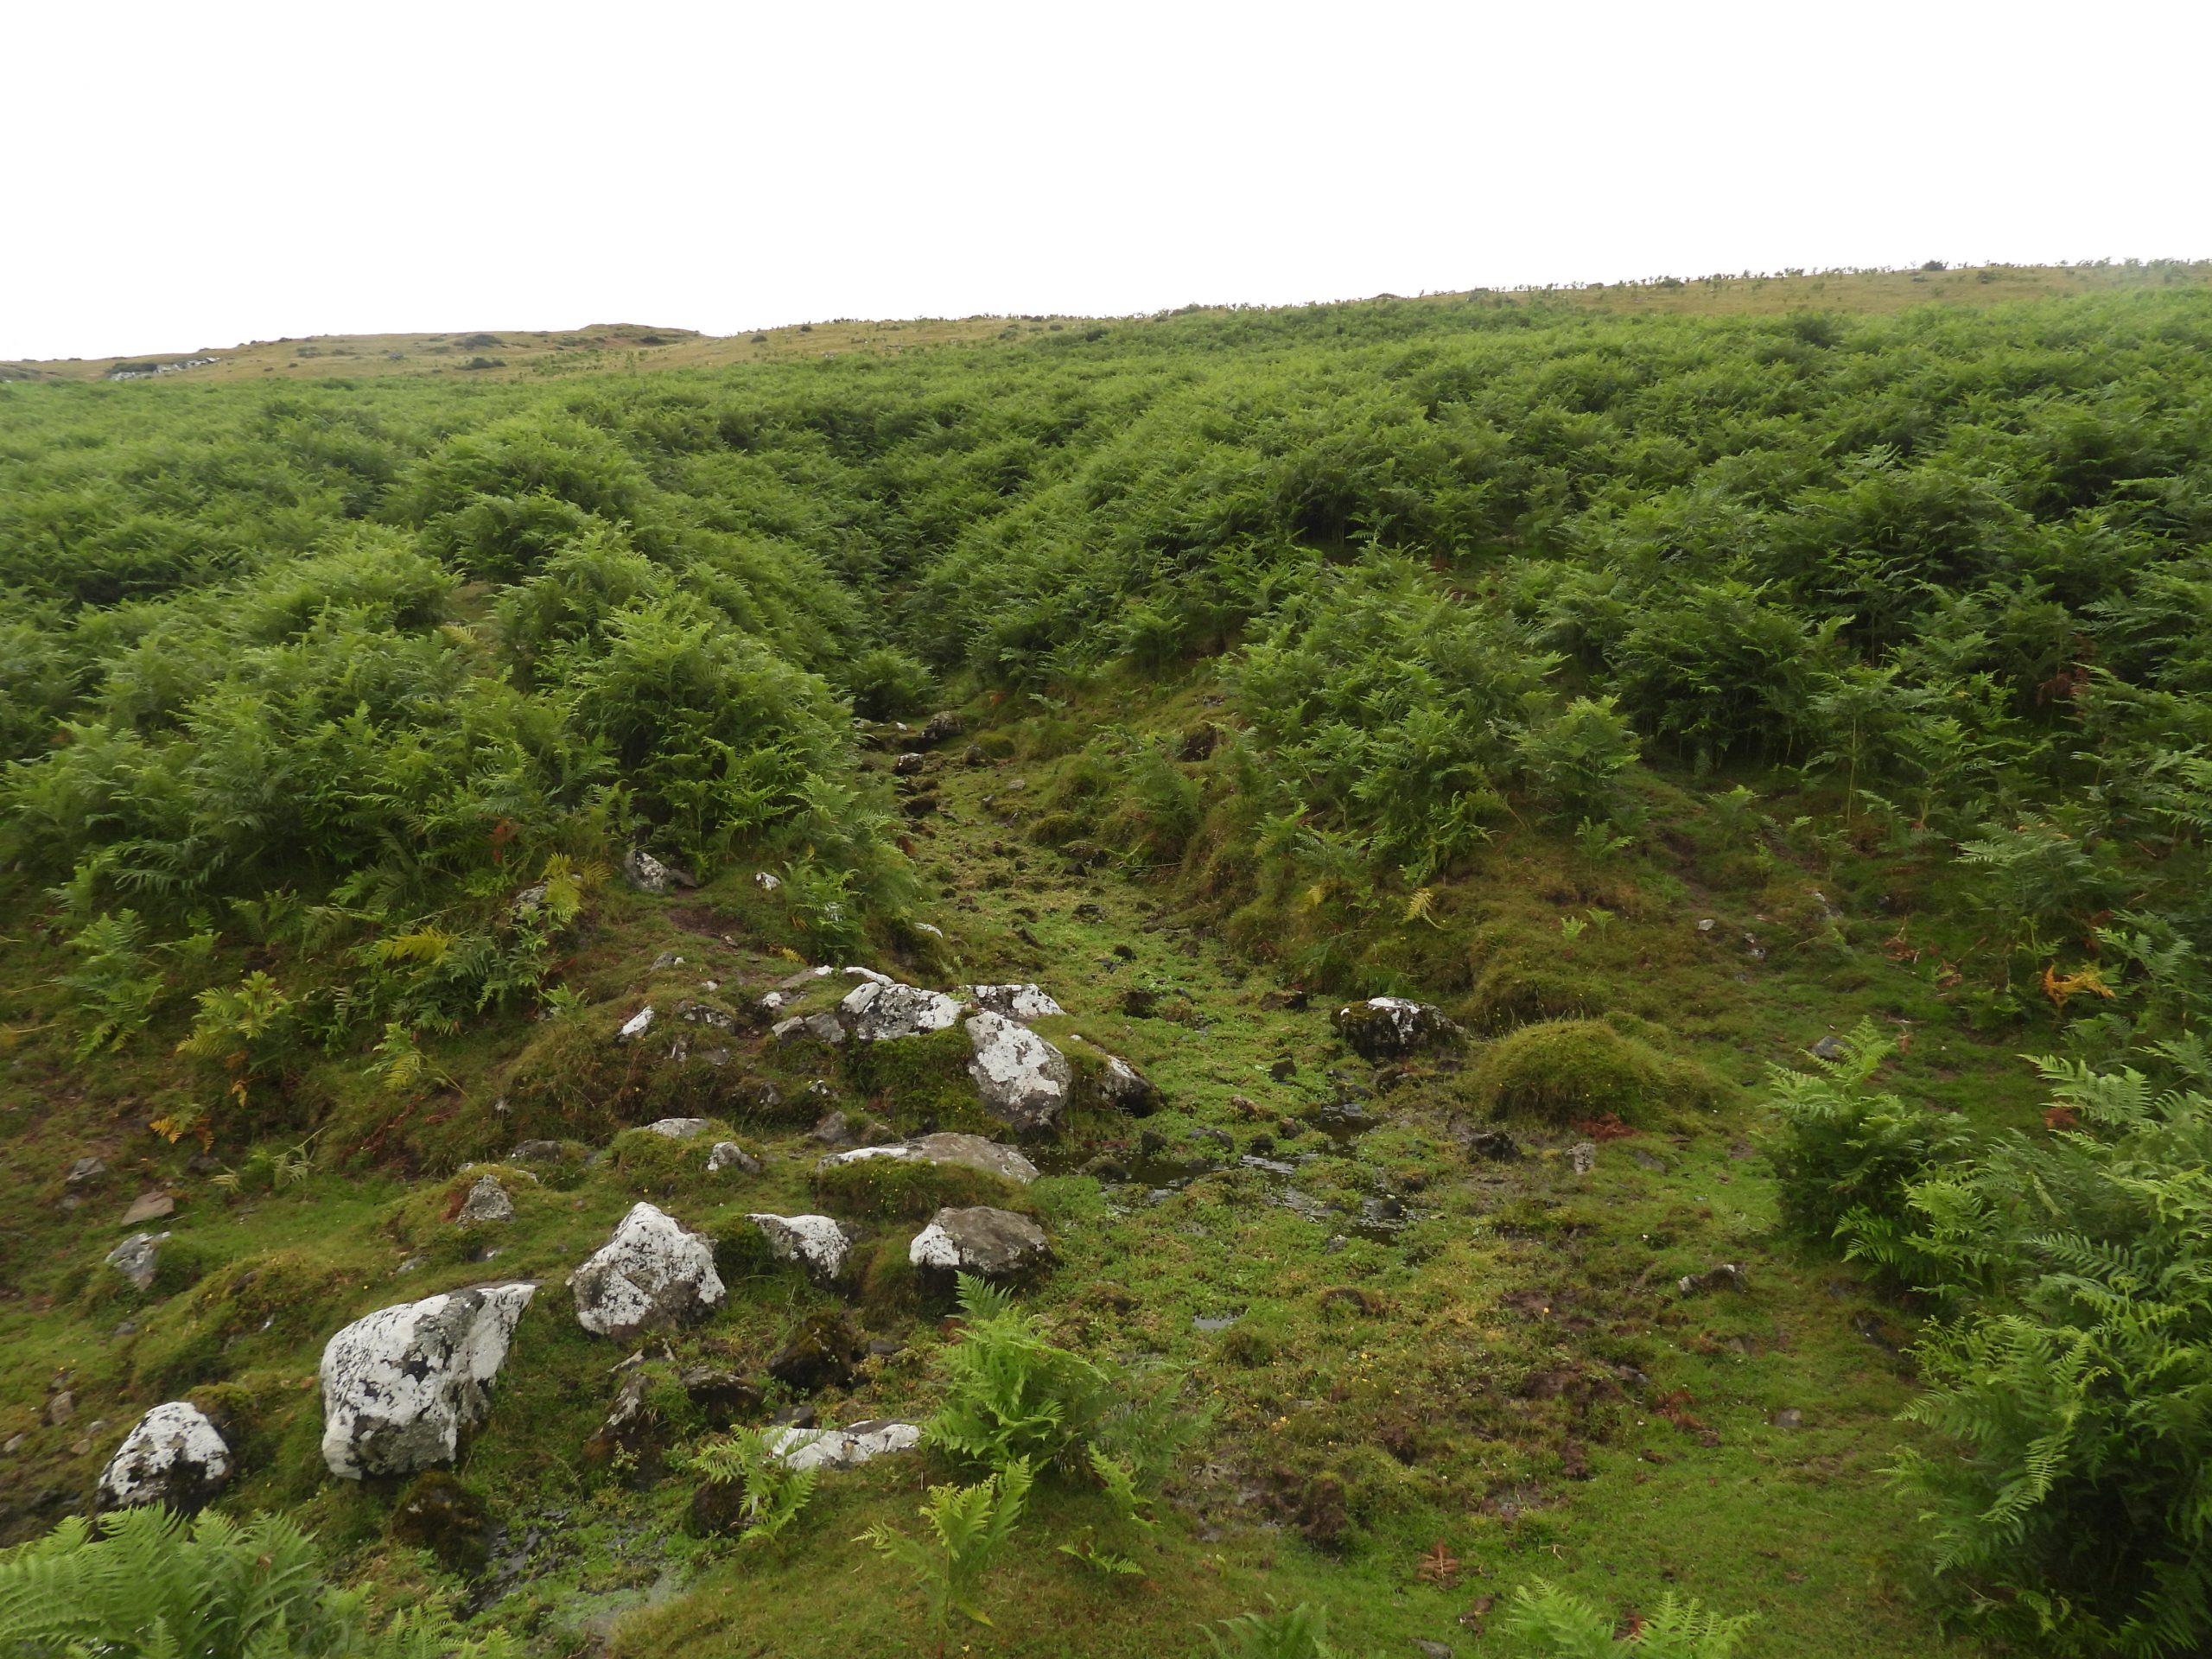
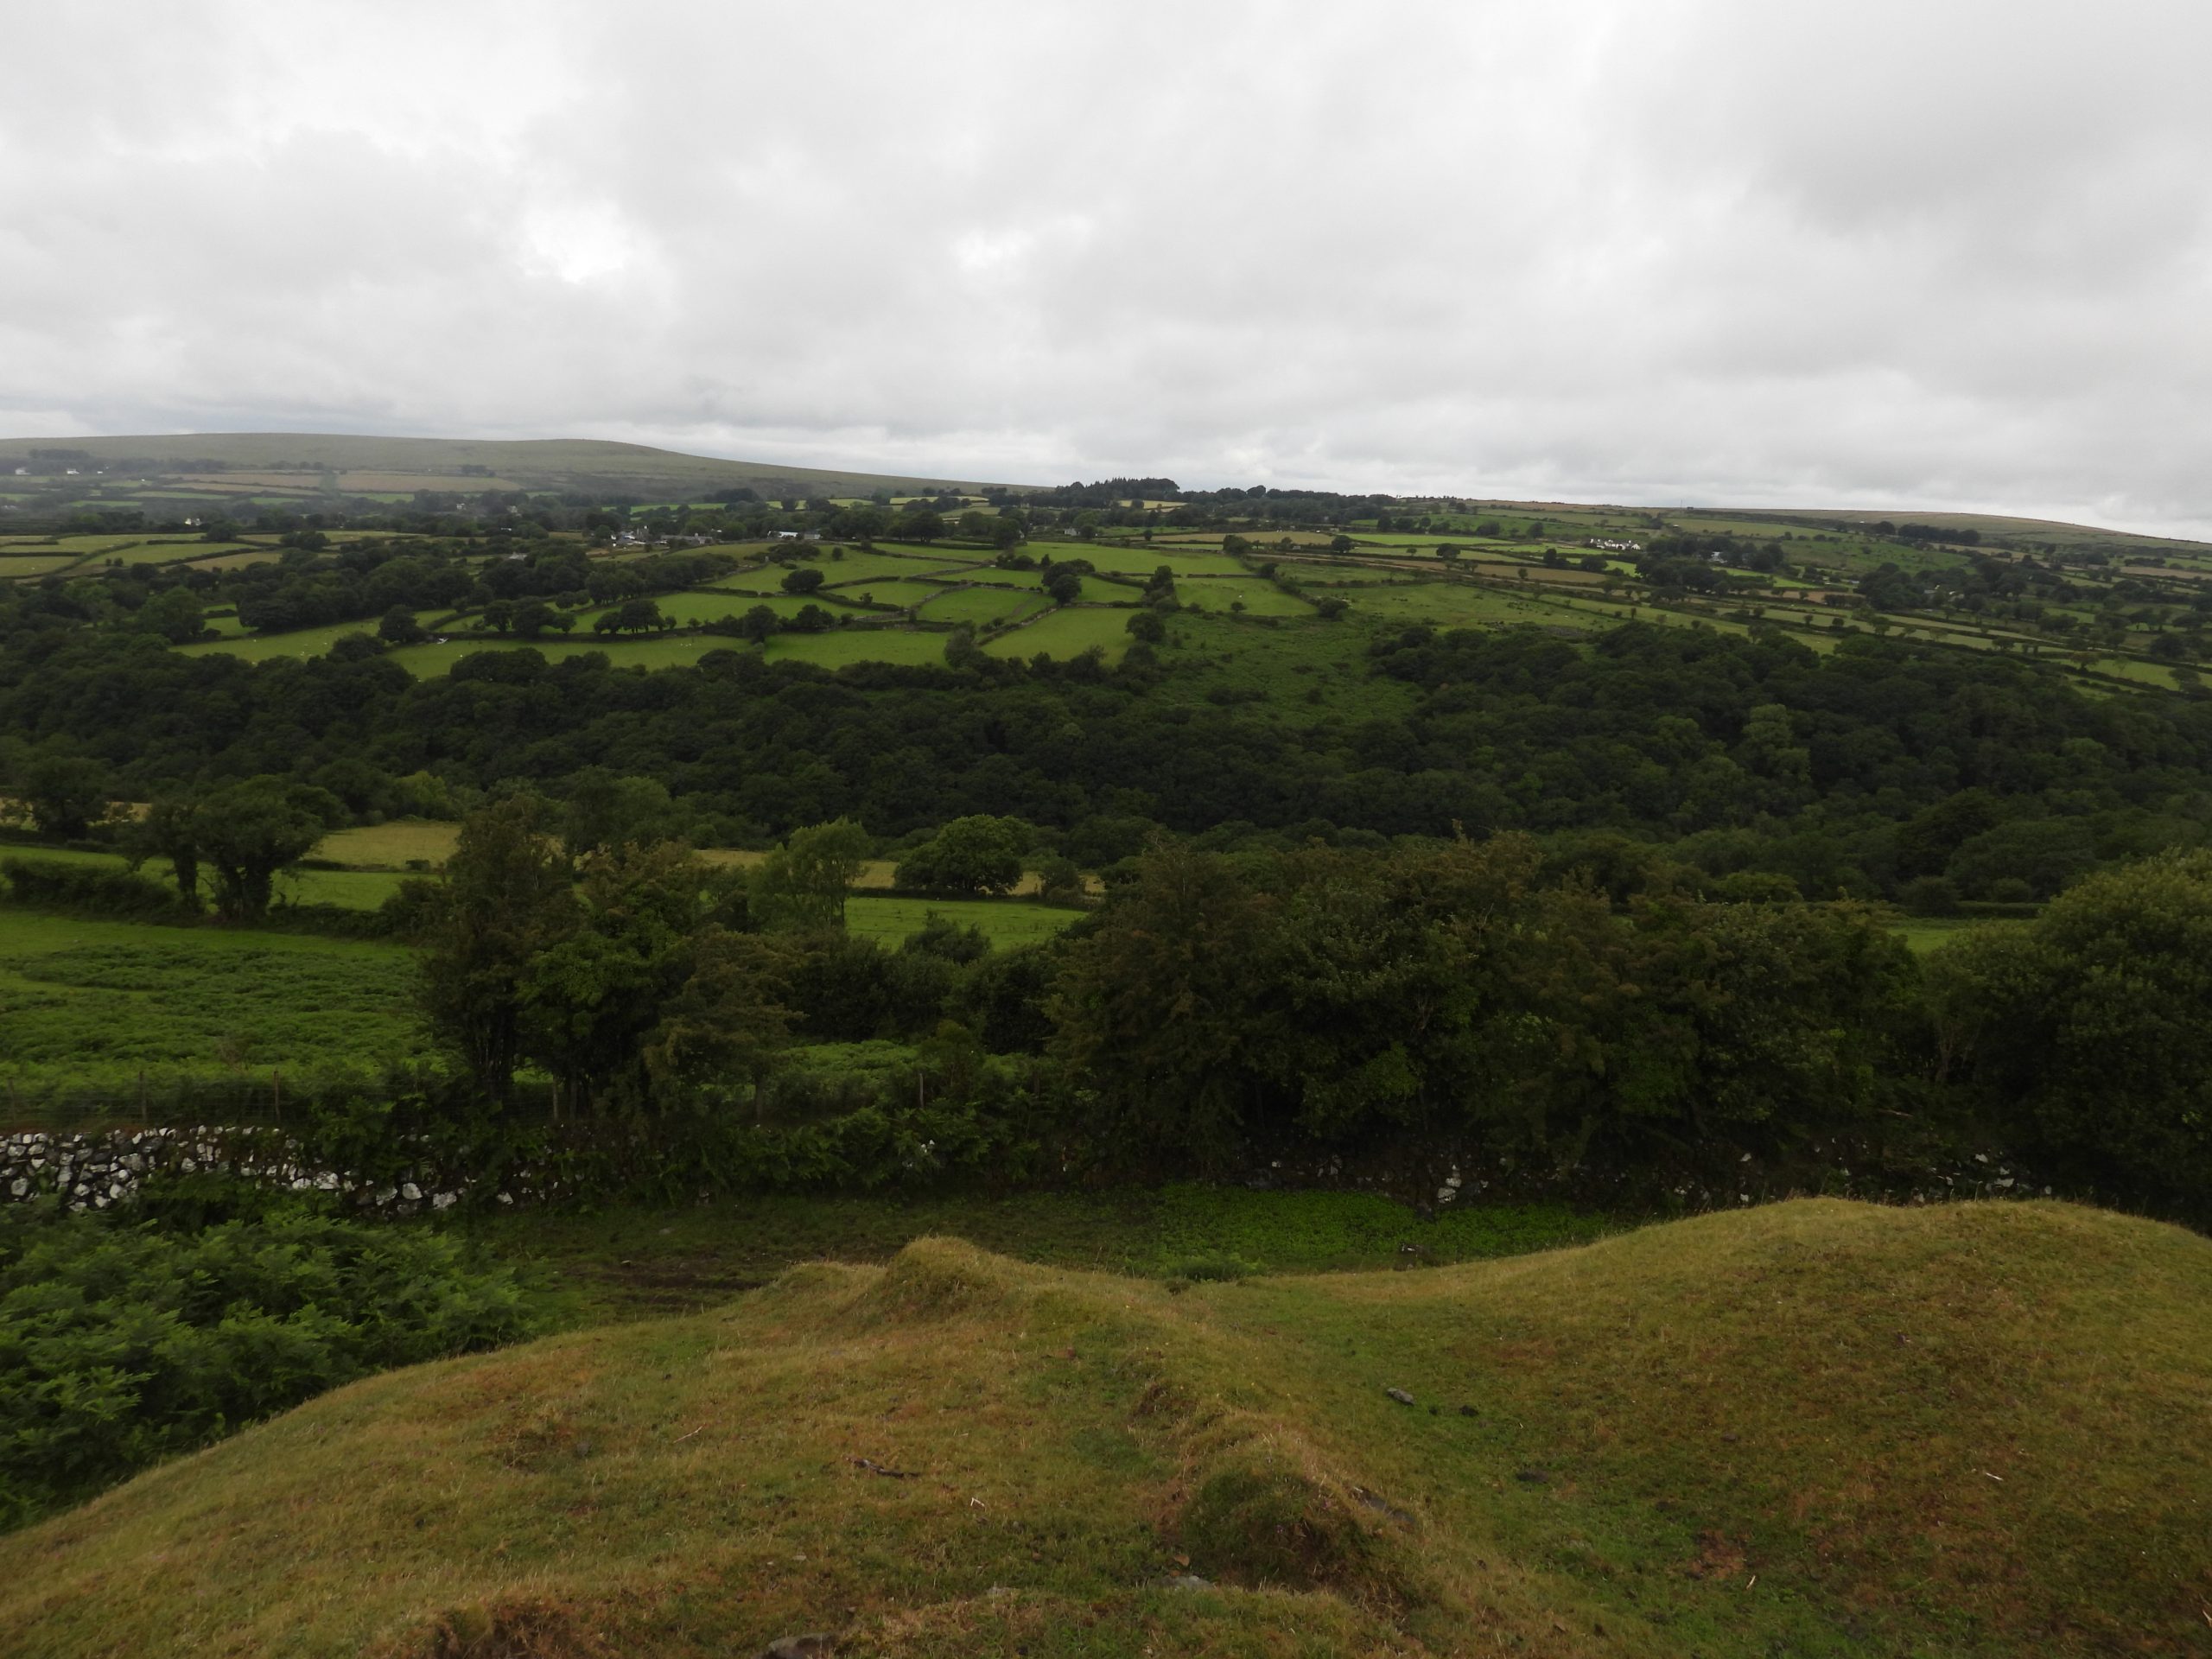
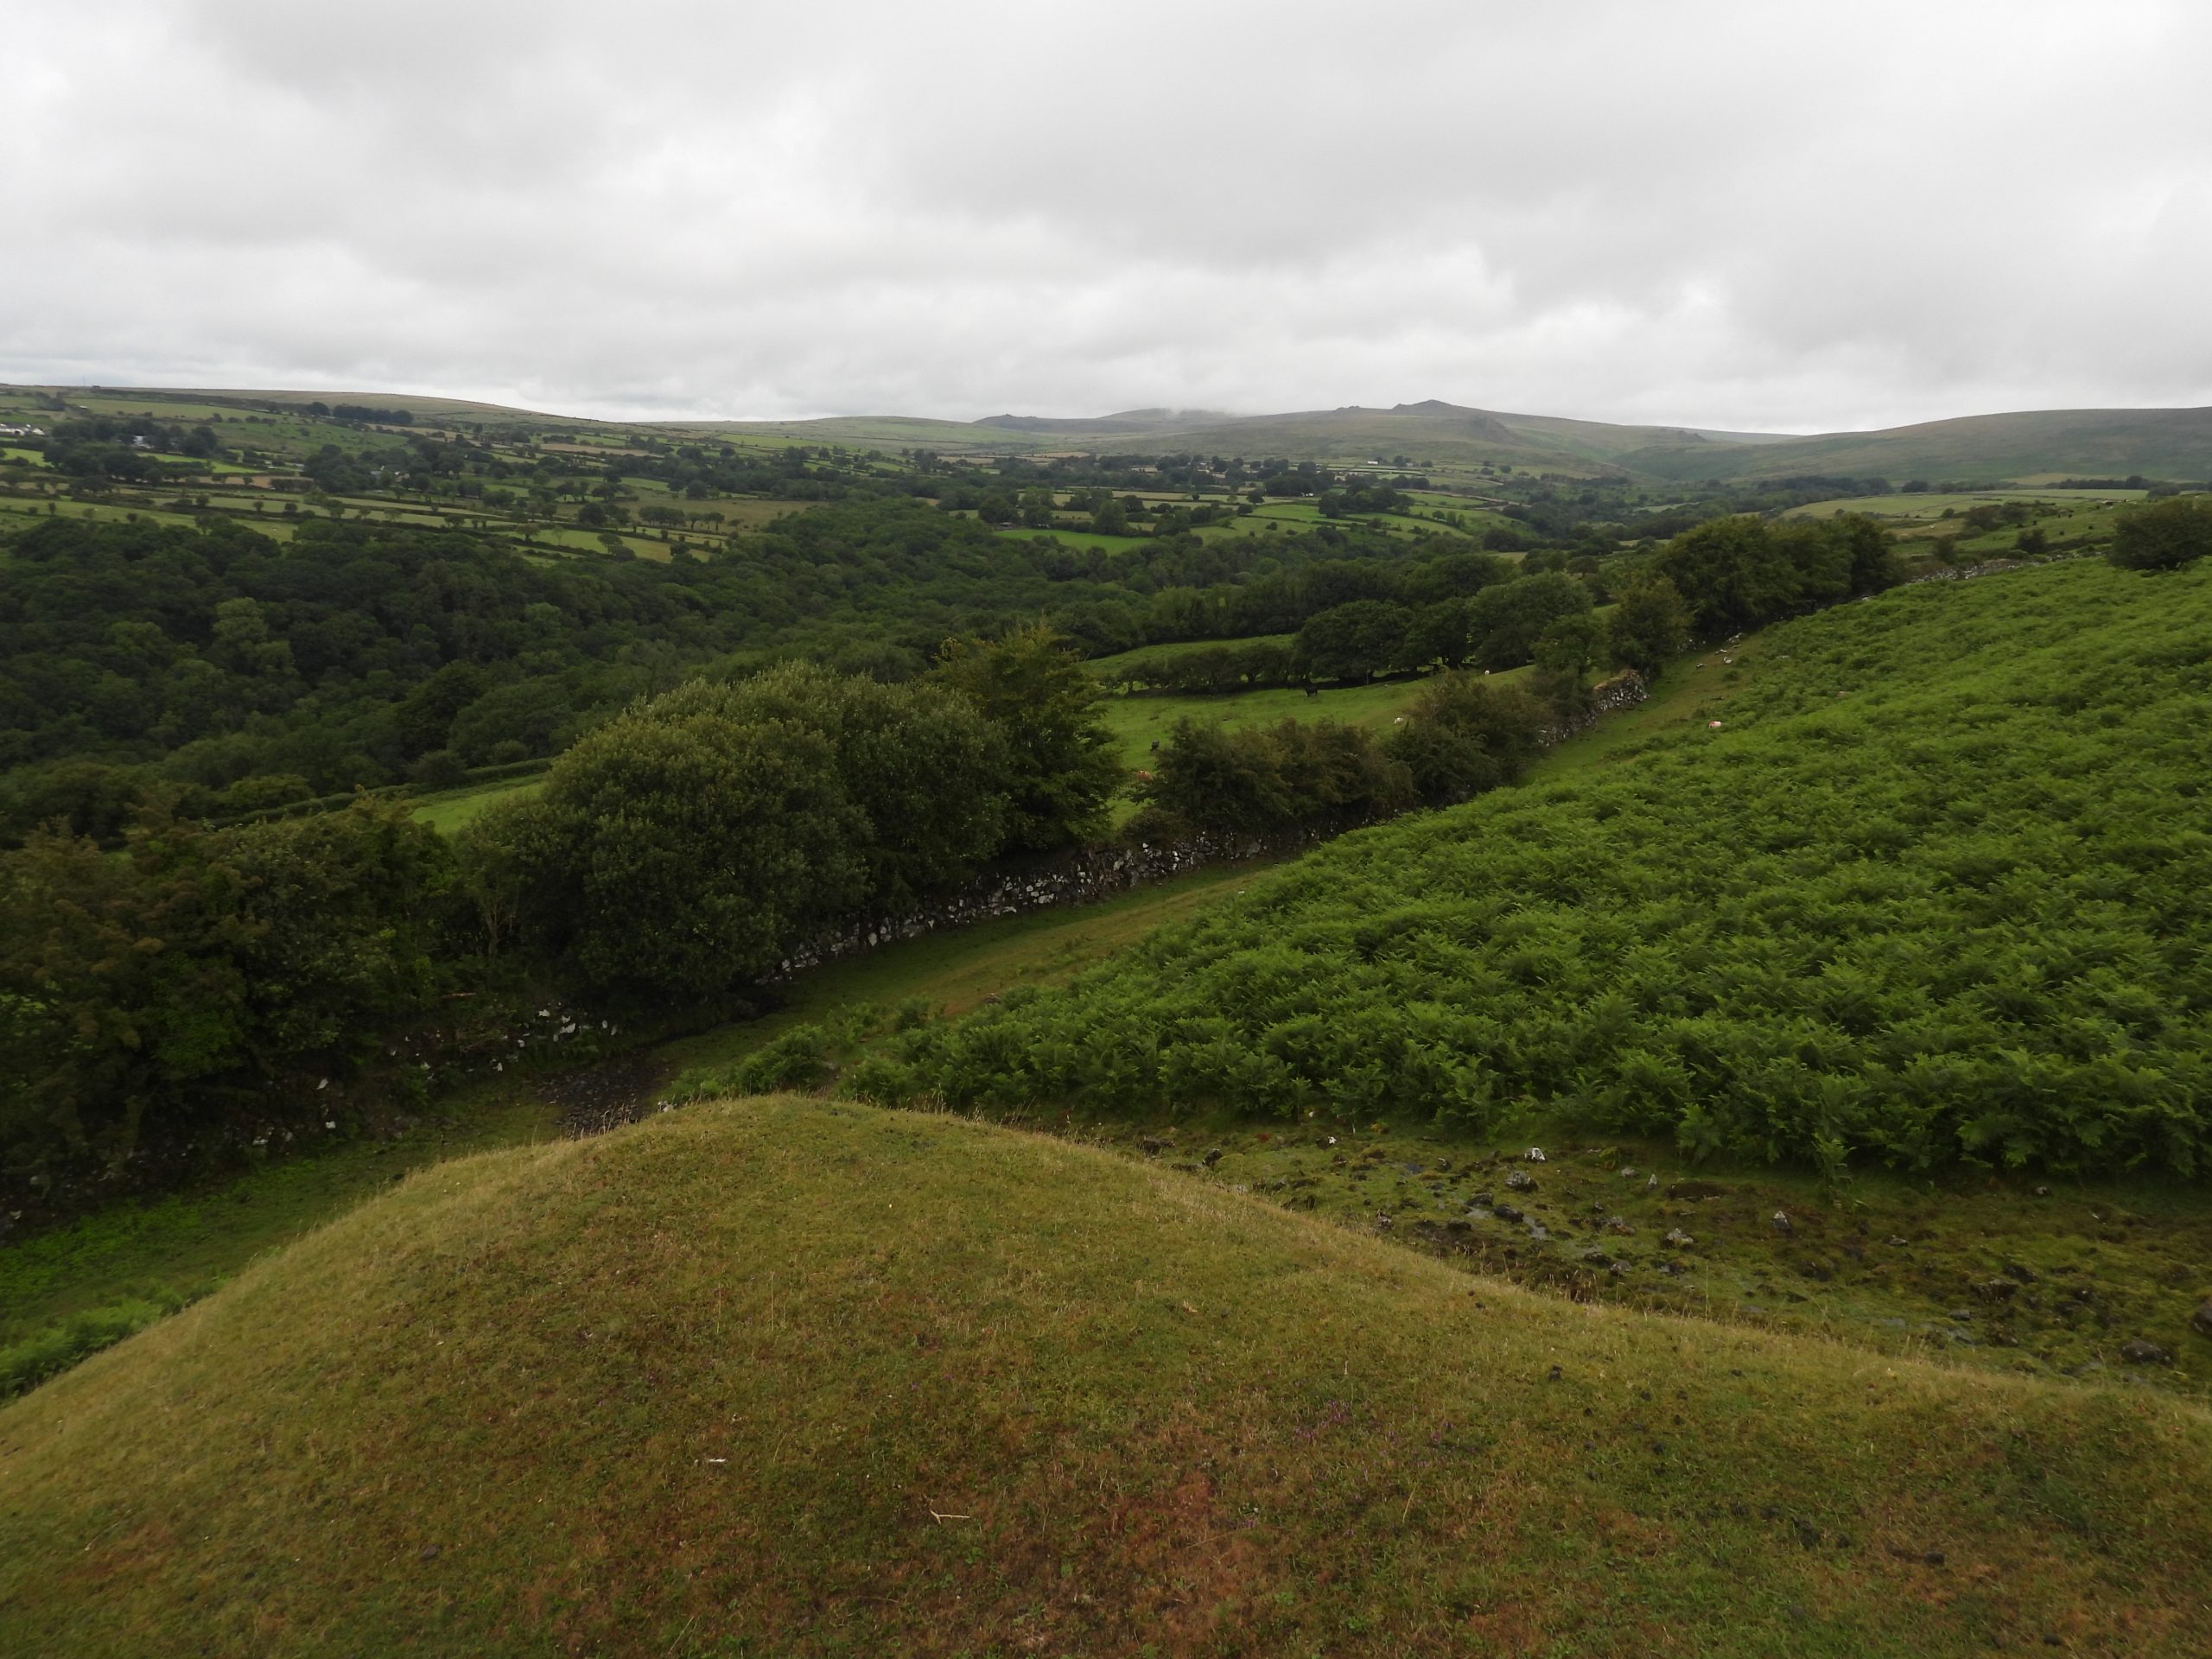
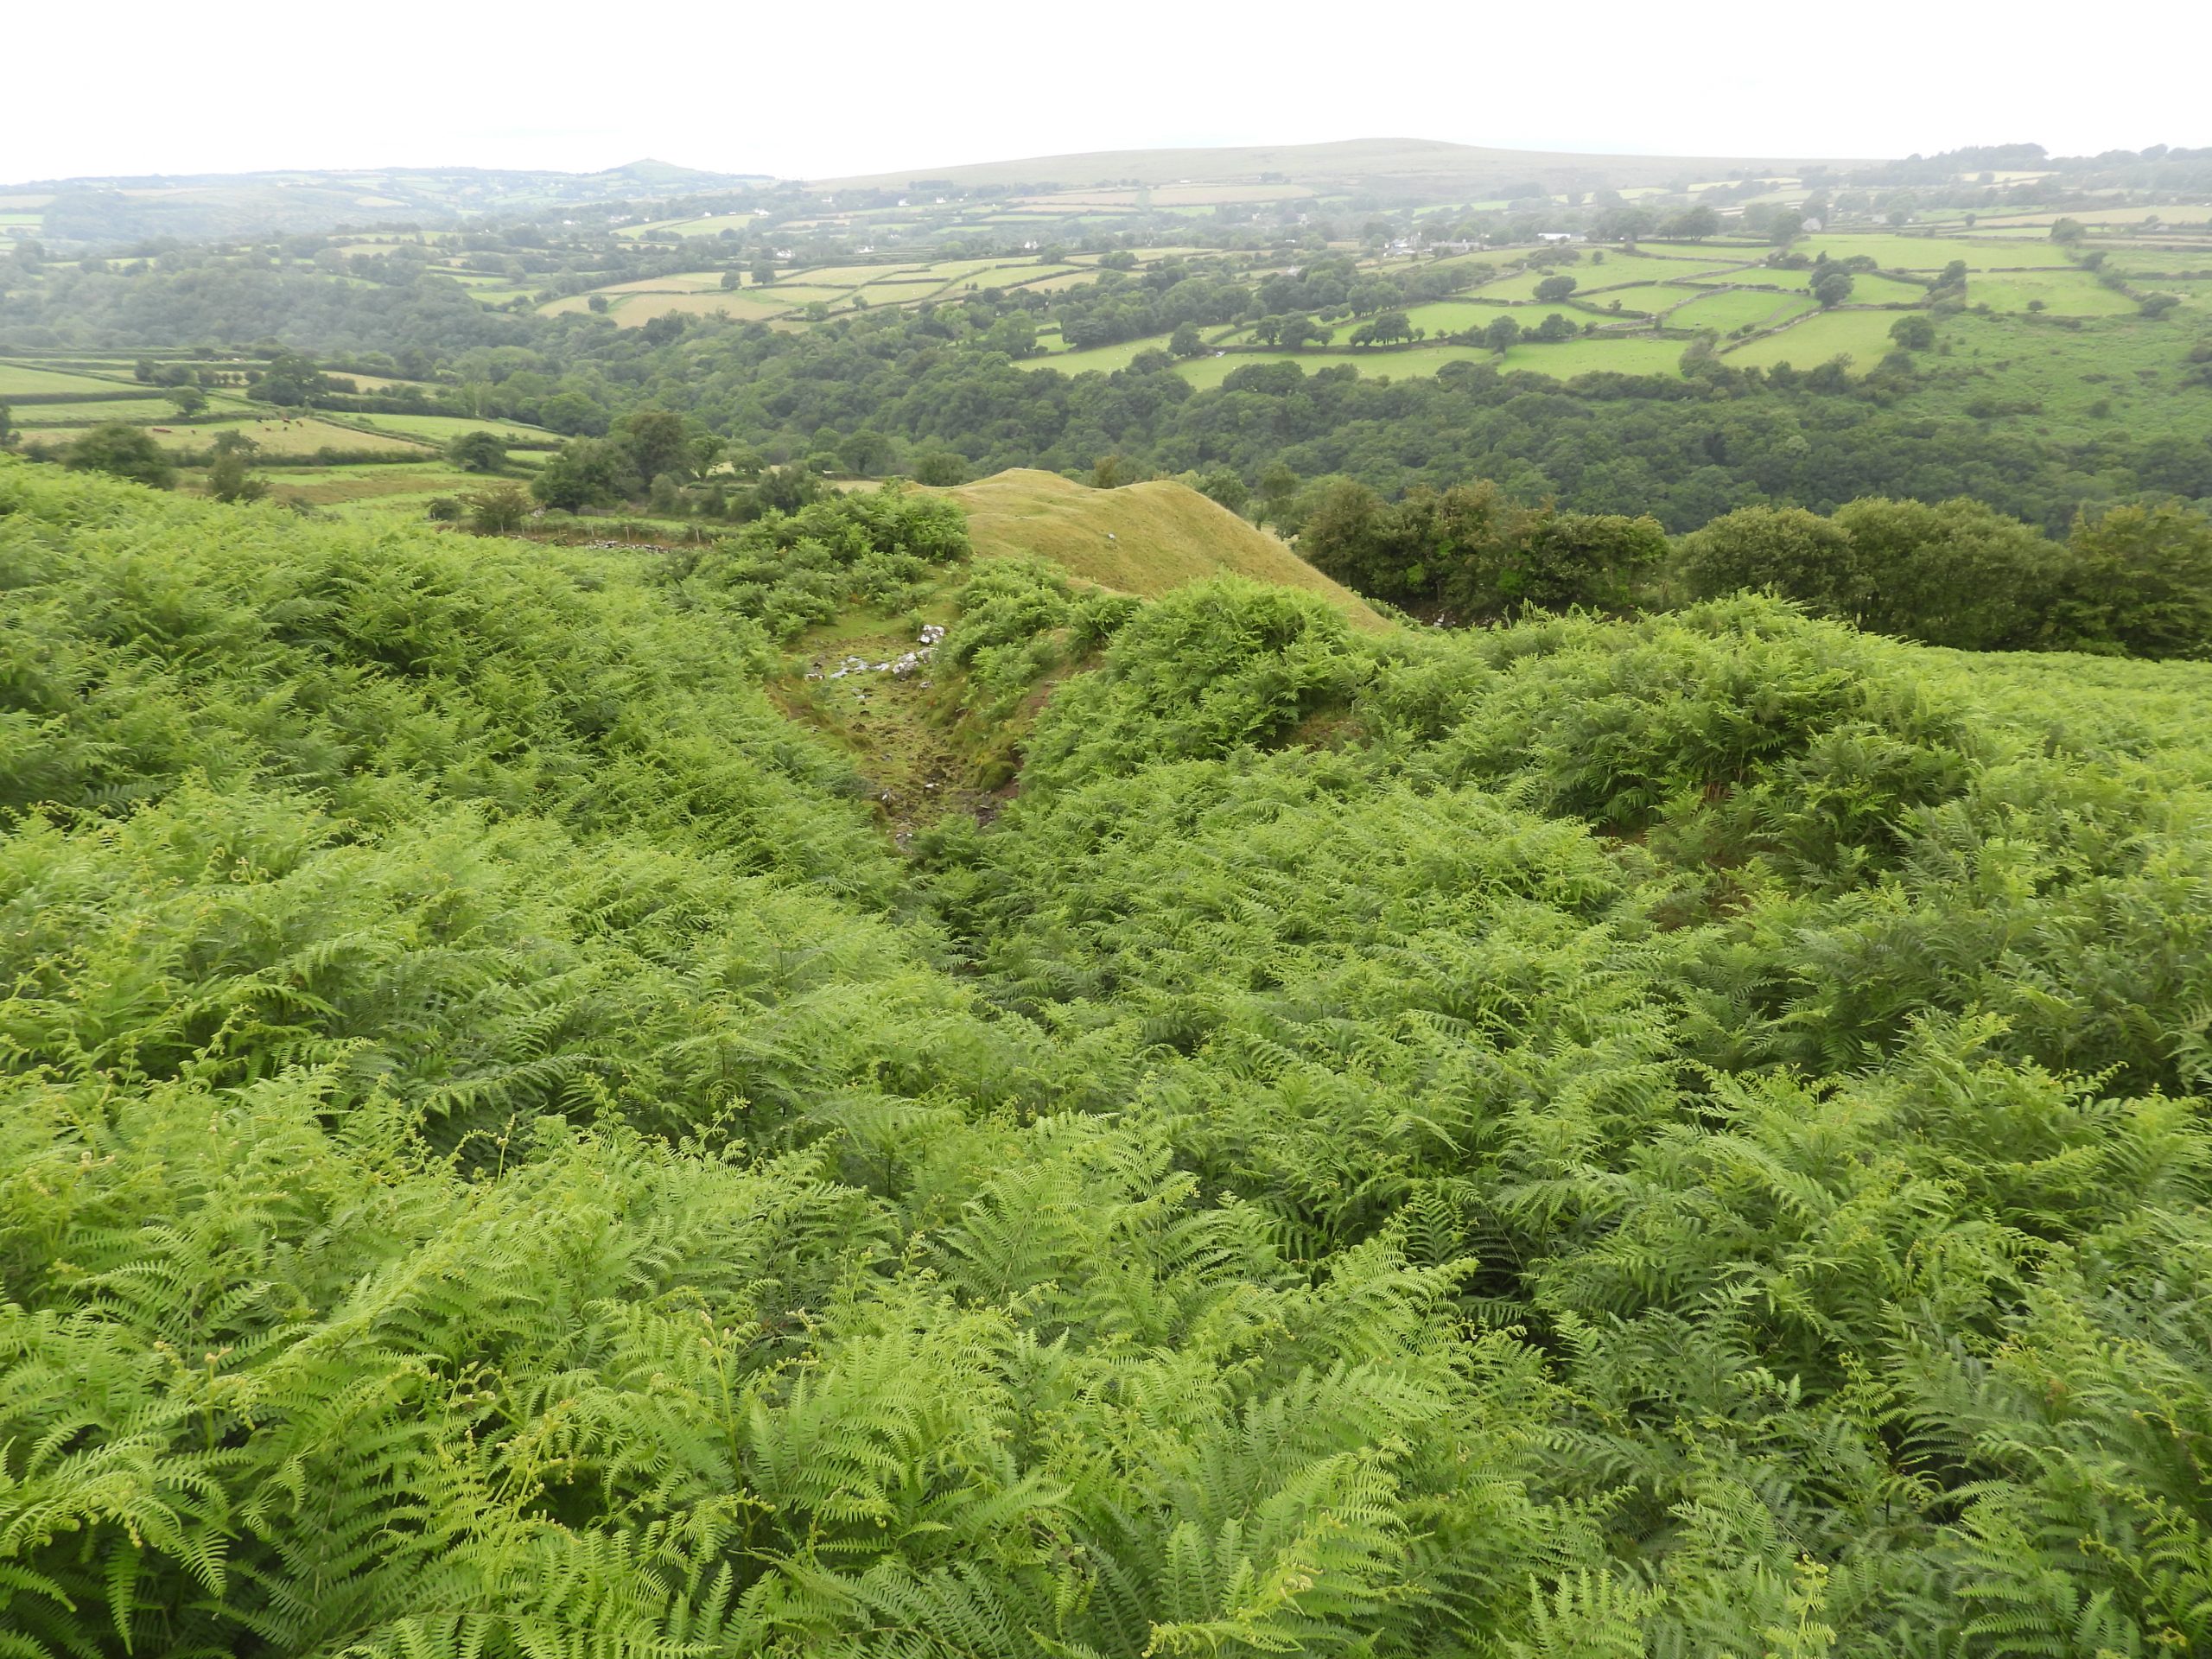
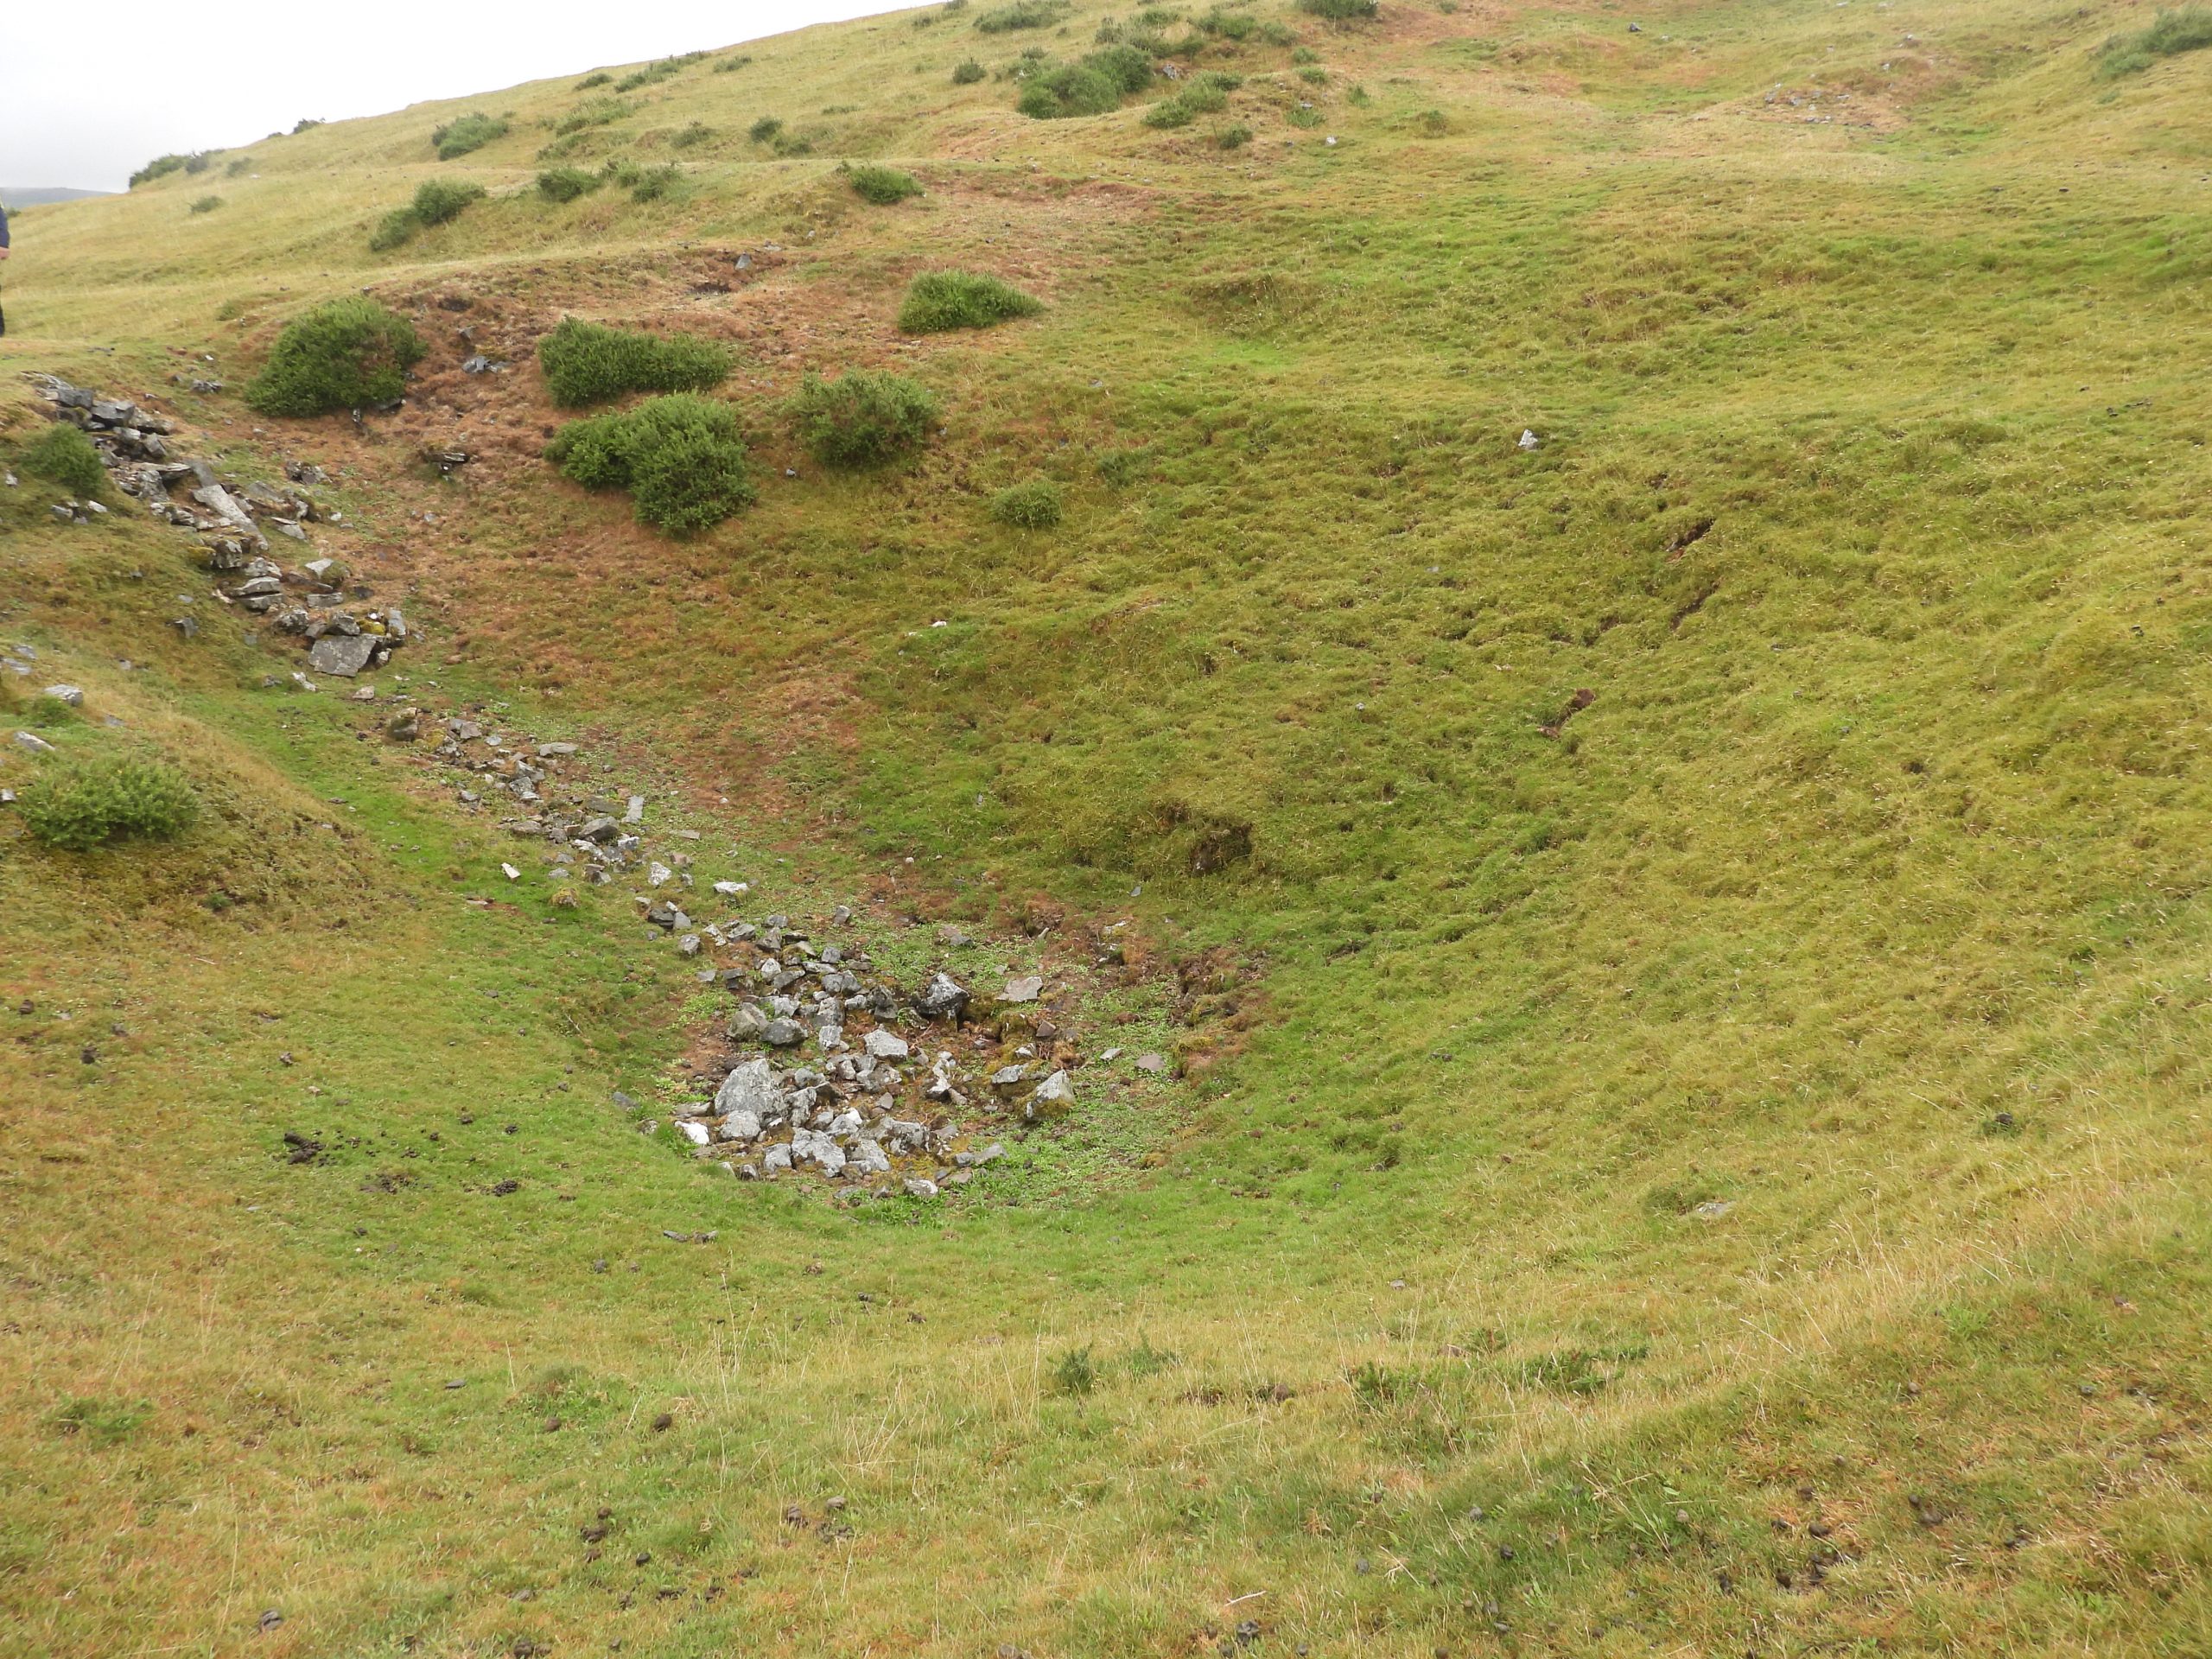
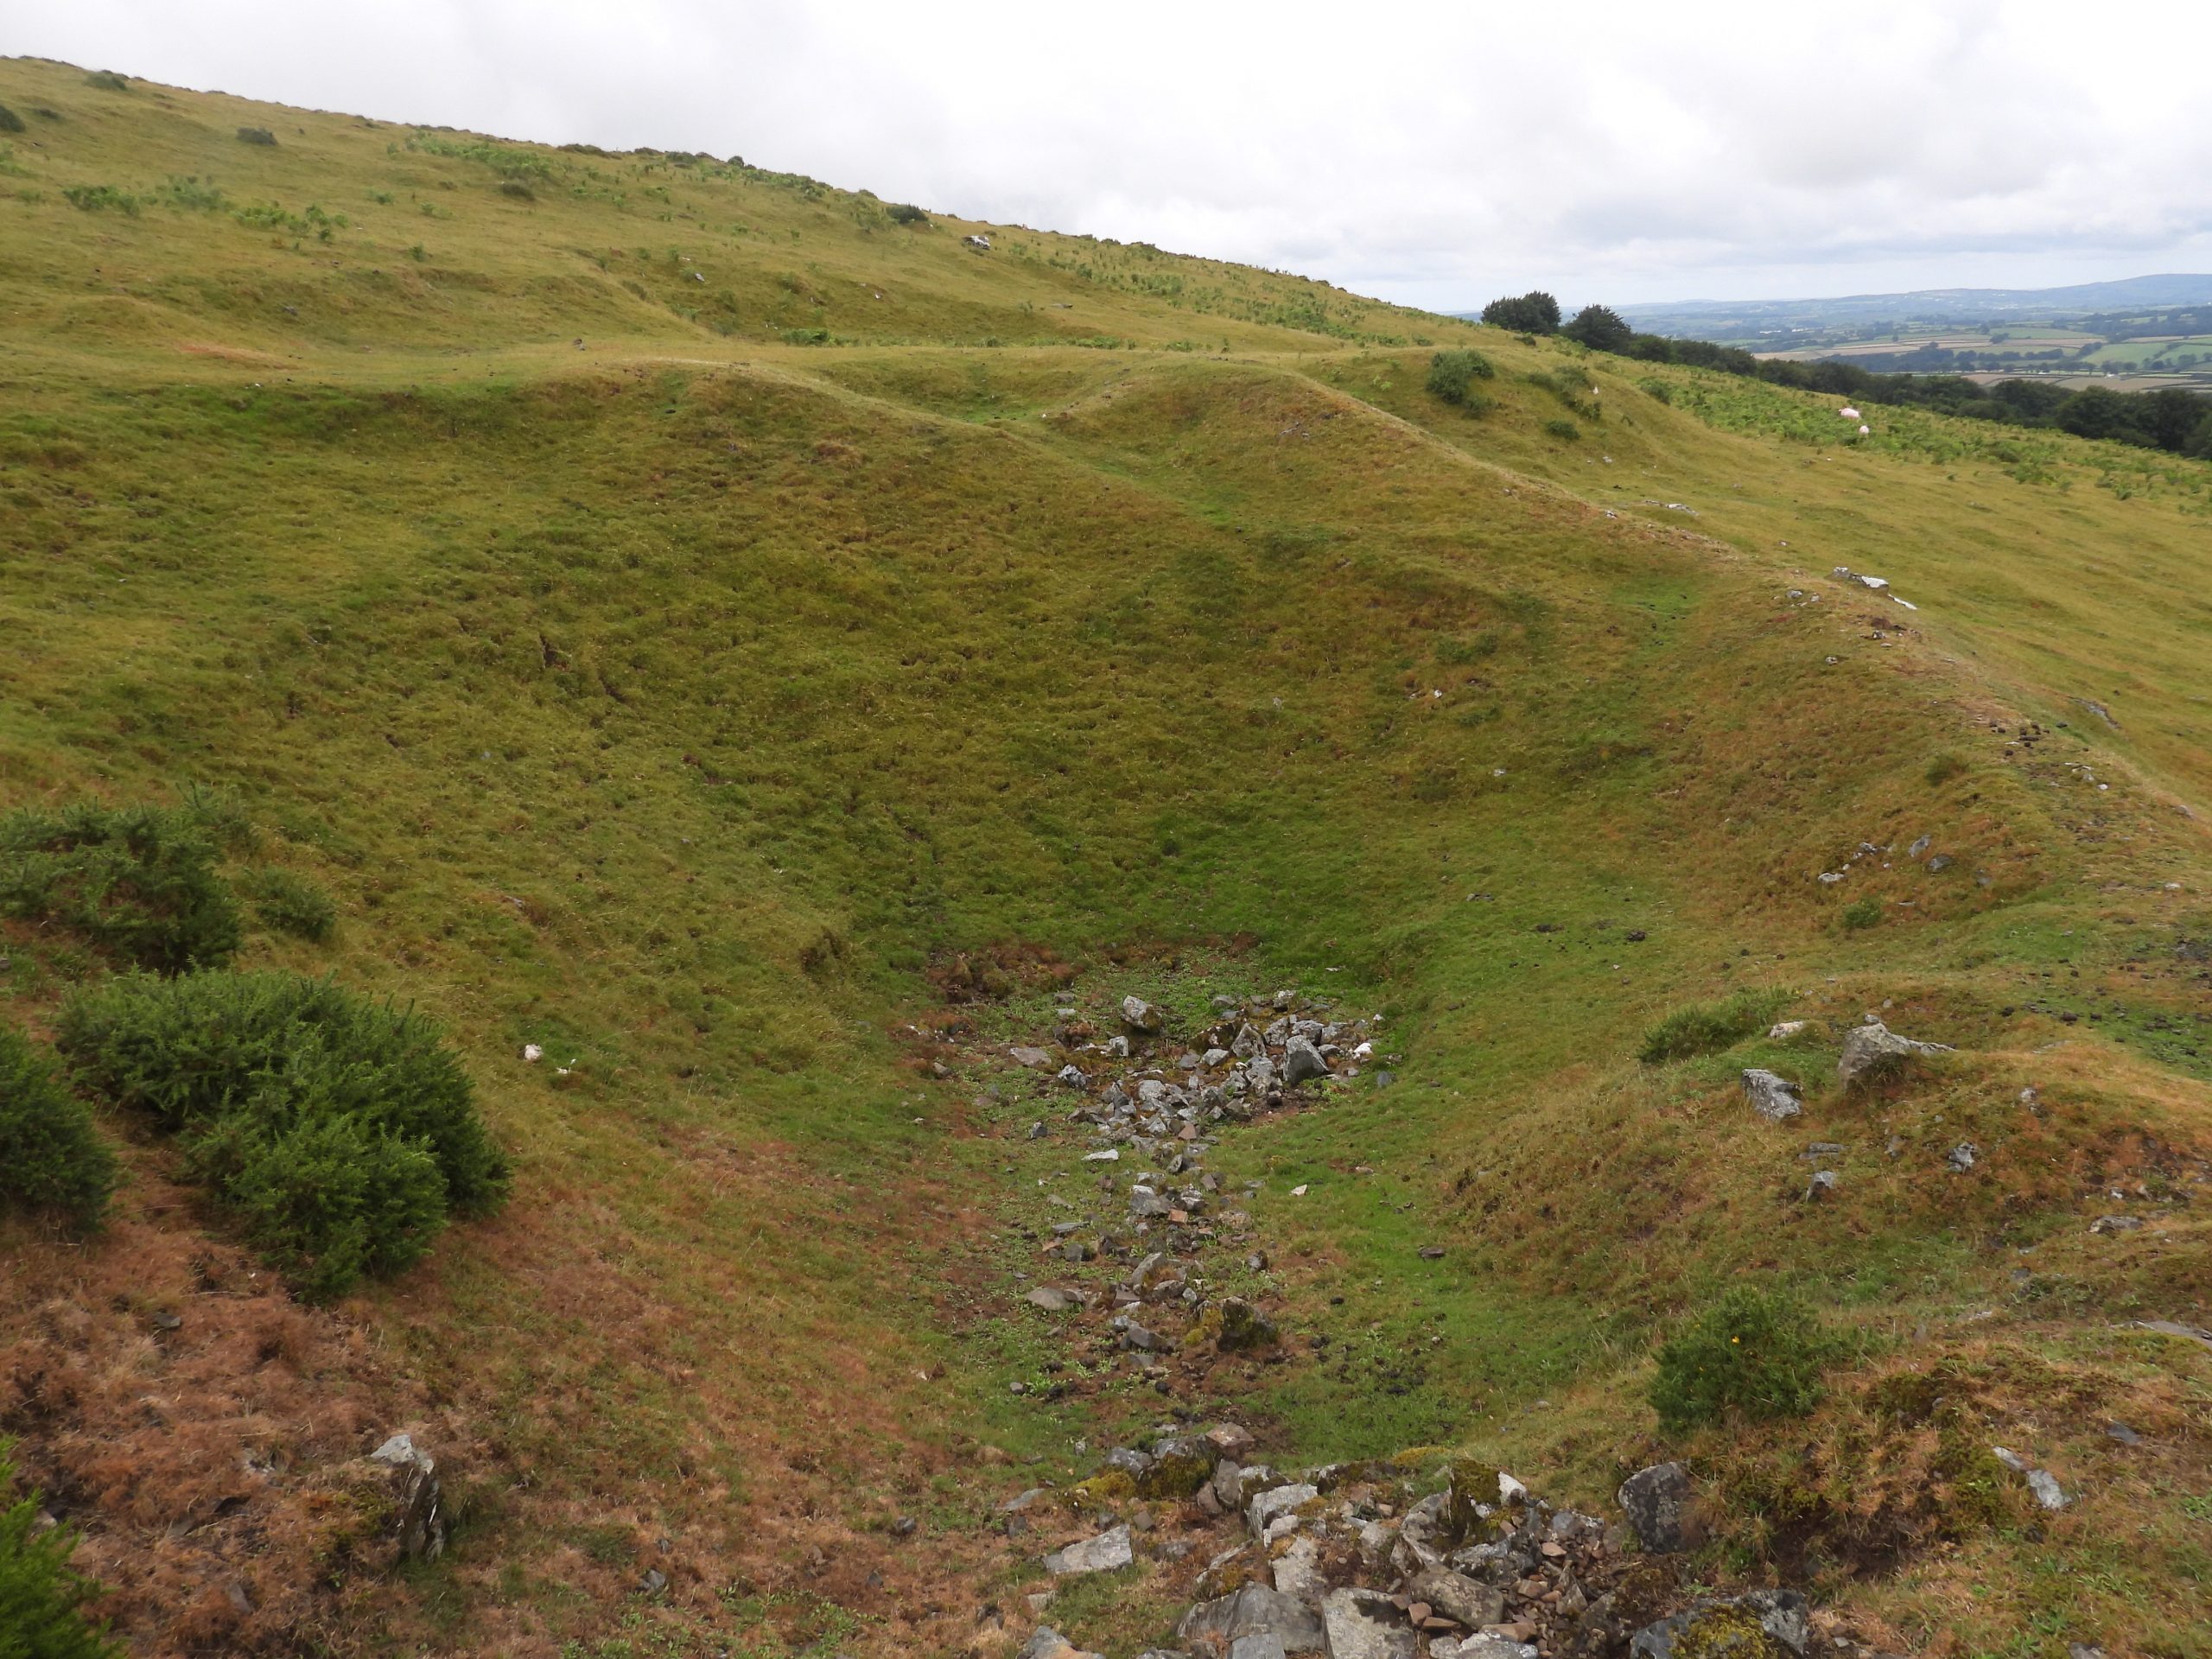
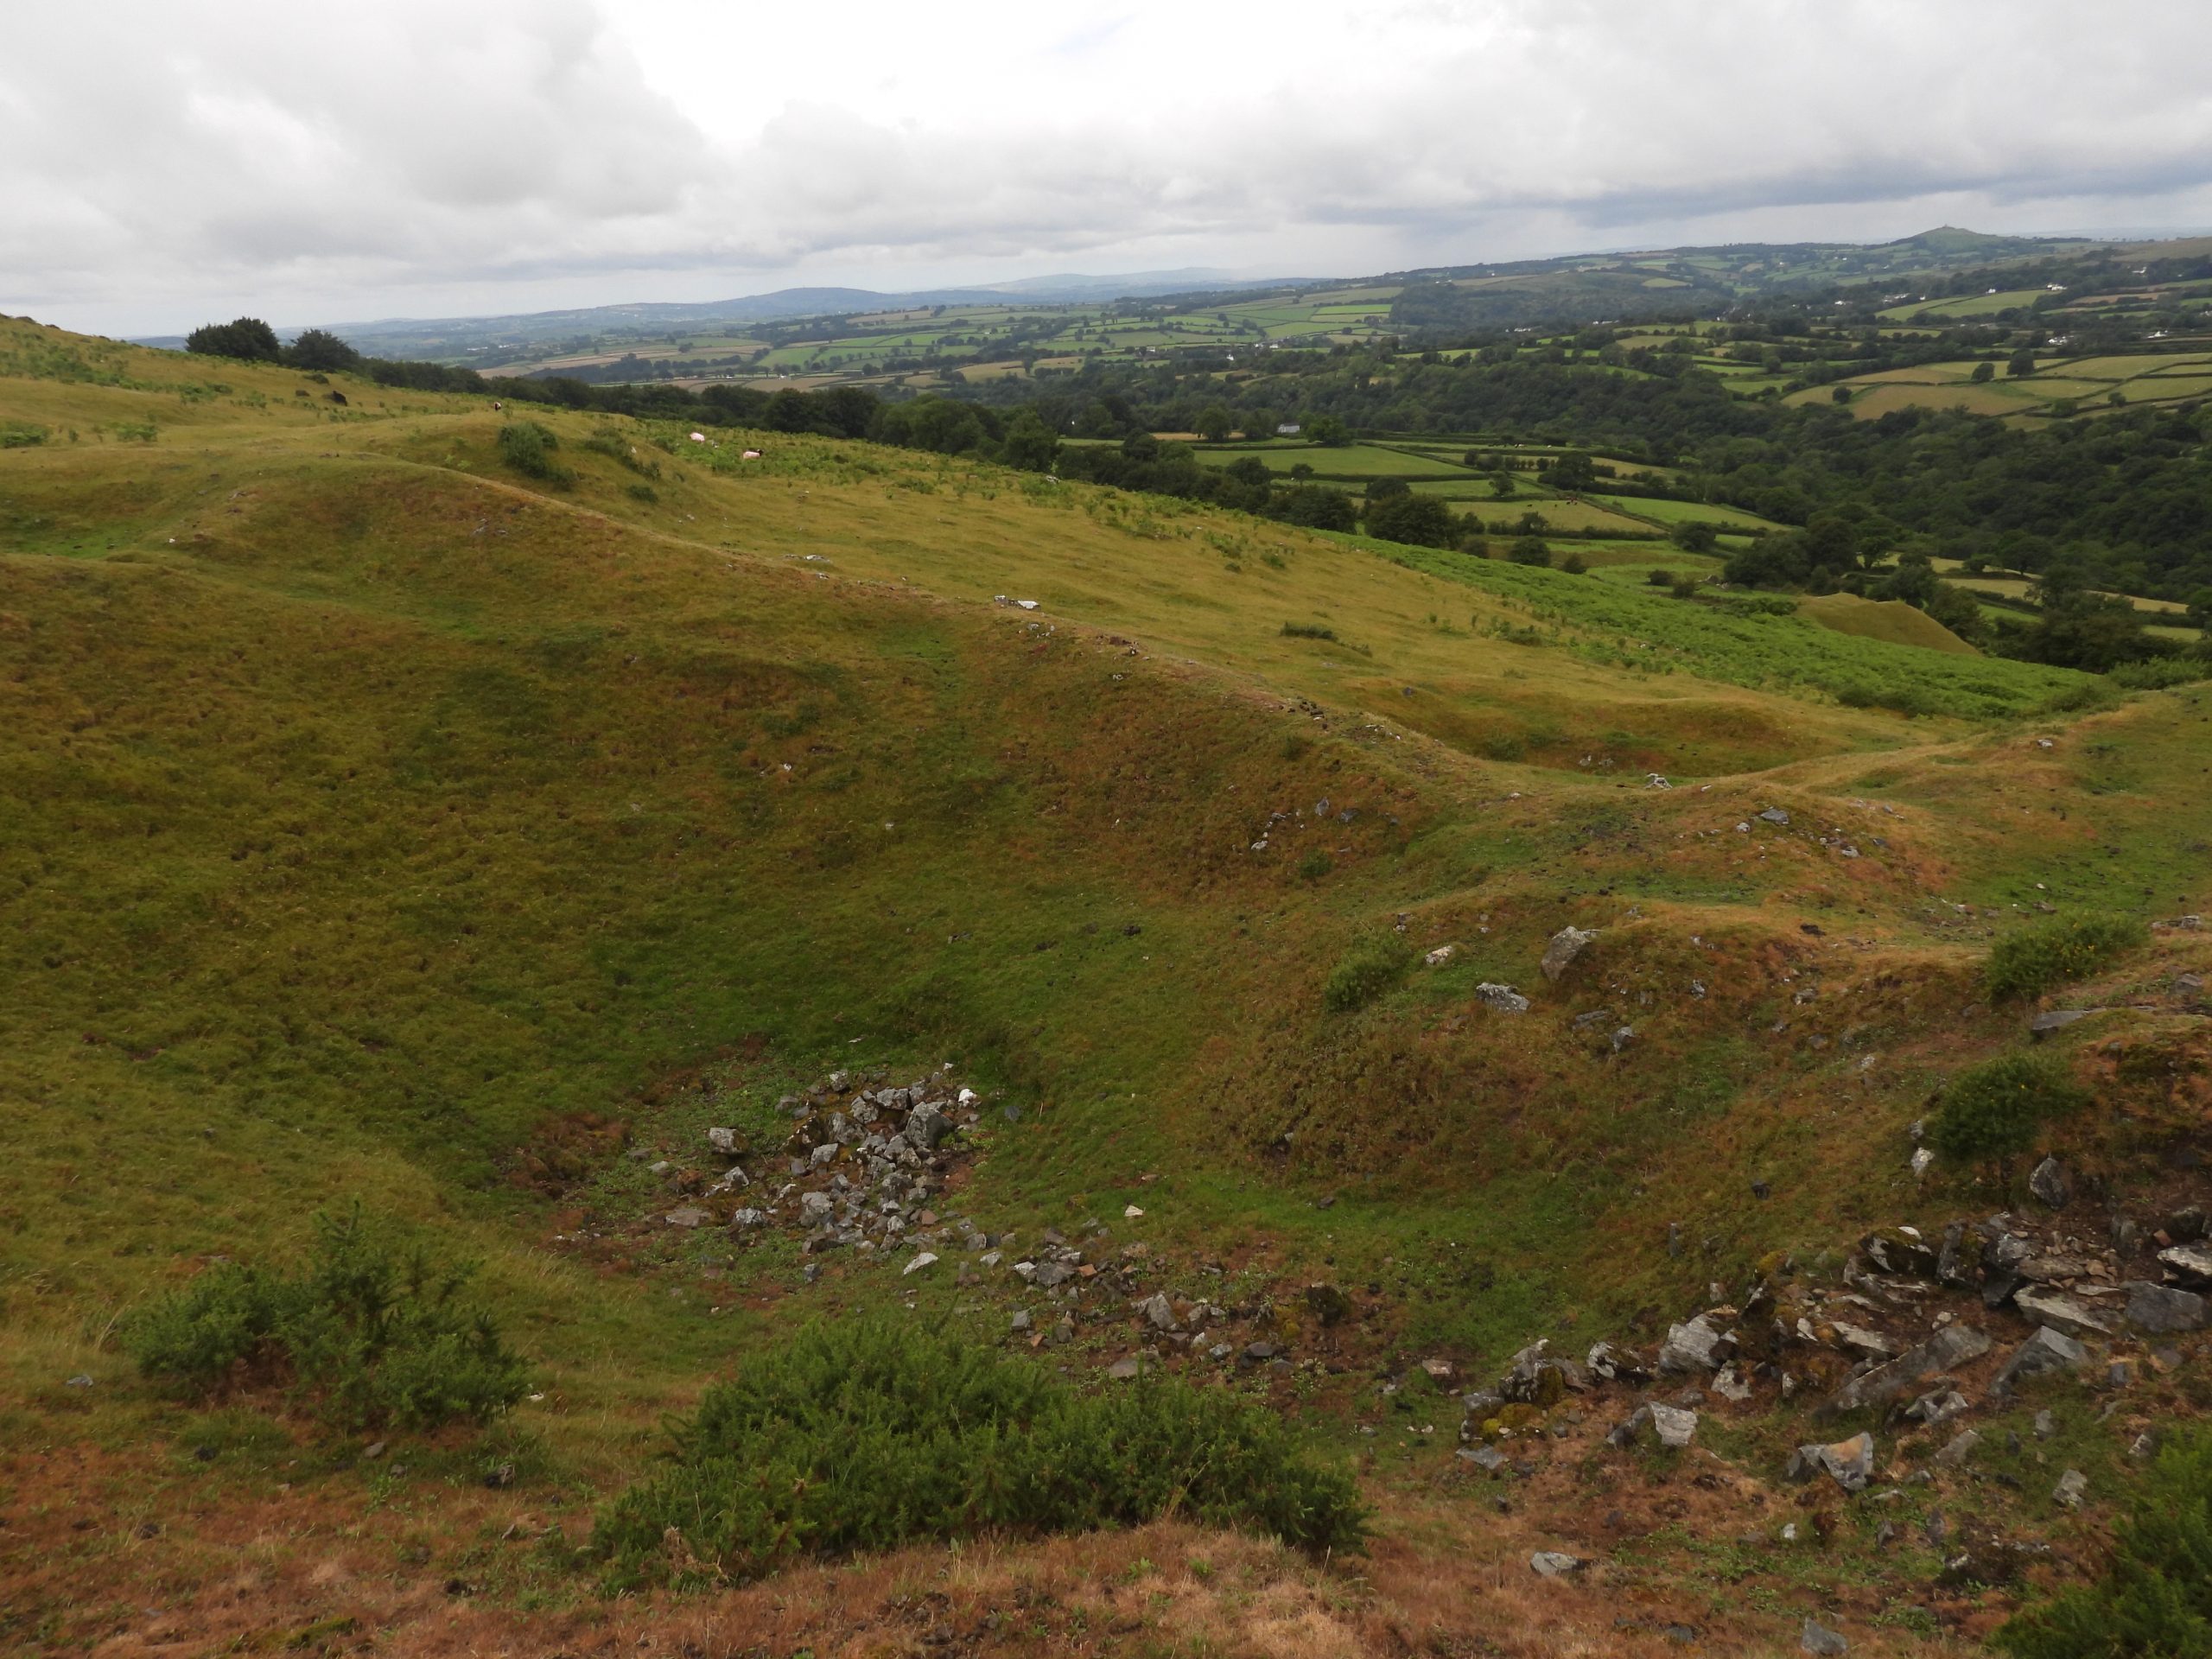
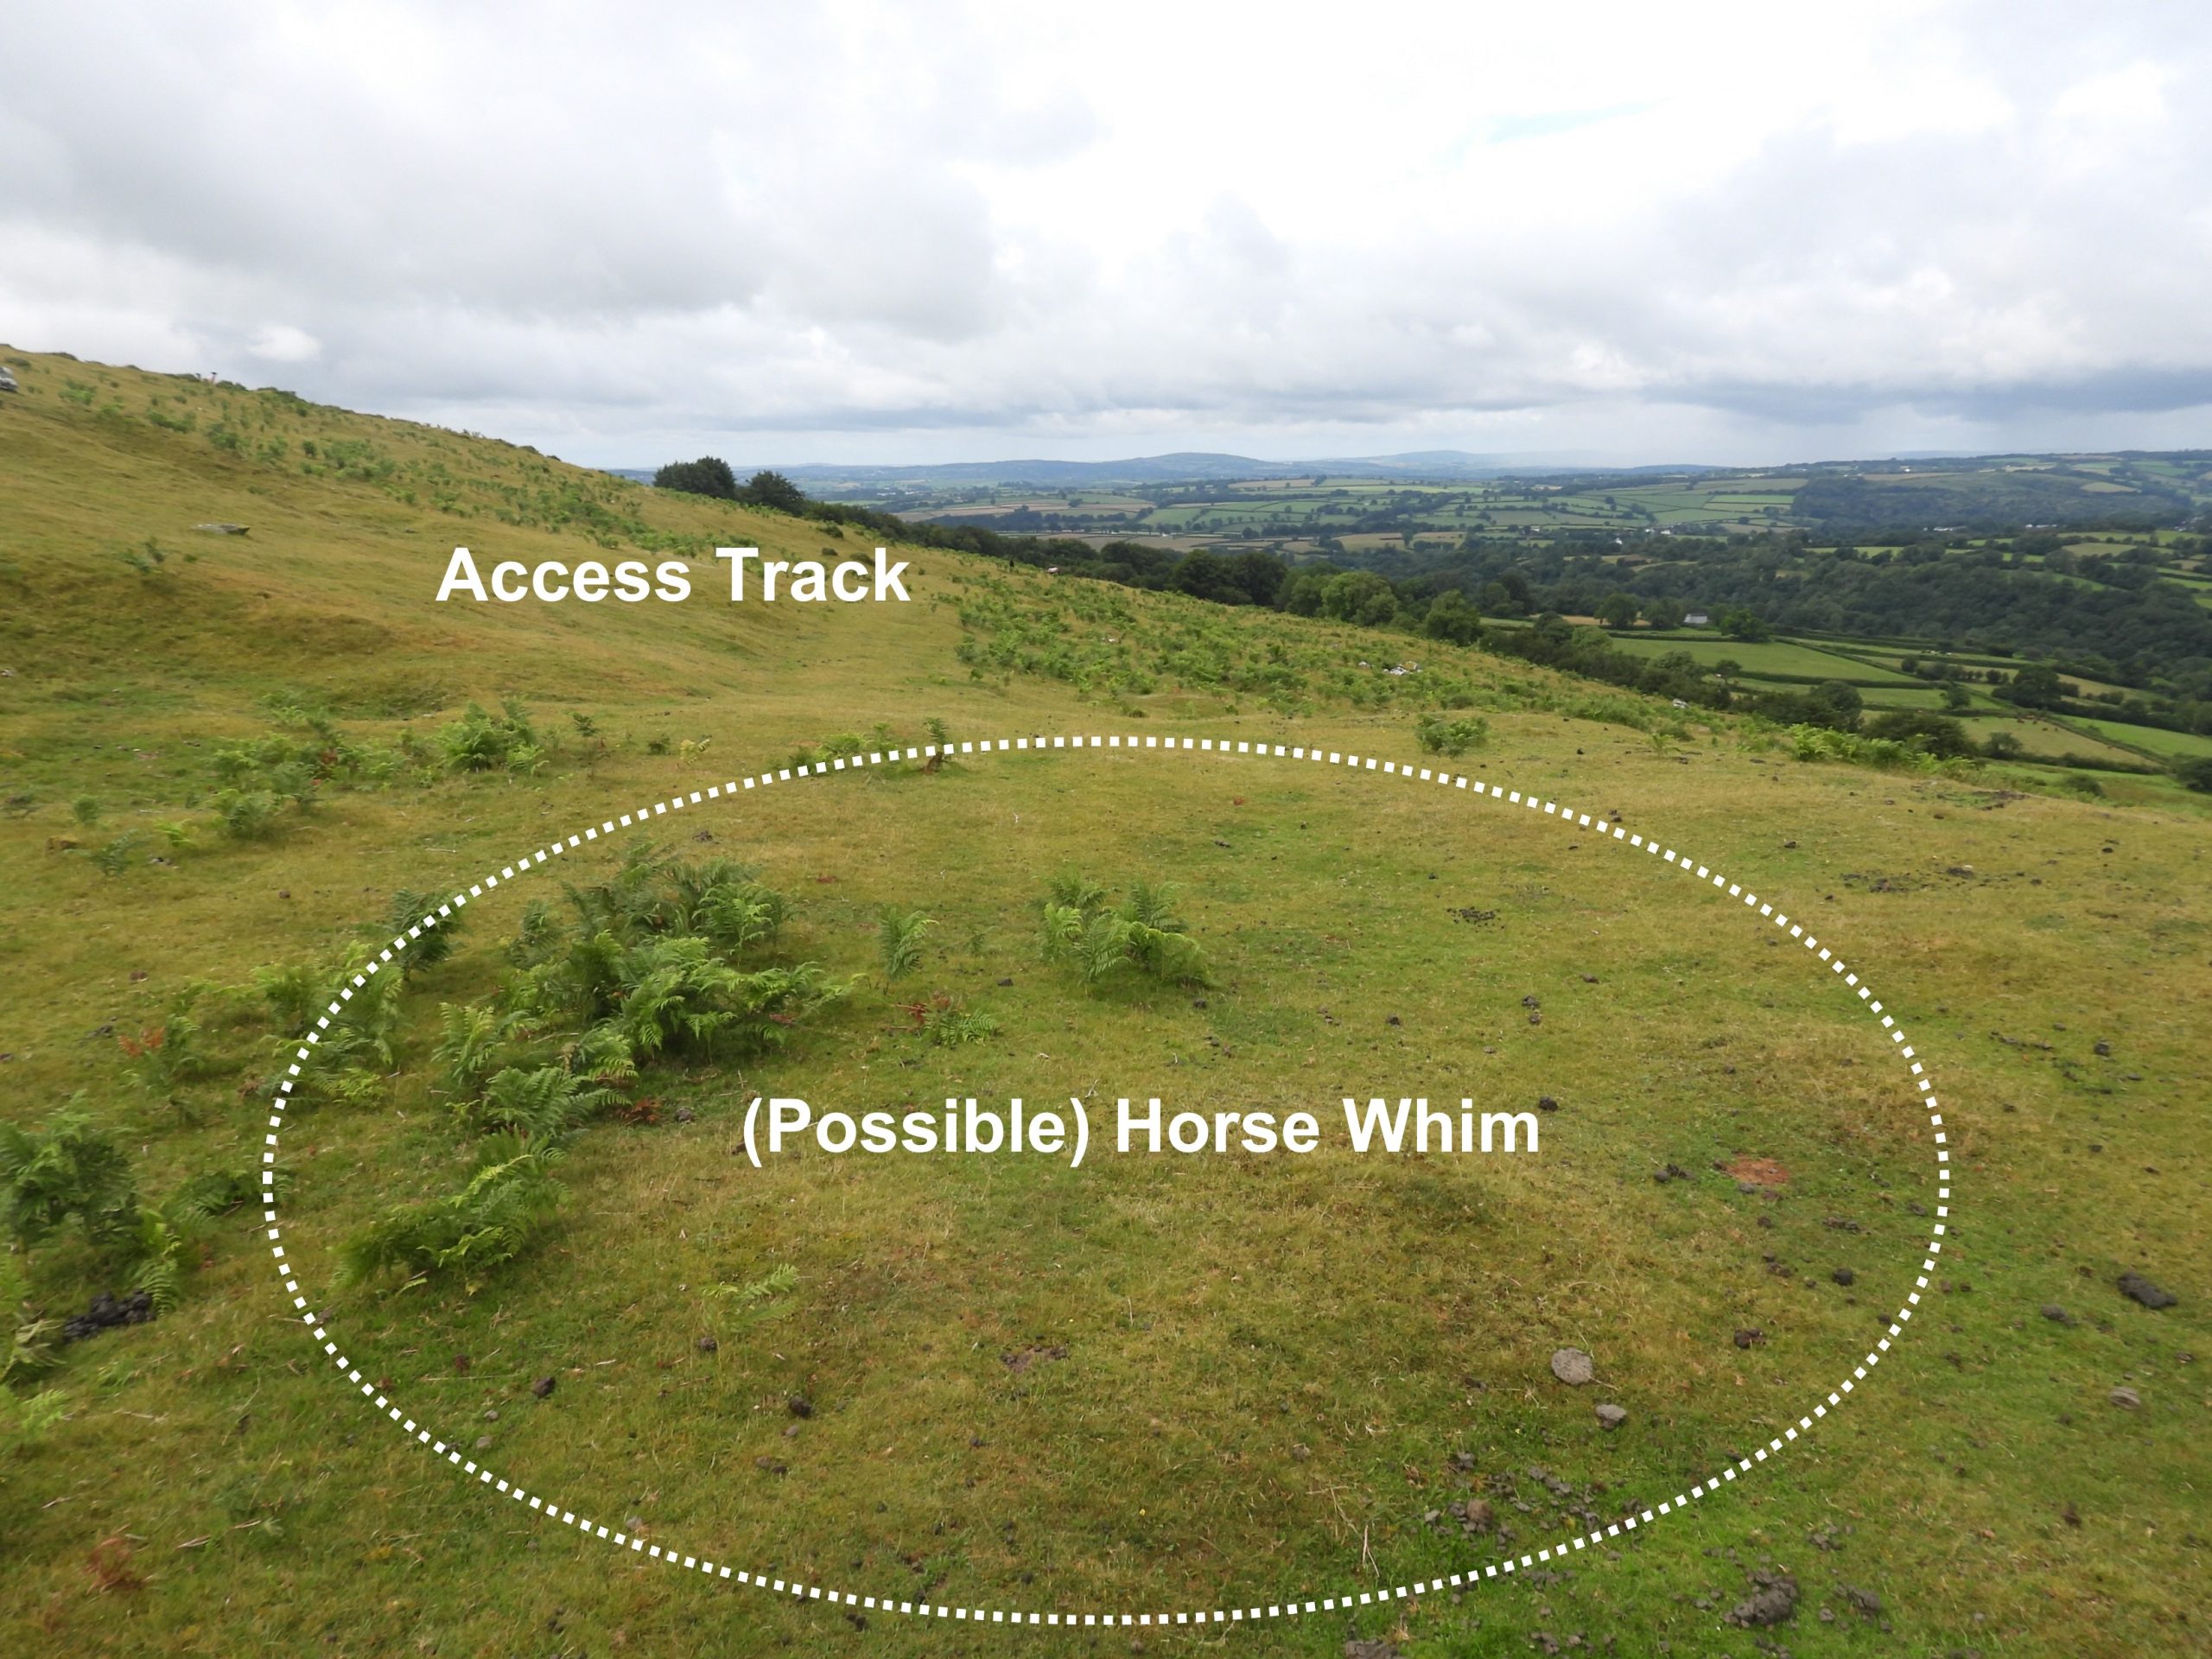
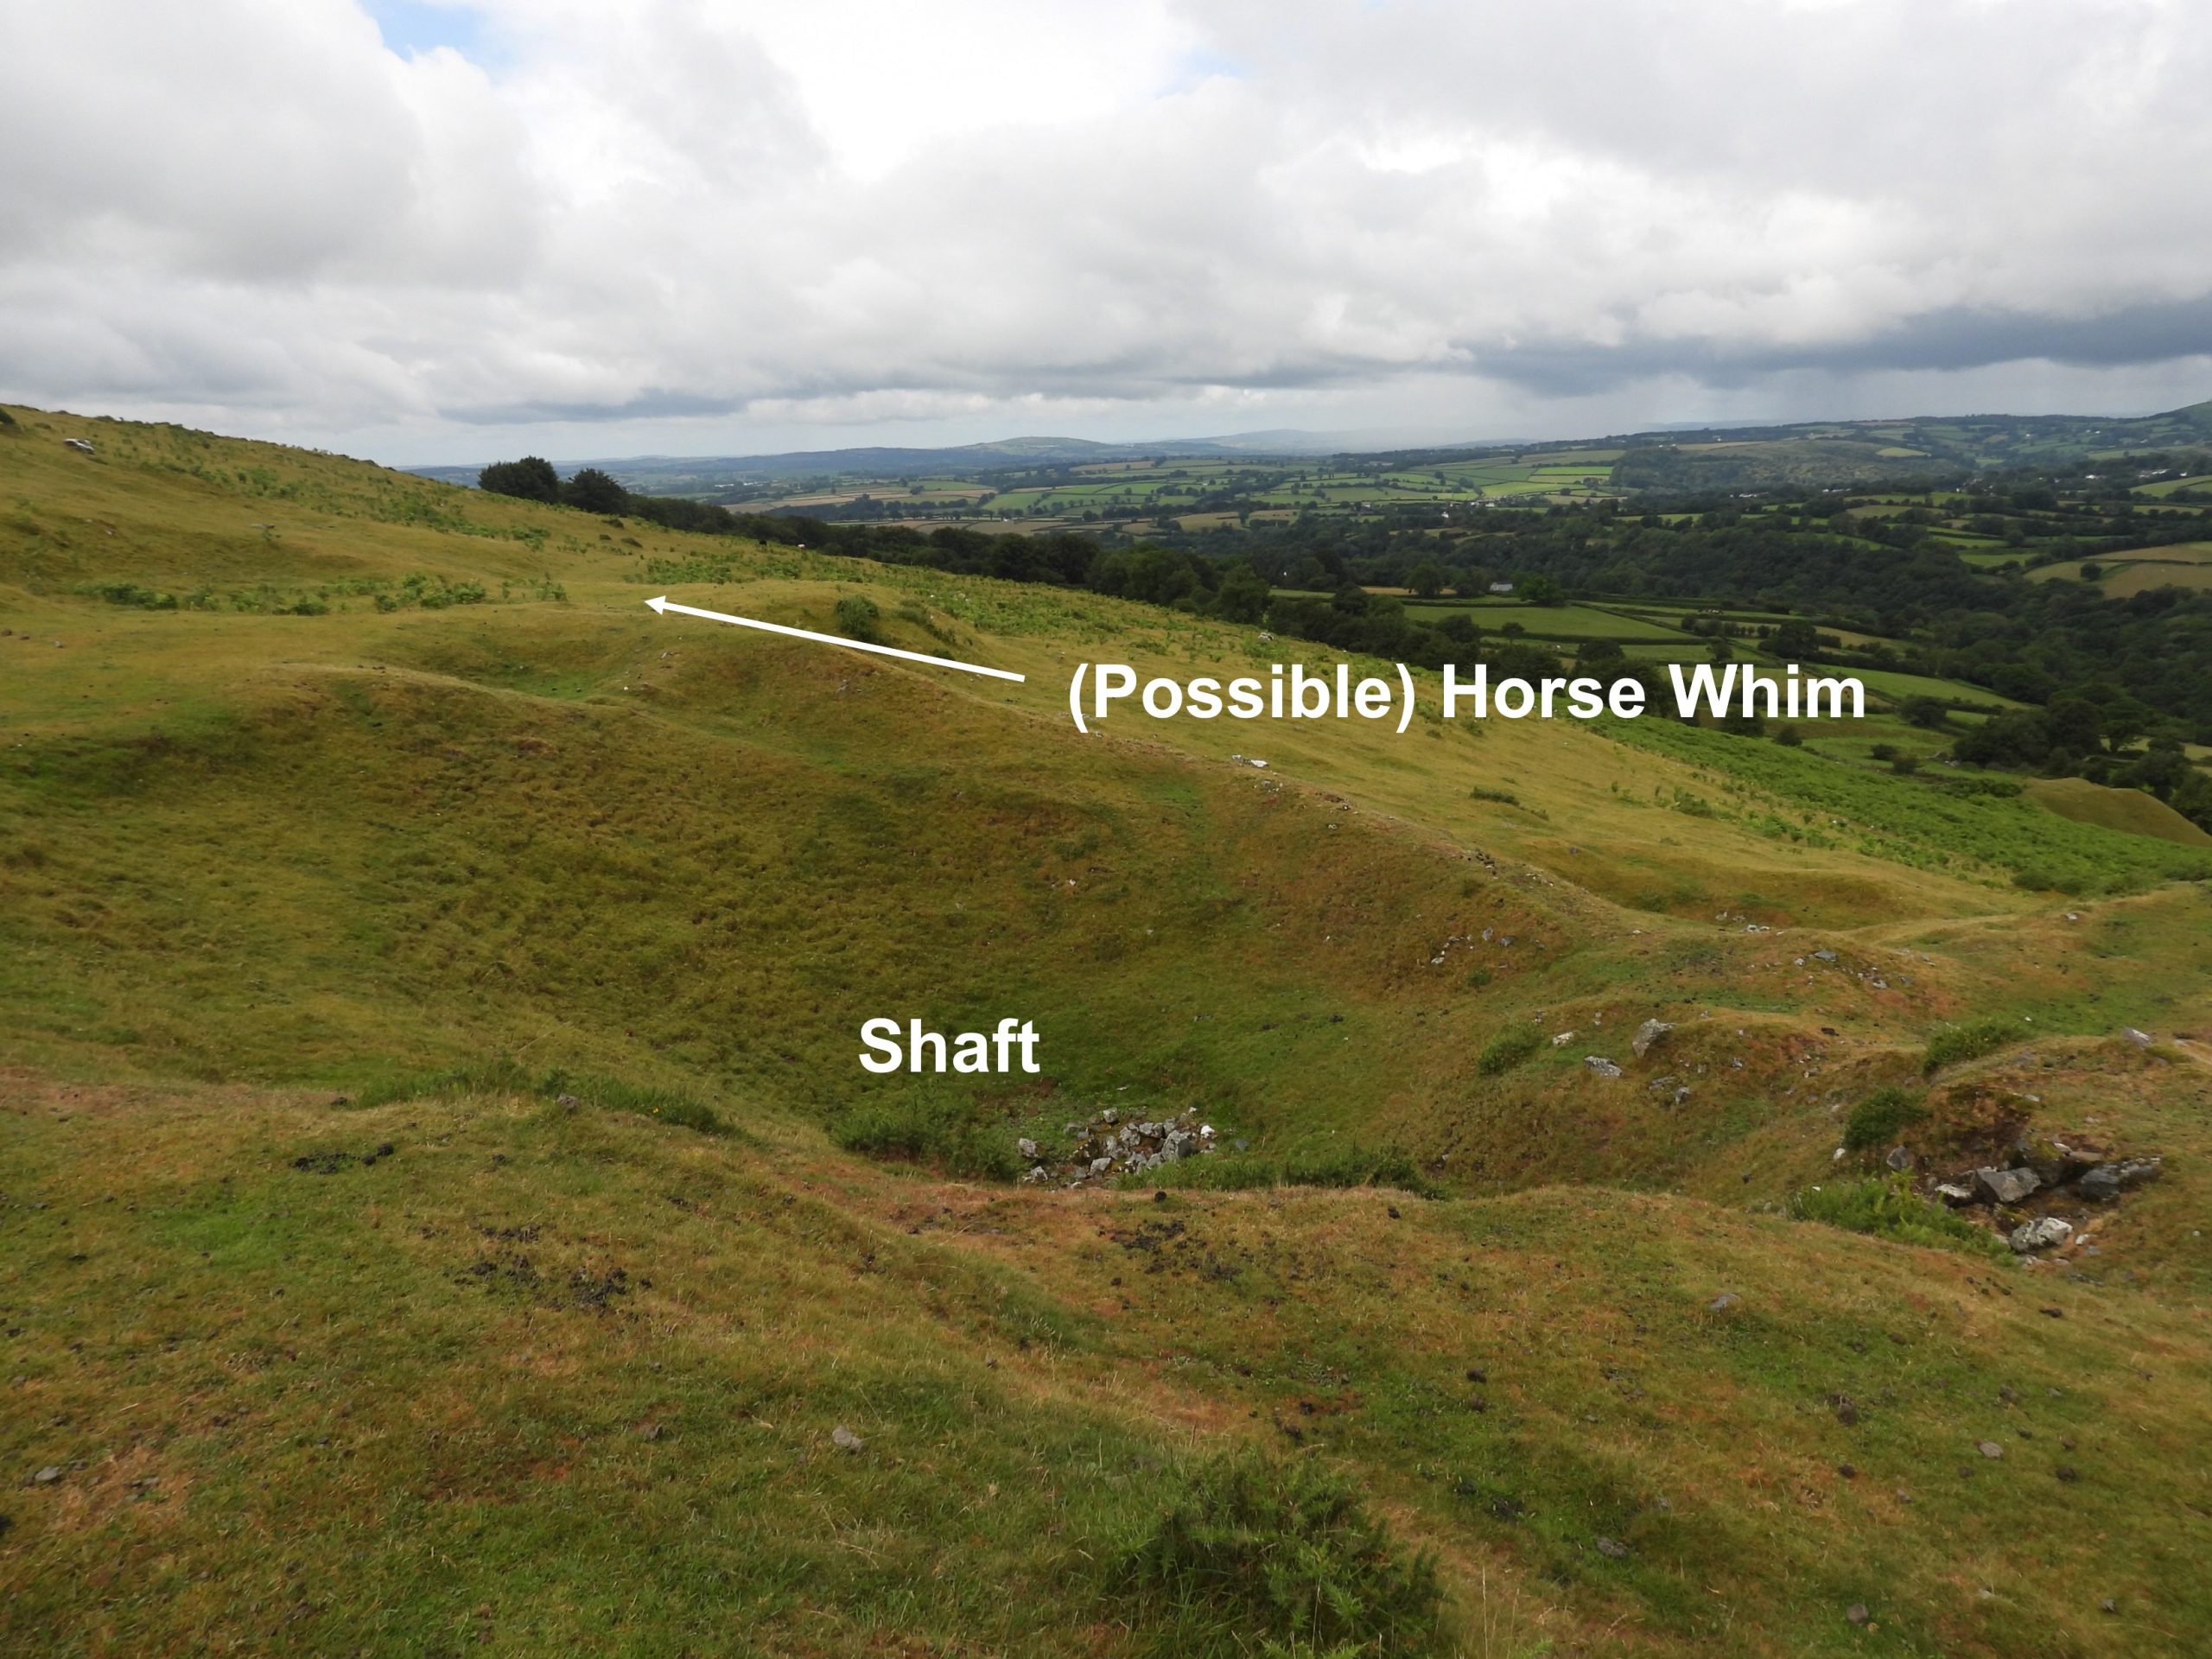
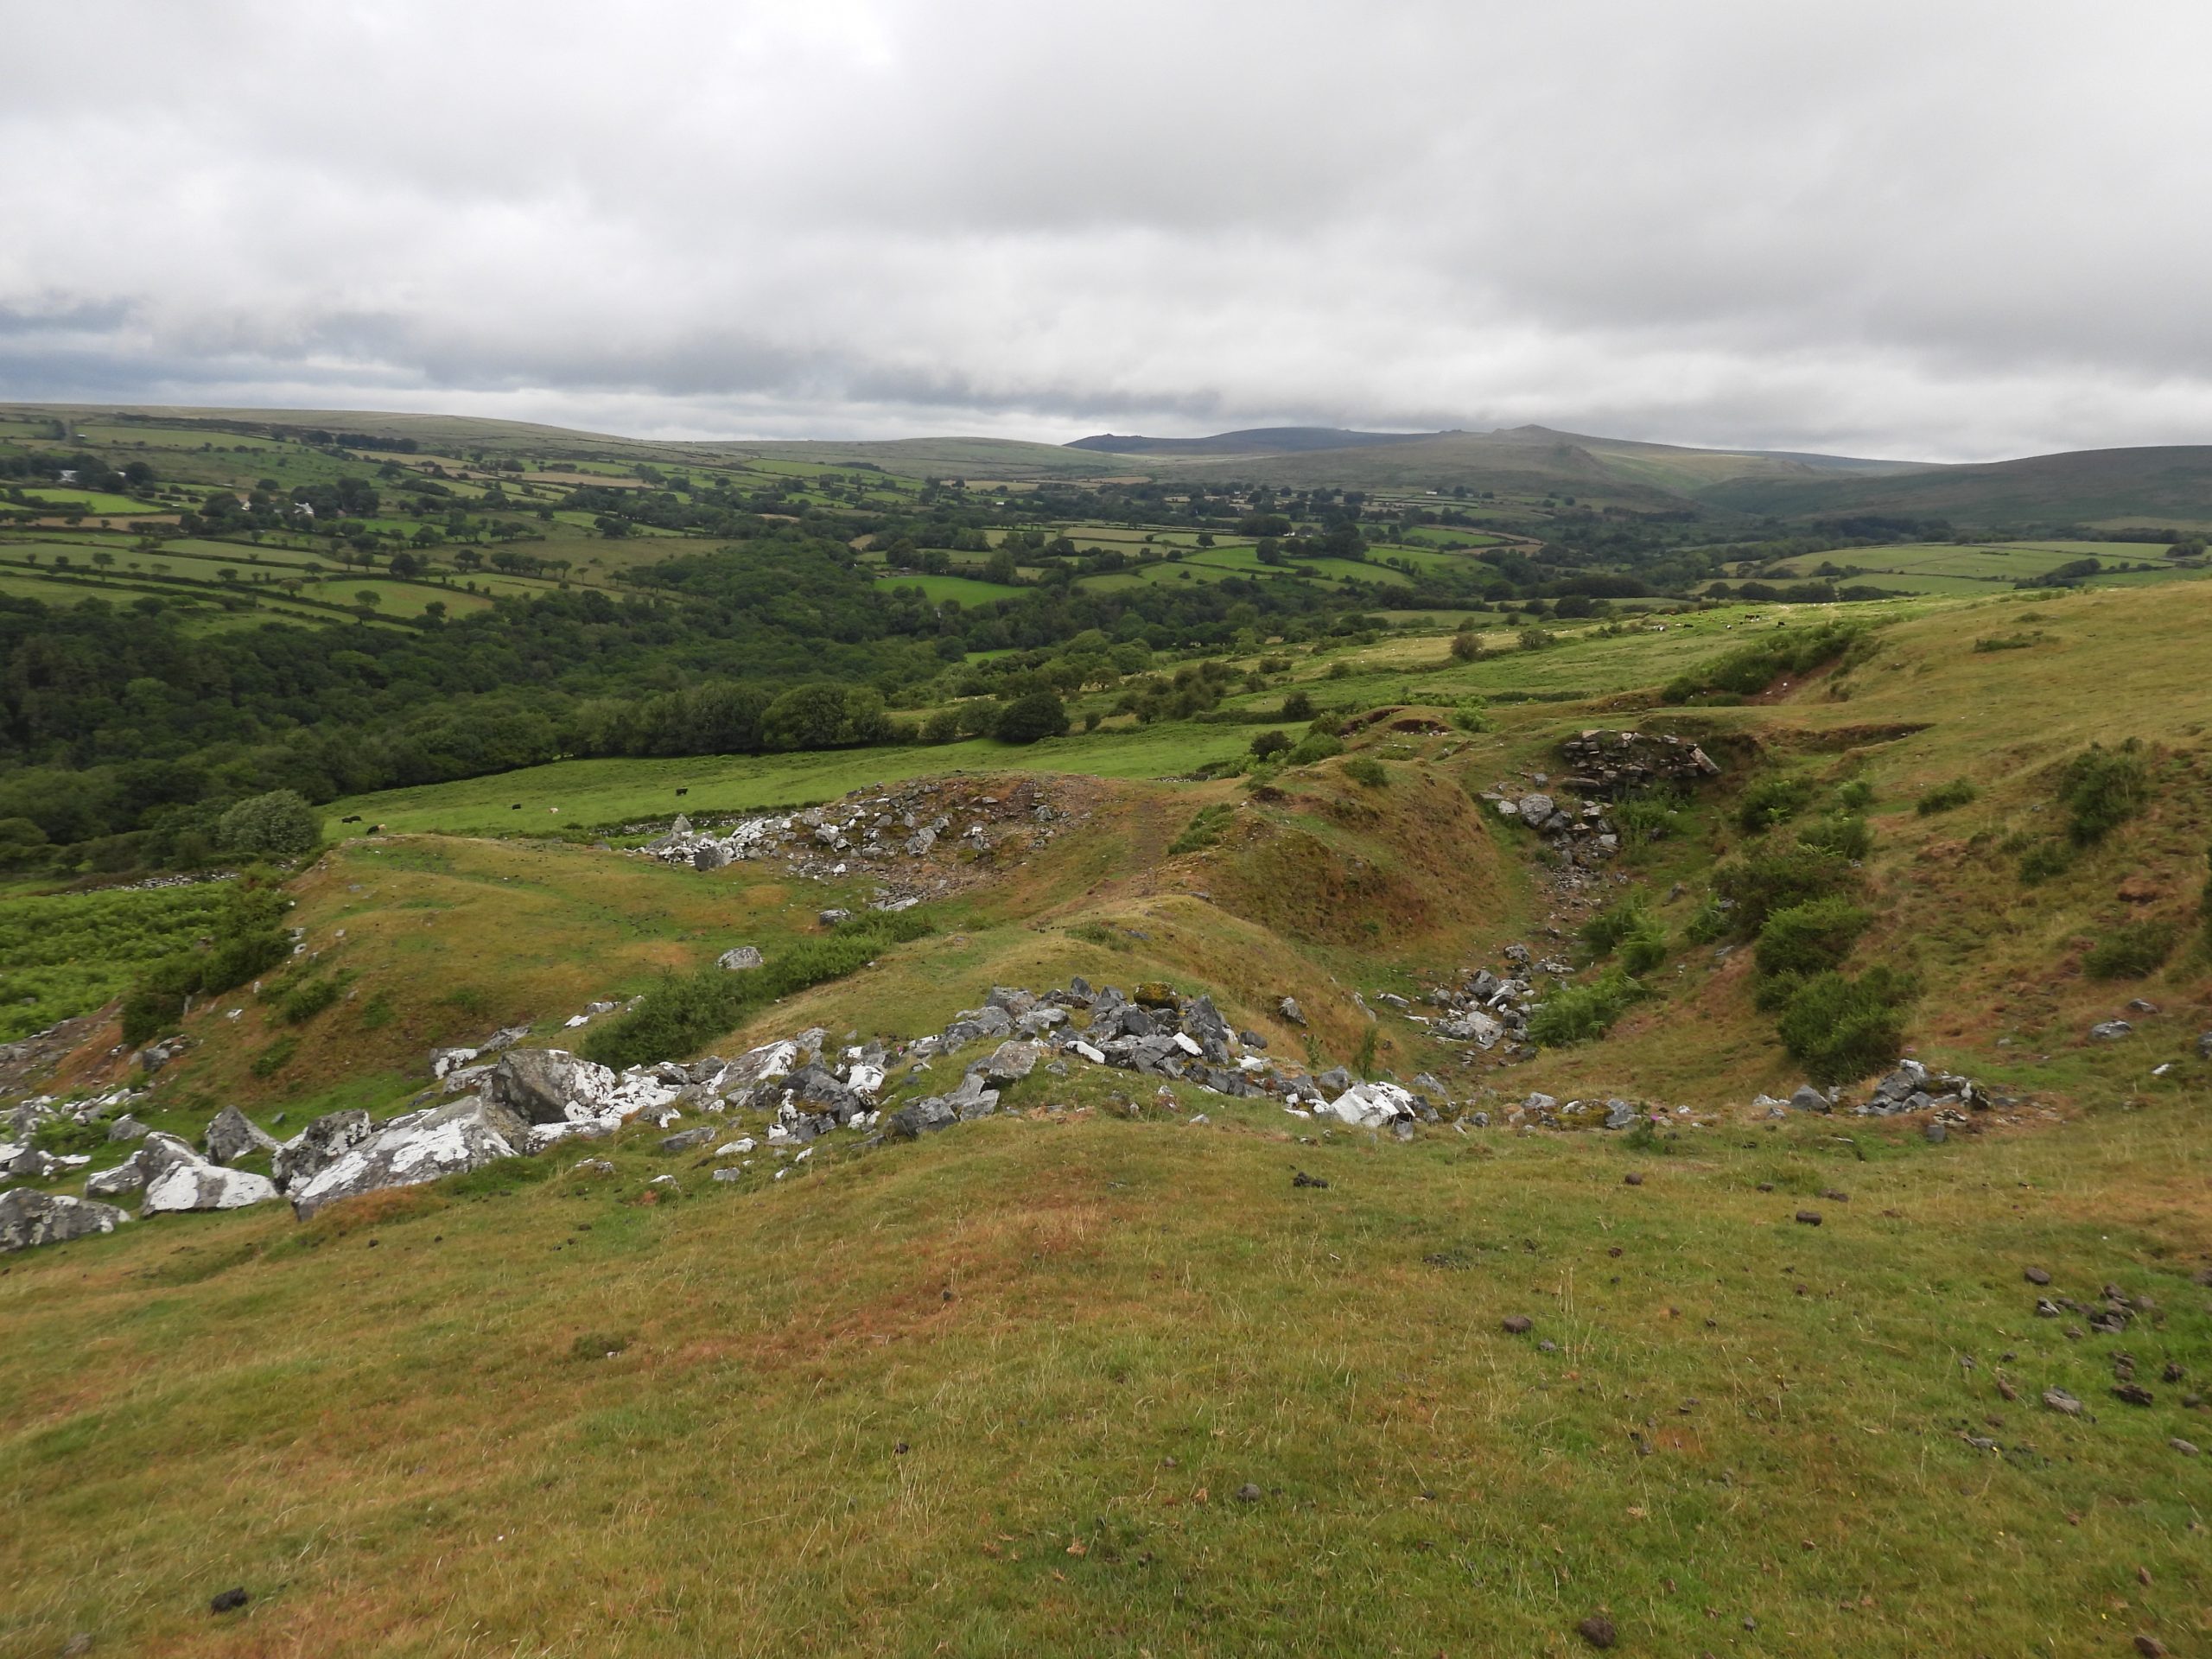
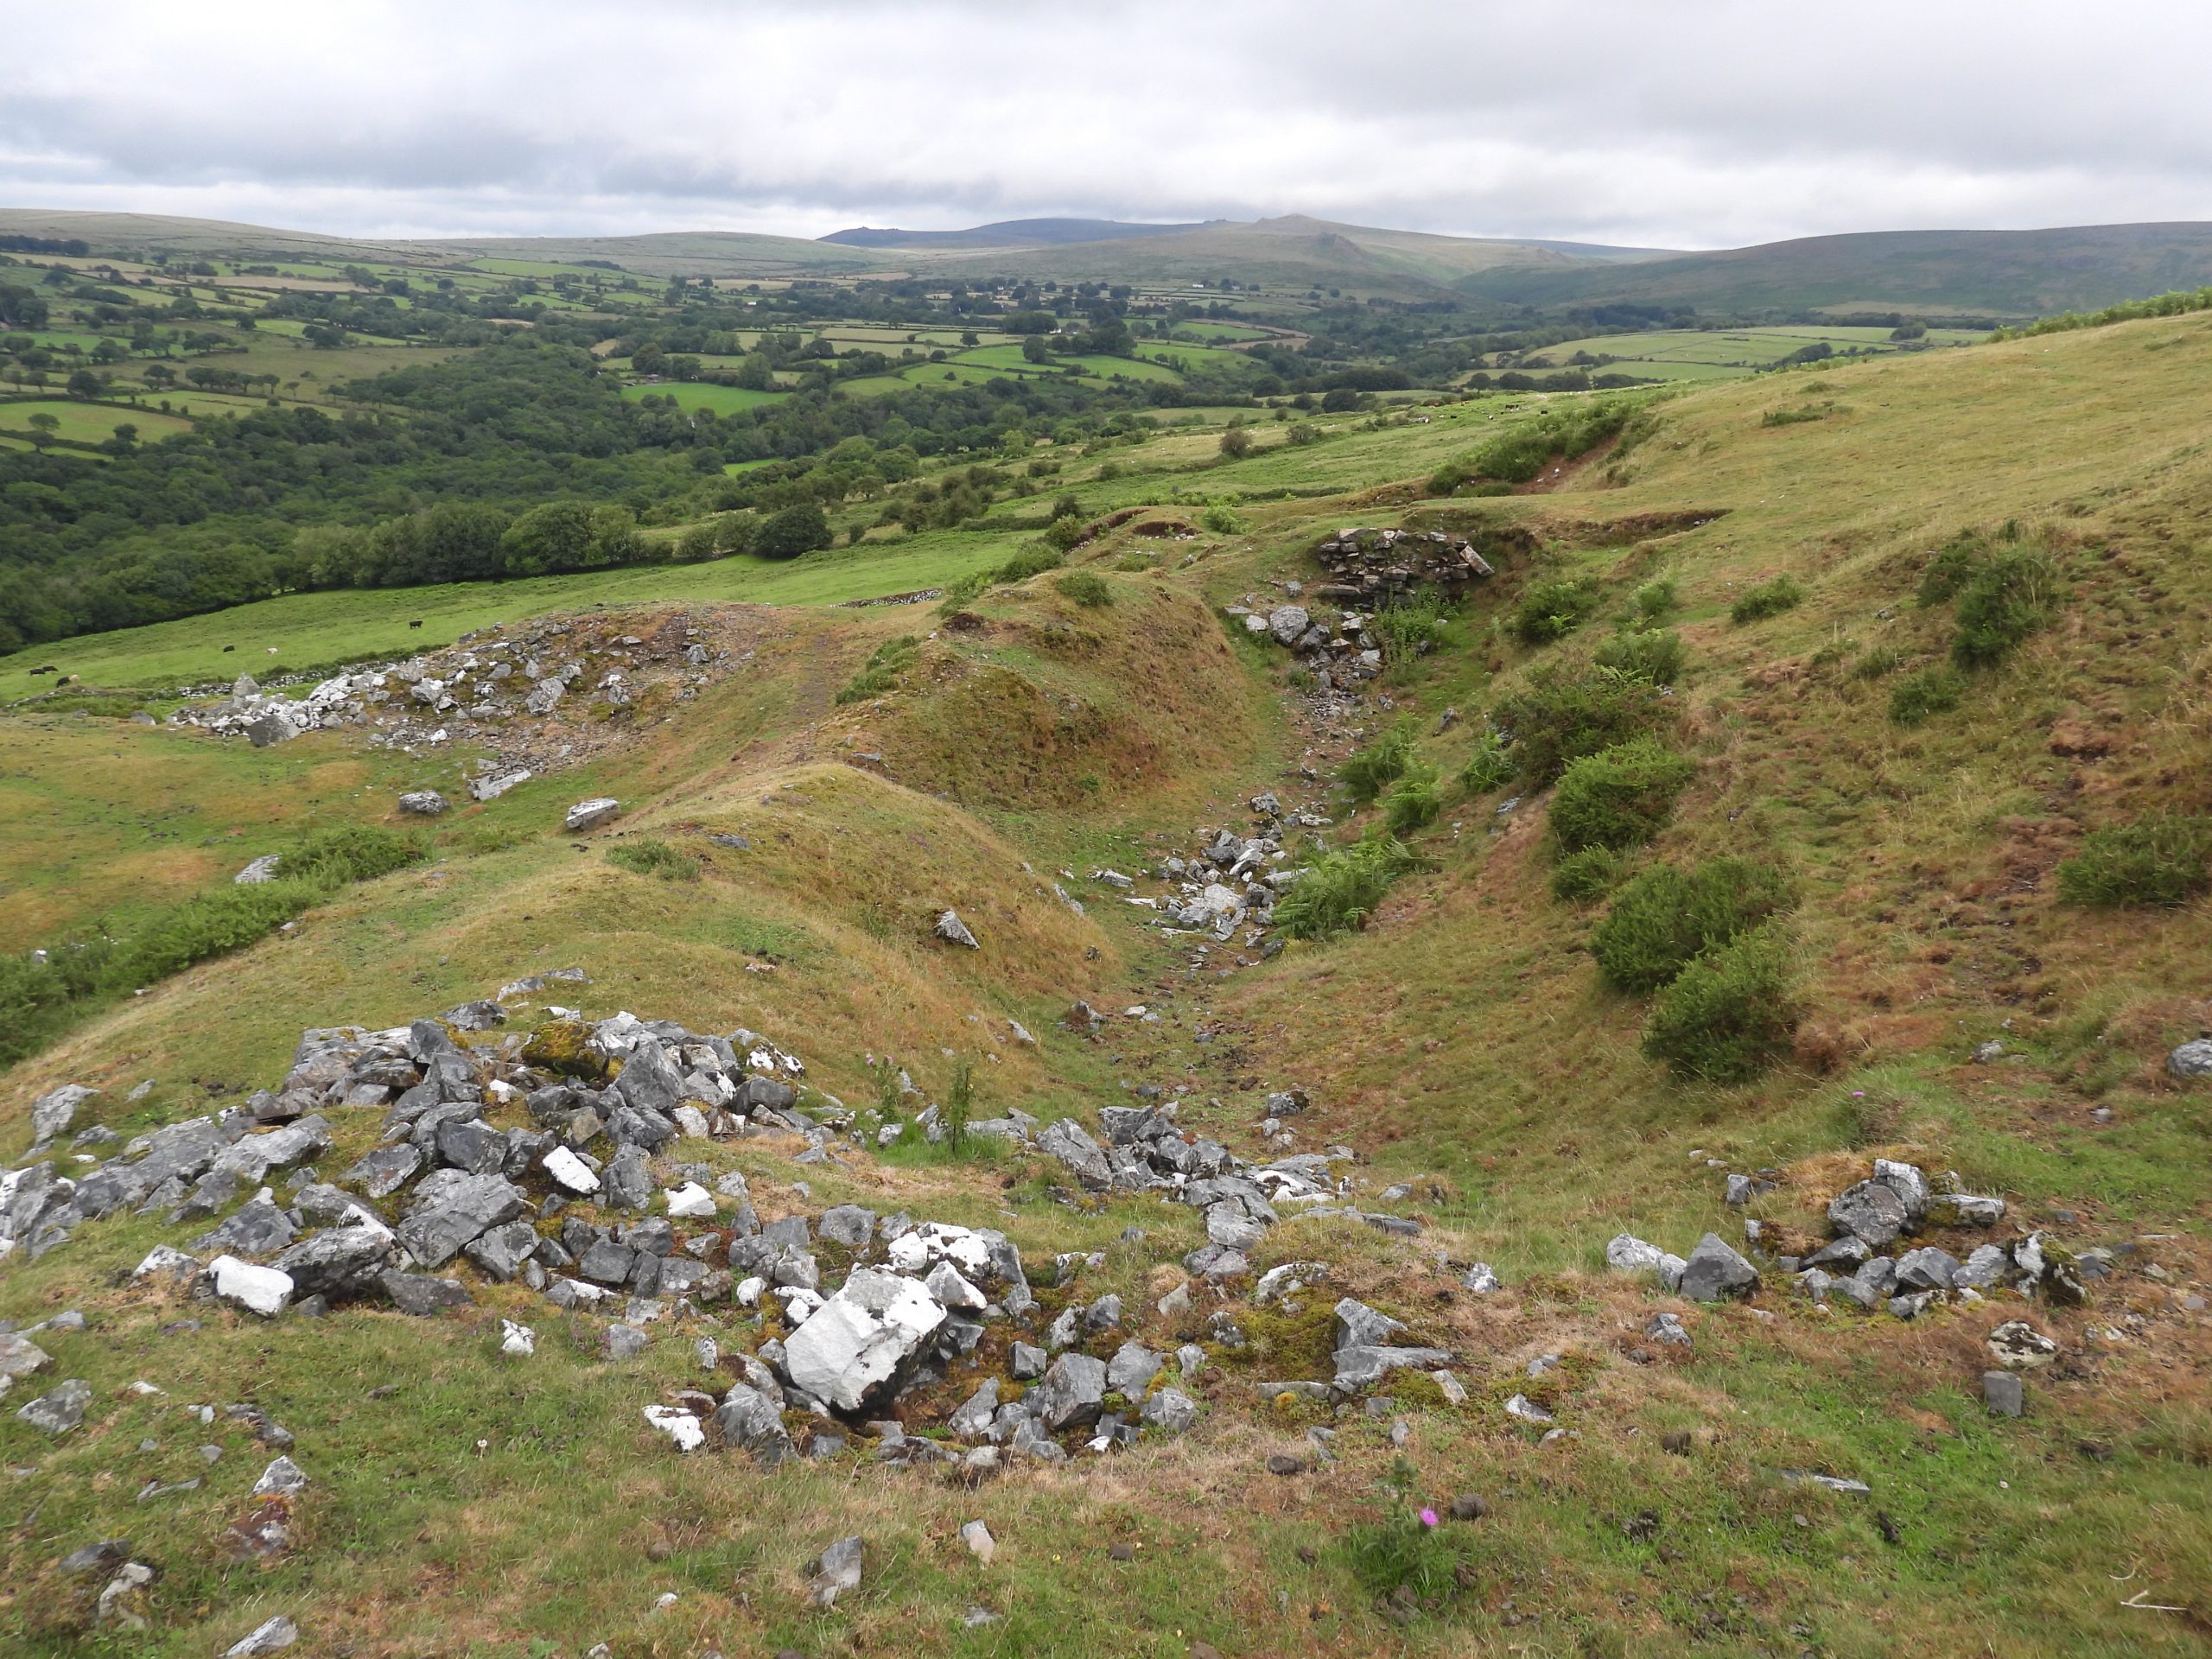
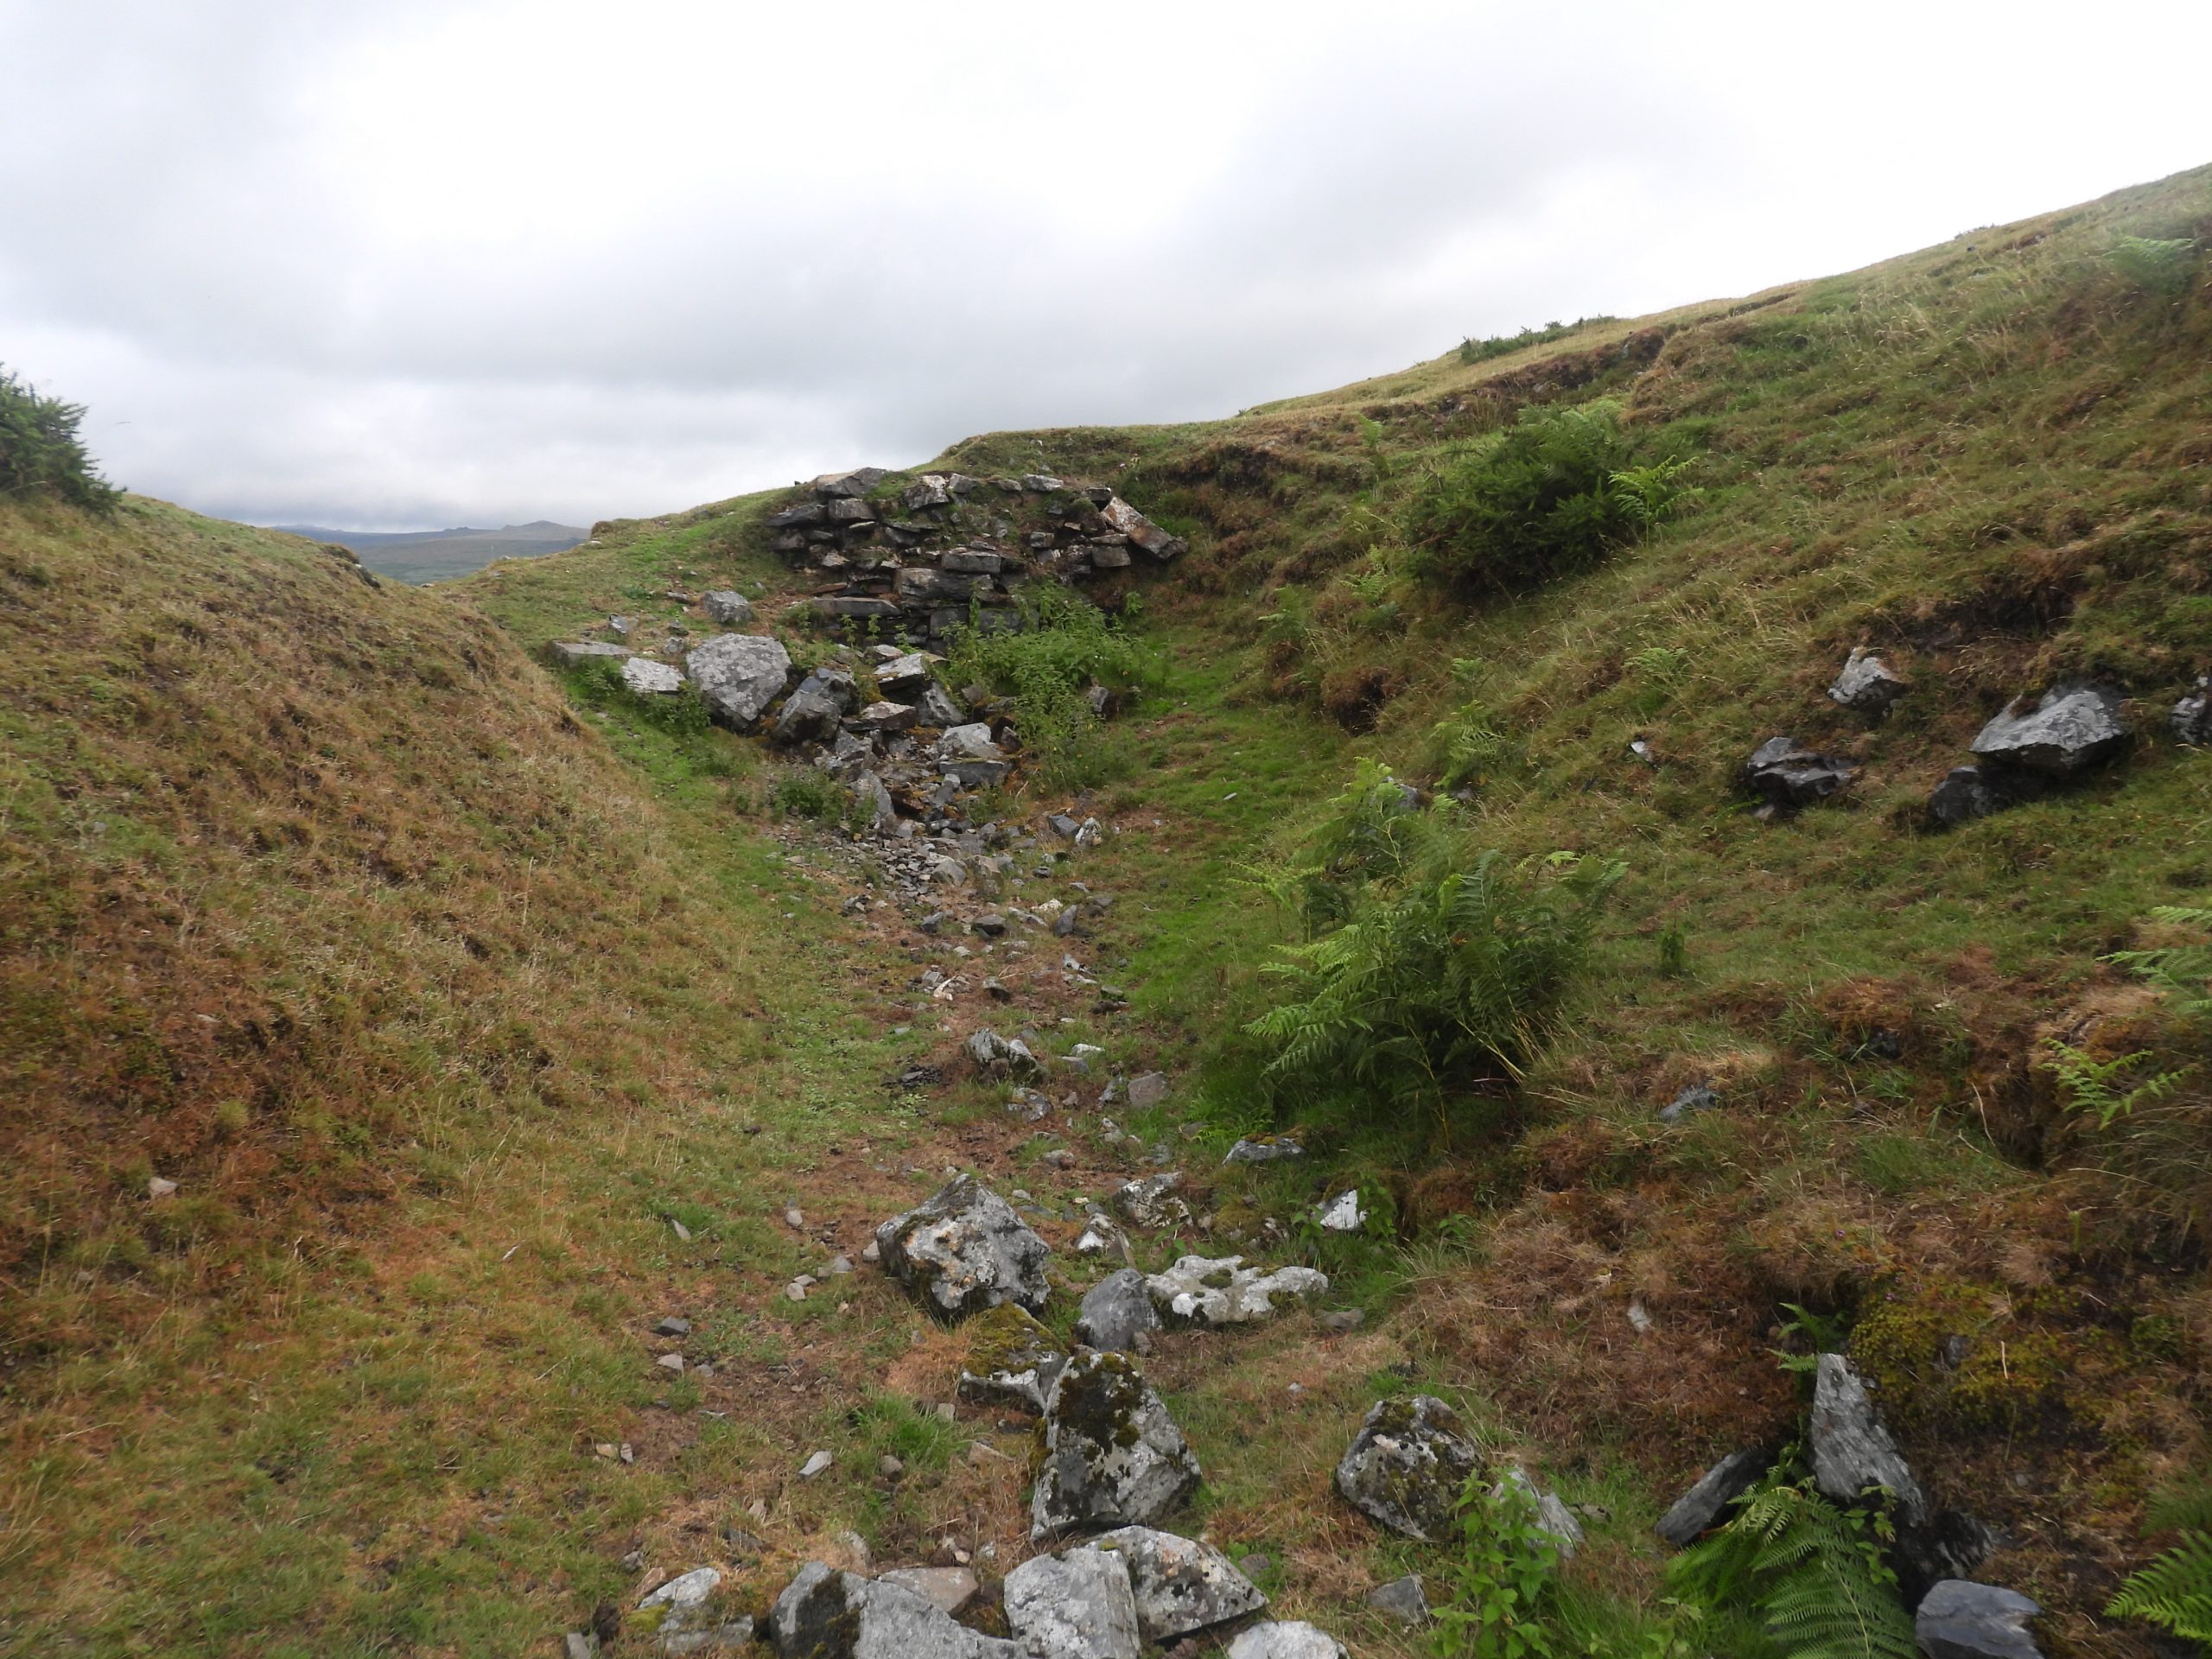
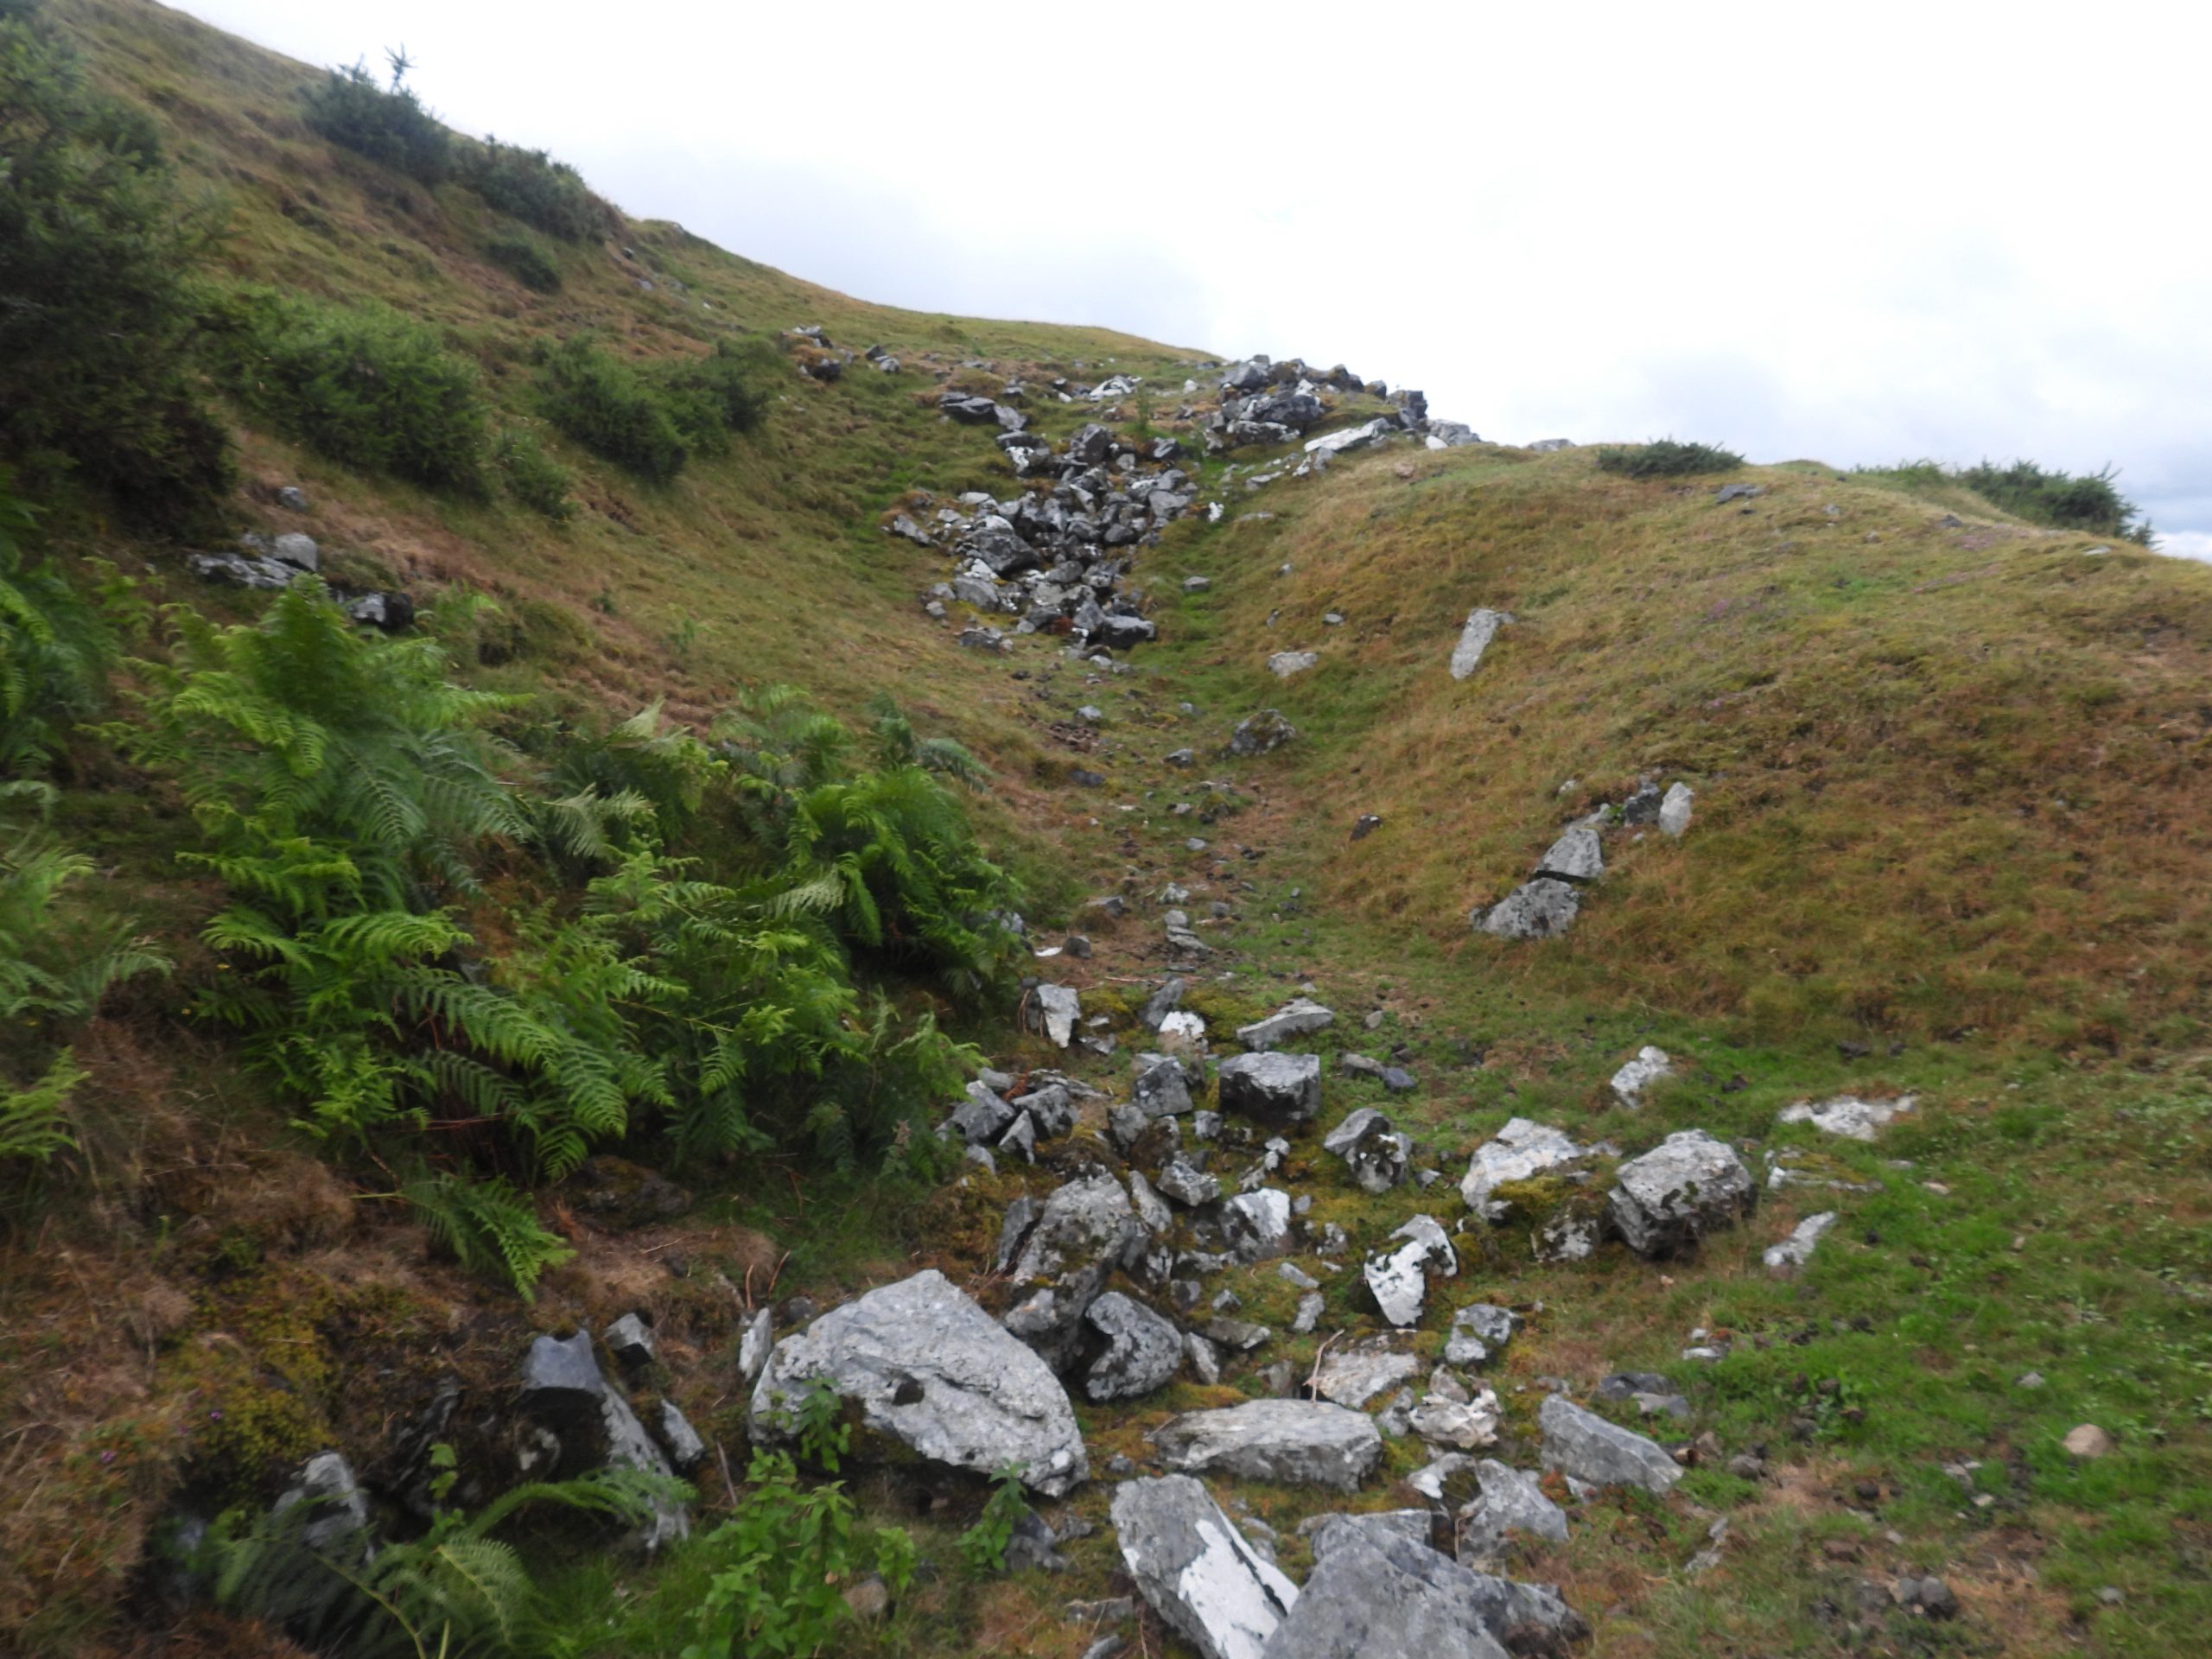
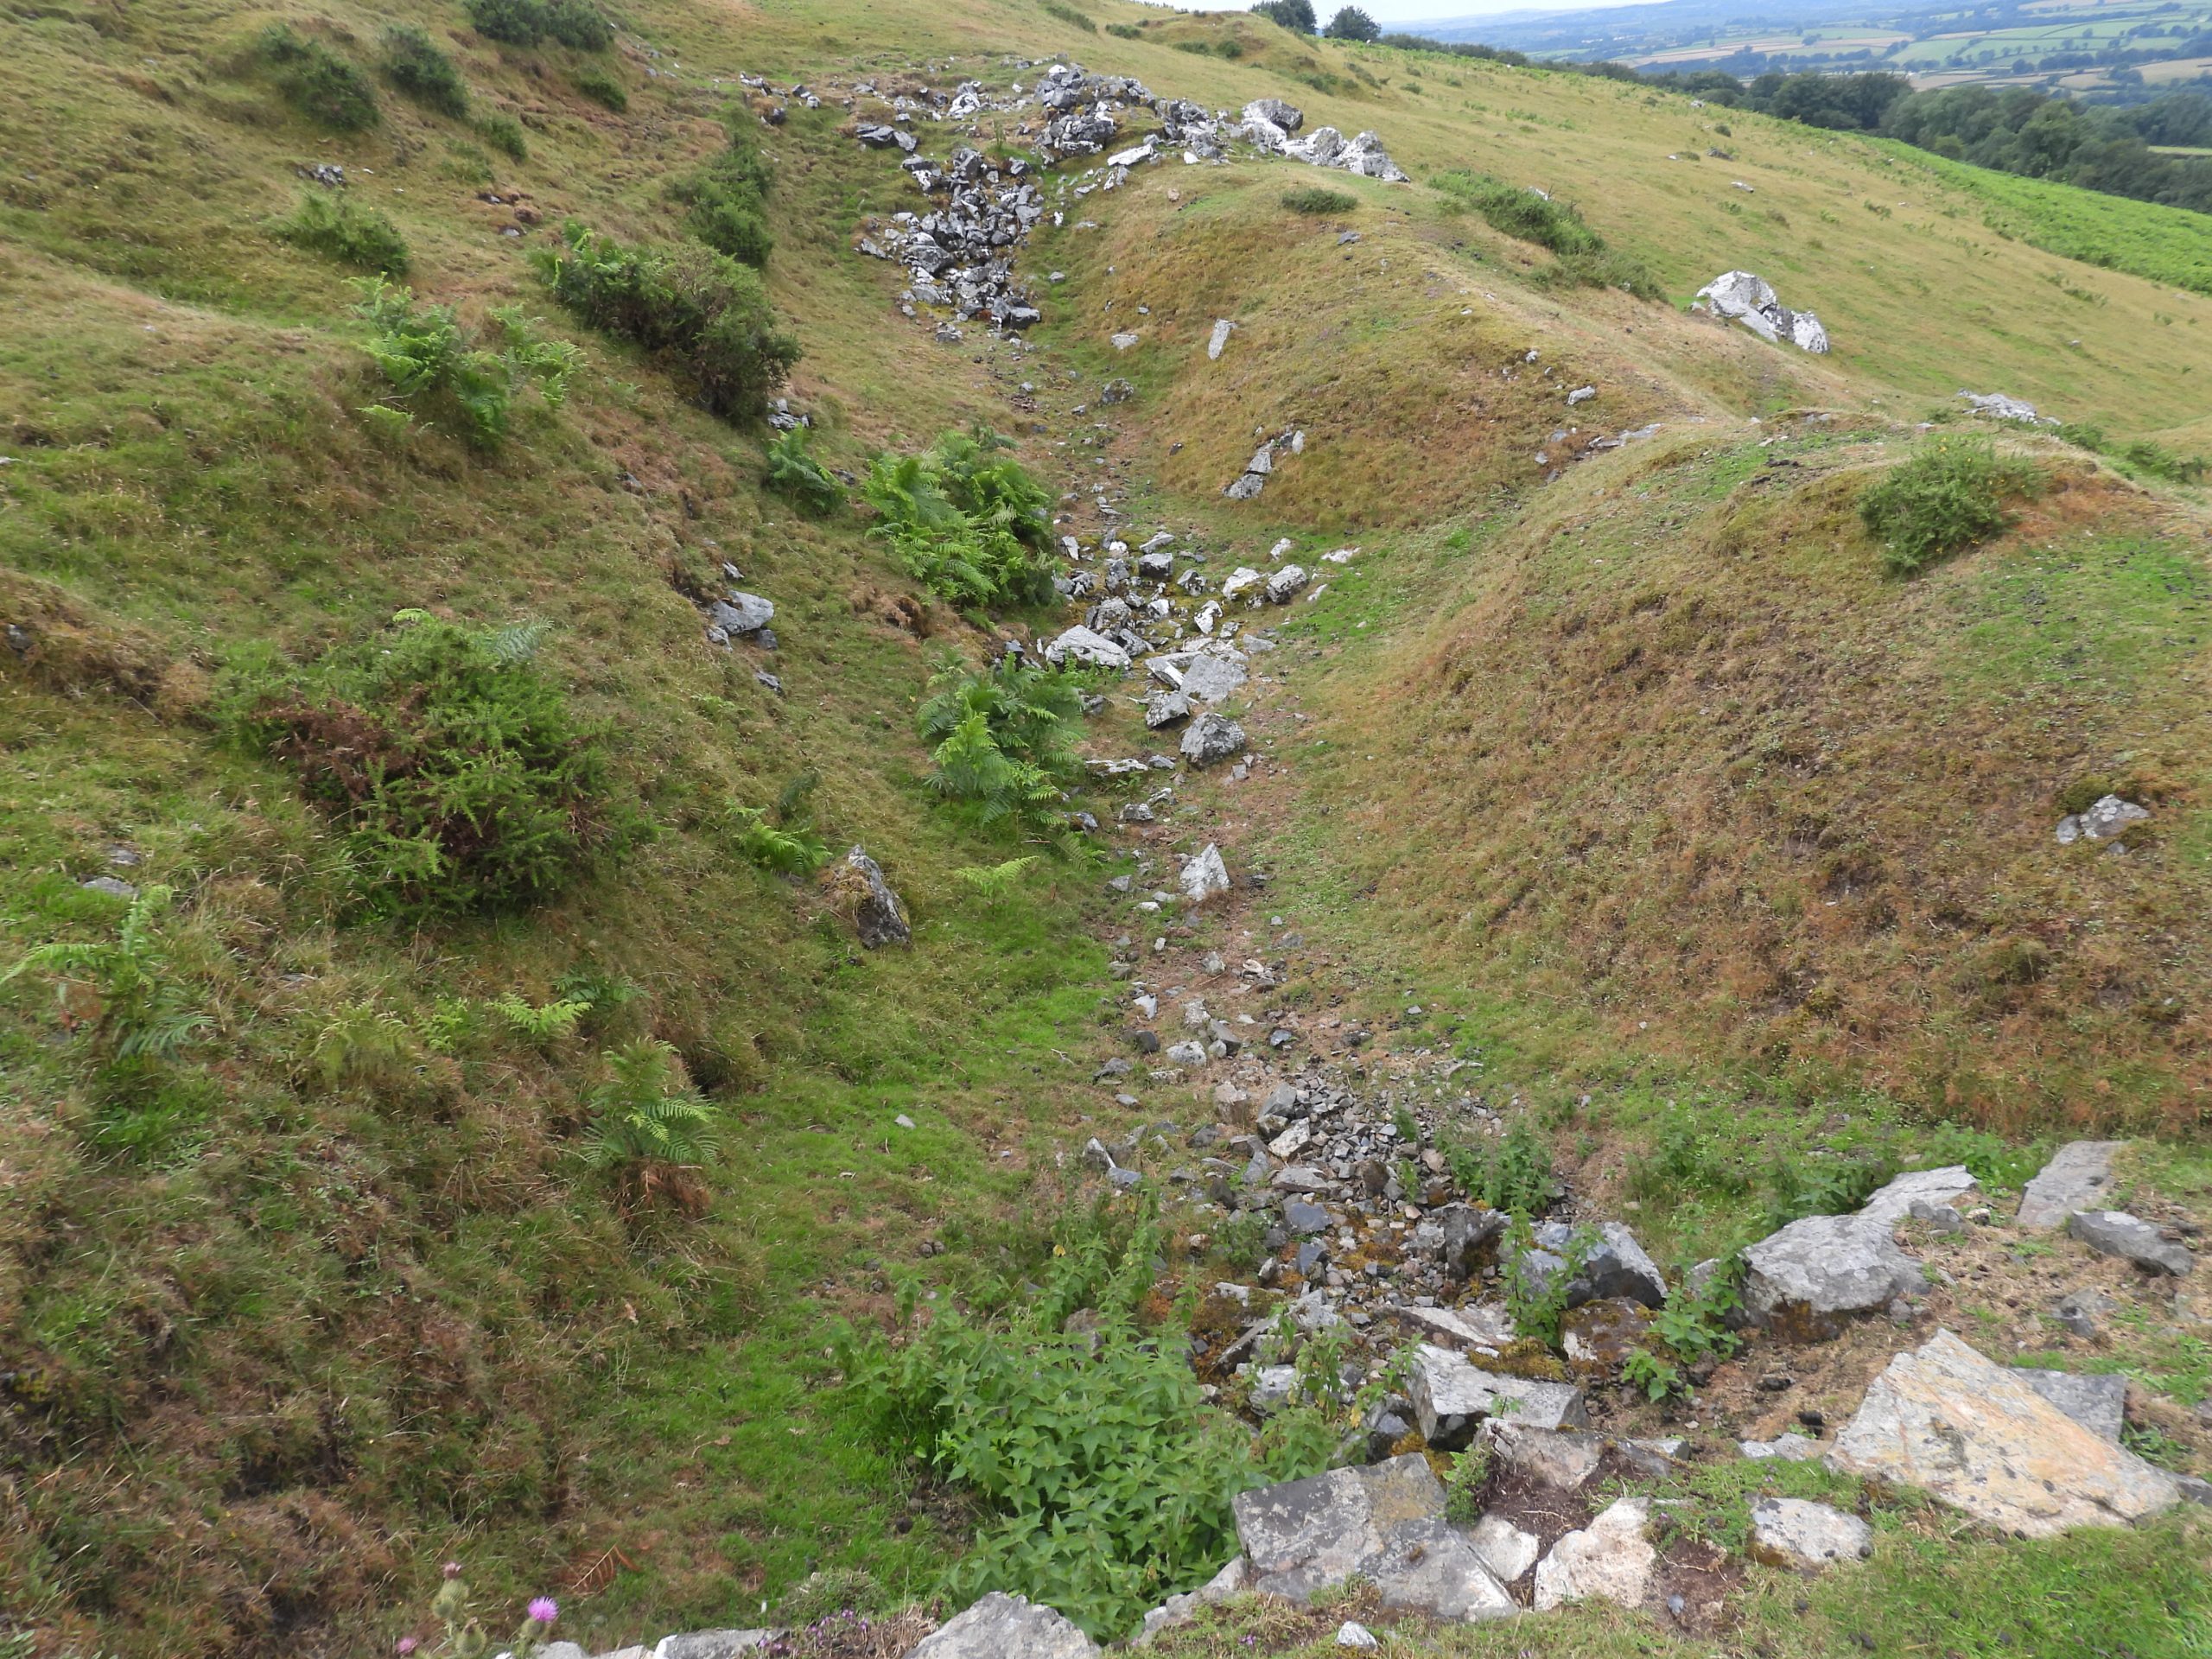
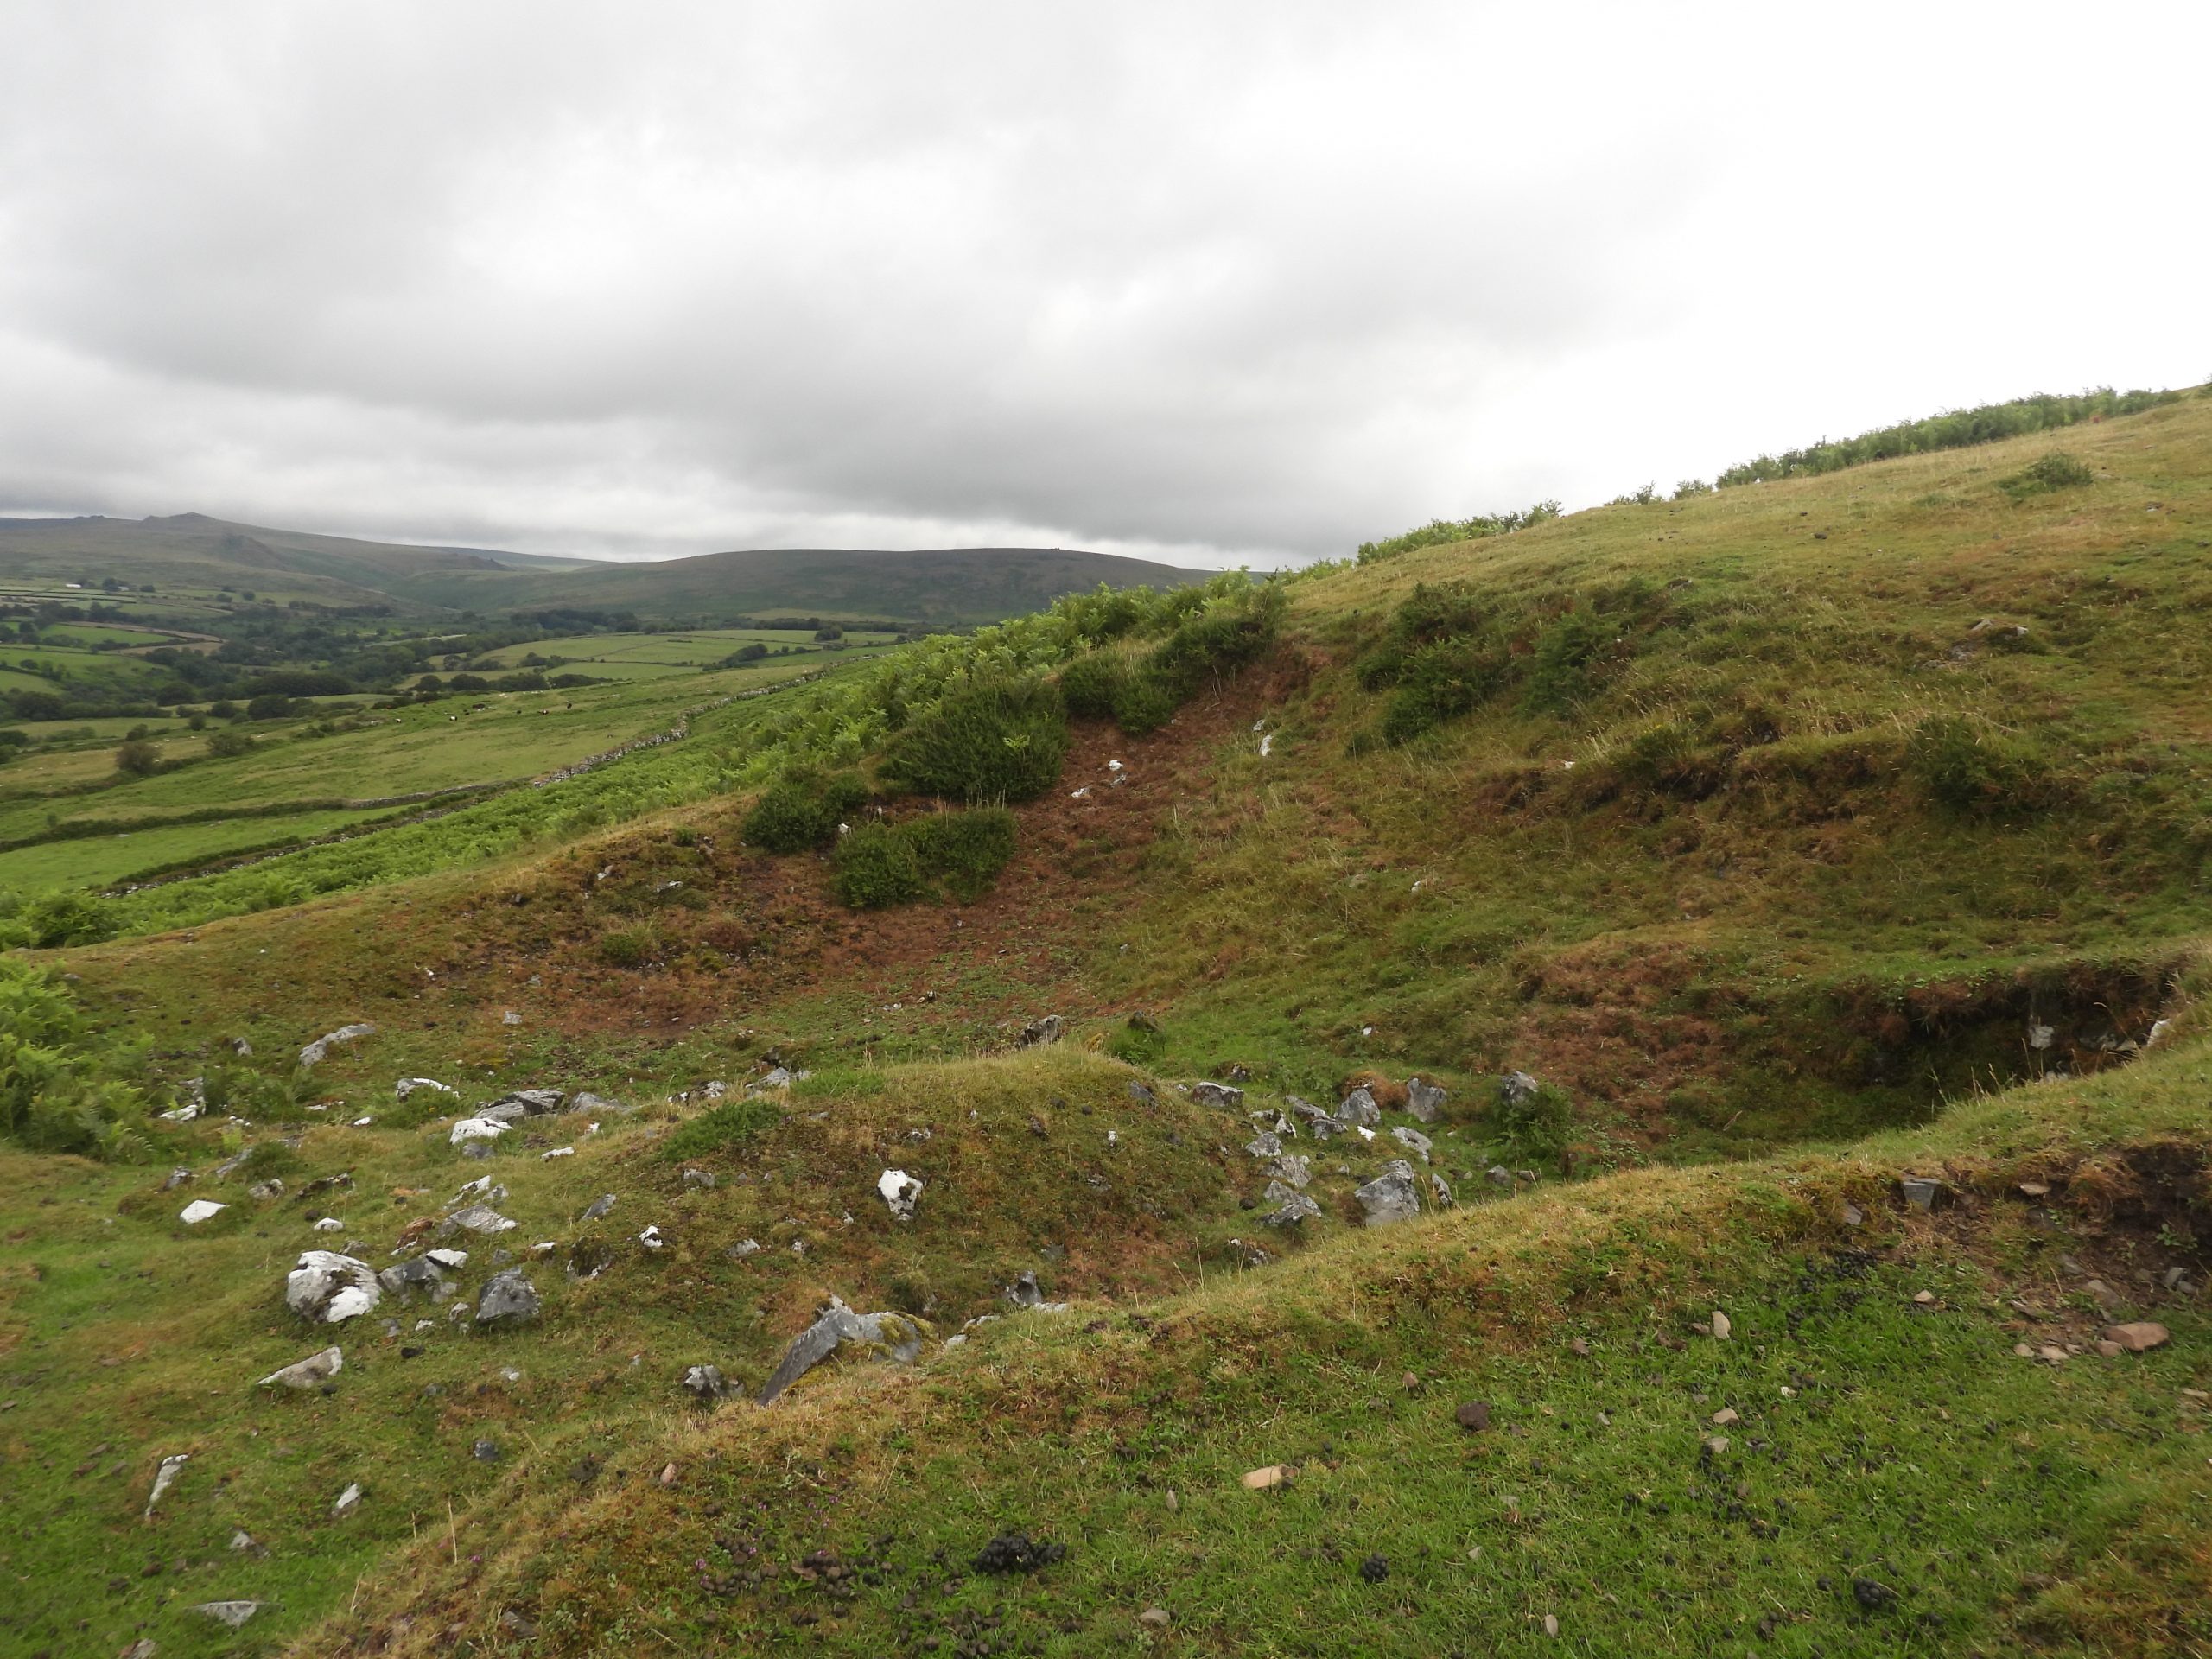
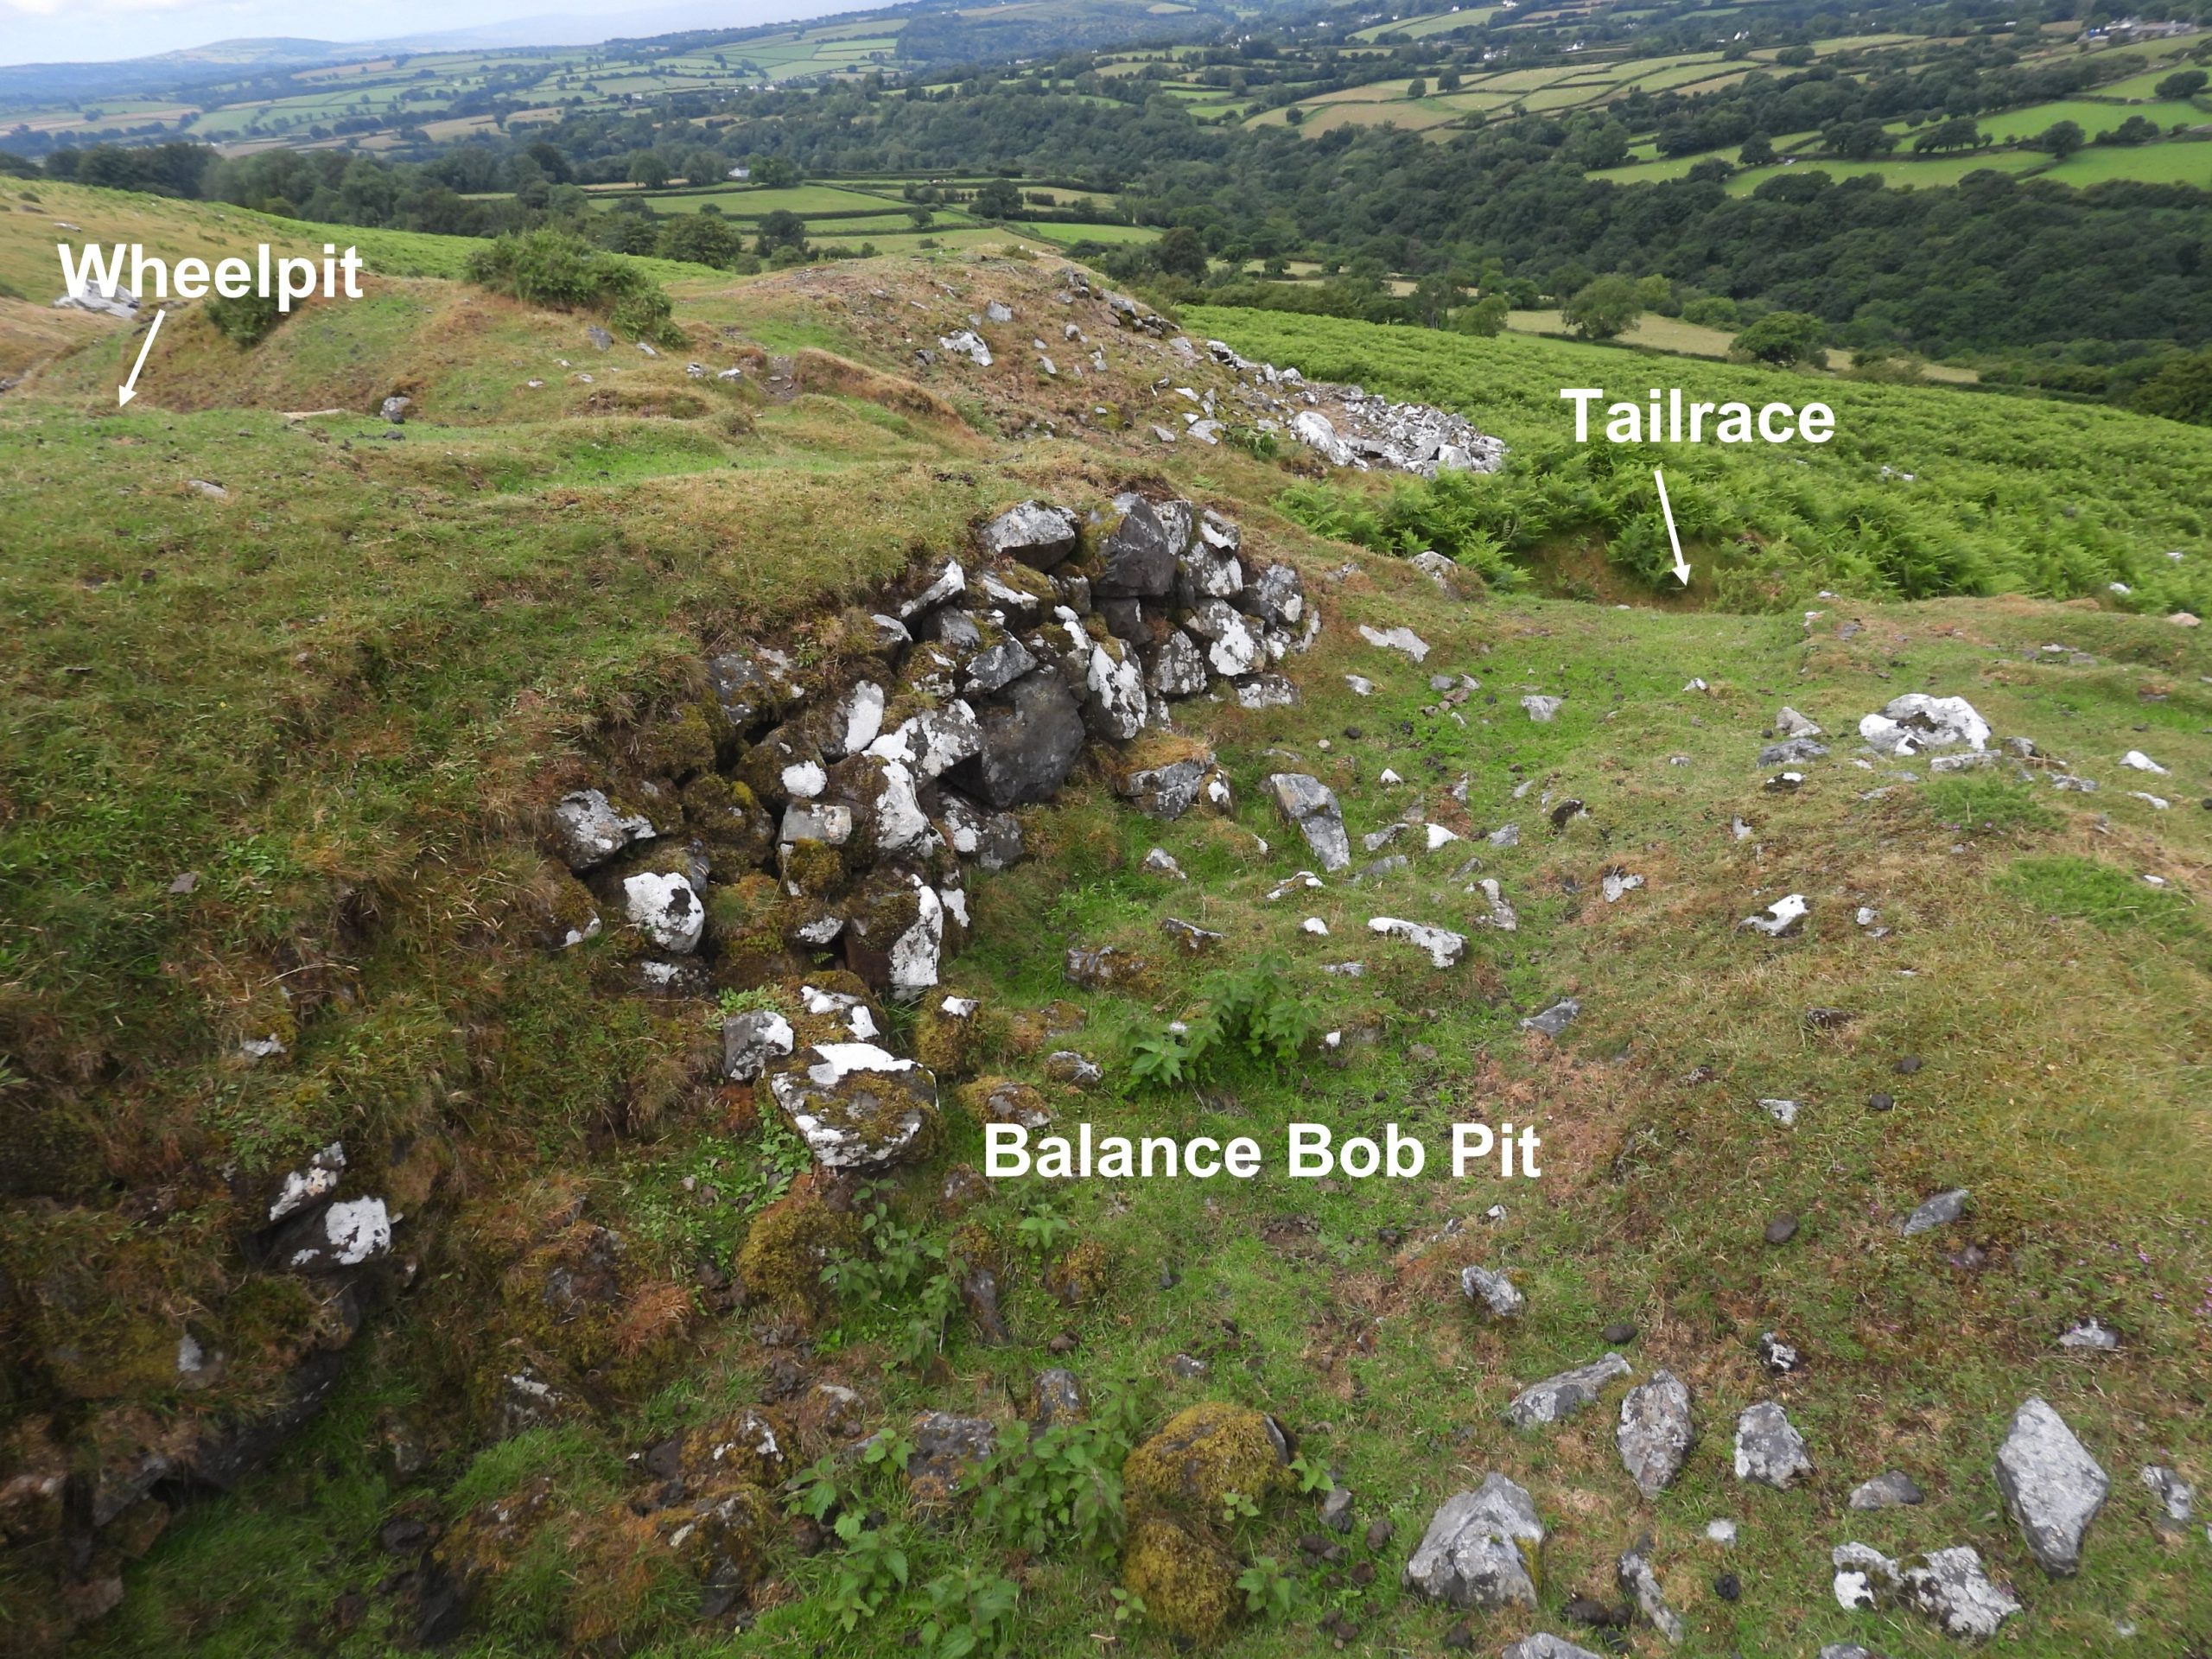
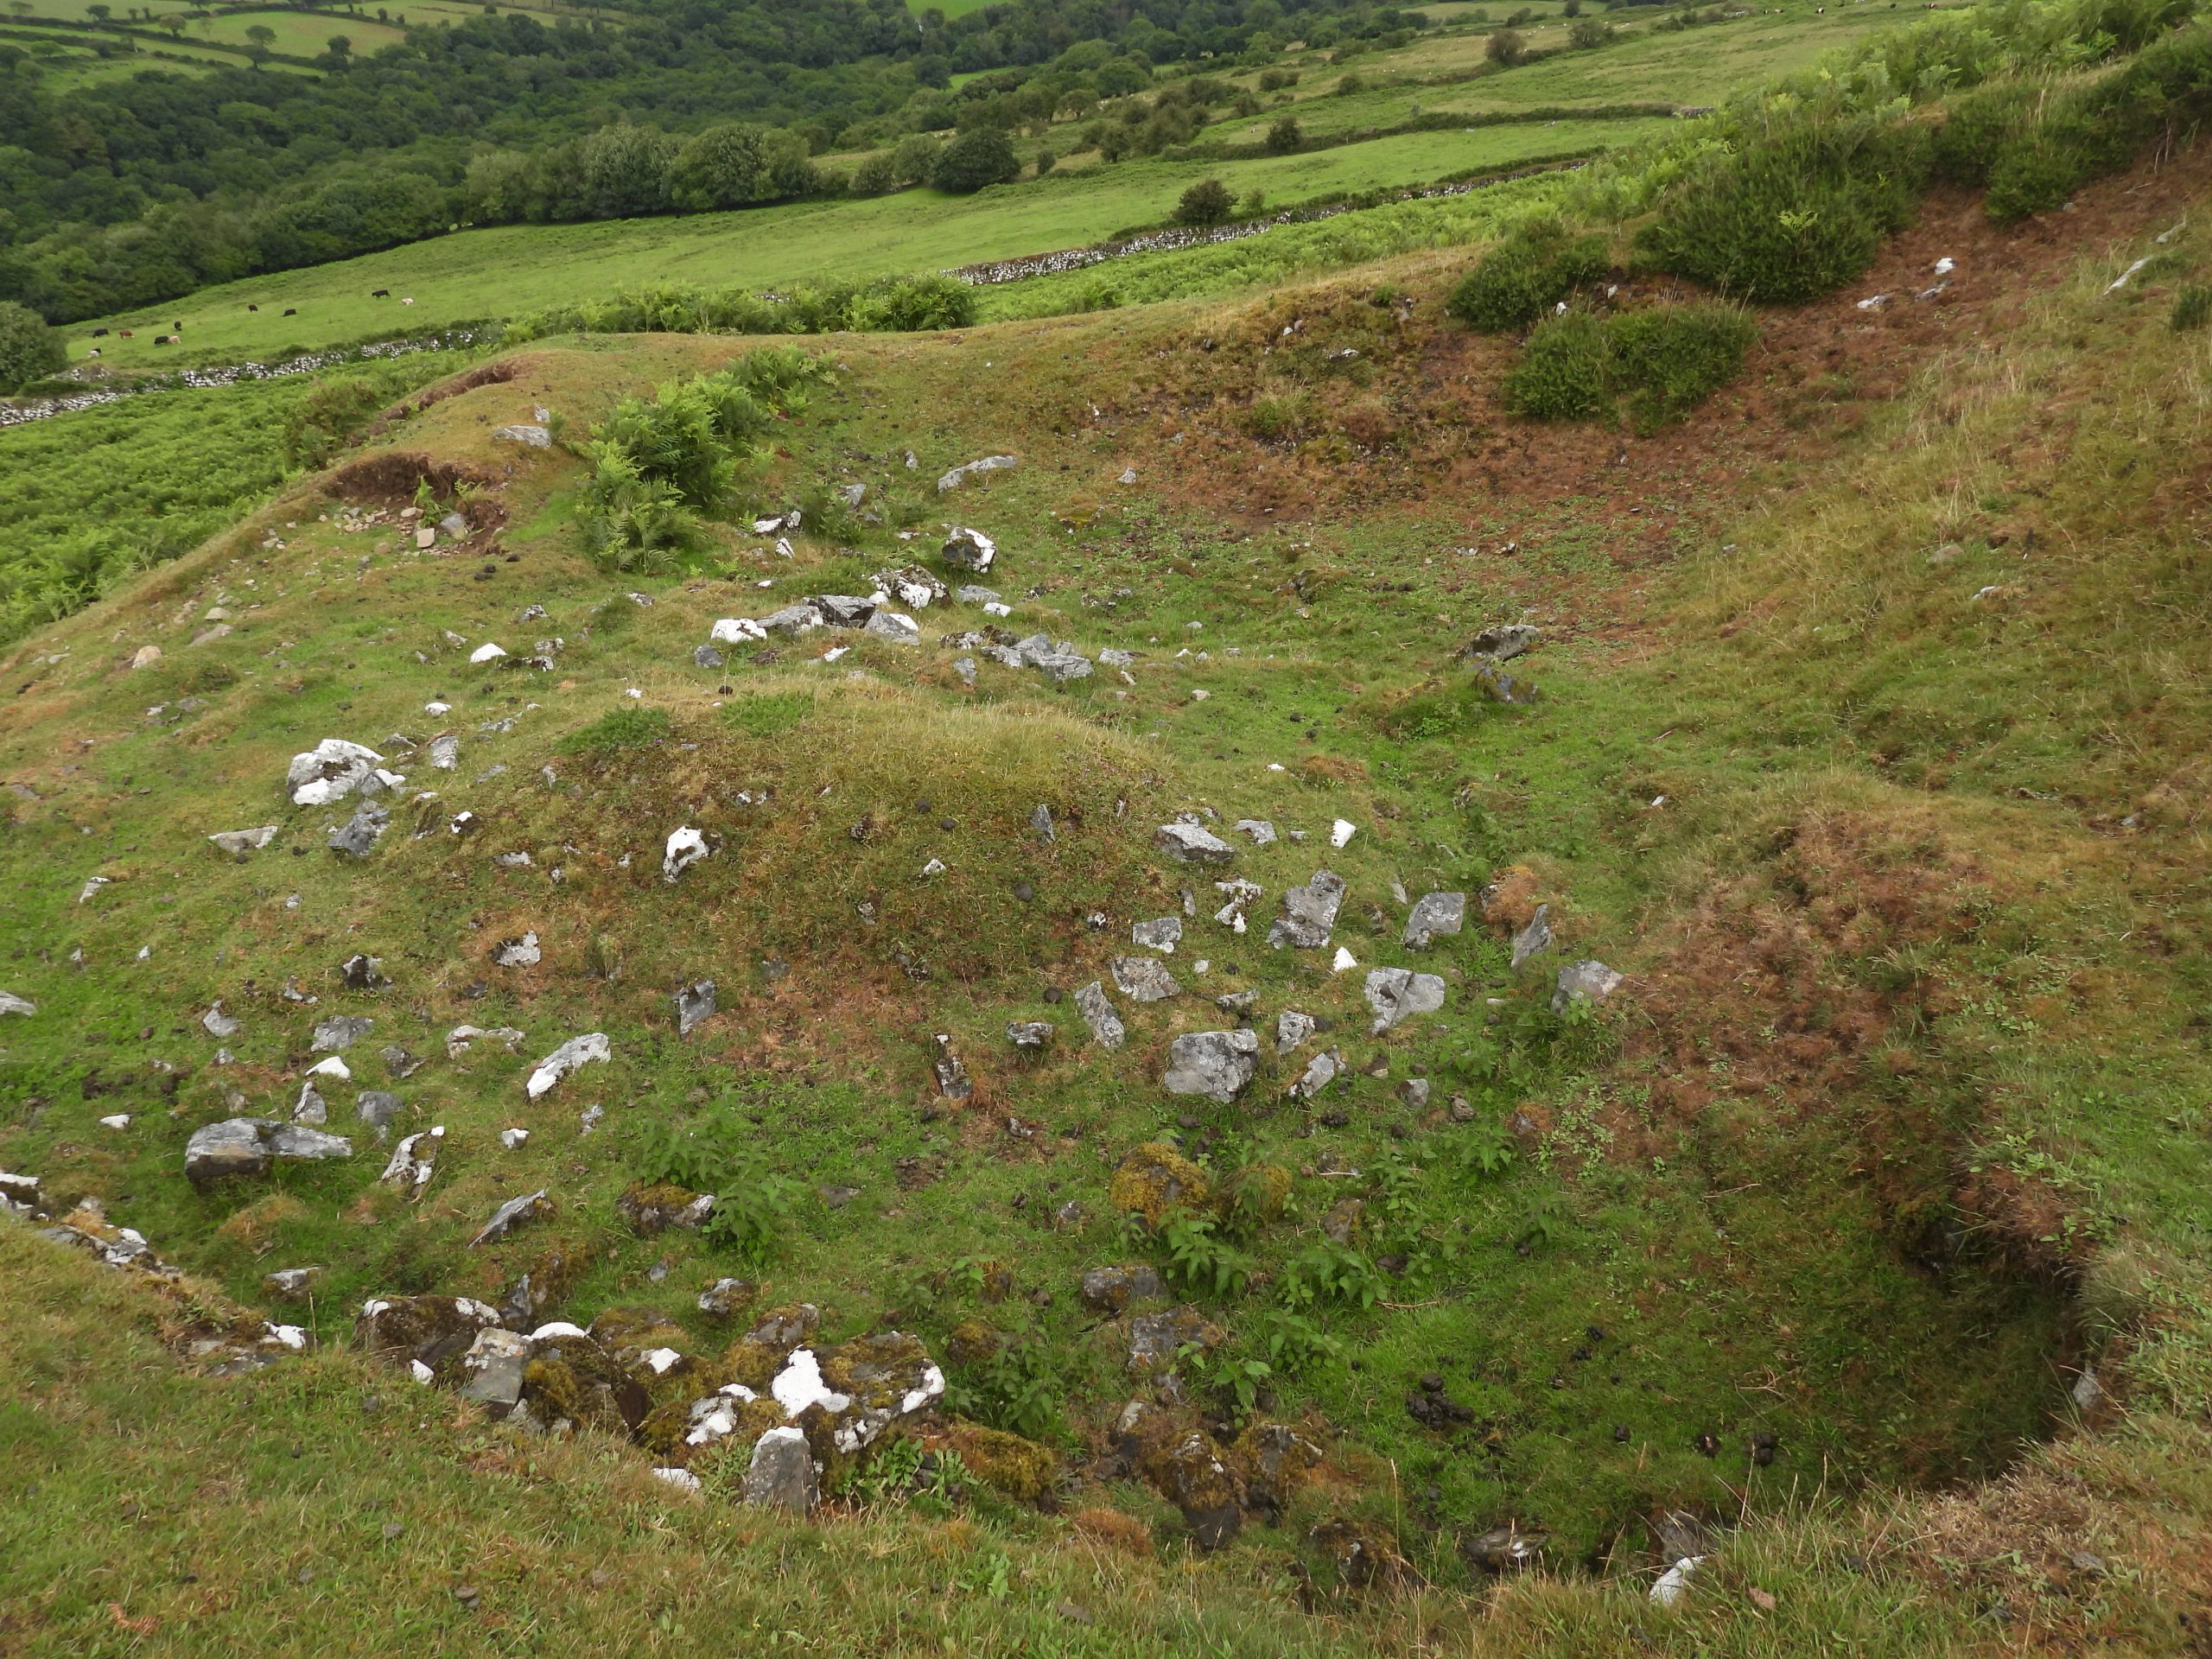
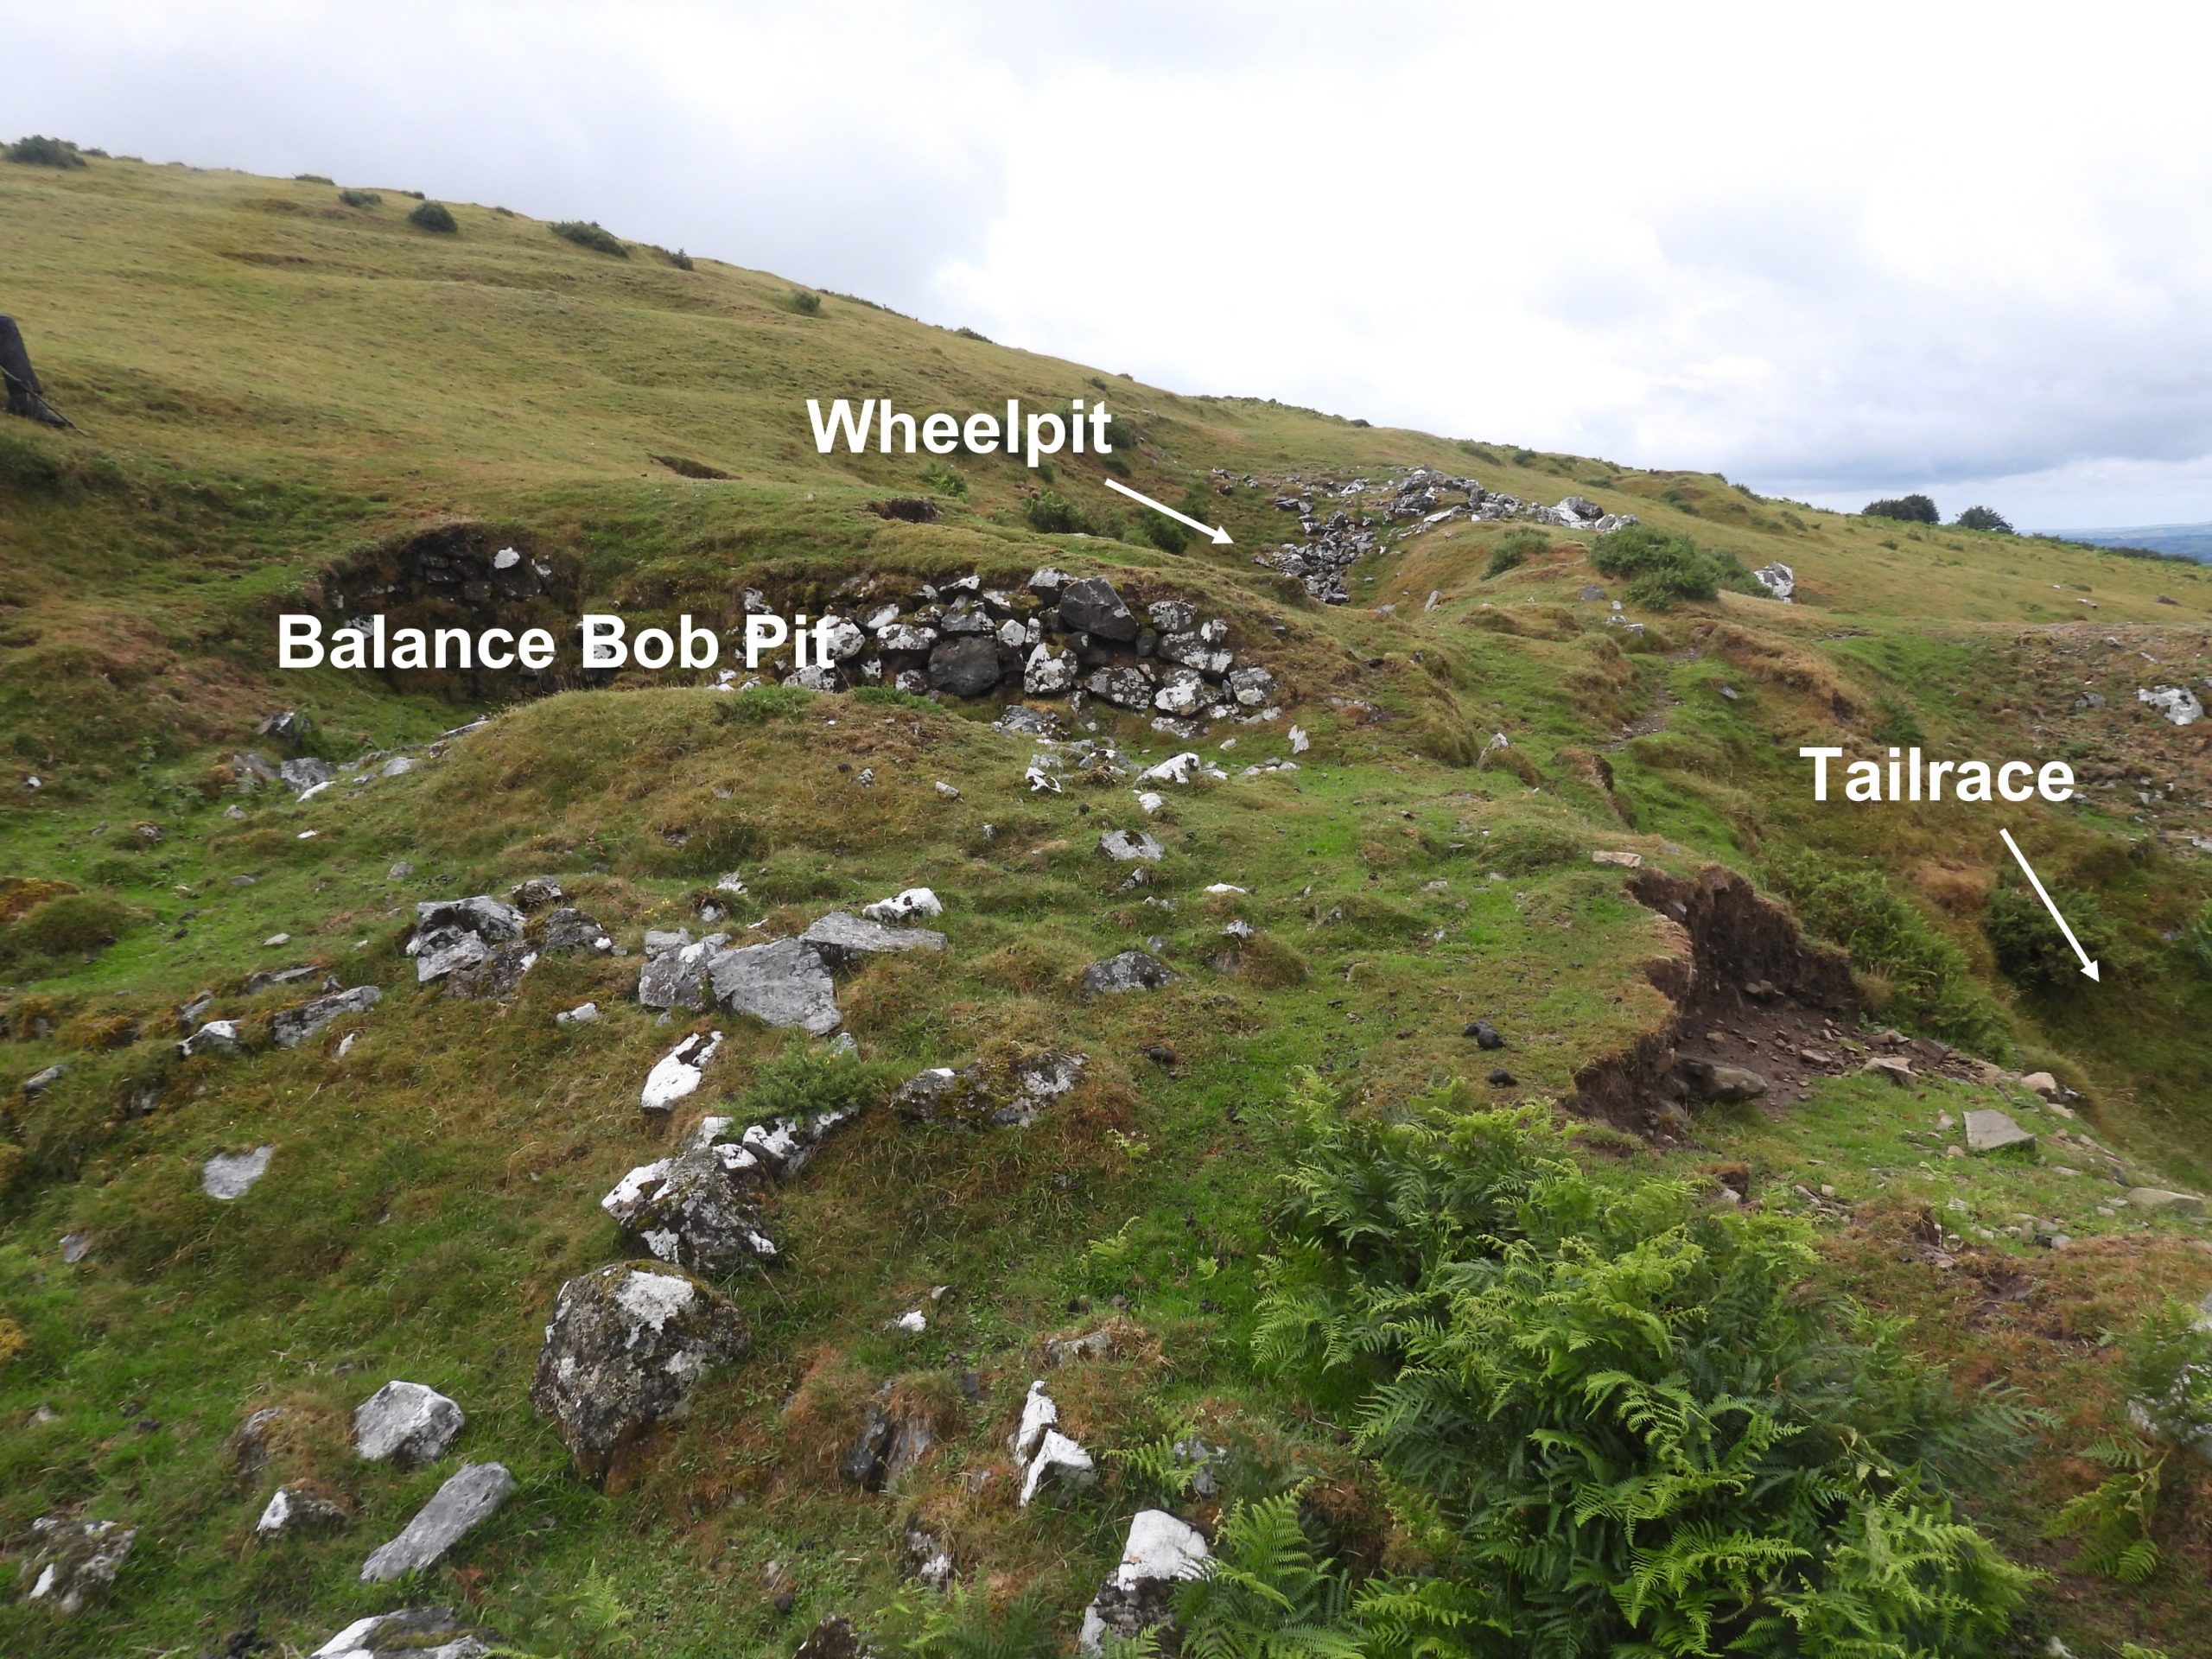
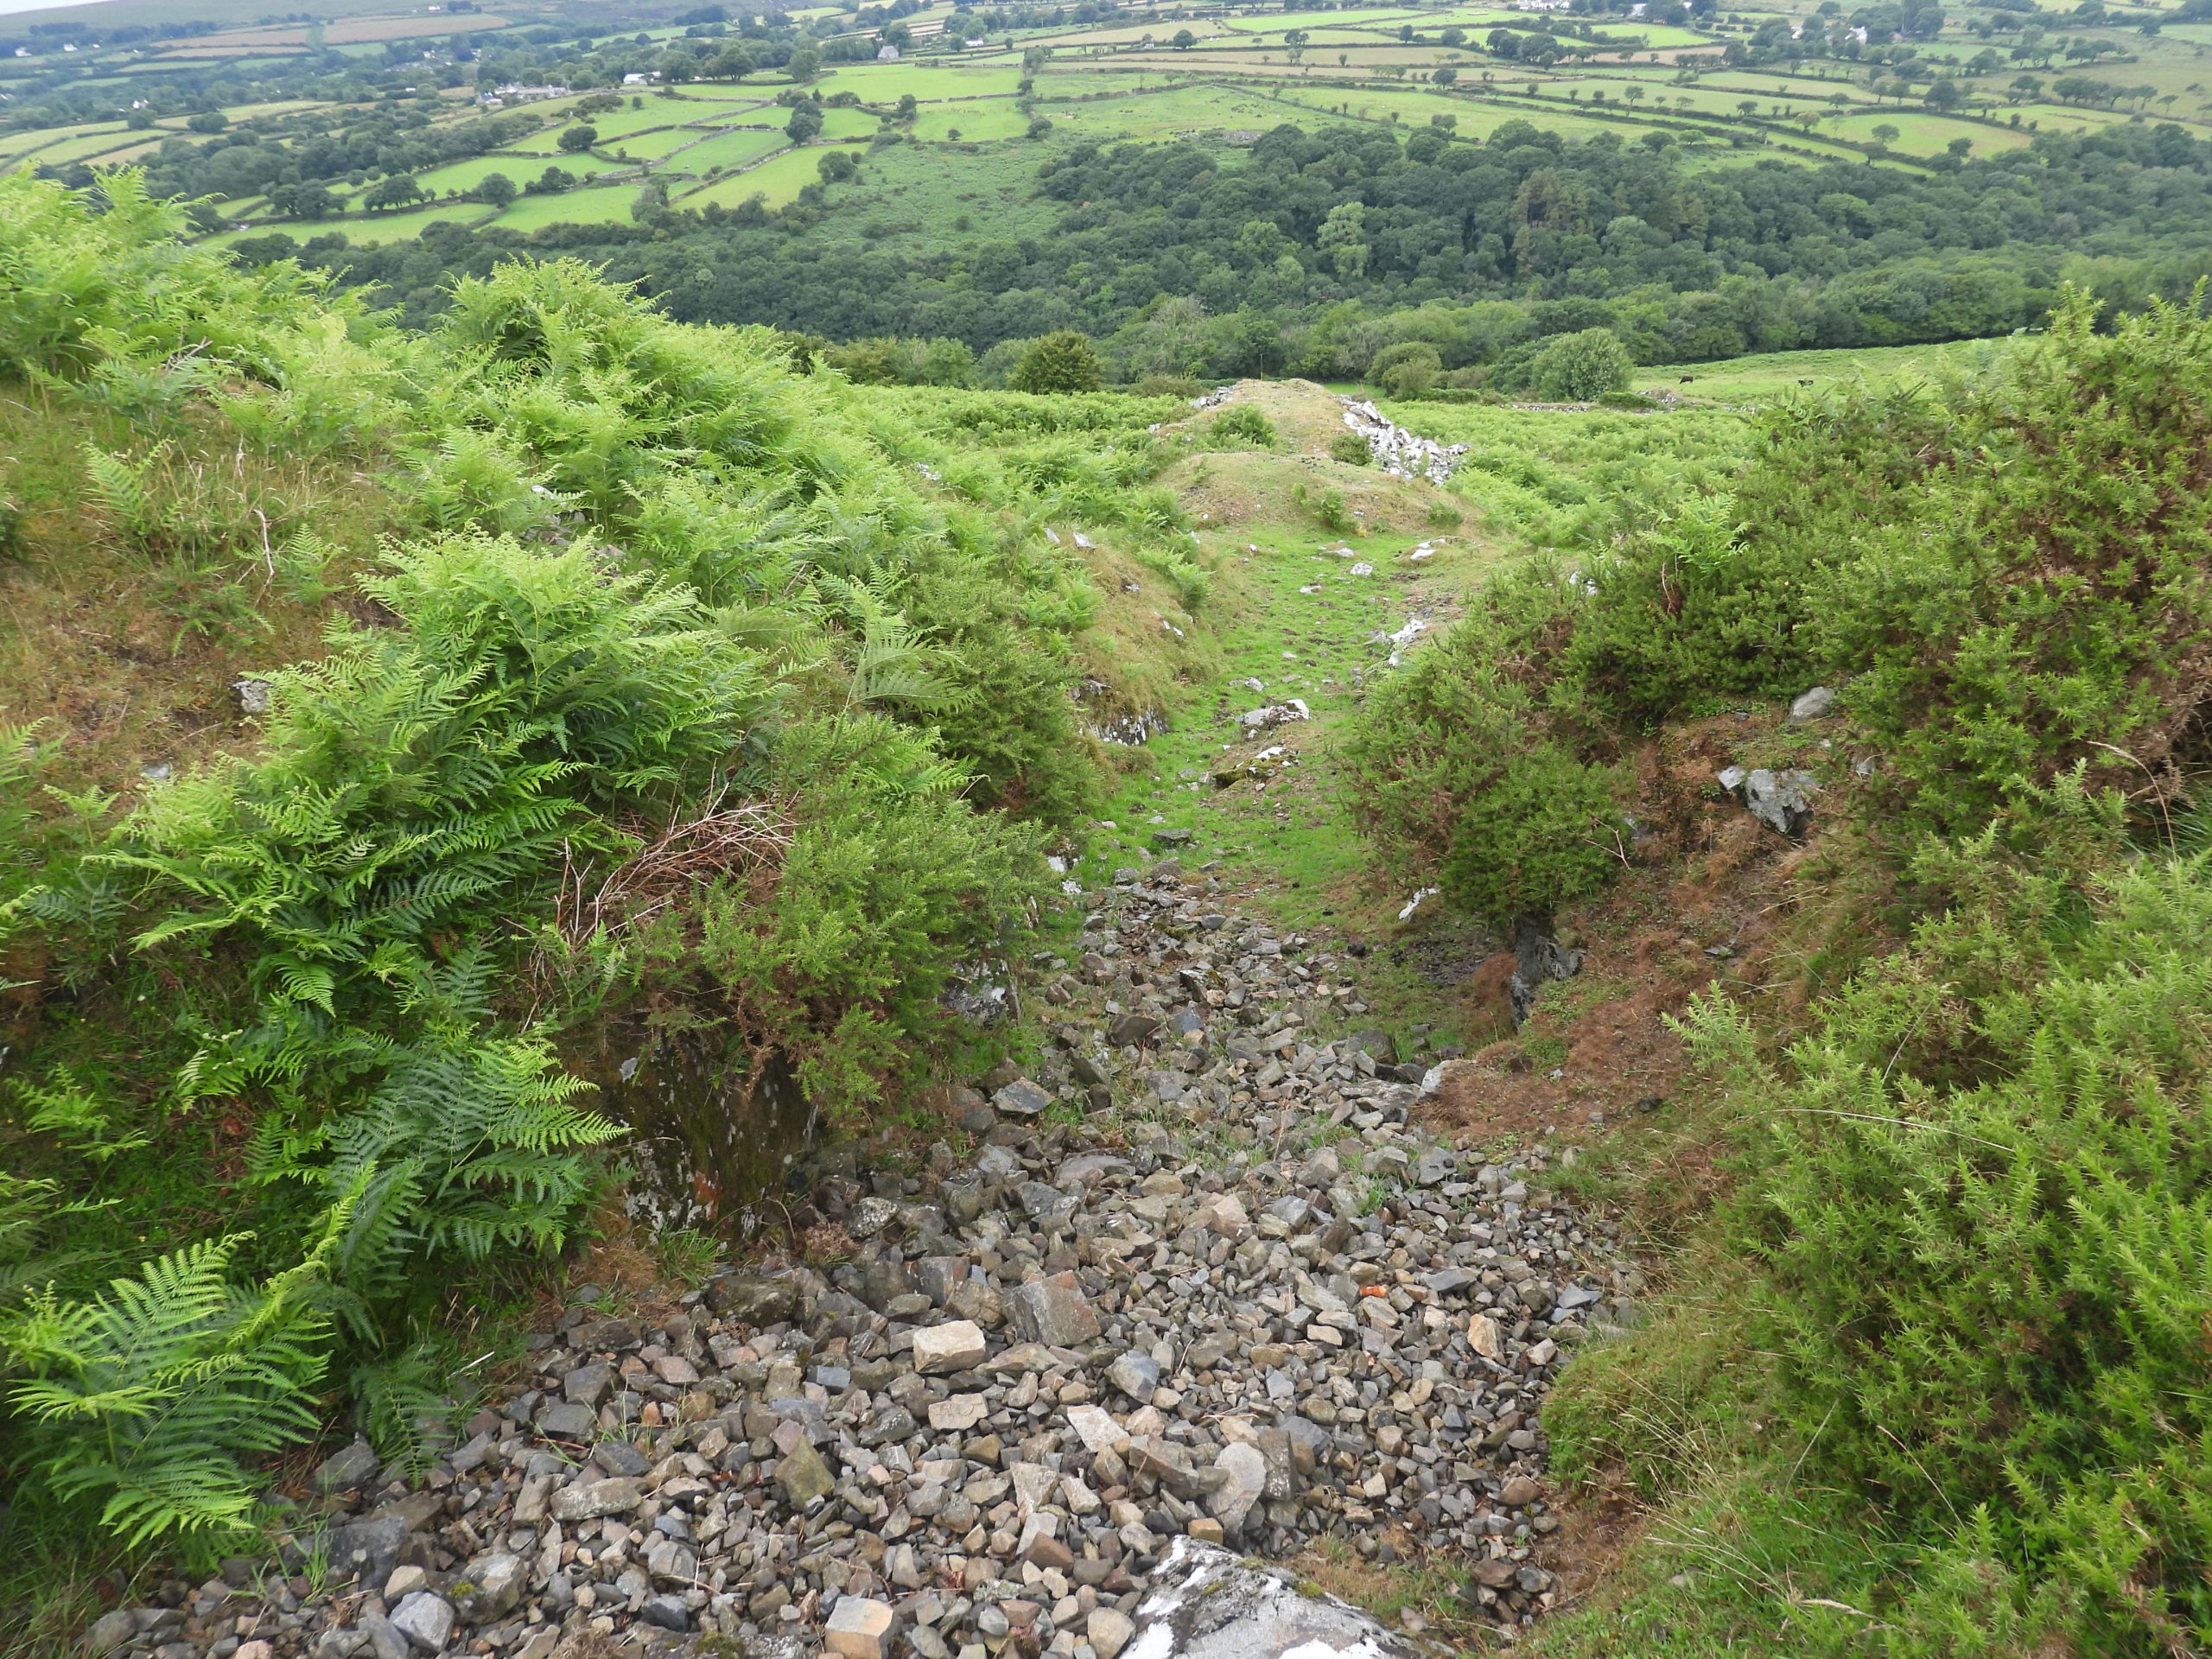
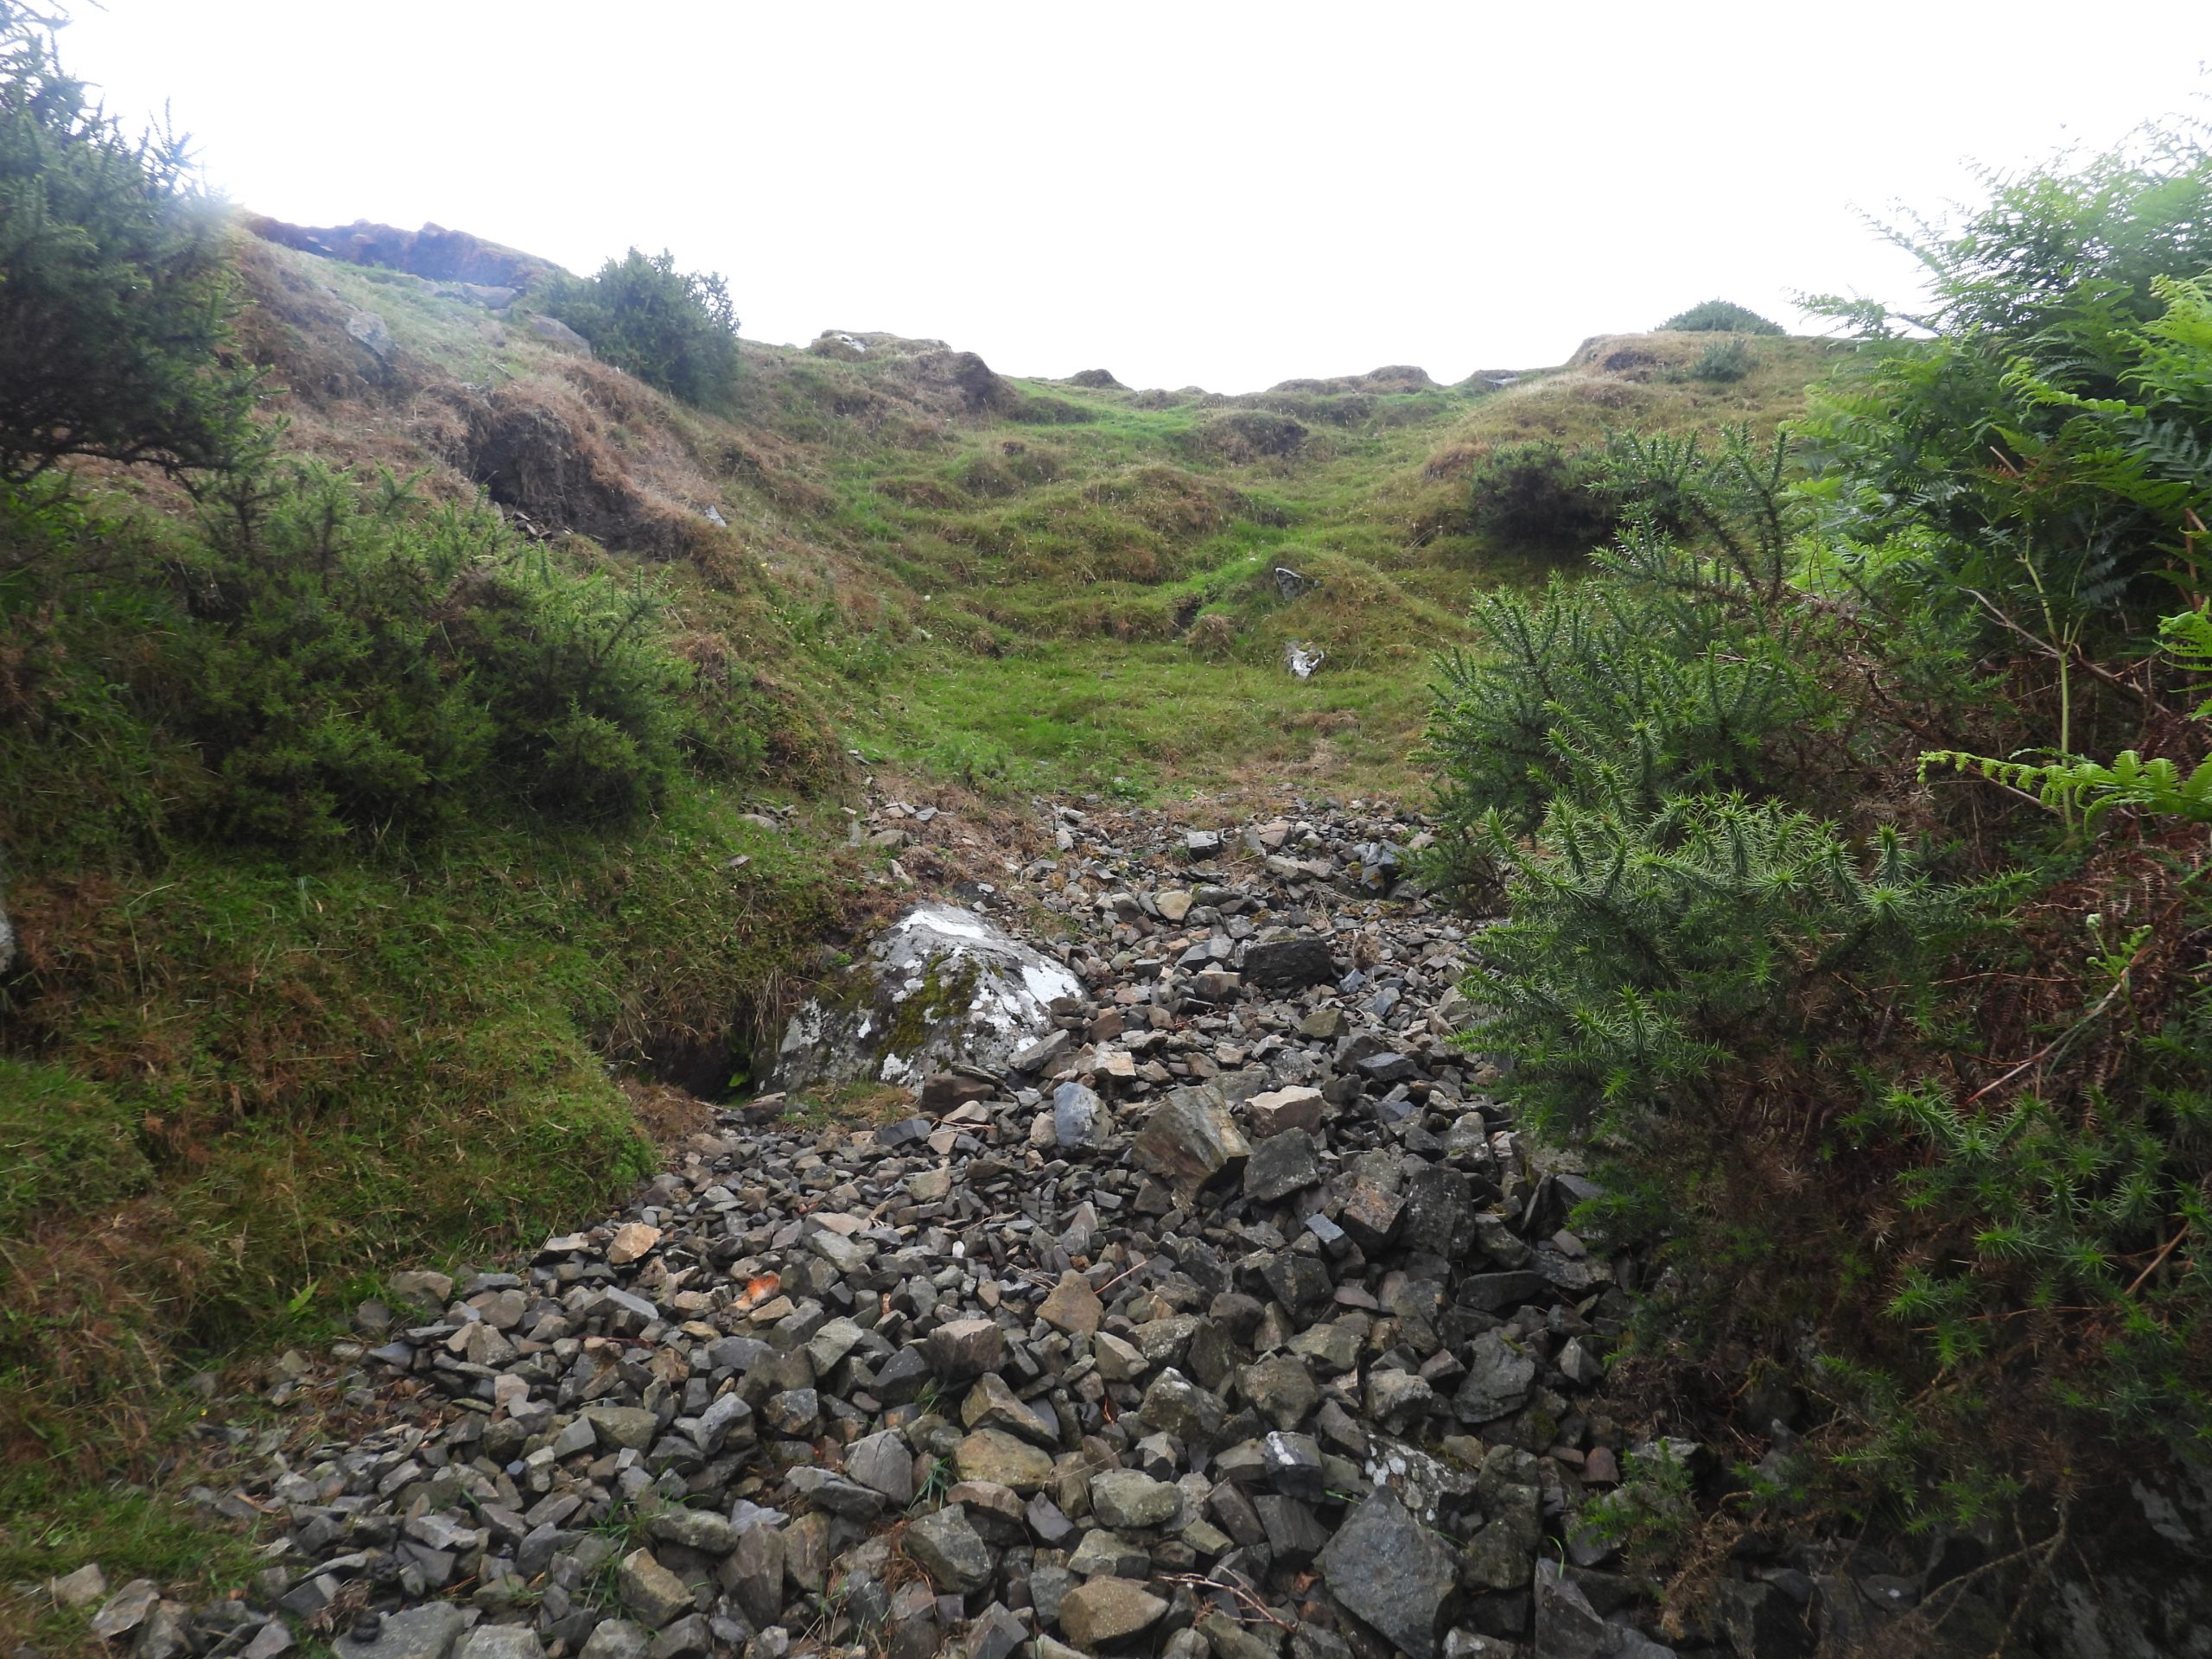
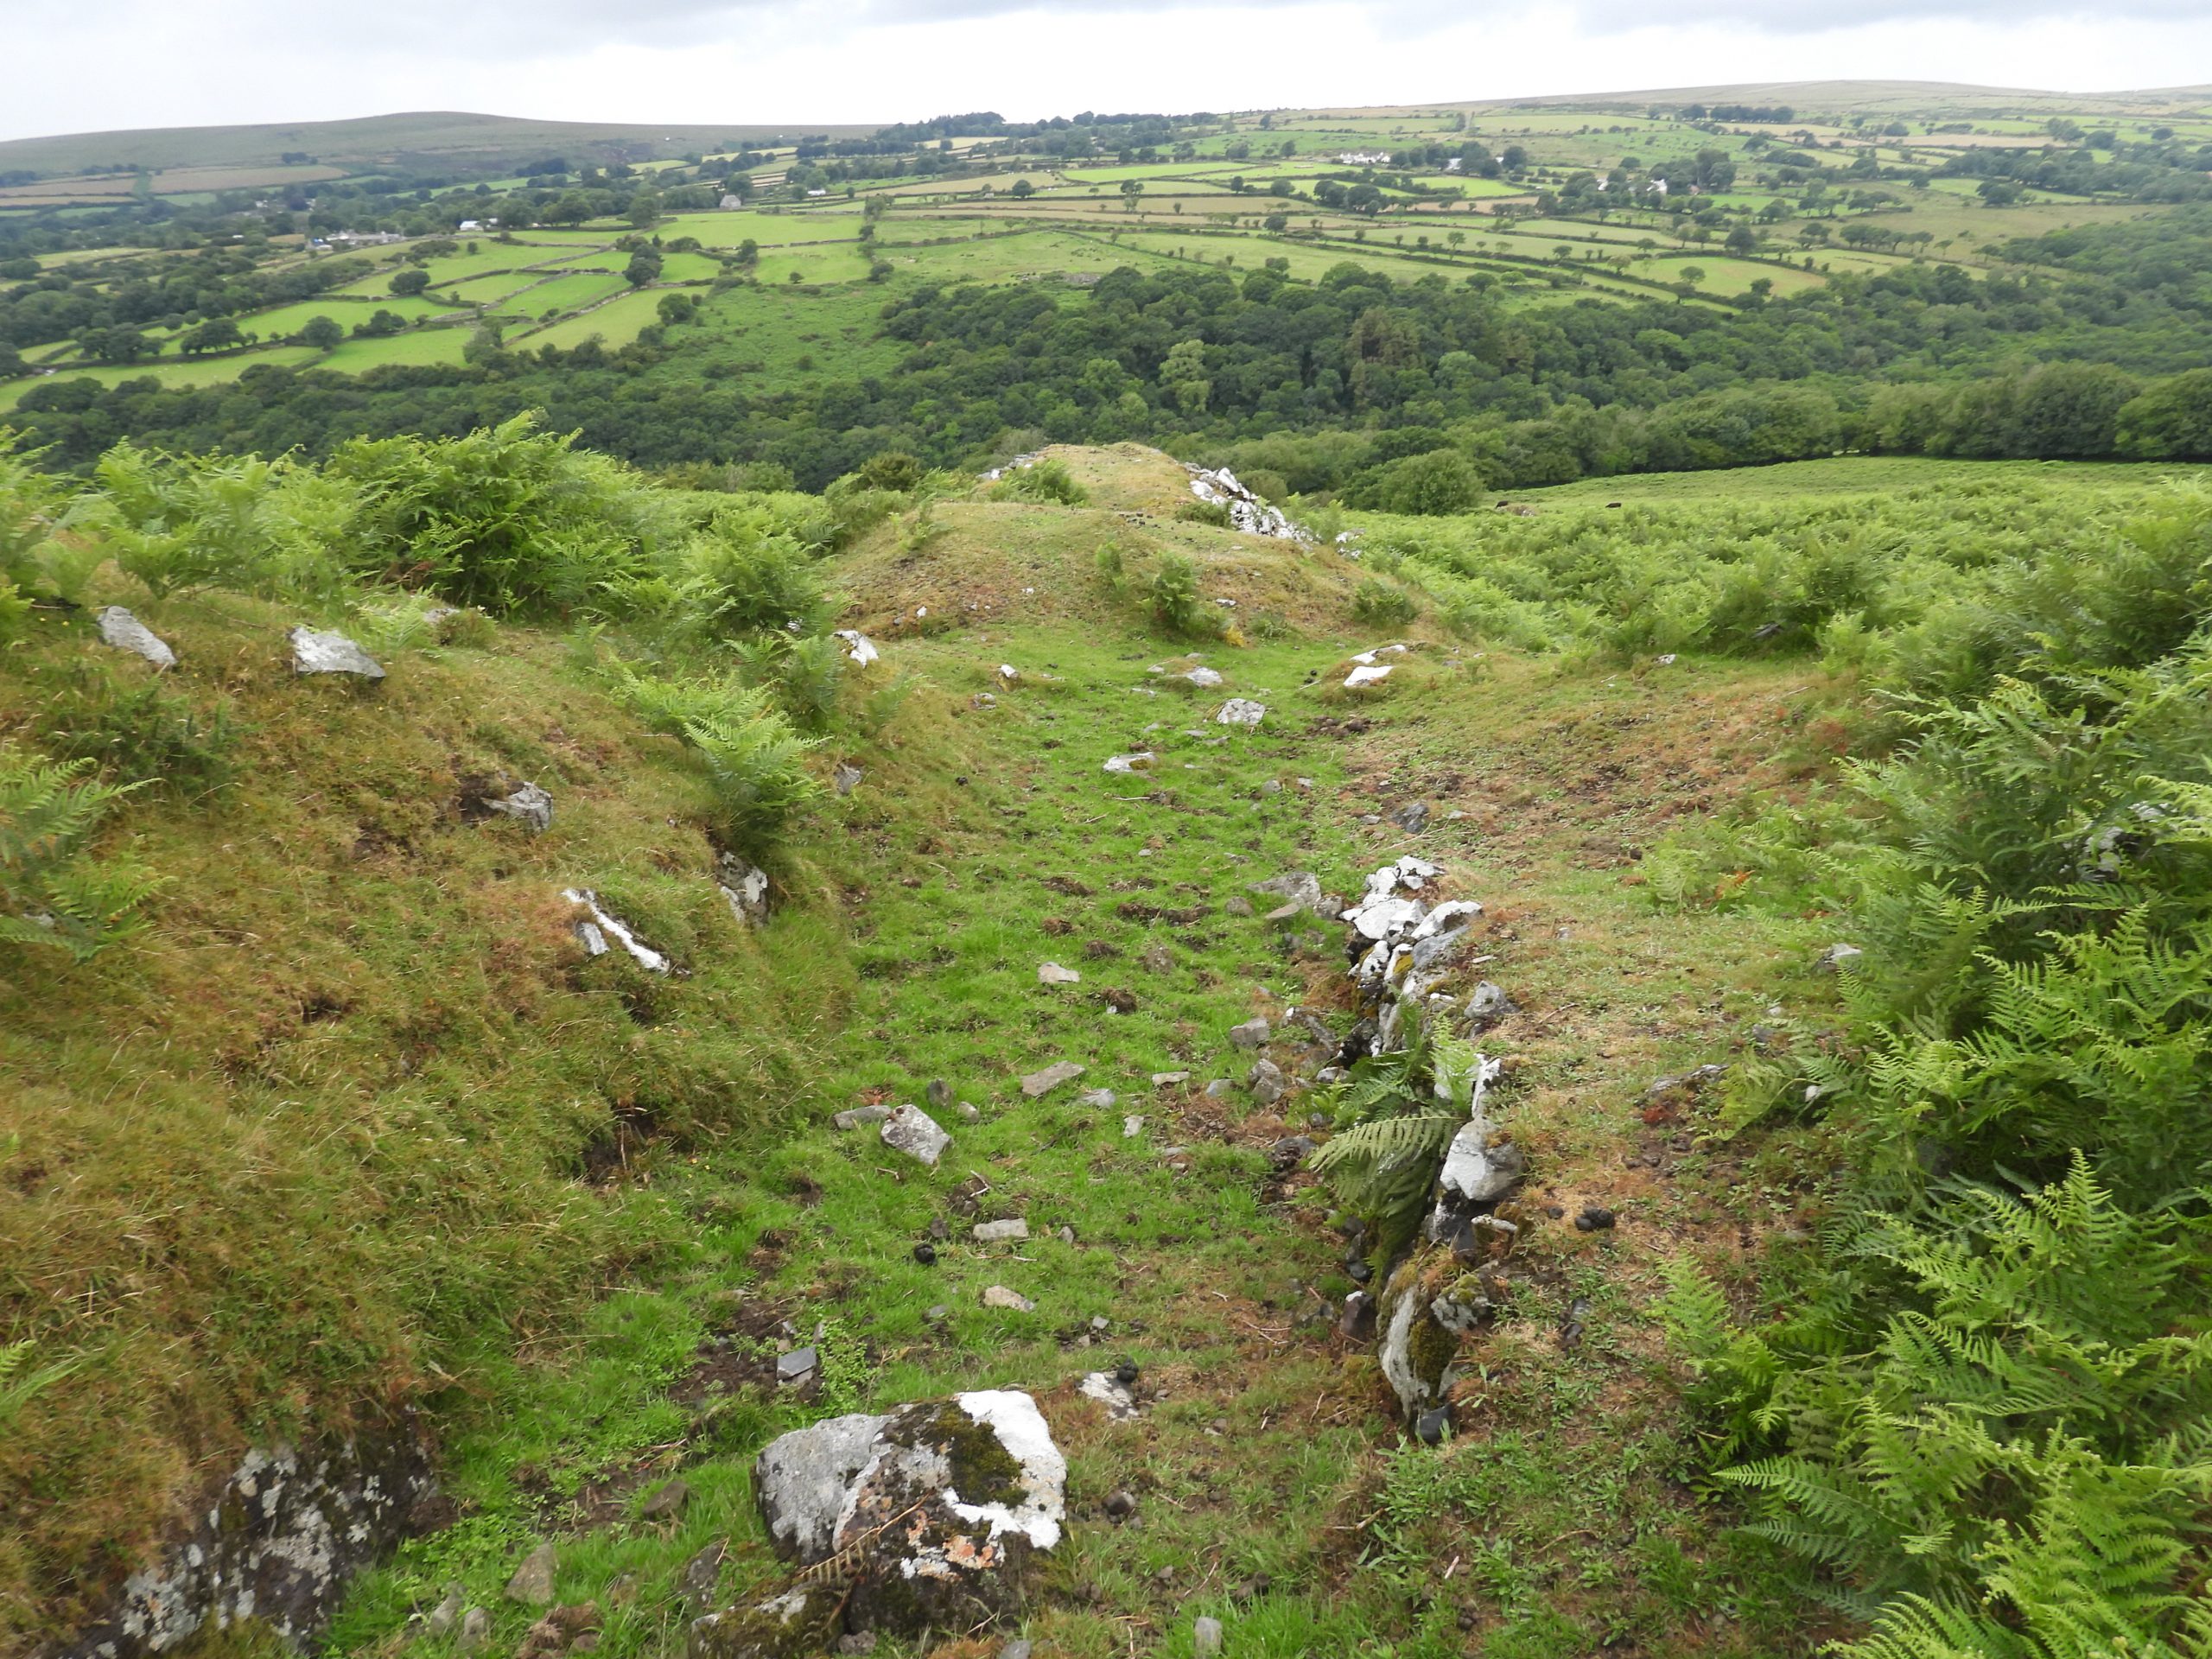
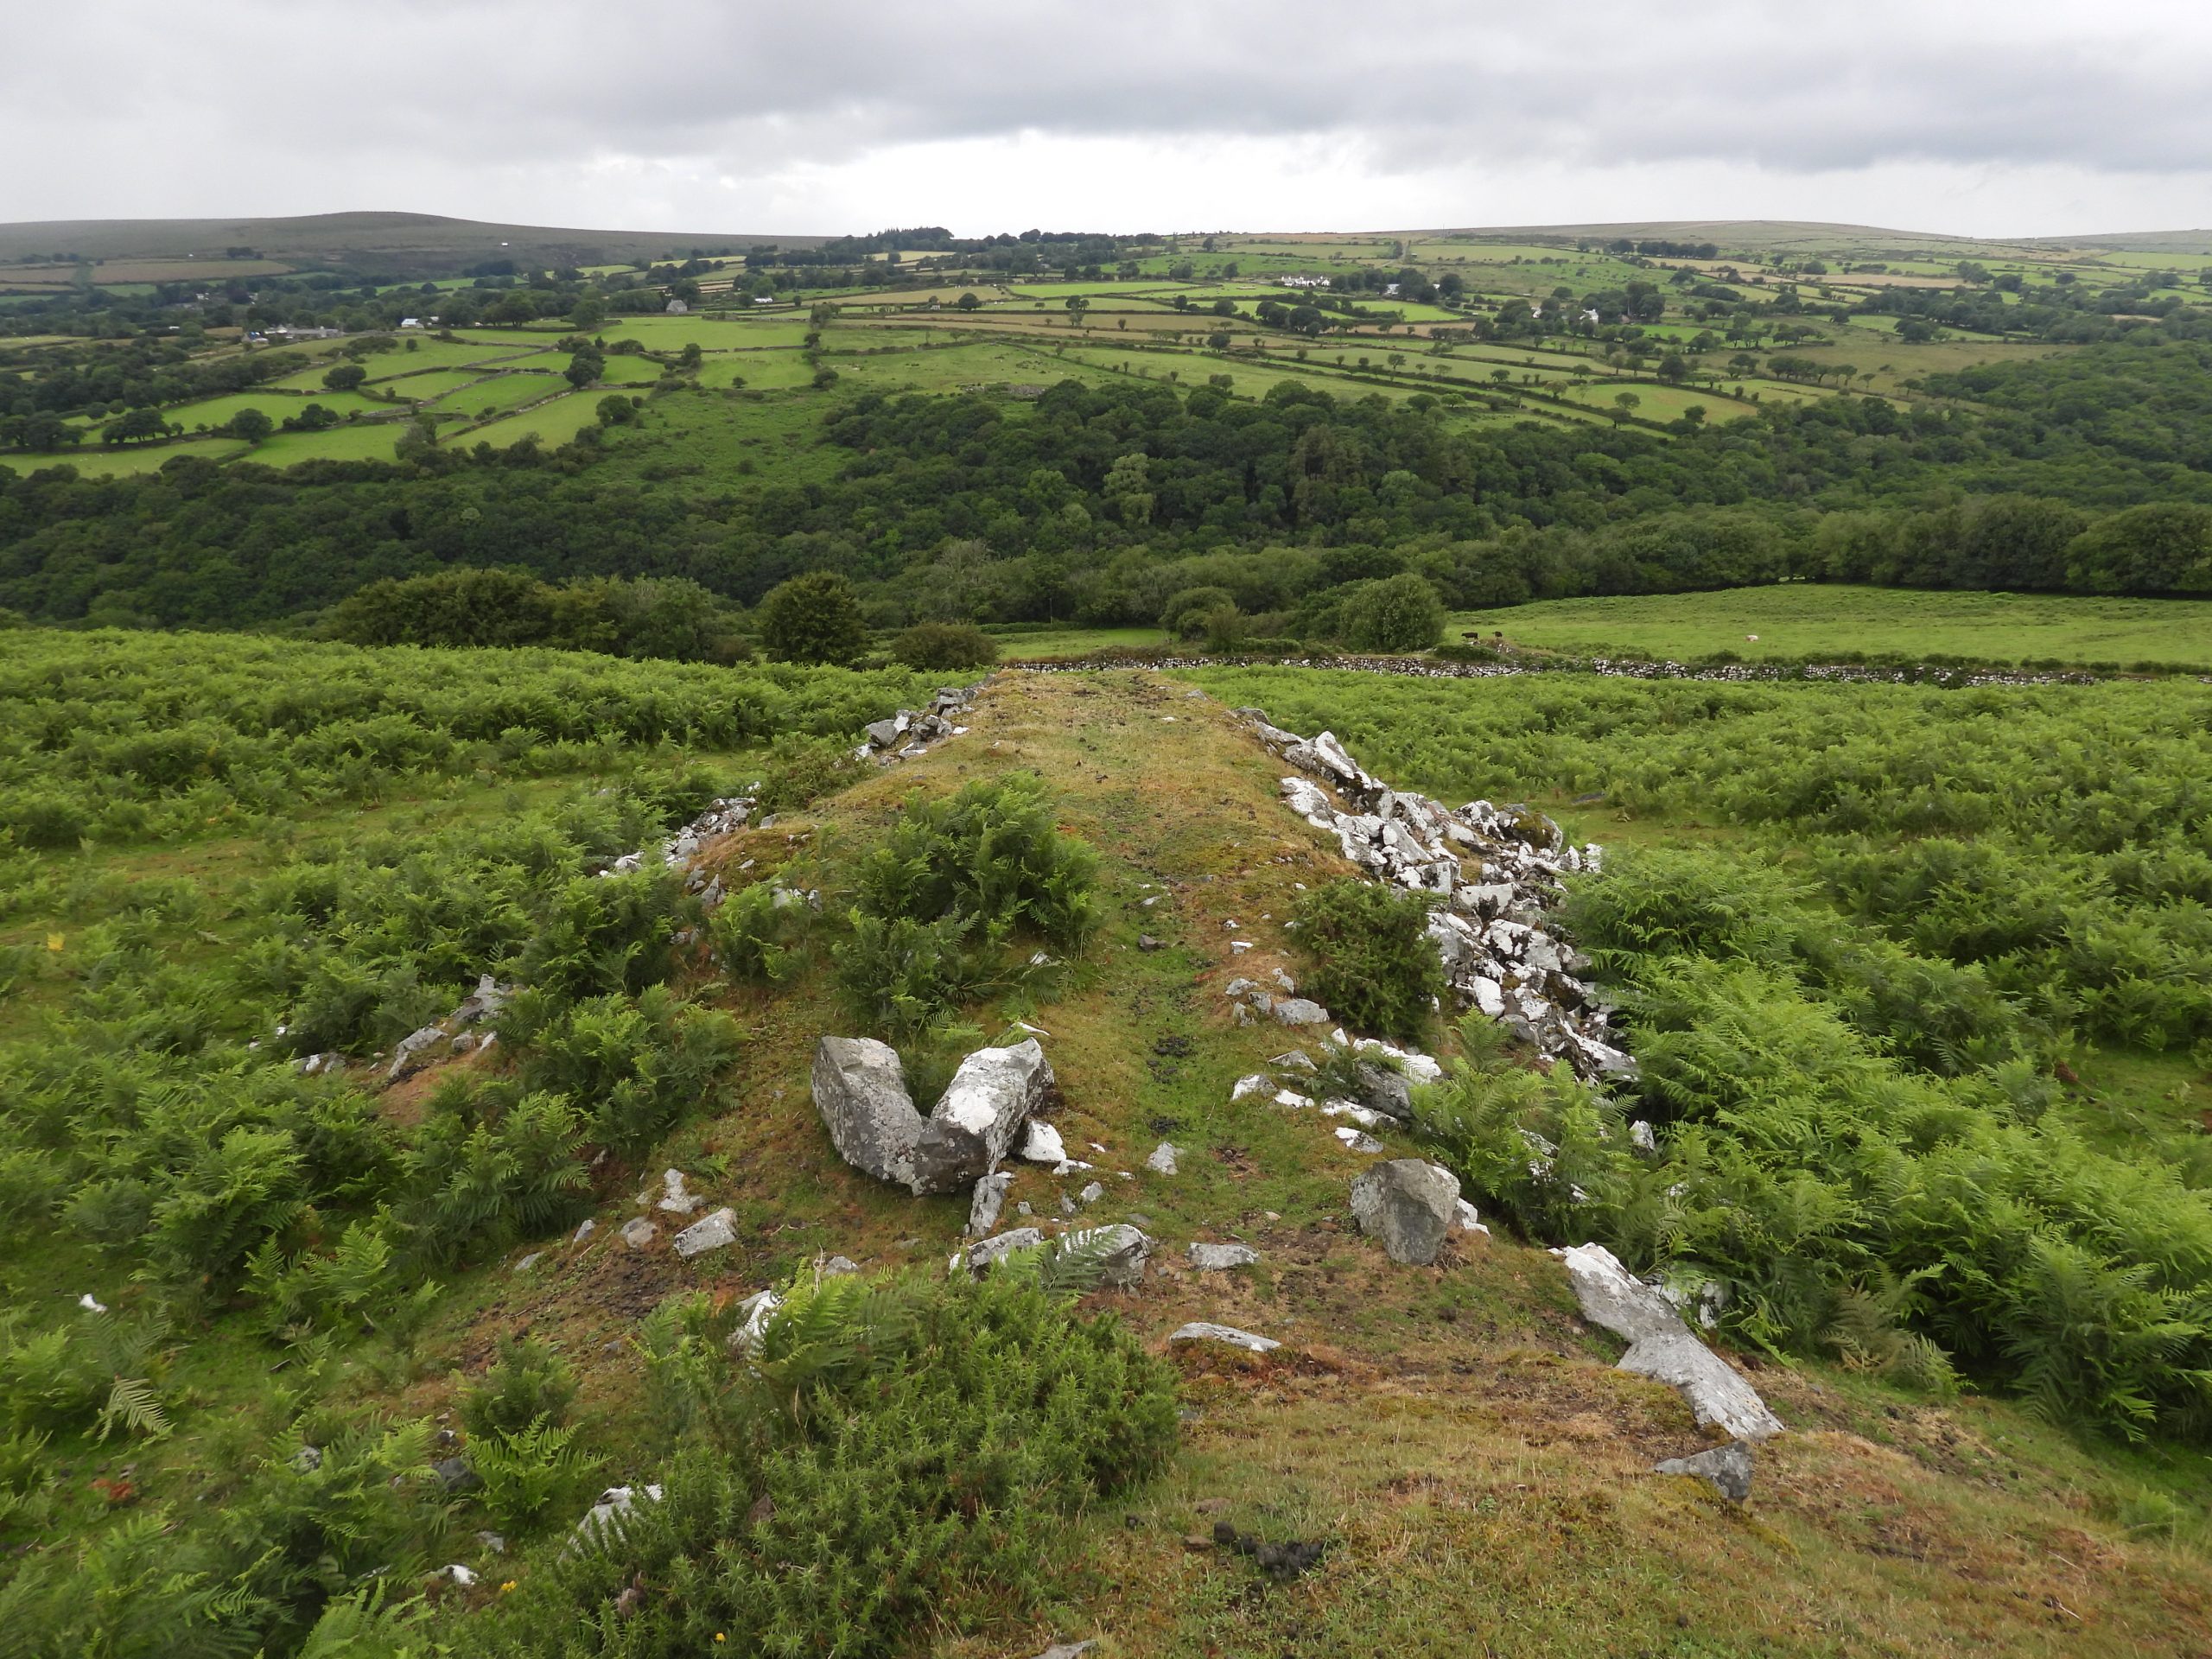
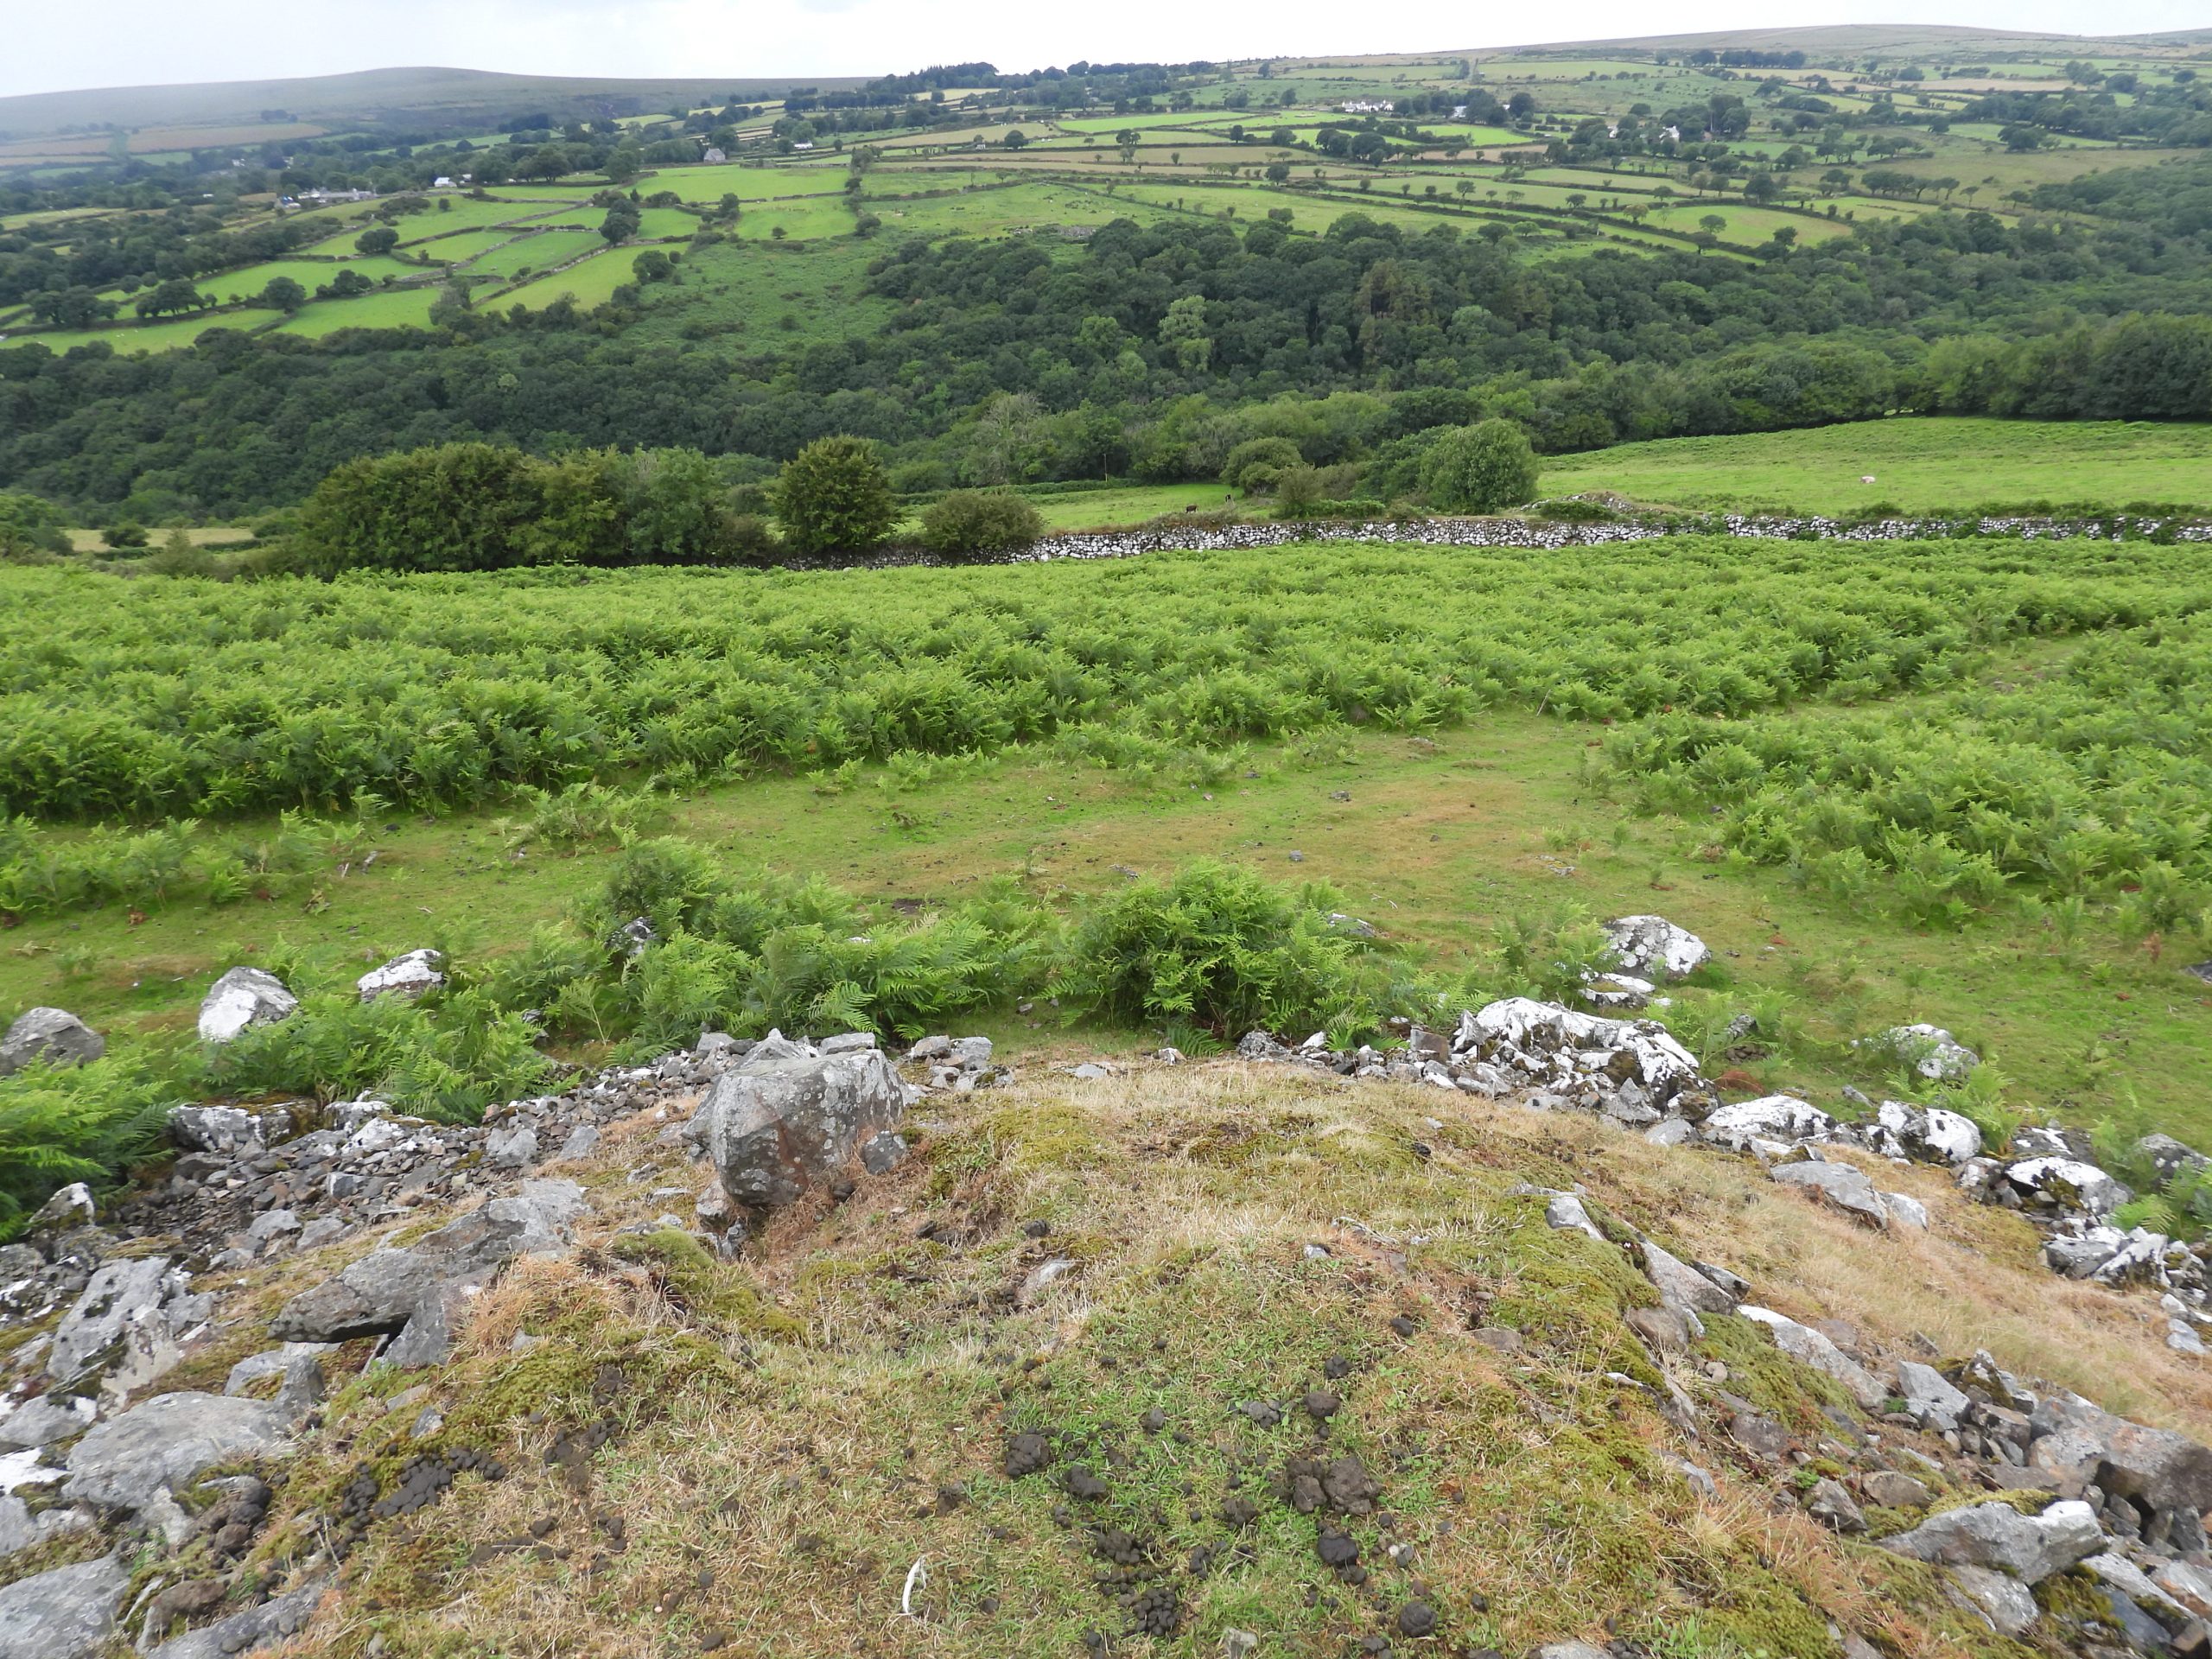
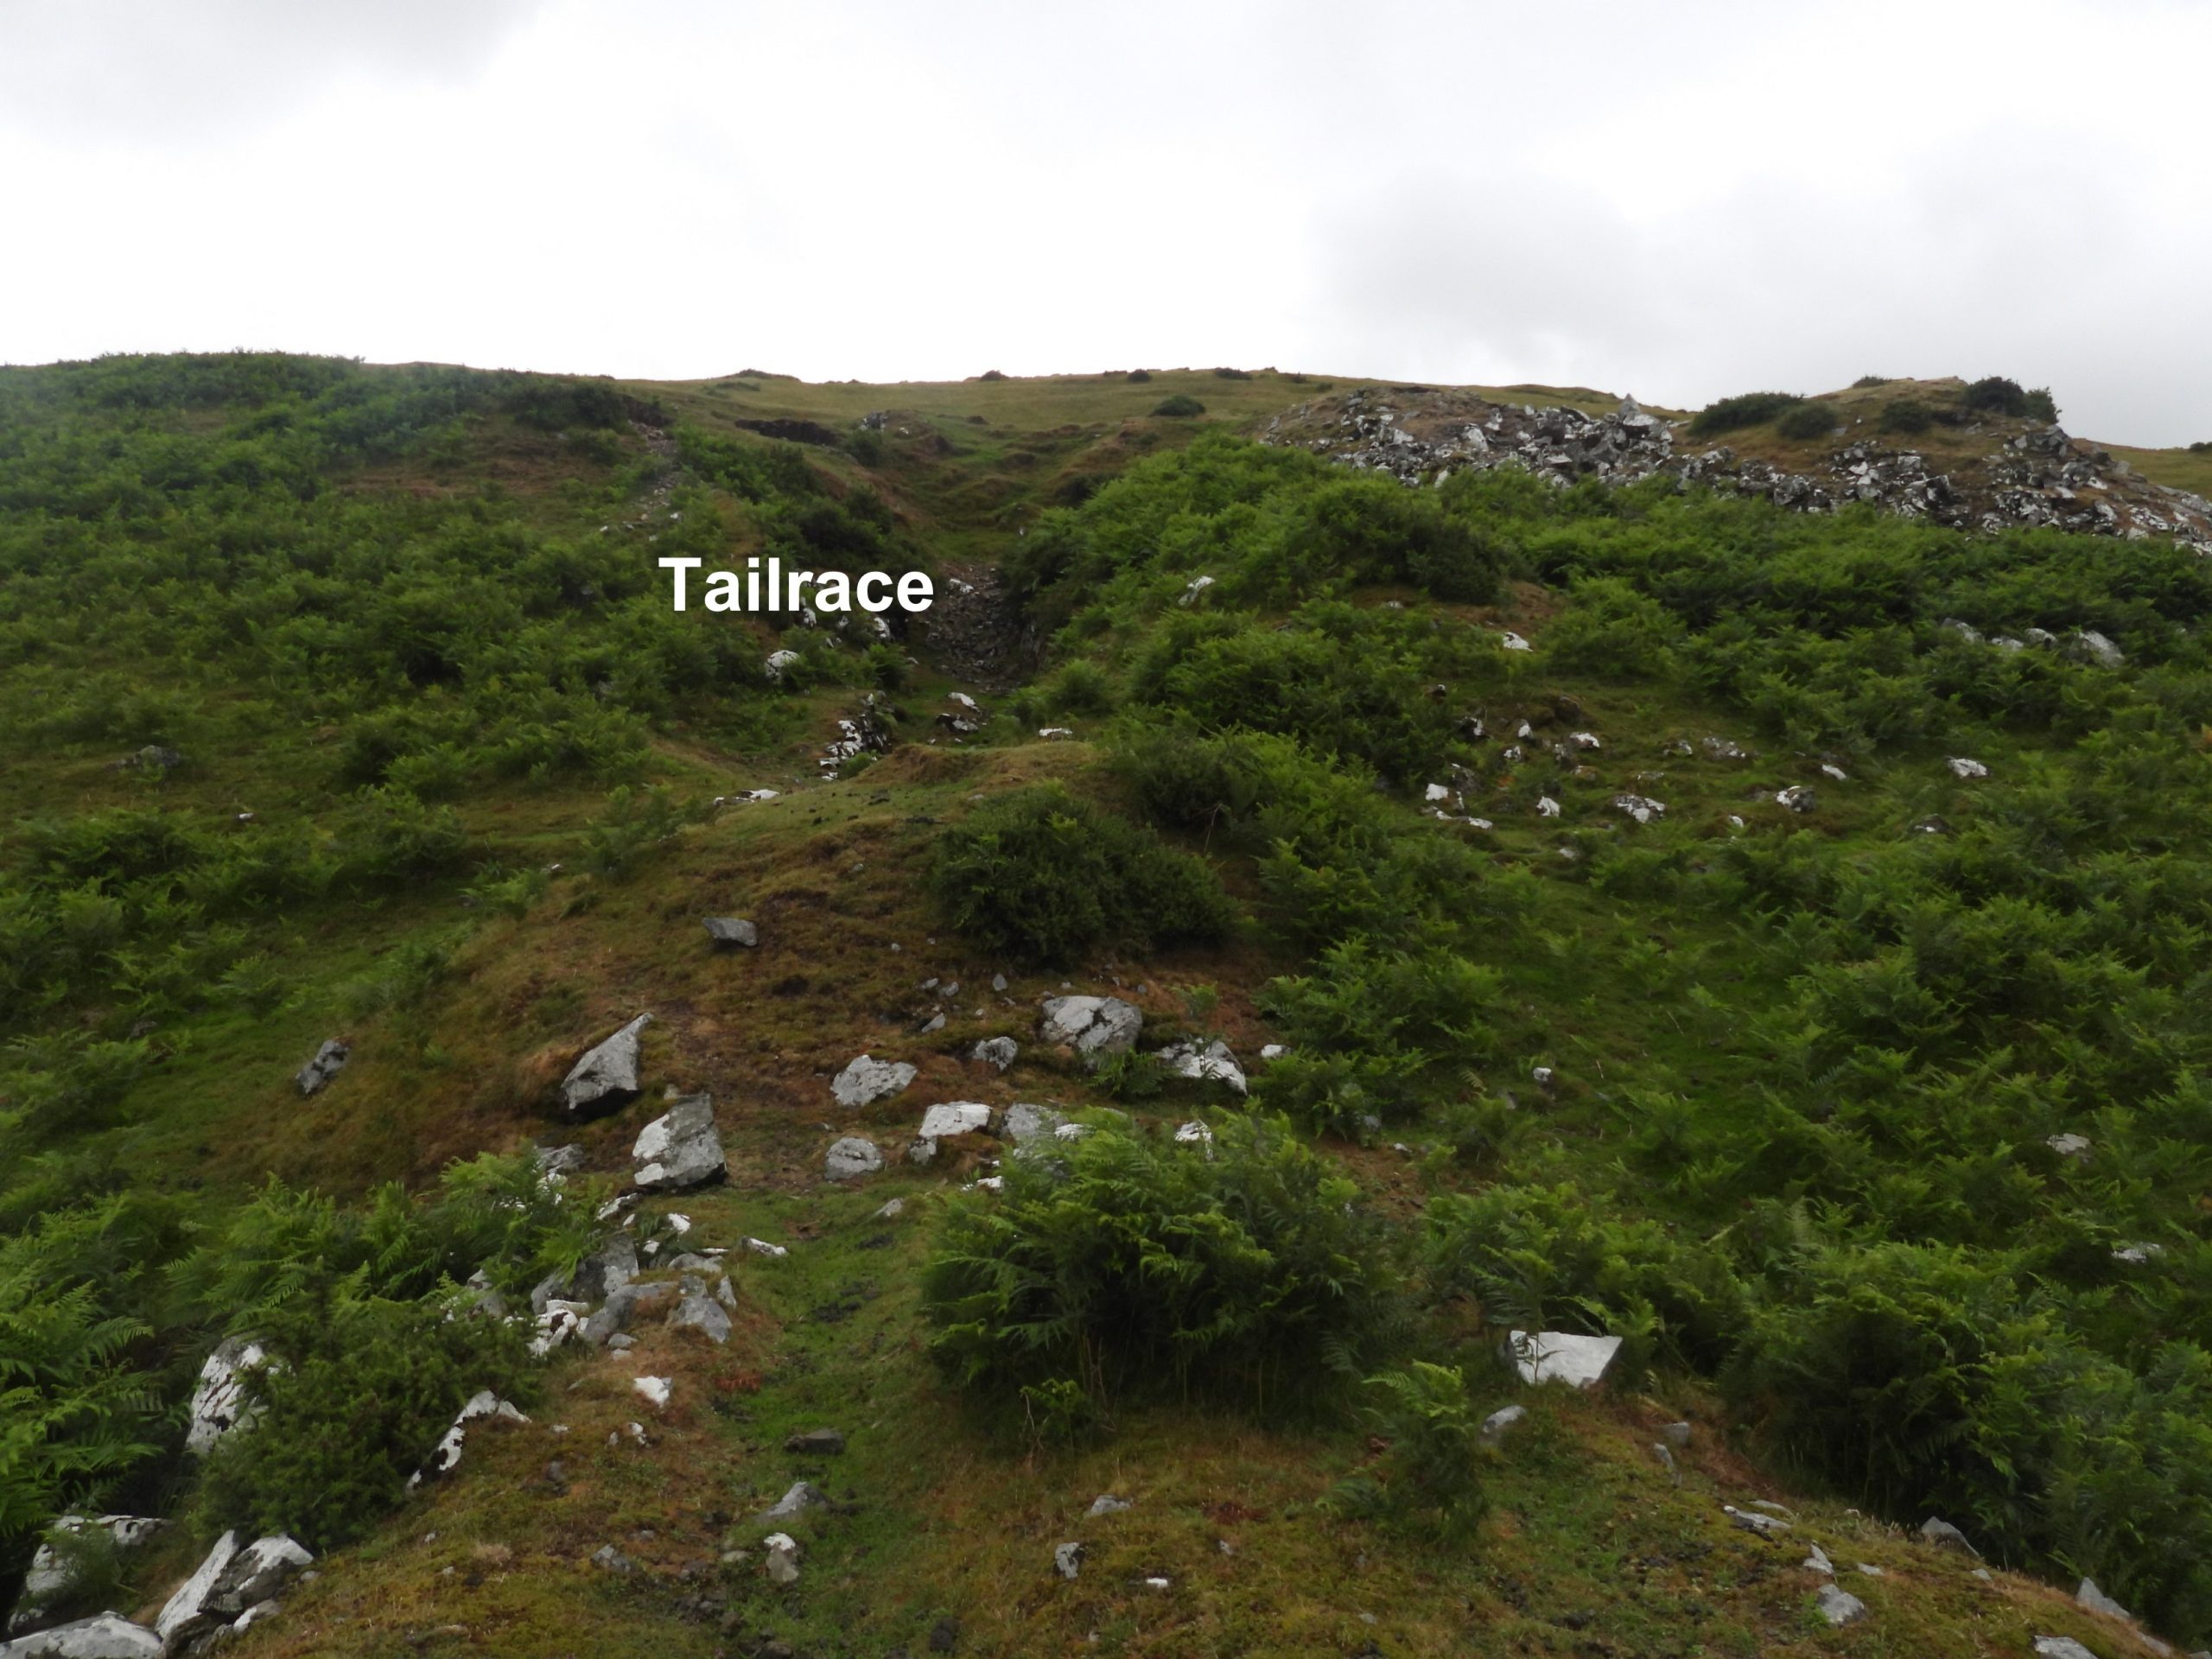
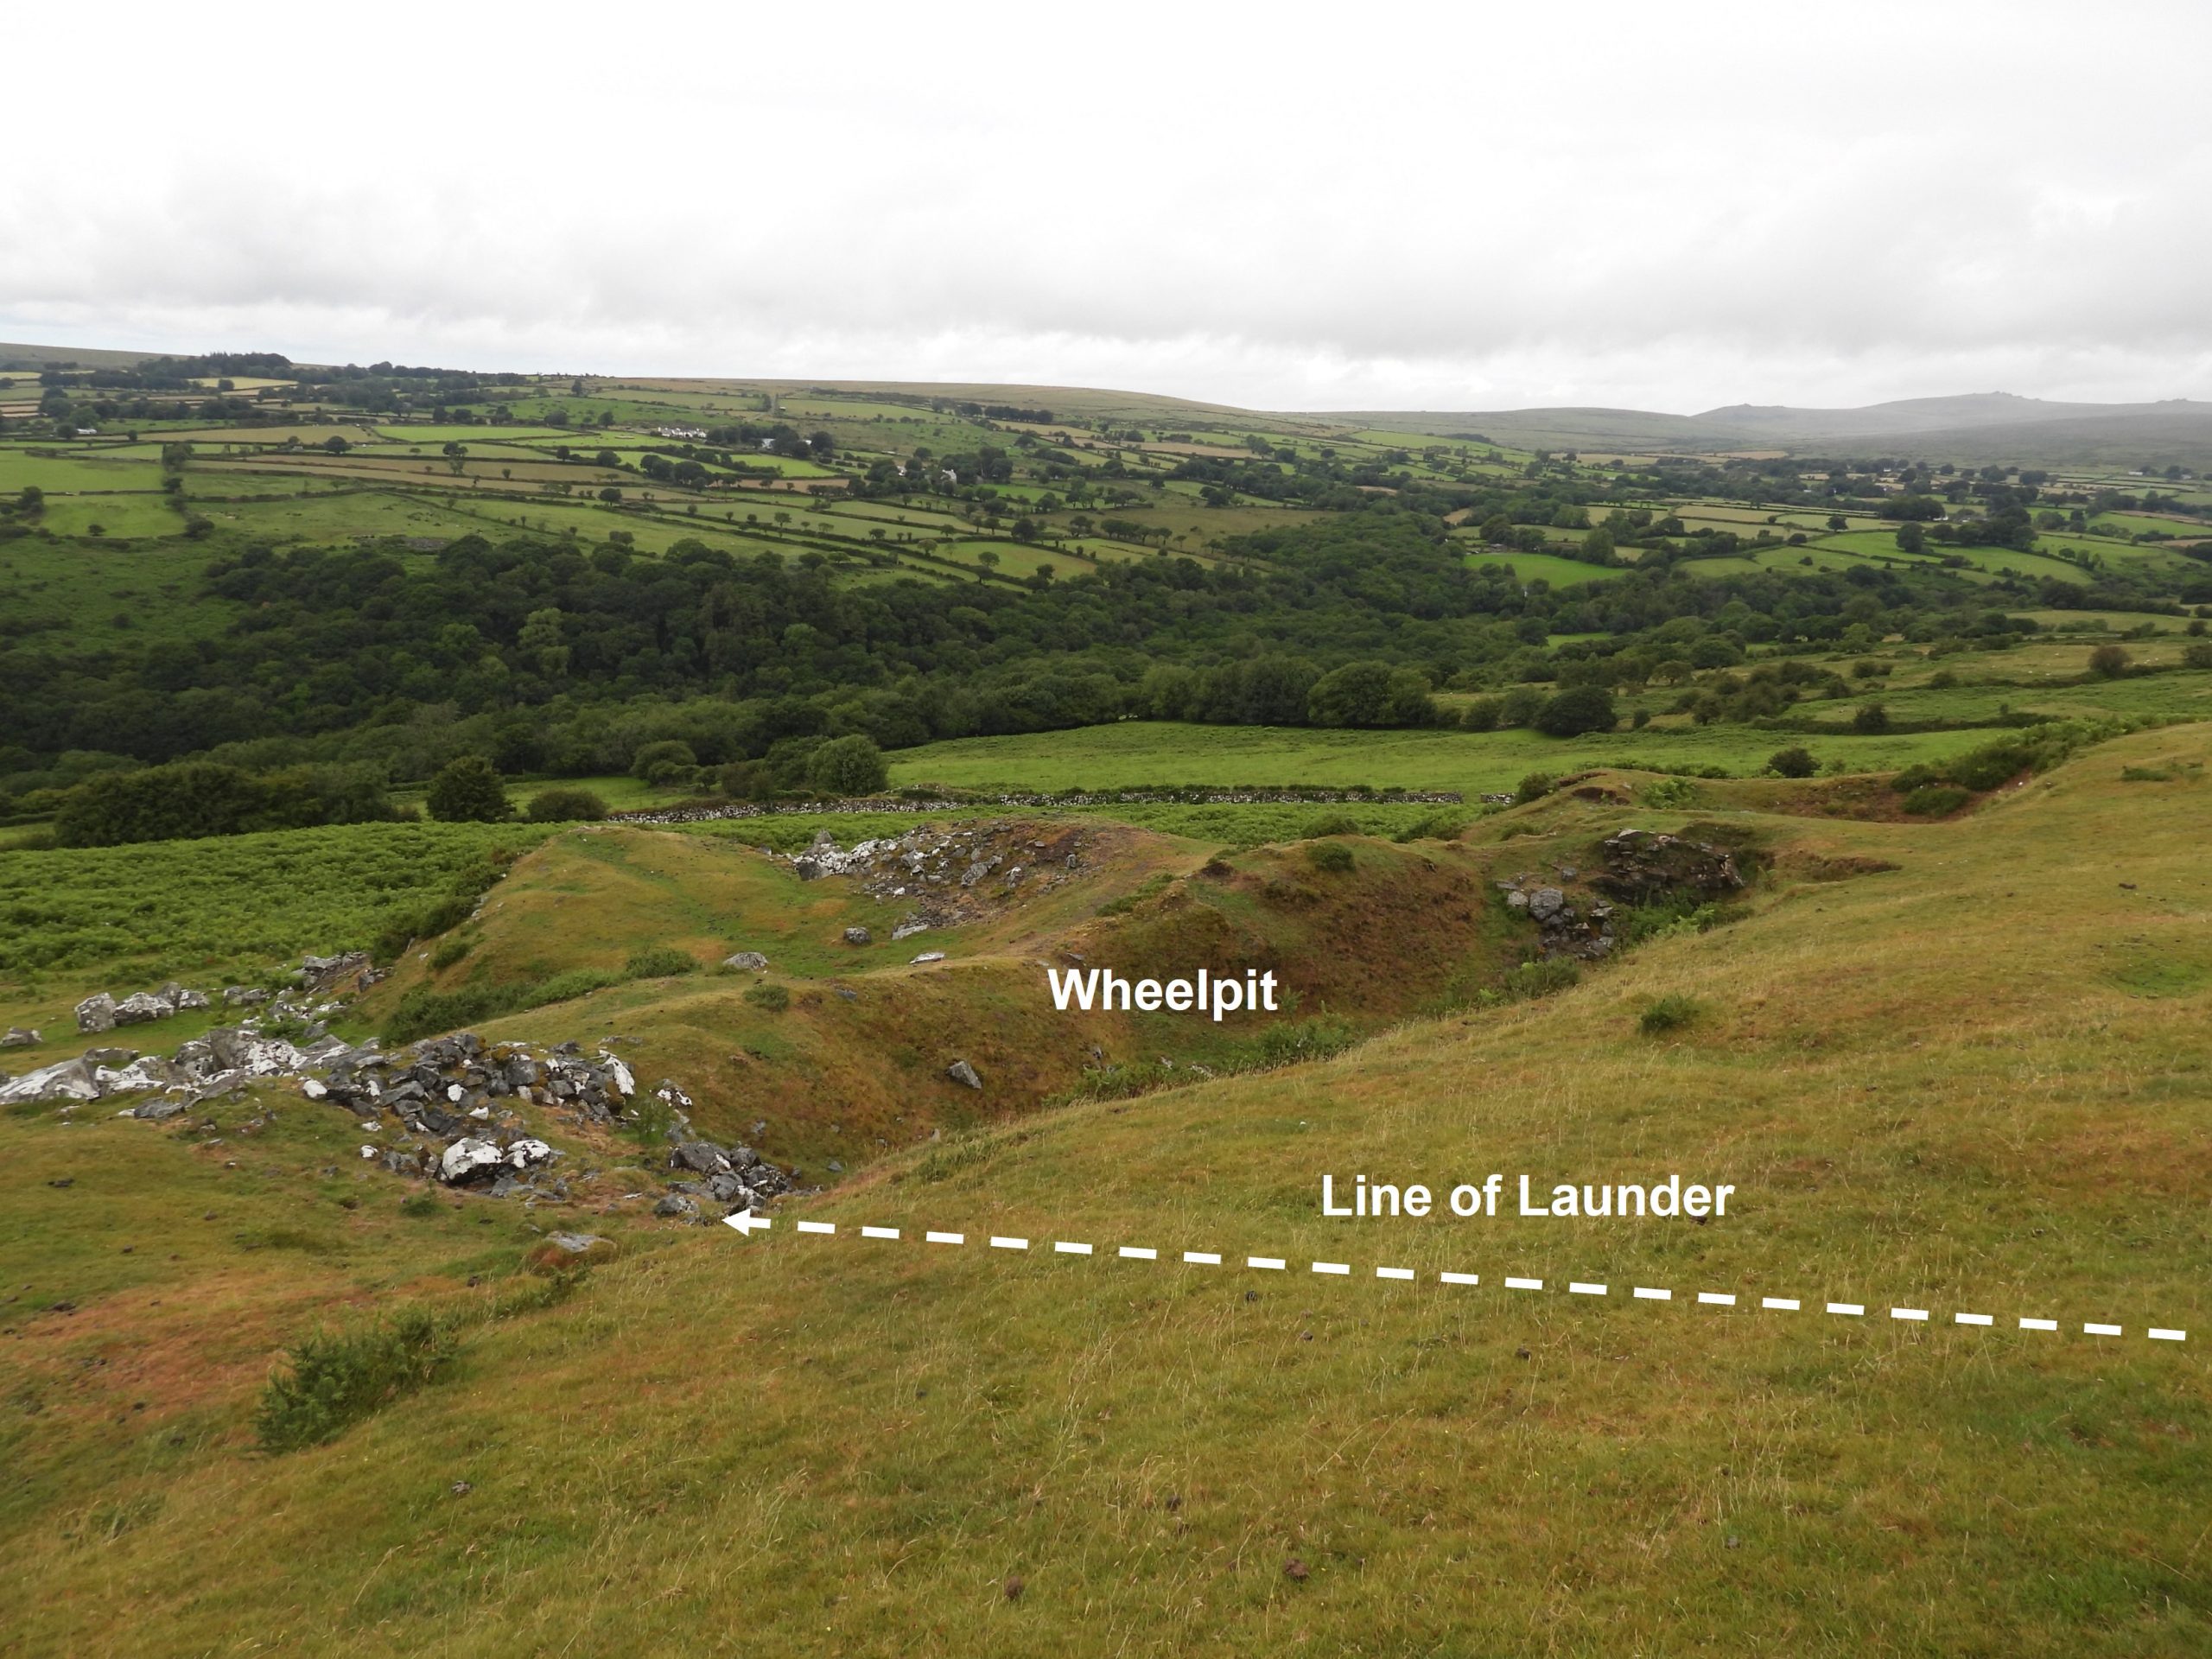
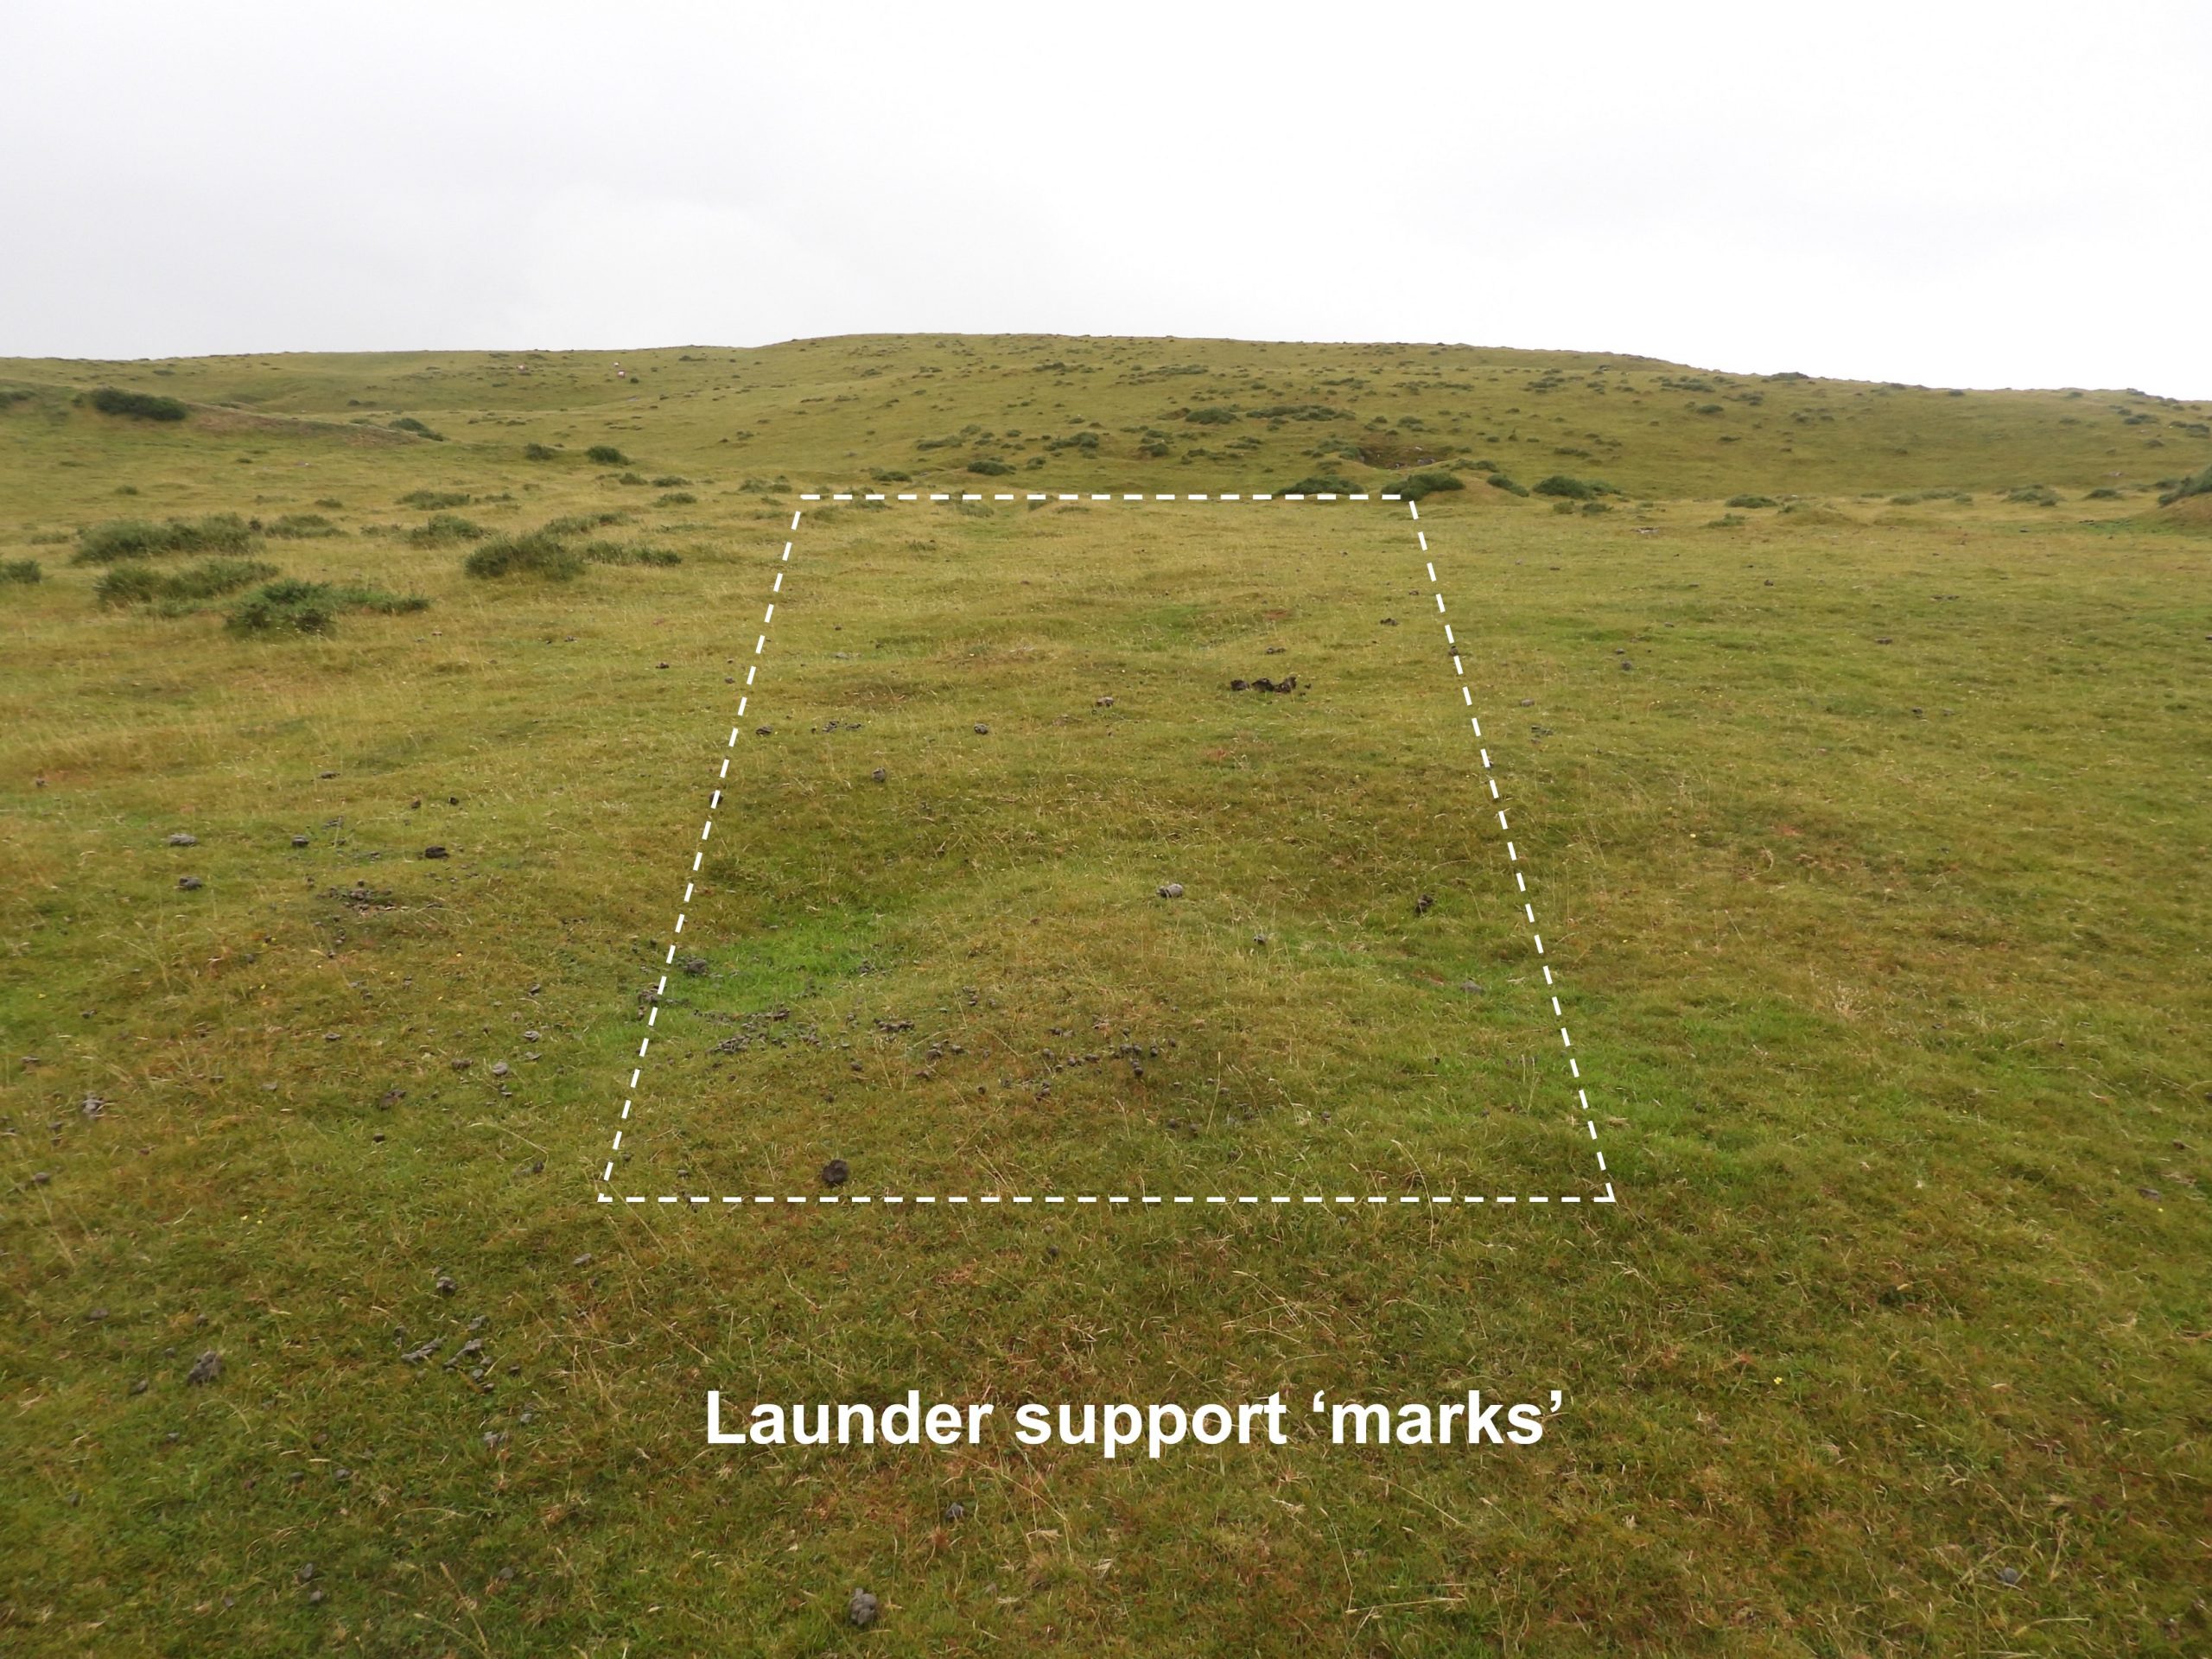
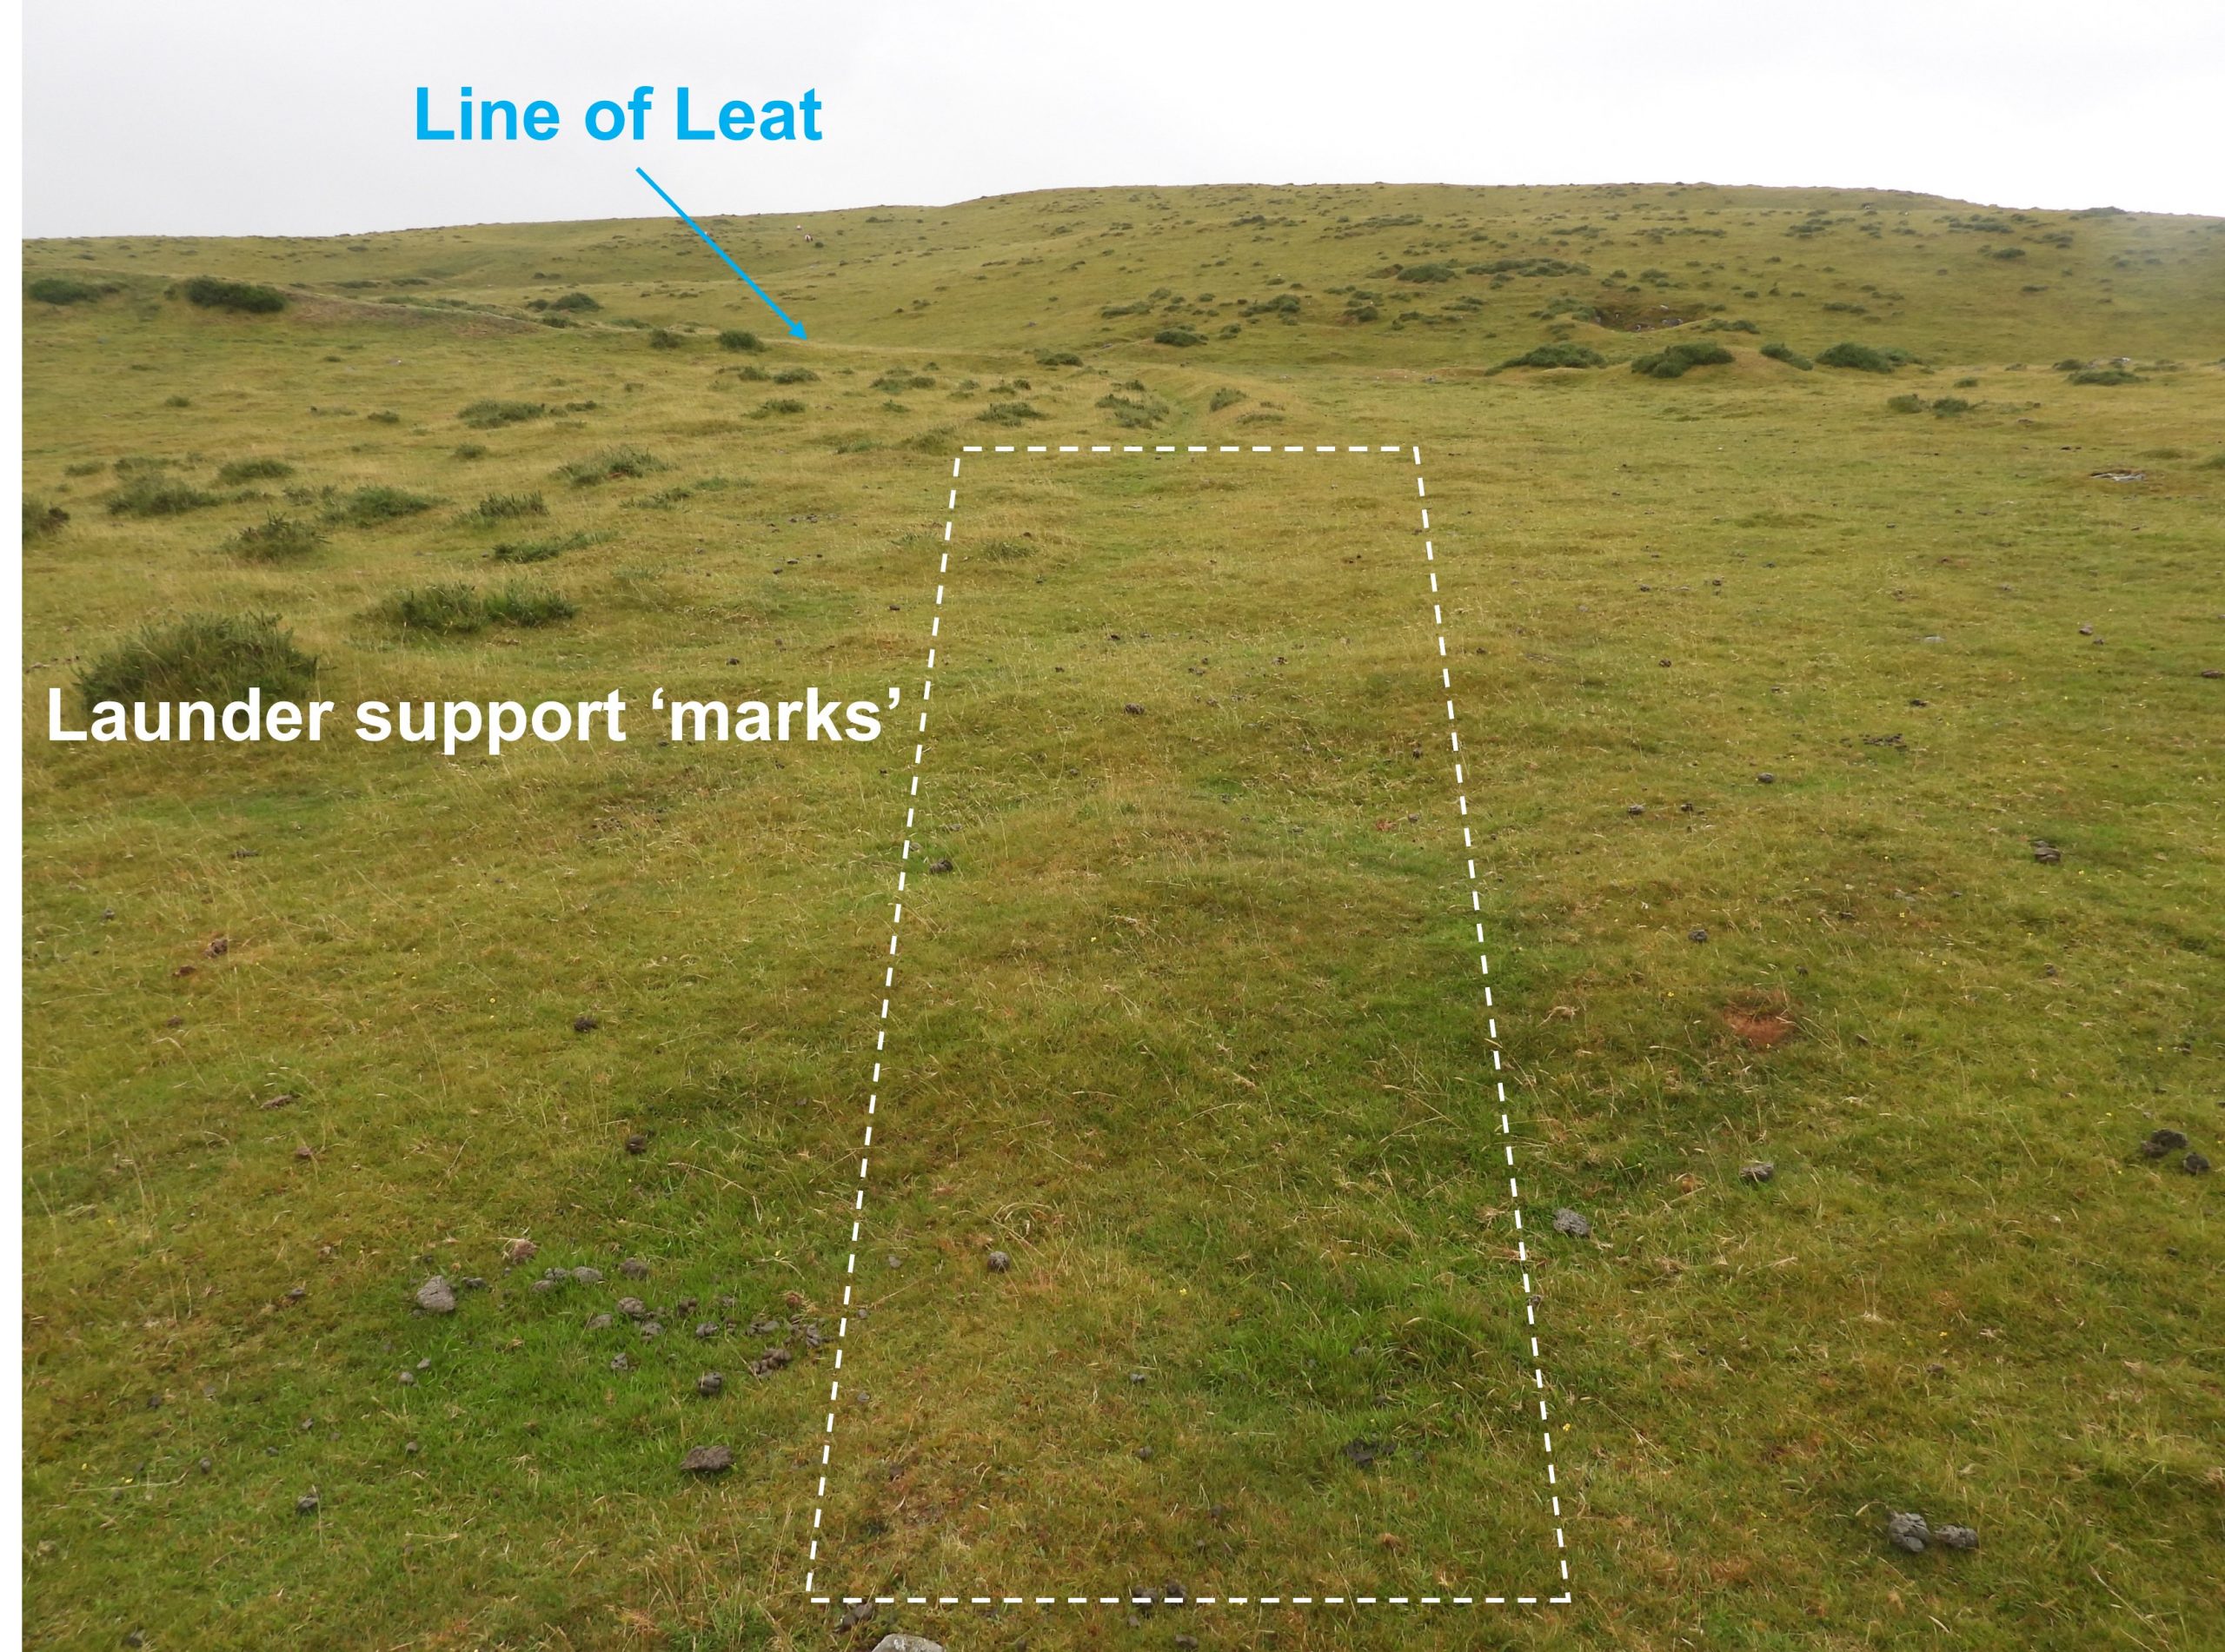
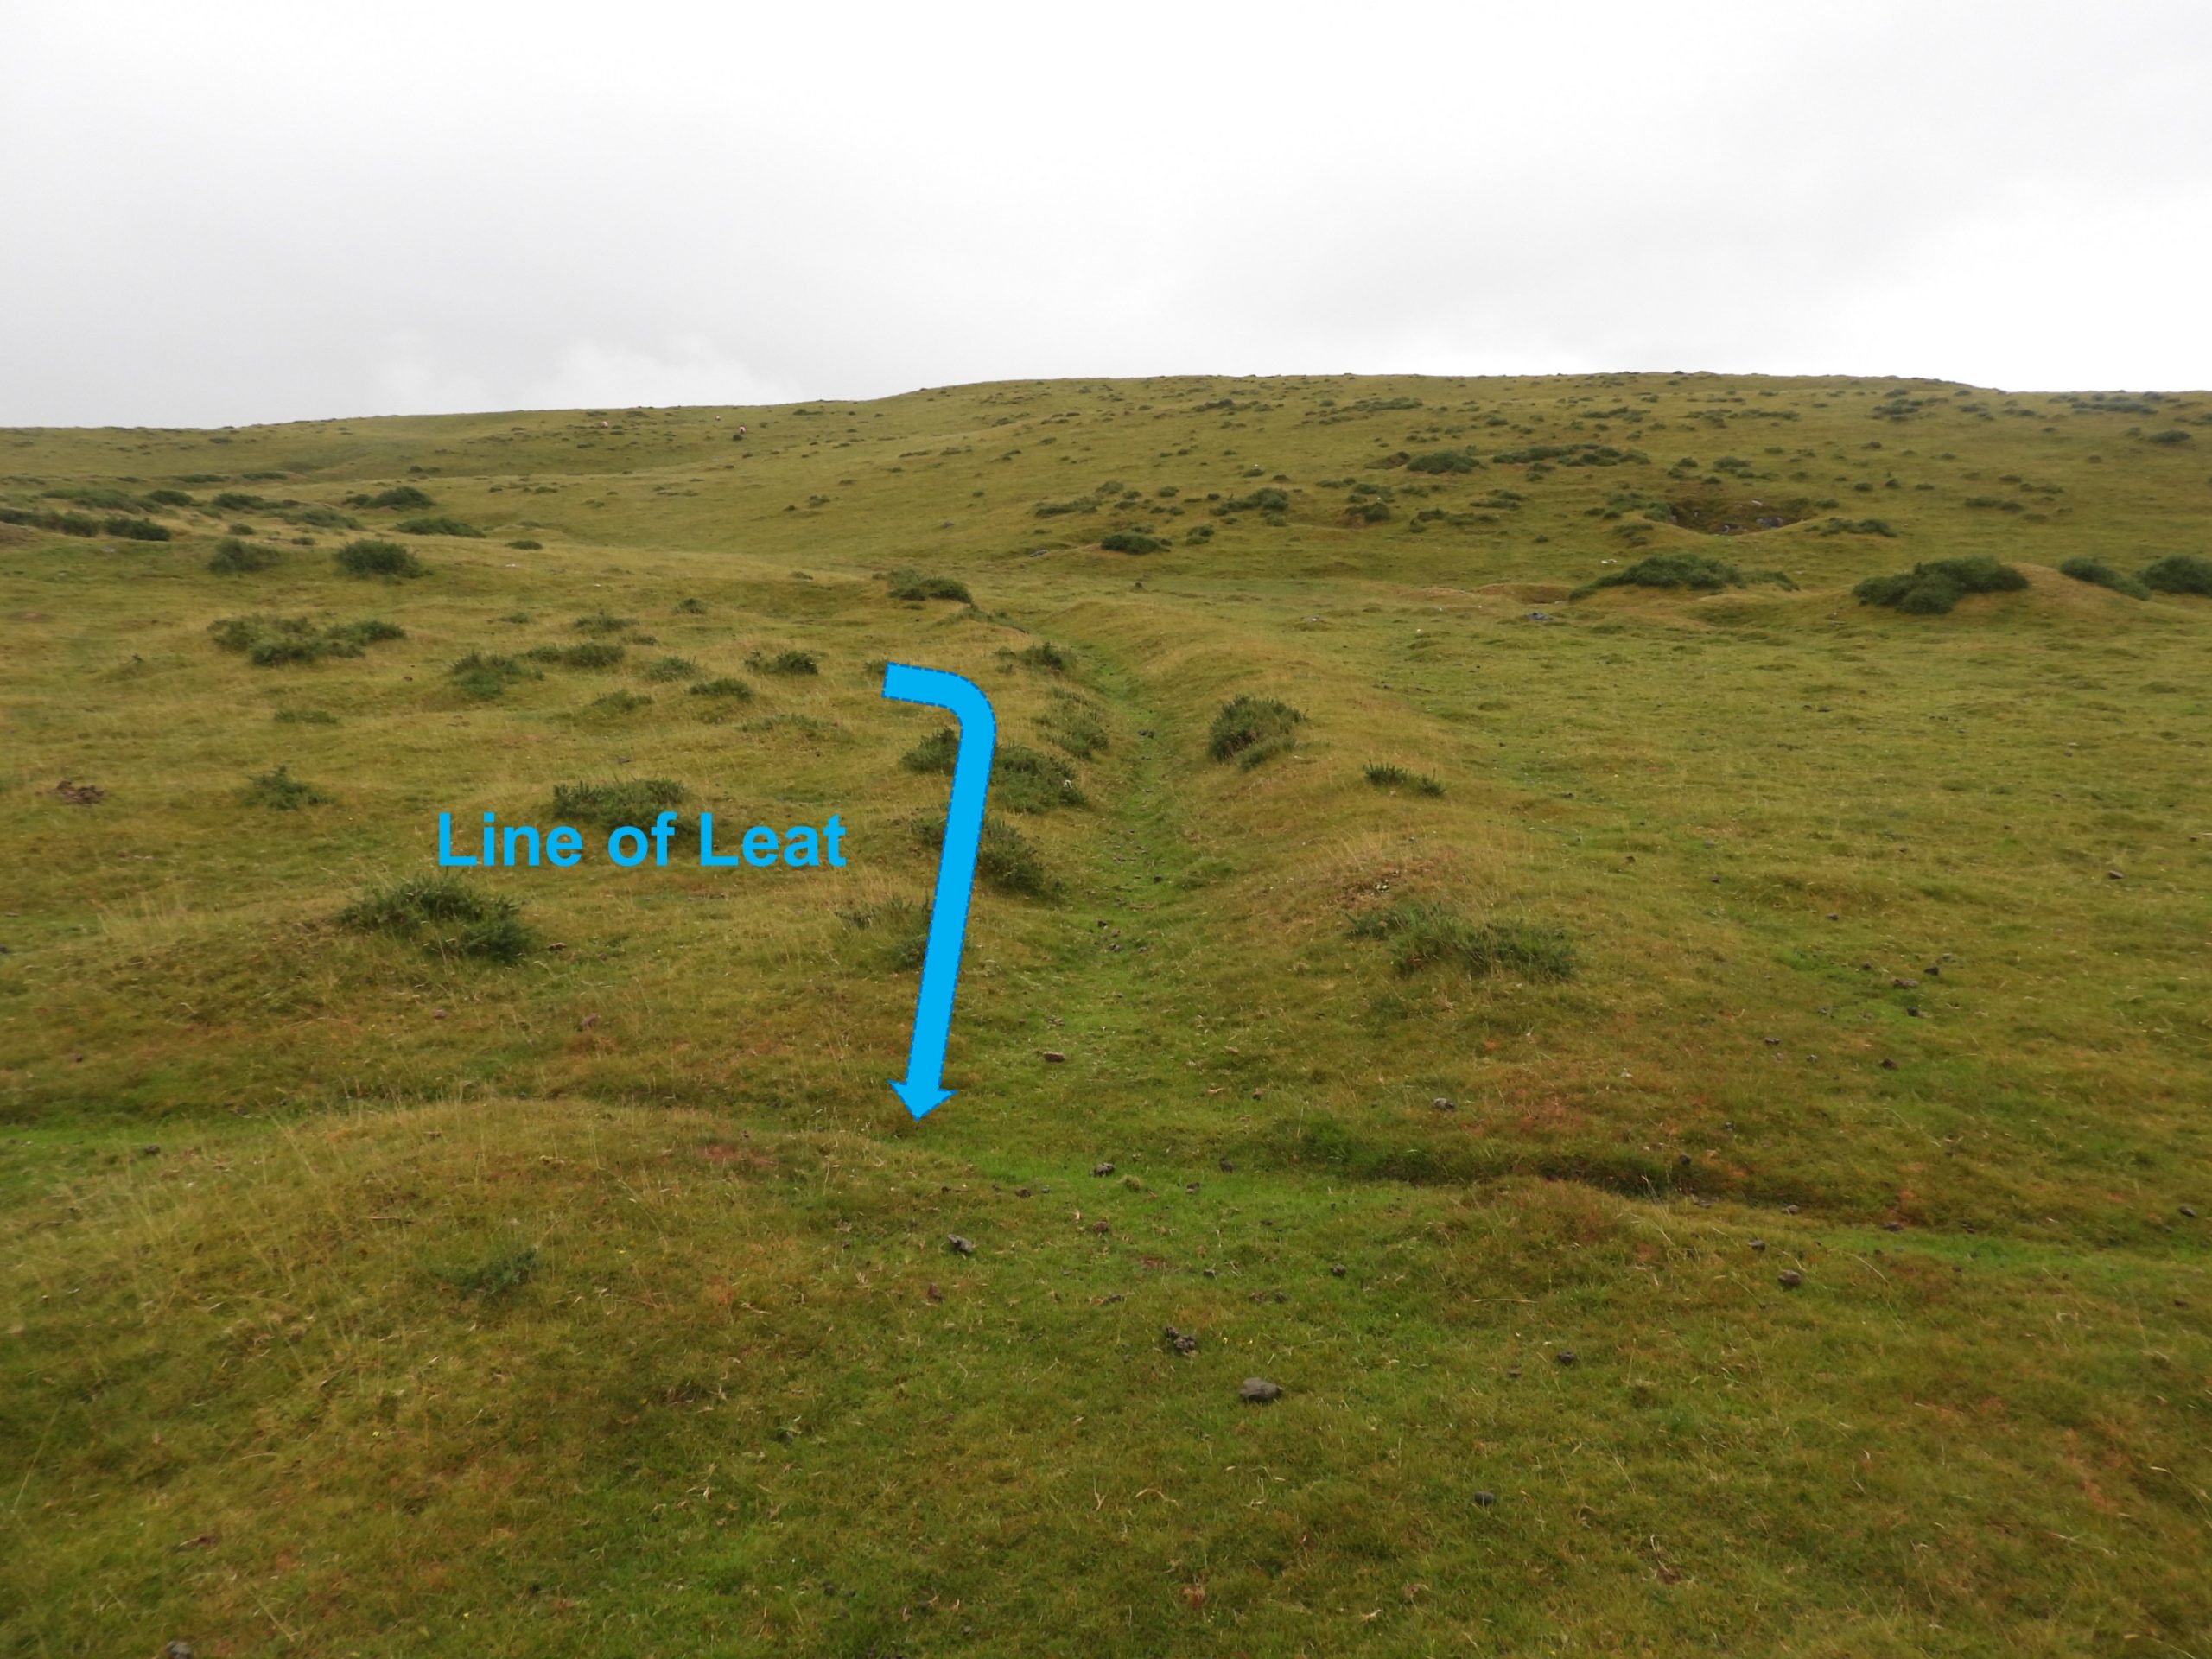
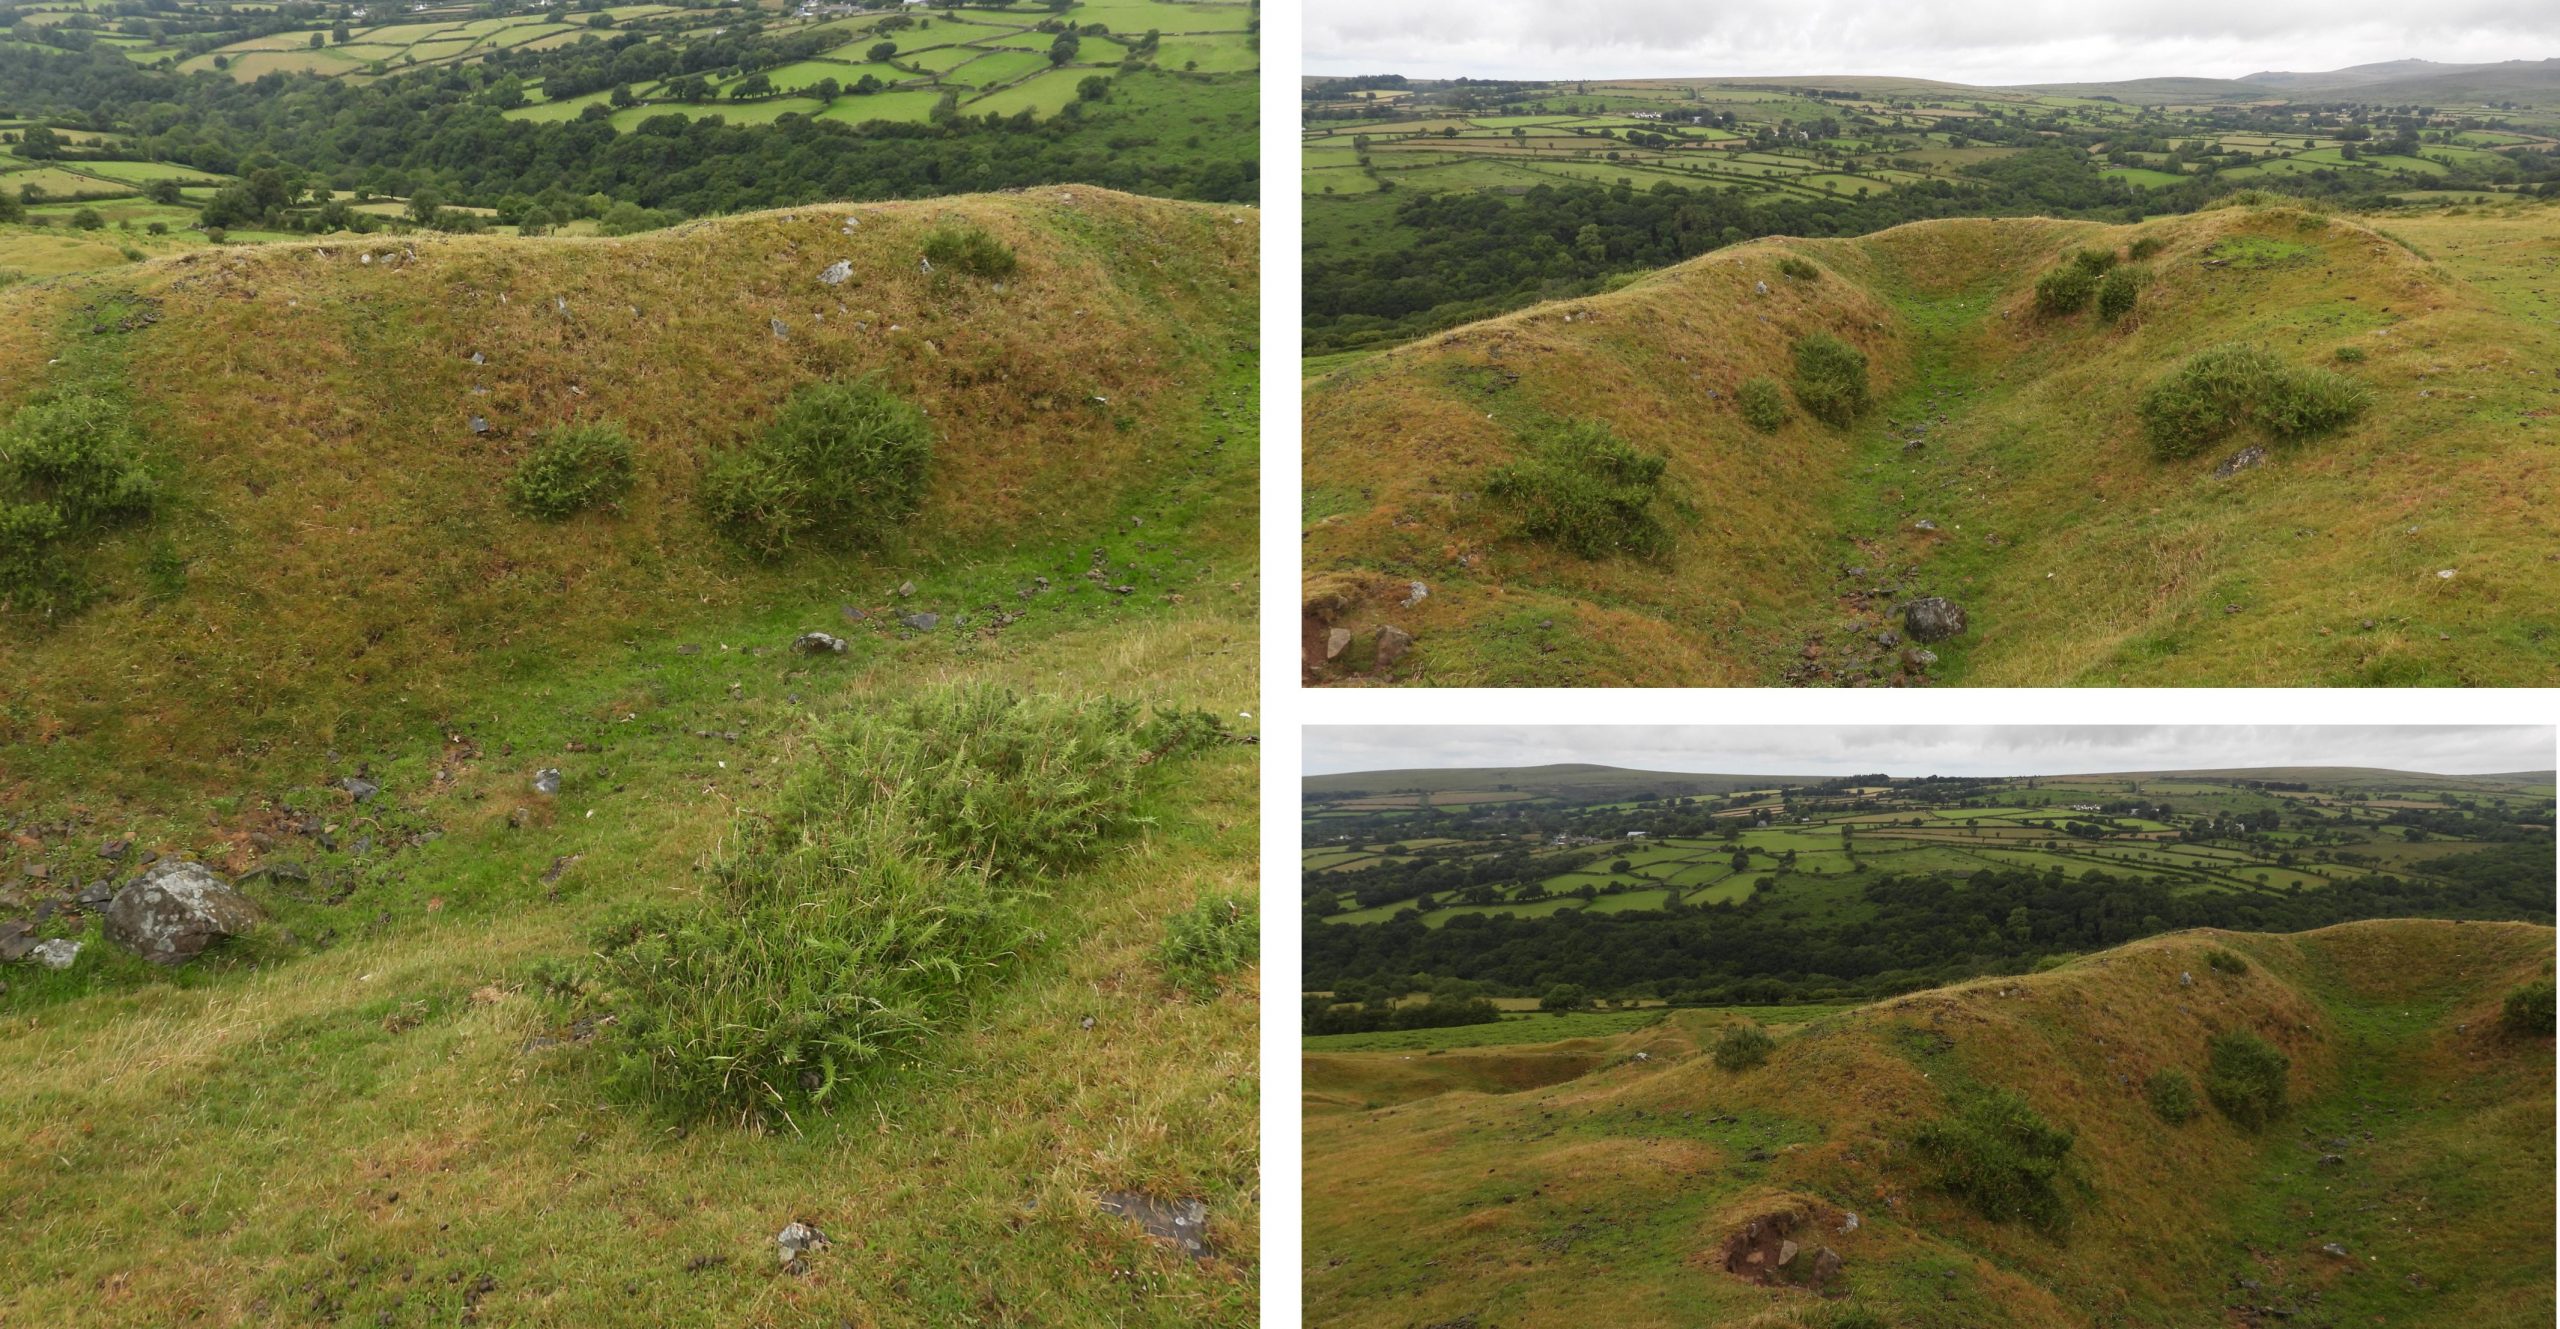
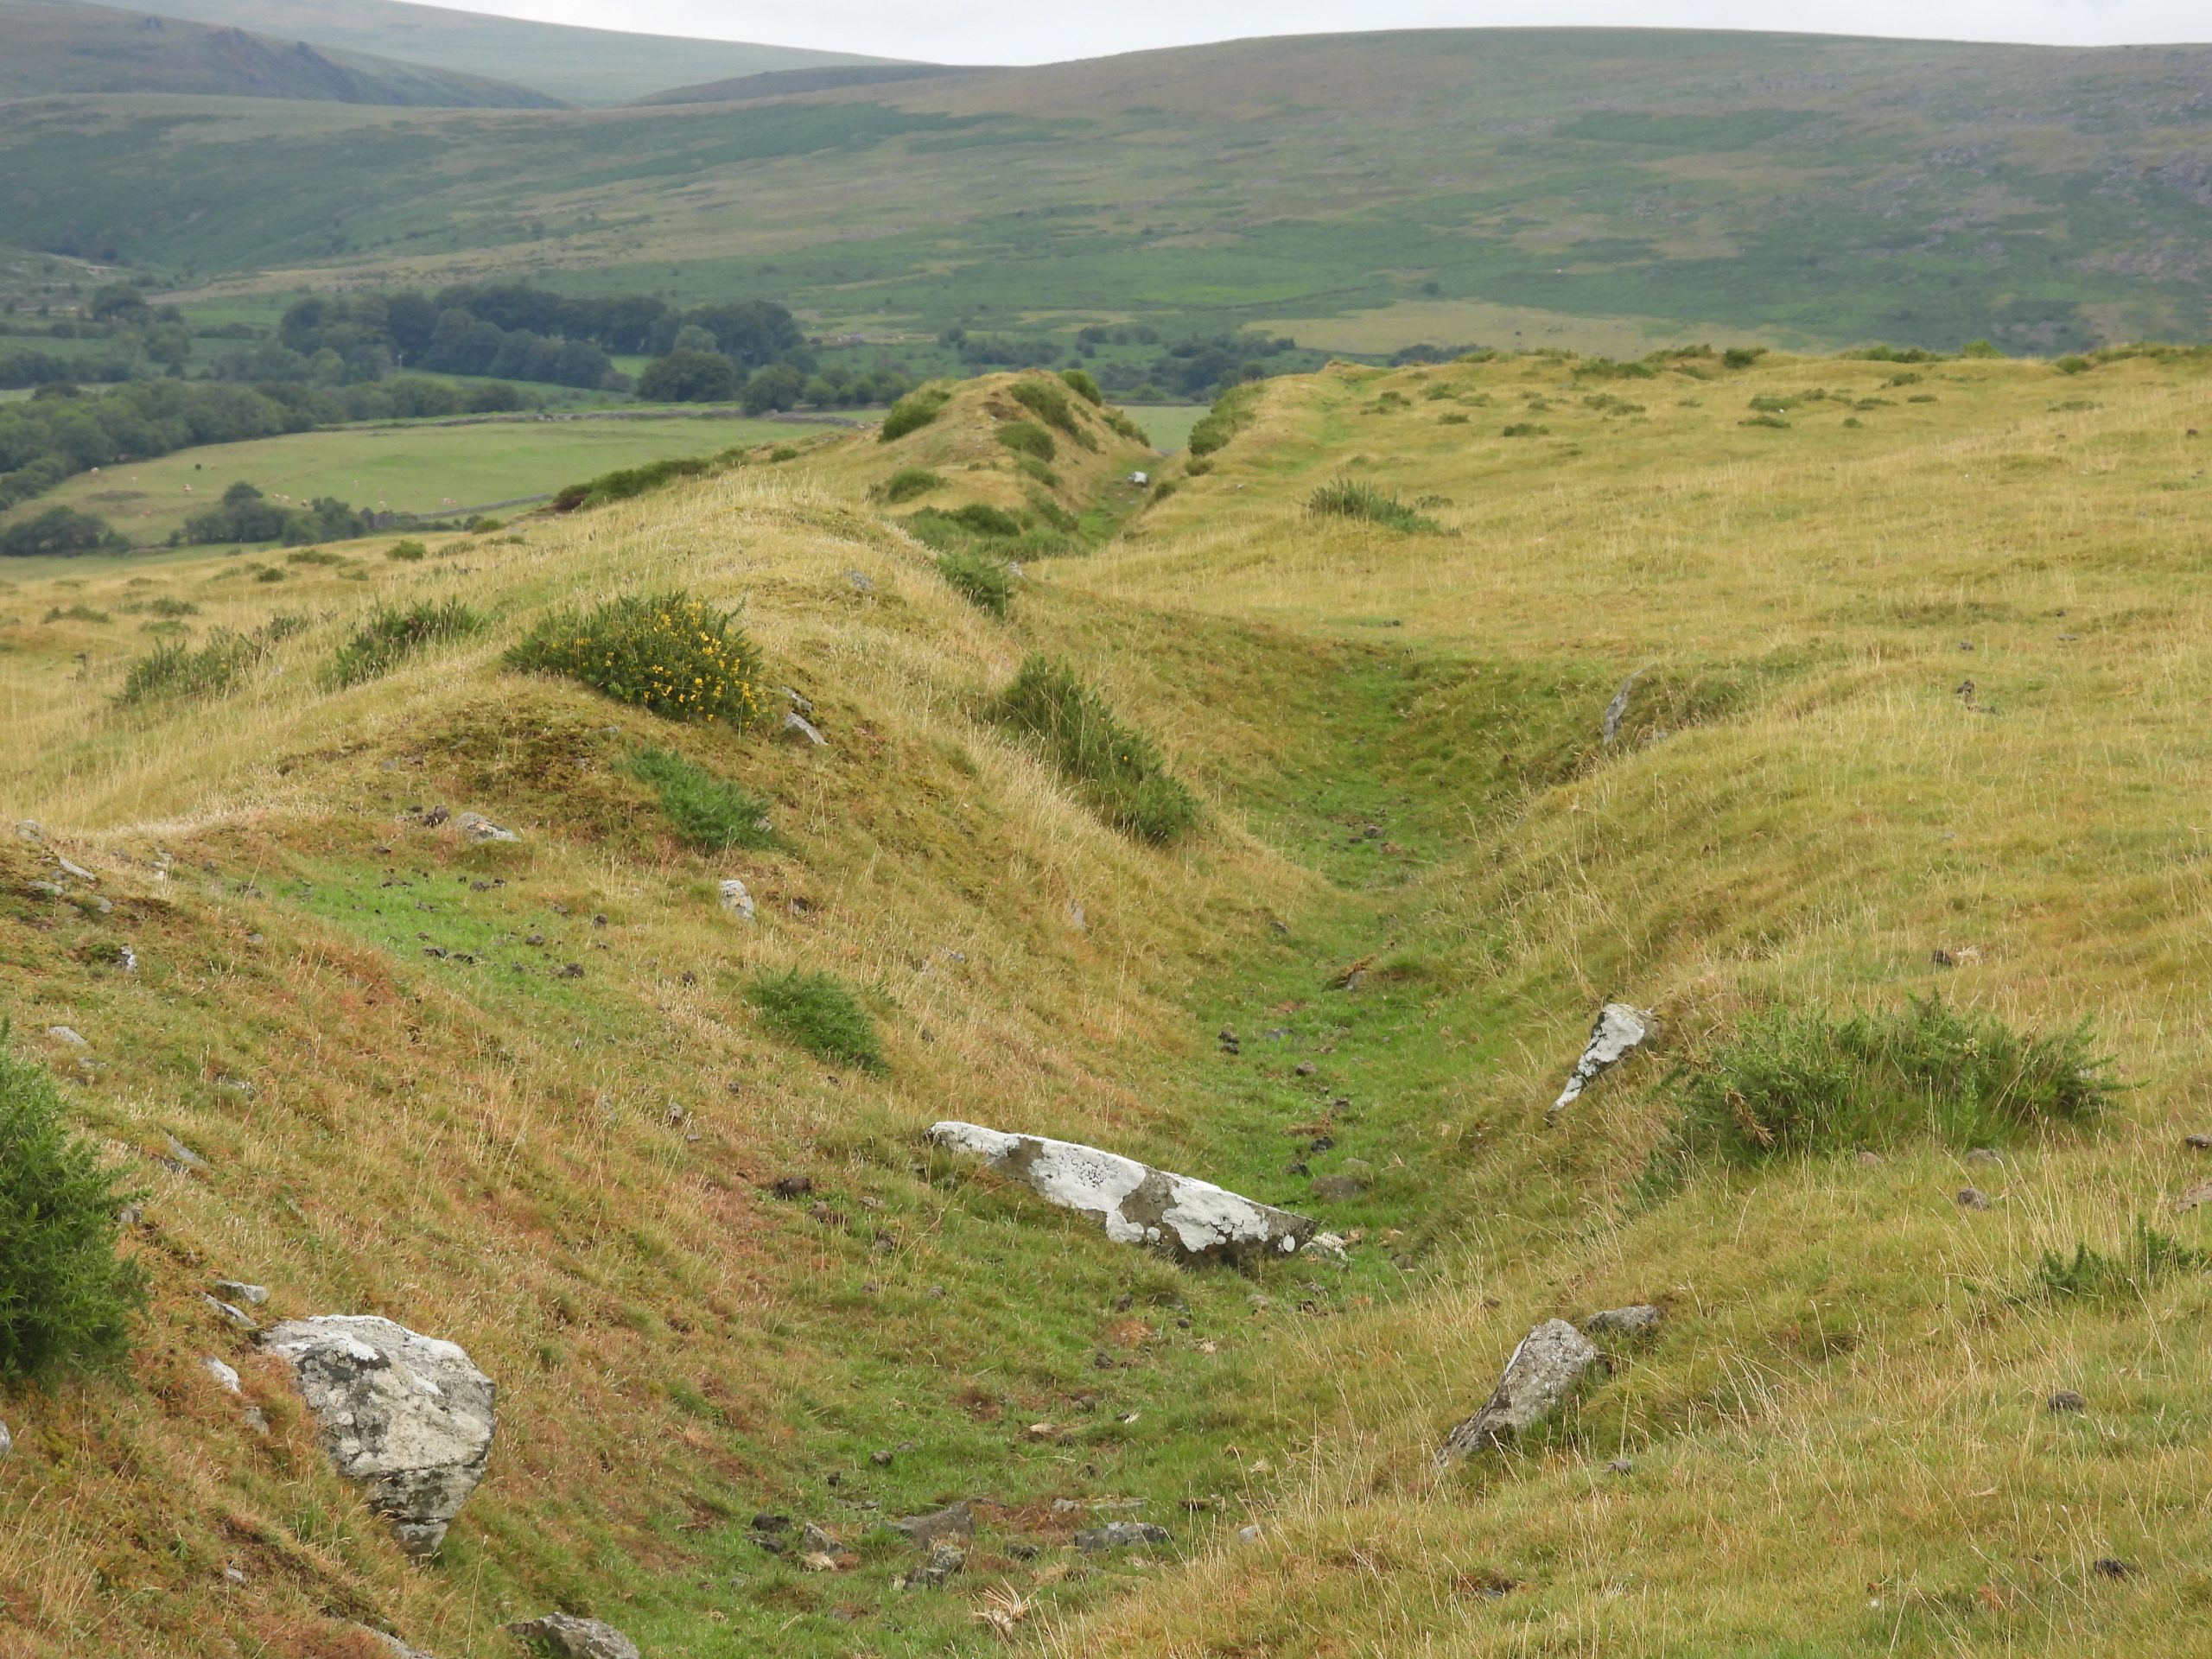
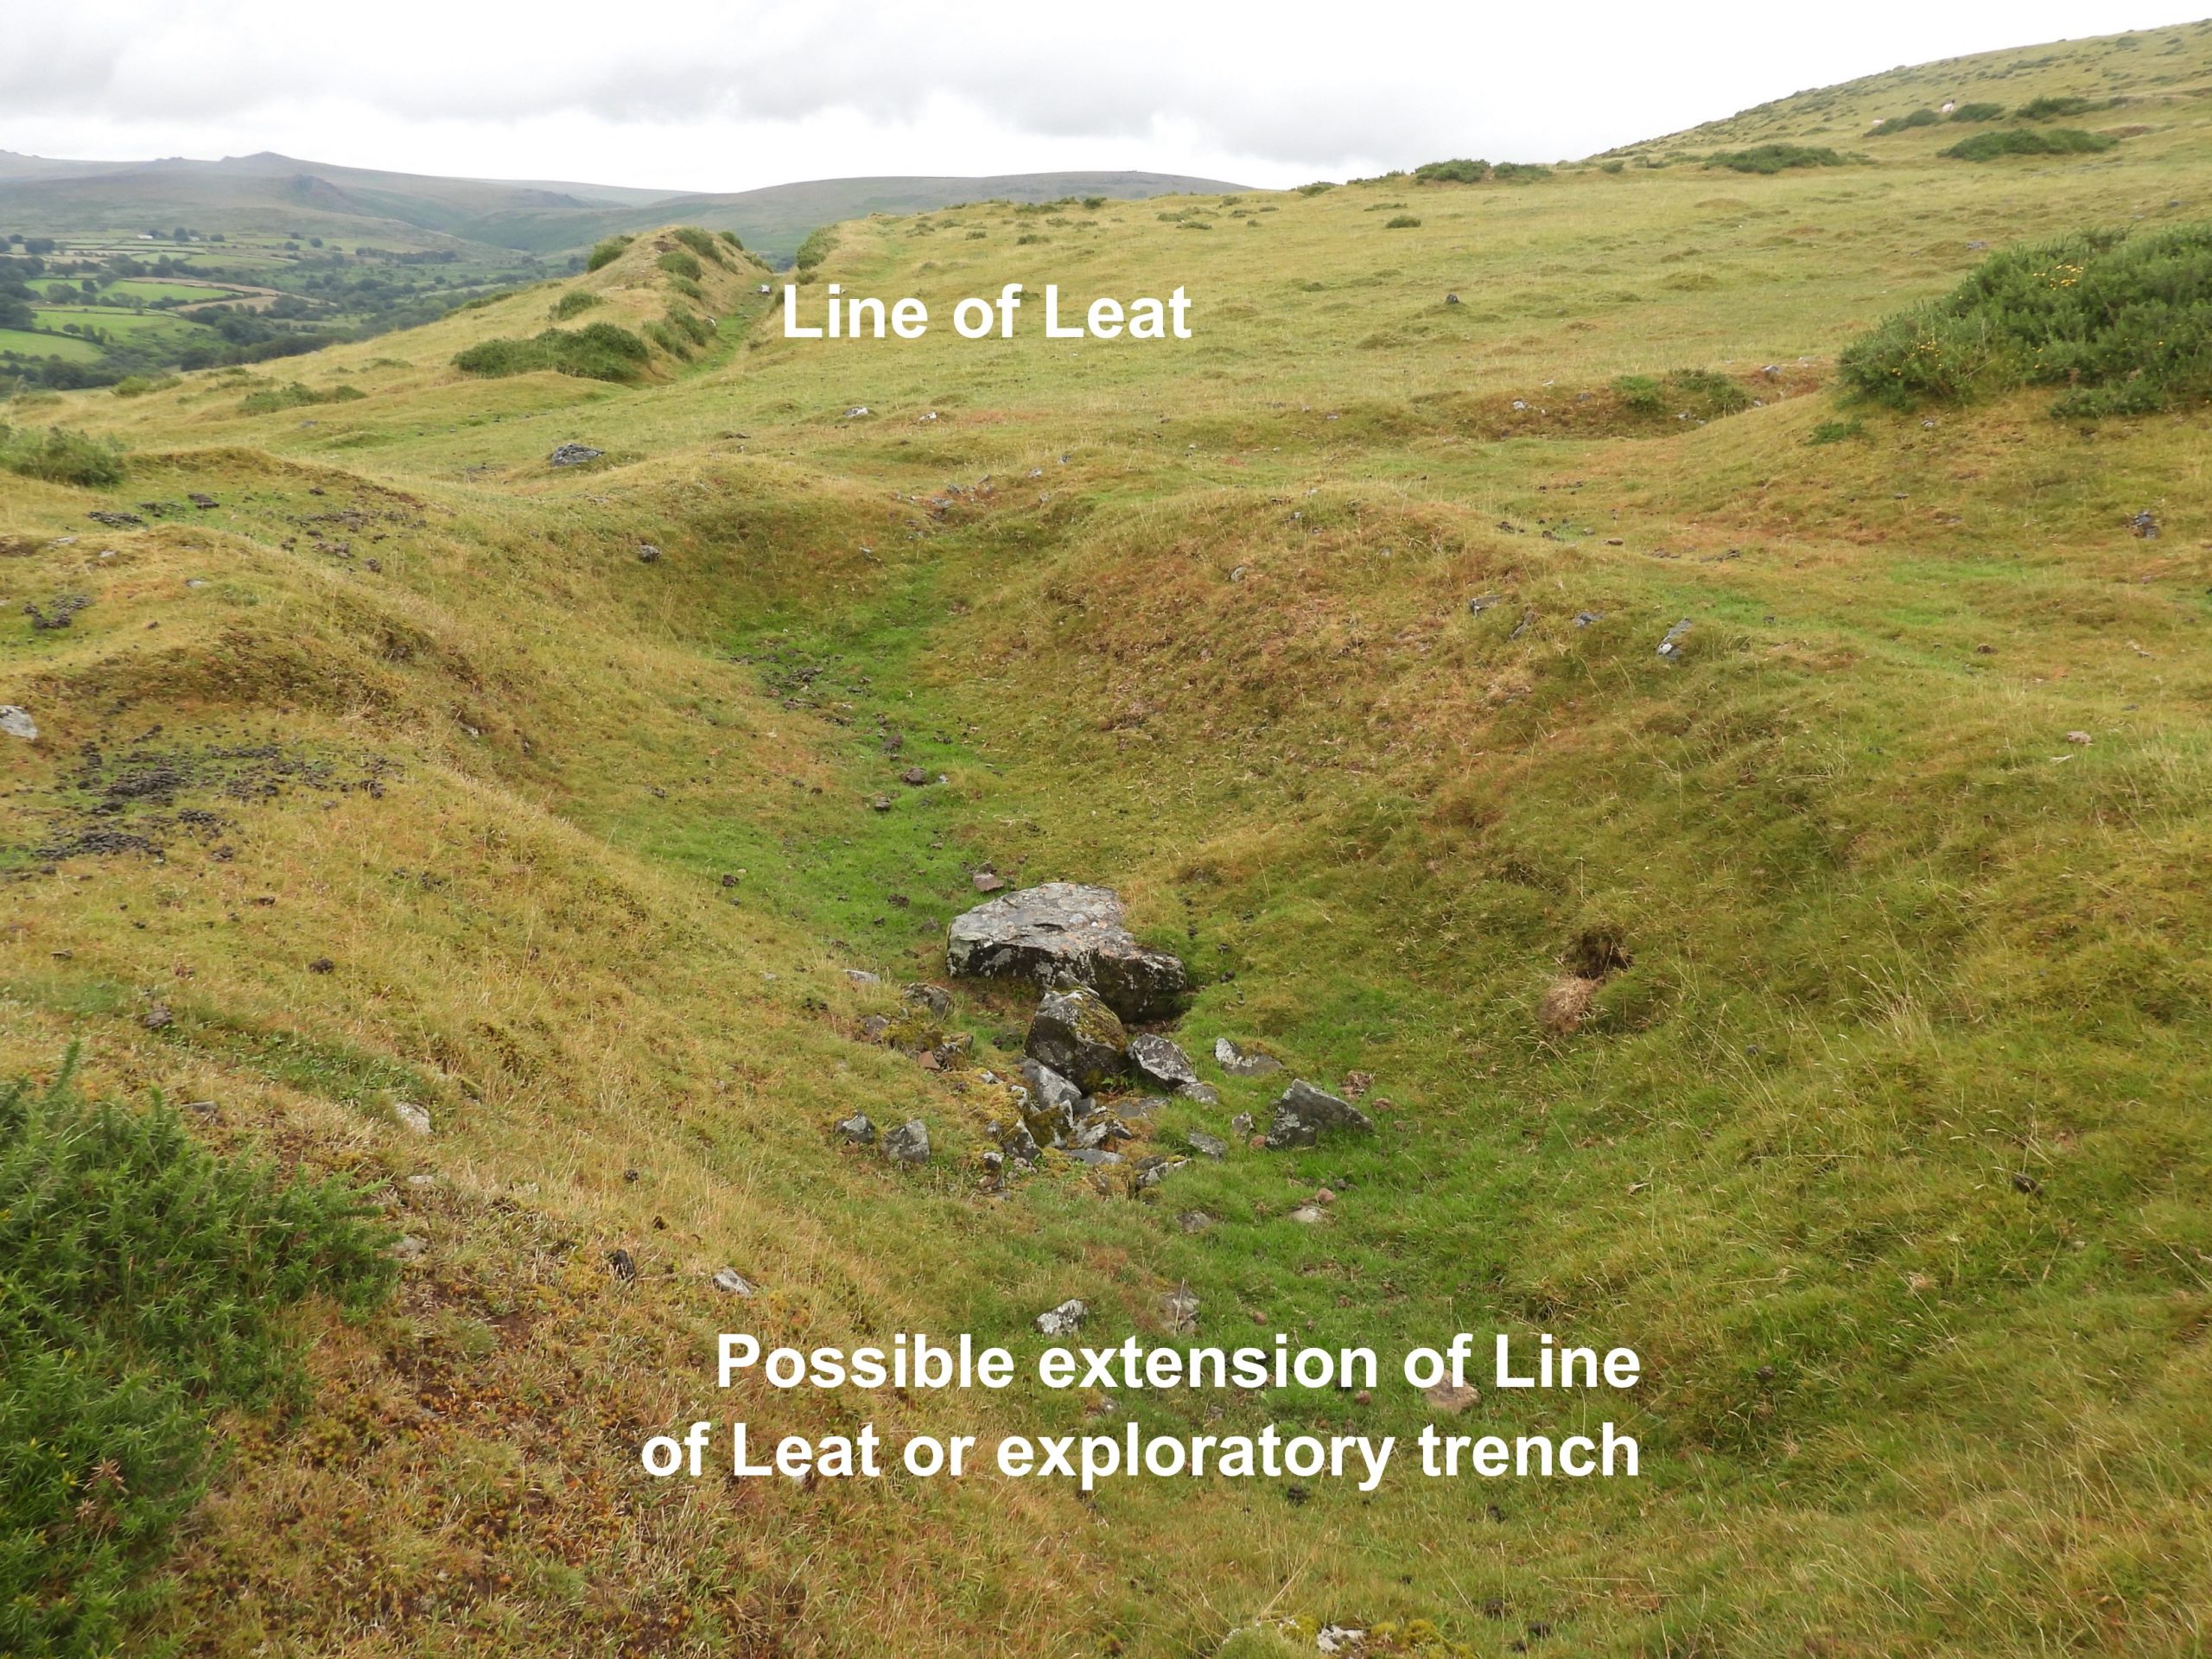
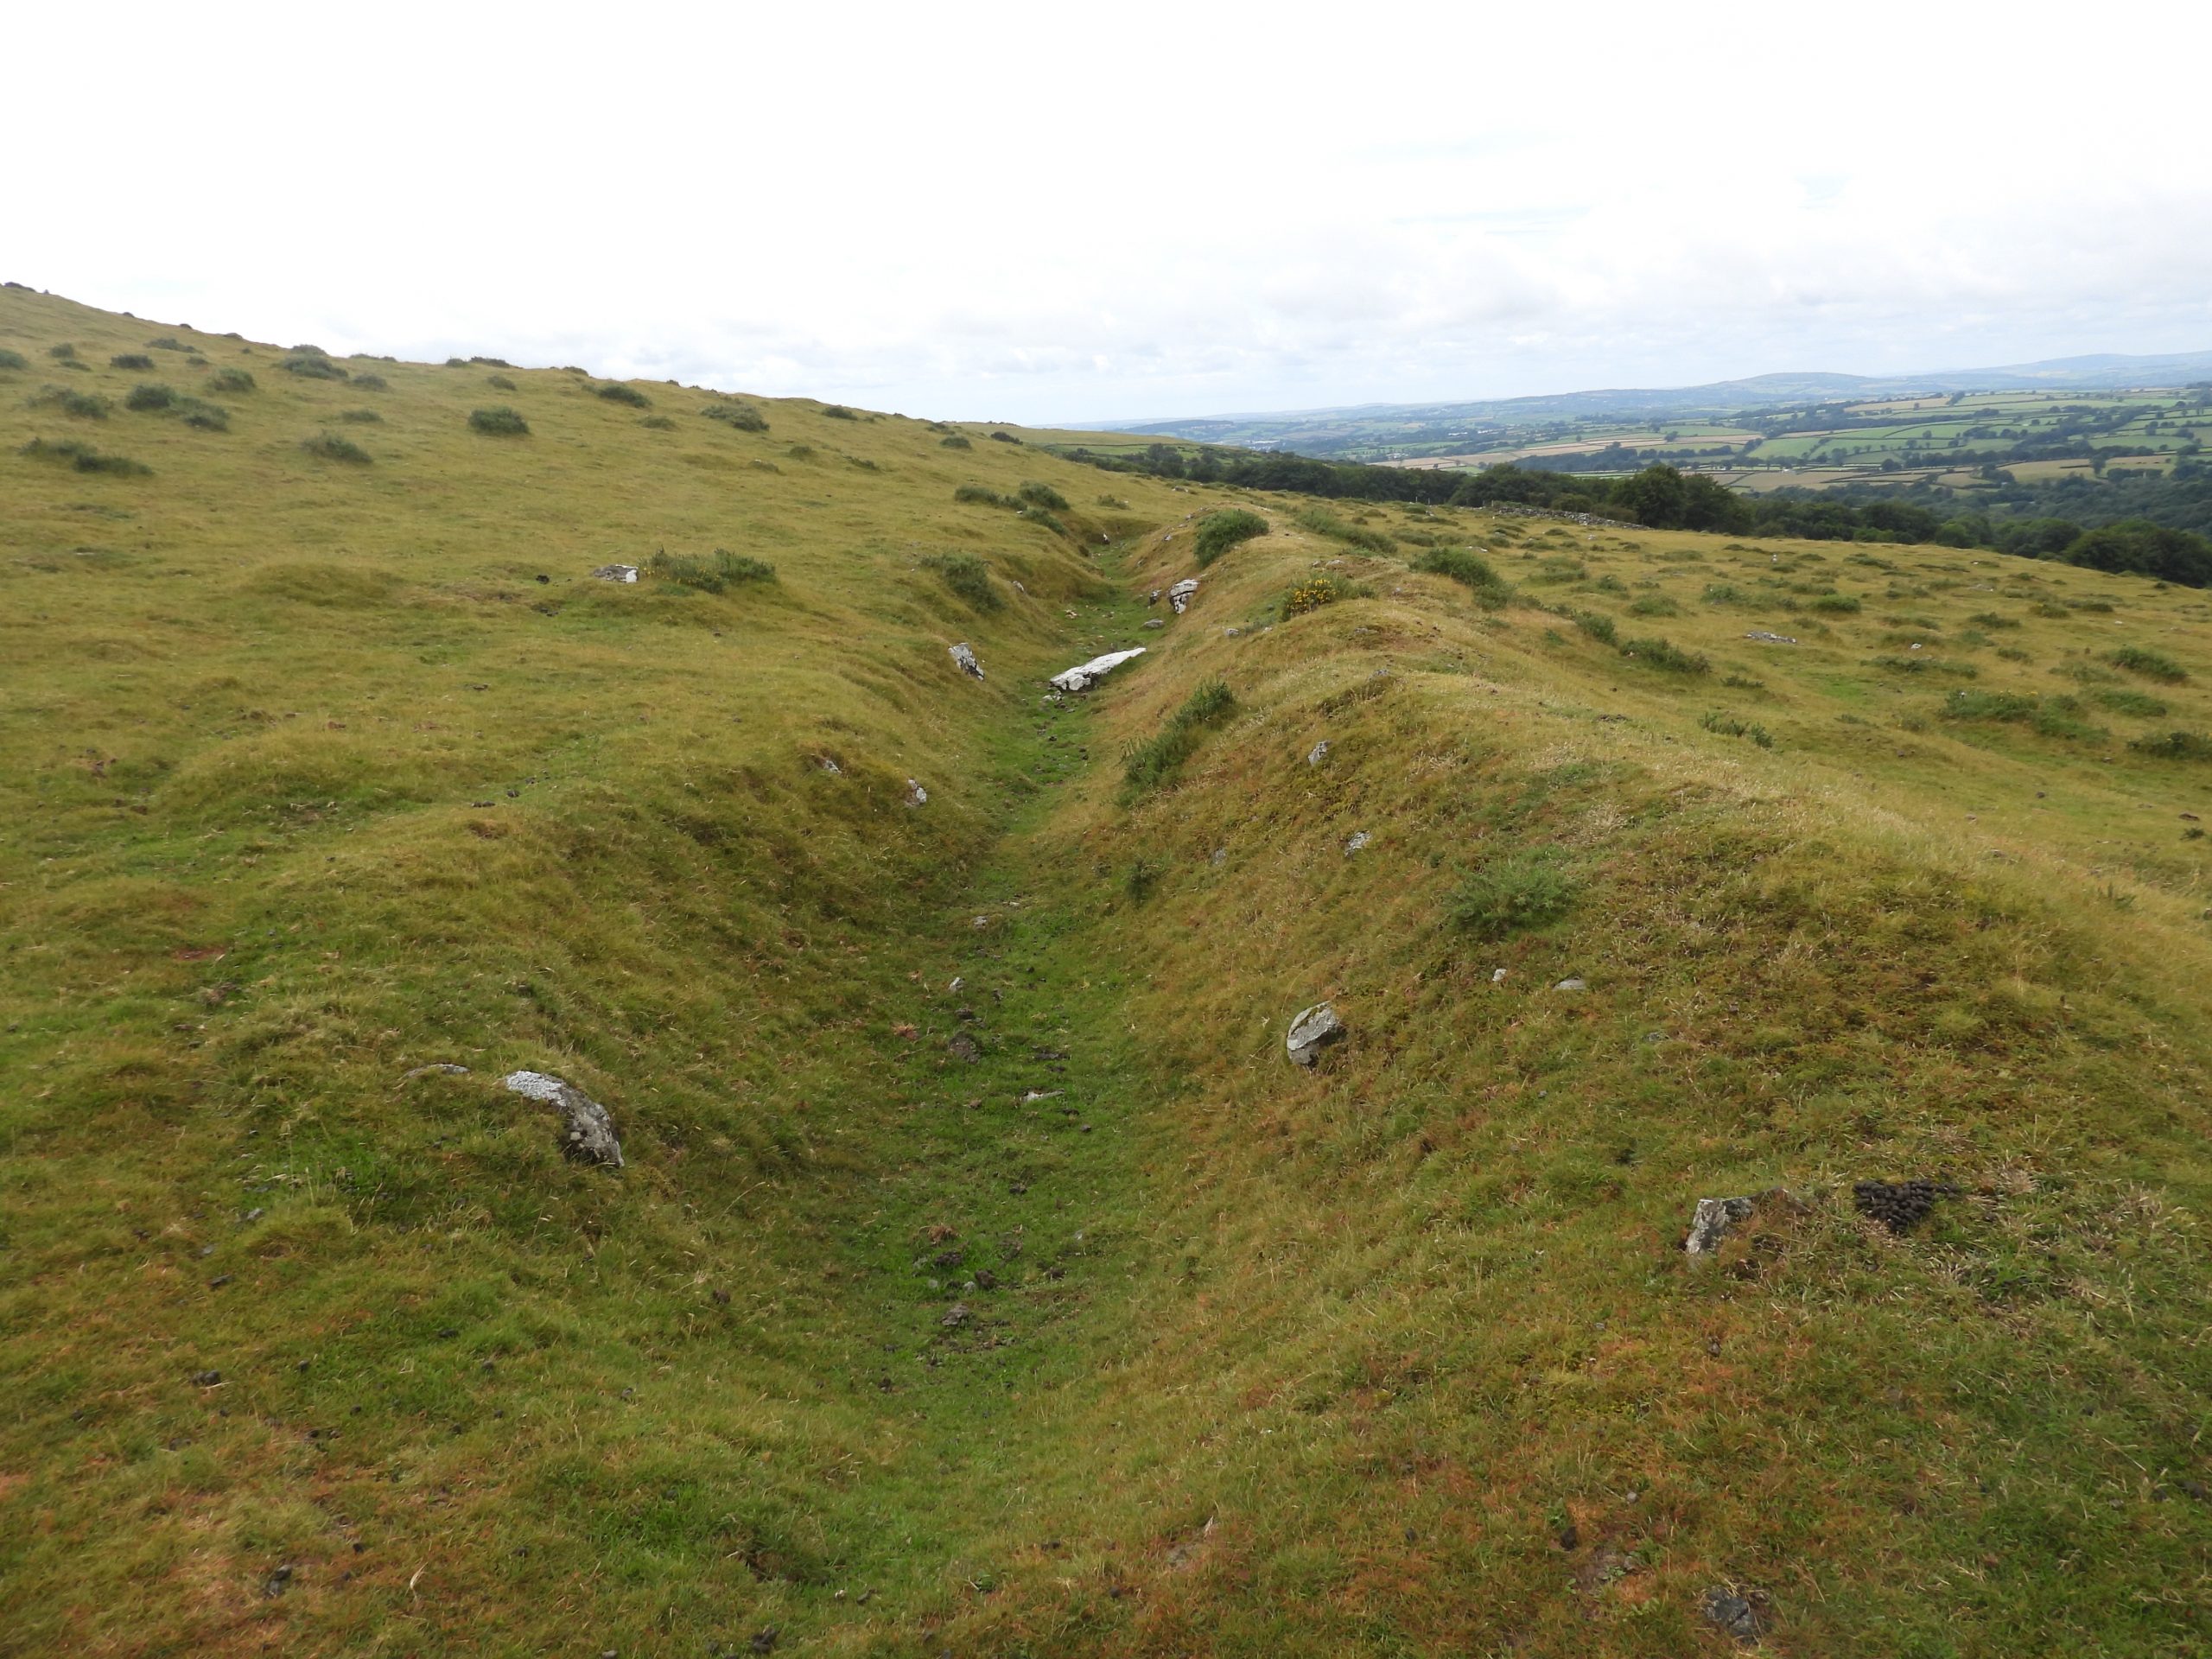
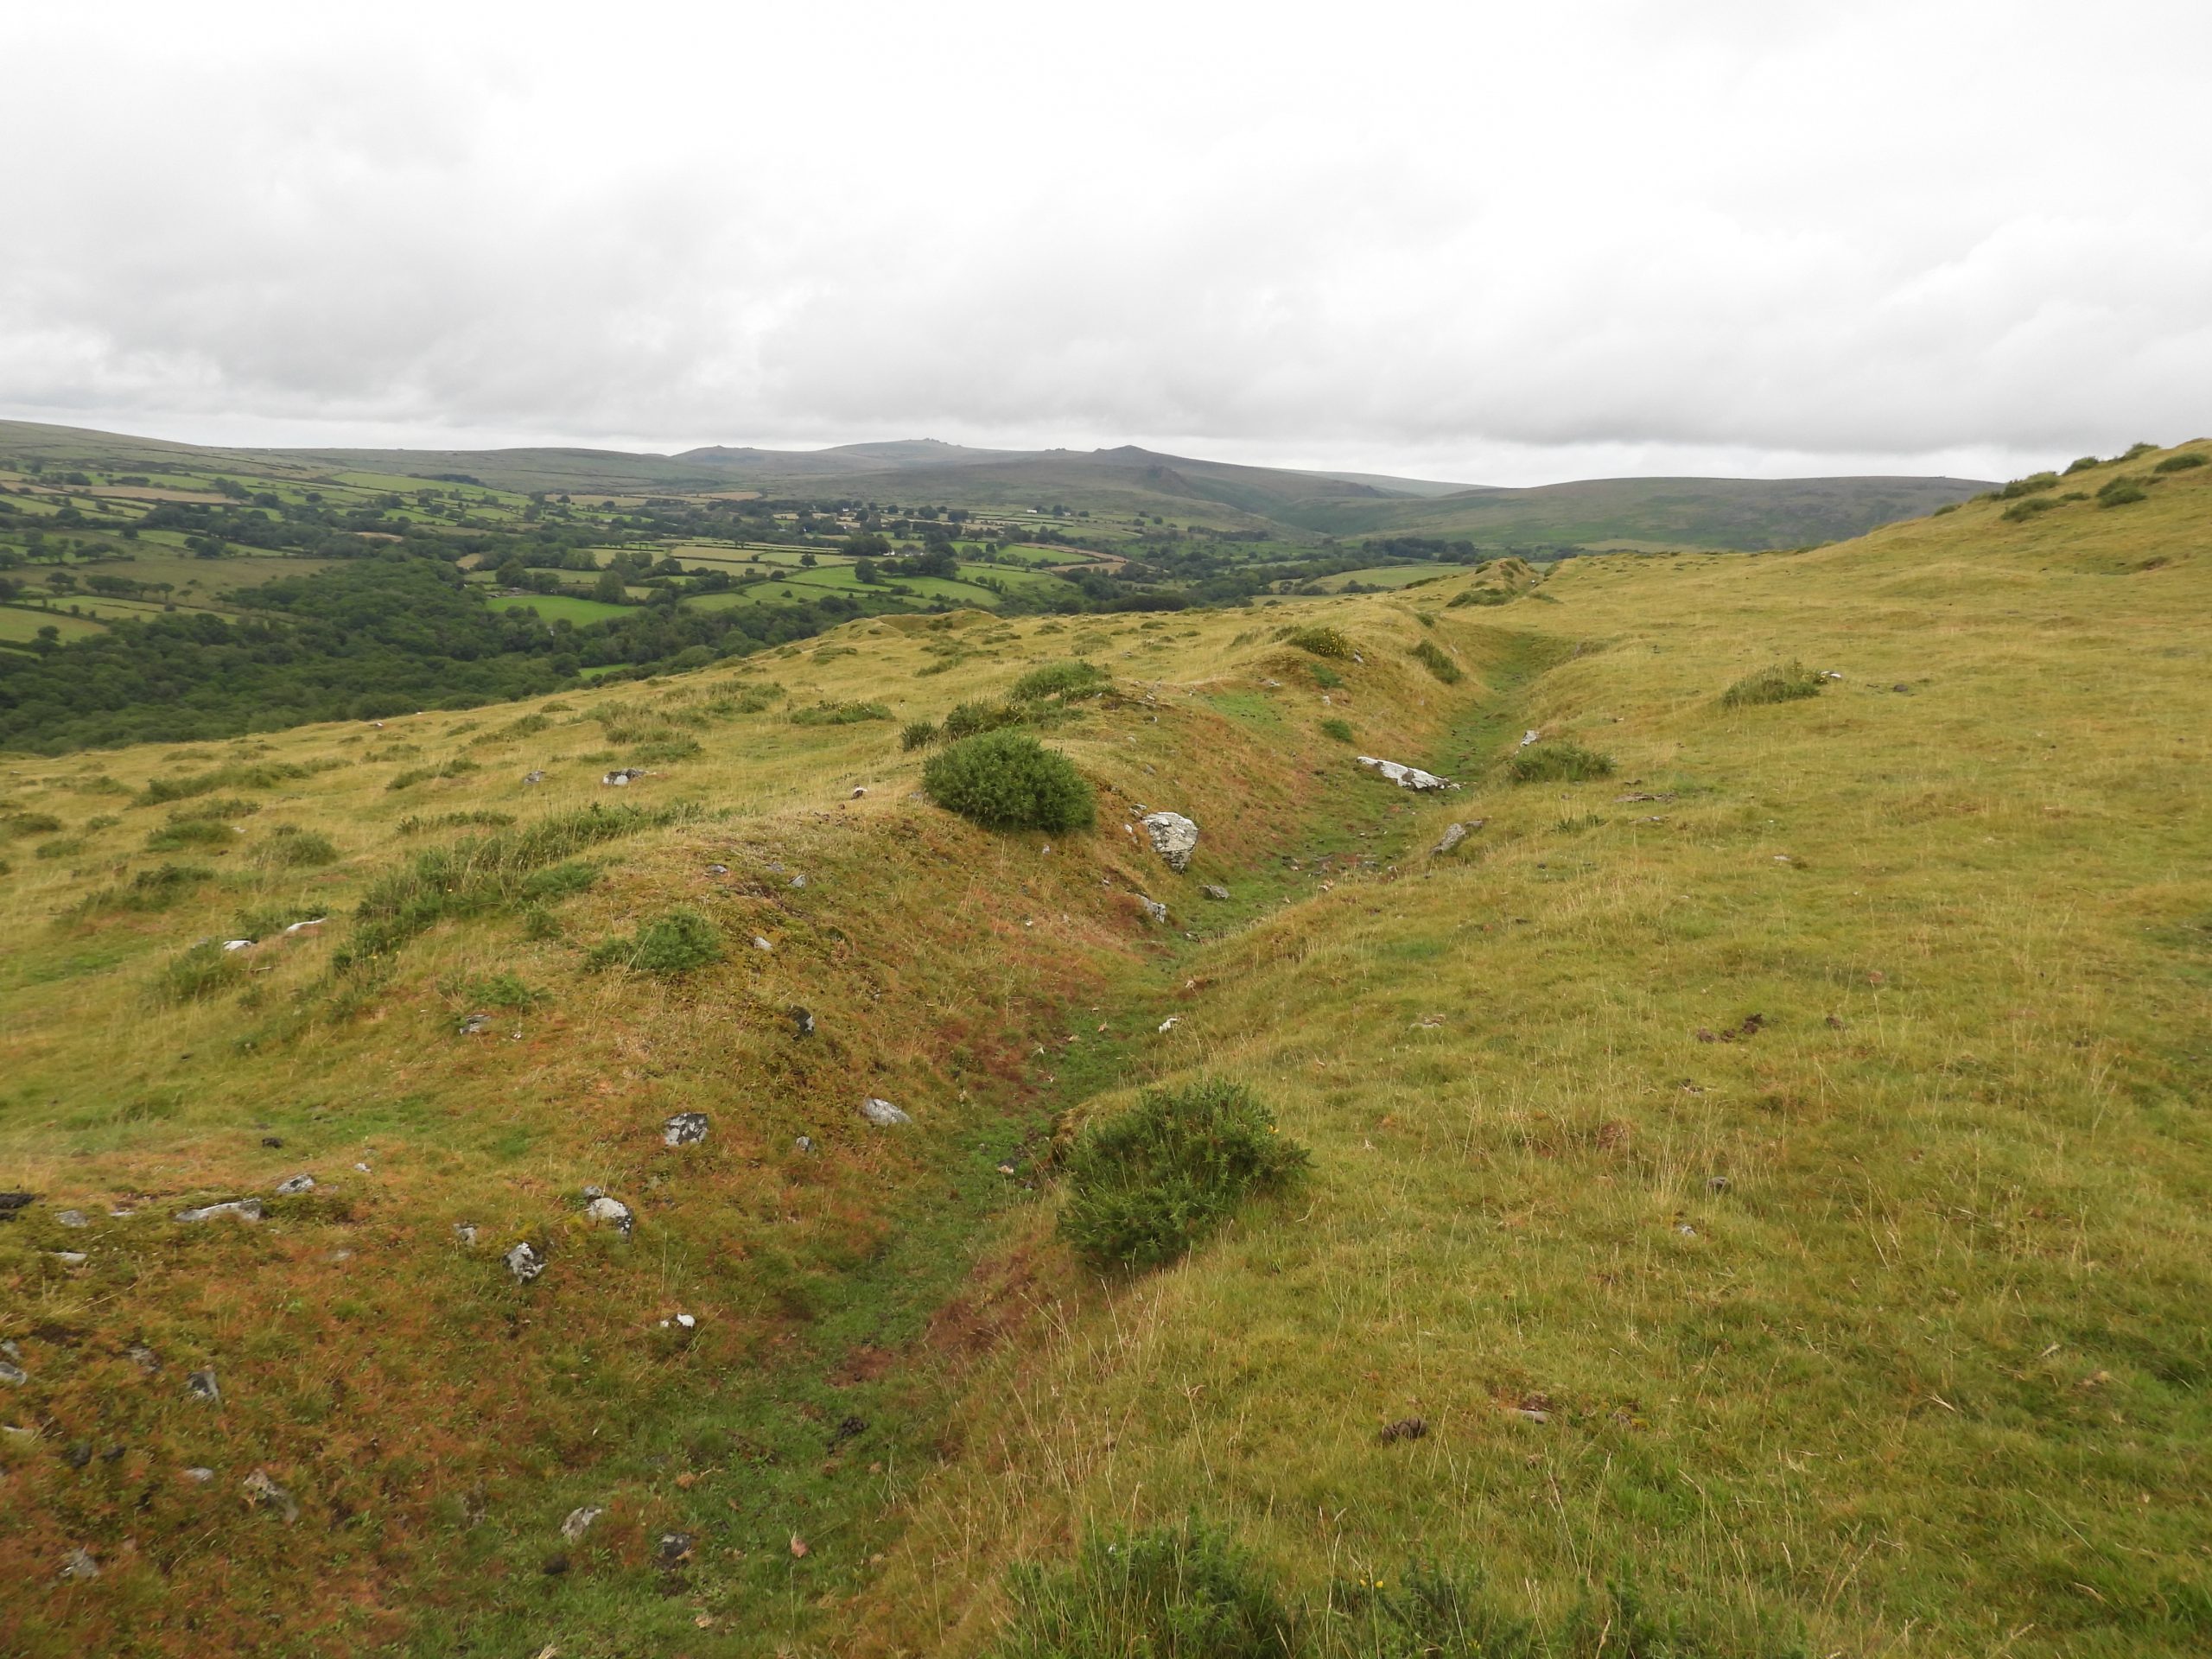
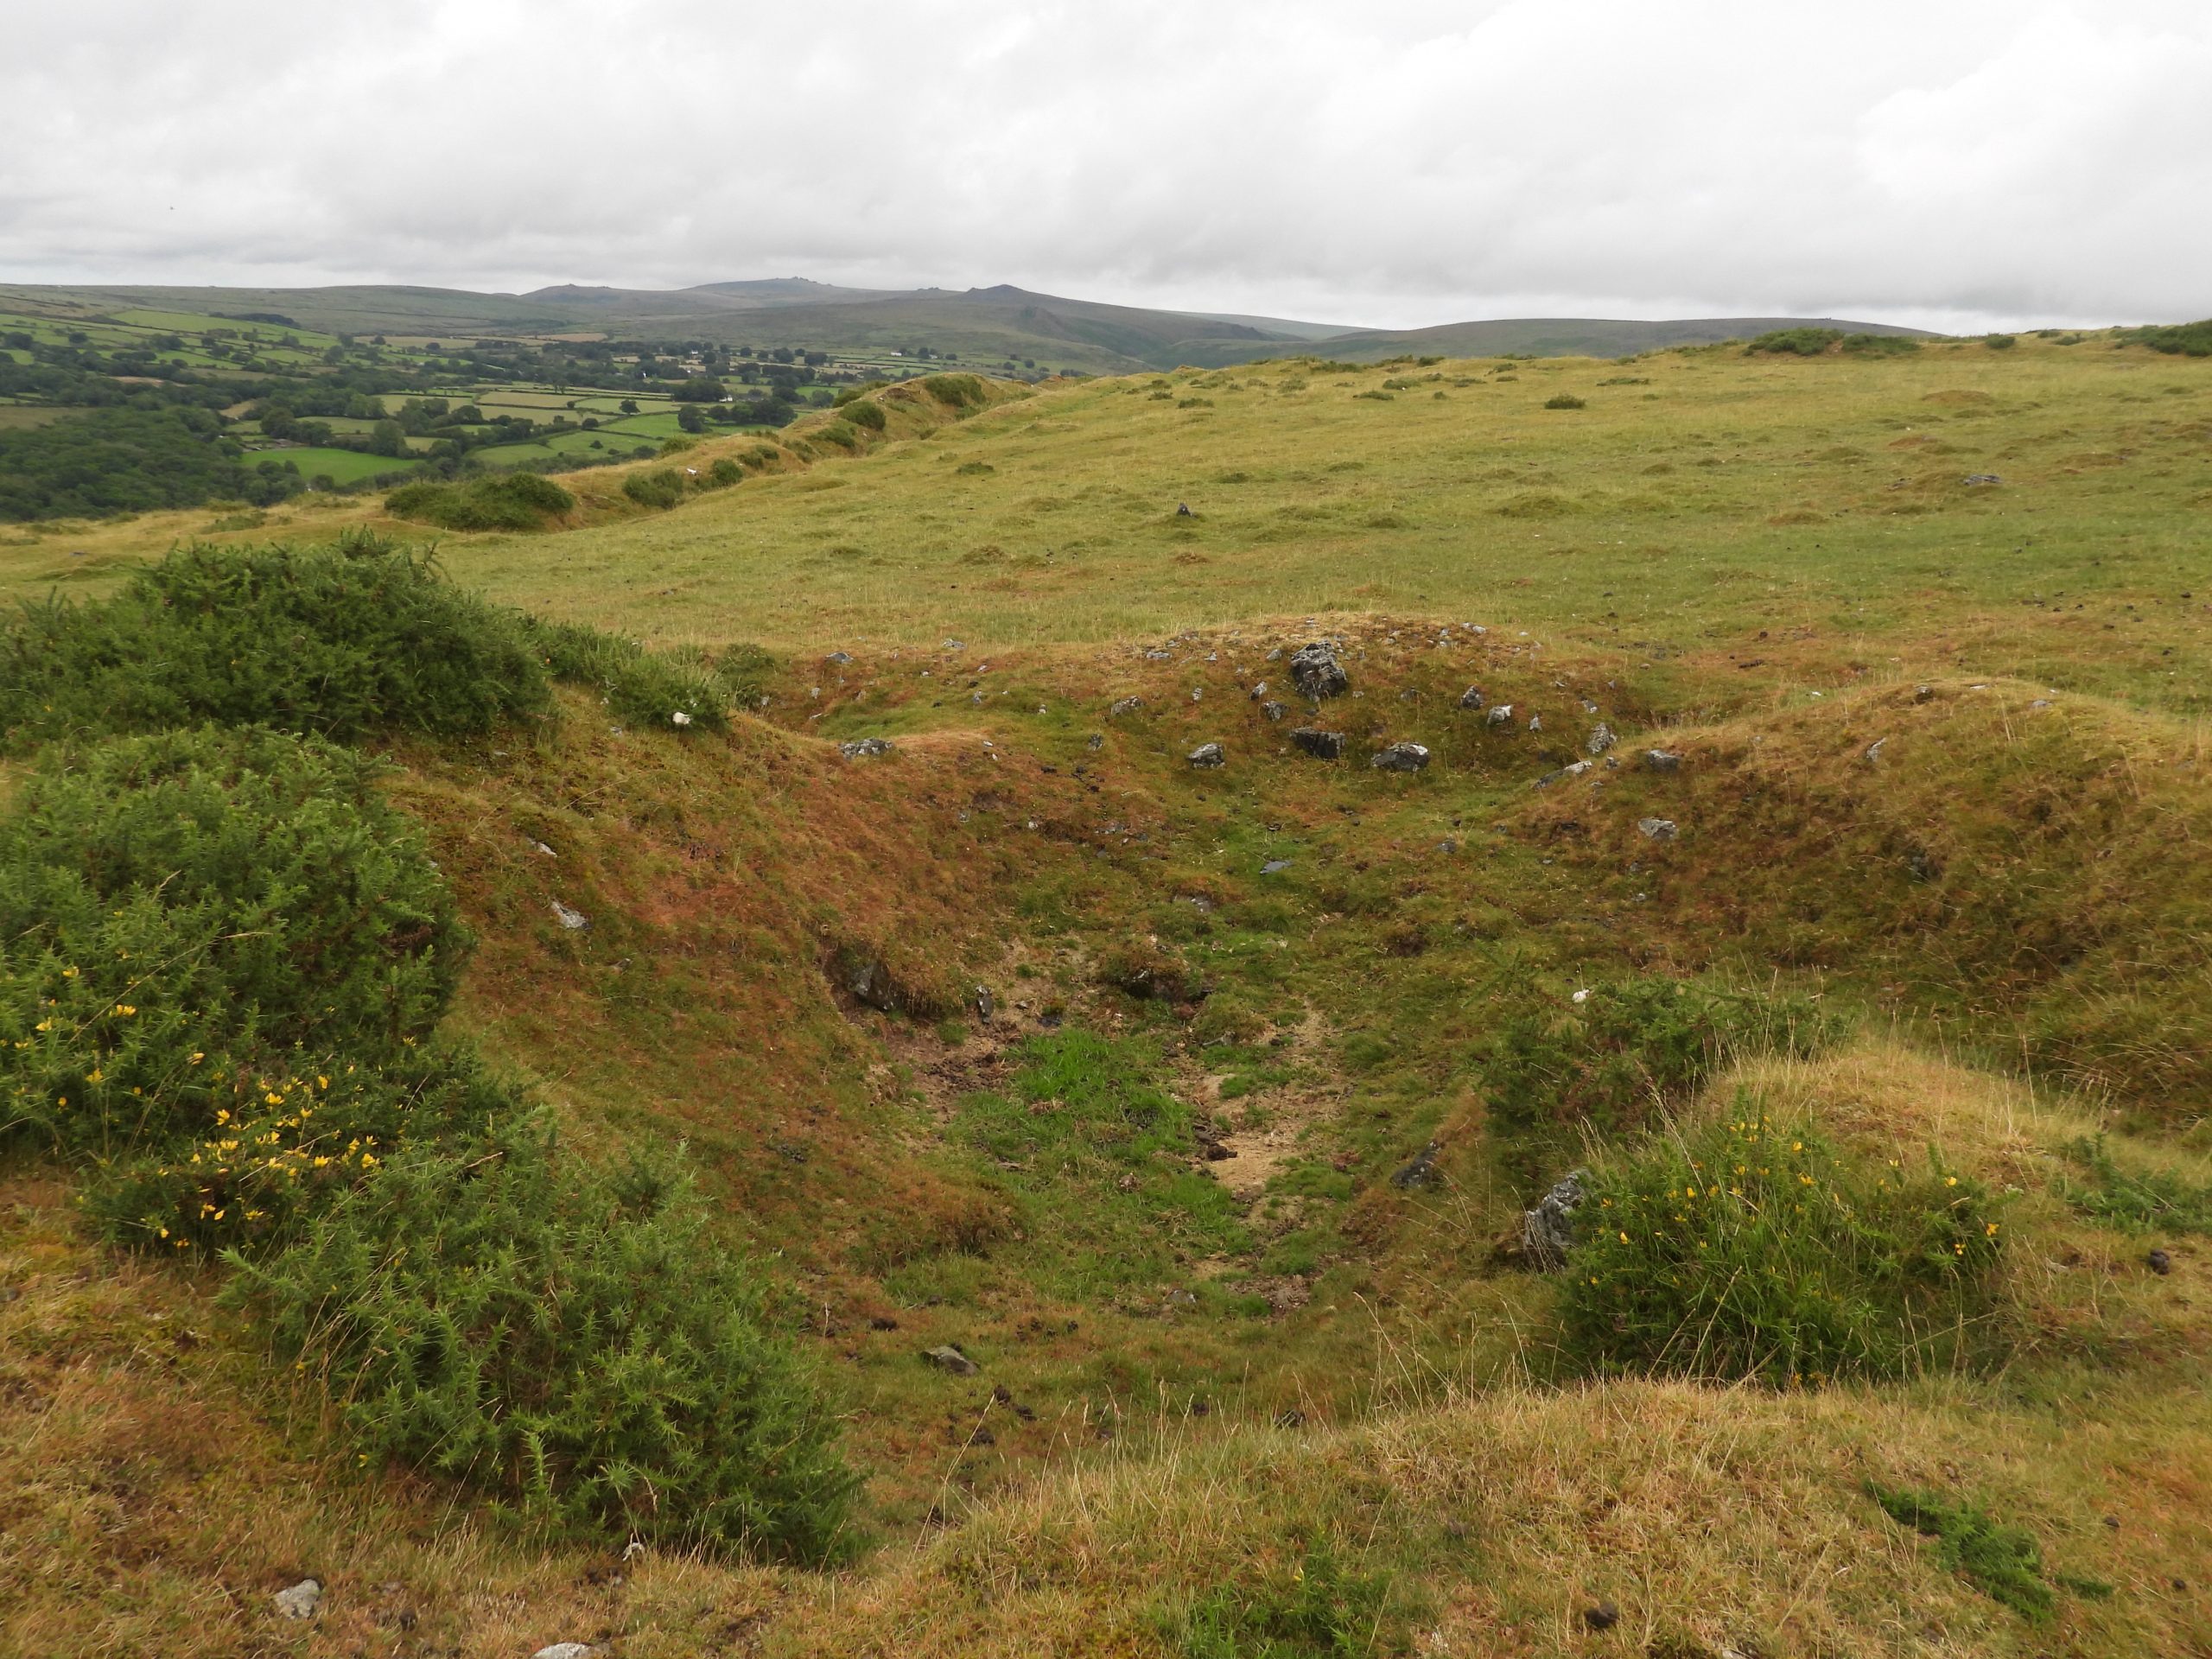
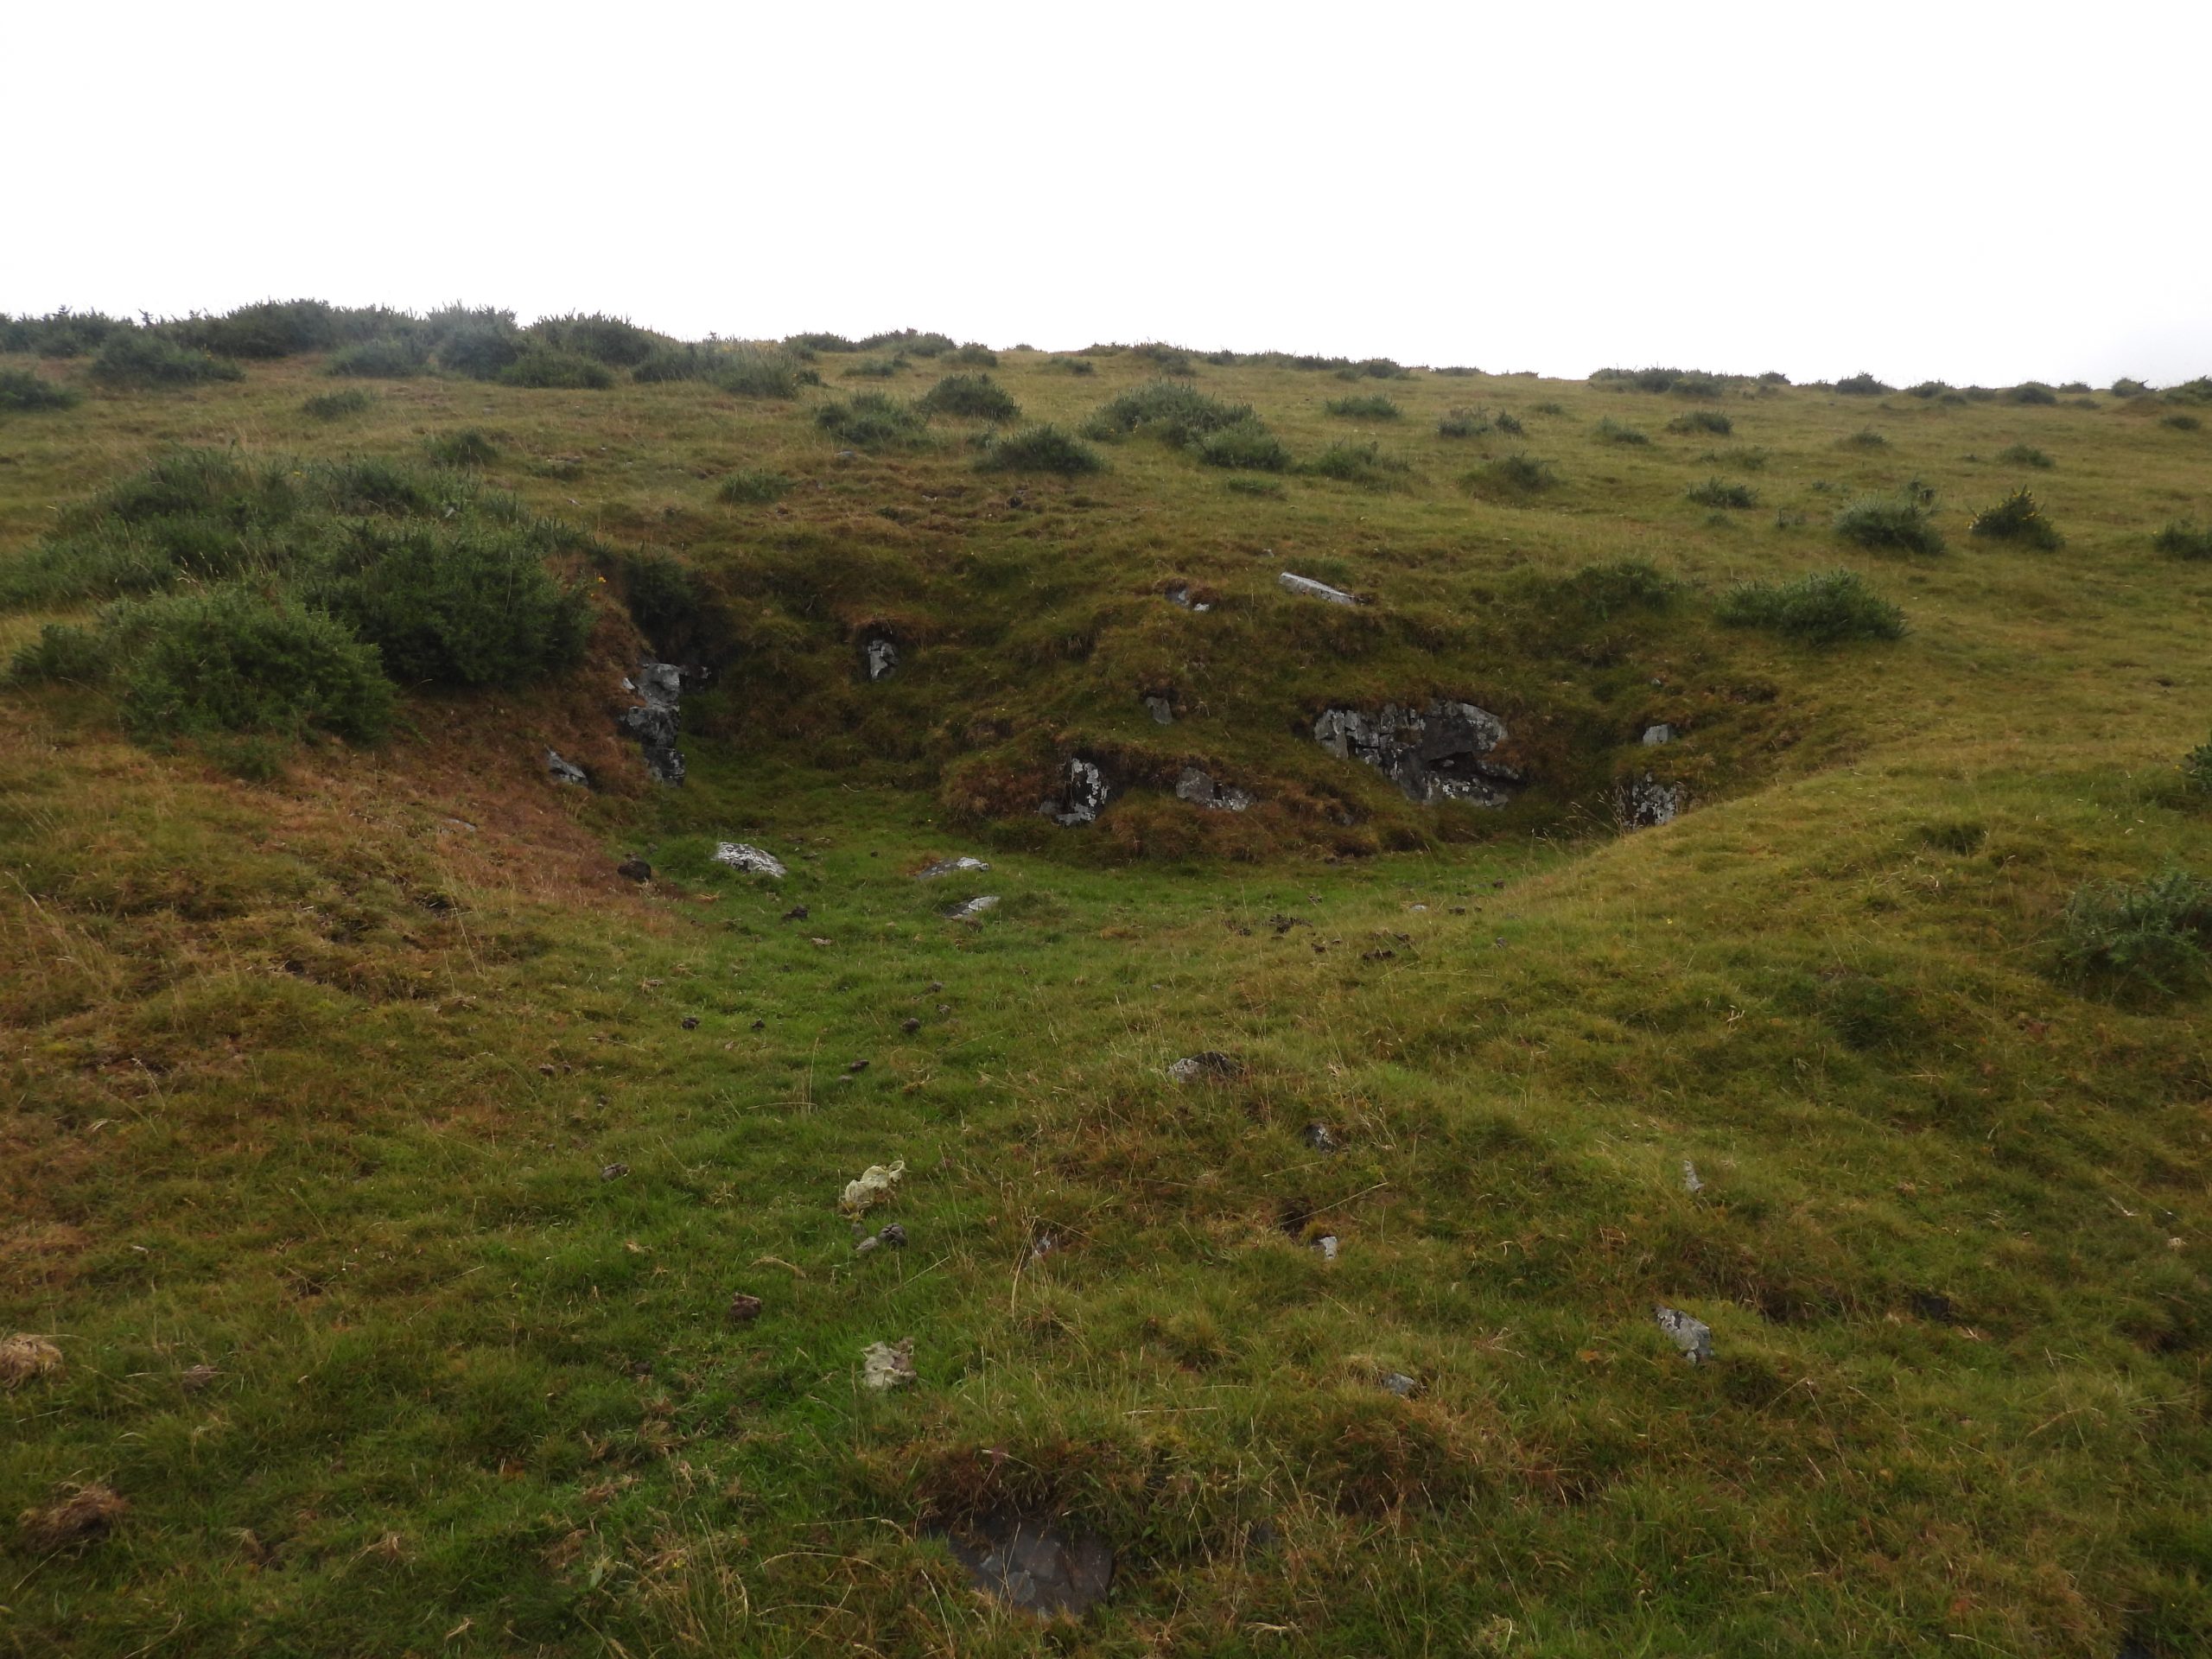
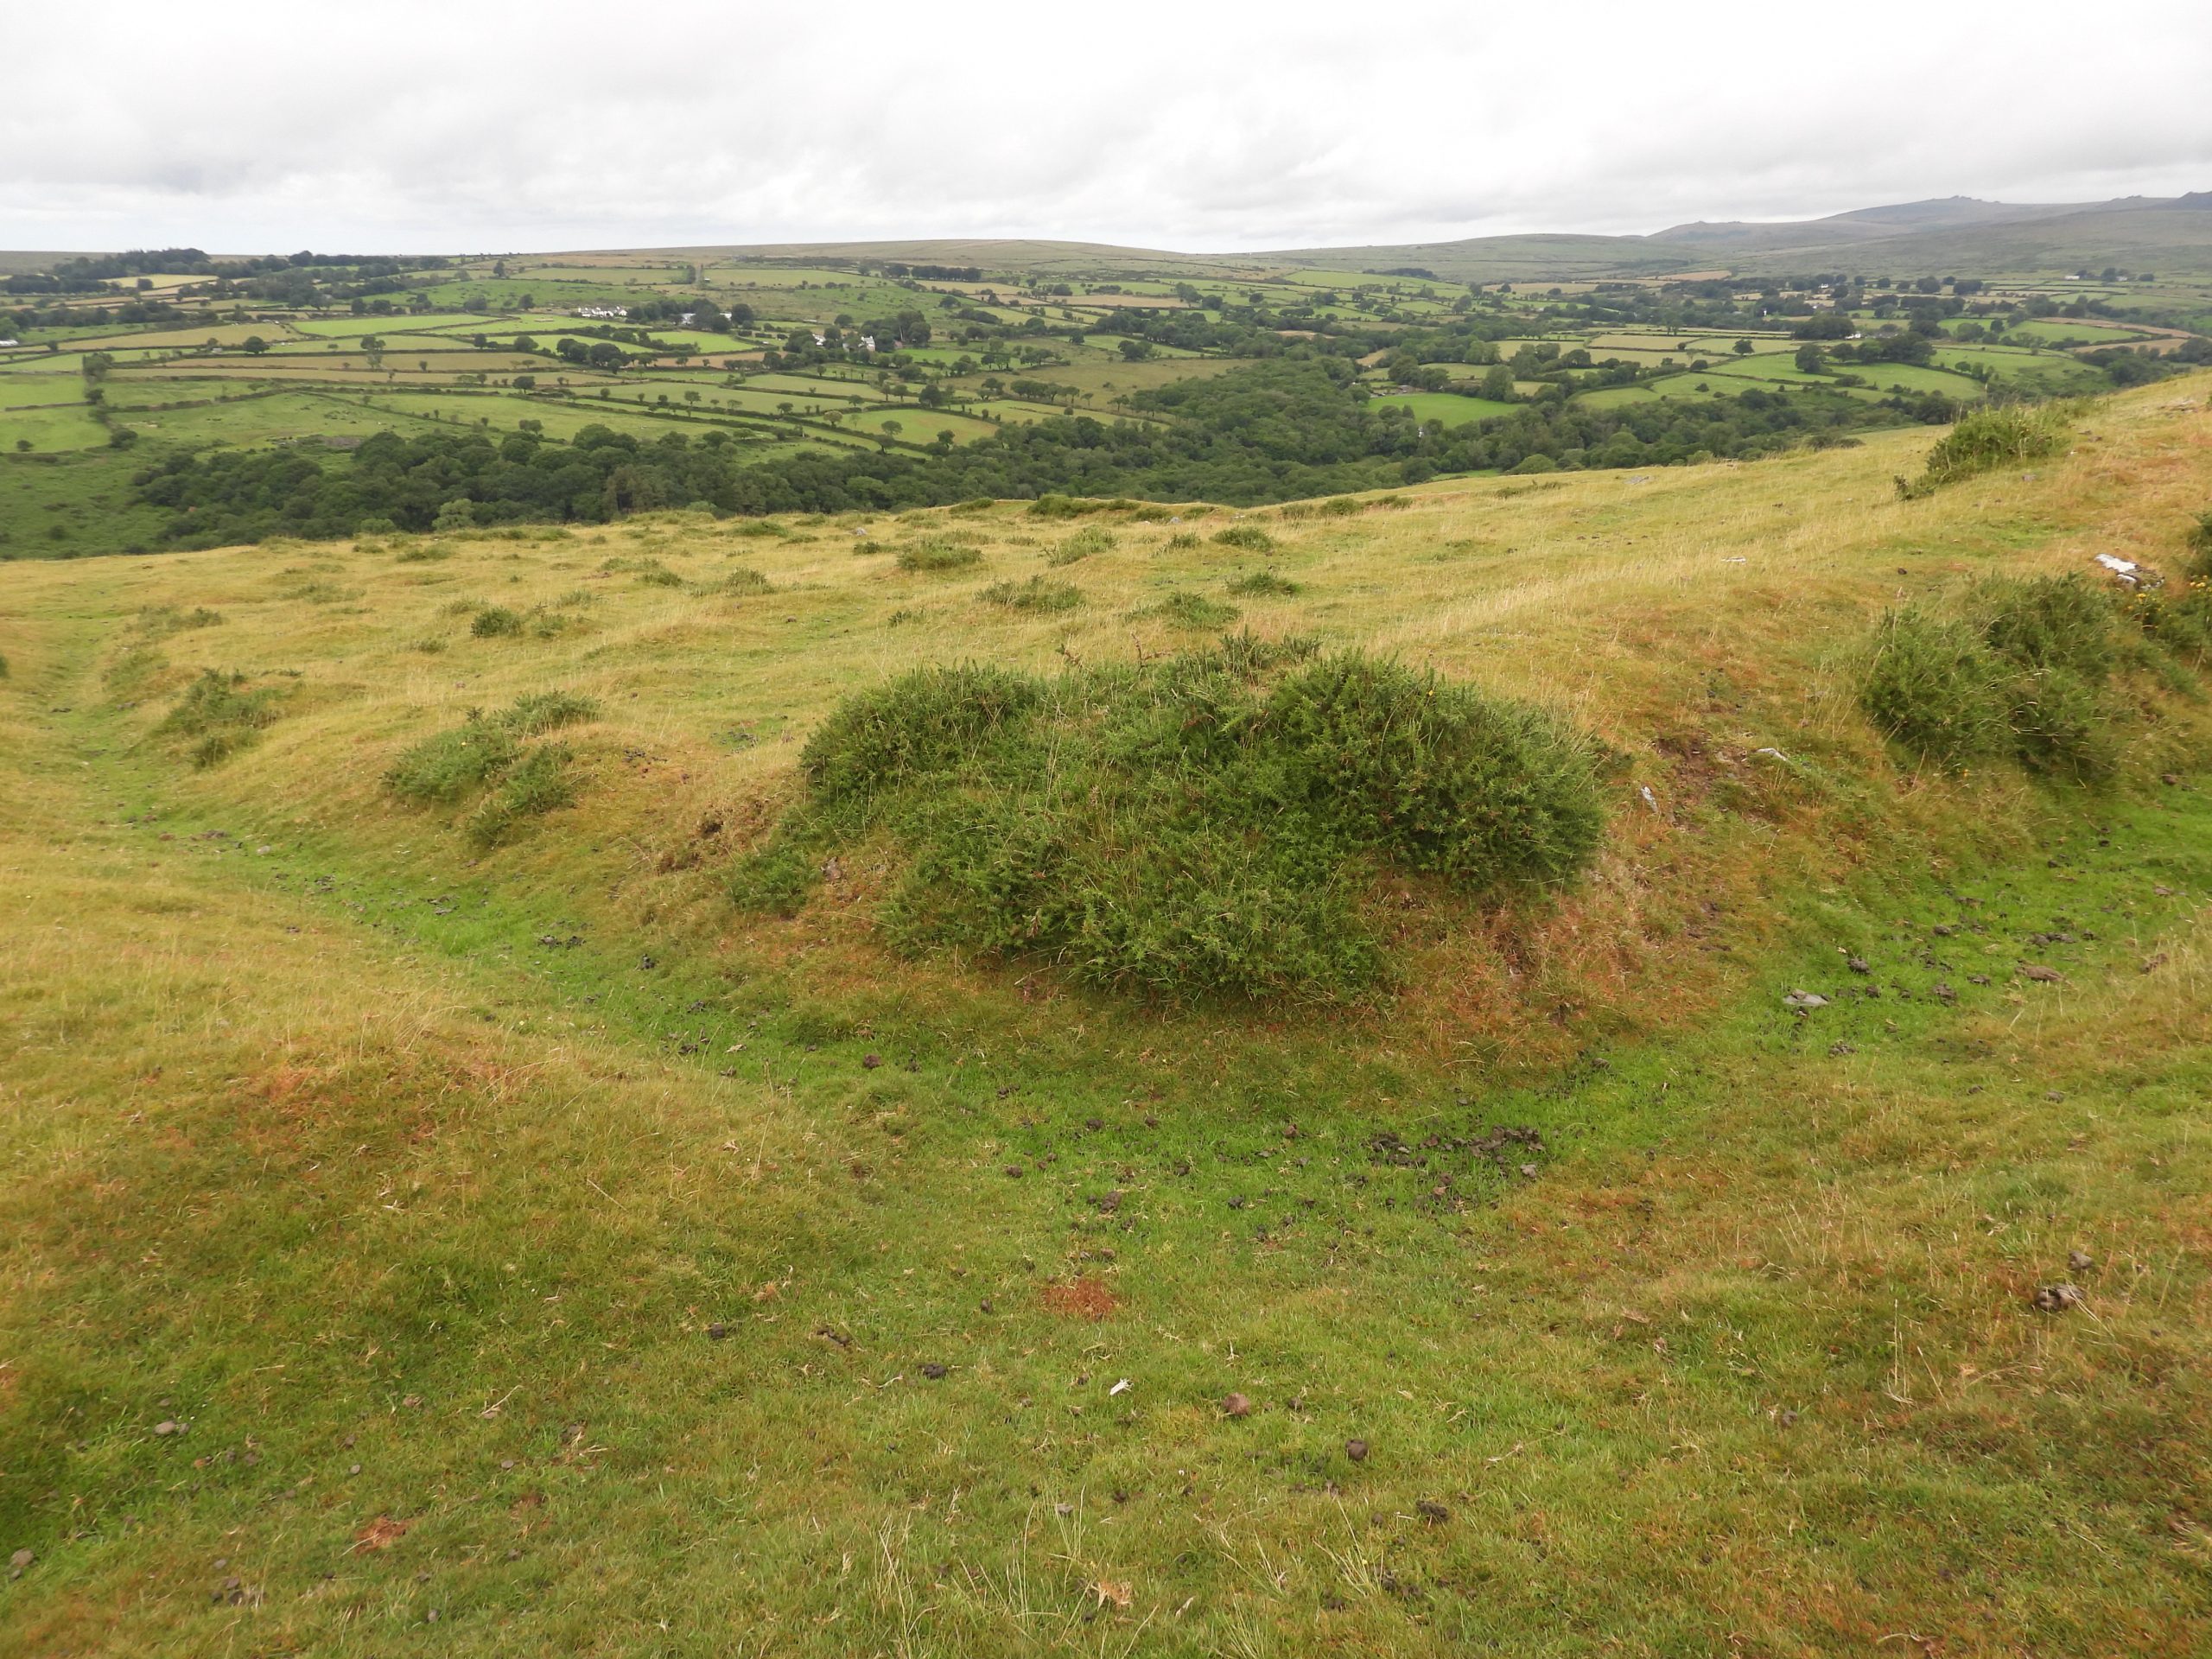
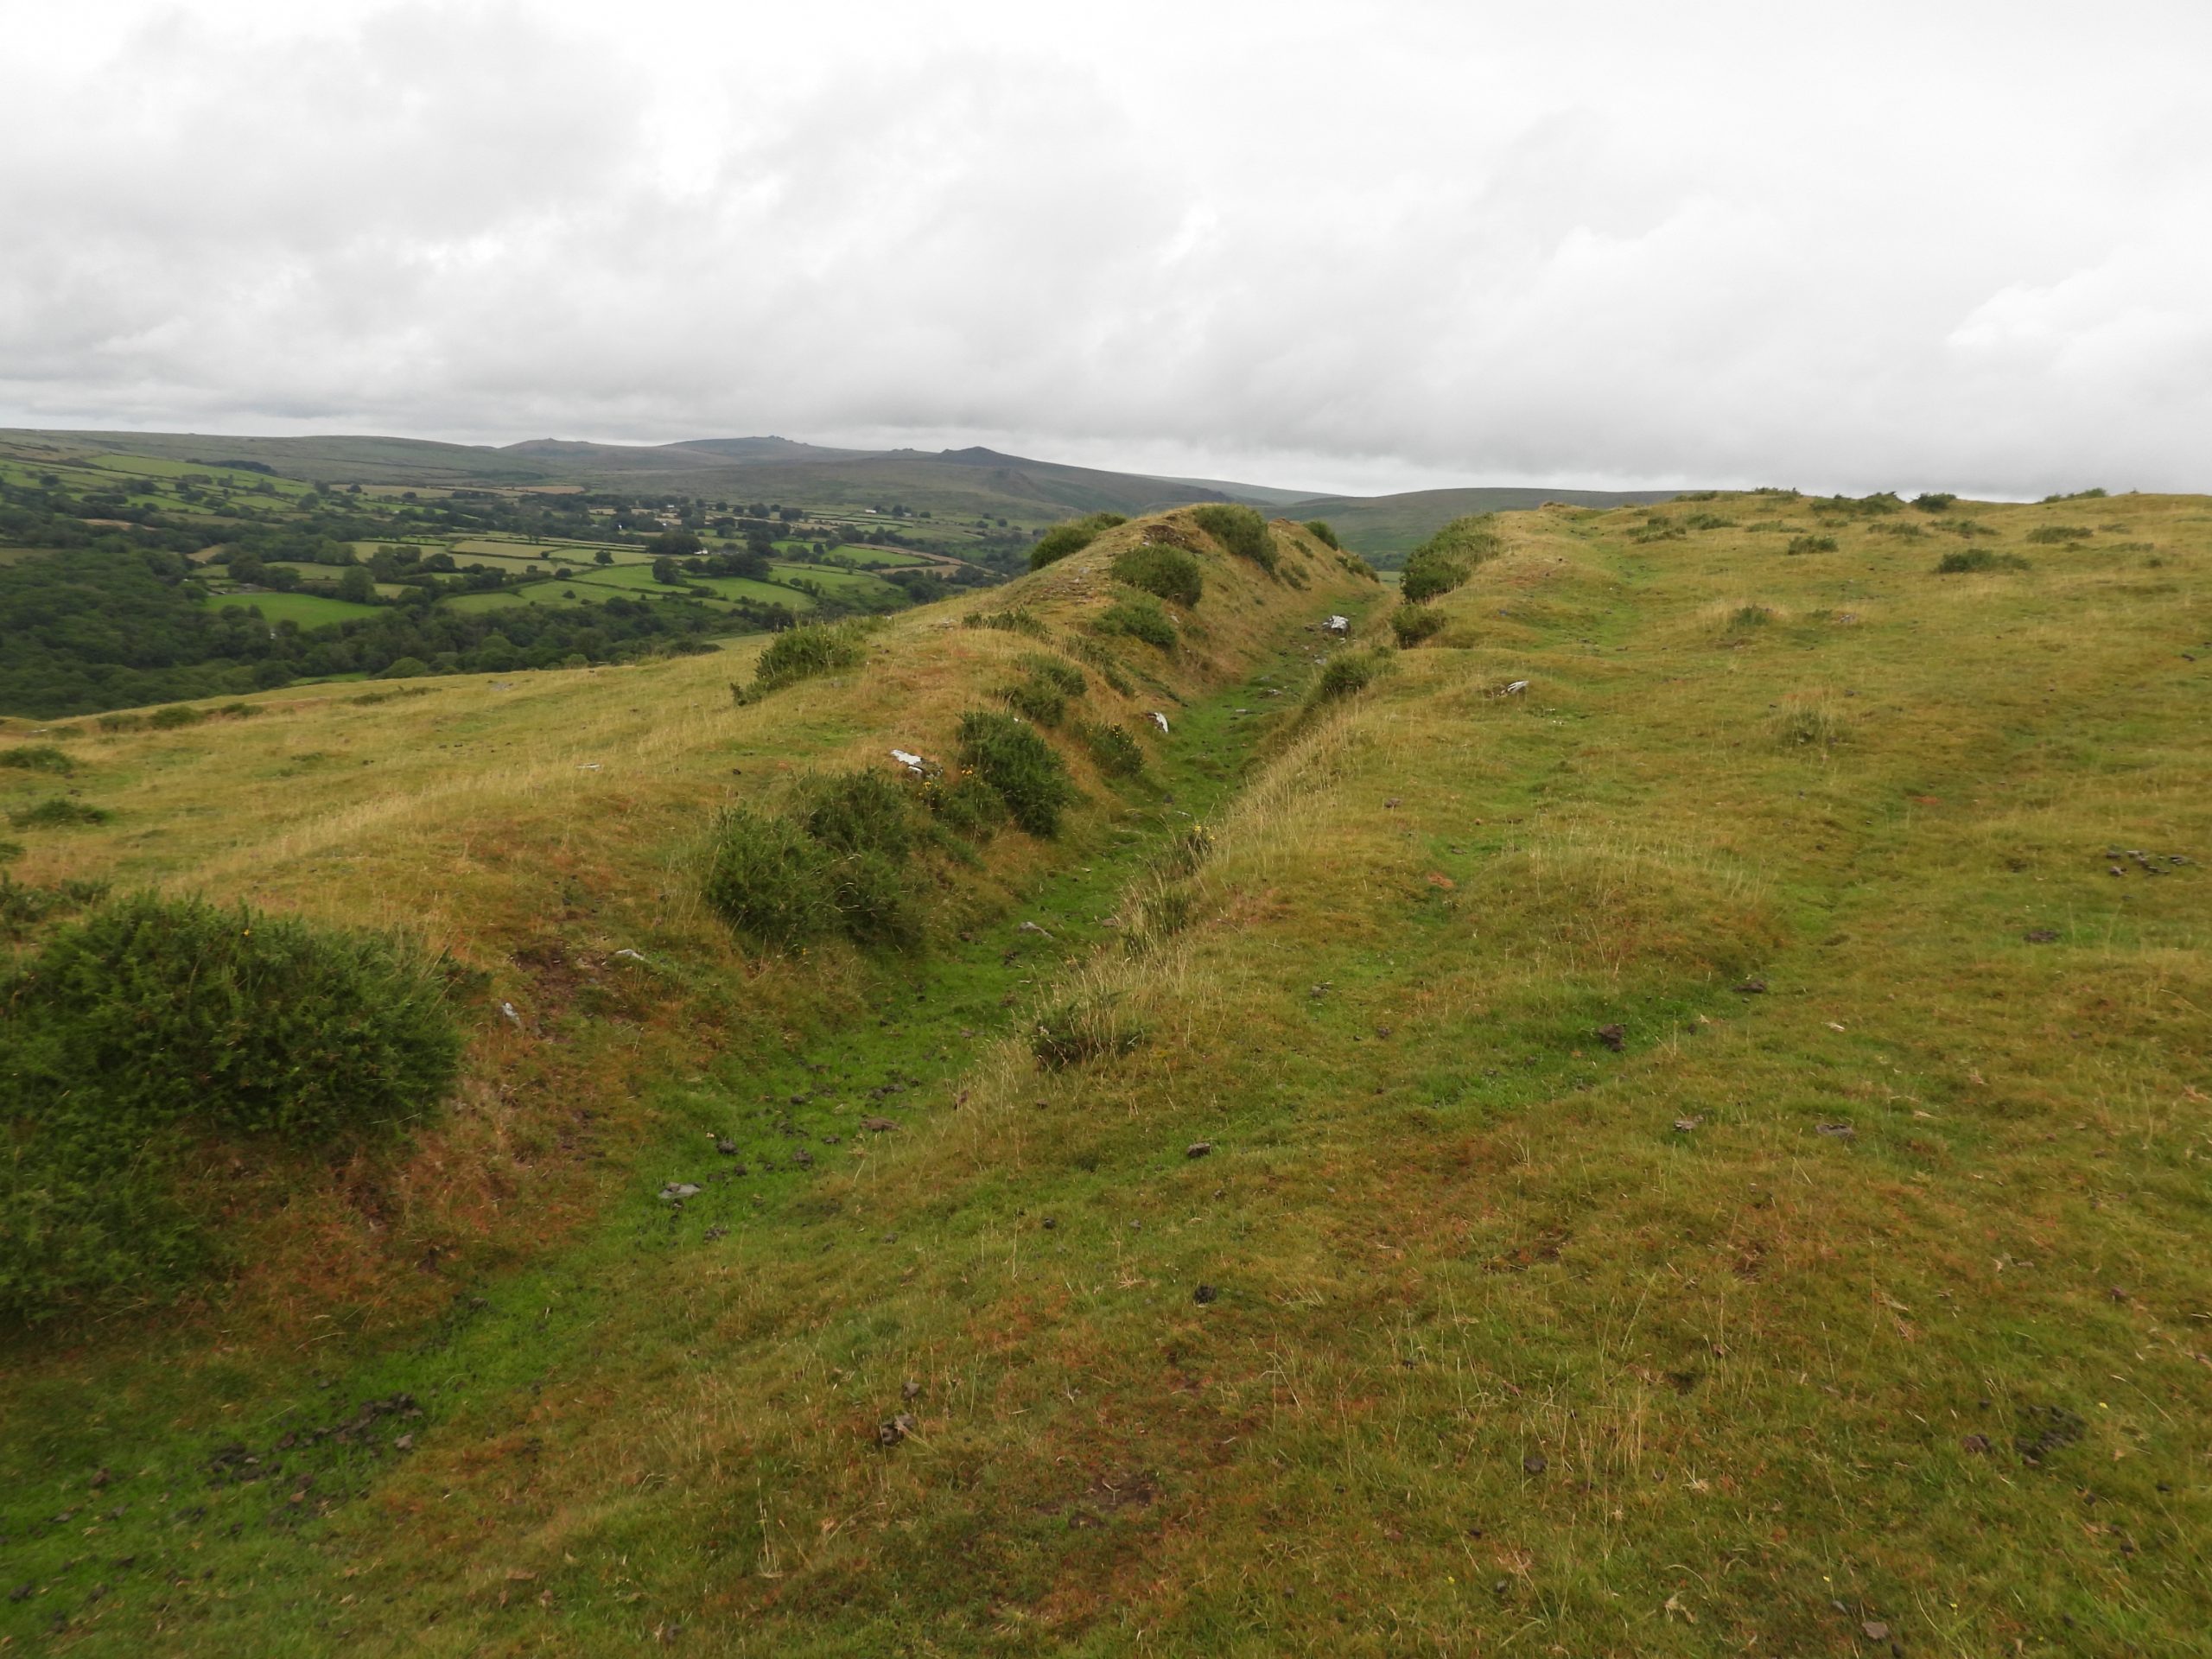
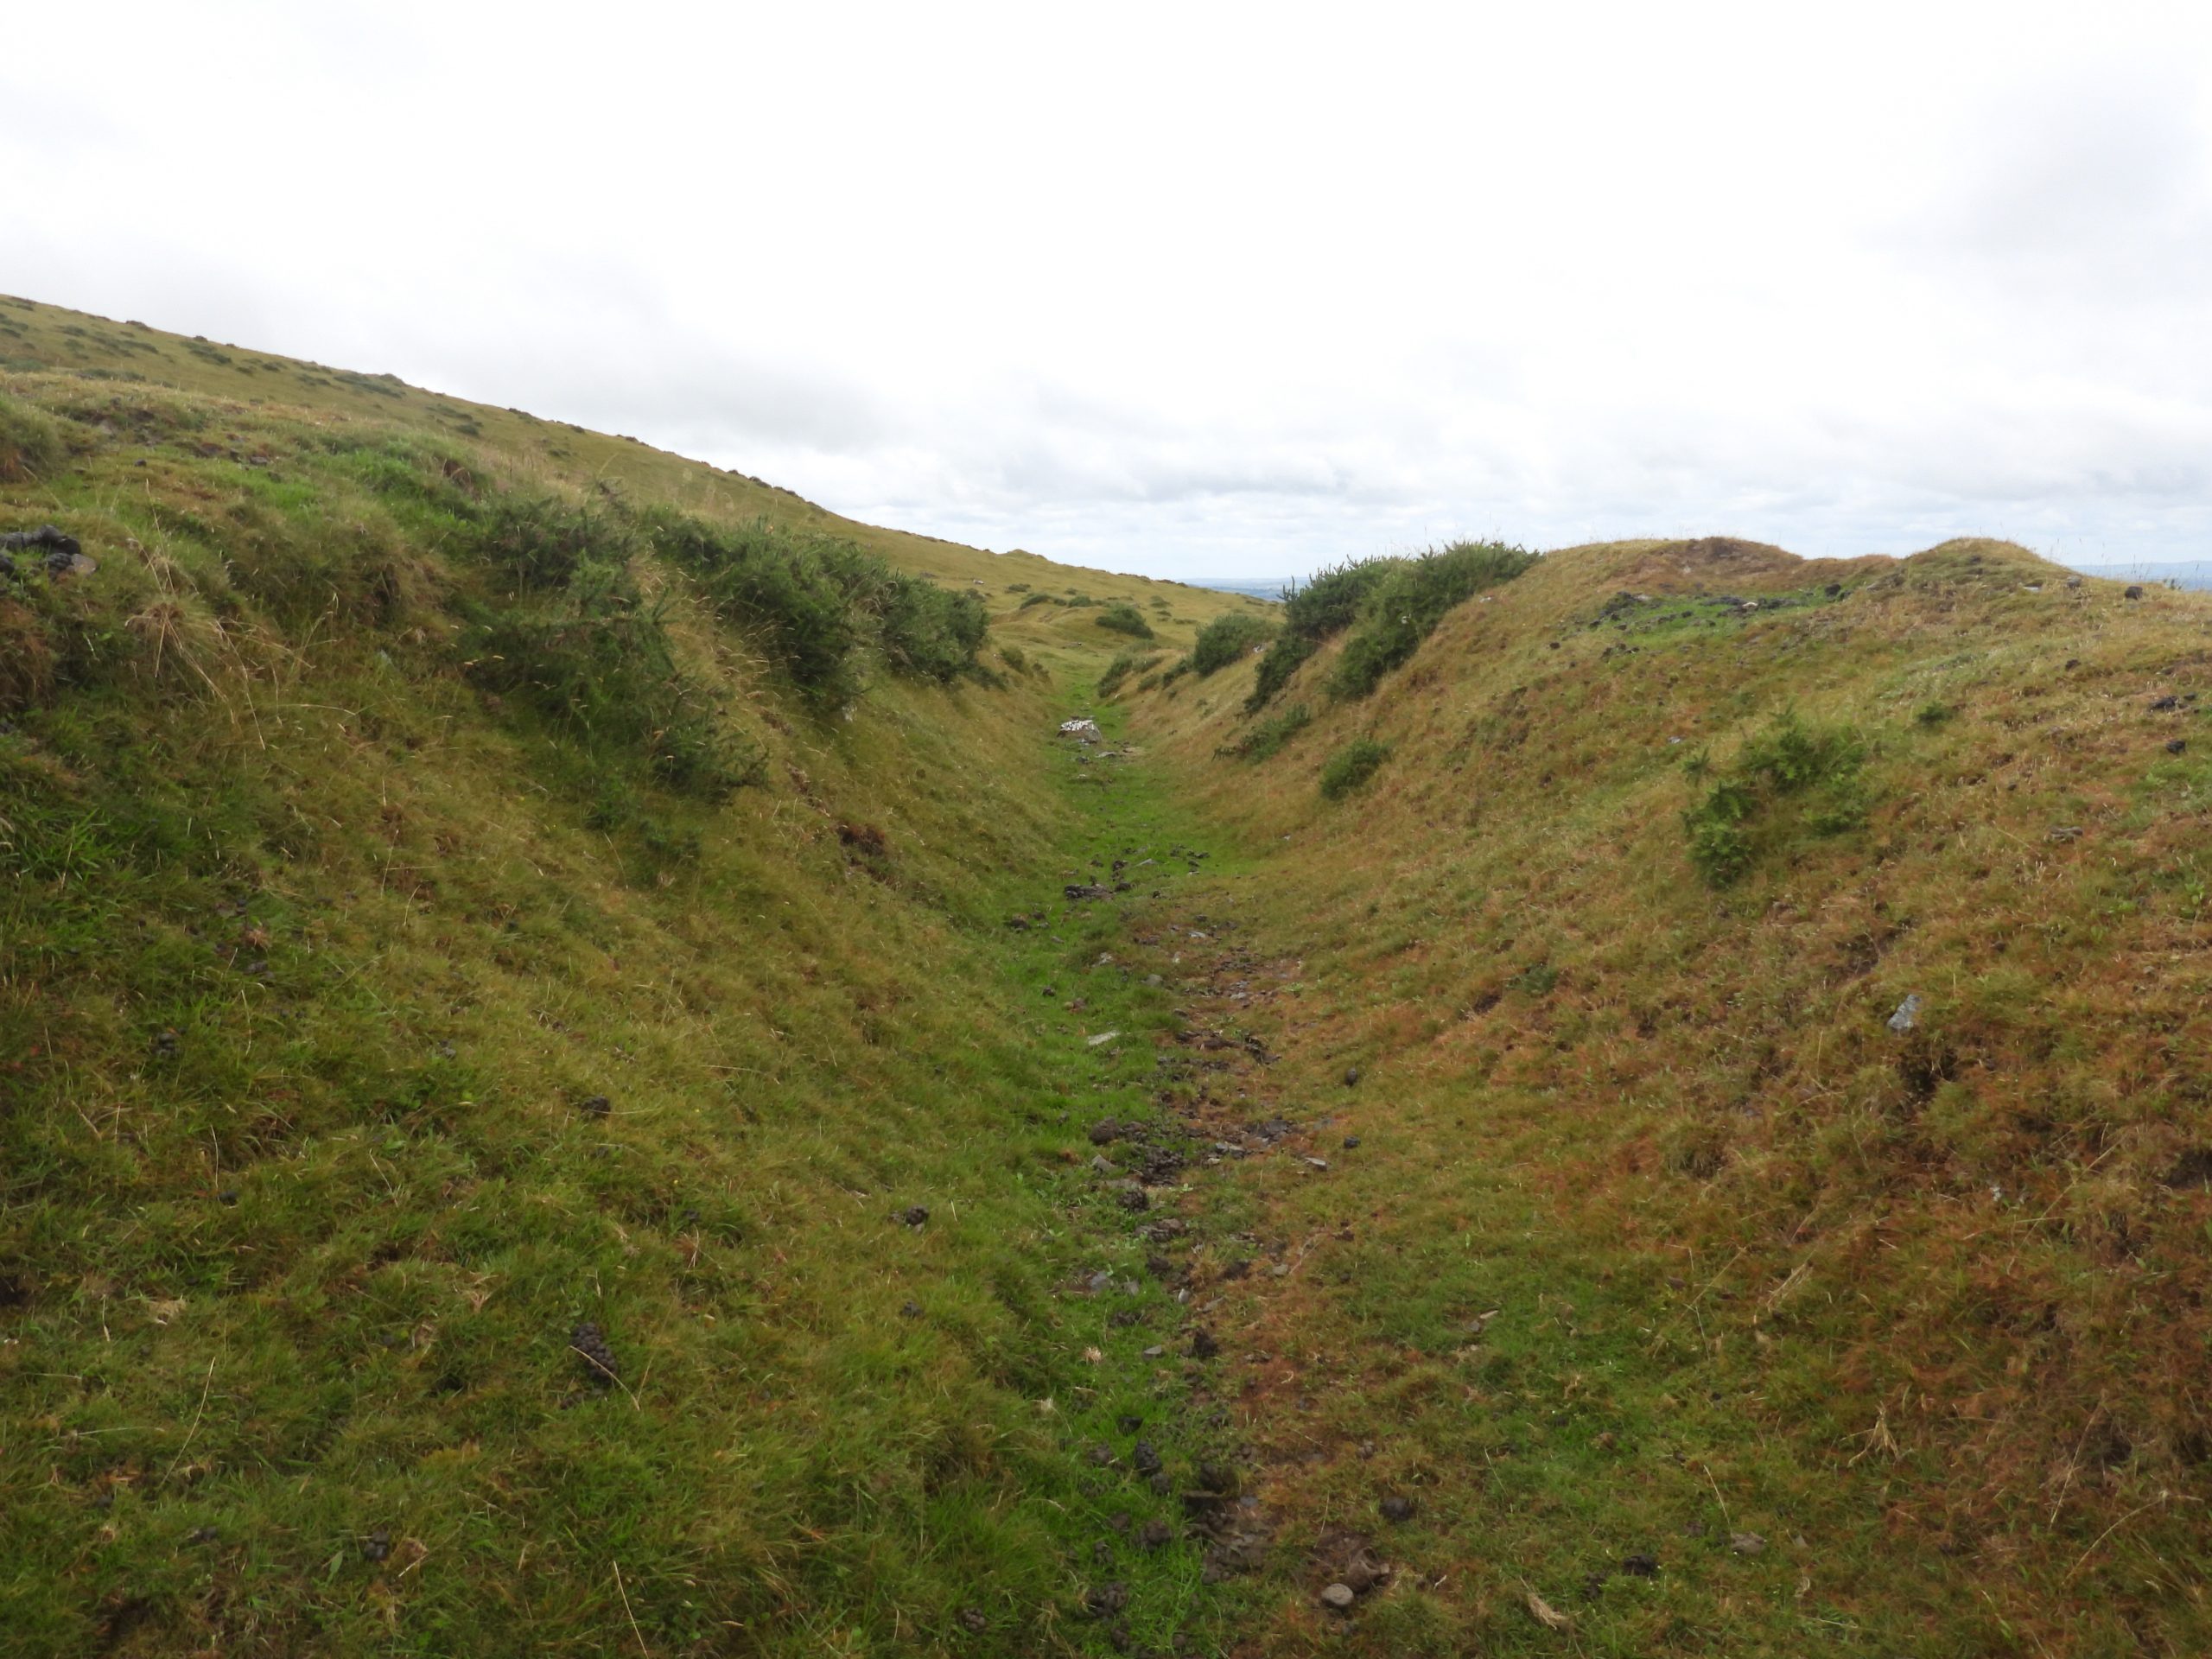
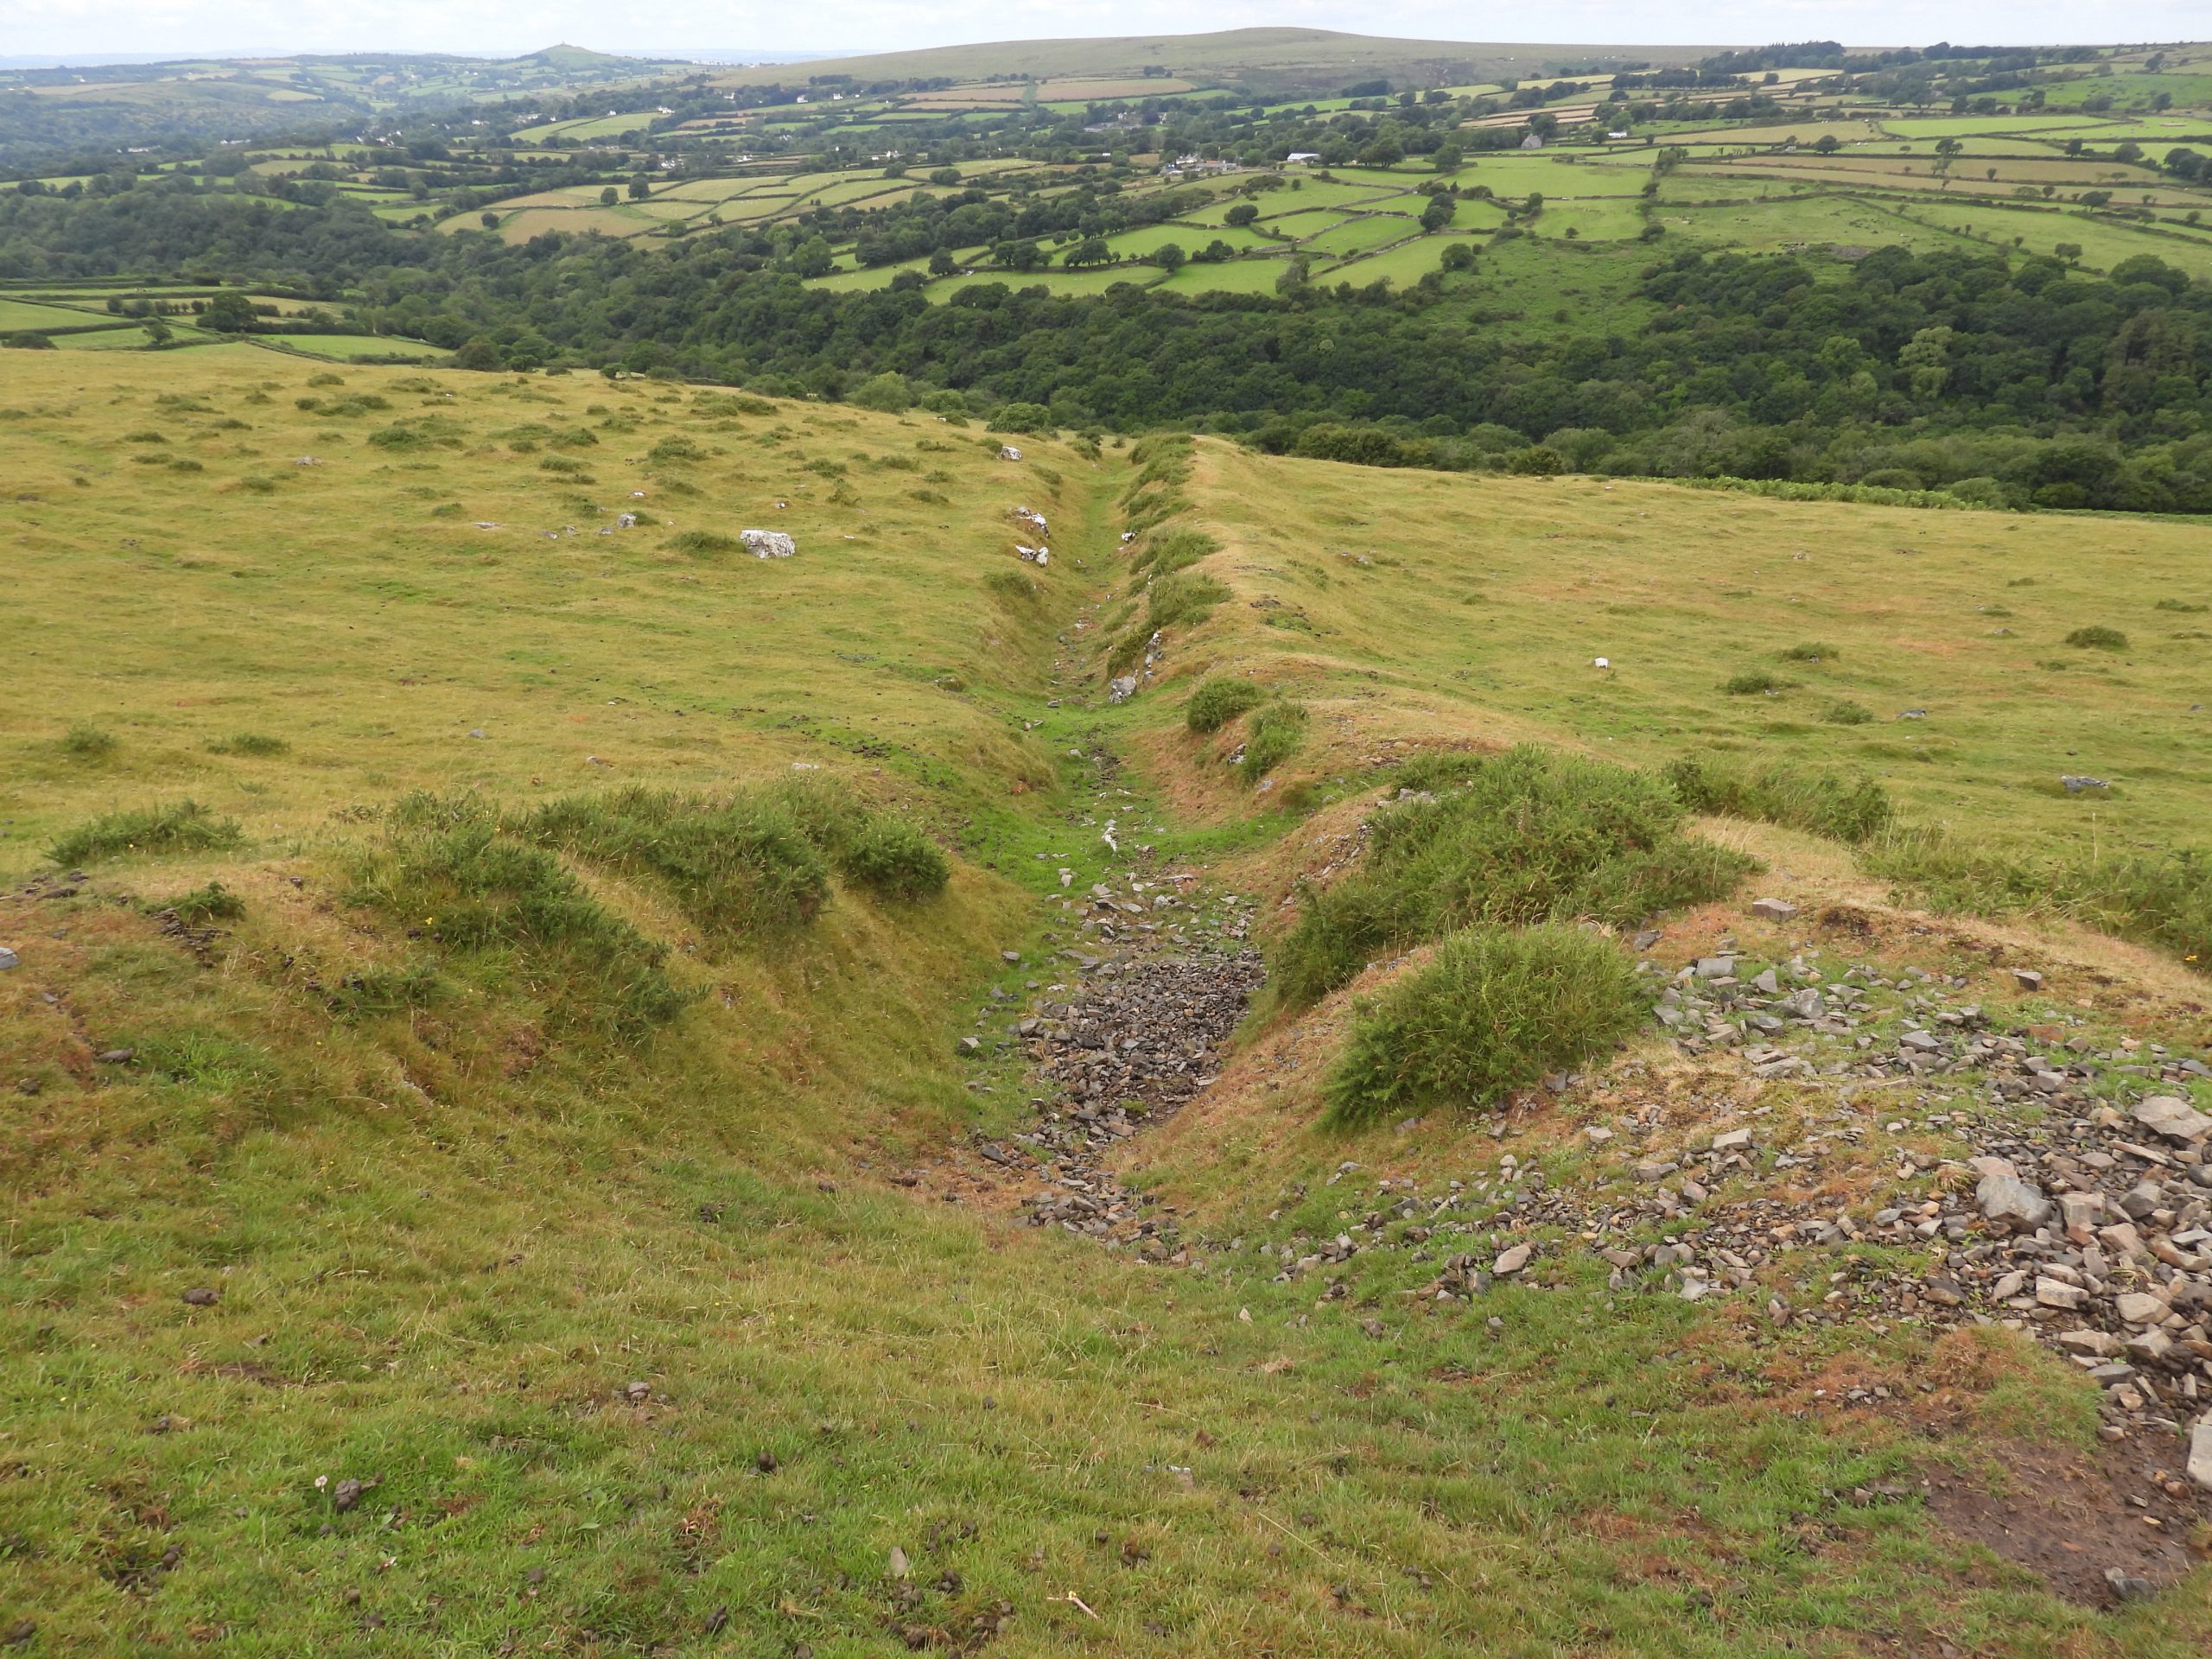
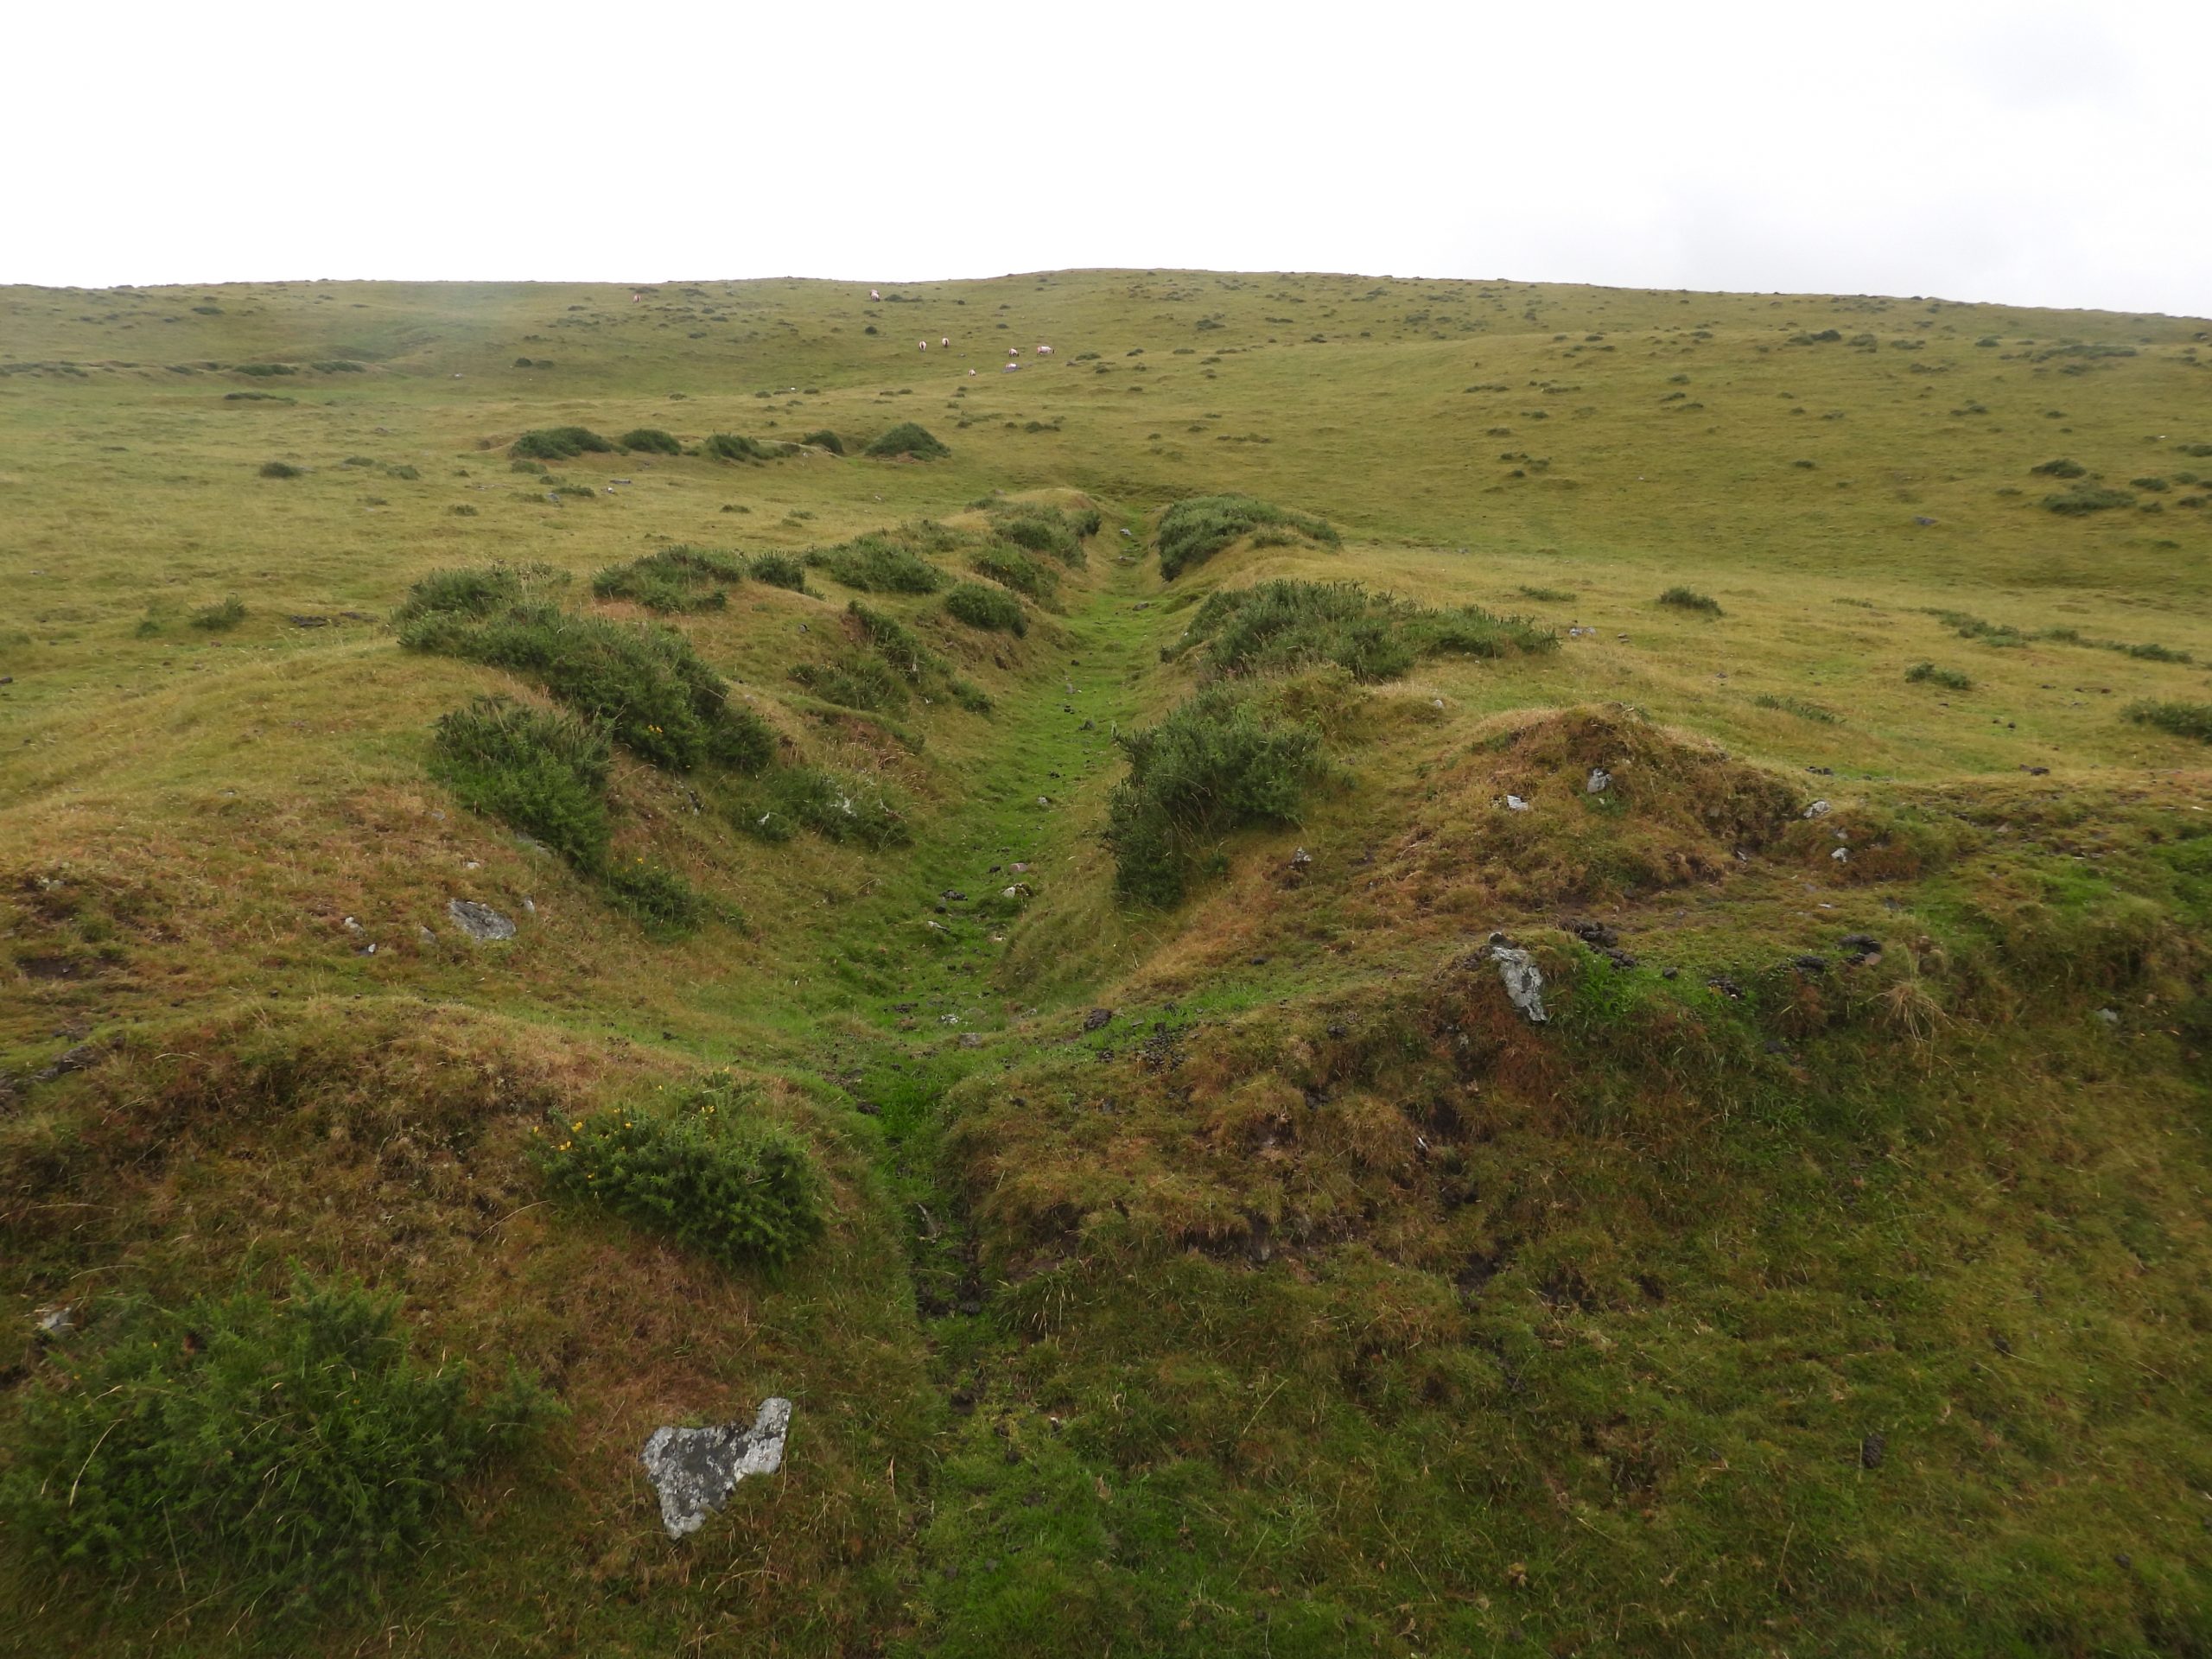
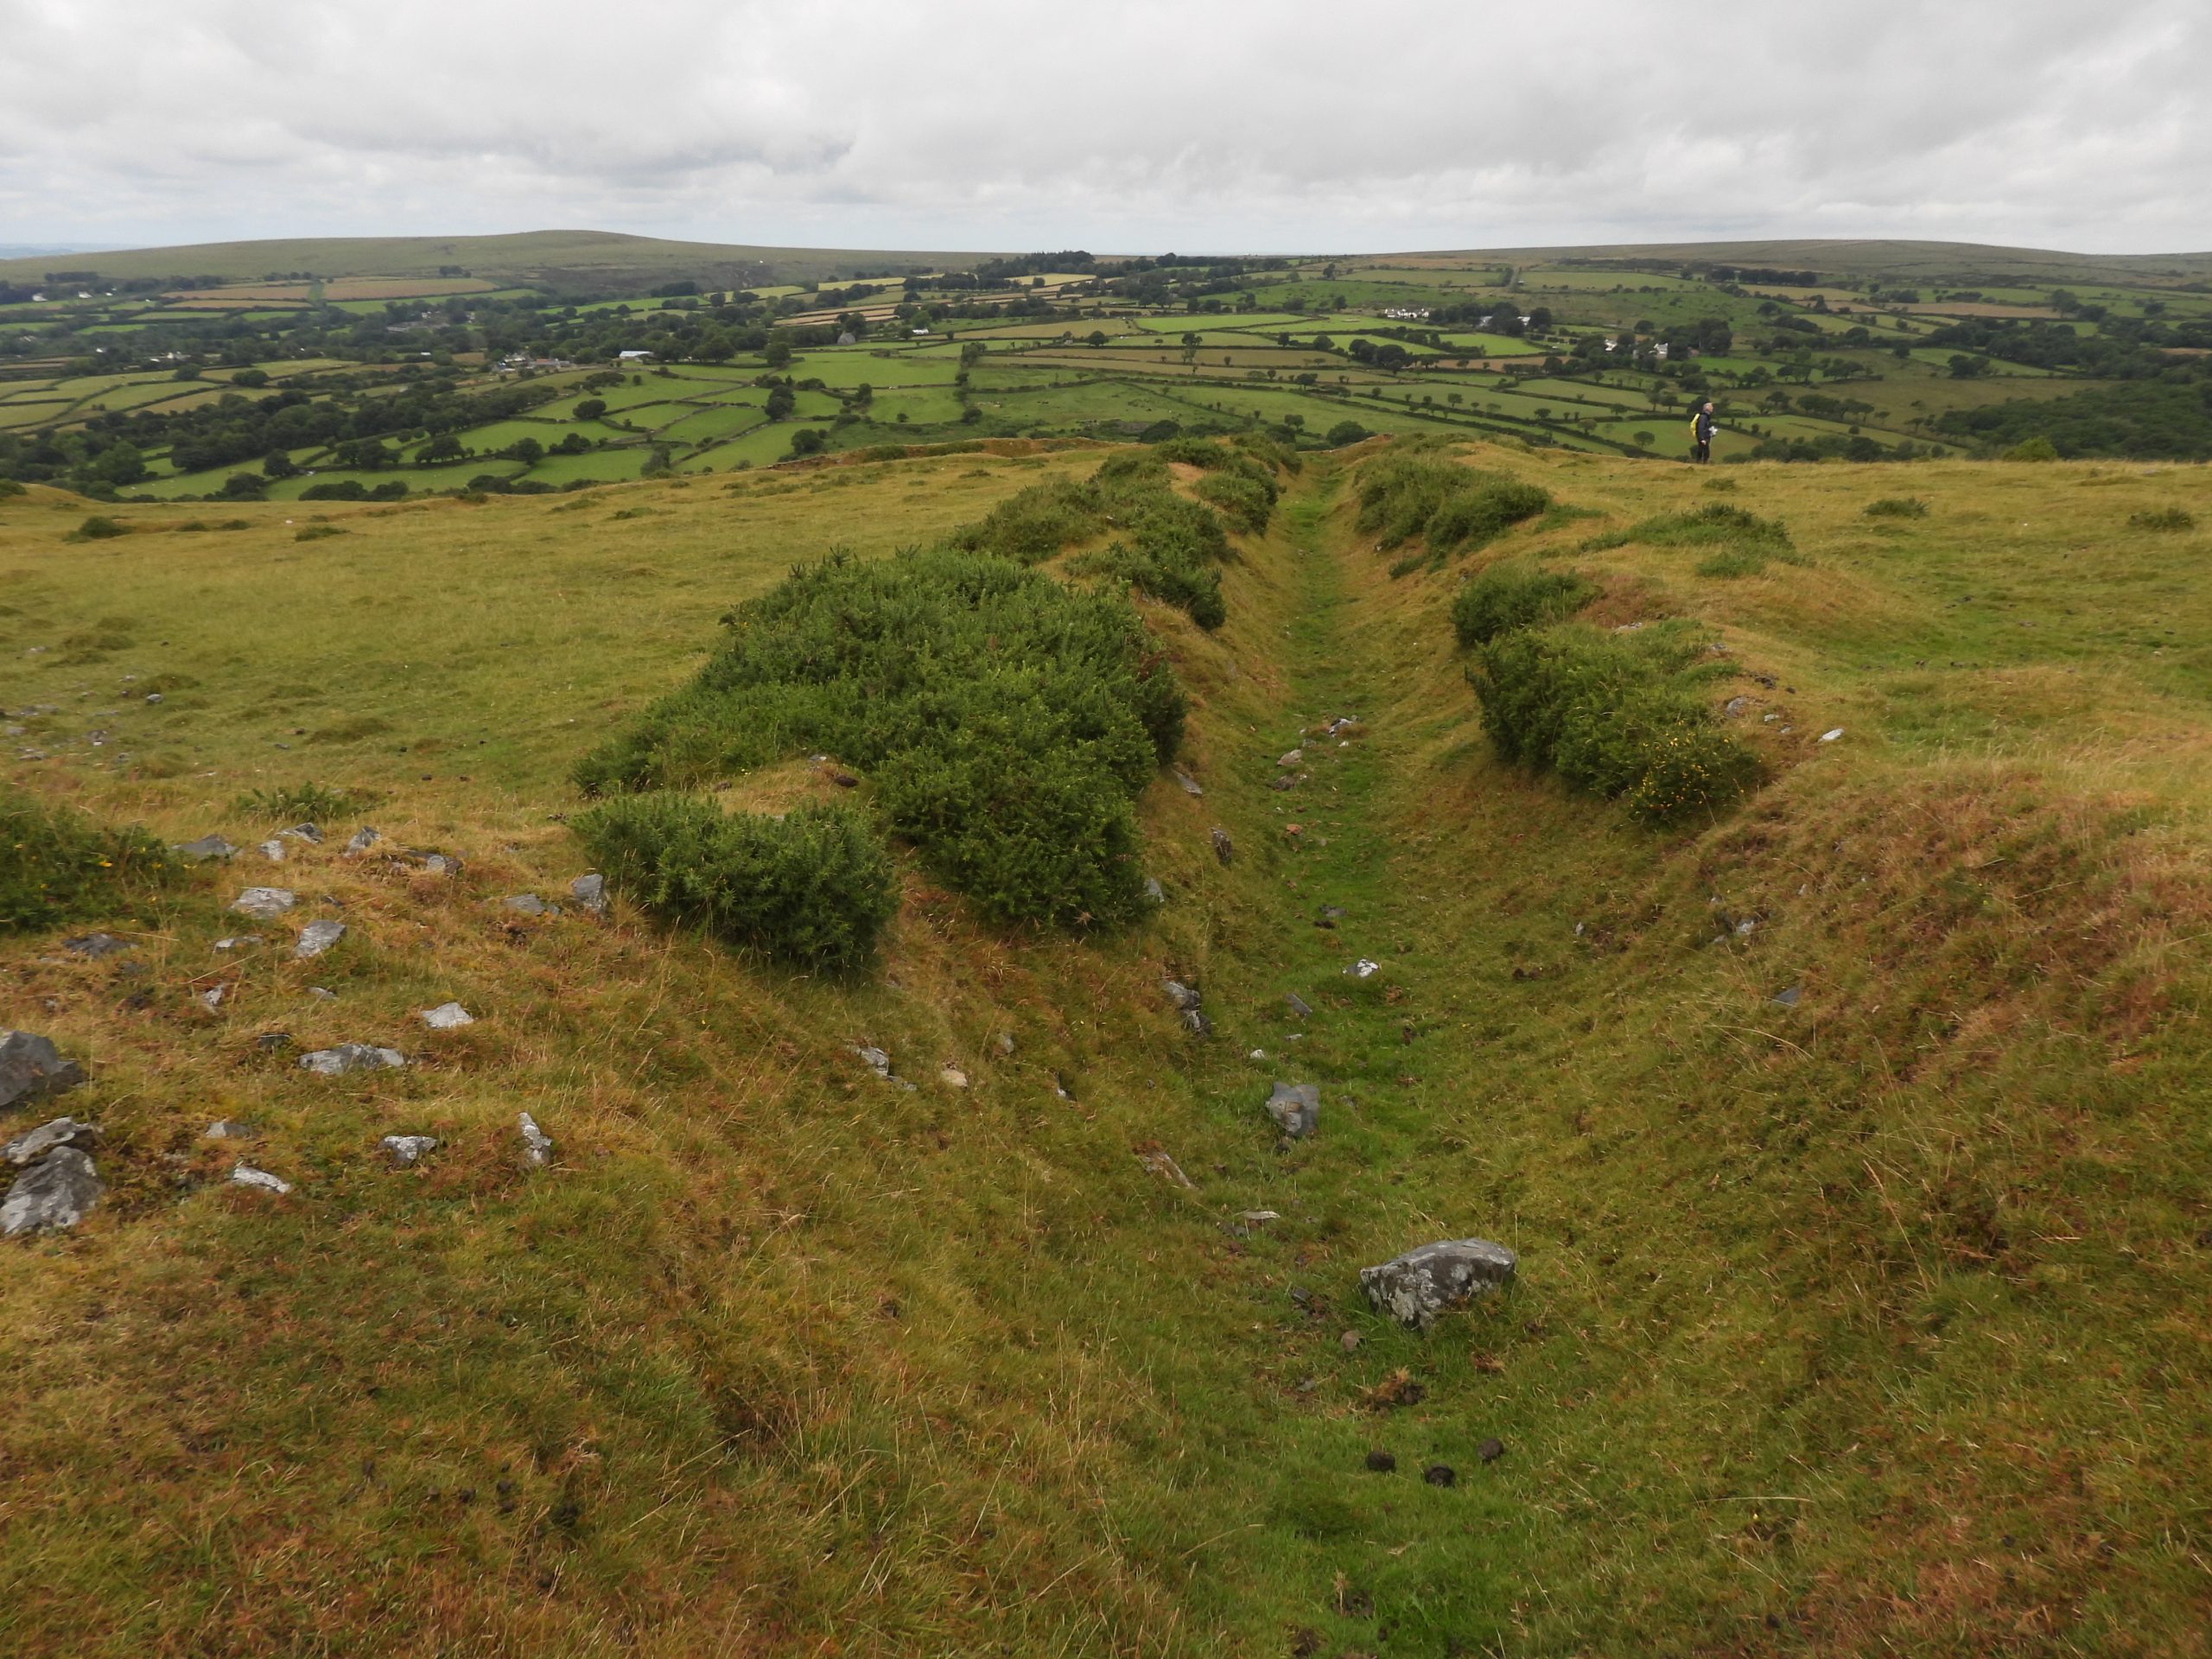
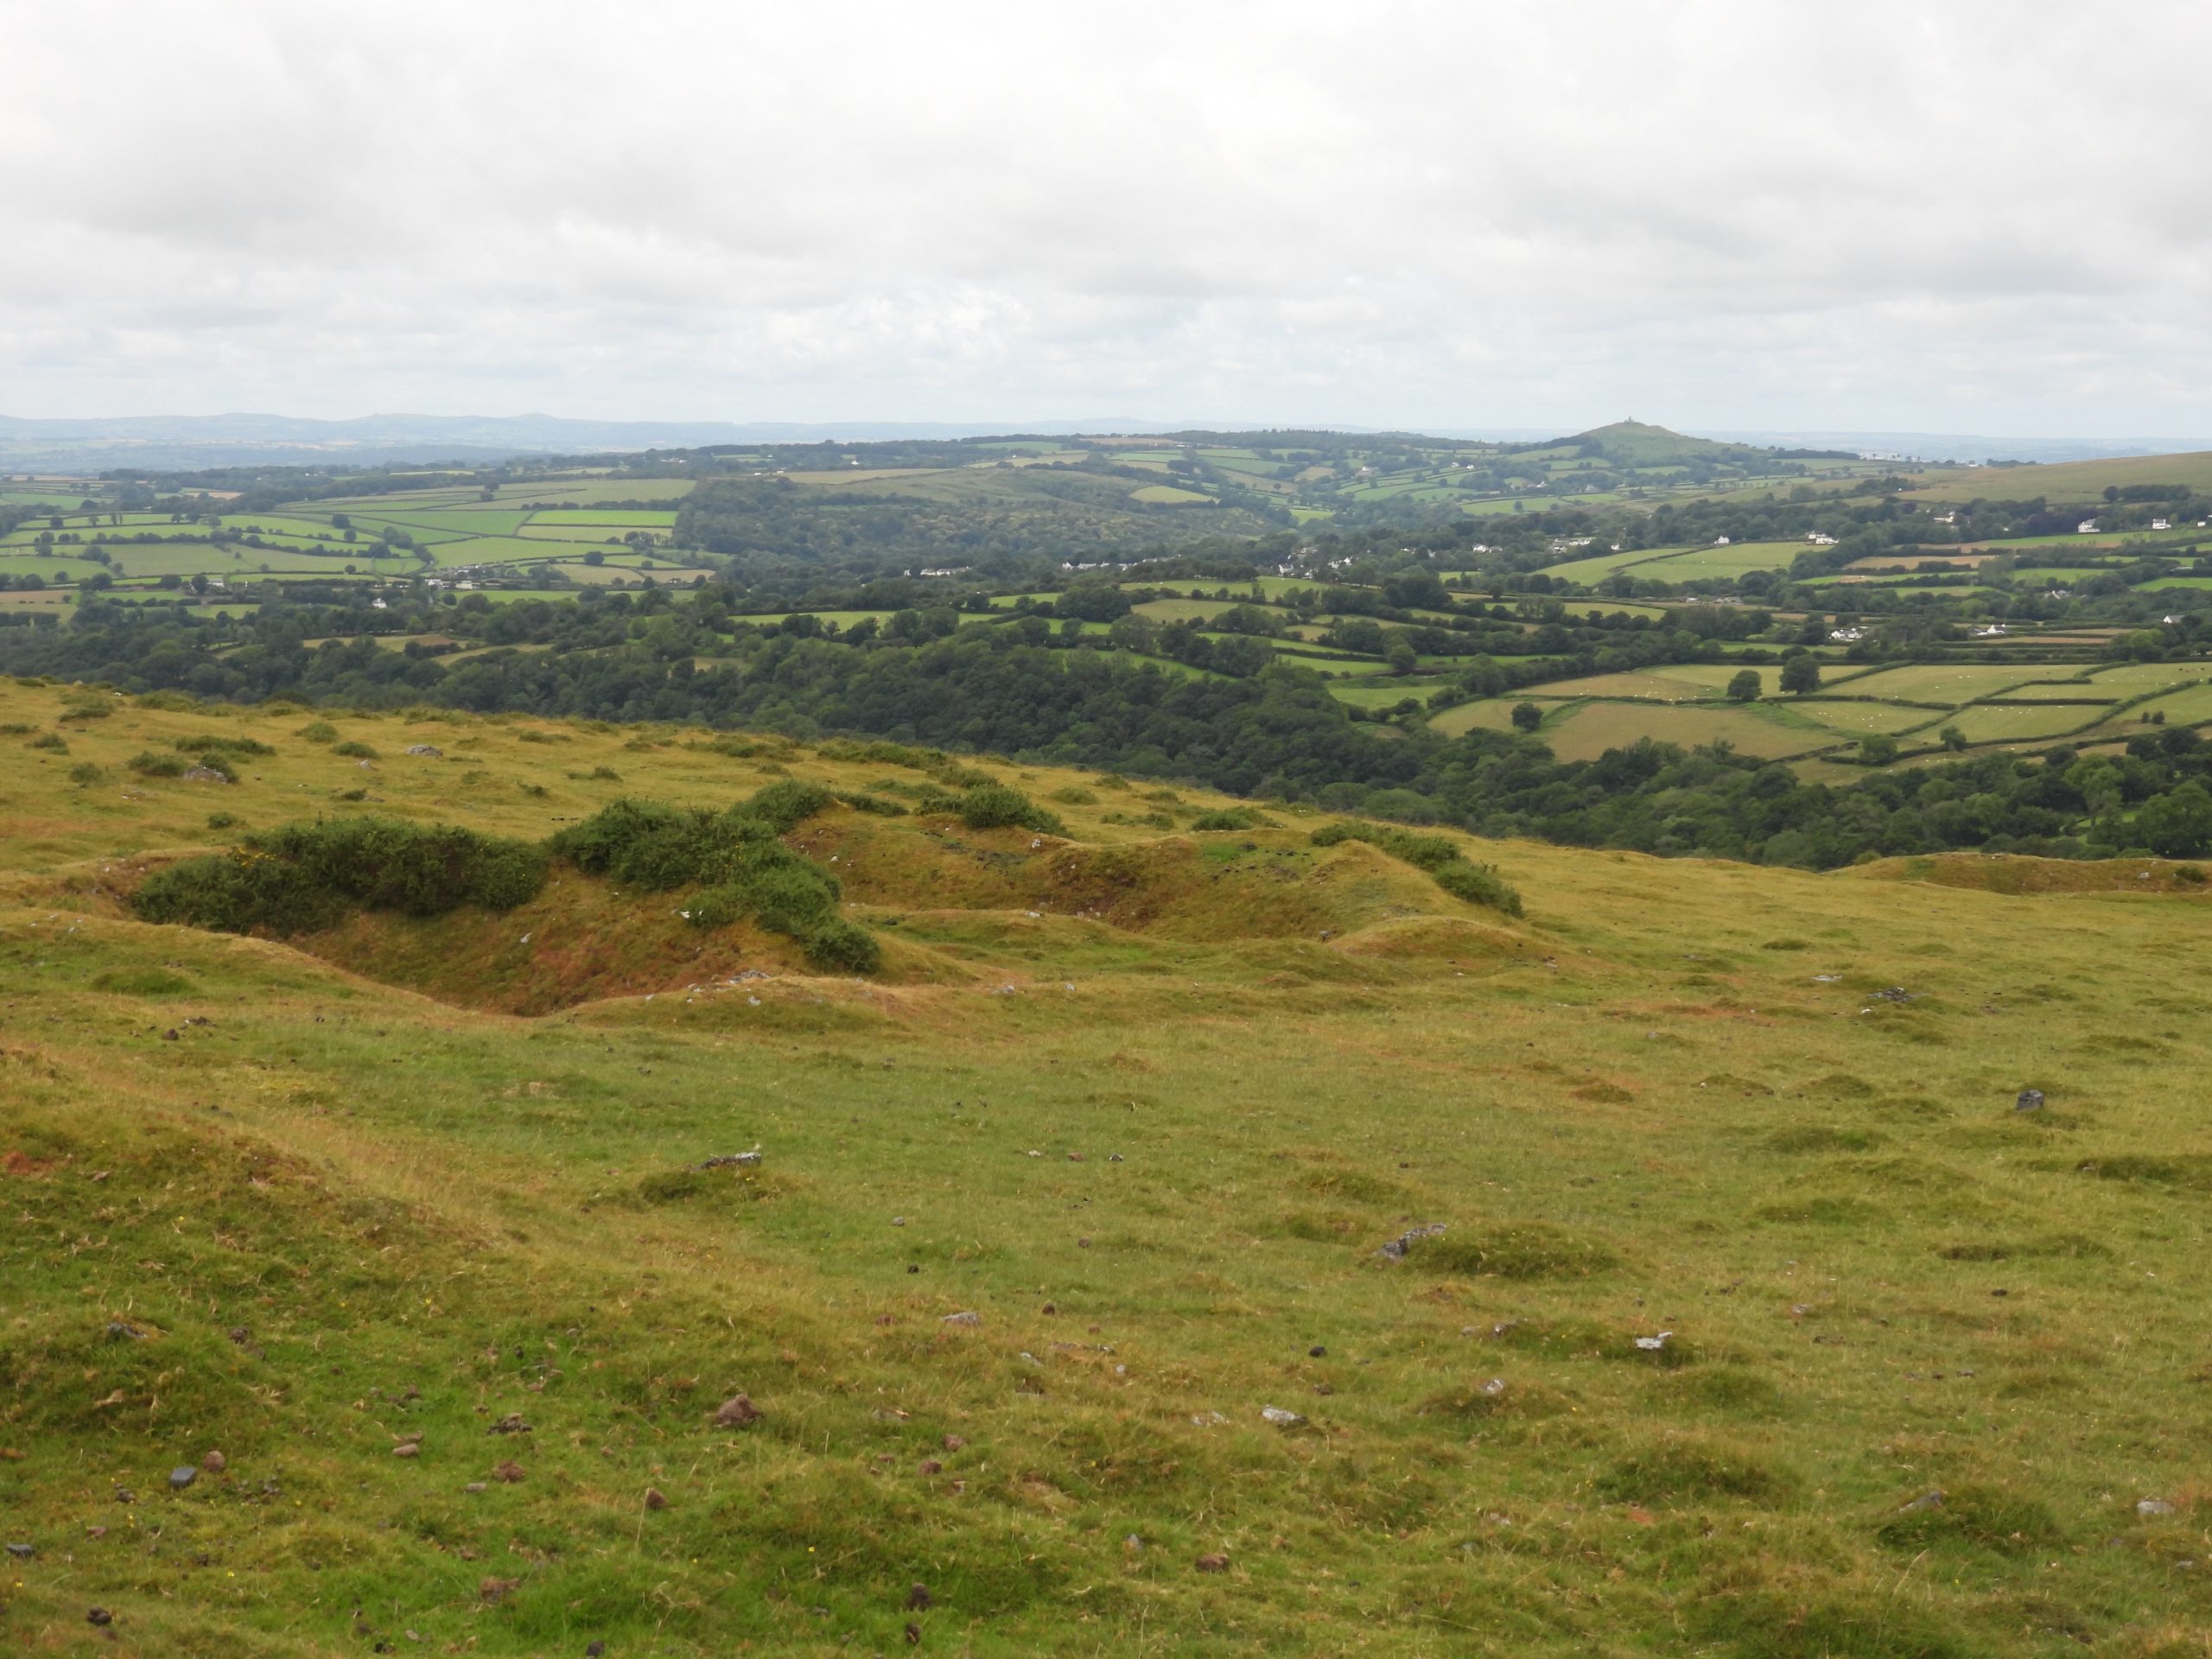
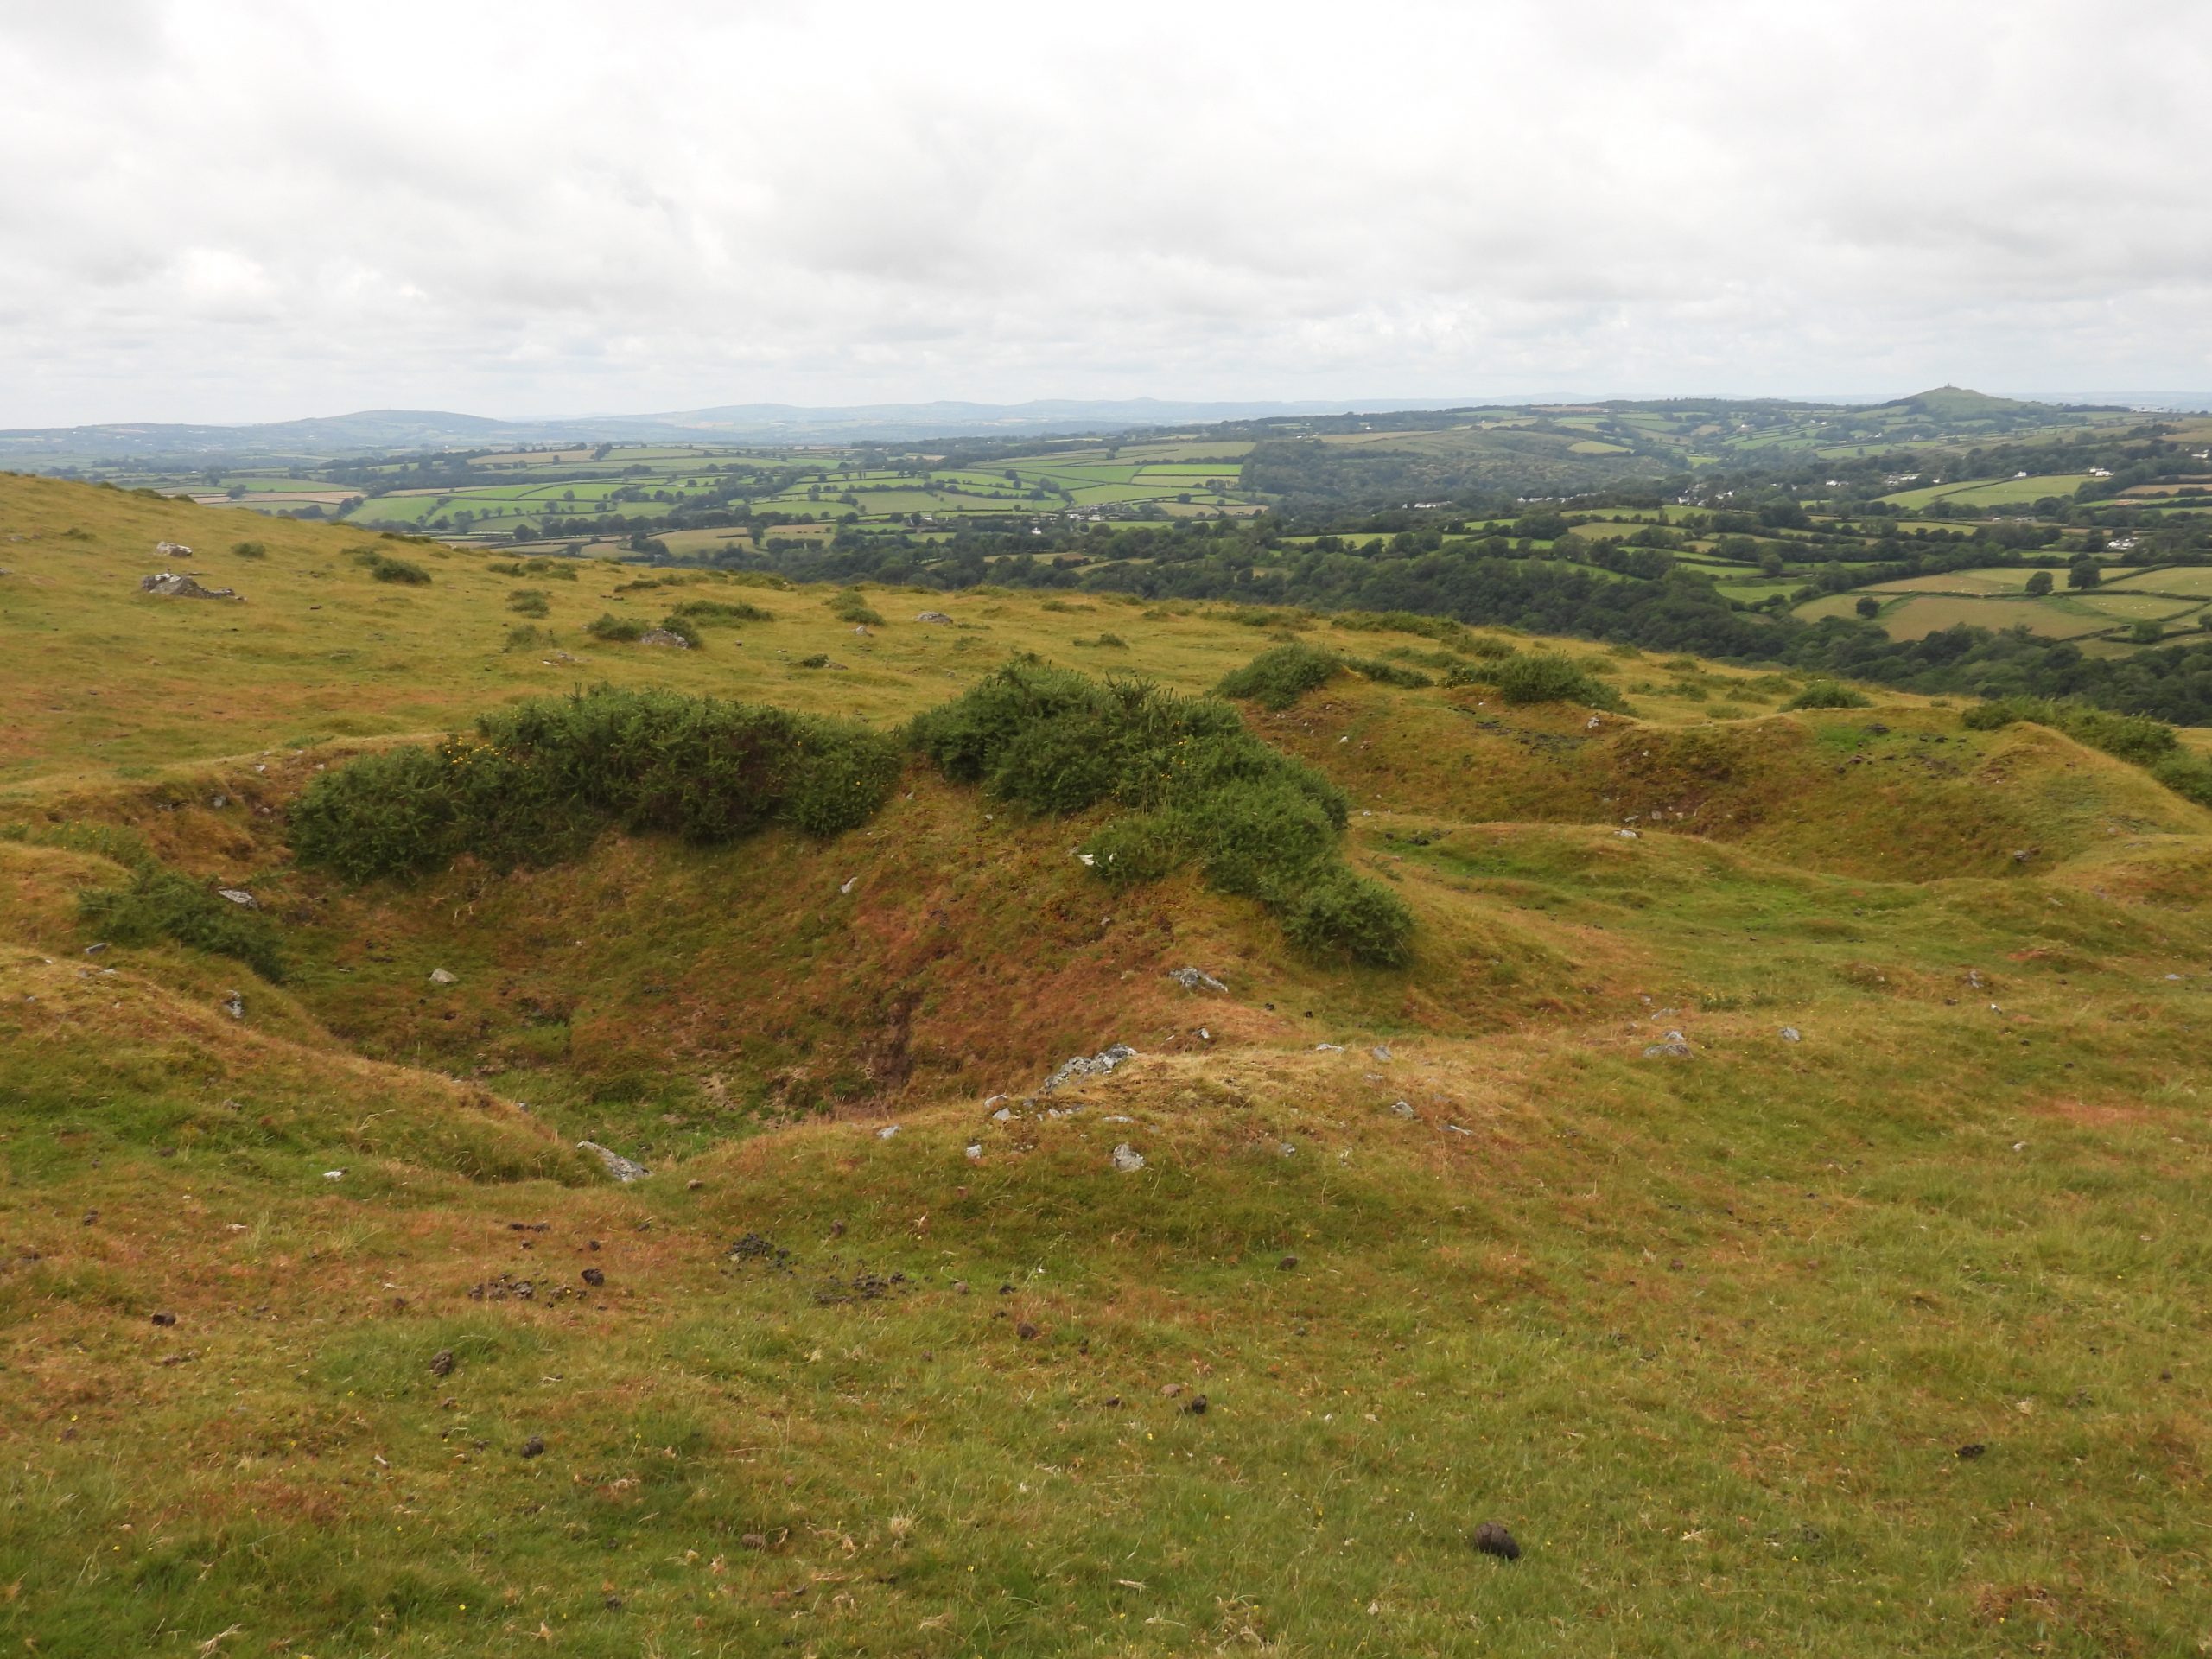
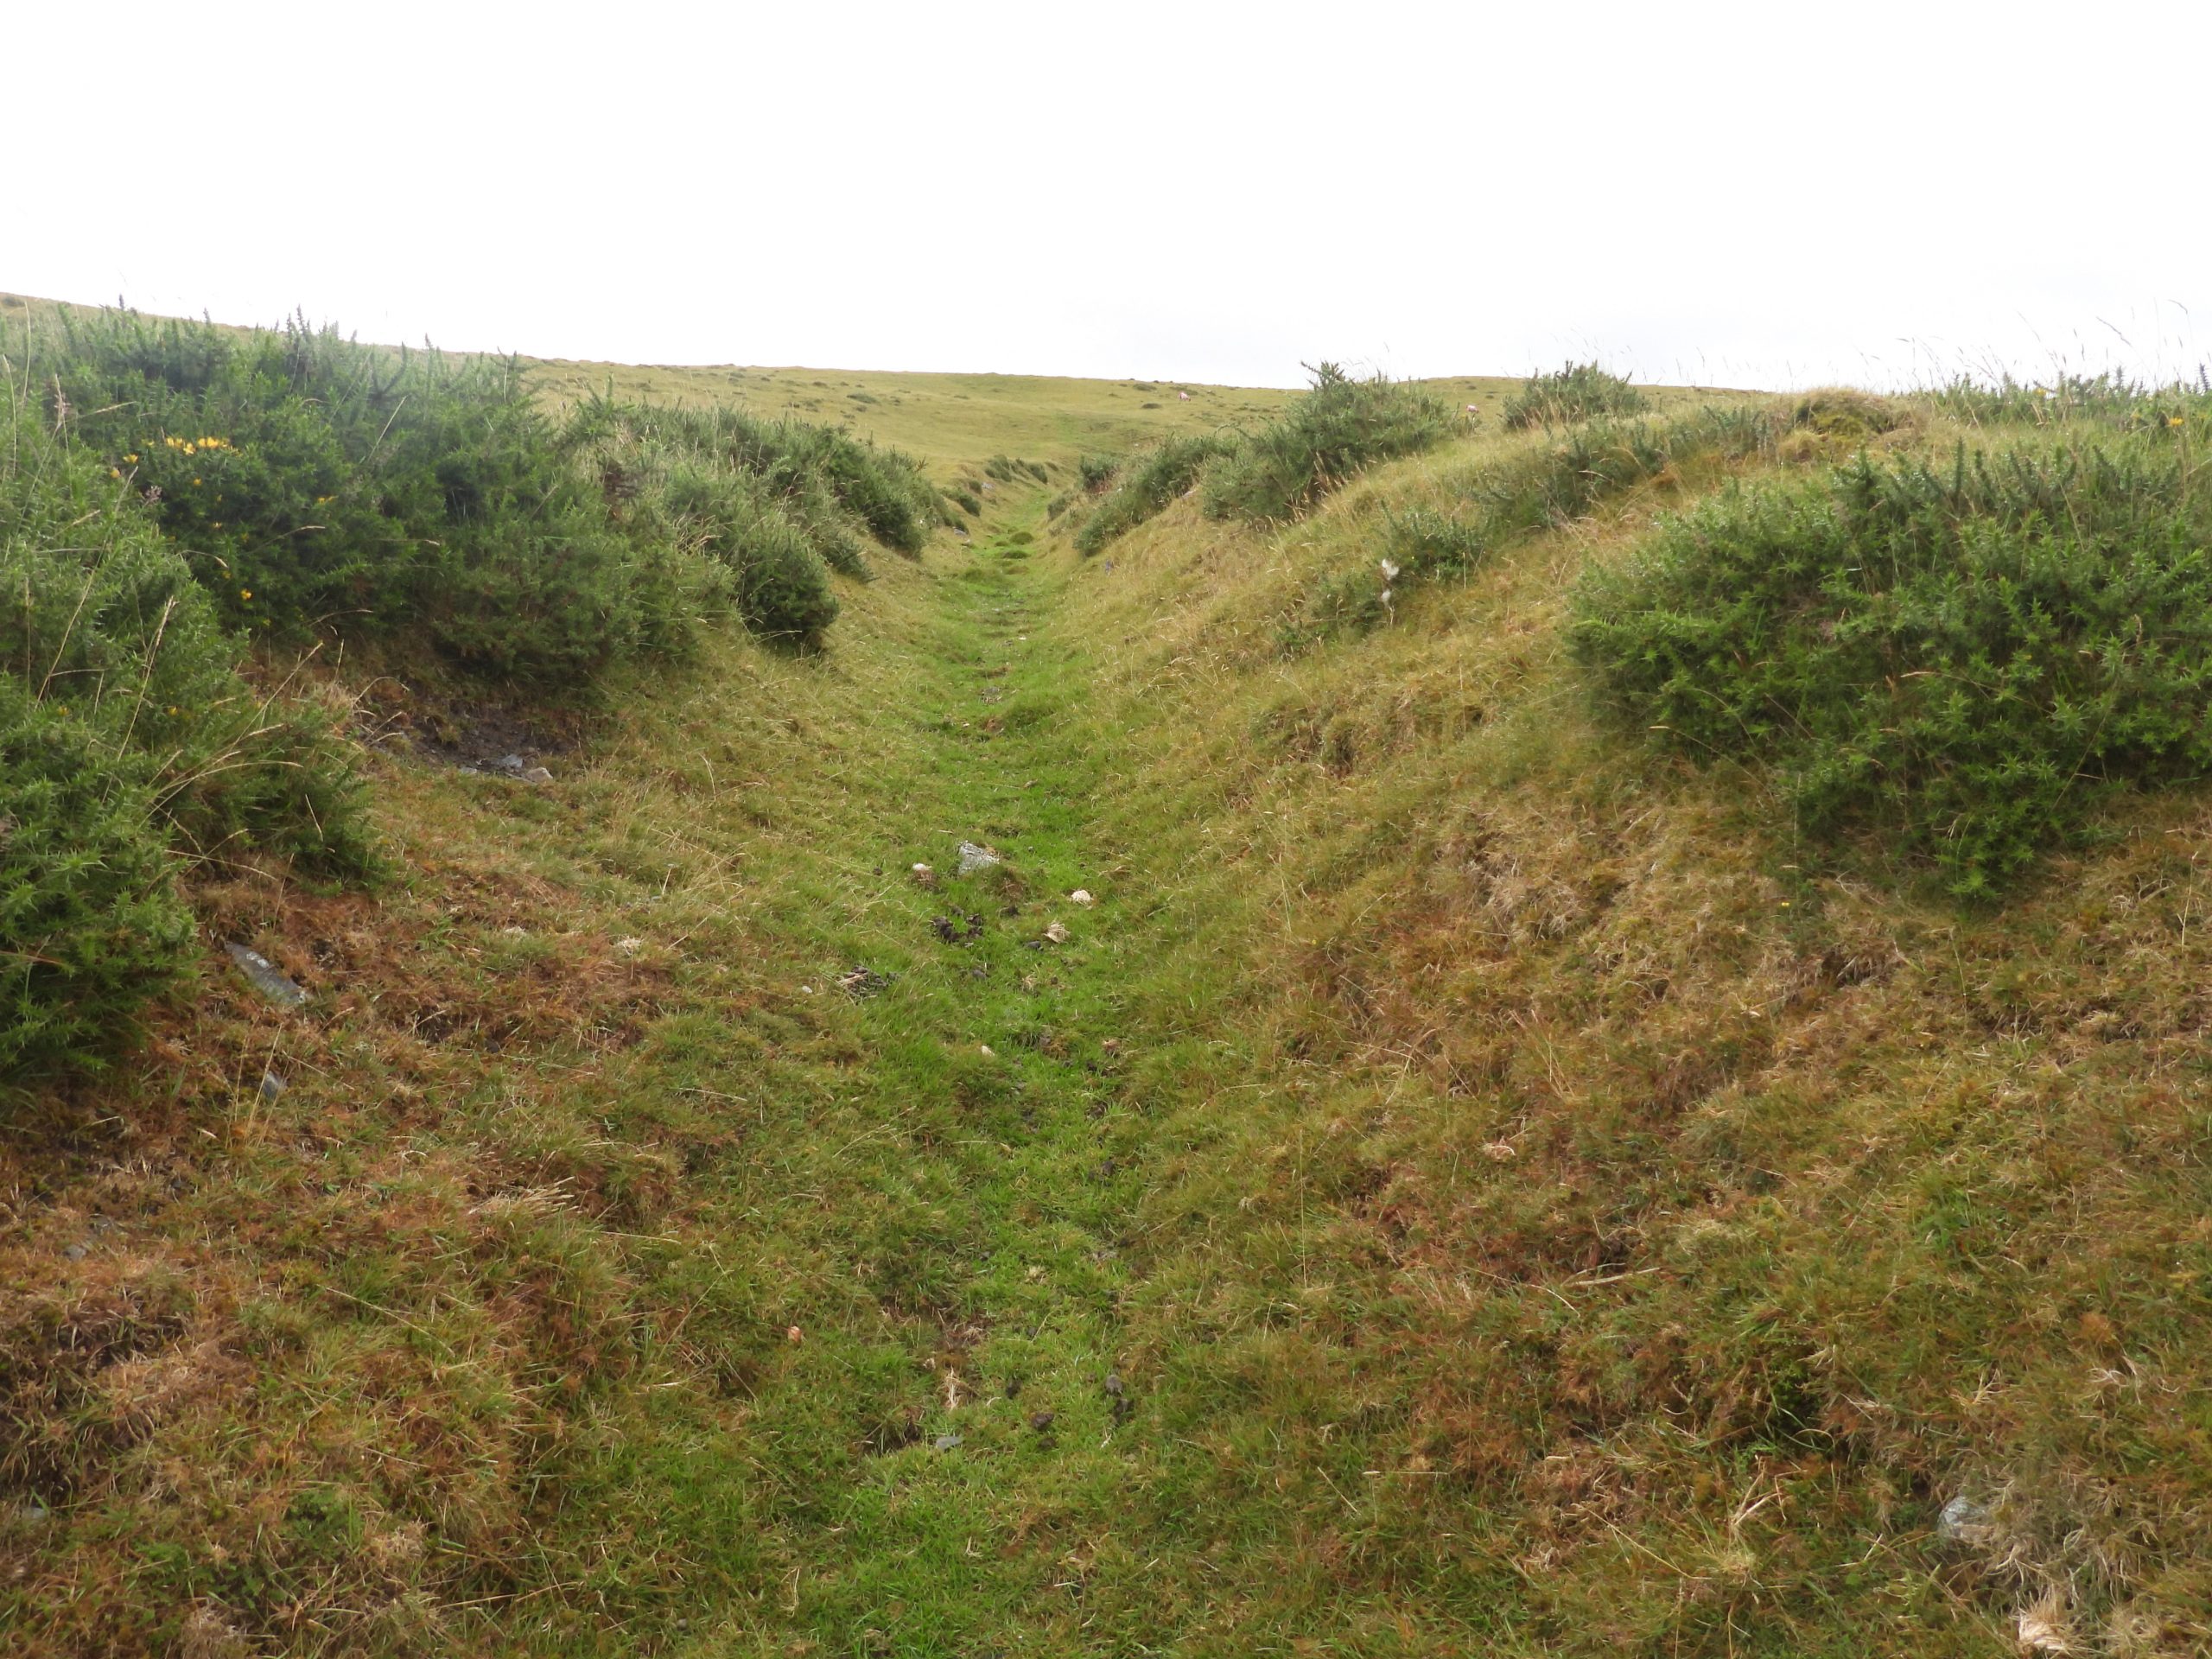
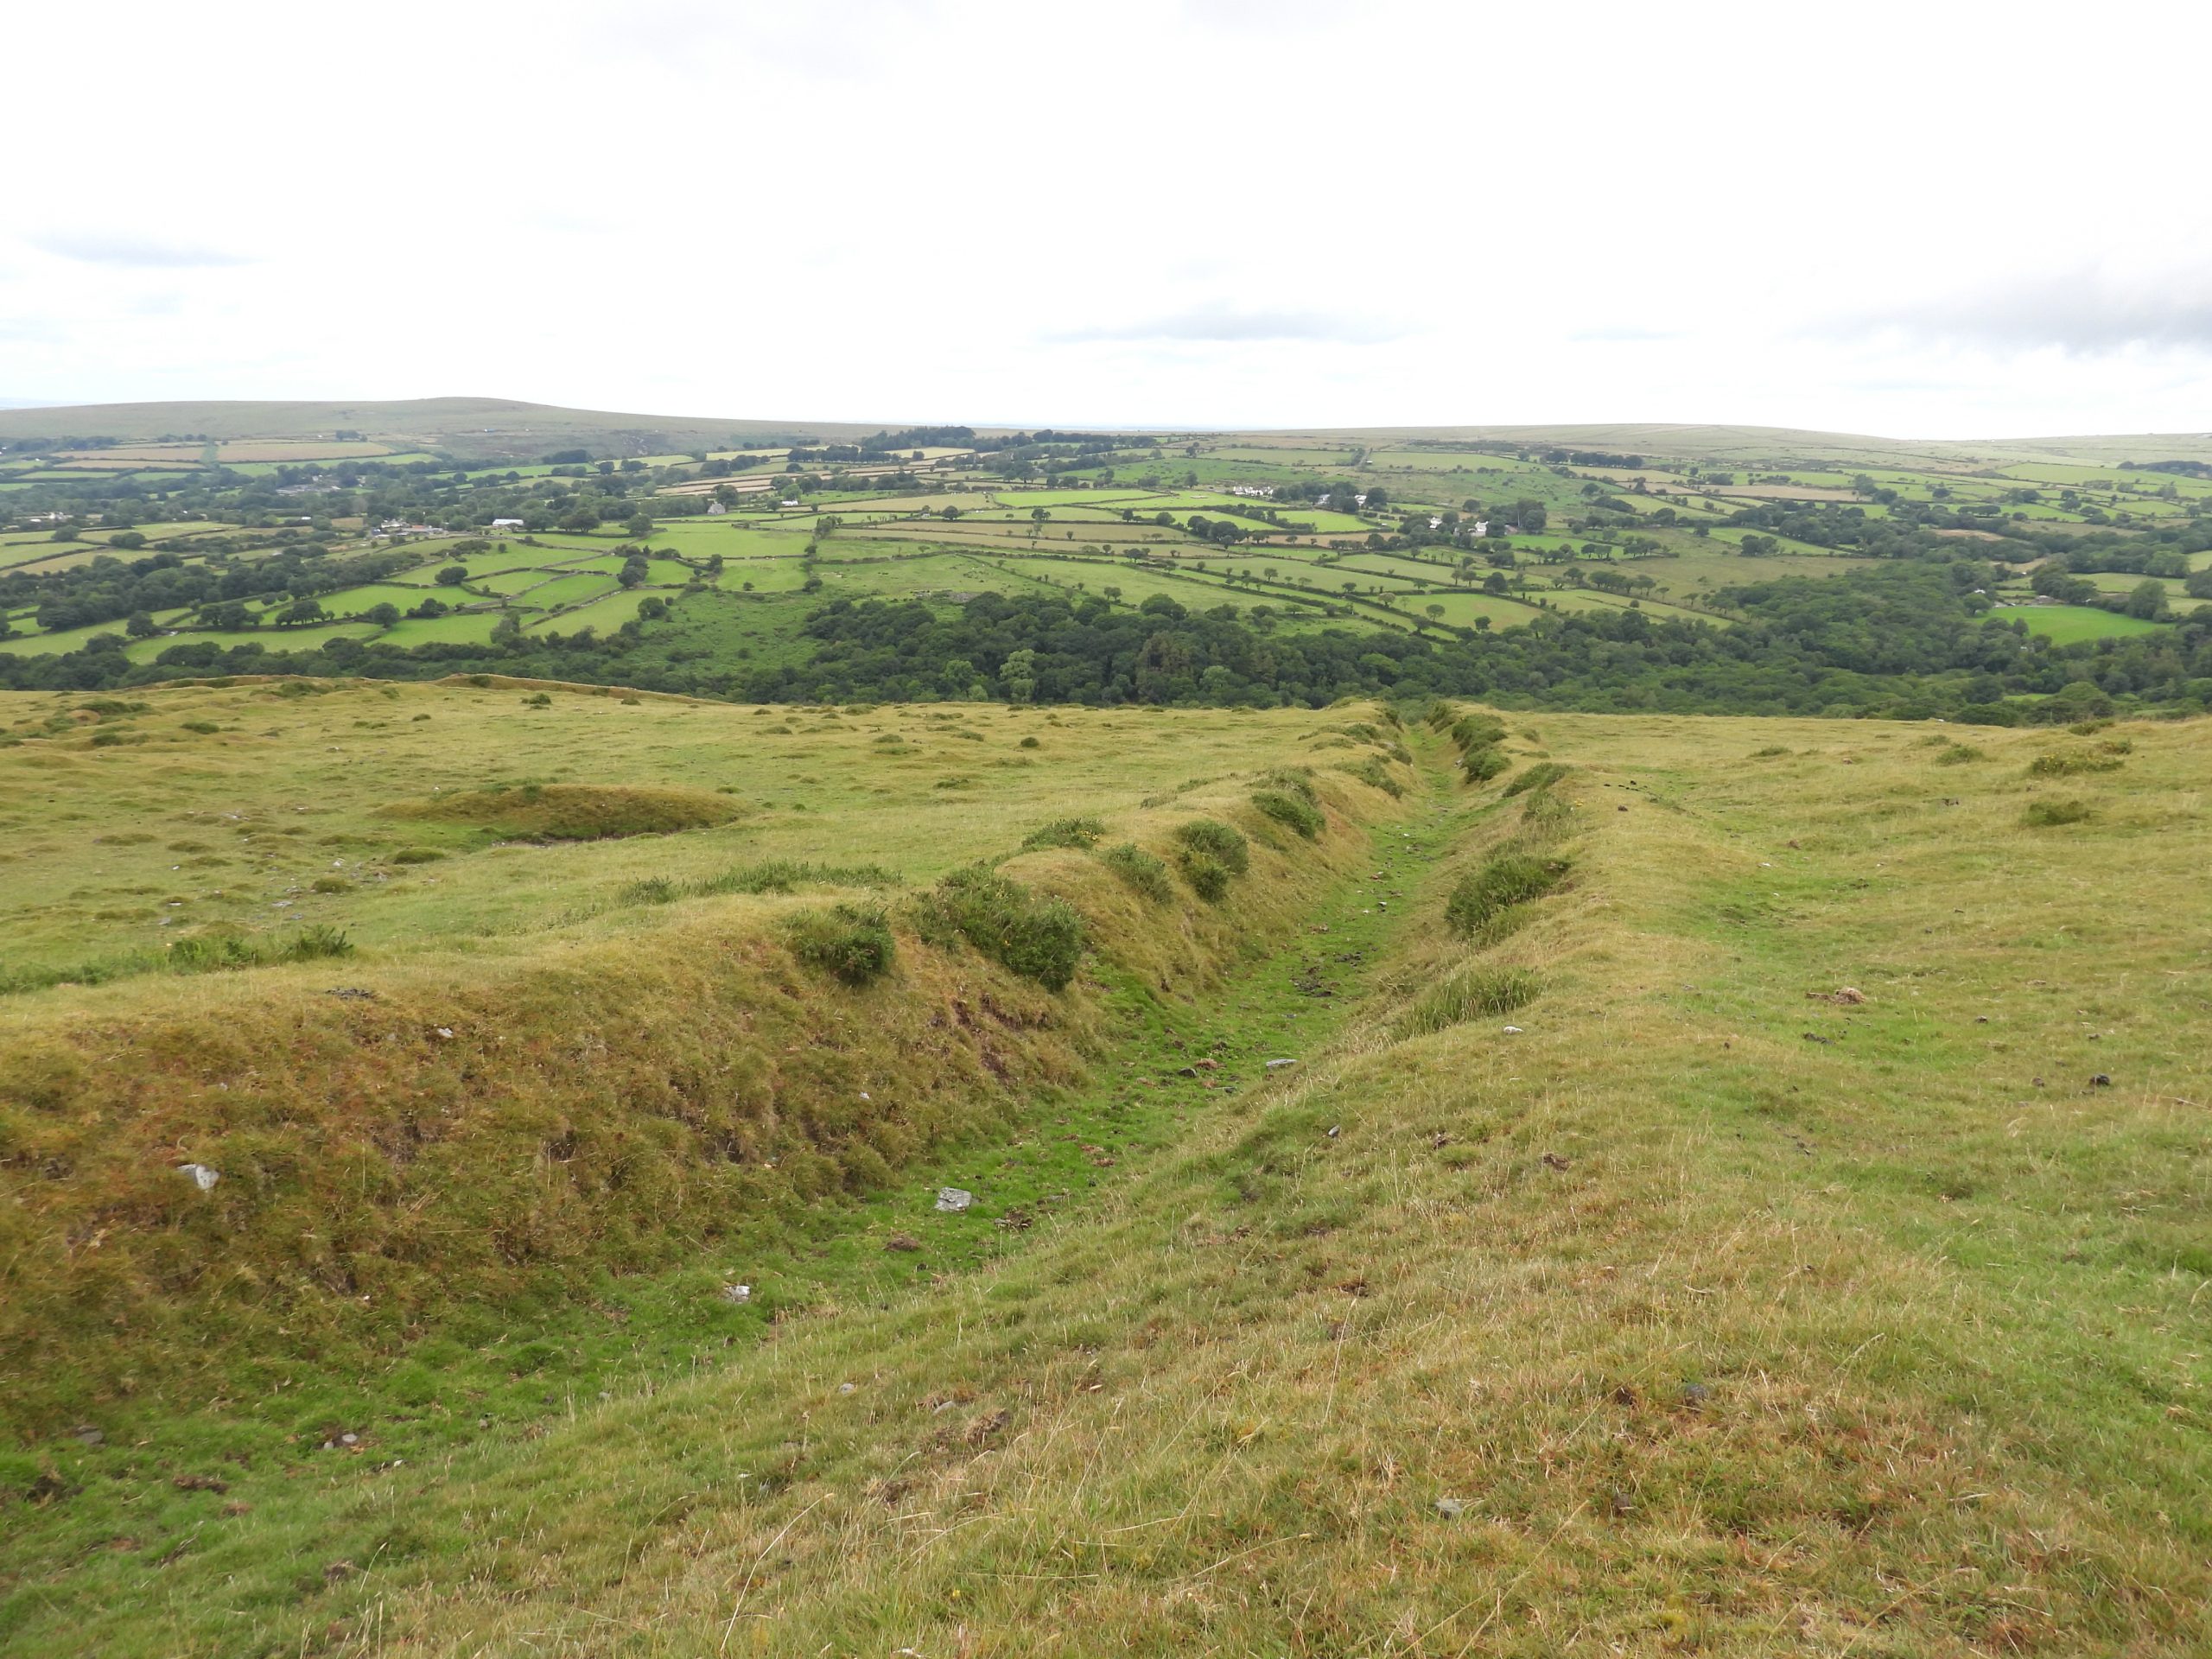
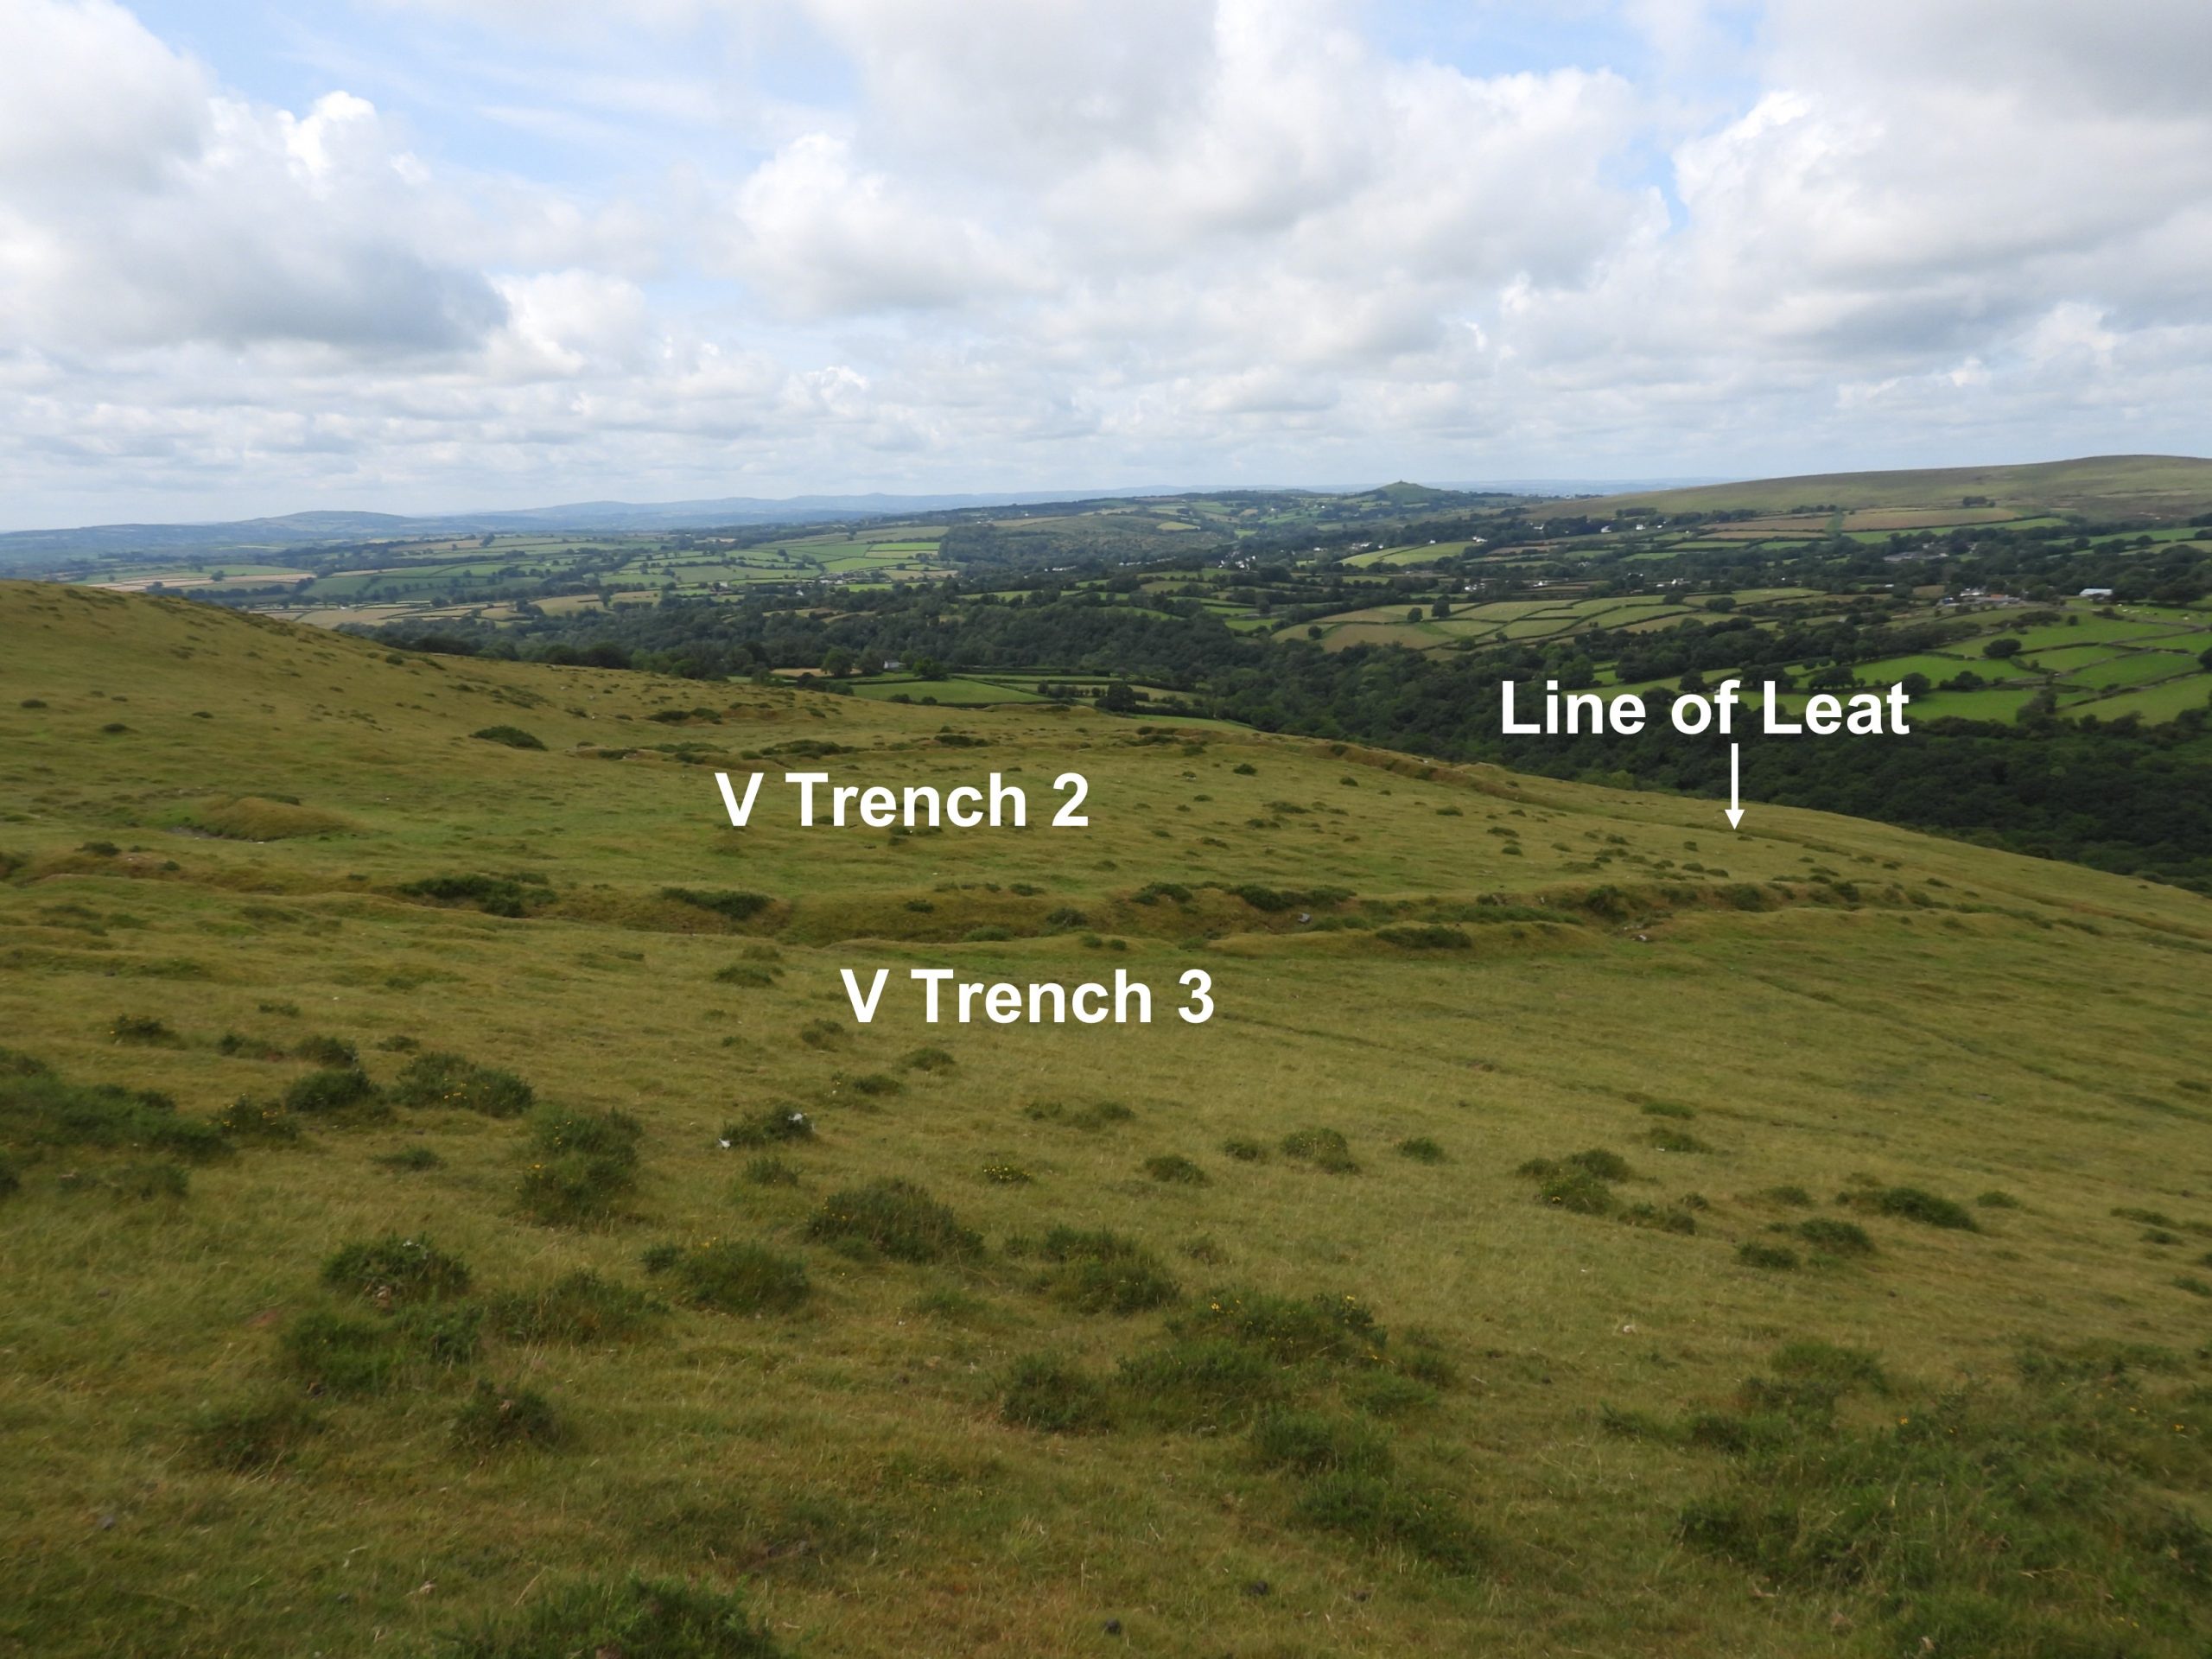
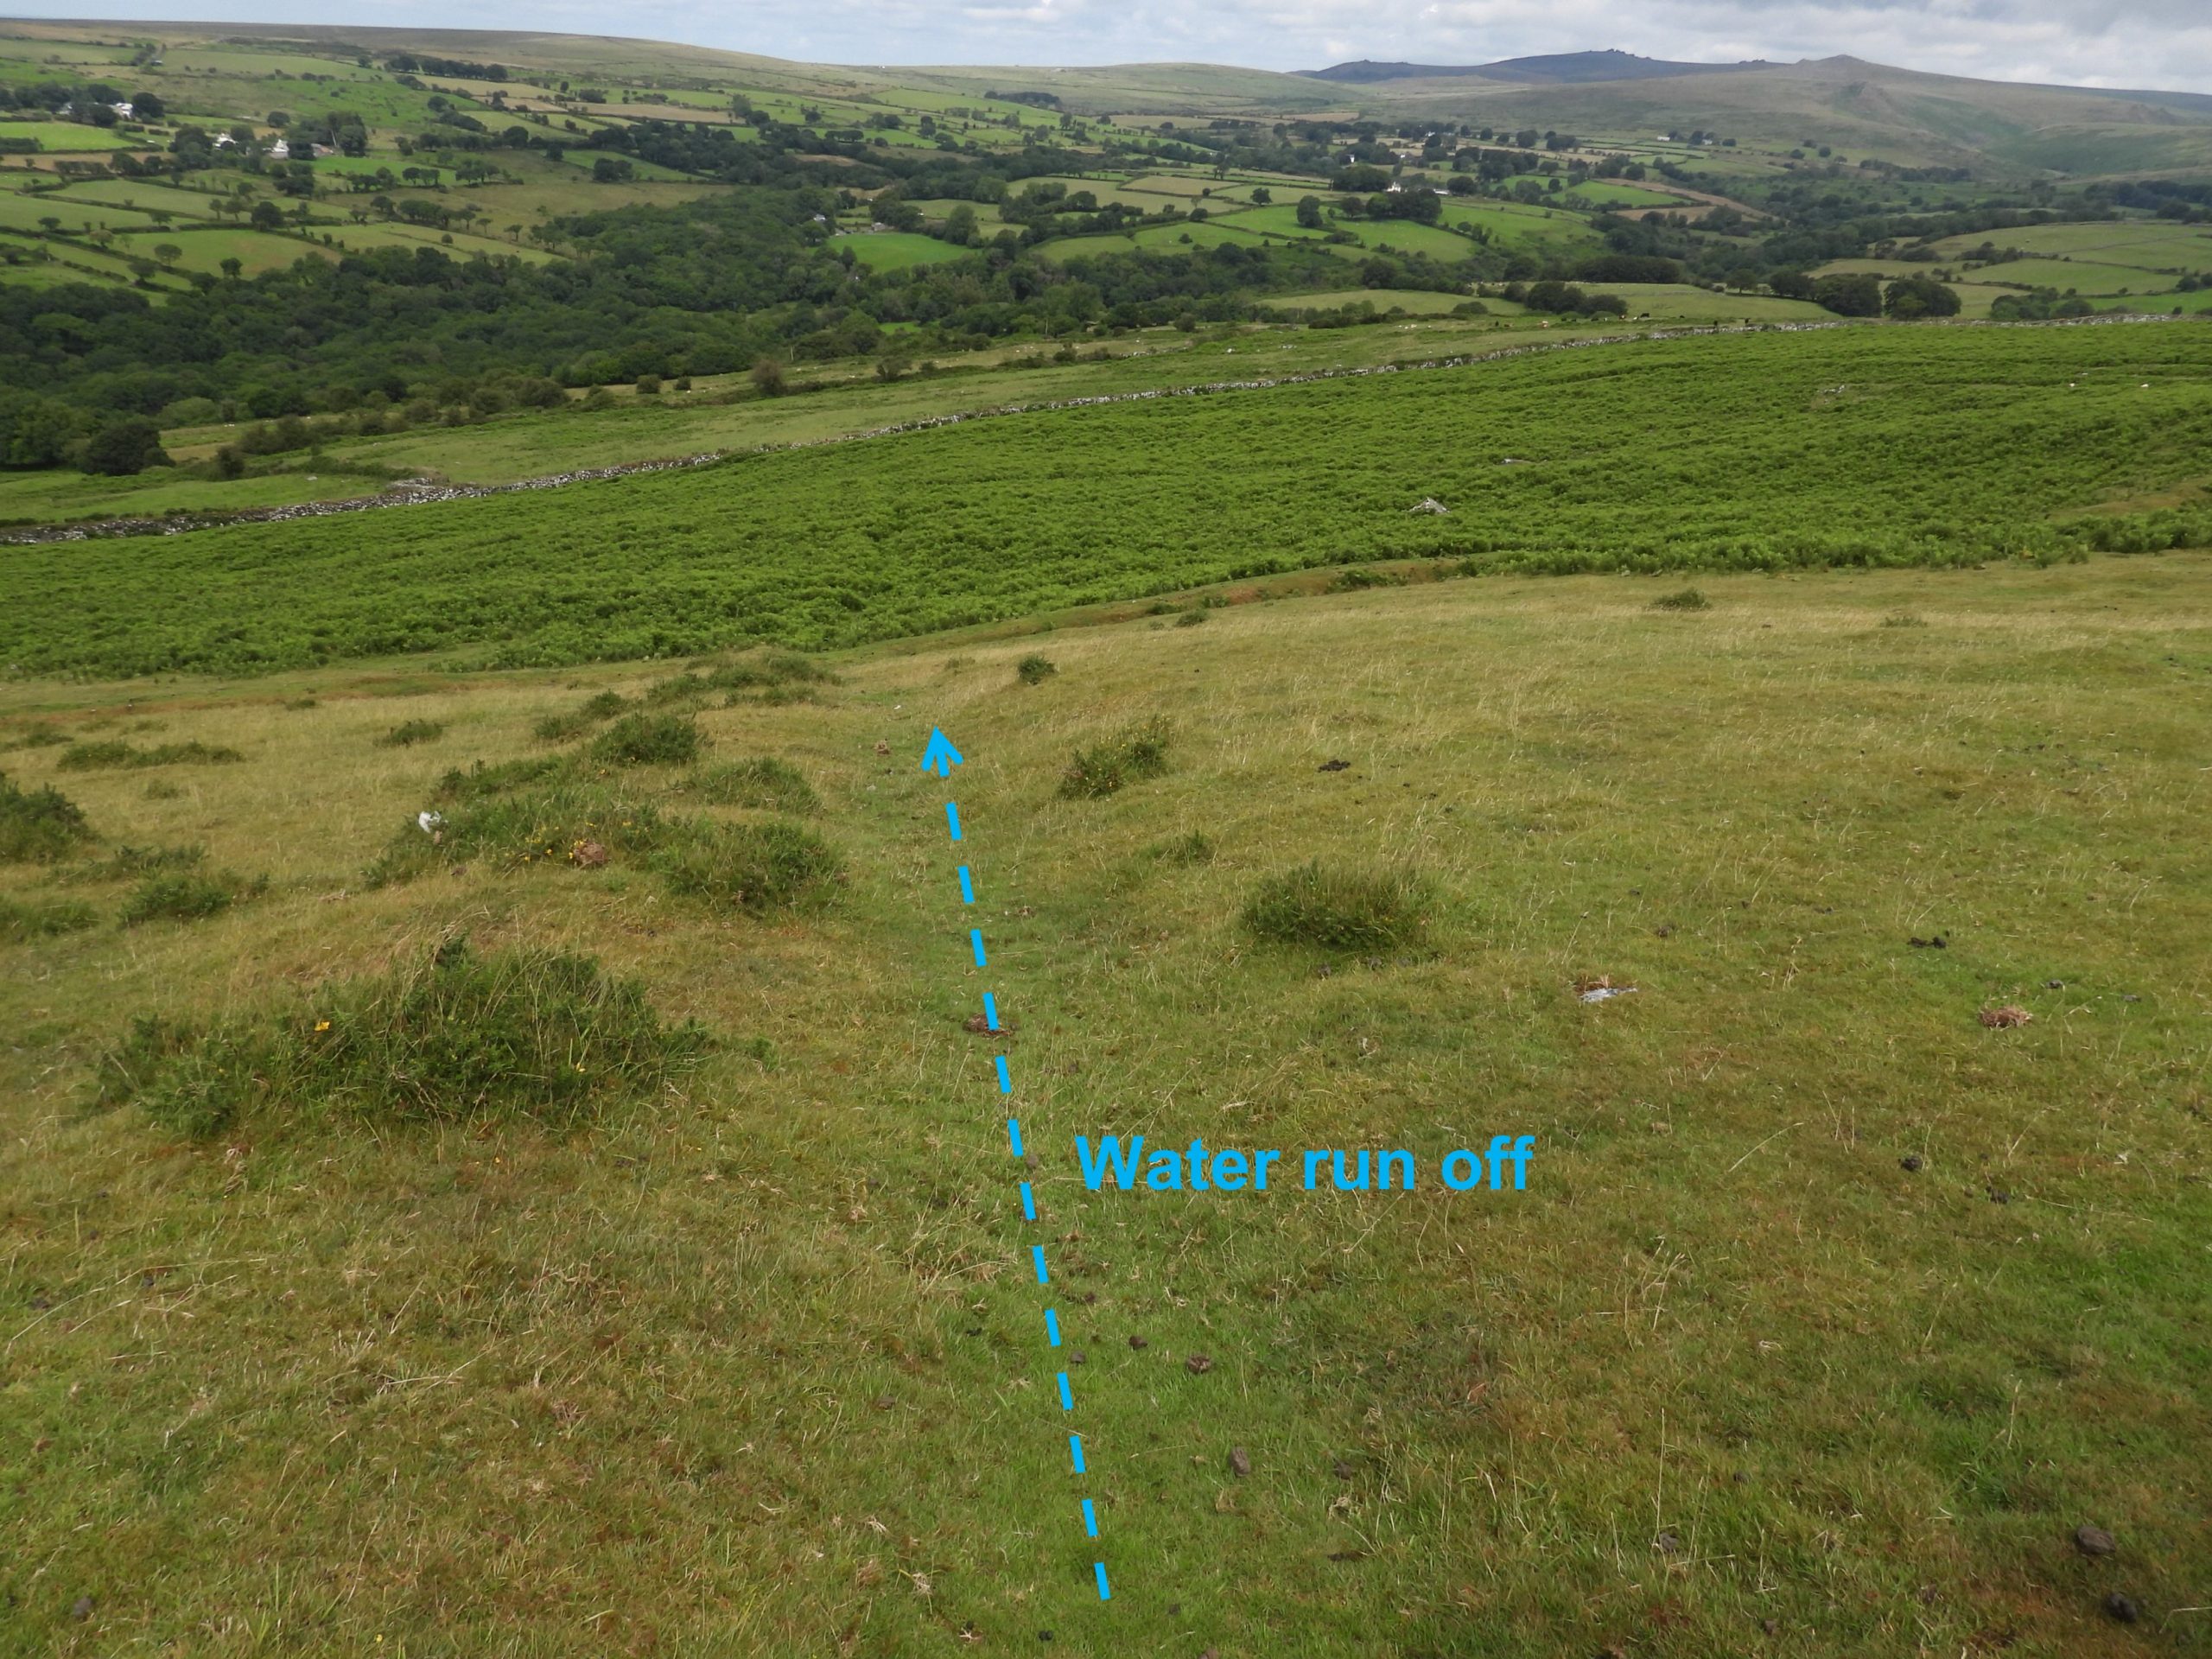
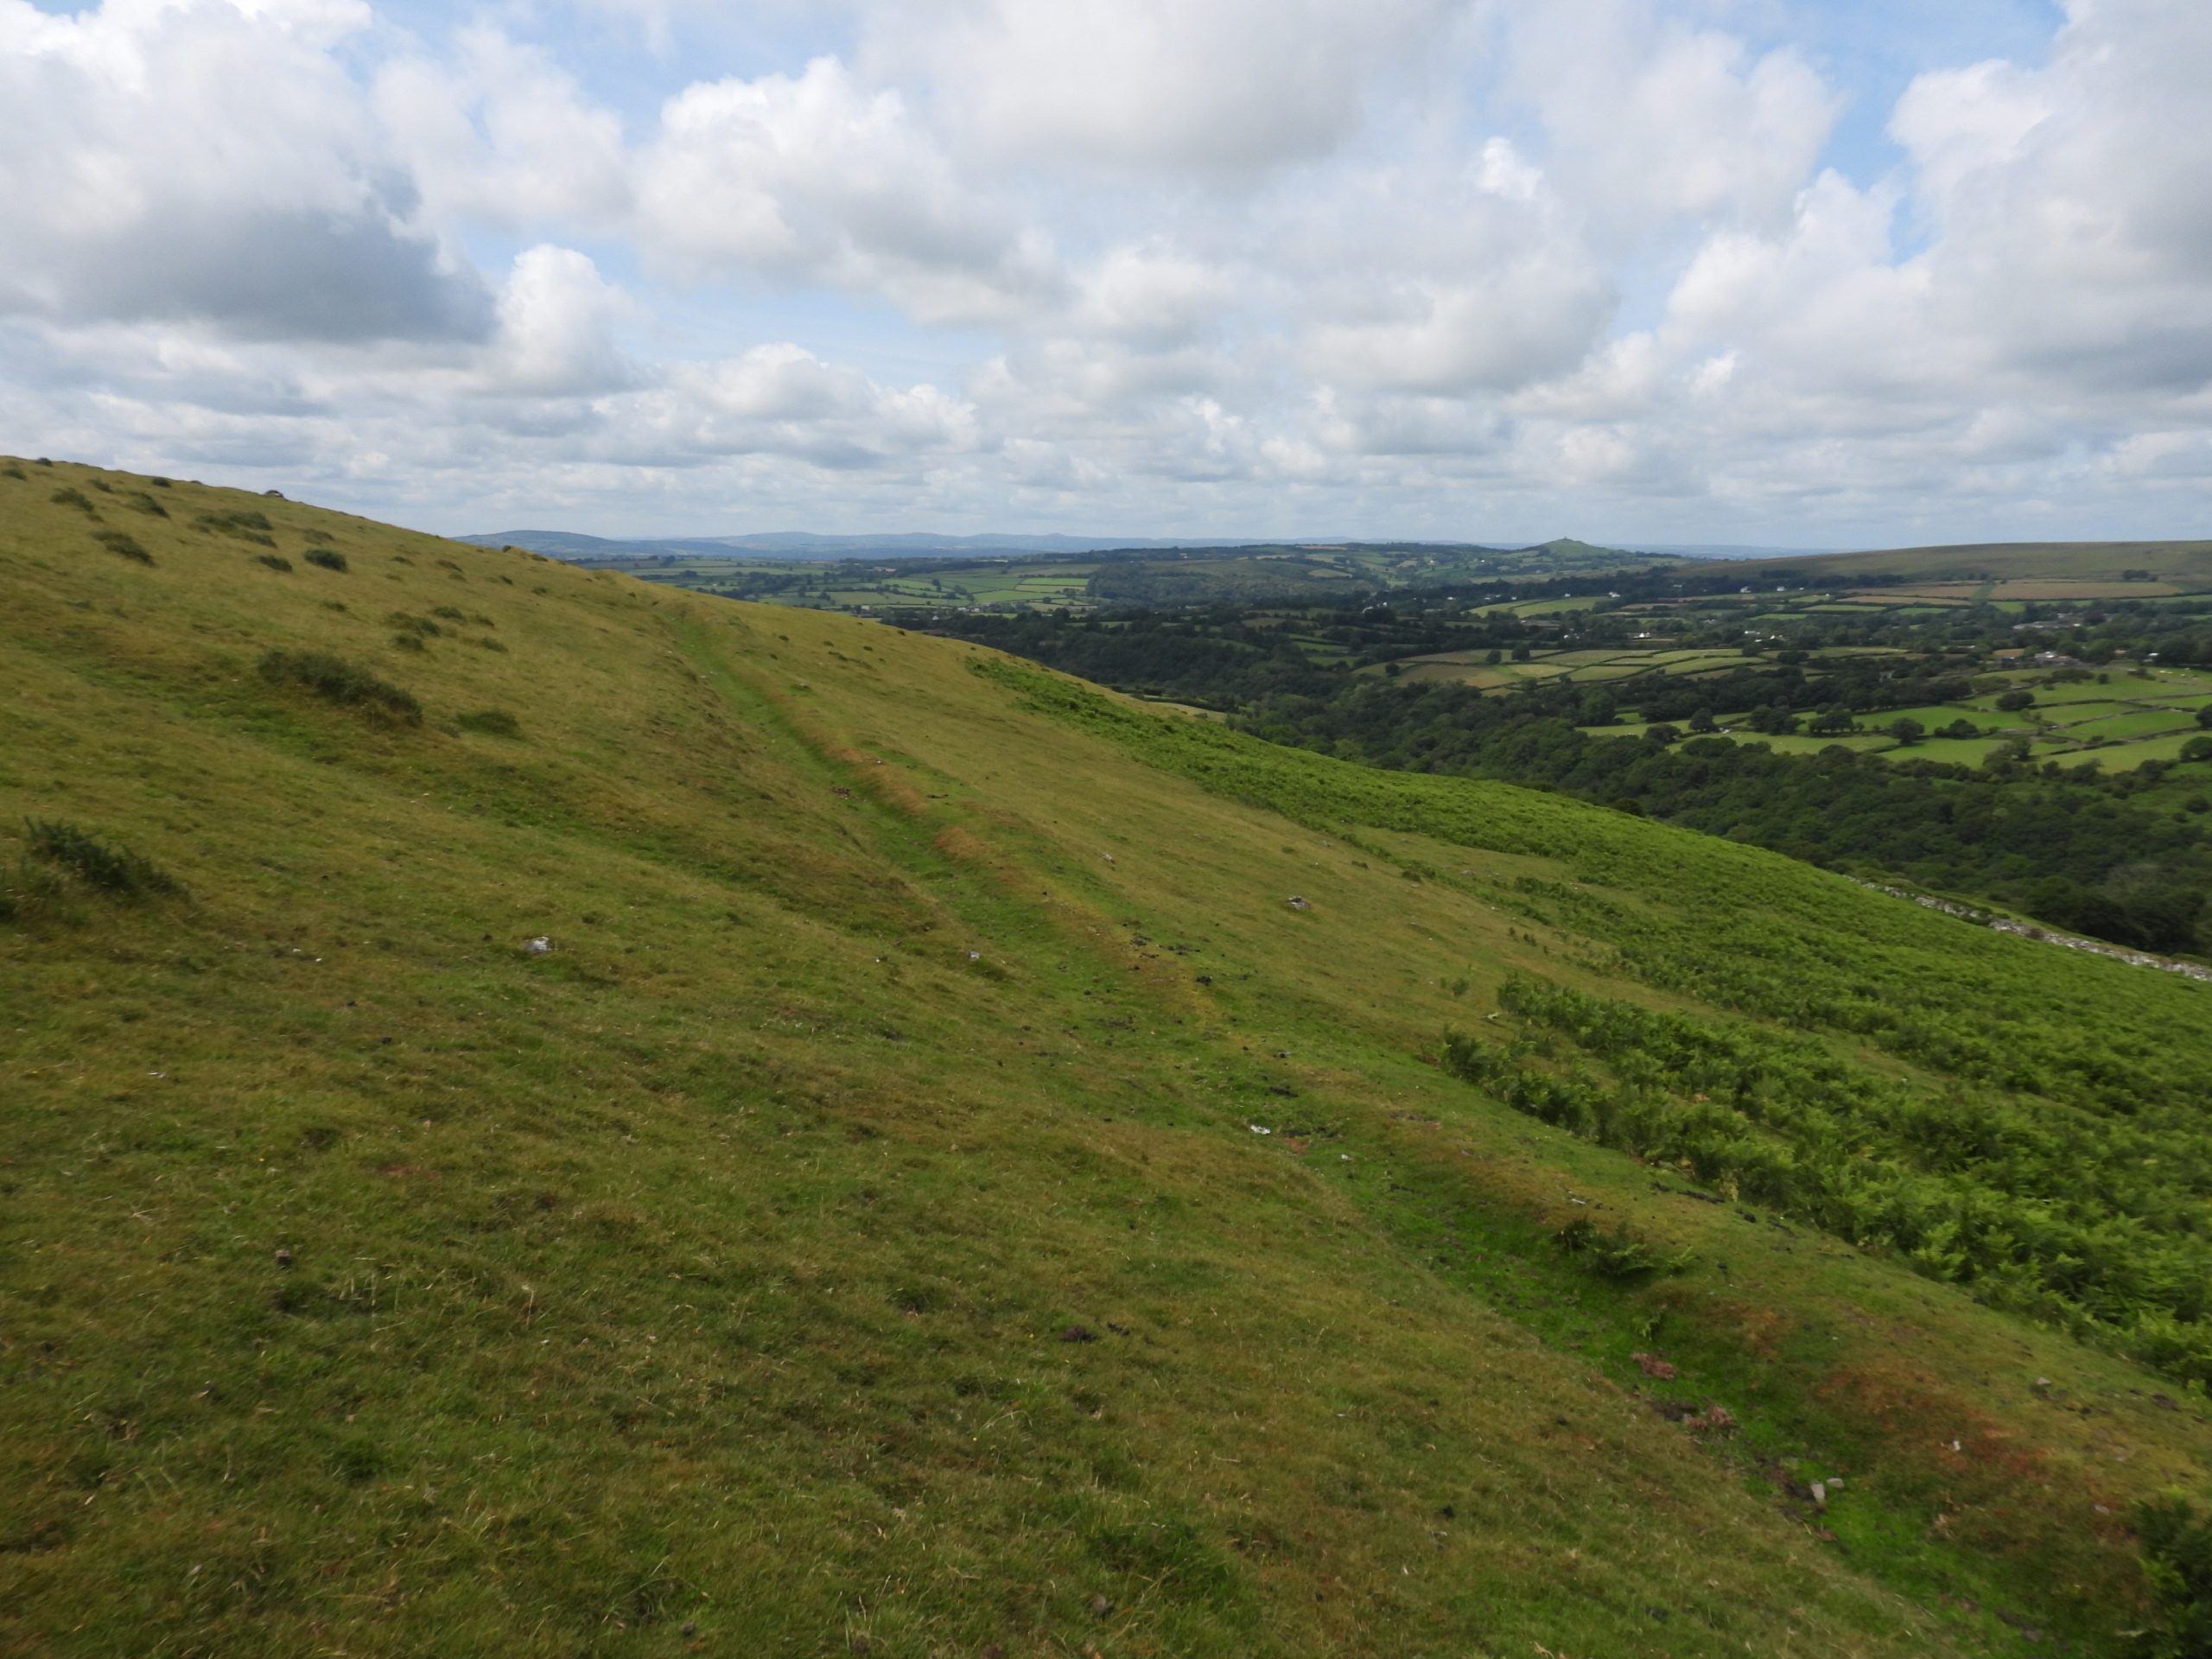
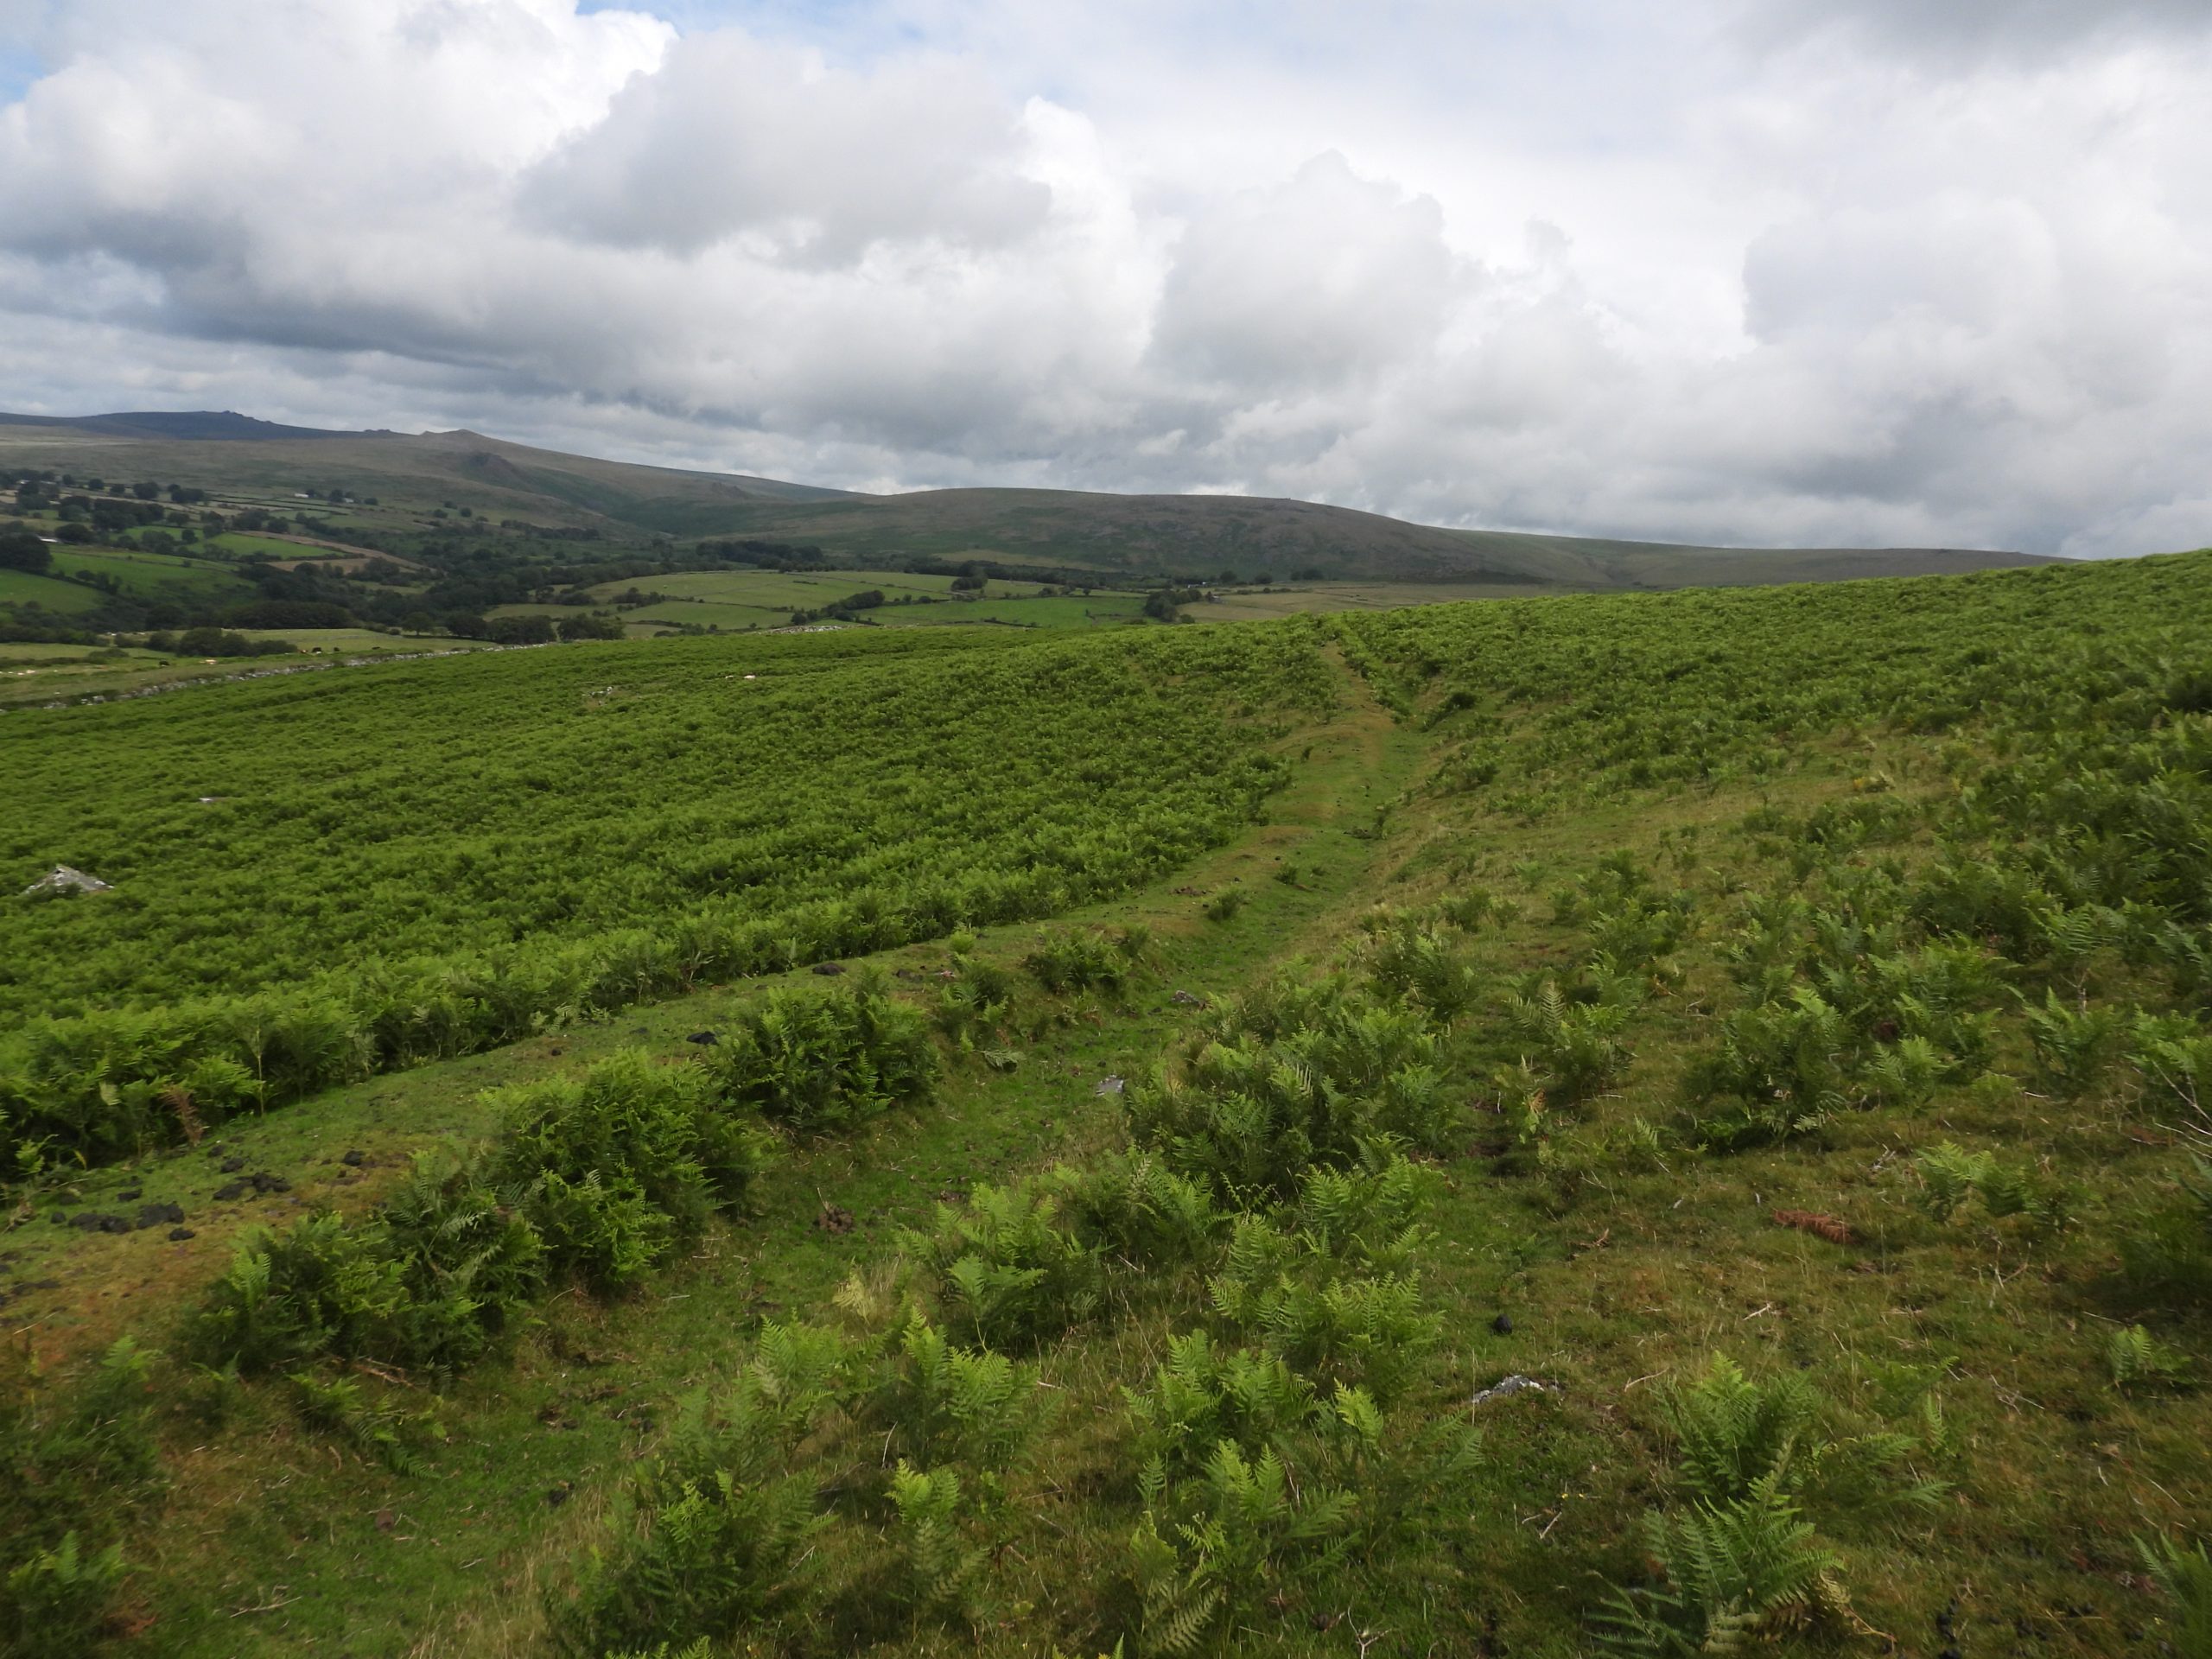
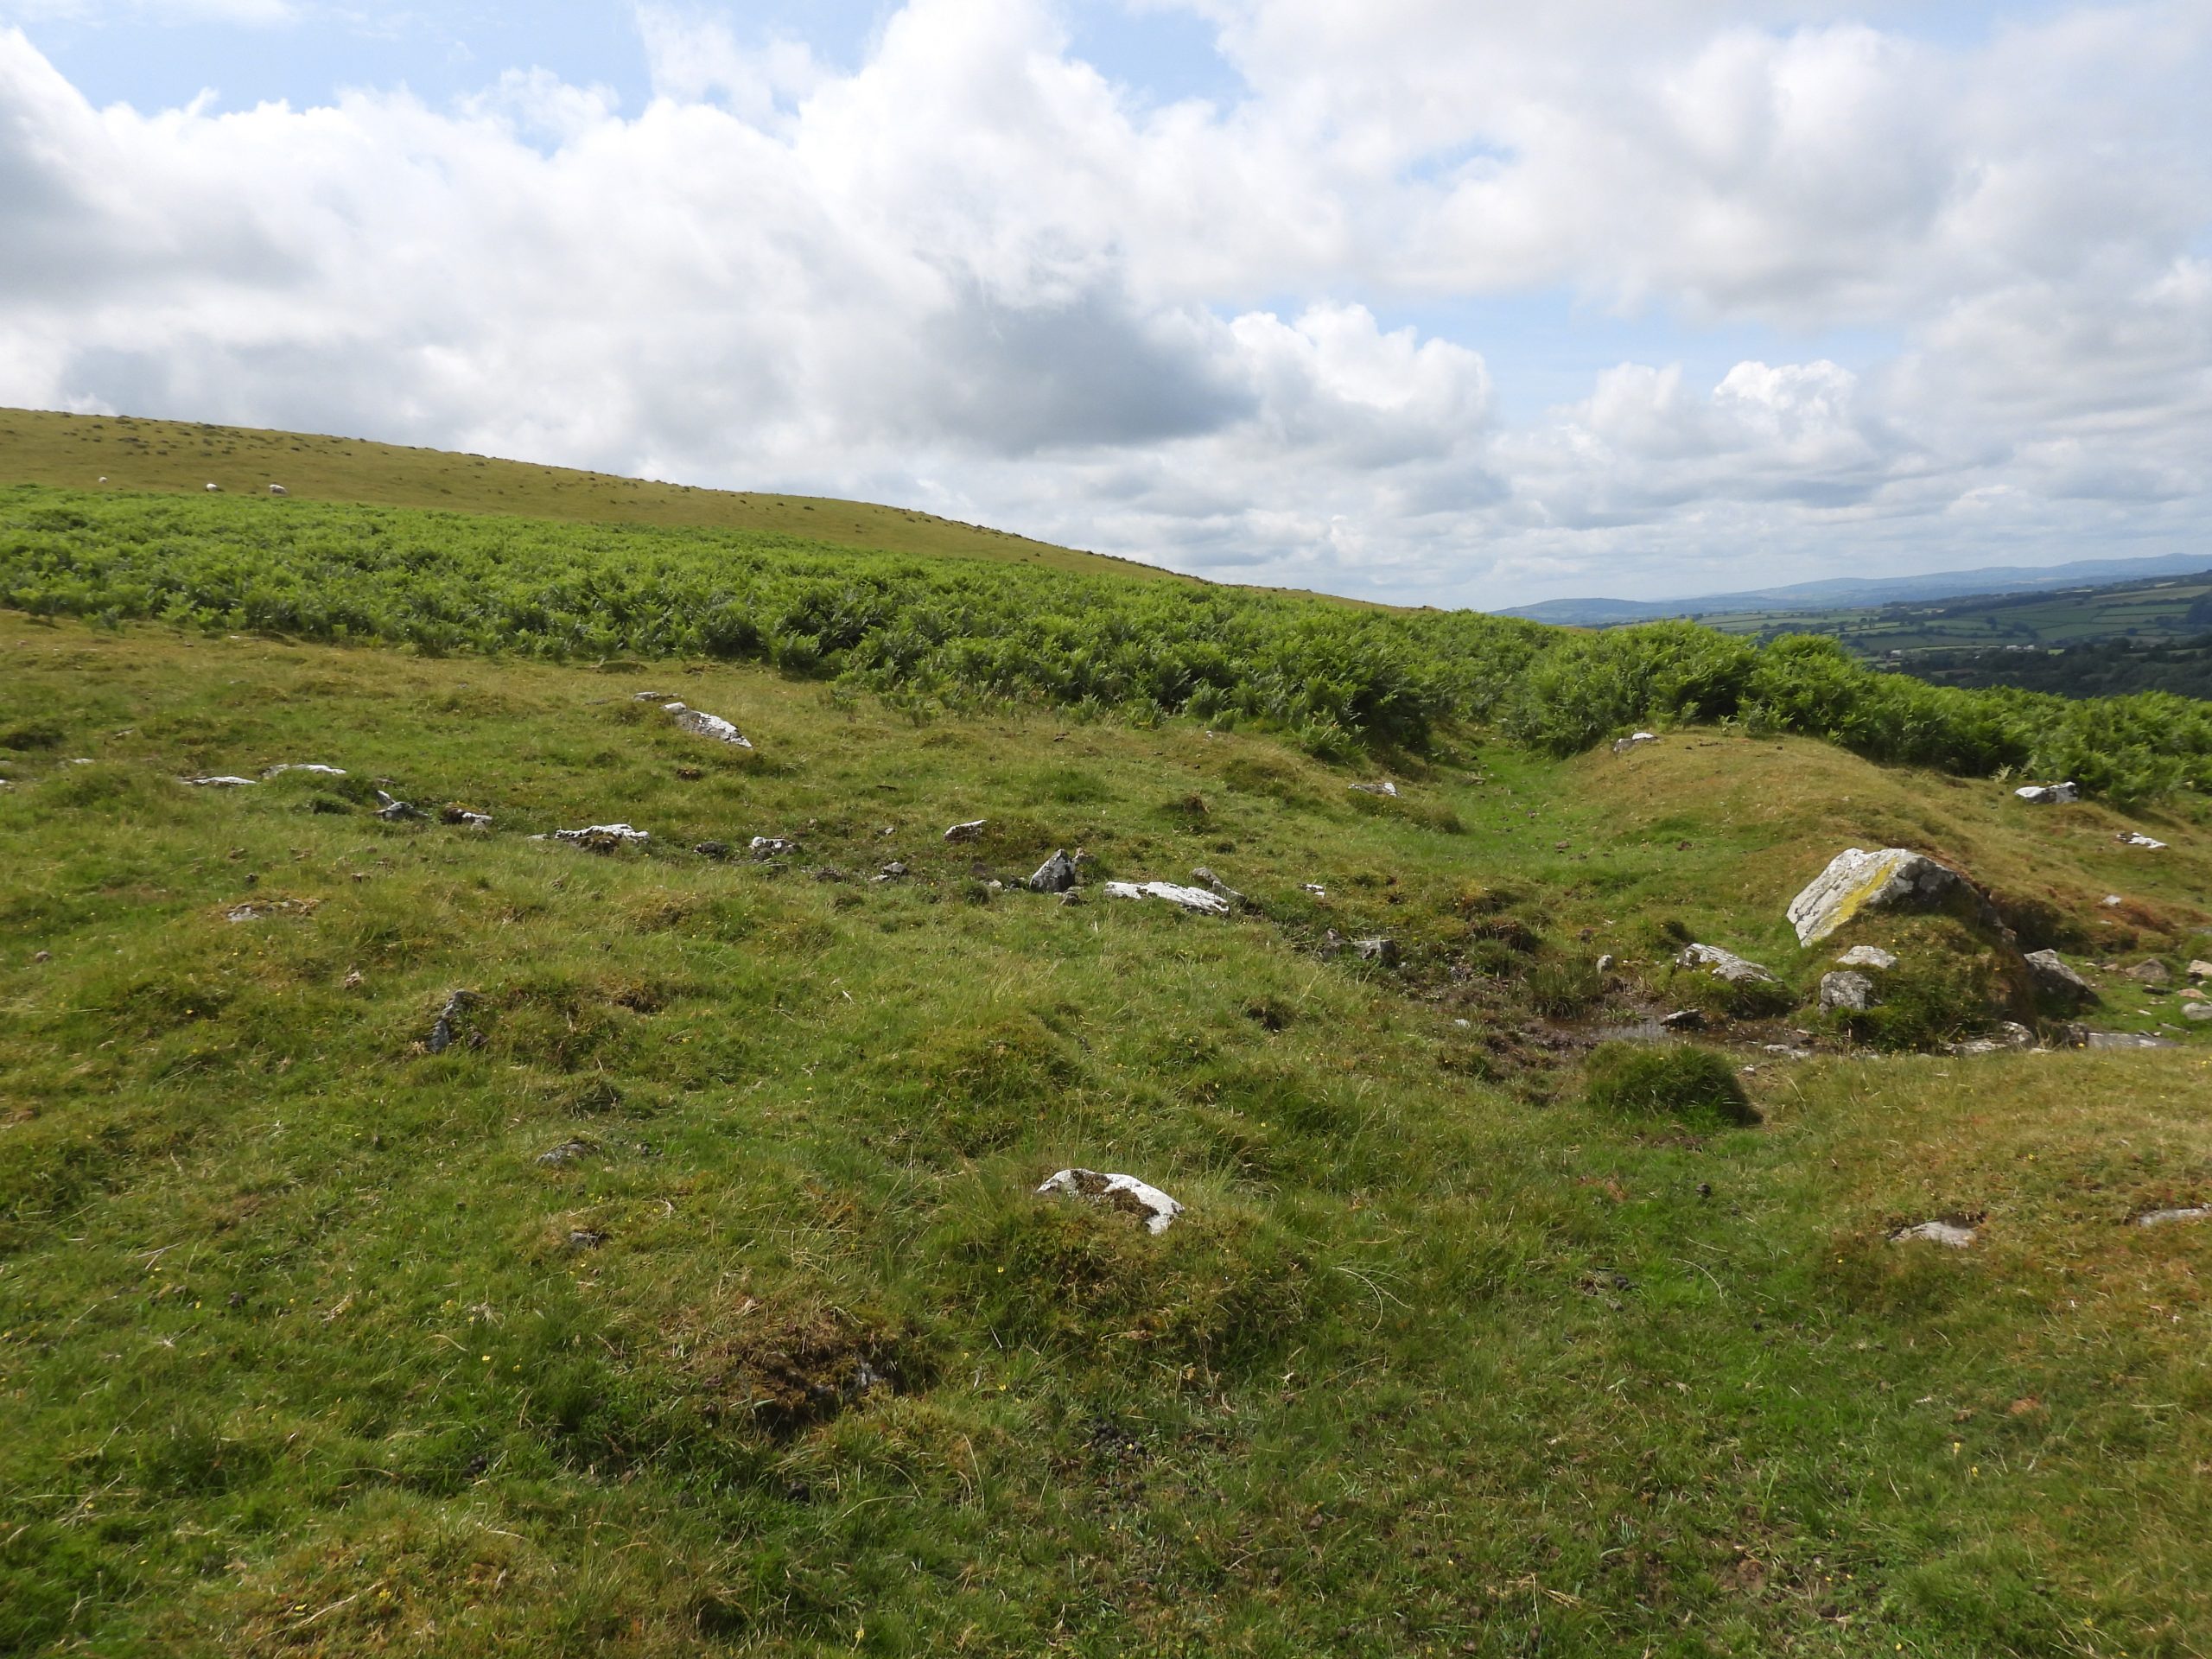
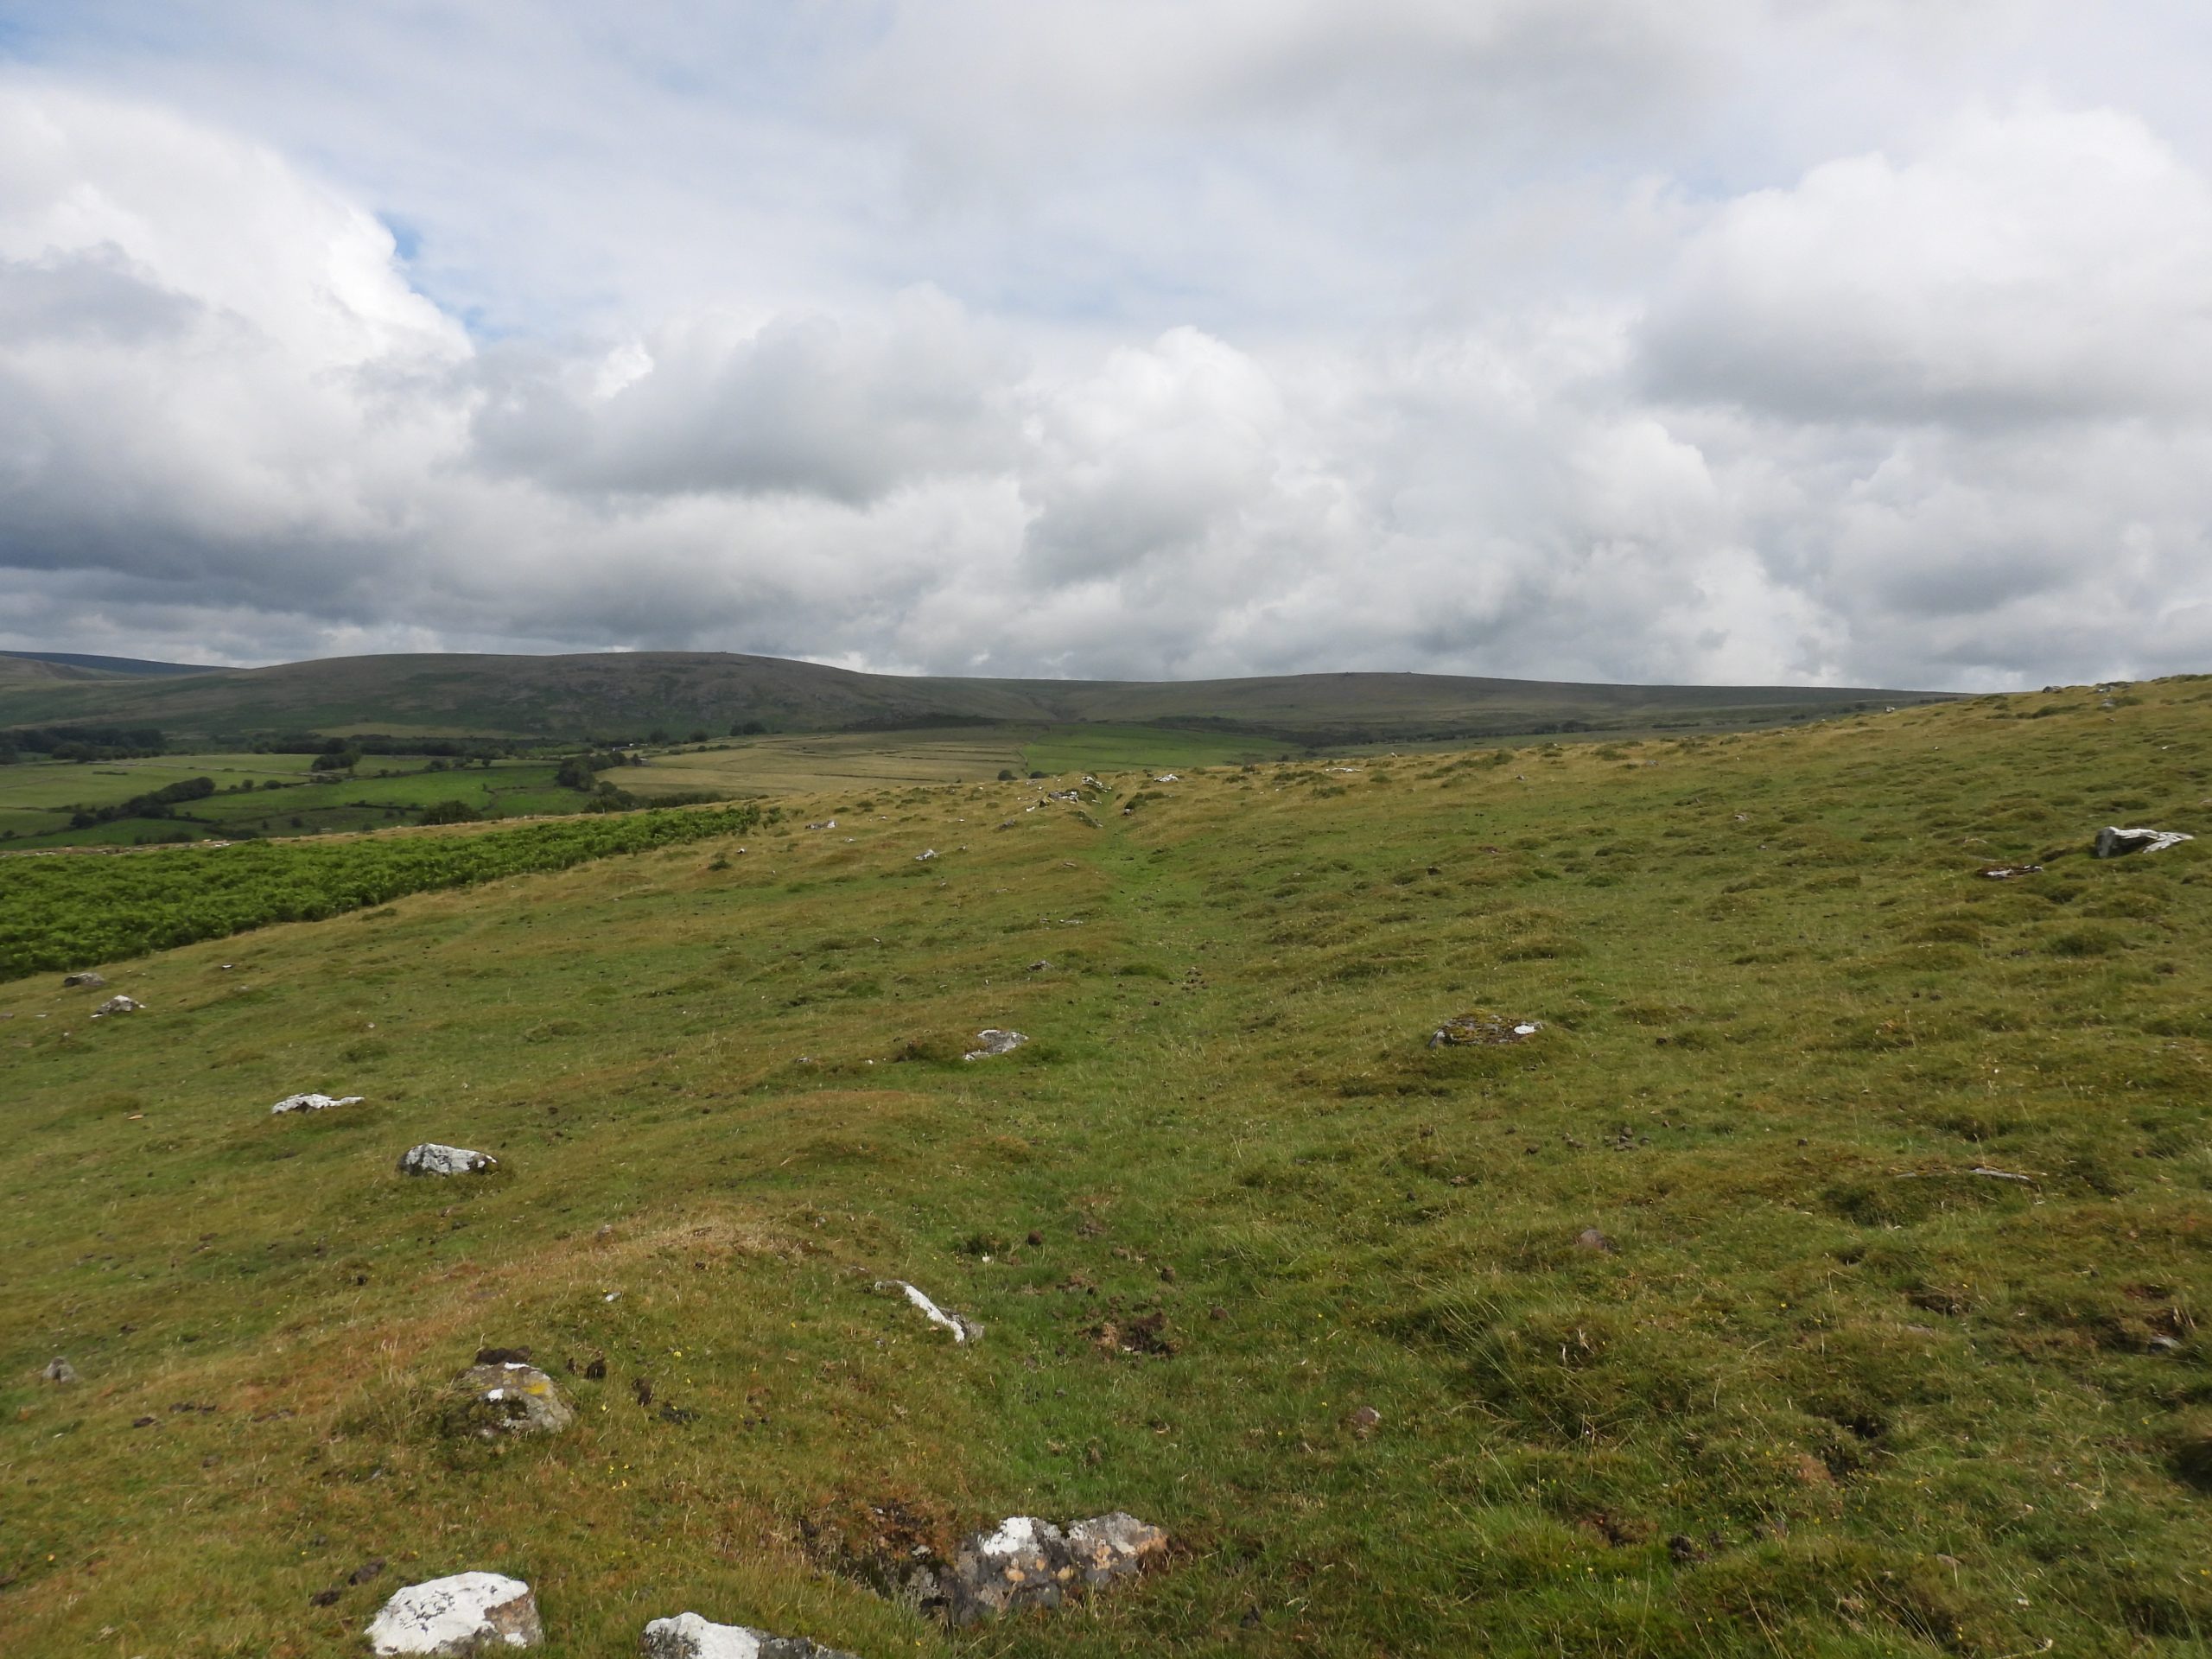
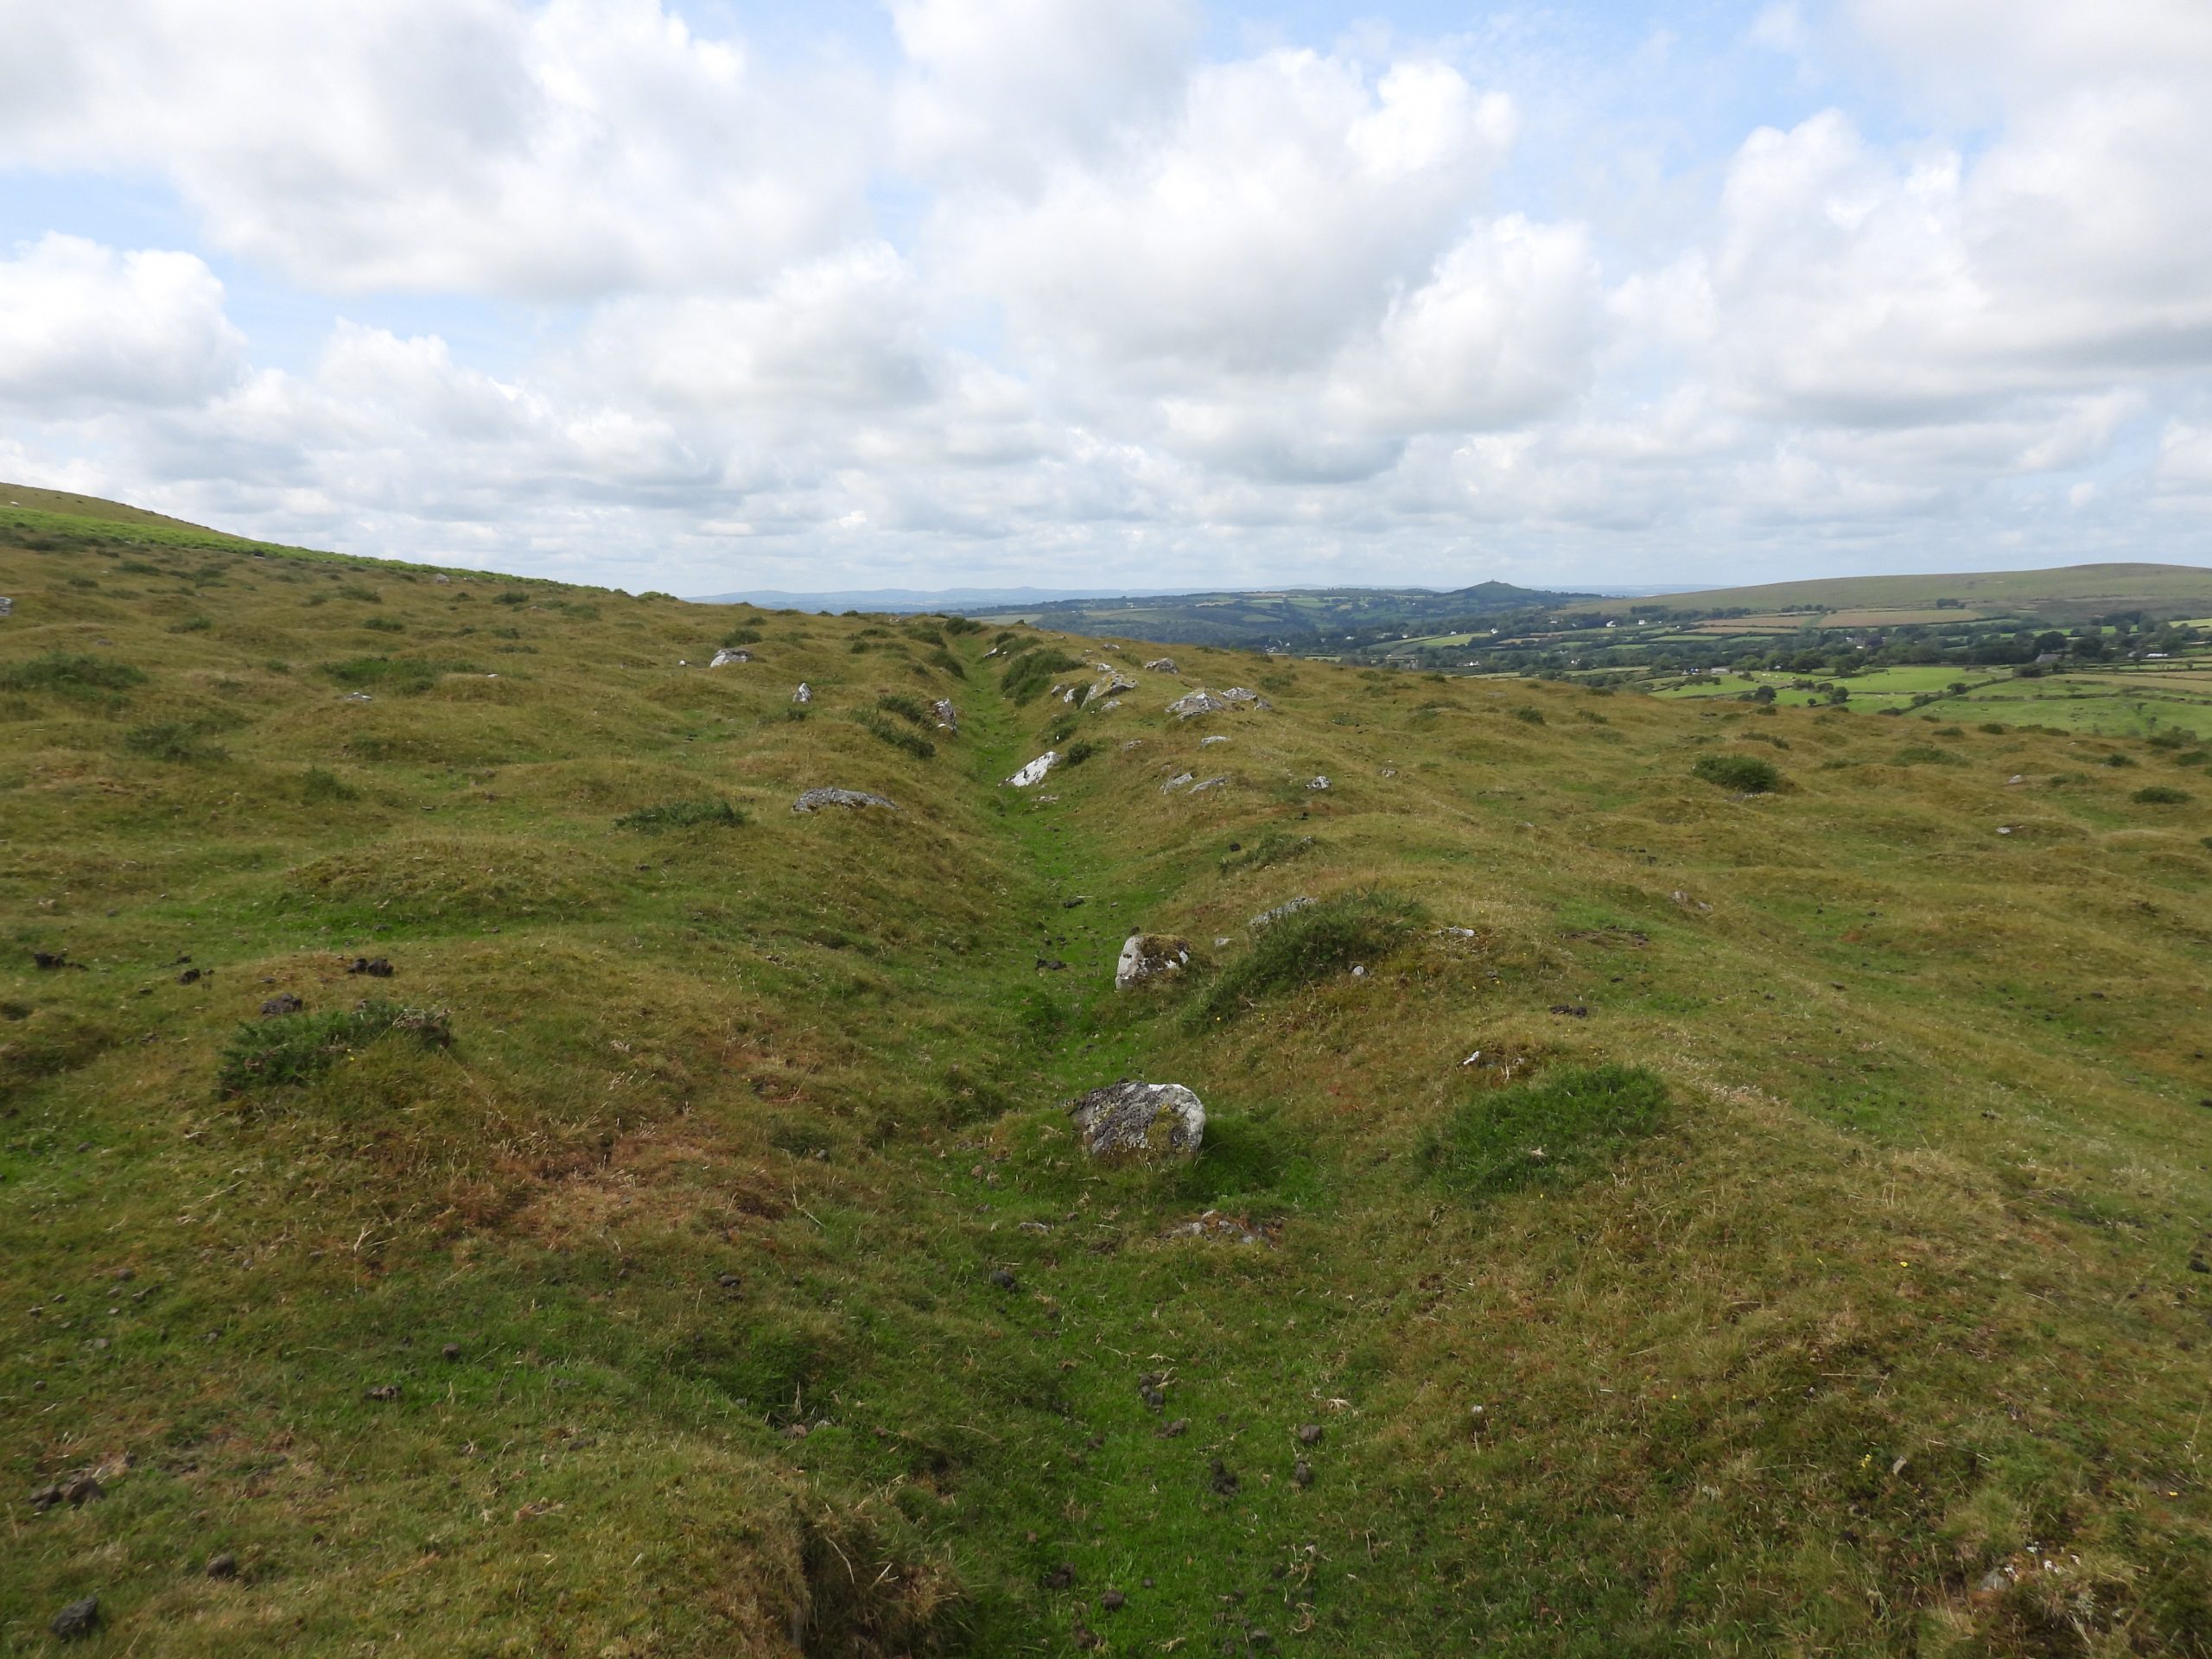
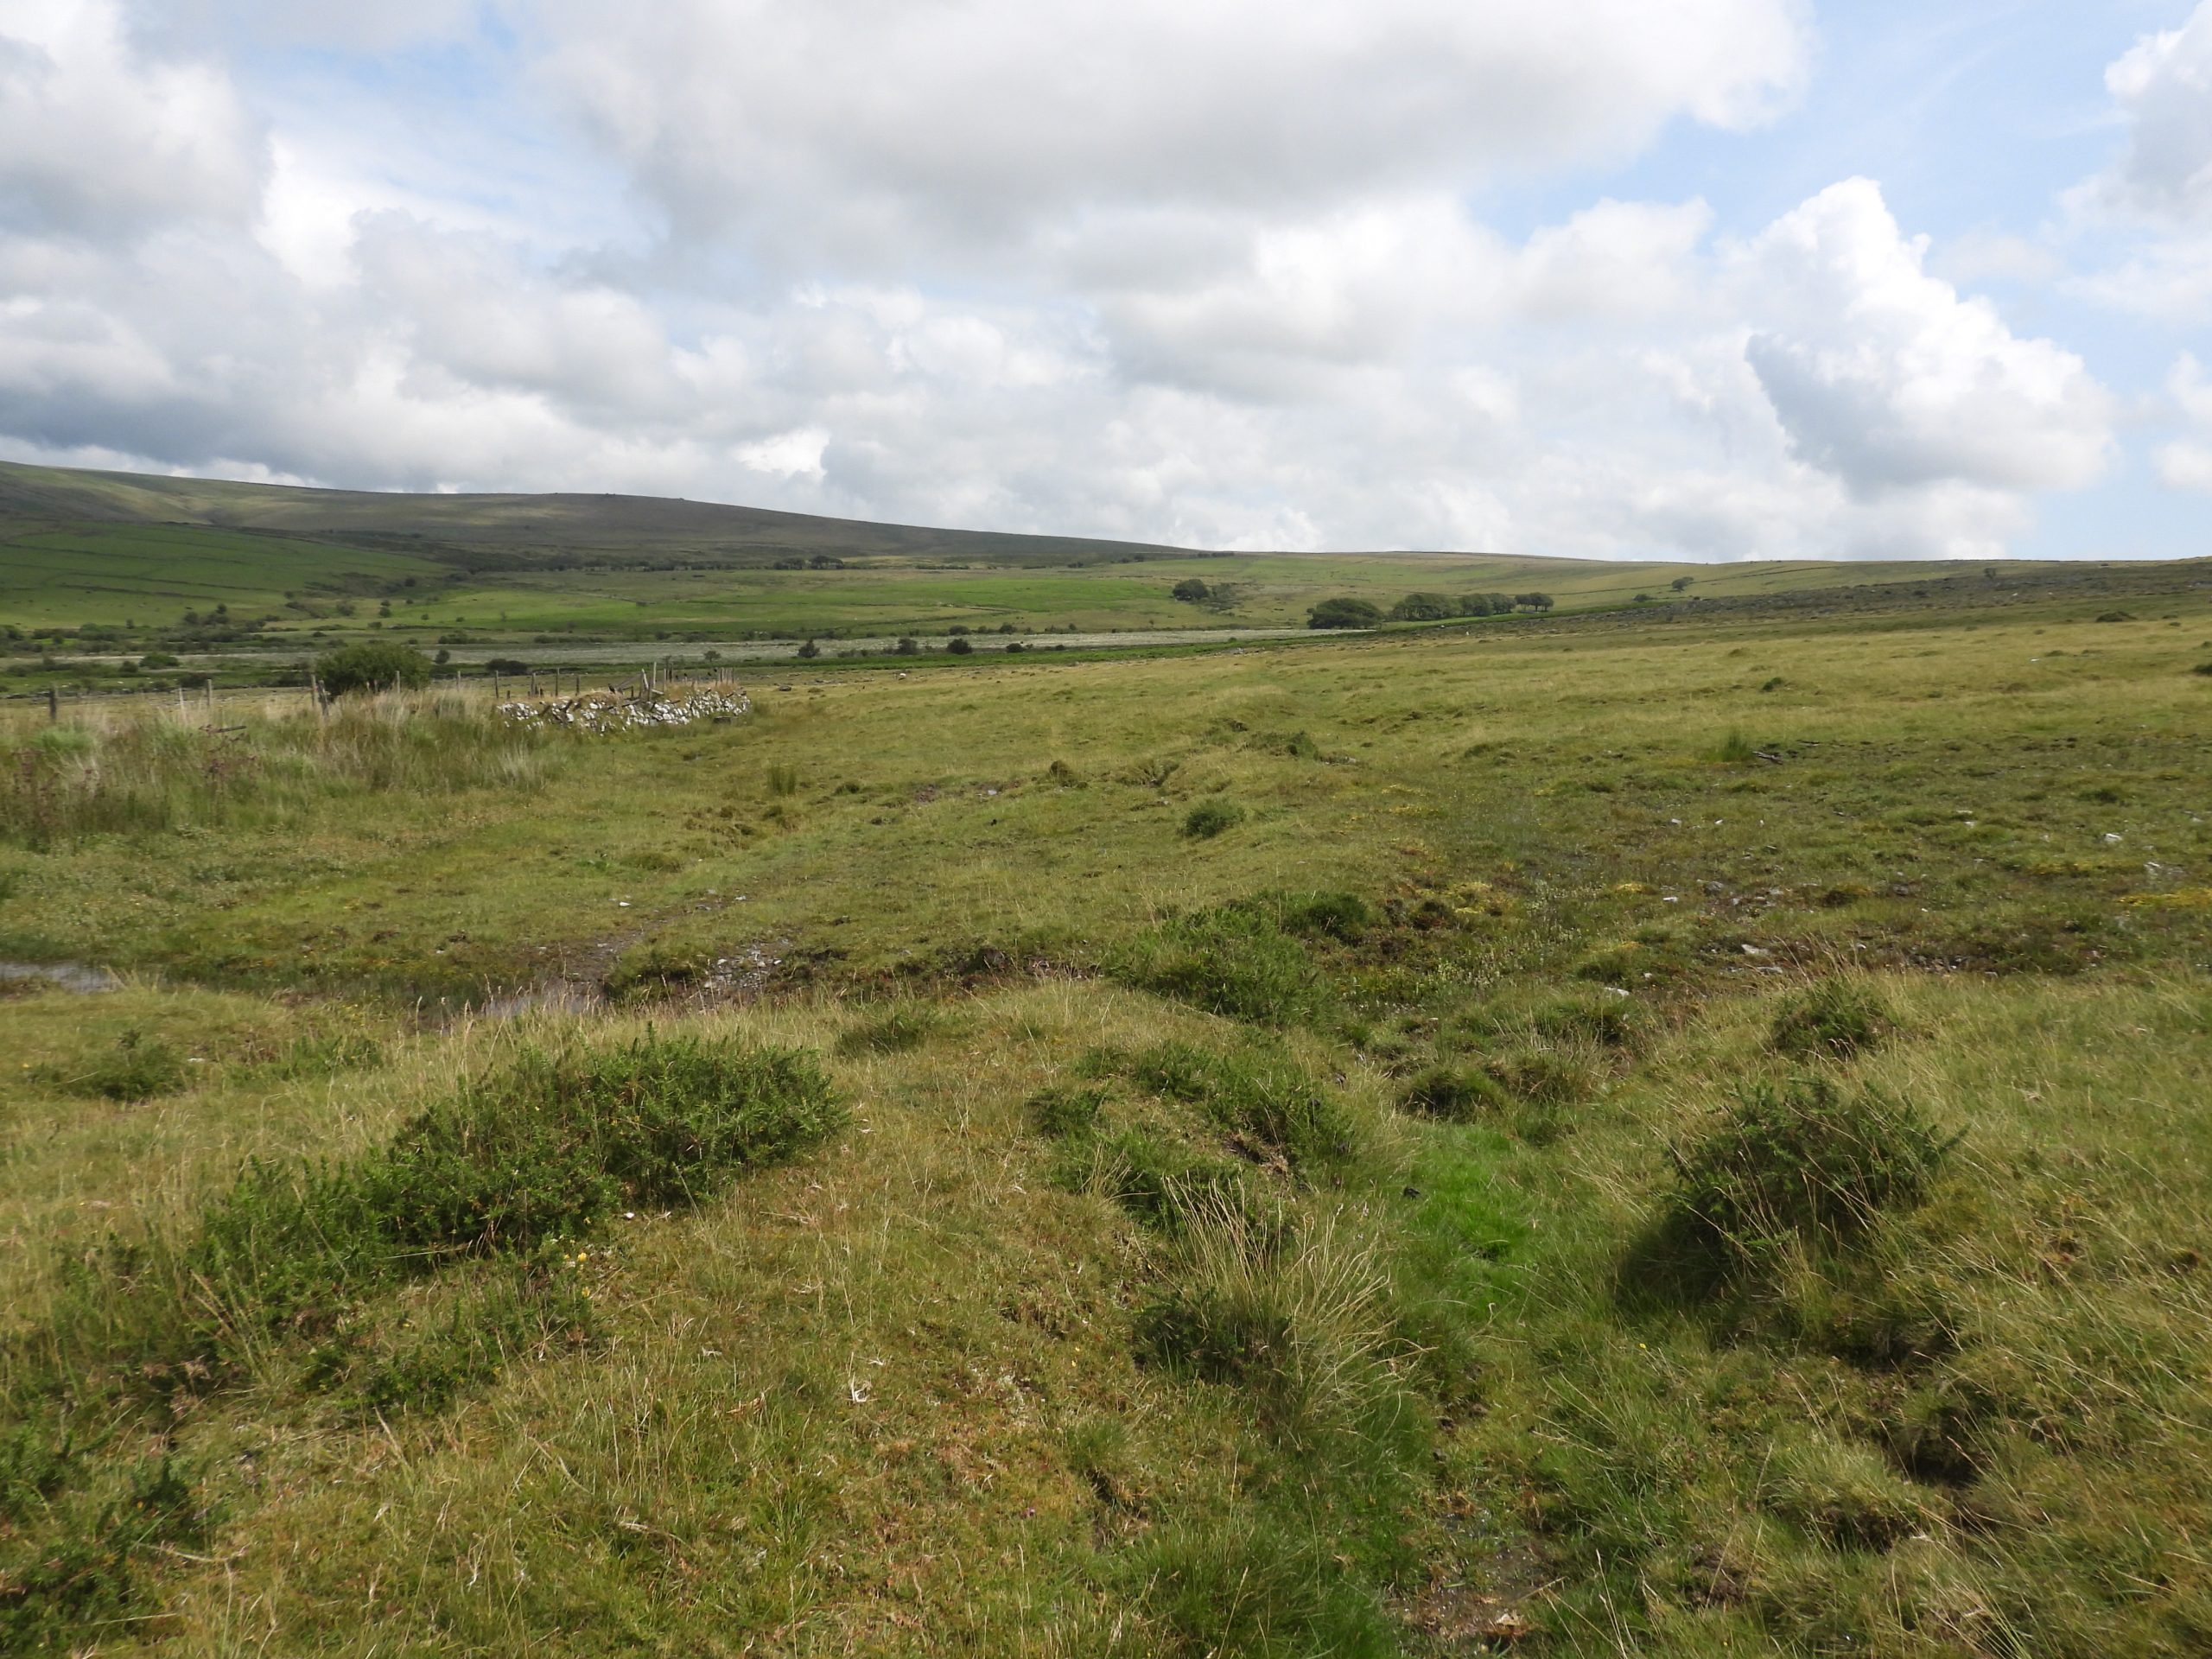
This interpretive sketch of East Wheal Friendship Mine is scaled to the Google Earth Satellite image of the area coupled with the descriptions of features described in both Chris Wordingham’s report and the Heritage Gateway entry. As can be seen from the sketch, there are numerous features associated with this mine in spite of its short life. The leat take off comes from various spring ‘run offs’ to the East near to and above Wapsworthy Farm.This Google Map Satellite imagery of the area clearly shows how discernible many of the features associated with the mine still are into the 21st century, some 170 years since the mine was in operation. The author approached the mine from the south, taking the footpath marked on the OS map from Stephen’s Grave. This picture is taken just a few hundred metres above the mine building and shows a heavy downpour approaching over Mary Tavy. The author sheltered alongside the wall seen in the foreground.Zoomed in view of the ‘wall of water’ heading towards the camera position. Brent Tor can just about be made out in the gloom.Above and to the south of the Mine Building, there are a number of small cairn like featuresThe Heritage Gateway describes these as being “evidence of stone breaking around the building in the form of large scattered chunks and cairn-like piles”.The largest area of ‘scattered chunks and cairn-like piles’ lies just above and to the south of the building.The Mine Building is located at the south west end of the complex and is rectangular, measuring 28m by 7m overall and divided into four rooms.The Mine Building is believed to have been a Smithy and Counting house having been described in July 1853 by a correspondent for the Mining Journal (who was visiting the Wheal Friendship district and East Wheal Friendship) when it was being constructed. The Heritage Gateway further describe it as having “mortared stone walls stand up to 2m high” and “built on a platform cut sharply into the slope on the SE and built up on the NW, providing a level open area in front”.With there being four rooms, it might have been possible that there was (limited) accommodation here. There are two tracks which lead away from the building; One leads to the main extraction area and the second downhill towards the adit and its associated spoil heap. The centre of the building was recorded as being at SX52859 79321In the third room (from the south west end), there seems to be evidence of a fireplace, which was not recorded in the documents / reports previously mentioned in this post.Close up of the fireplace. The hearth appear to extend to the outside wall perhaps suggesting there was an external chimney here.The mine building as viewed from the north east. It is assumed that it was completed around late Summer / early Autumn 1853 (based on the timing of the visit by the Mining Journal correspondent). In the Chris Wordingham report, it is recorded that near the end of the venture: a notice was fixed to the door of the counthouse: “To the Adventurers and others interested in the mine called East Friendship Consols, notice is hereby given that a Petition was on the eighteenth day of October 1856 filed in the Vice wardens Court by John Brenton Key against R J Alison the purser of the above mine for payment of the sum of £90.7s.8d due from the adventurers and for sale of the Ores Machinery Materials and effects in default of payment.” It would seem that this building only had 3 years of life (Autumn 1853 through to Autumn 1856) as the mine operators (adventurer’s) were in default of paymentsIn front of the Mine Building is a mystery depression in the ground which is approx 2m x 2m.Leaving the Mine Building, there is a faint path (amongst the bracken) which leads to a Spoil Tip, which appears to be from the excavations of the Mine Adit. This Spoil Tip is shown on modern OS maps, near a spring (Spr).The spring (Spr) marked on modern OS maps is in actual fact the run-off from the Mine Adit. The Mining Journal correspondent from July 1853 described an “adit being driven on a lode 10 ft. wide”. The Heritage Gateway describe this adit as being “c.17m long and up to 2m deep, leading onto a large spoil heap downslope. A stream issues from the adit which possibly functioned as a drainage level for the workings”. Certainly the Adit and run-off appear to ‘line up’ with the shaft on the hillside above.The Adit as viewed from the Spoil Tip. The shaft and other operations can be seen on the hillside above.View to the North West from end of the Spoil Tip. Gibbet Hill can be seen on the horizonLooking North from the end of the Spoil Tip towards Willsworthy Range. The centre of the Spoil Tip is at SX52880 79428Just above the Adit portal at SX52927 79410On a plan drawn up in 1867, ten years after the mine had officially closed, the Adit and just one Shaft was recorded. The blocked off shaft is easily recognised today. That said, James Richards the principal managing agent for Devon Great Consols penned an advert in late 1852 for “a few remaining shares” being offered for sale”, where he stated “There are two shafts sunk 5 fathoms”.The Shaft is recorded on the Heritage Gateway as “c.15m across and c.4m deep, with an upcast mound of soil and broken rock on its downslope side”. The main access track can be seen beyond the Shaft.The centre of the shaft is located at SX53037 79404To the South West of the Shaft is a circular terraced platform c.13m across. The Heritage Gateway suggest this may have been the site of a horse whim.The centre of the possible horse whim is at SX53026 79380The evidence seems quite compelling that this large circular platform is a horse whim. The distance between the centre of the ‘Whim’ and the centre of the Shaft does appear, however, to be too far apart at circa 15m.Contextual picture of the possible Horse Whim and the Shaft.In July 1853, the visiting correspondent for the Mining Journal recorded of East Friendship Mine: “a new mine, commenced about six months ago. Here I found the greatest activity prevailing, and some 50 men at work, busily engaged in the formation of a wheel-pit for a powerful water-wheel, 60 ft. diameter”. The wheelpit consistent with the wheel size reported is easily identified today.The size of the wheelpit (for a 60ft wheel) does seem rather out of keeping in terms of the mining operation. The shaft wasn’t that deep (if the reports were correct) and of course the Shaft was drained by the Adit. So why was the wheel that large ? In the Chris Wordingham report, there is a lovely succinct sentence which states: “It is hard not to conclude that the construction of the large wheel was for the benefit of Nathaniel Smith (the Wheal Friendship and Devon Great Consols Hydraulic Engineer) rather that the share holders”. Was it a vanity project for the Engineer?The centre of the wheelpit is at SX53056 79440It is surprising that the Heritage Gateway does not record the Wheelpit. In actual fact, it records two Shafts, here separated by the remains of a stone bridge. The Heritage Gateway in suggests two Shafts here separated by a stone bridge. The second ‘shaft’ is an odd ‘shaft’ and is more likely to be a Balance Bob Pit used to house the Balance Bob which was to counter balance the large 60ft wheelThe Balance Bob Pit is stone lined at the ‘stone bridge’ end between it and the Wheelpit. There is a tailrace immediately between the two features.The centre of the Balance Bob Pit is at SX53067 79456A contextual photograph of the Wheelpit, Balance Bob Pit and the Tailrace.Looking down on the Tailrace.There may have been a short tunnel leading from the Wheelpit to the TailraceInside the Tailrace at SX53052 79466. There is a void to the side of the large rock, which conceivably may have been a tunnel to the Wheelpit. The Tailrace is suggested by the Heritage Gateway as being another Adit, but the author suggests it is simply too far up the hill (even if the Wheelpit and Balance Bob Pits were indeed two Shafts). If the interpretation of this feature being a Tailrace is correct, it is unusual insofar as it is partially rock cut and stone-lined. At the end of the Tailrace is another Spoil Tip / Embankment, which is unusual. This may suggest the ‘gully’ was an Adit. That said, an alternative interpretation may be that there was a second Wheel planned and the embankment was to feed water onto it ? The embankment at the end of the Tailrace does look rather uniform to be a Spoil Tip. Did this lead to a proposed 2nd waterwheel ? Perhaps the miners never thought that far ahead ?The end of the embankment lies at SX53038 79483Looking back into the Tailrace from the embankmentBack to the Wheelpit. At the ‘stone bridge’ end of the Wheelpit (ie between it and the Balance Bob Pit) are the remains of a wall constructionThe compelling evidence that the Wheelpit was located here is that the line of the probable launder leading from the leat up the hillside can be found and followed.The Heritage Gateway records that below the Leat terminal point there are: “Several pairs of slight circular depressions, centred SX 5307 7941, mark where the timber launder supports once stood”. This is clear to be seen. The record states that water was ‘laundered’ into the workings, which appears correct but the record does not include any mention of a Wheelpit, which is unusual. These Launder support ‘marks’ leading down from the Leat terminal point to the South West end of the Wheelpit seem to be conclusive evidence as to the location of the ’60ft Wheel’At its terminal point the Leat takes a 90 degree course from East-West to South-NorthClose to the Leat terminal point are numerous pits which the author has labelled ‘Trial Pits’. If there had been a 2nd Shaft (James Richards stated “There are two shafts sunk 5 fathoms”), then this might have been the 2nd Shaft. It lies a short distance uphill from the main Shaft at SX53066 79392A short distance to the South West from the Leat terminal point is a long shallow trench. The Google Earth Satellite image when first viewed looks like this trench ‘lines up’ with the Leat, where in fact it is slightly offset as can be seen from the photograph.The author speculates that perhaps this was intended as a possible extension to the Leat or perhaps it was just an exploratory trench. It is centred at SX53092 79371The ‘Leat extension’ or ‘Exploratory trench’ looking South WestThe ‘Leat extension’ or ‘Exploratory trench’ looking North EastOne of many Trial PitsAnother Trial Pit (or even possibly ground levelling for a building that never was)?The 90 degree bend at the Leat terminal point at SX53102 79389The Leat coming in from the North East. The channel here is over a metre down, so it looks like getting water here took some effort. The deep section of the Leat ChannelEither side of the Leat Channel are three long ‘V’ shaped trenches, all of which are clearly visible on the Google Earth Satellite imagery. So what was their purpose? The photograph shows ‘V Trench (1)’ as annotated on the sketch map in this post.The photograph shows ‘V Trench (2)’ as annotated on the sketch map in this post. The Heritage Gateway record states that these are : “c.3m wide and 1.5m deep, cutting directly across the contours. Spoil is deposited alongside in mounds up to 1m high, mainly on the W sides. These are probably trial trenches”. The photograph shows ‘V Trench (3)’ as annotated on the sketch map in this post. The only other alternative to these being trial trenches is for them to be to collect water to supplement the Leat. That said ‘V Trench (1)’ is actually below the Leat and appears to lead to the North East end of the Wheelpit.More Trial PitsClose up of the Trial PitsInside ‘V Trench (3)’The photograph shows the top of ‘V Trench (3)’ looking across the Tavy valley towards Horndon‘V Trench (2)’ and ‘V Trench 3’ looking West. The hills and tors of Cornwall visible in the far distance with Brent Tor in the mid-distance.Along the hillside (East) from the mining operations there is evidence of water channels providing water run off into the LeatAnother water run off channelThe Leat to the East of the mining operations. The now dry leat can be followed very easily all the way to new Wapsworthy around 1 km away.The Leat looking North East with Tavy Cleave, Ger Tor and Hare Tor amongst the features in the photographAlong the Leat, there are a few water run off areas, which would have supplemented the LeatThe shallow depression of the Leat continues on its North Easterly coursePart of the Leat with evidence of the need to dig a little deeper and extract rocks from the water courseMore or less the end of the discernible part of the Leat, close to Wapsworthy. The water source appears to be minimal coming from springs. That said, as discussed in the post, the question is why this Leat was needed (for the Waterwheel) in the first place. Surely the slope of the hill was such that an Adit would have sufficiently drained the mine. Thank you for reading the post and once again the author would like to thank Chris Wordingham for sharing his report, which undoubtedly has assisted with the interpretation of the mine. As a footnote to this operation, in the Chris Wordingham report, it records that: “Eventually on 22nd January 1857, (RJ) Alison forwarded the sum of £105 13s 10d in favour of his agents in Cornwall to settle the two suits, and on 11th February (1857) the Court dissolved the injunction leaving the adventurers free to dispose of the assets of the mine”. Thus the operation lasted just over 4 years.