A collection of walks, discoveries, insights and pictures of exploring Dartmoor National Park
April 1, 2023
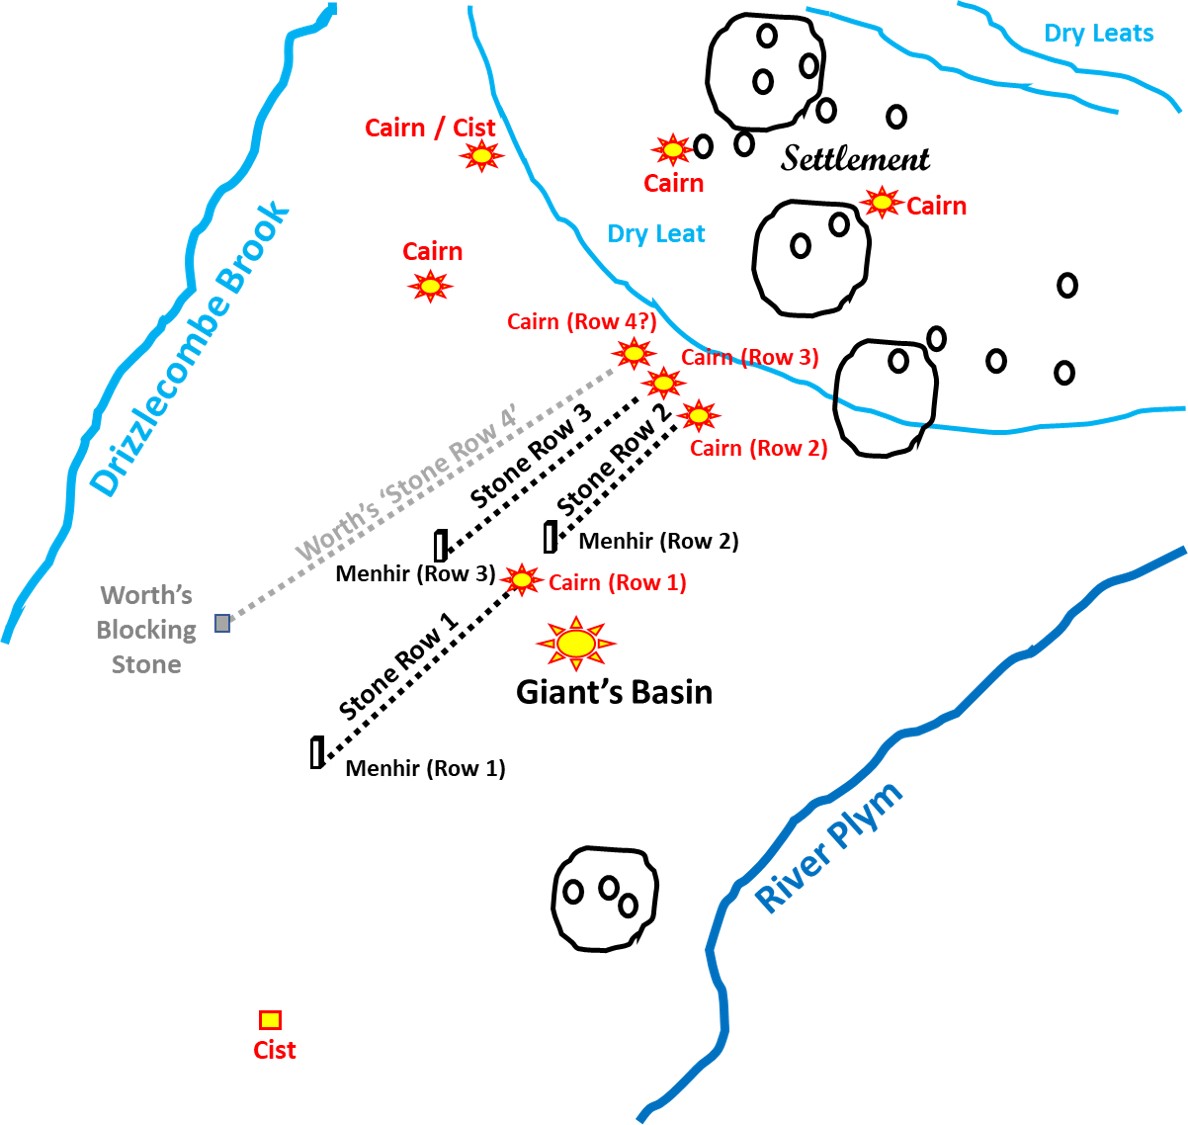
Drizzlecombe Antiquities and the Winter Solstice (Sunset) Menhir / Stone Row shadow Alignments
The Drizzlecombe stone rows, cairns, cists and settlements have been recorded by many eminent Dartmoor observers such as William Crossing, Richard Hansford Worth, Jeremy Butler, Sandy Gerrard, Phil Newman, S.Probert and M.Fletcher amongst others. The antiquities are concentrated within a triangular area bounded by Drizzlecombe Brook, River Plym and a couple of dry leats (formerly used by the Tinners’ Mills at Eylesbarrow) which cross the south western spur of Higher Hart Tor. Worth describes them as as being “the most neatly arranged group on Dartmoor, with the possible exception of Merrivale” with Butler being a little more flamboyant stating they are “one of the most remarkable groups of stone rows and burial monuments on the moor”. Worth surveyed the site in 1889 (when only 21) and was believed to have been the first to do so but Jeremy Butler records that Lukis had surveyed them a decade earlier. The descriptions of the site in Worth’s Dartmoor and Butler’s Dartmoor Atlas of Antiquities – the South West are well worth reading as are those in the Dartmoor Historic Environment Record (HER).
This Bronze Age site was undoubtedly a very important ceremonial complex with three stone rows with terminating menhirs, over 20 cairns (some incorporating cists) and at least half a dozen enclosures with associated hut circles. The only thing missing from the site is a stone circle ! Alongside all the aforementioned artefacts, there are three features of the site which have fascinated the author for a number of years: firstly, at the Winter Solstice, the shadows of each of the three menhirs from the setting sun provide an alignment with each of the three stone rows; secondly, the contemplation by Worth that a fourth row may have been planned for the complex and thirdly, why two of the three menhirs are orientated in line with their rows, with the third one being set at right angles. Of course, the answer to the perpendicular orientated menhir may have been as a result of its re-erection in 1893 by the Dartmoor Exploration Committee.
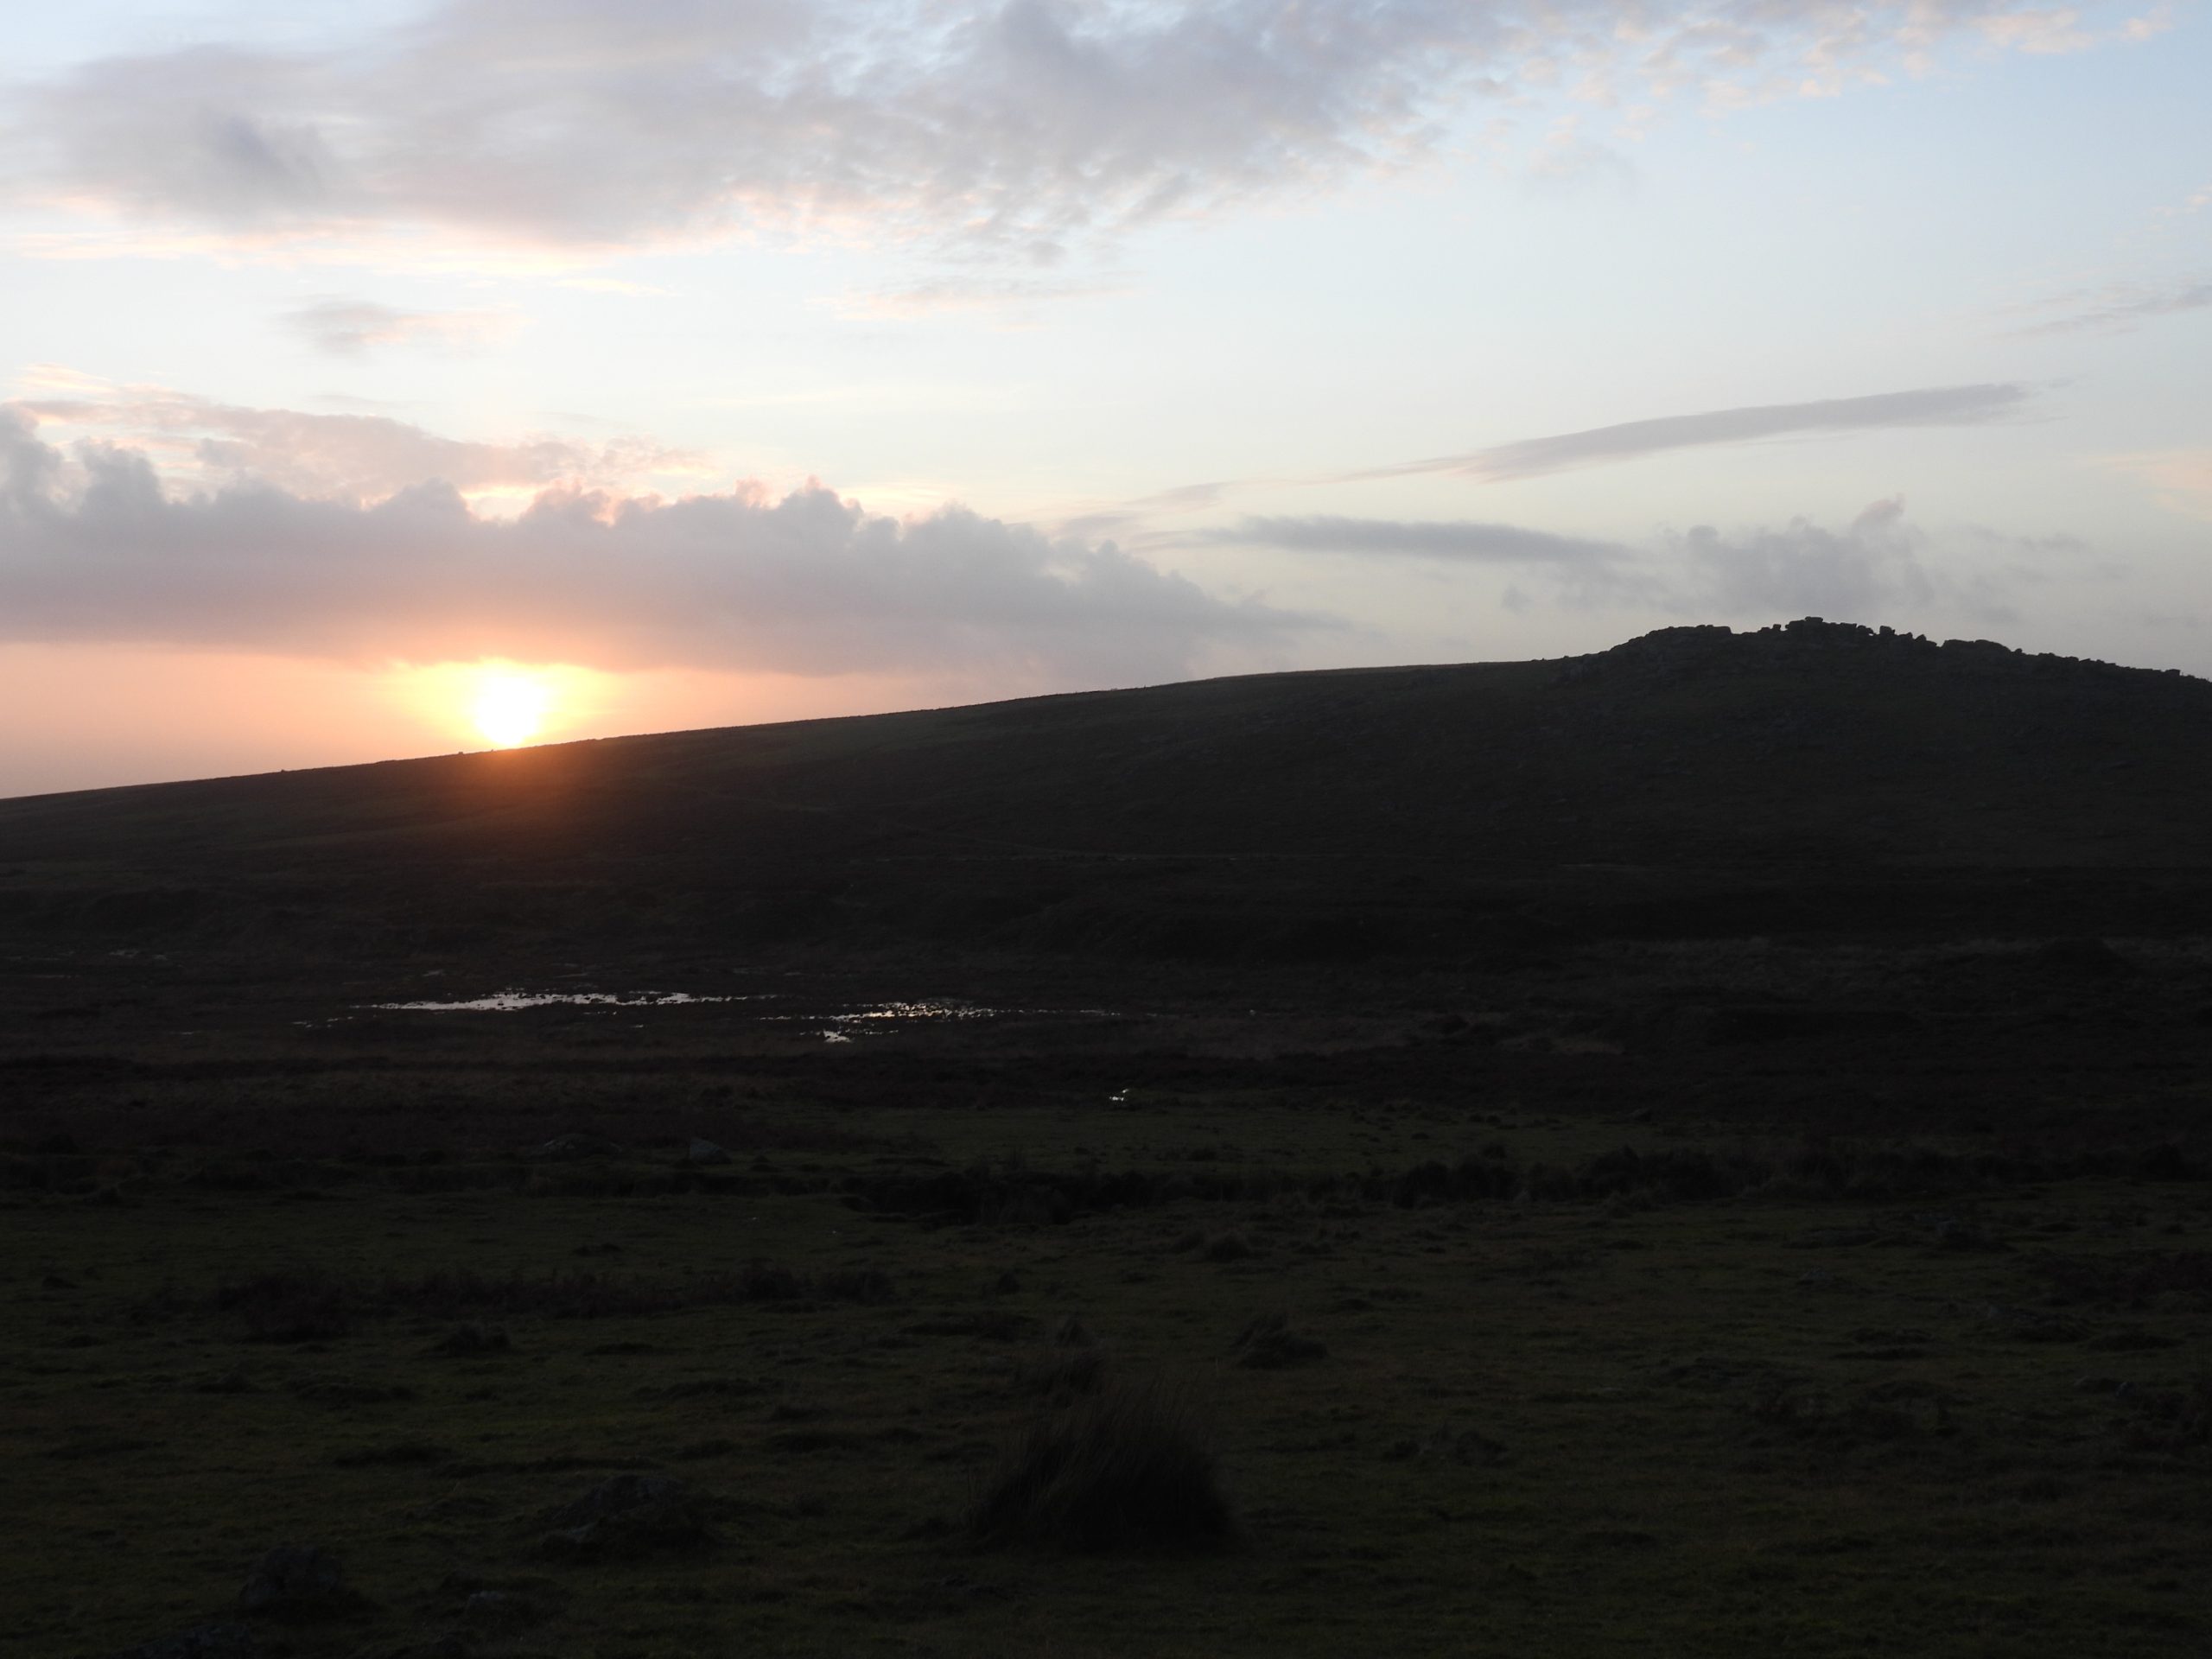
This post has been finally possible (after many years of trying) following the author managing to find some exceptional clear weather conditions at the site at the Winter Solstice in December 2022 in order to photograph the menhir / row shadow alignments.
Bibliography
Jeremy Butler, Dartmoor Atlas of Antiquities, The South West – Map 49 (items 13 and 19)
Richard Hansford Worth, Worth’s Dartmoor, The Drizzlecombe Group (pages 209-212)
Jack Walker, Dartmoor Sun, Chapter Five, Drizzlecombe (pages 52-56)
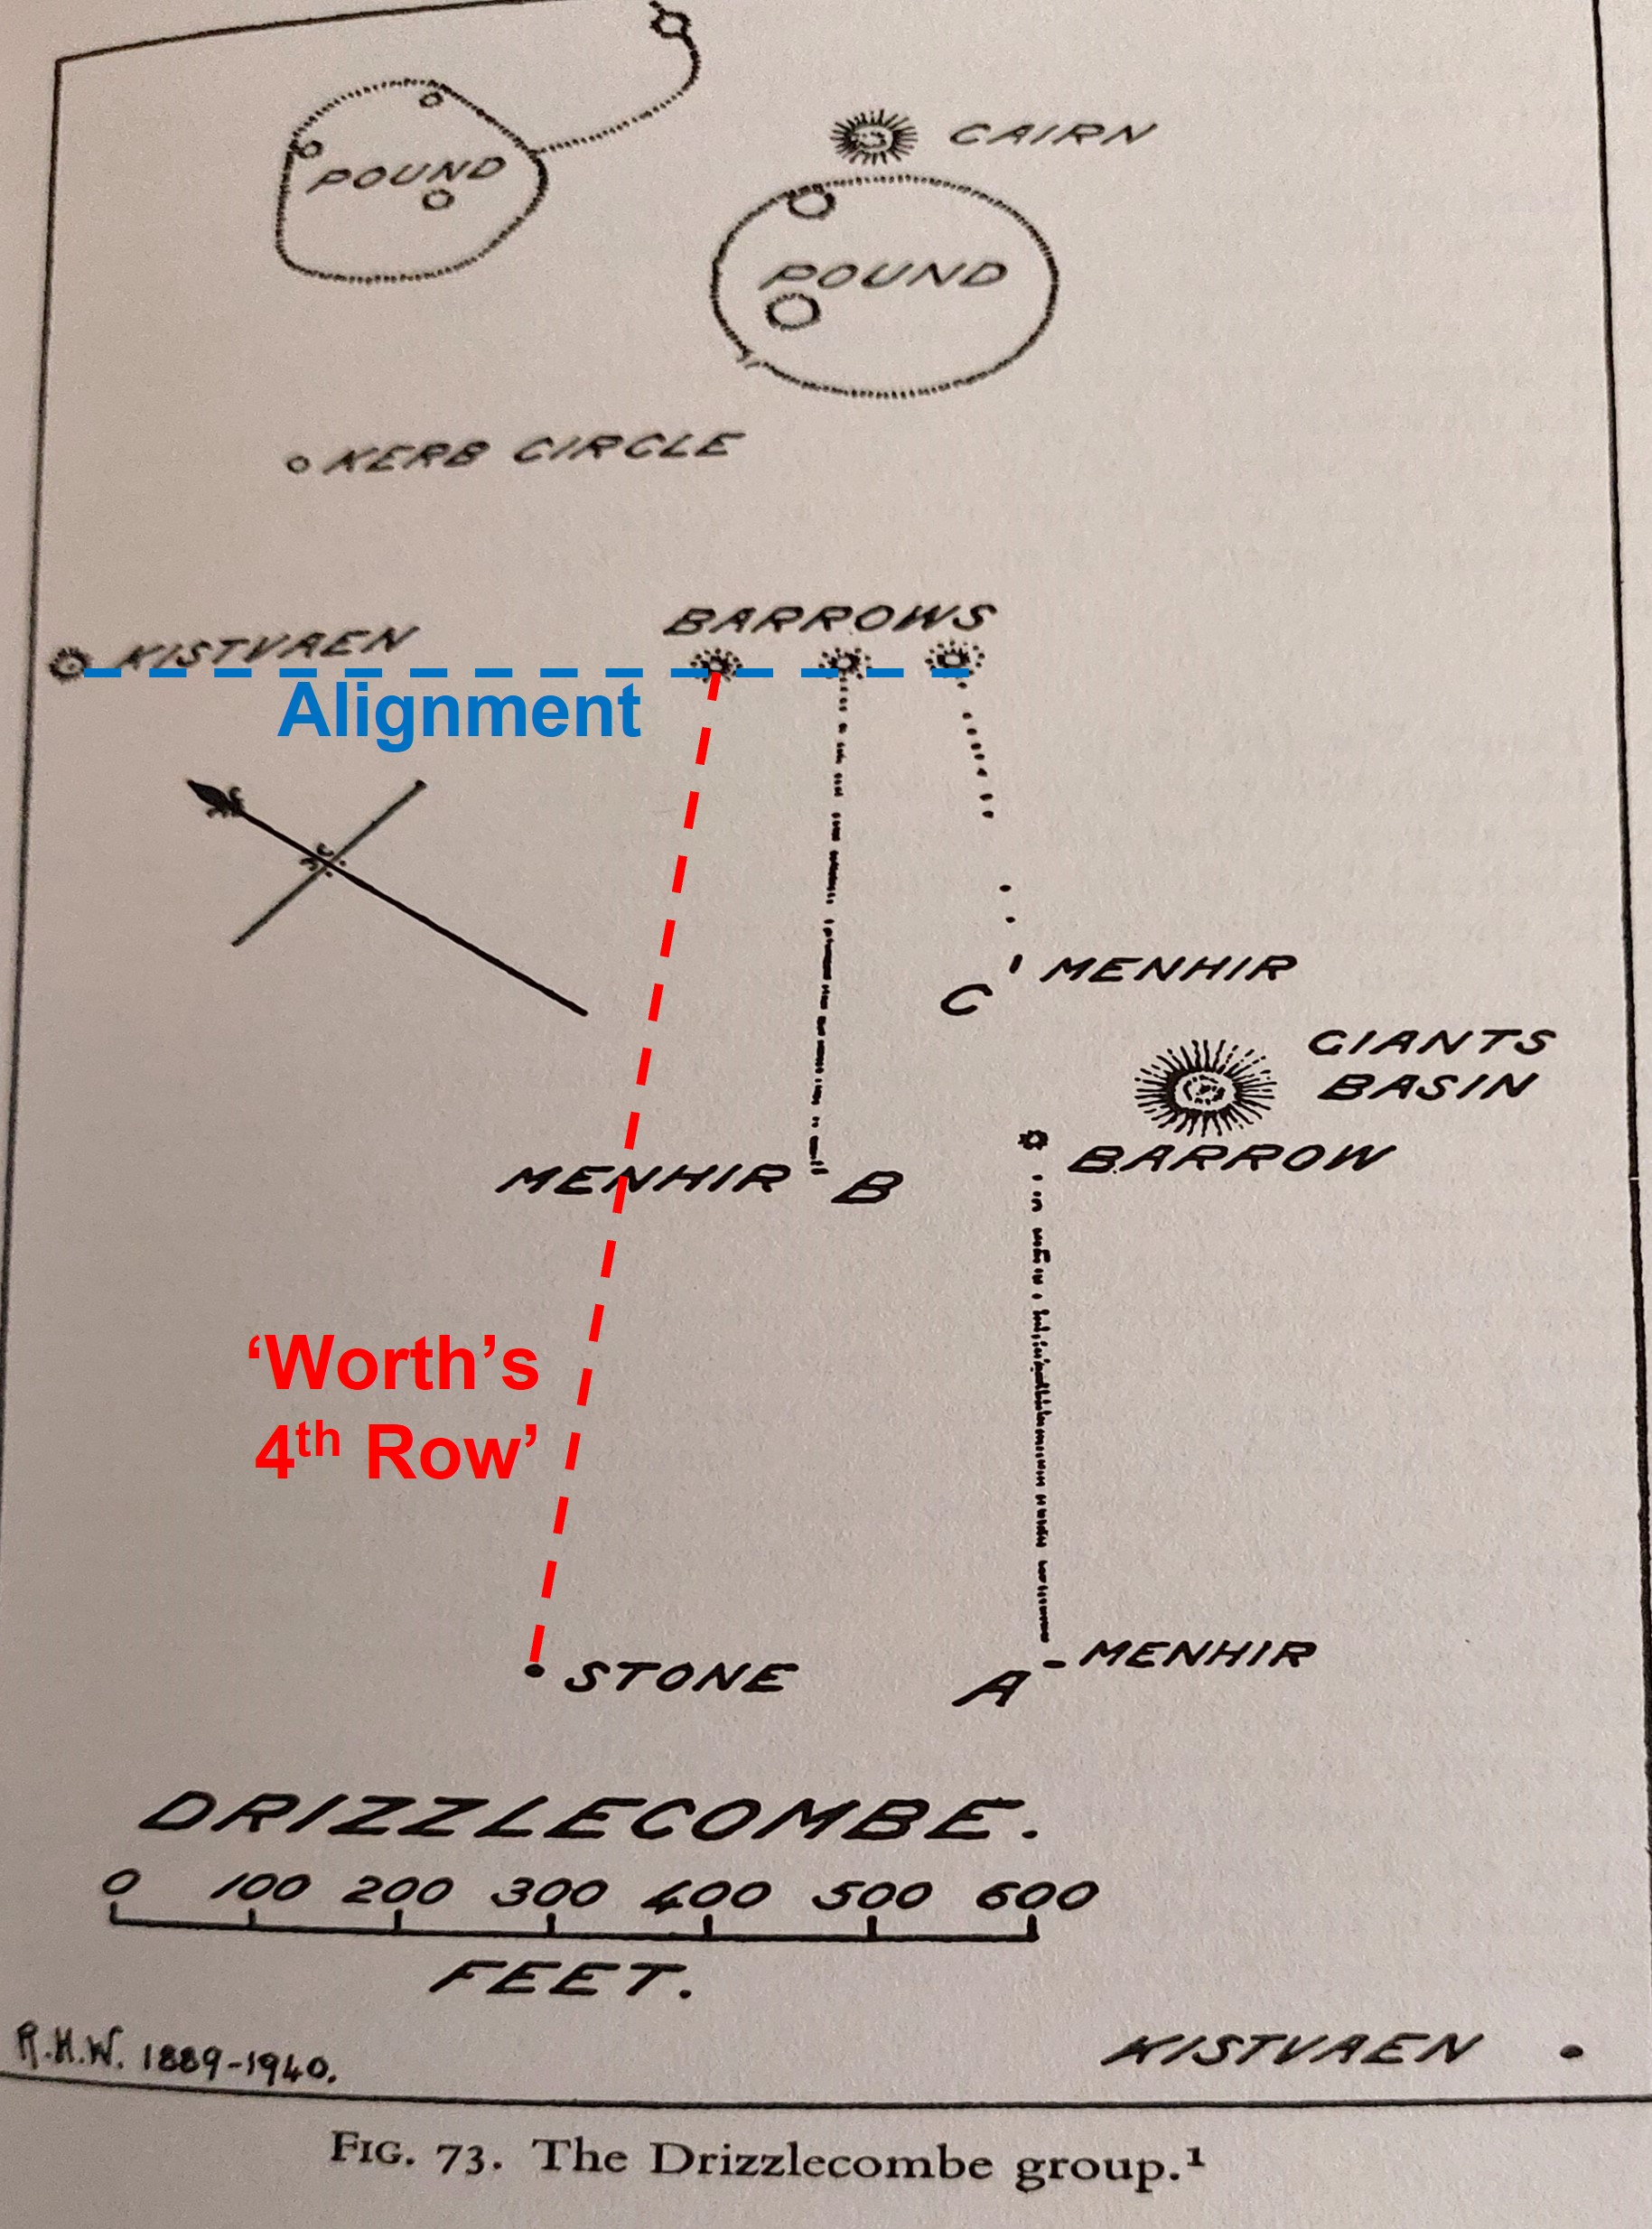
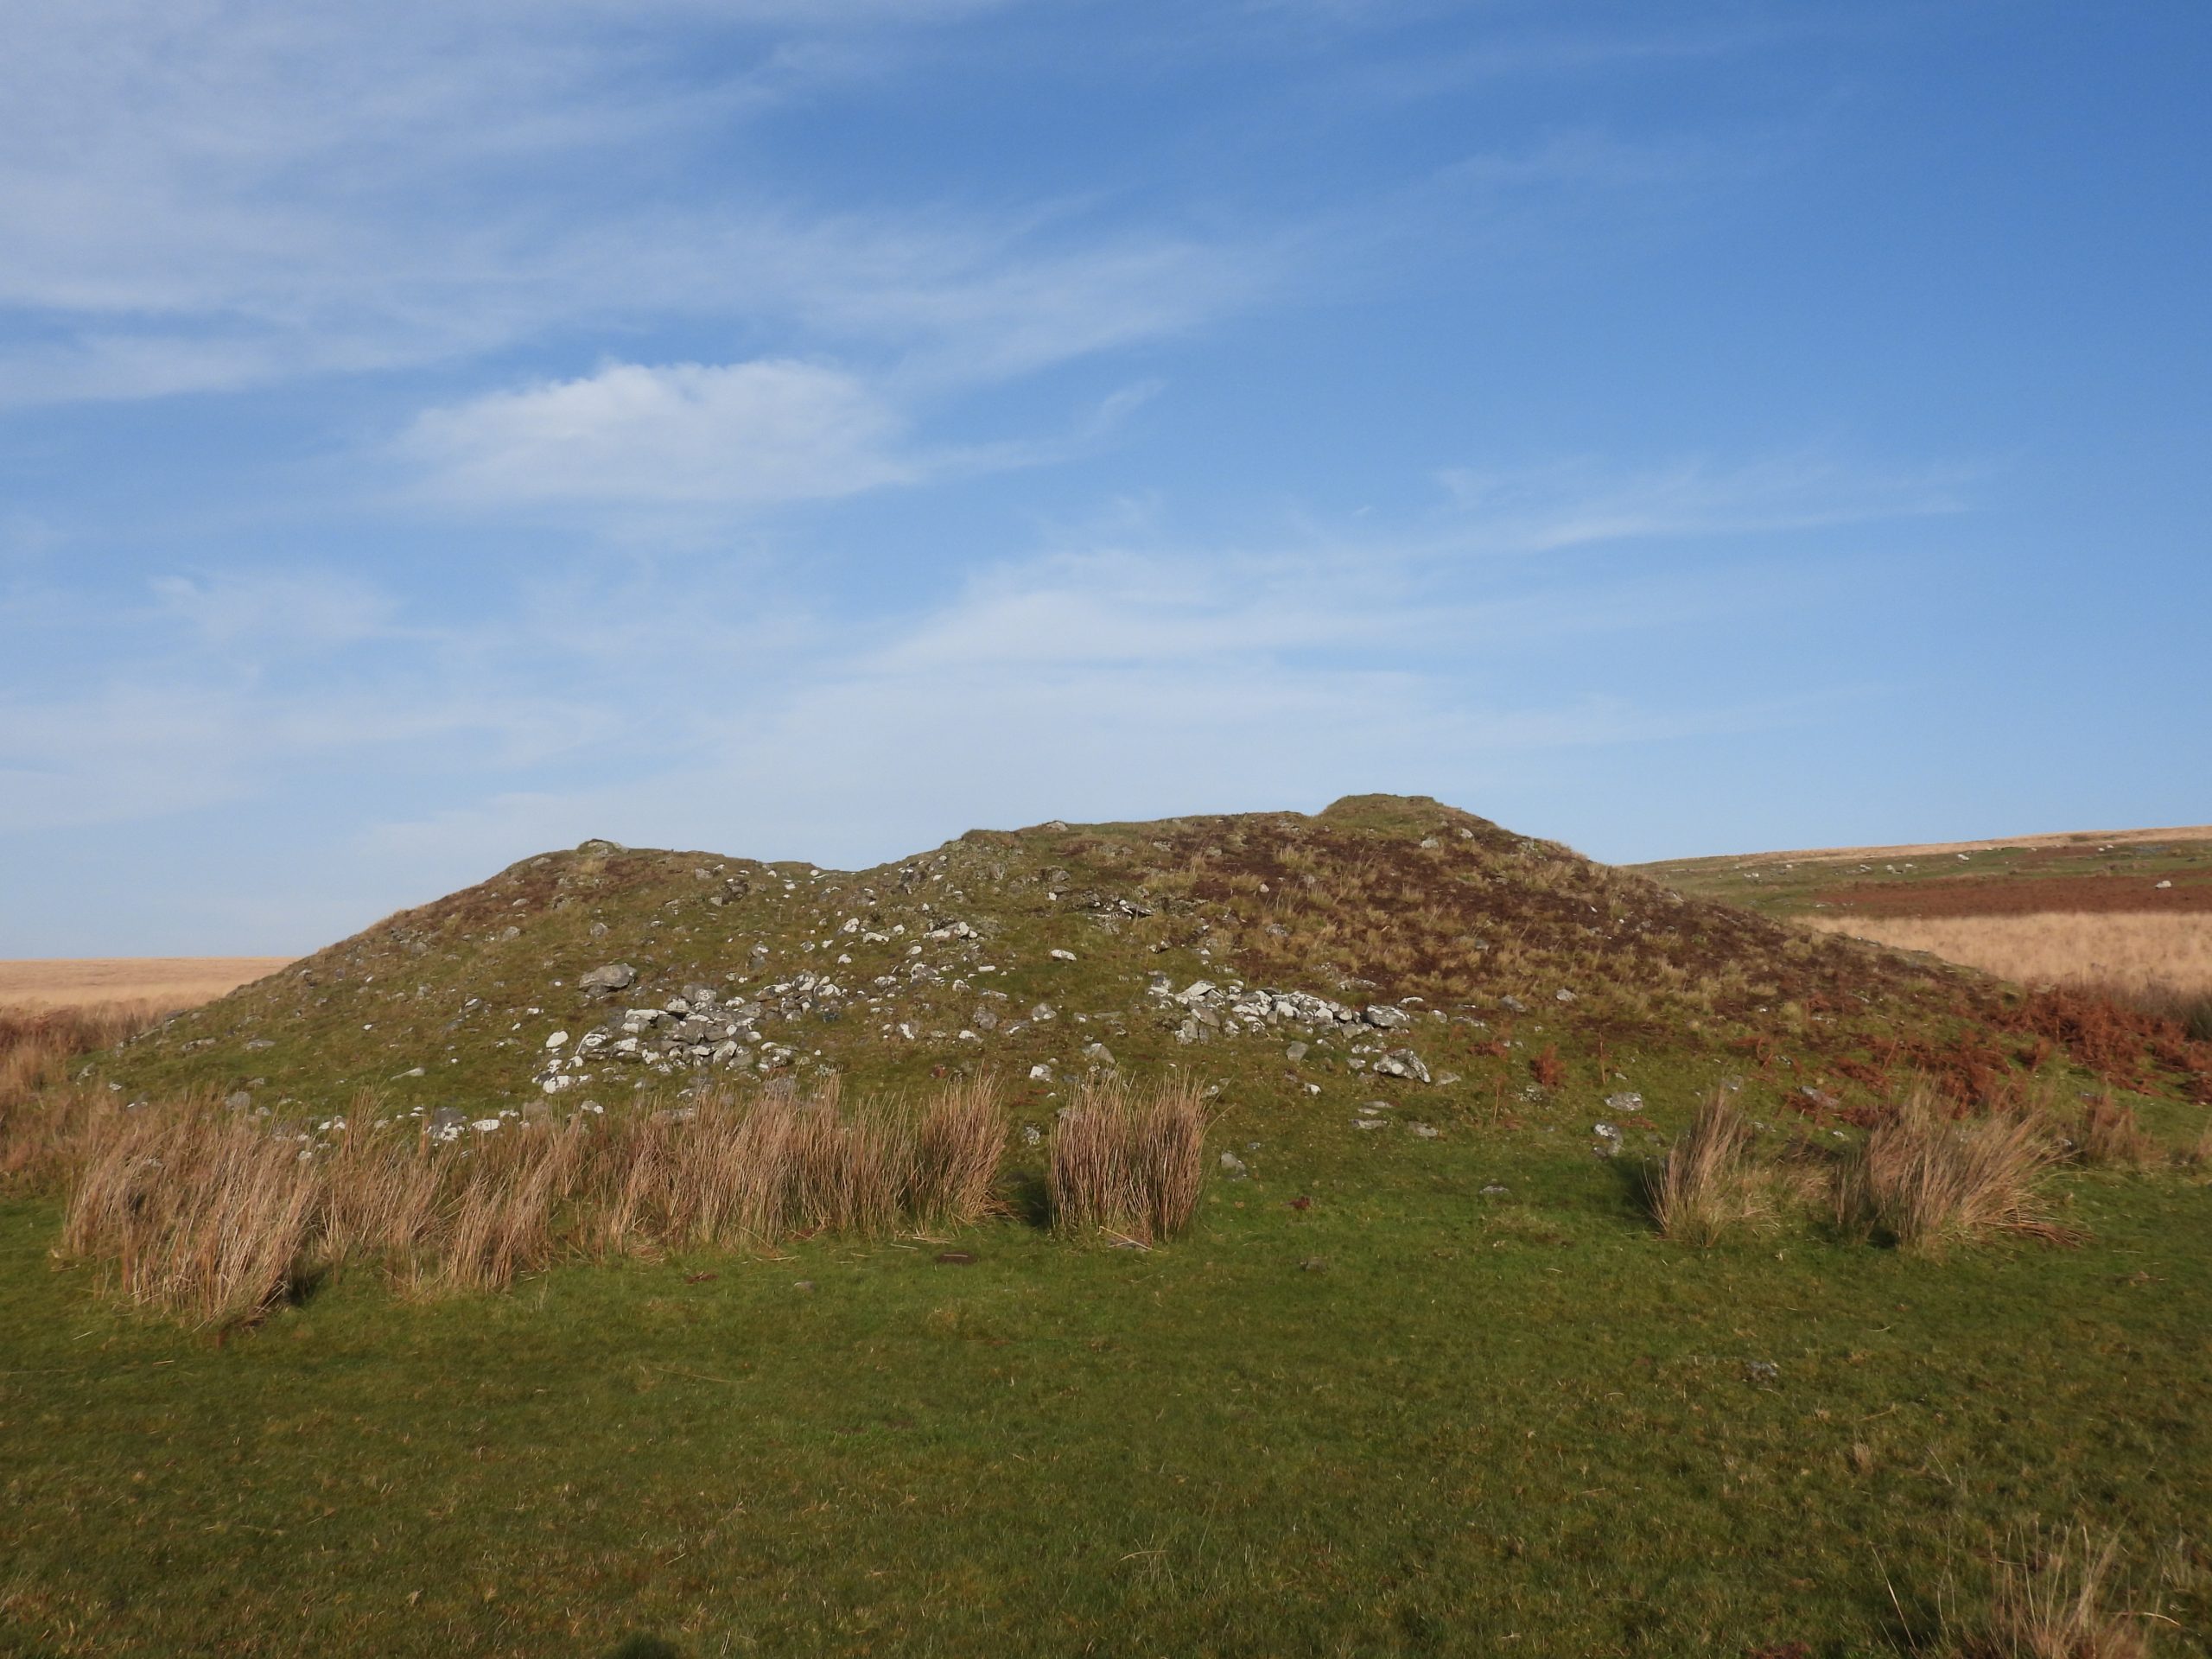
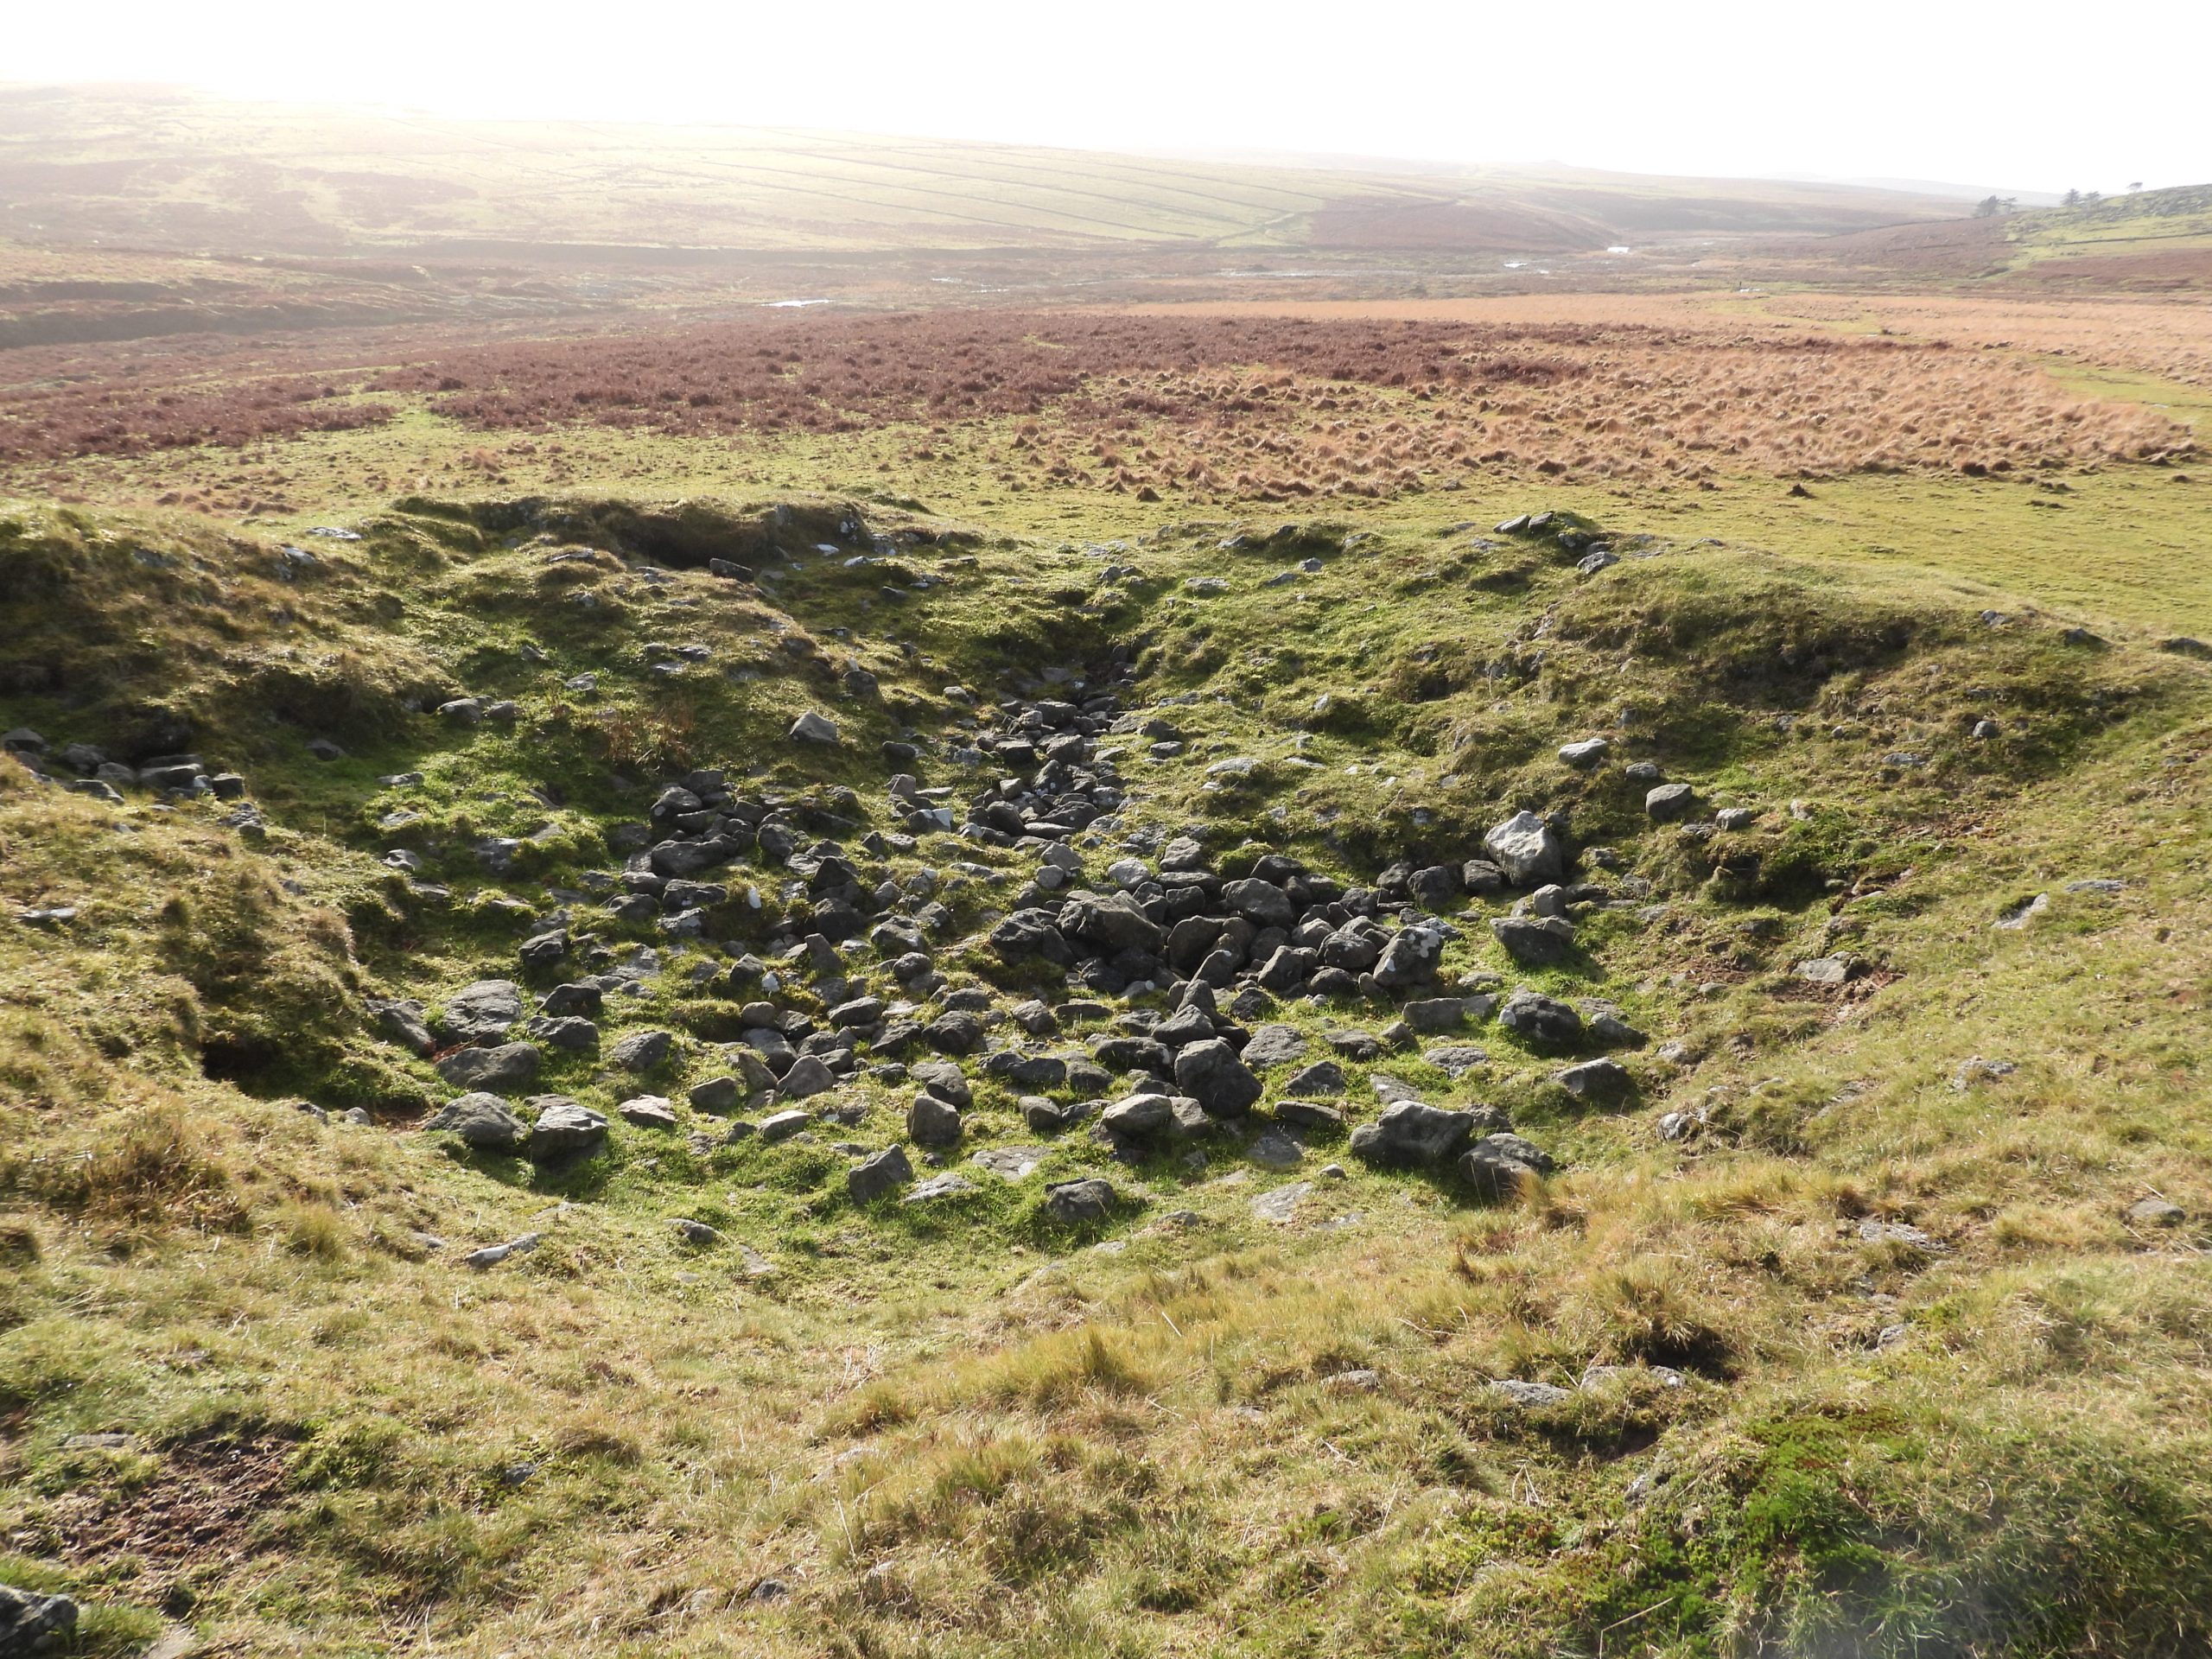
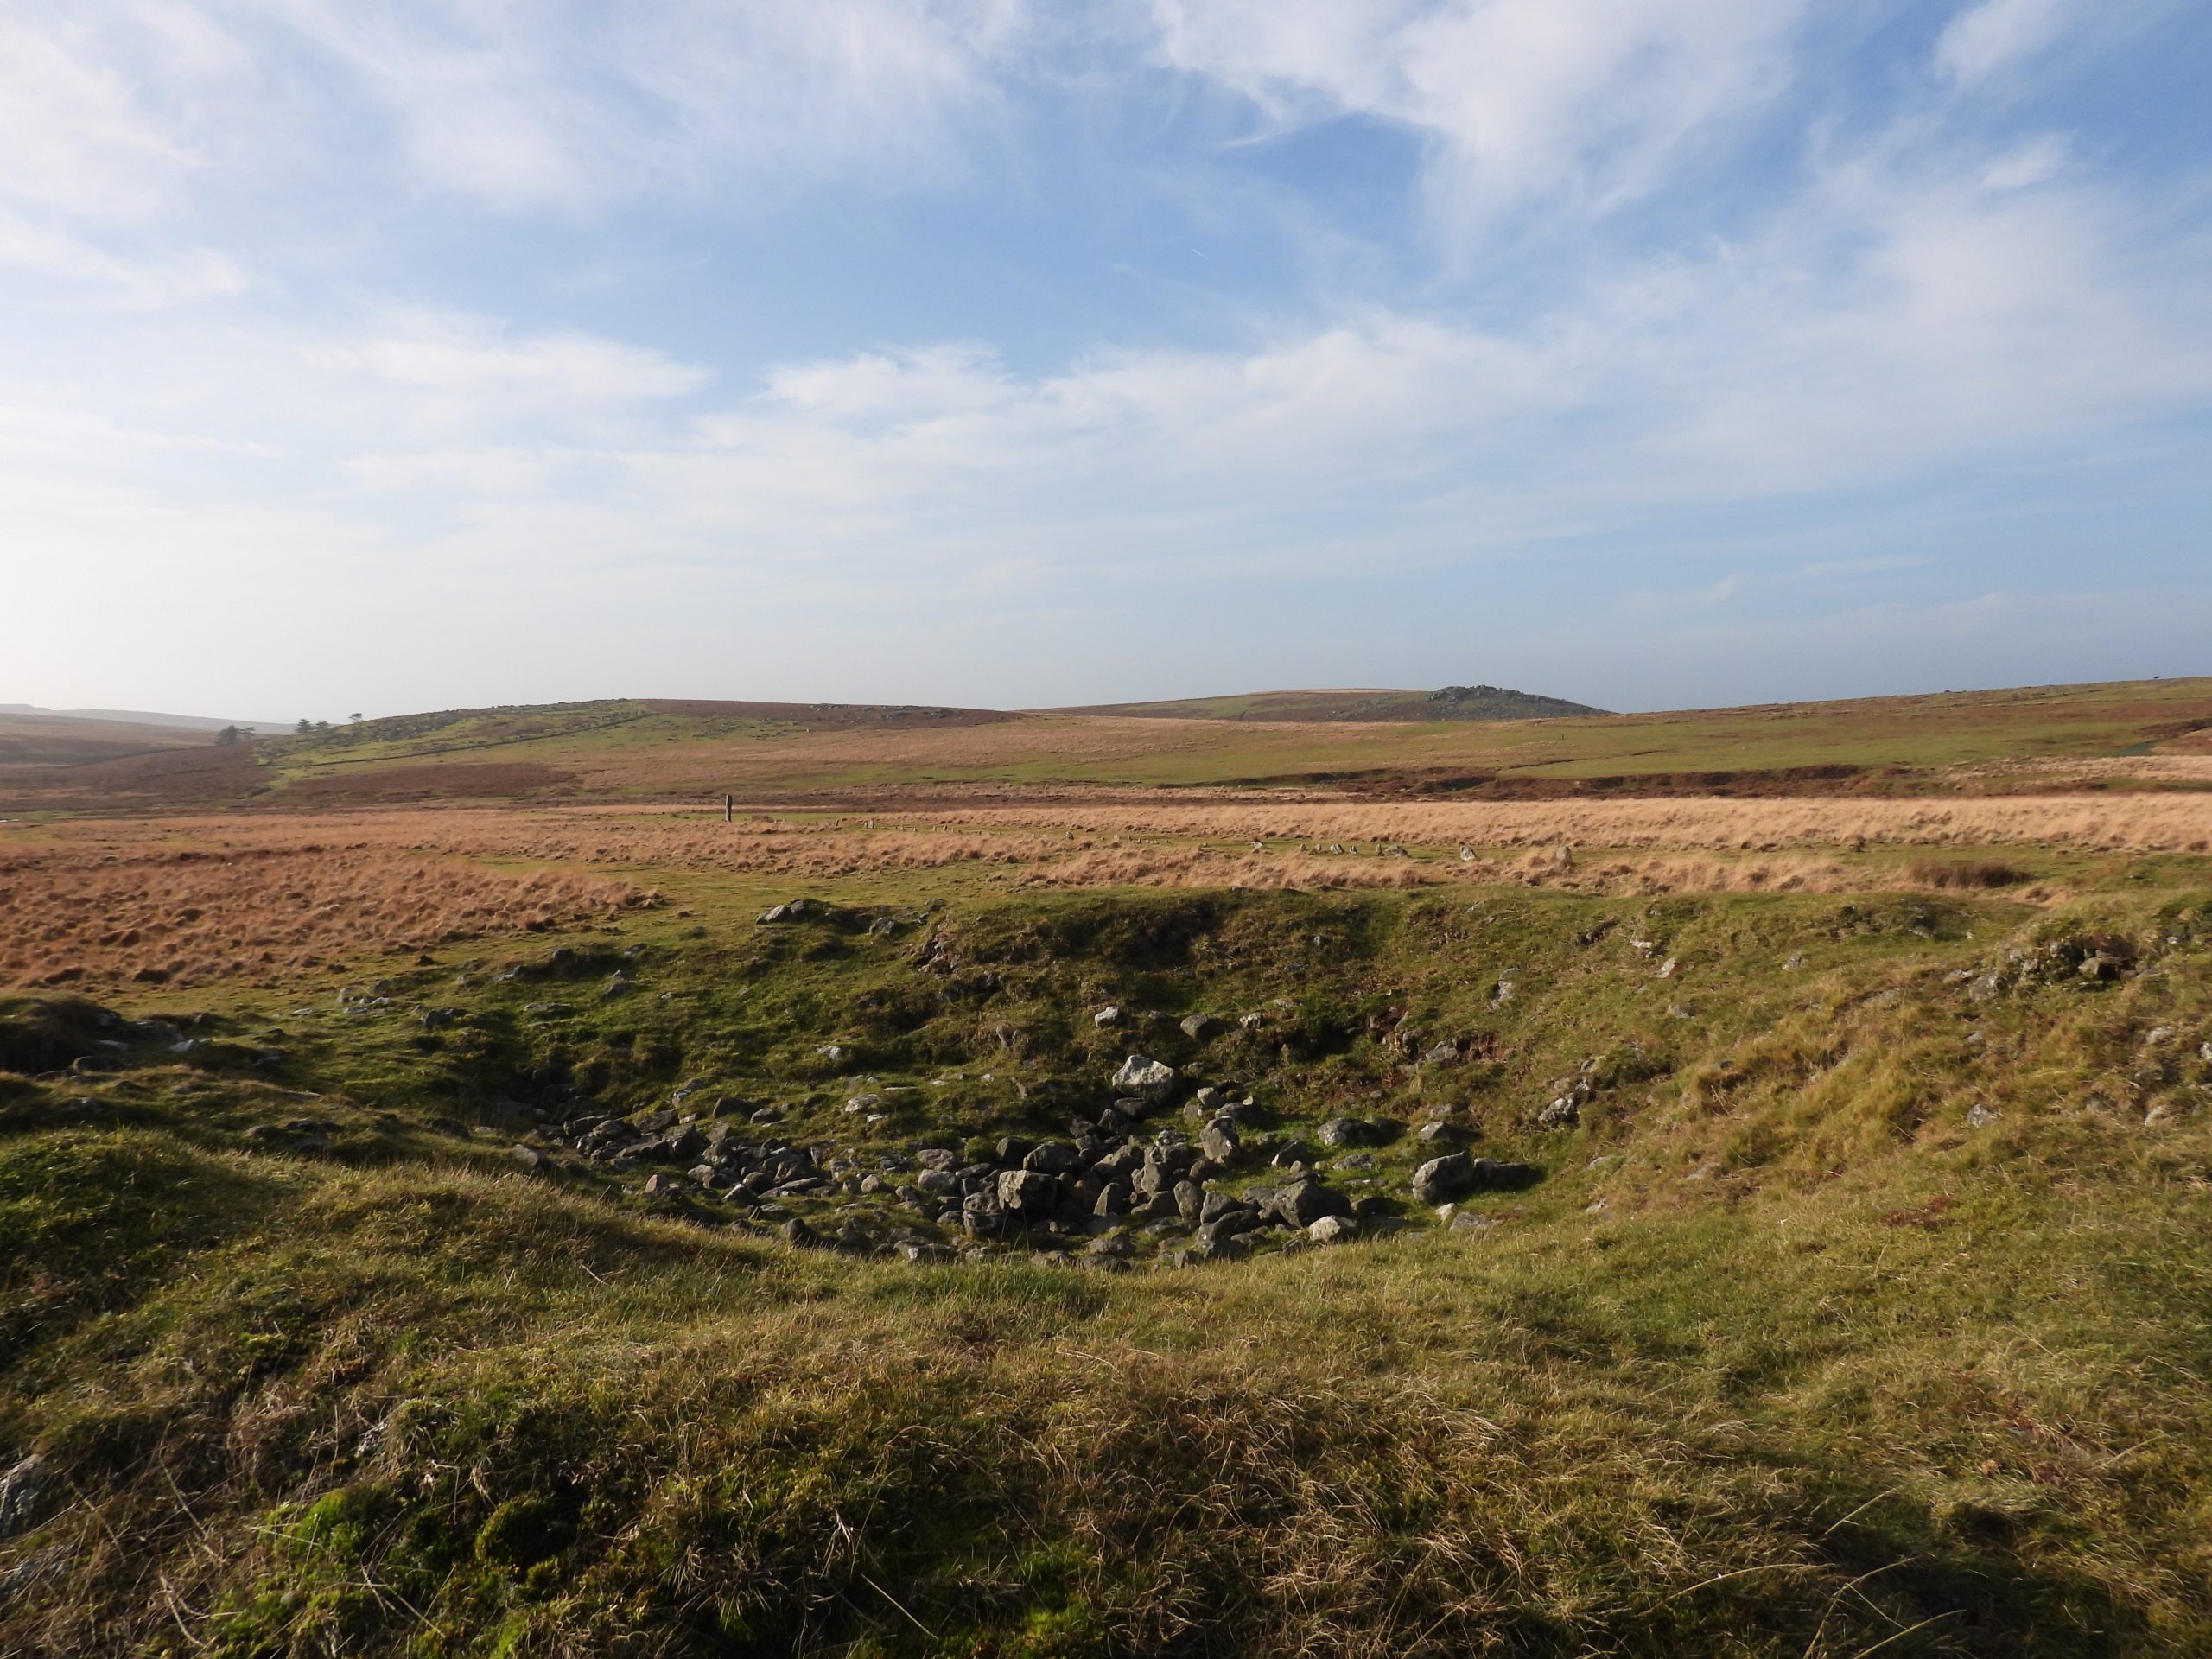
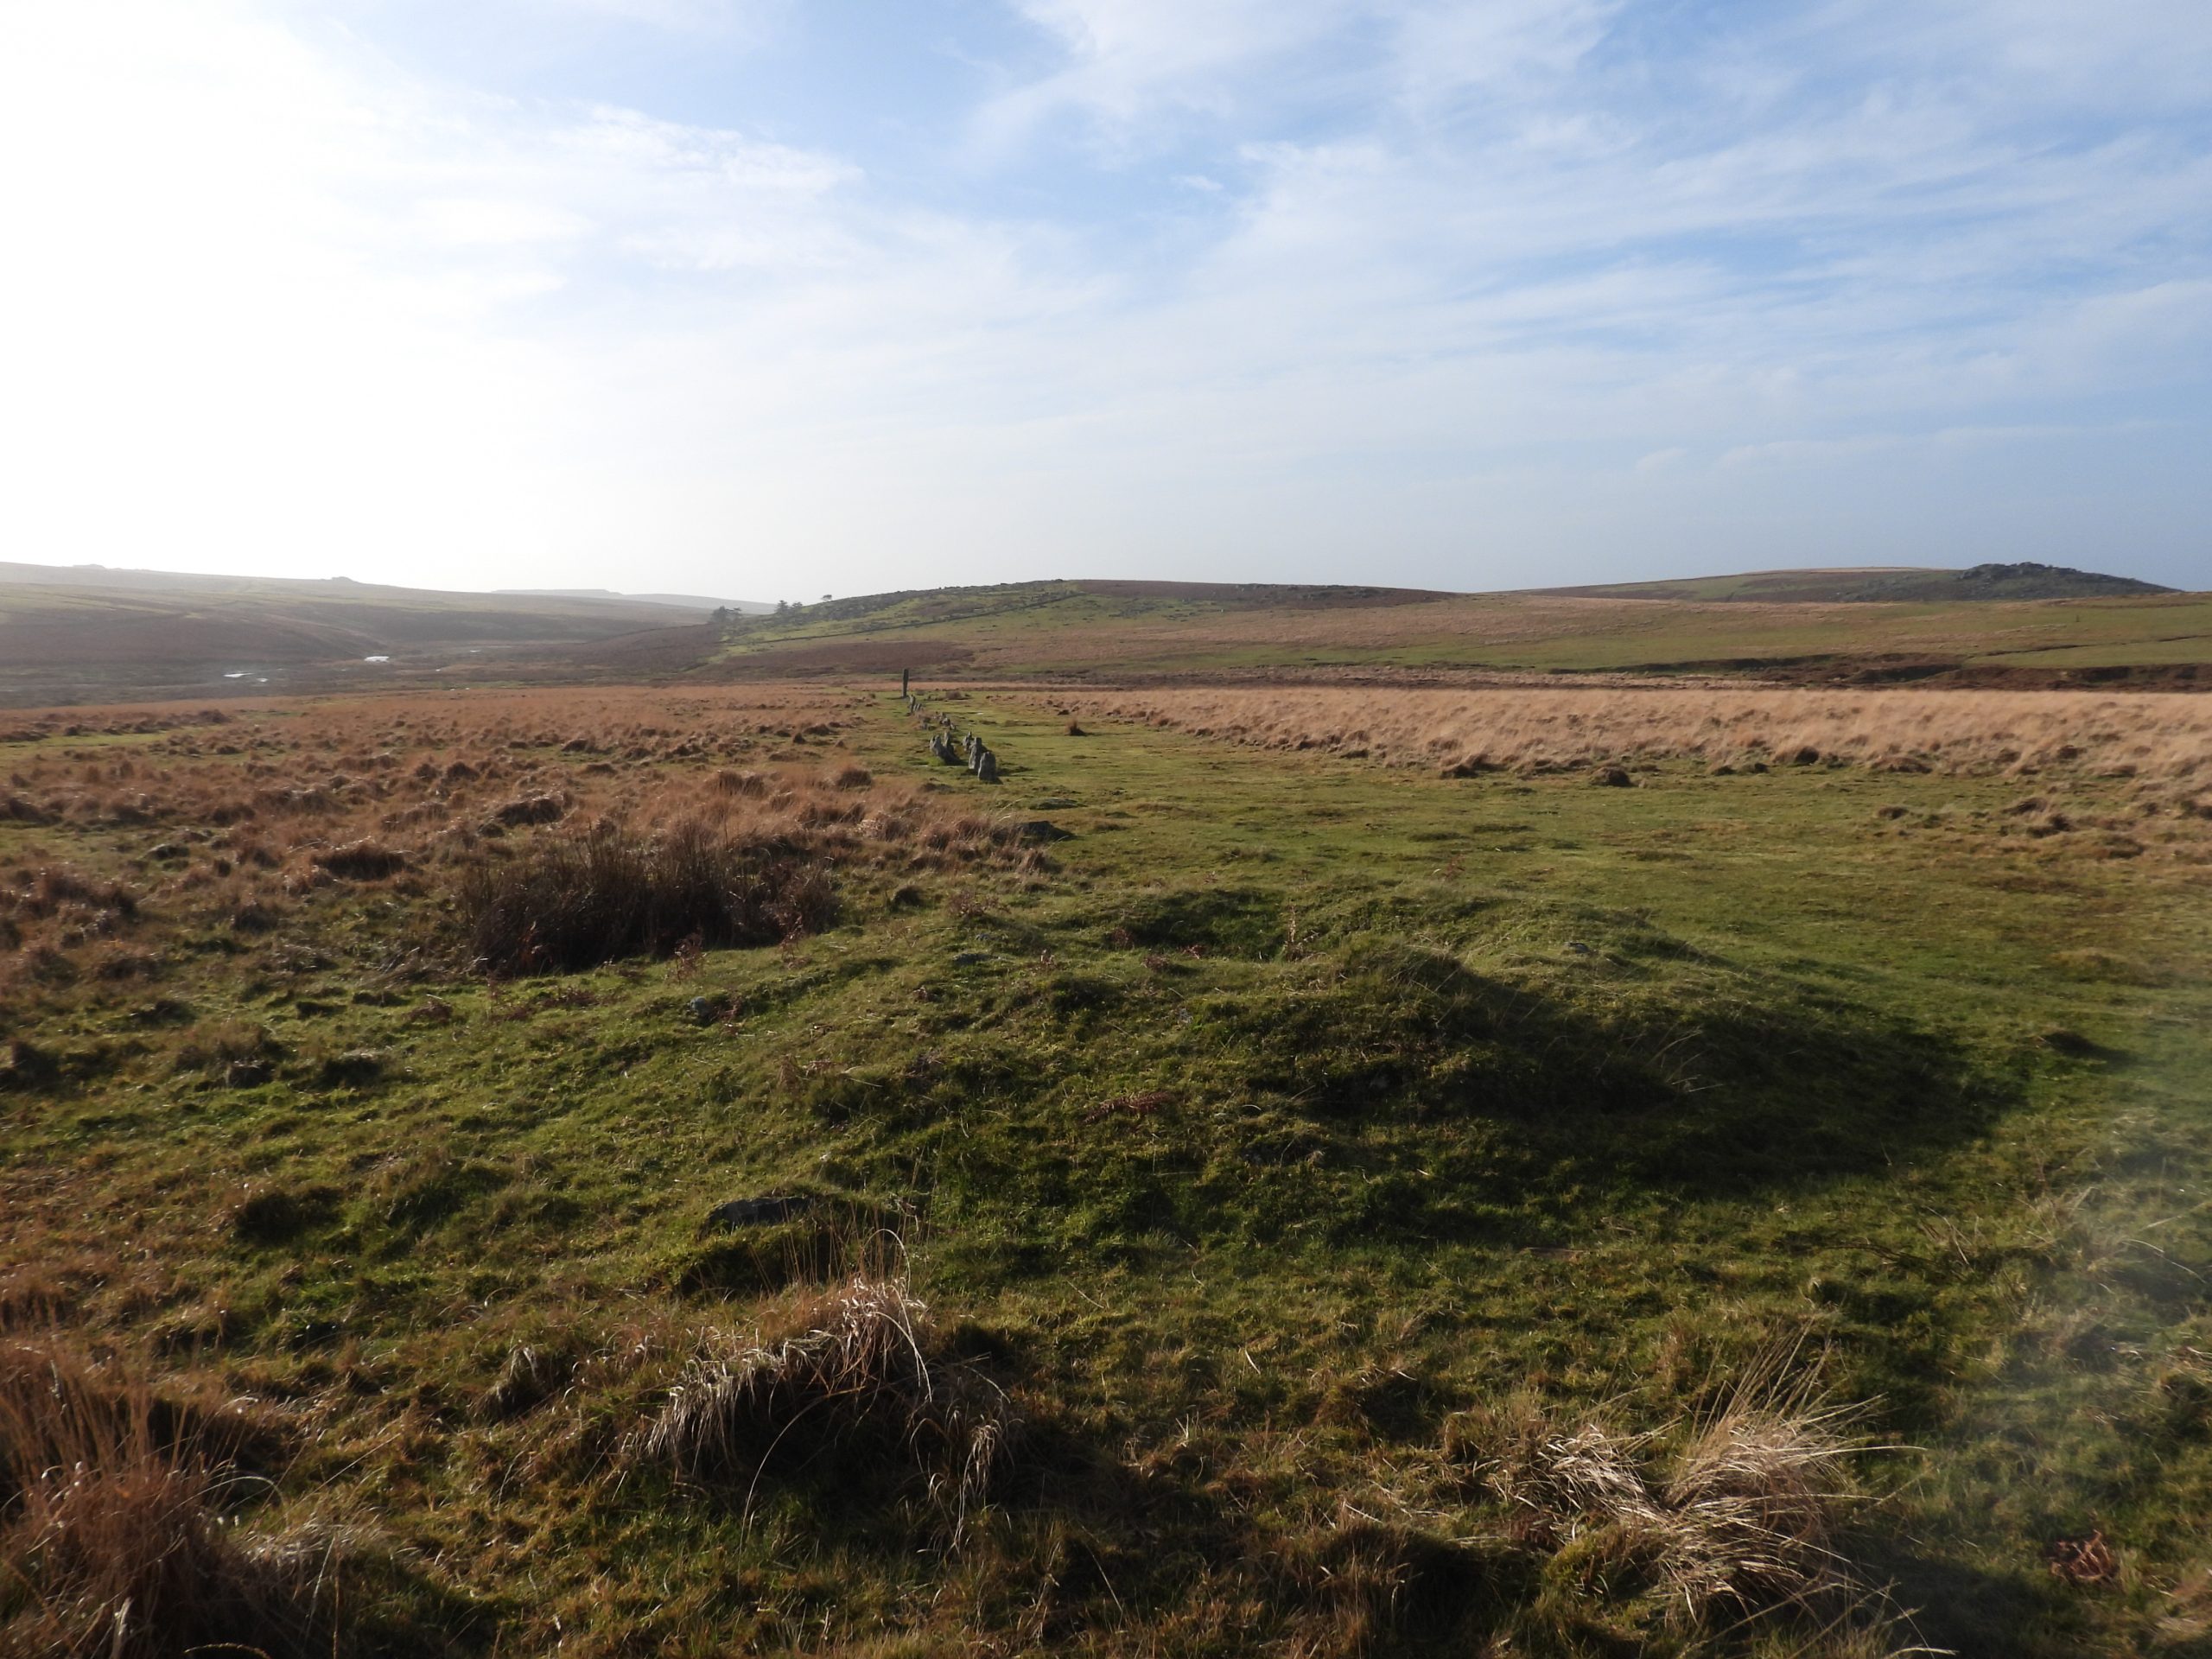
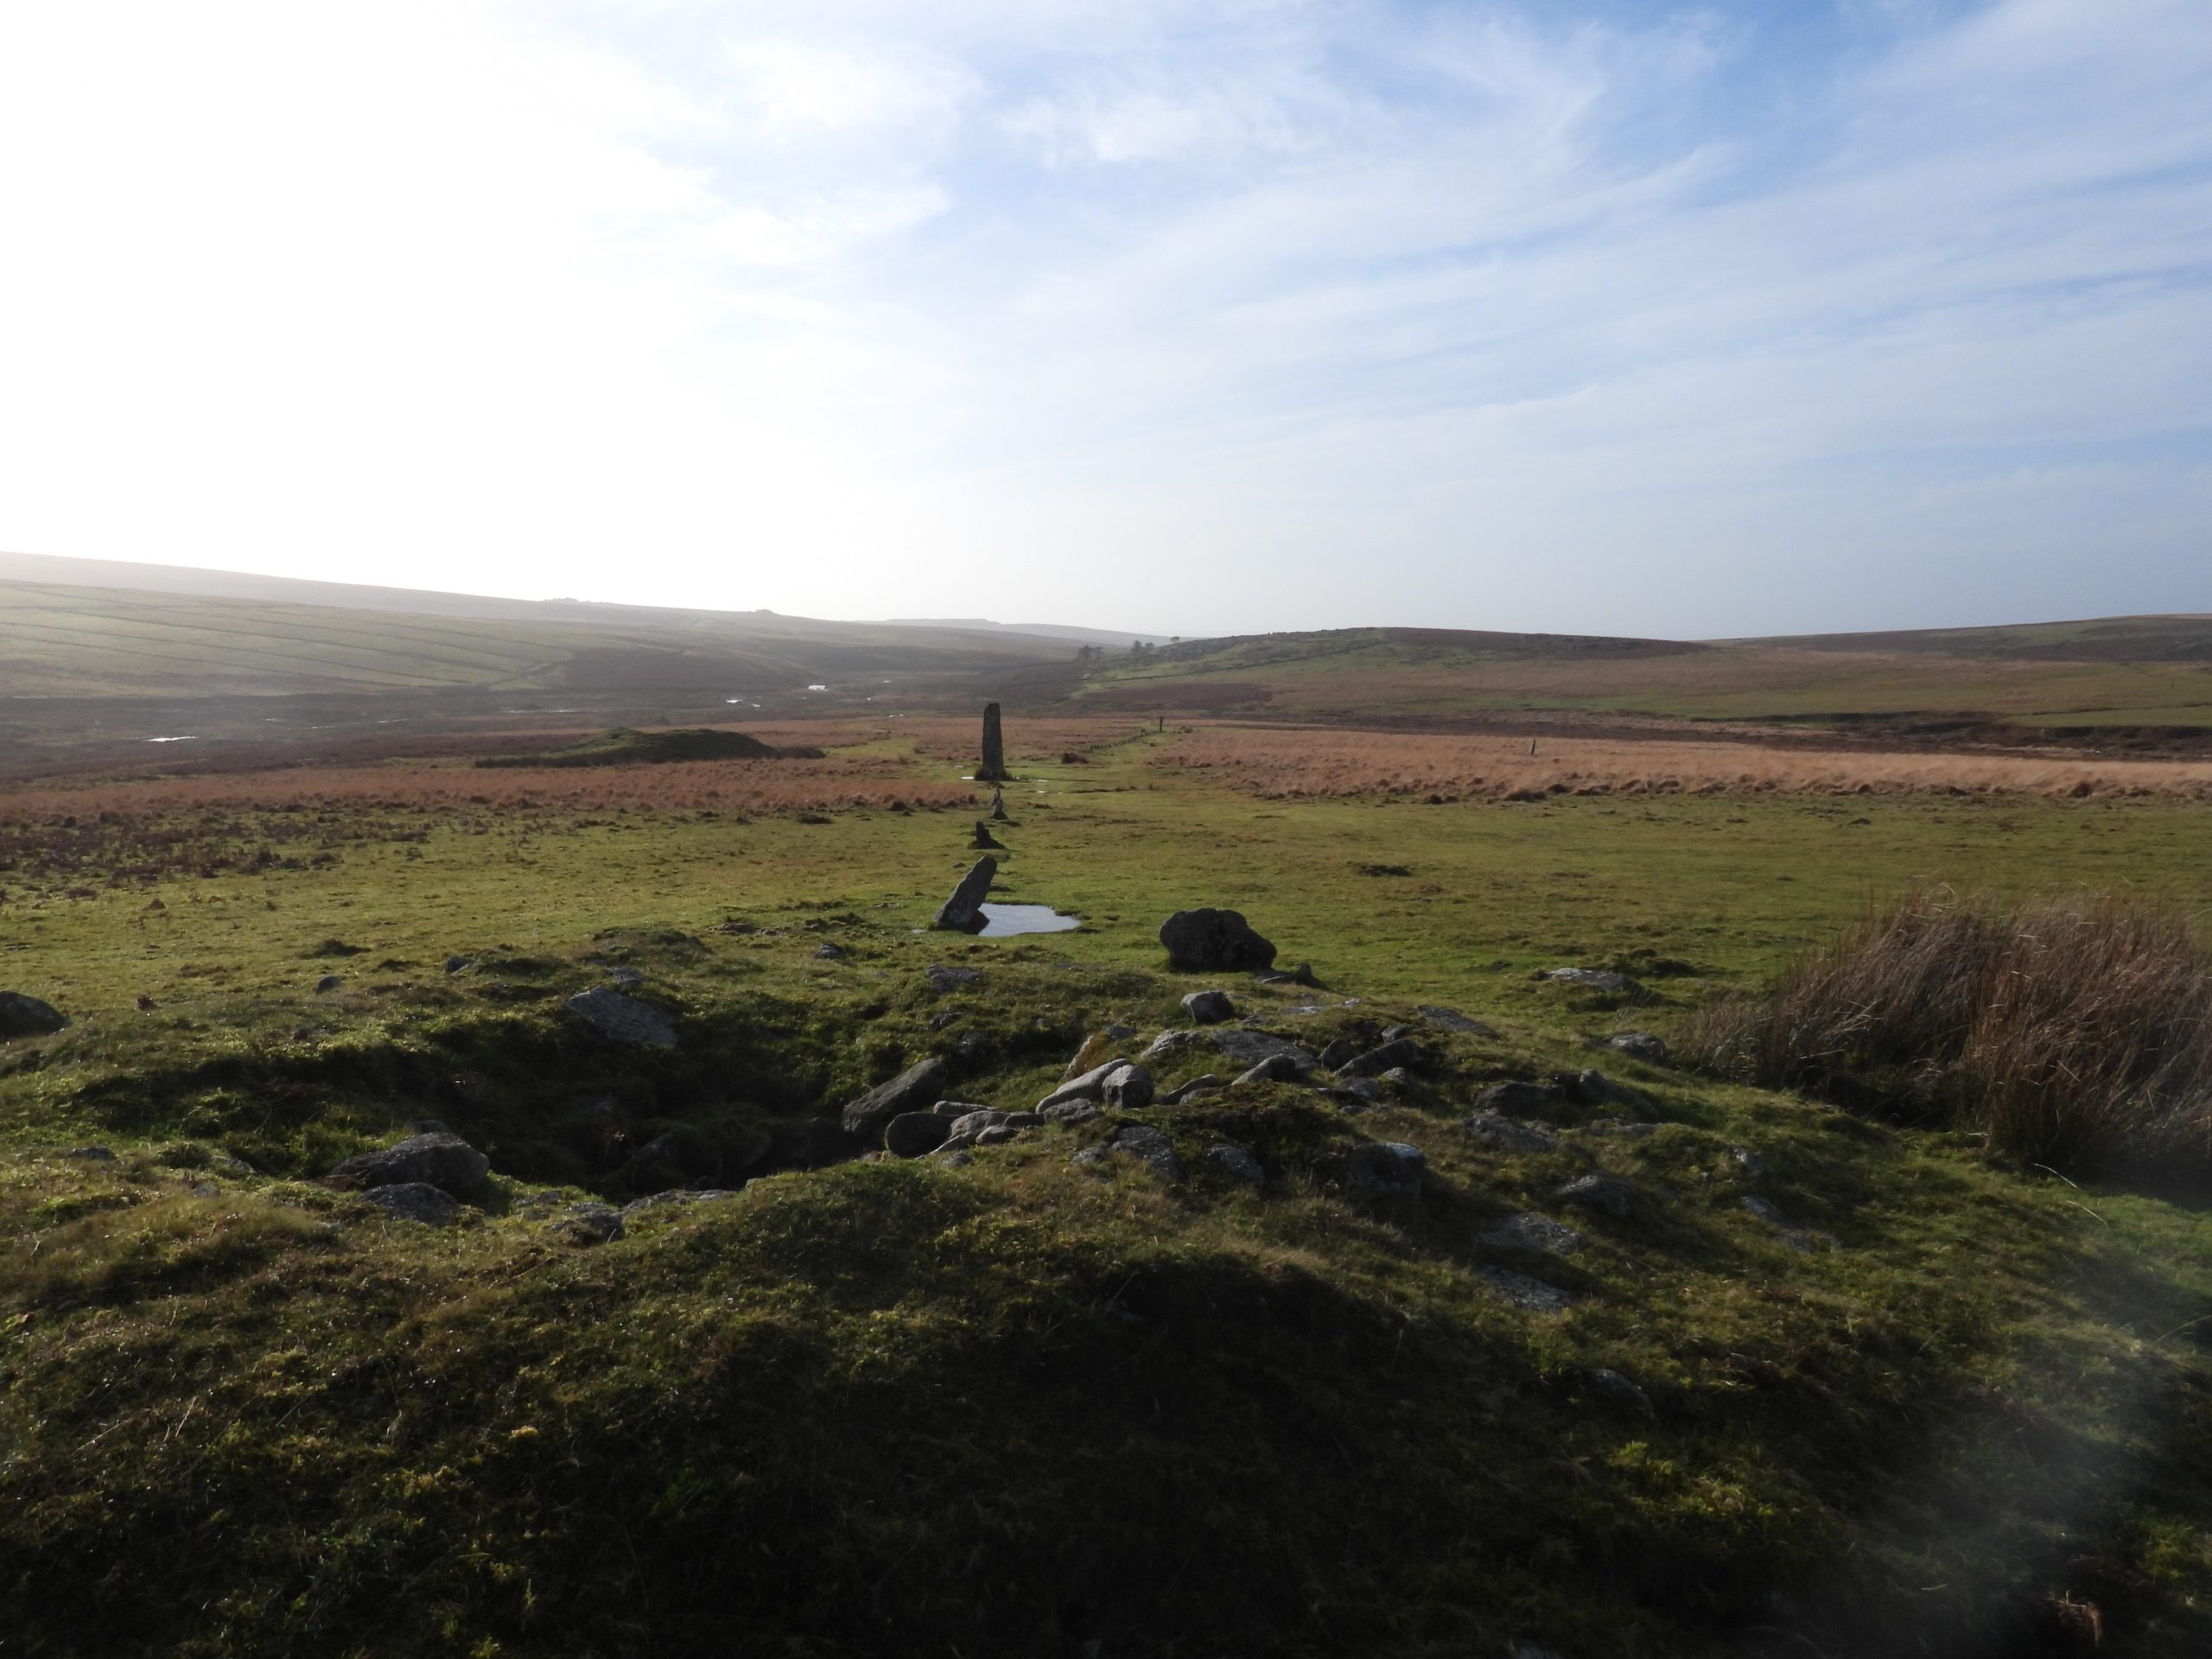
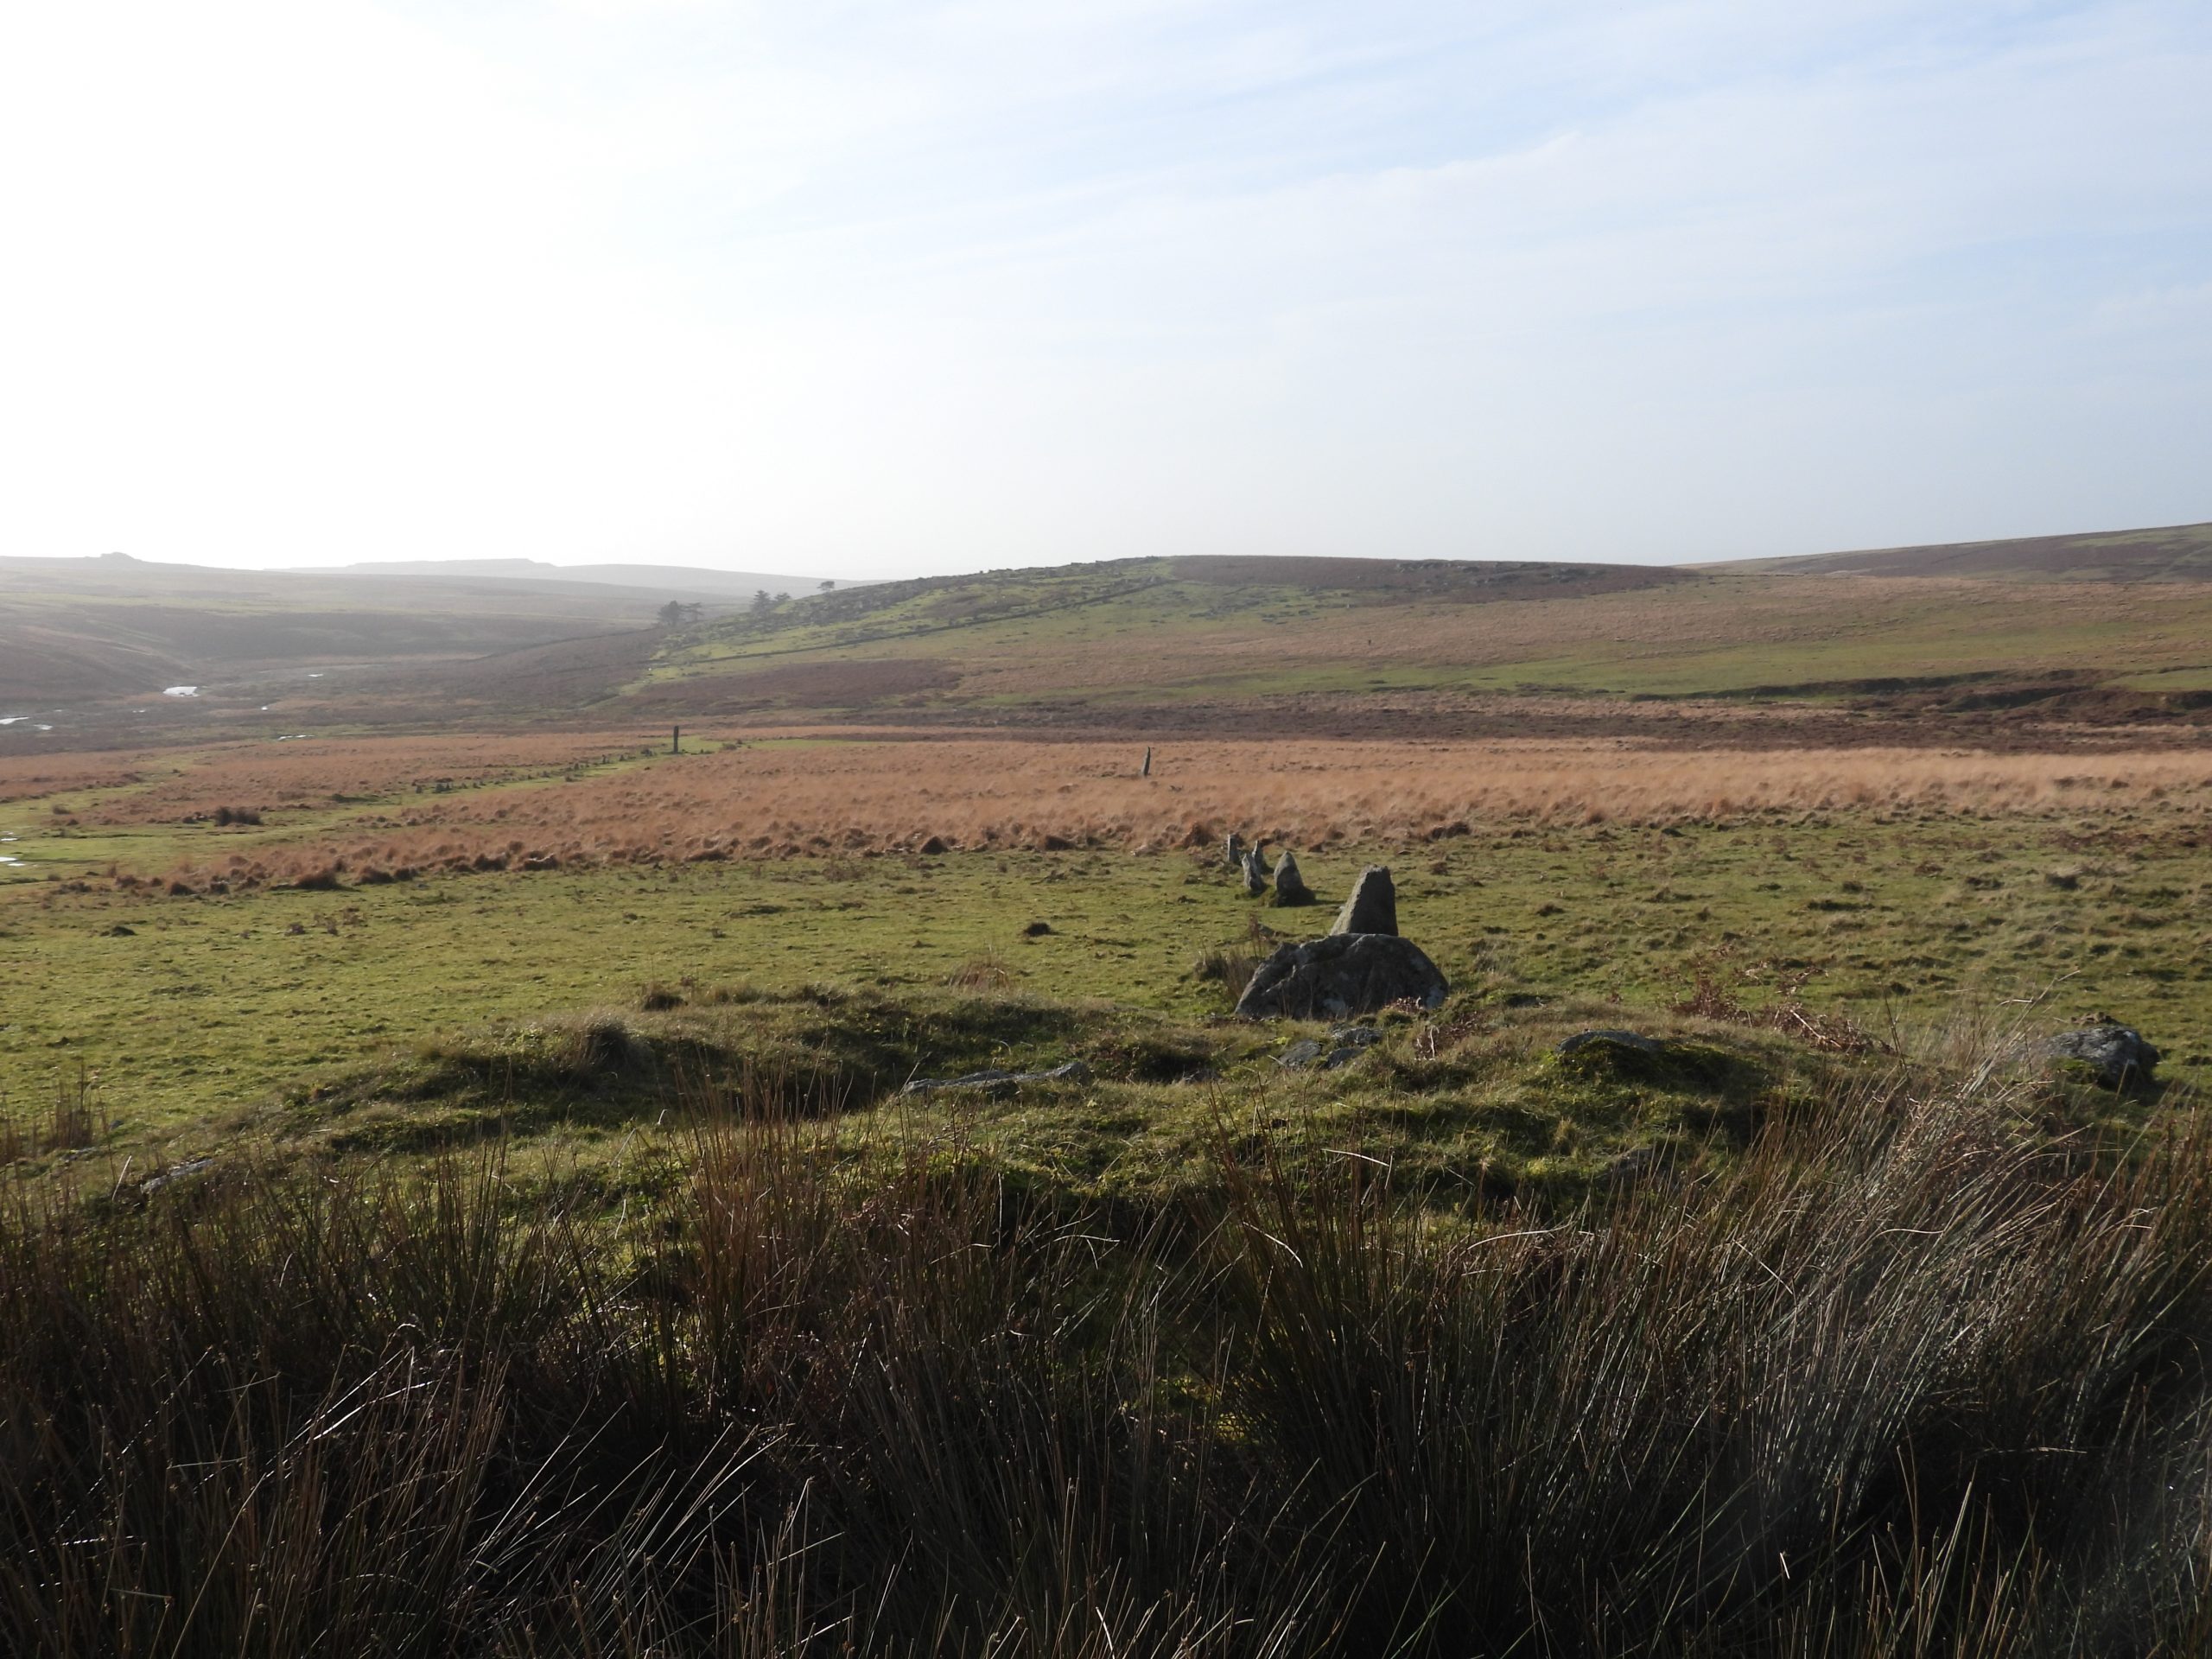
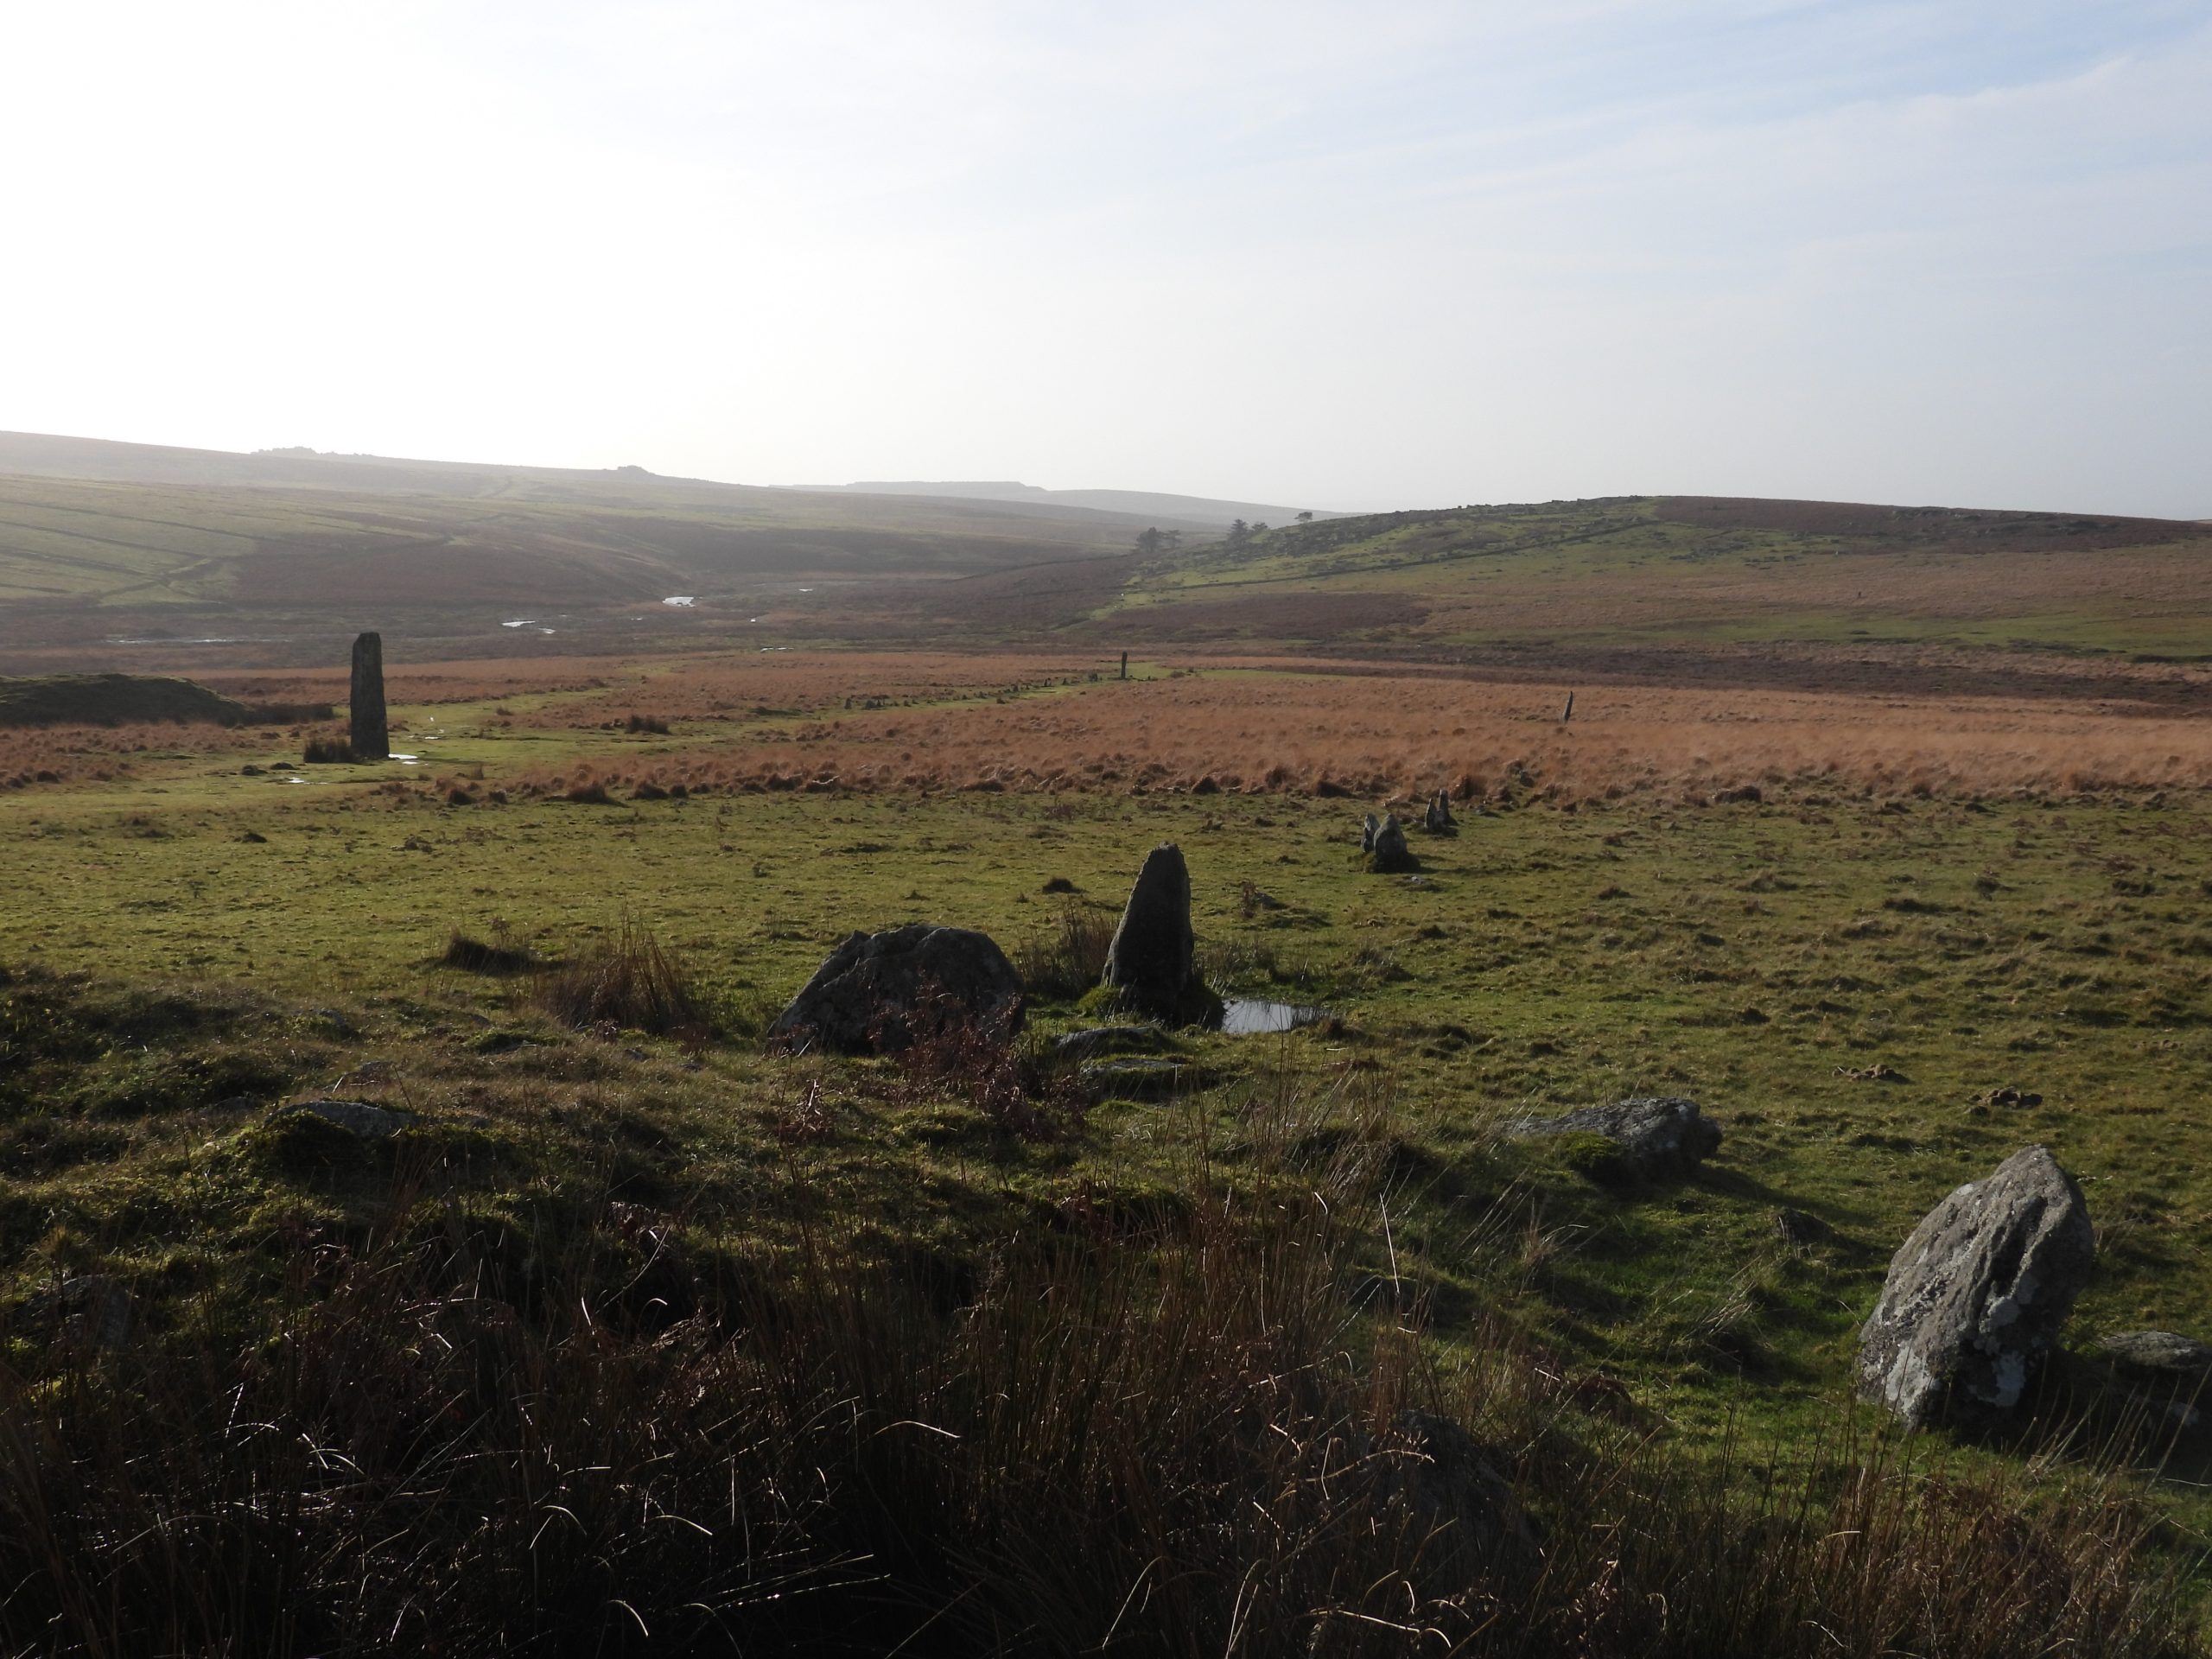
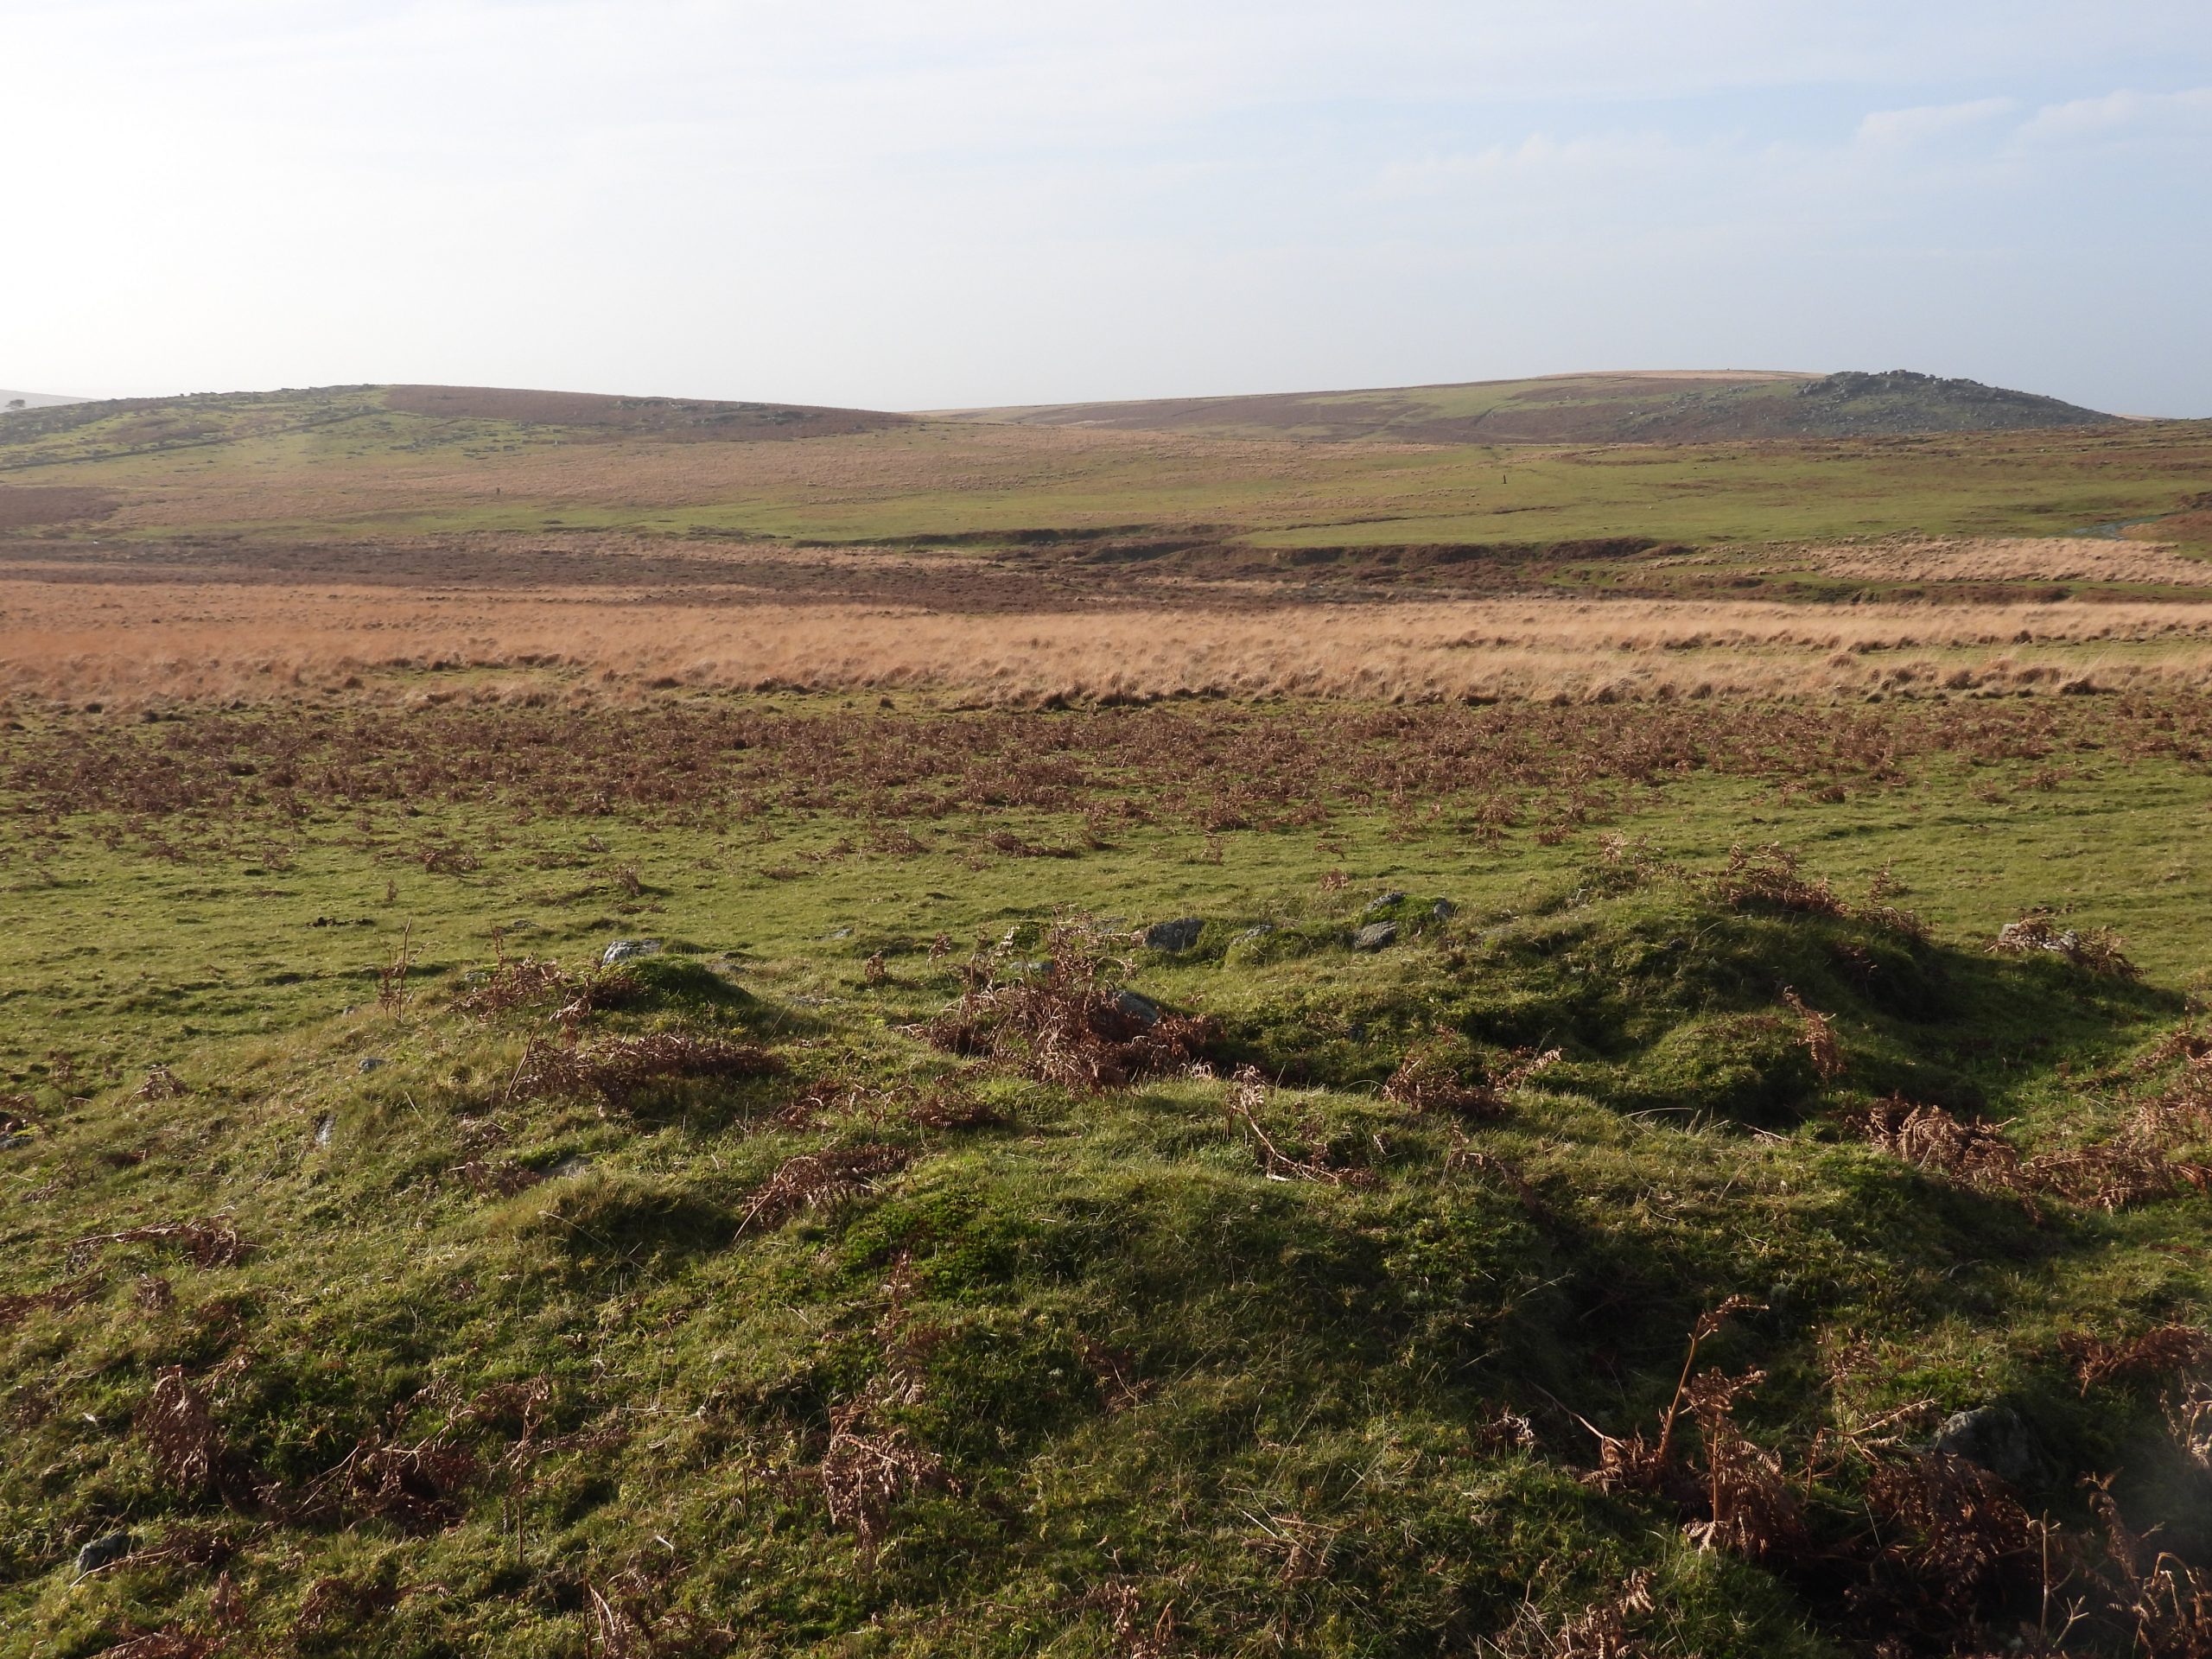
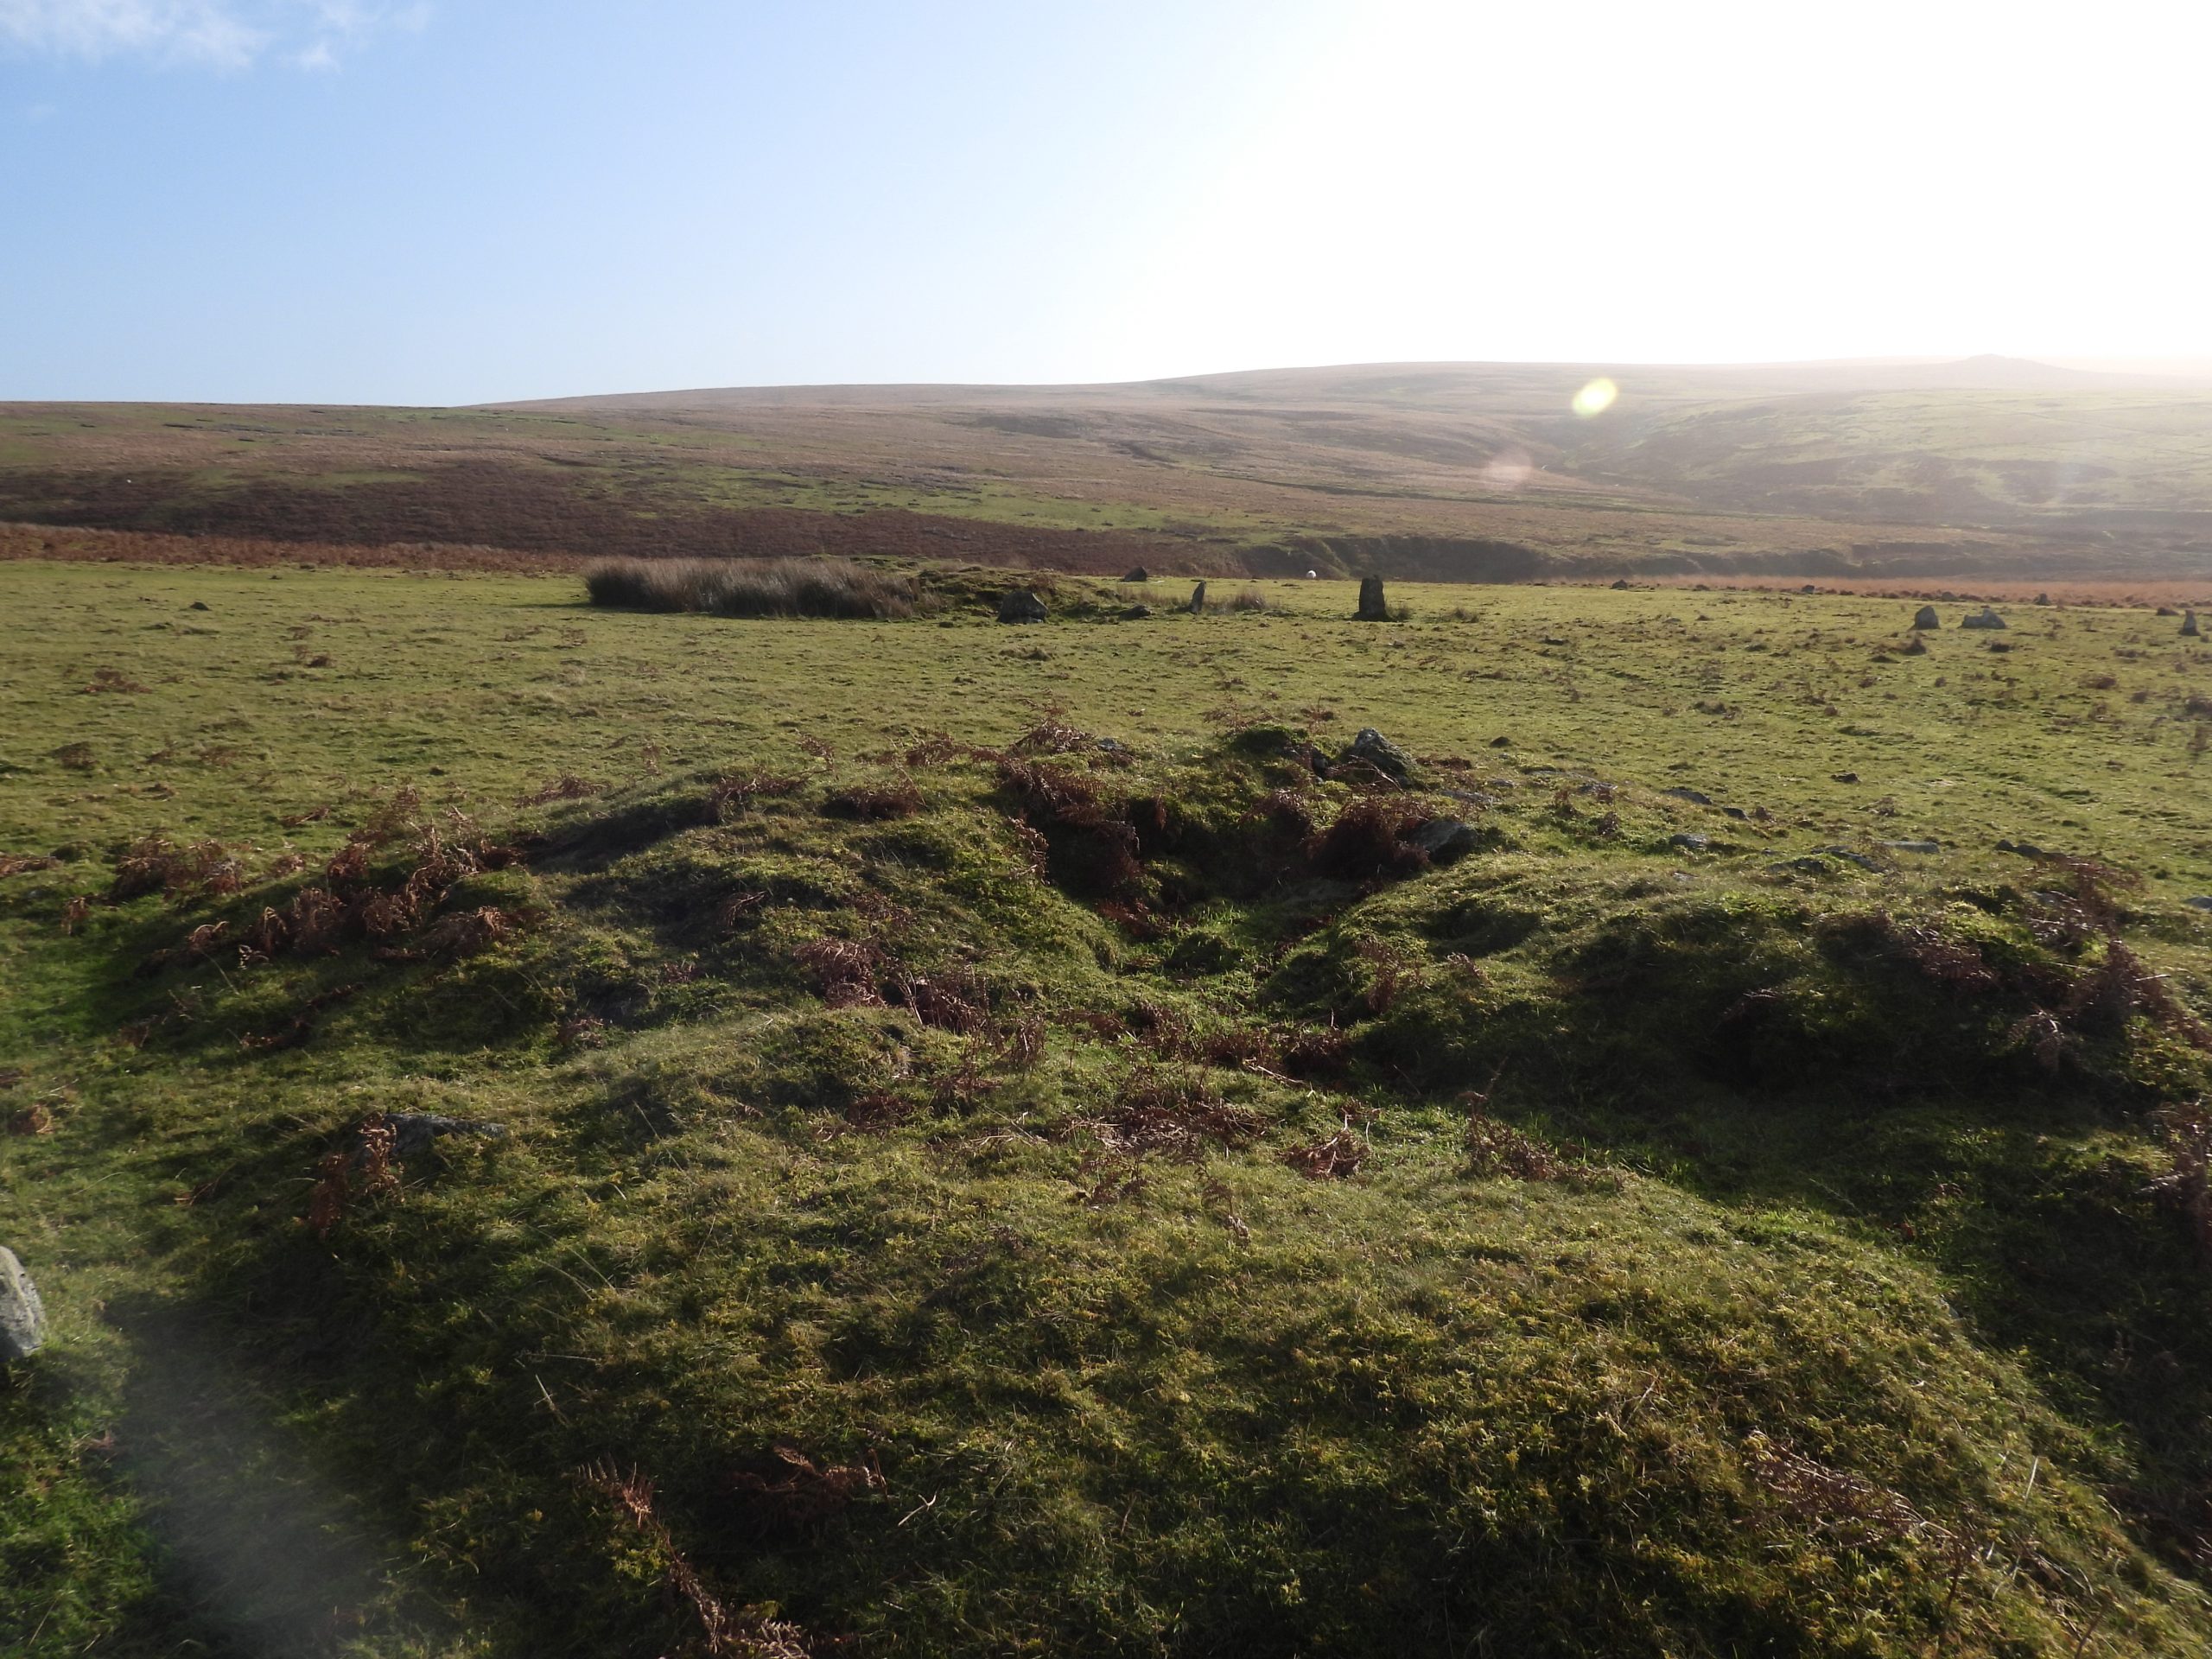
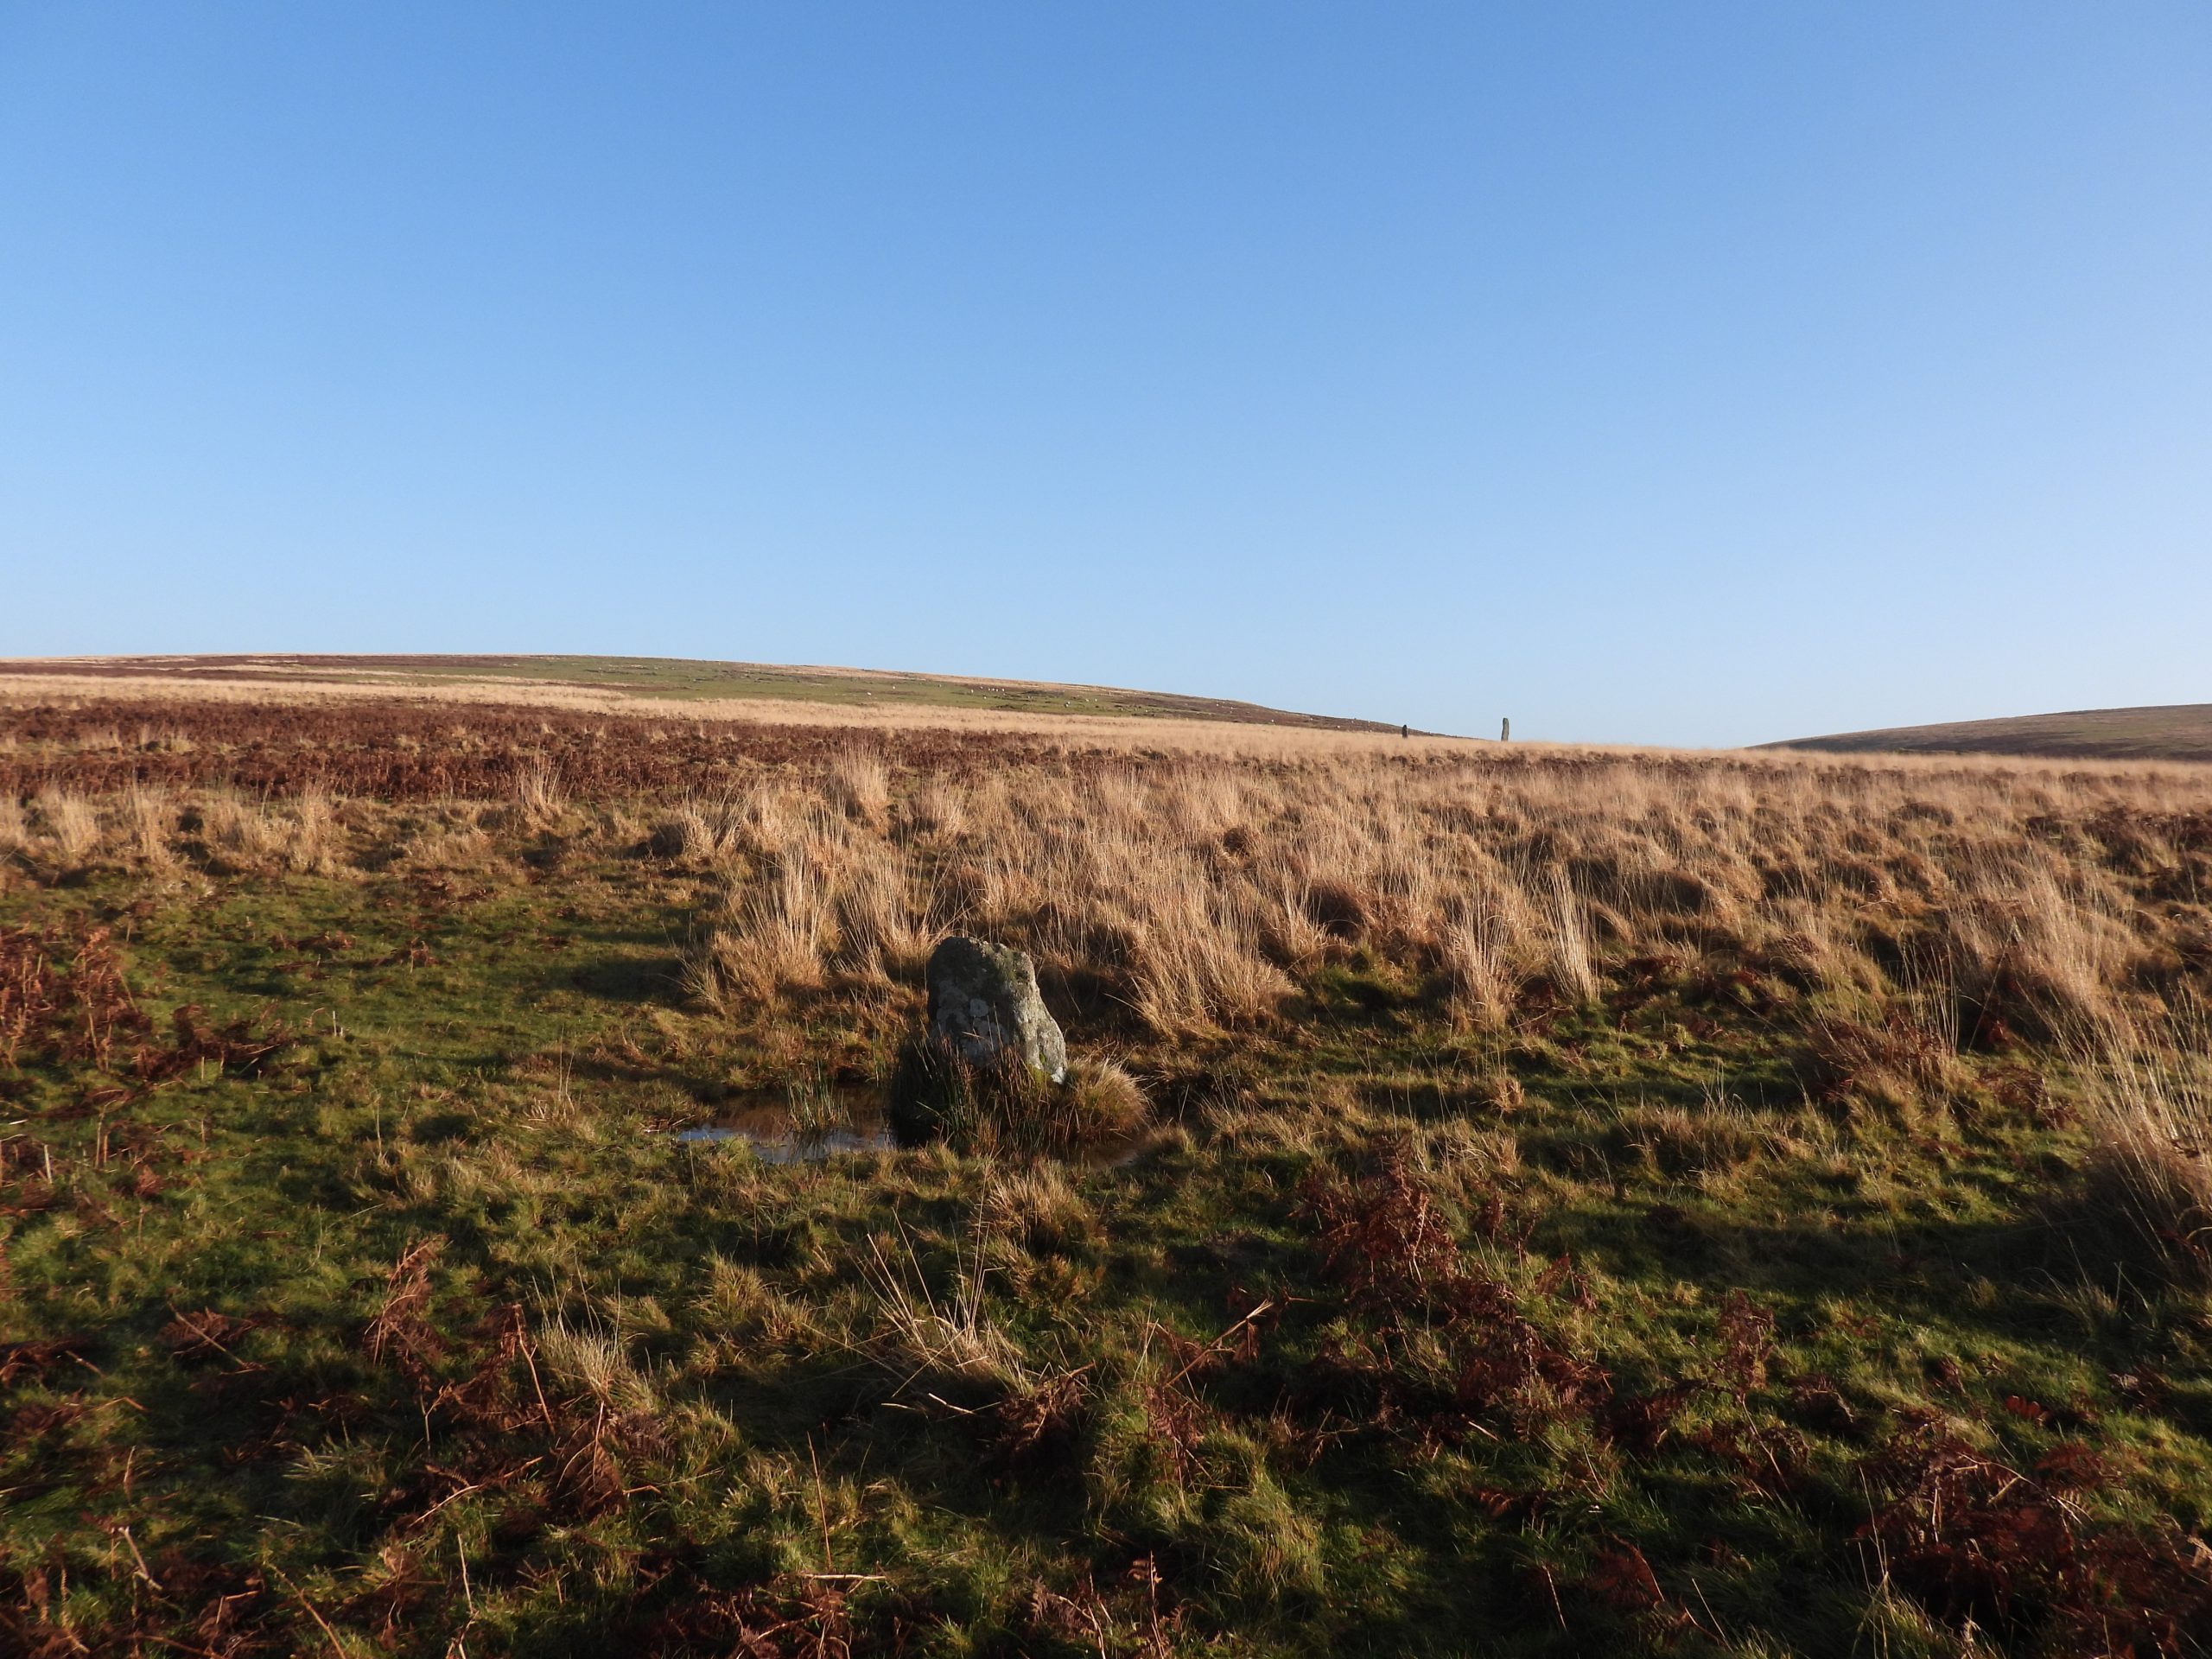
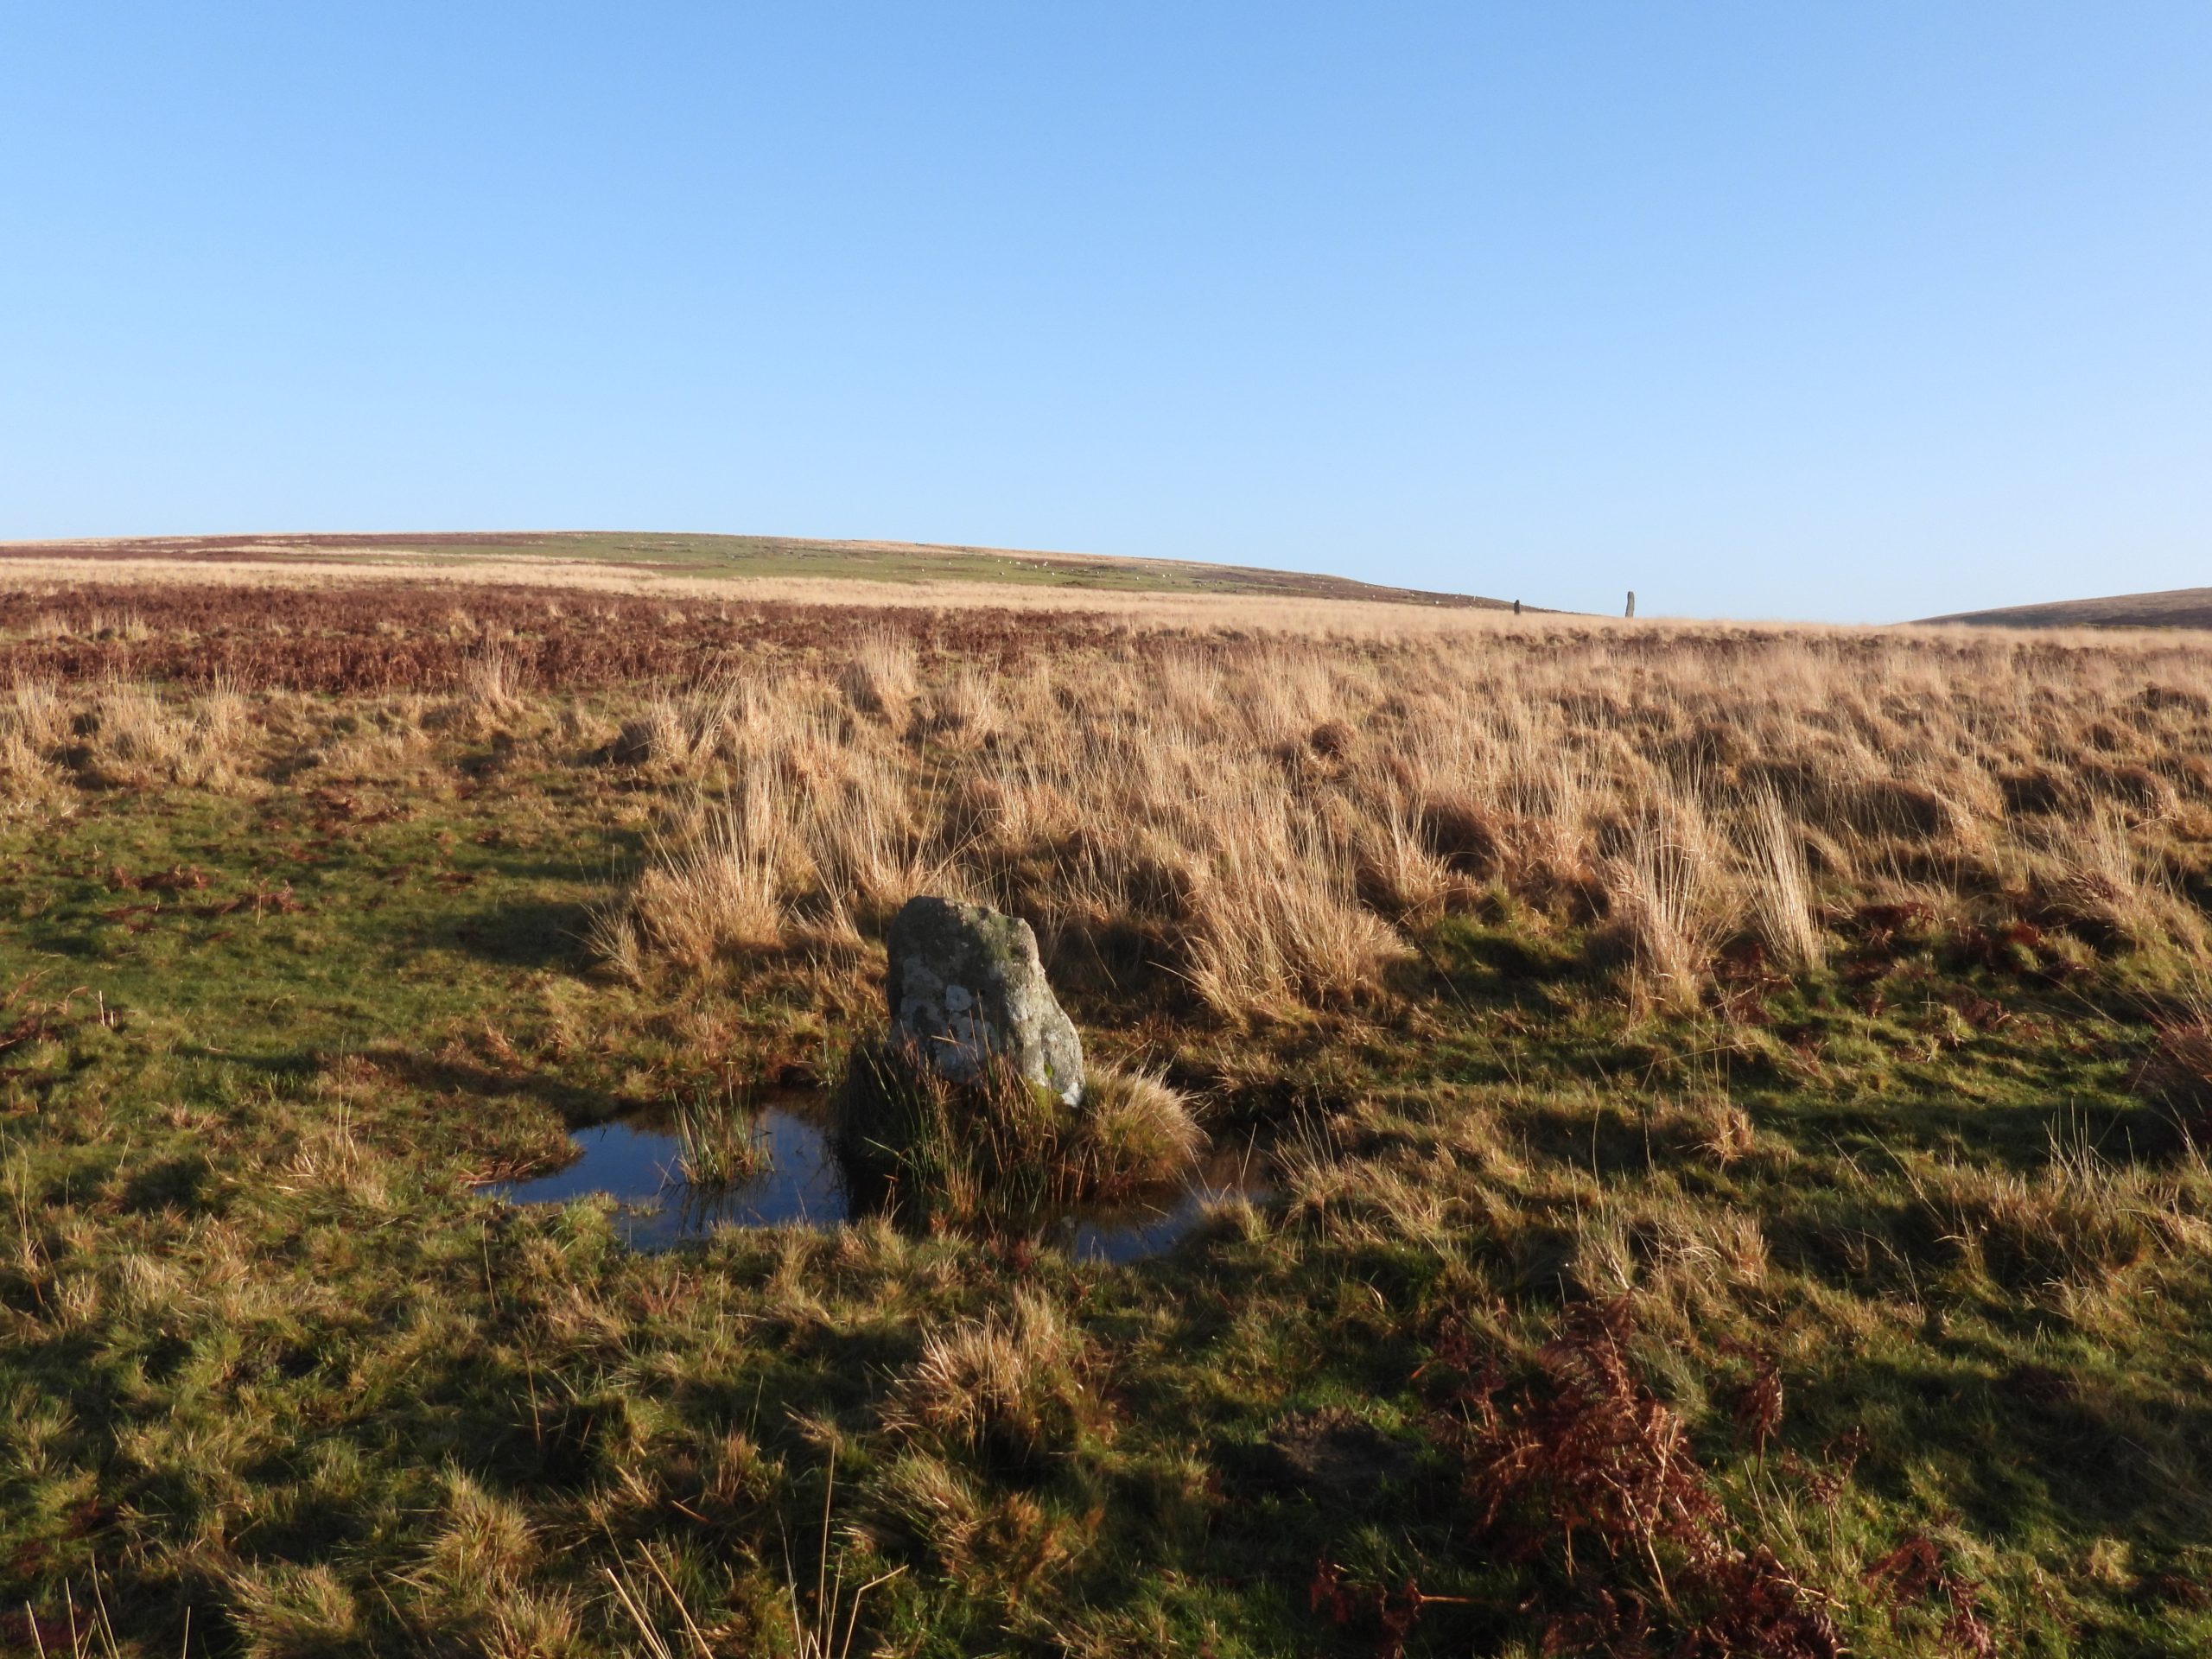
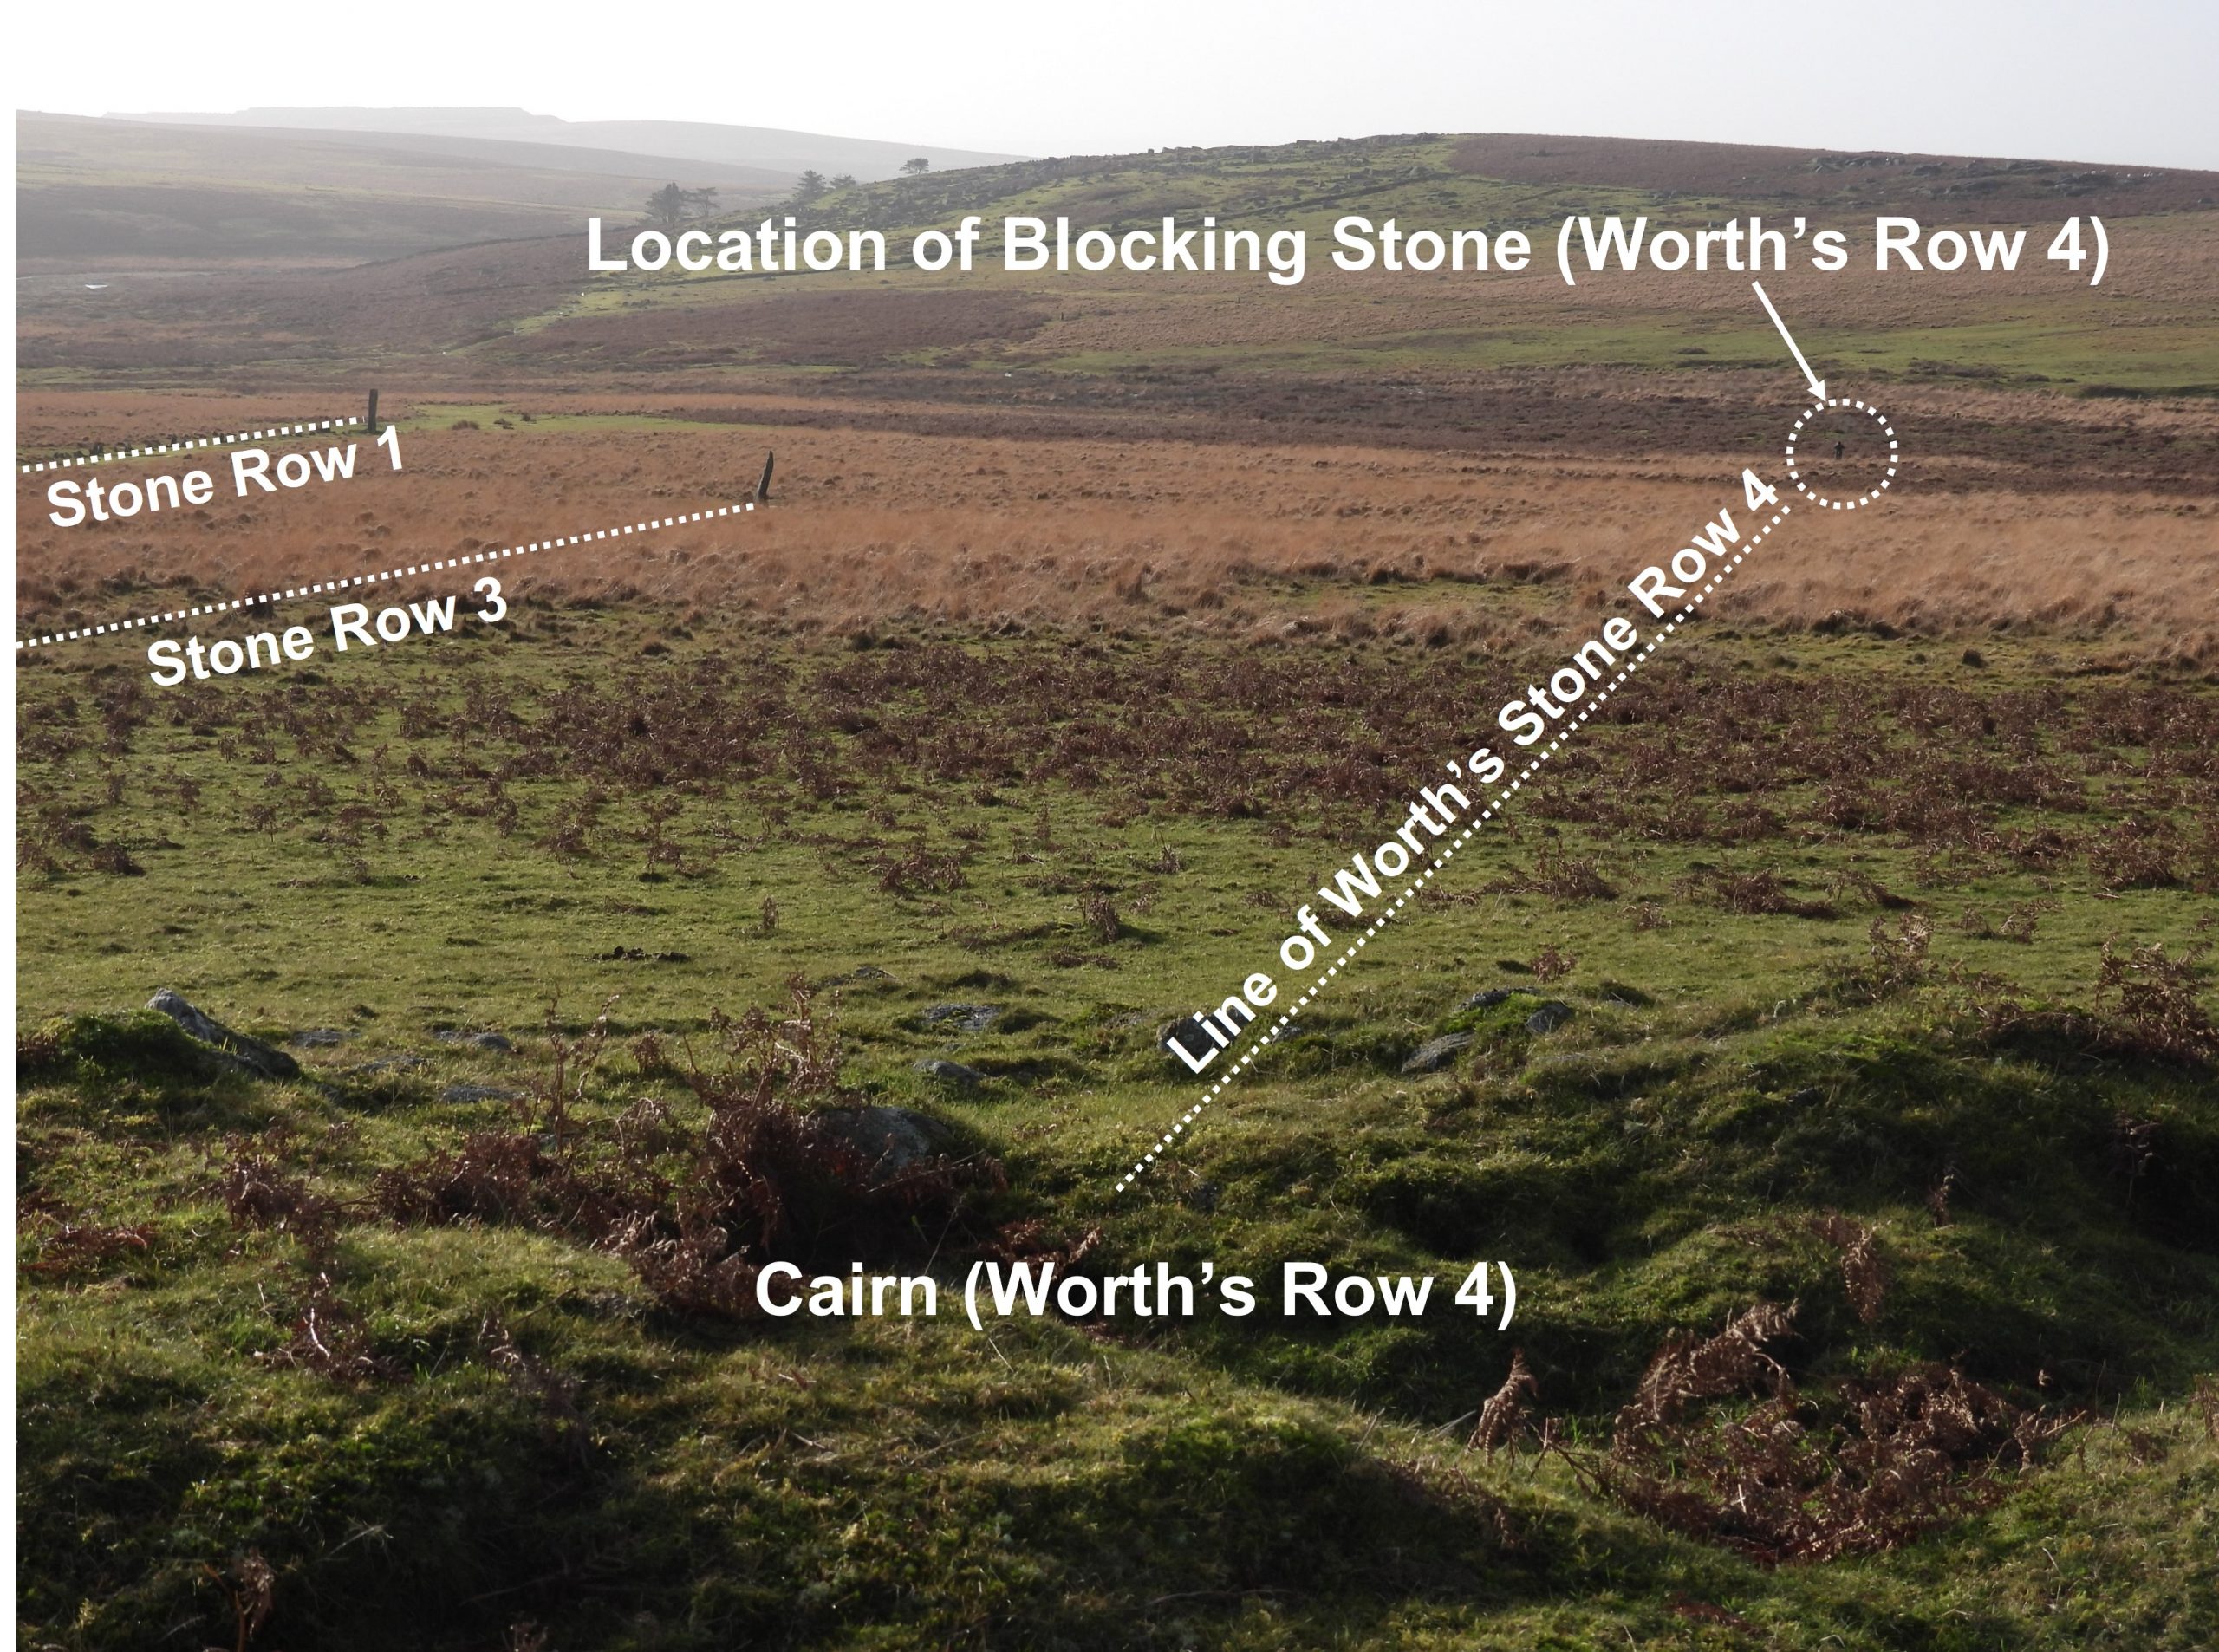
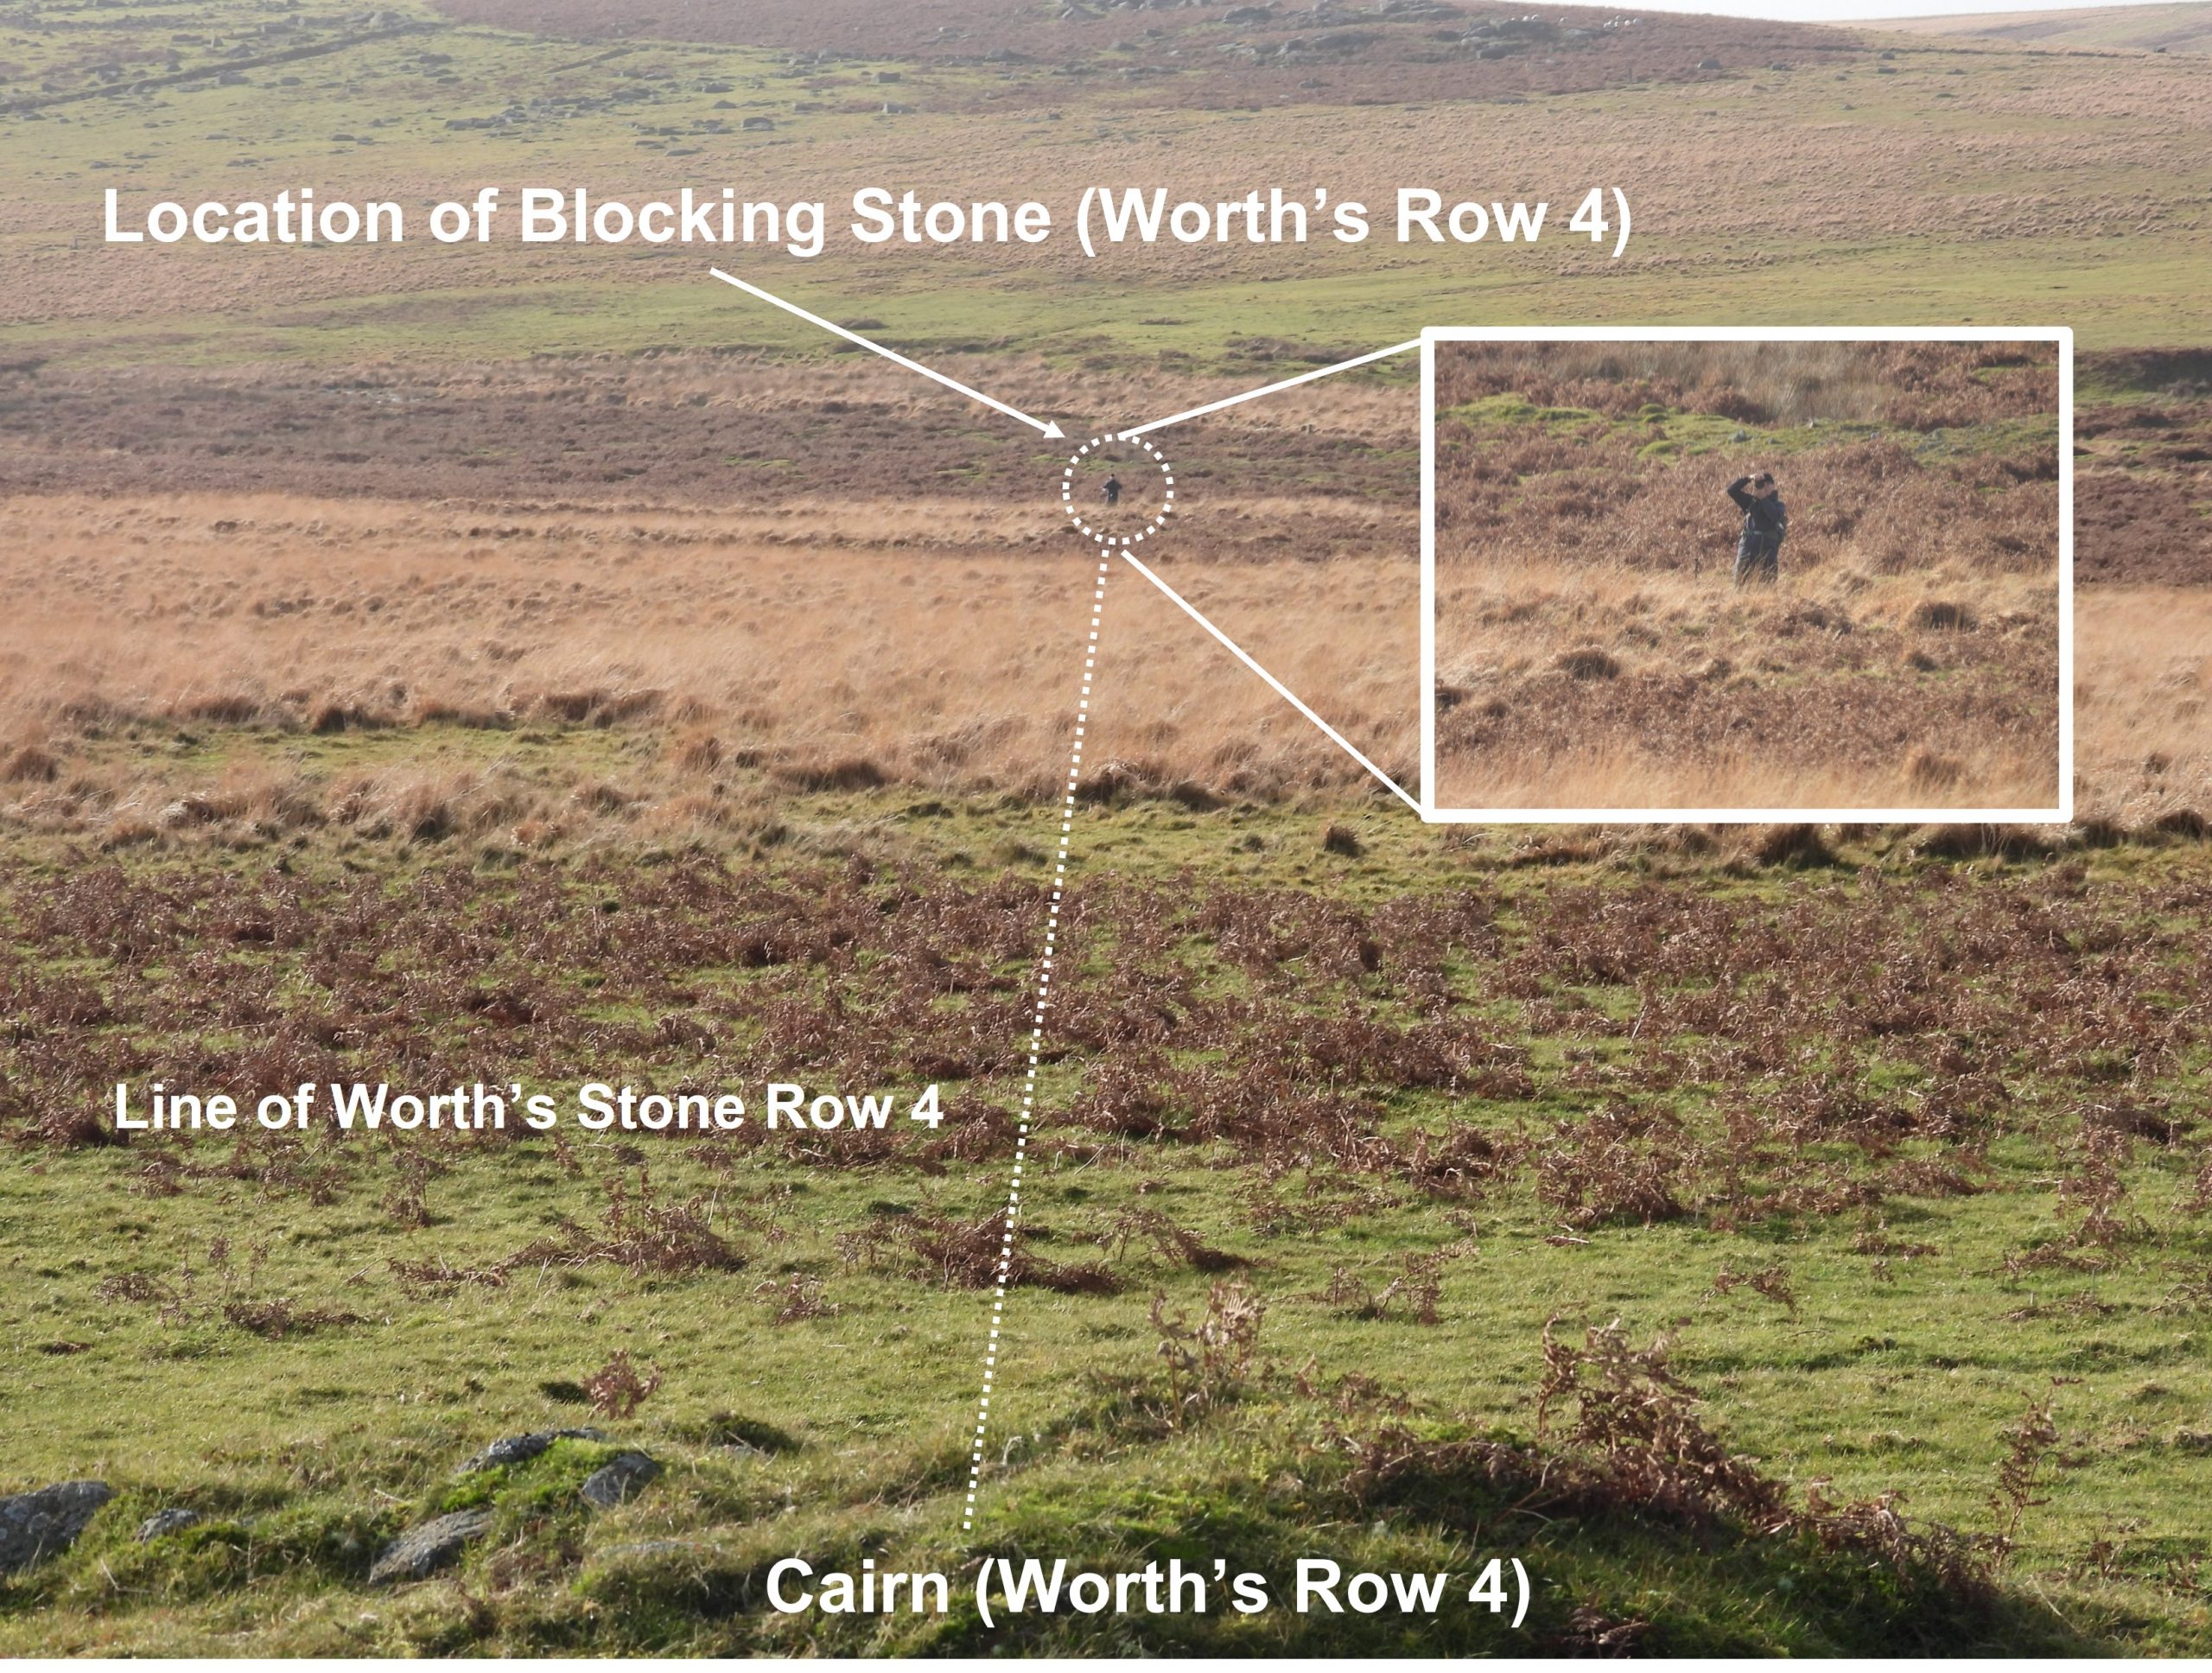
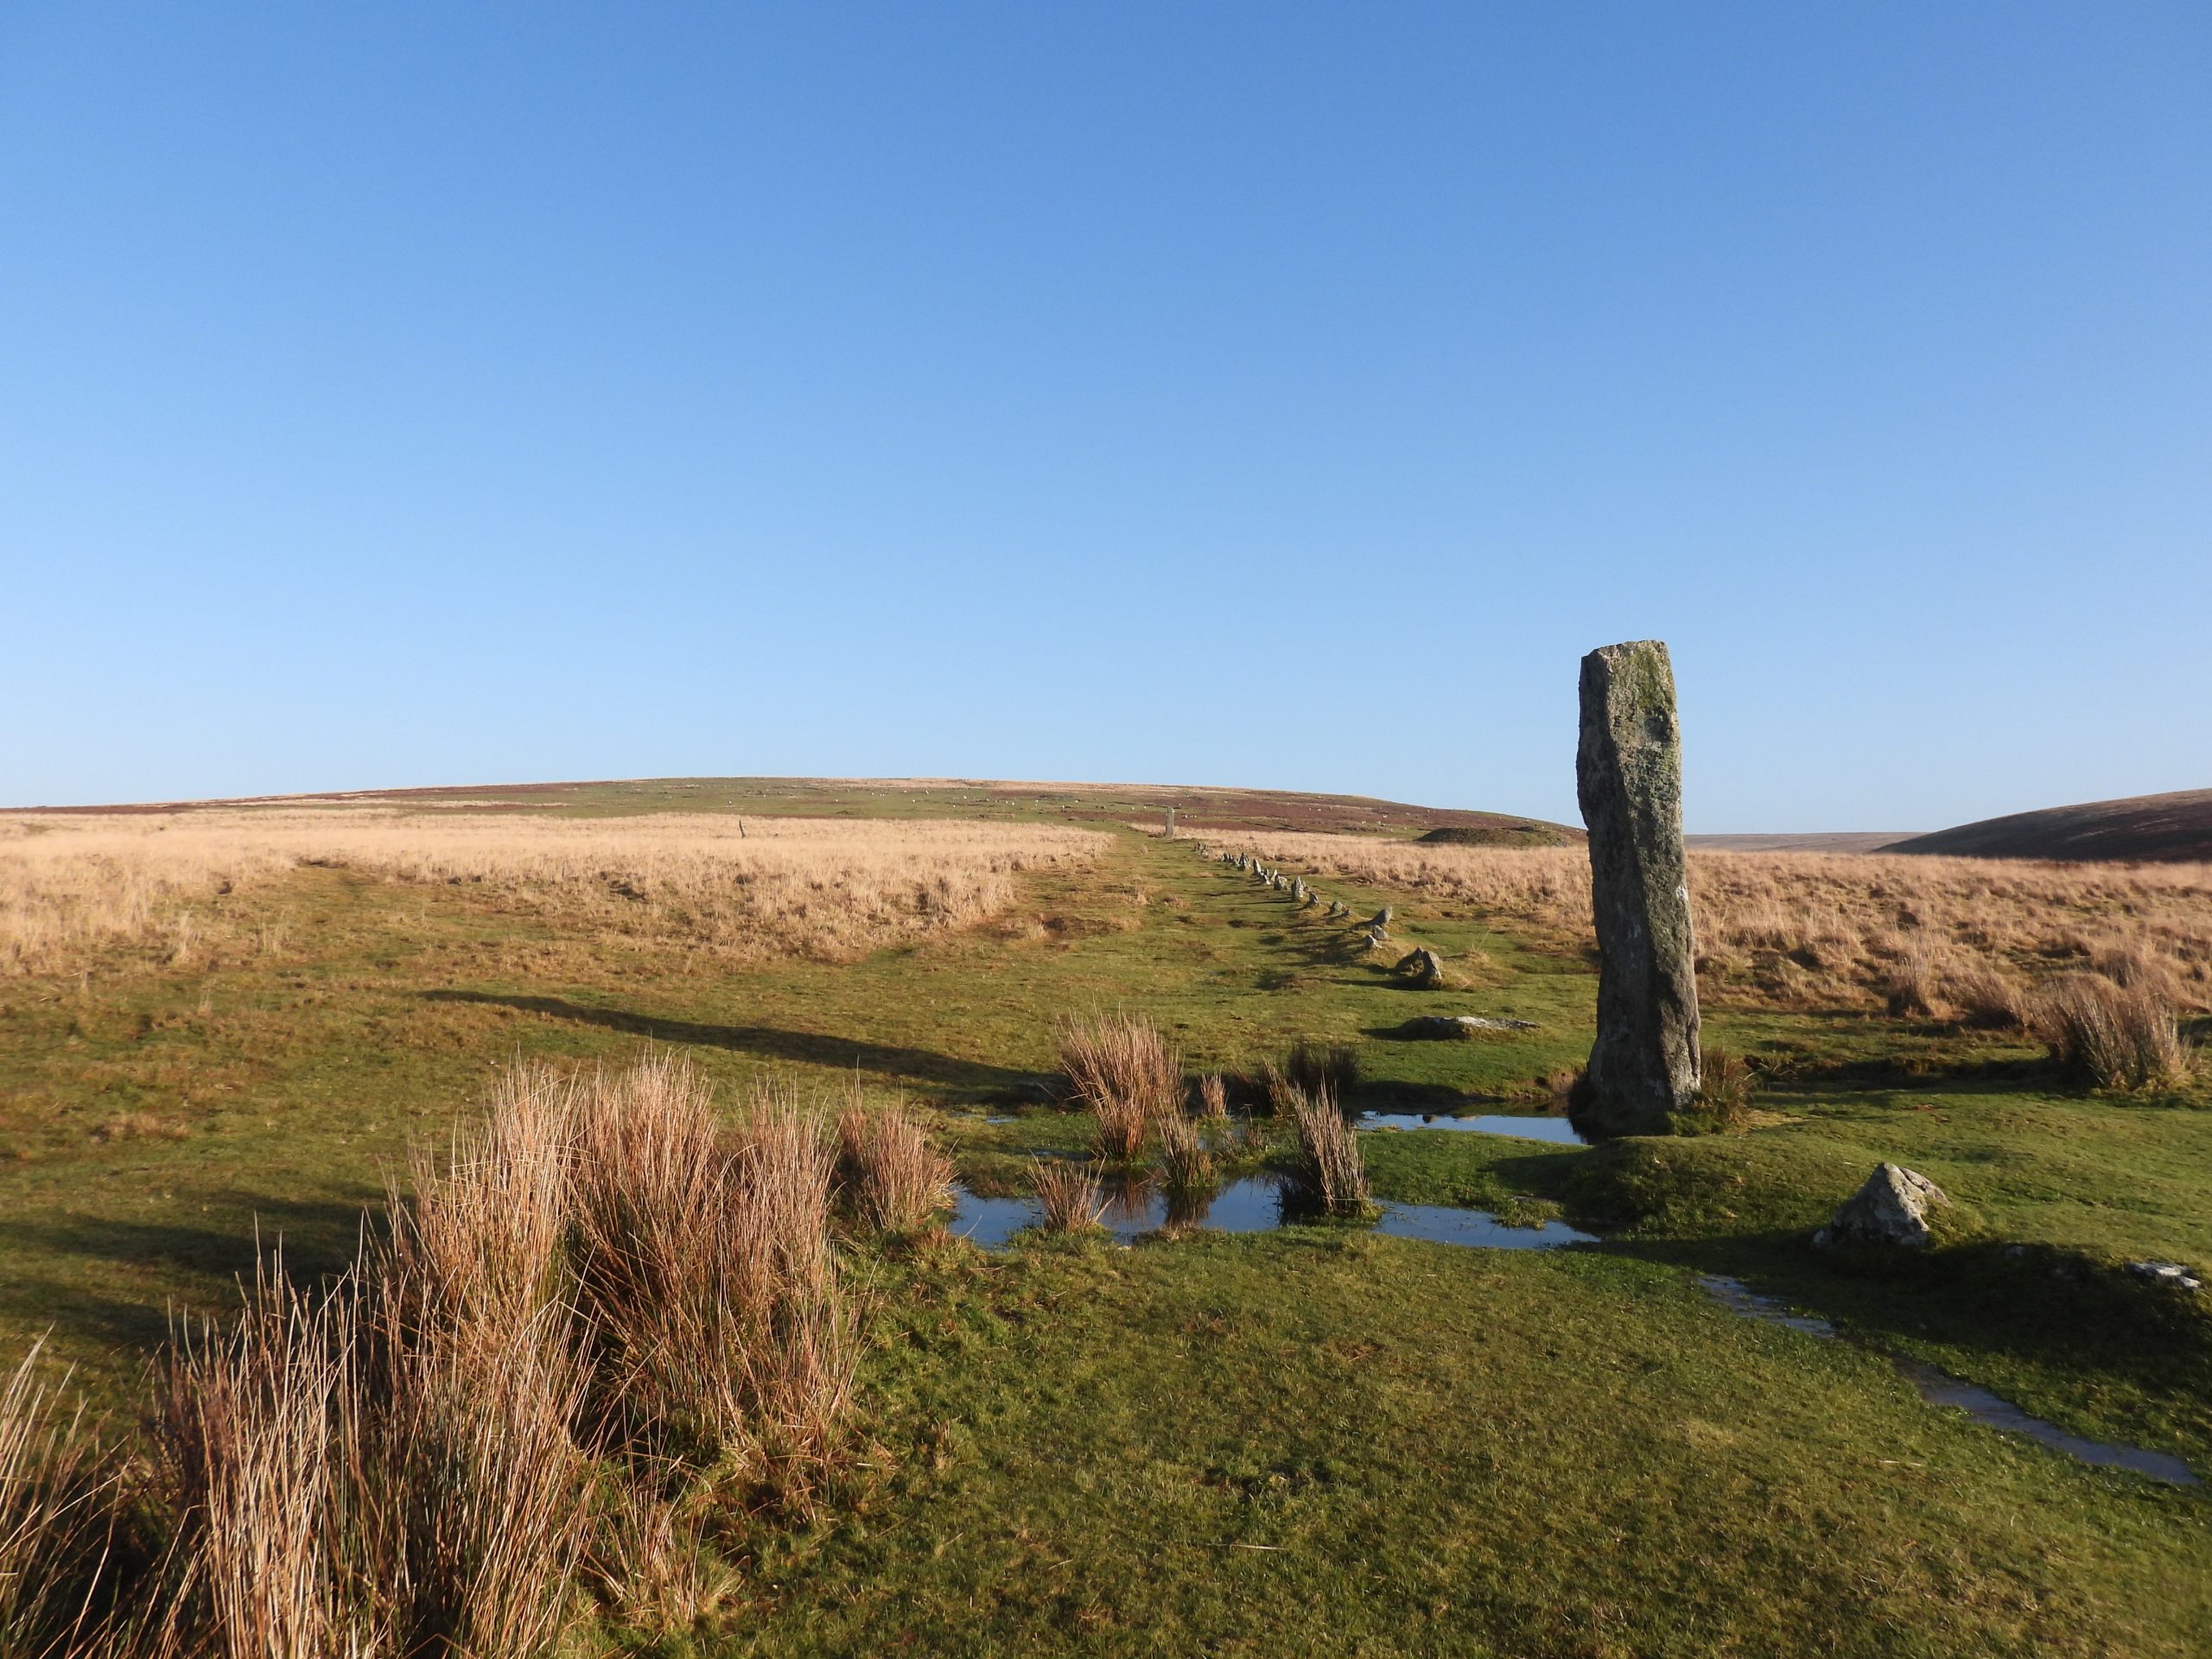
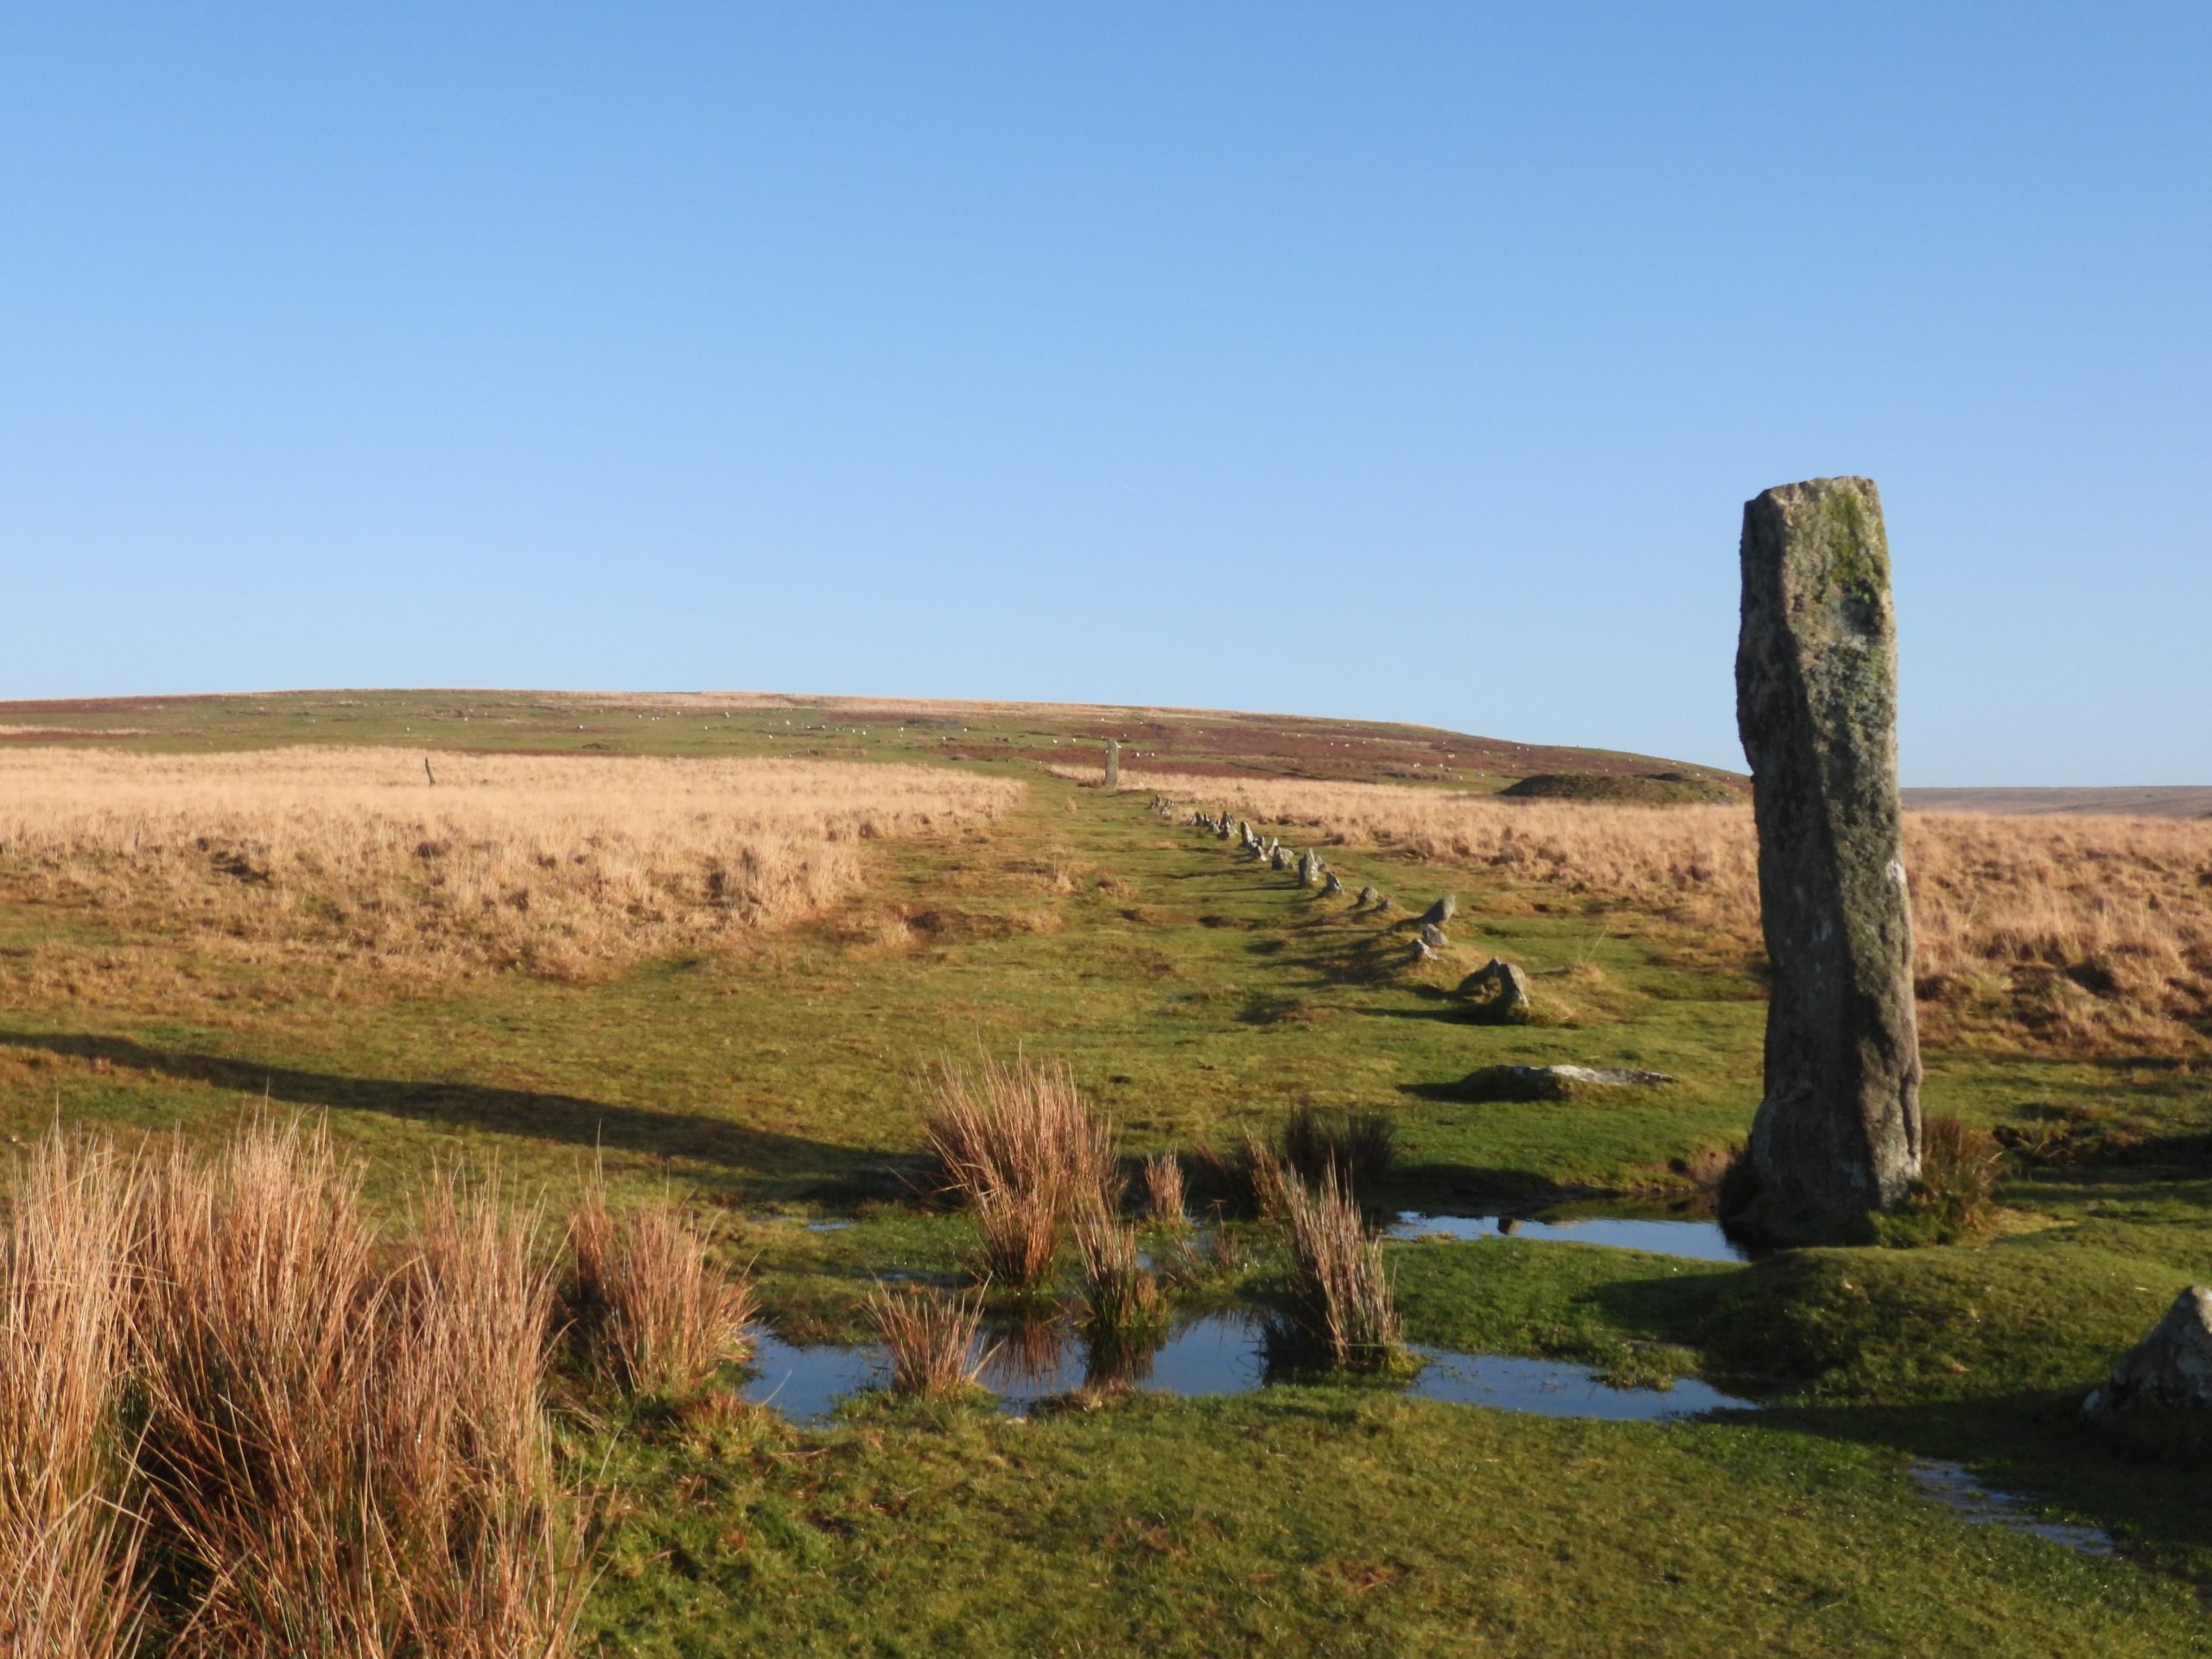
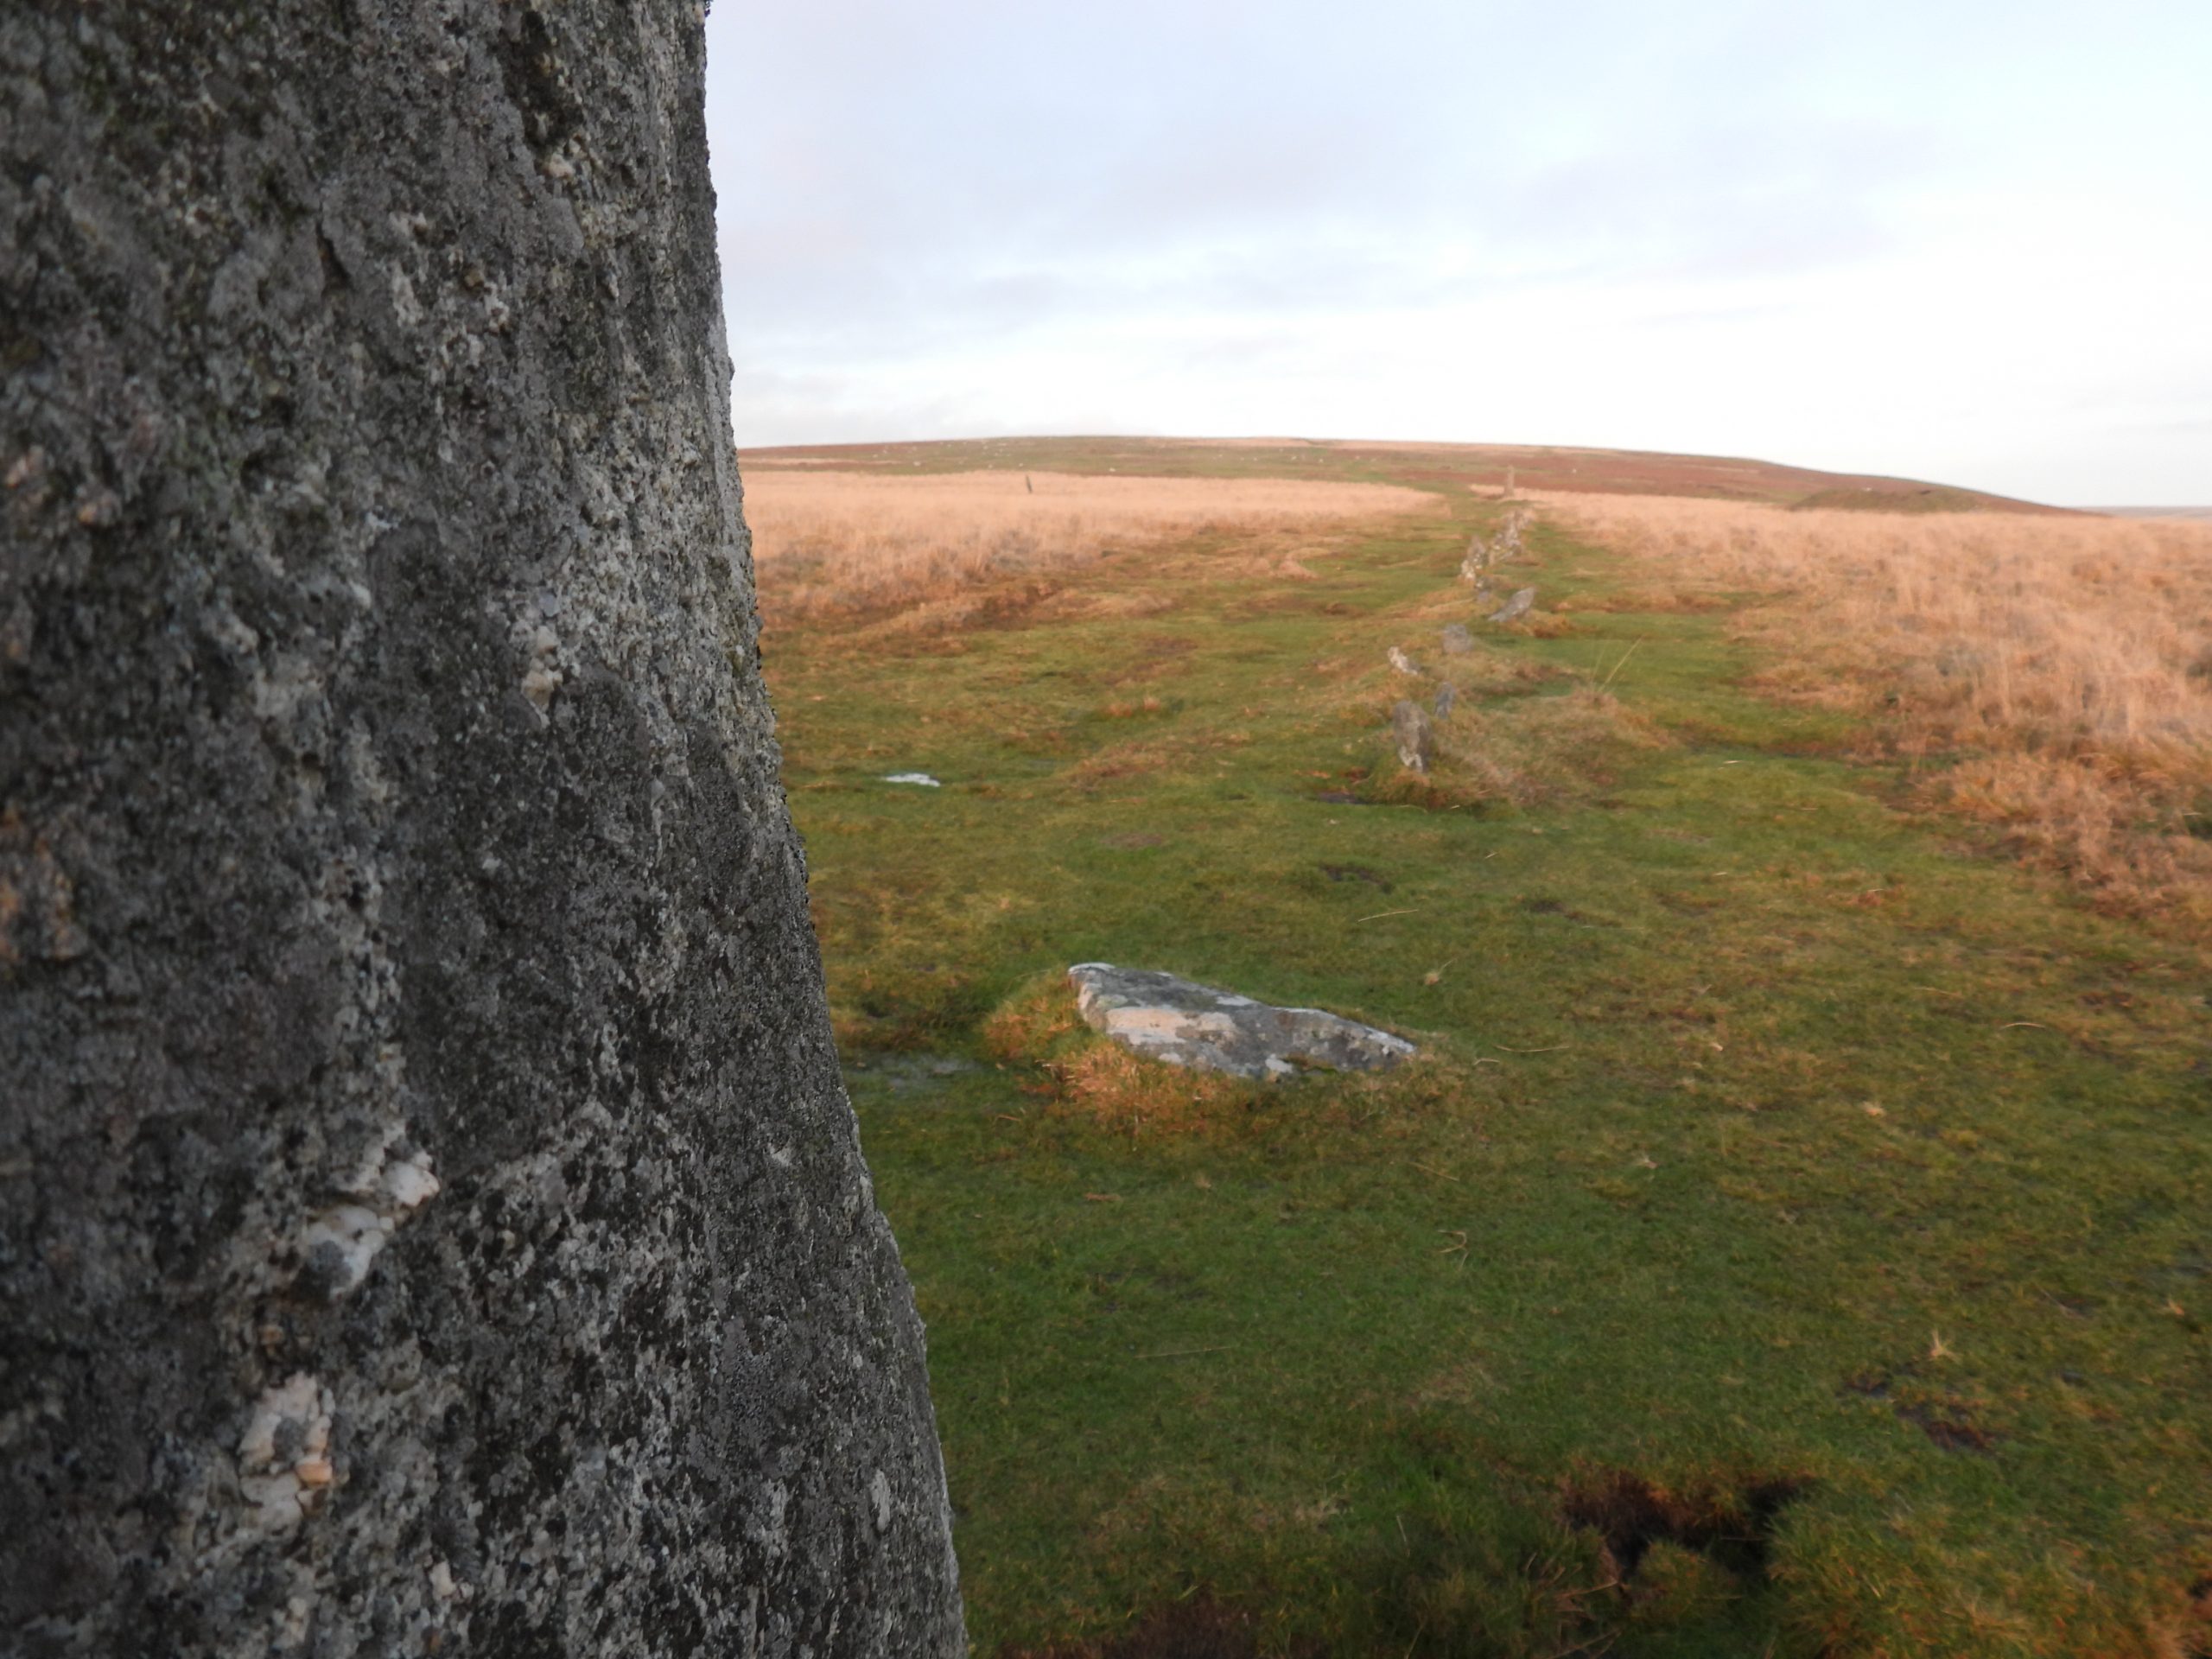
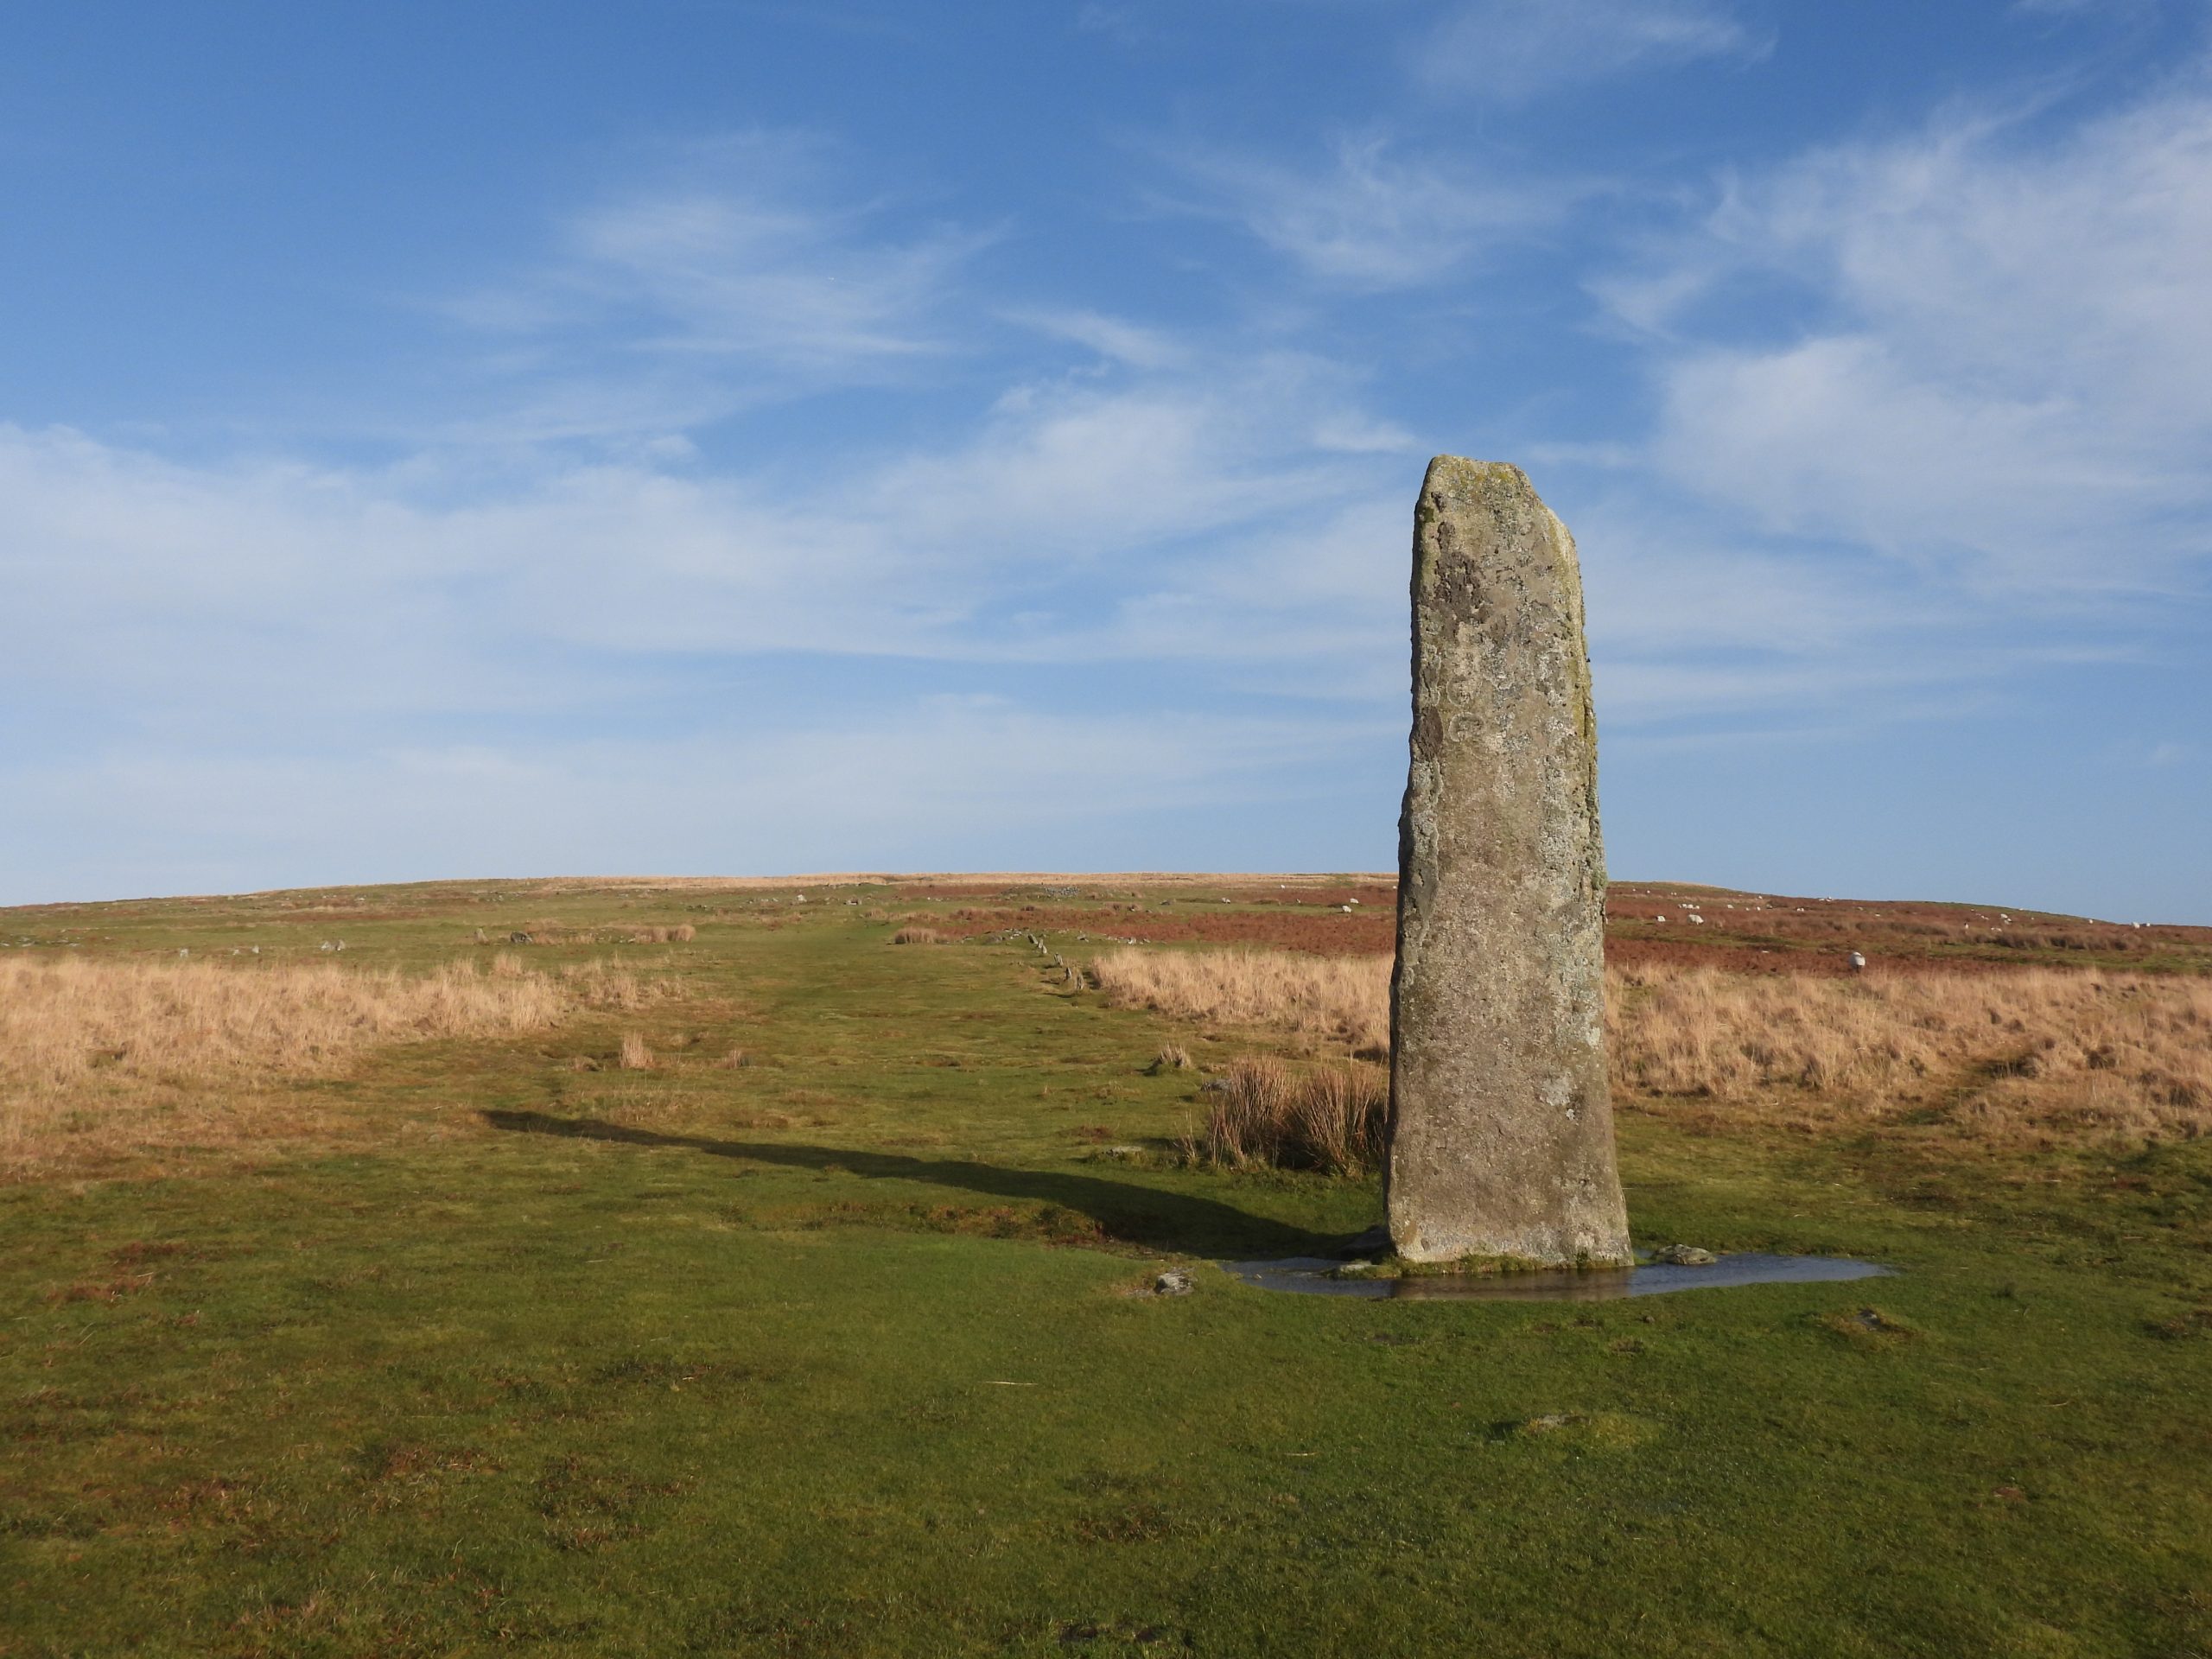
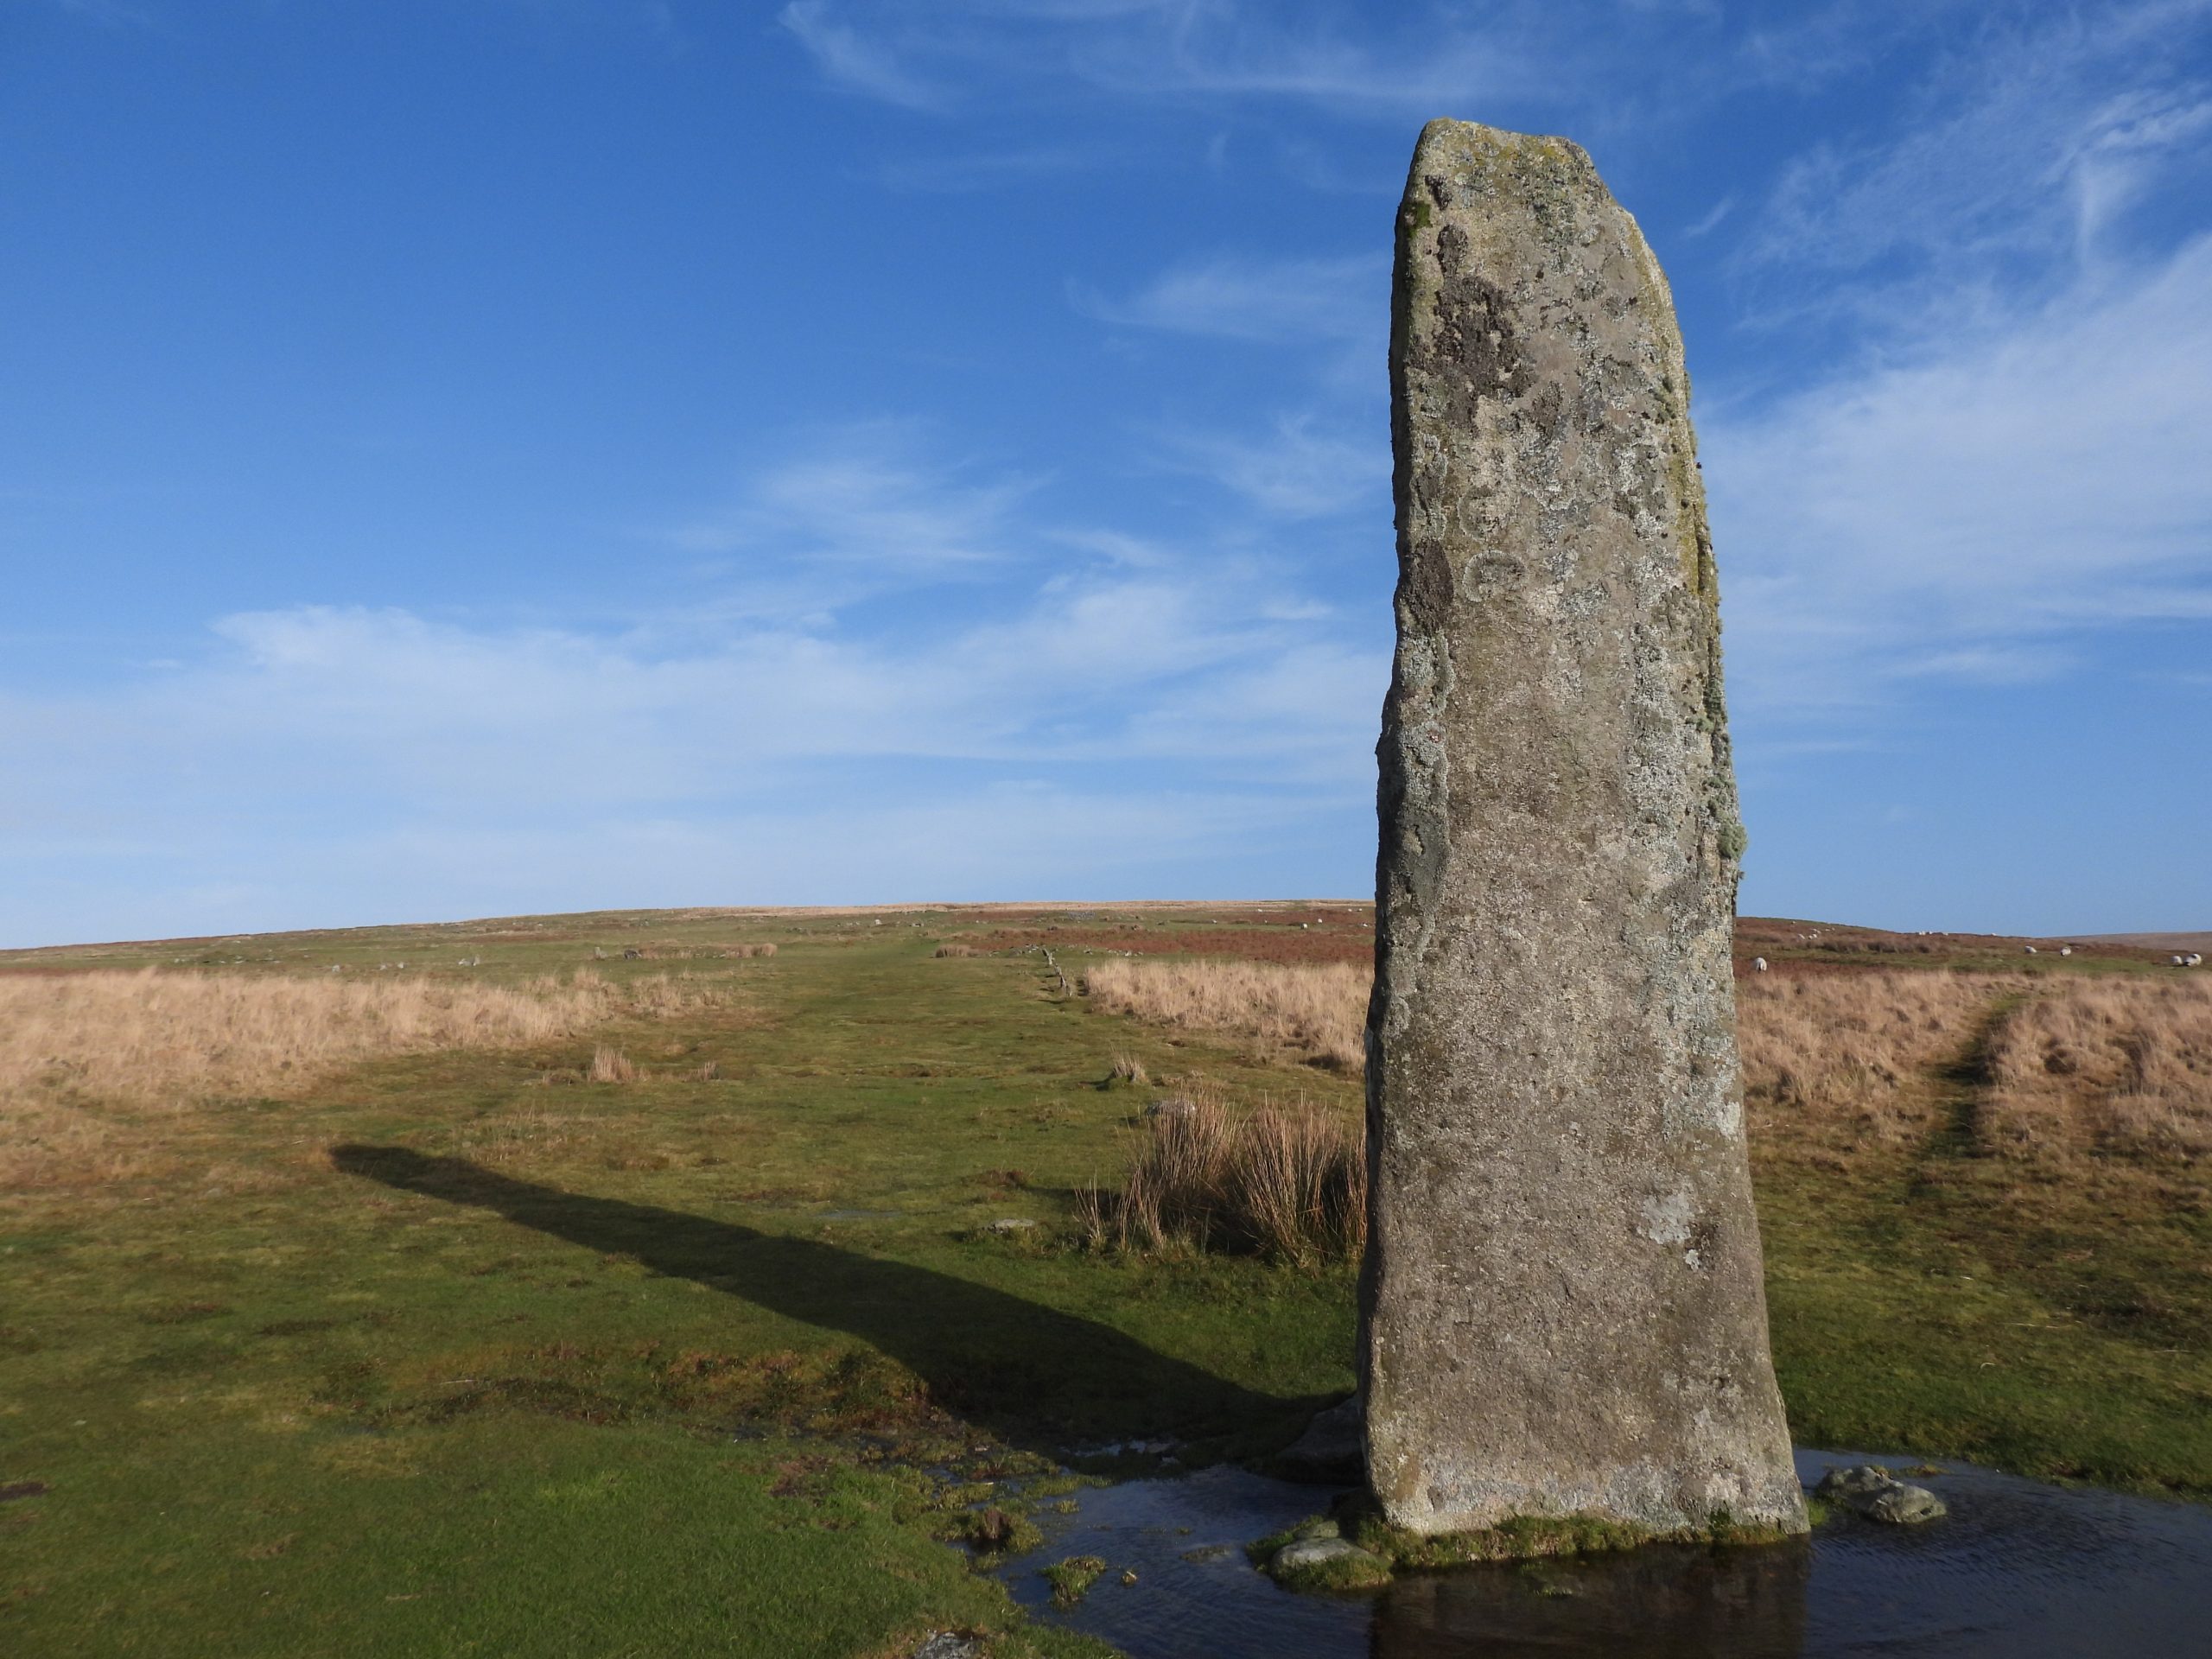
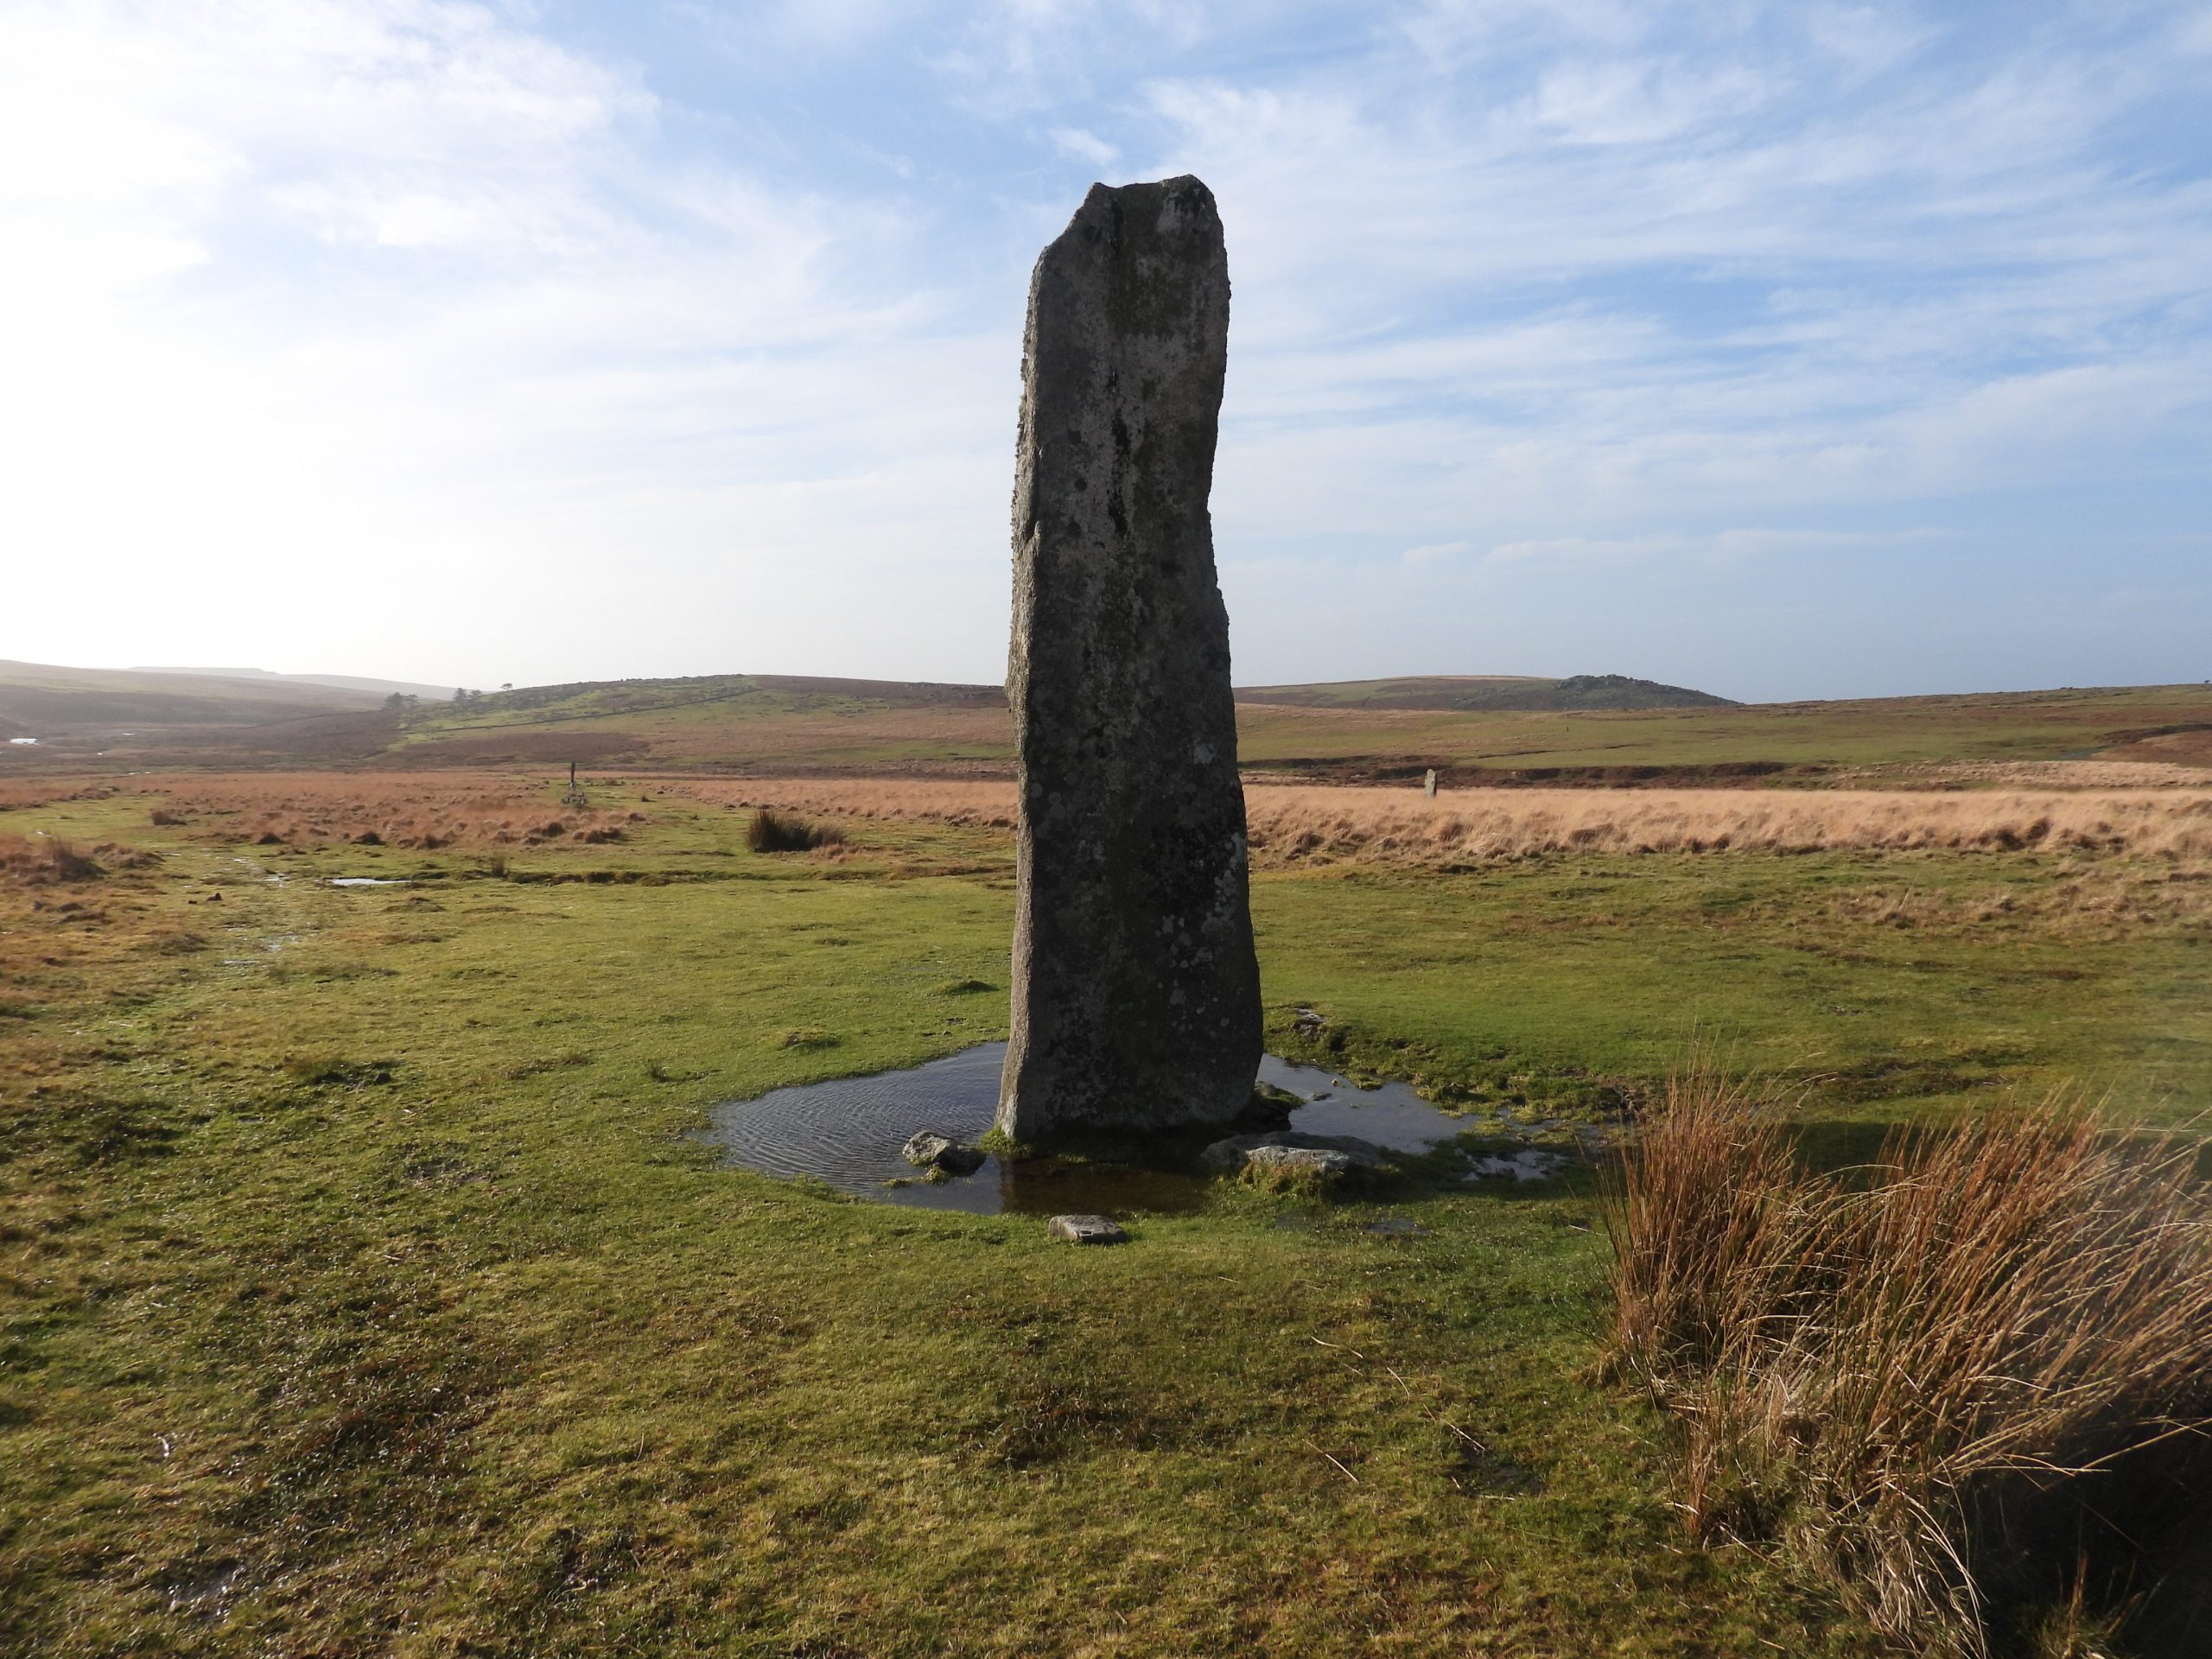
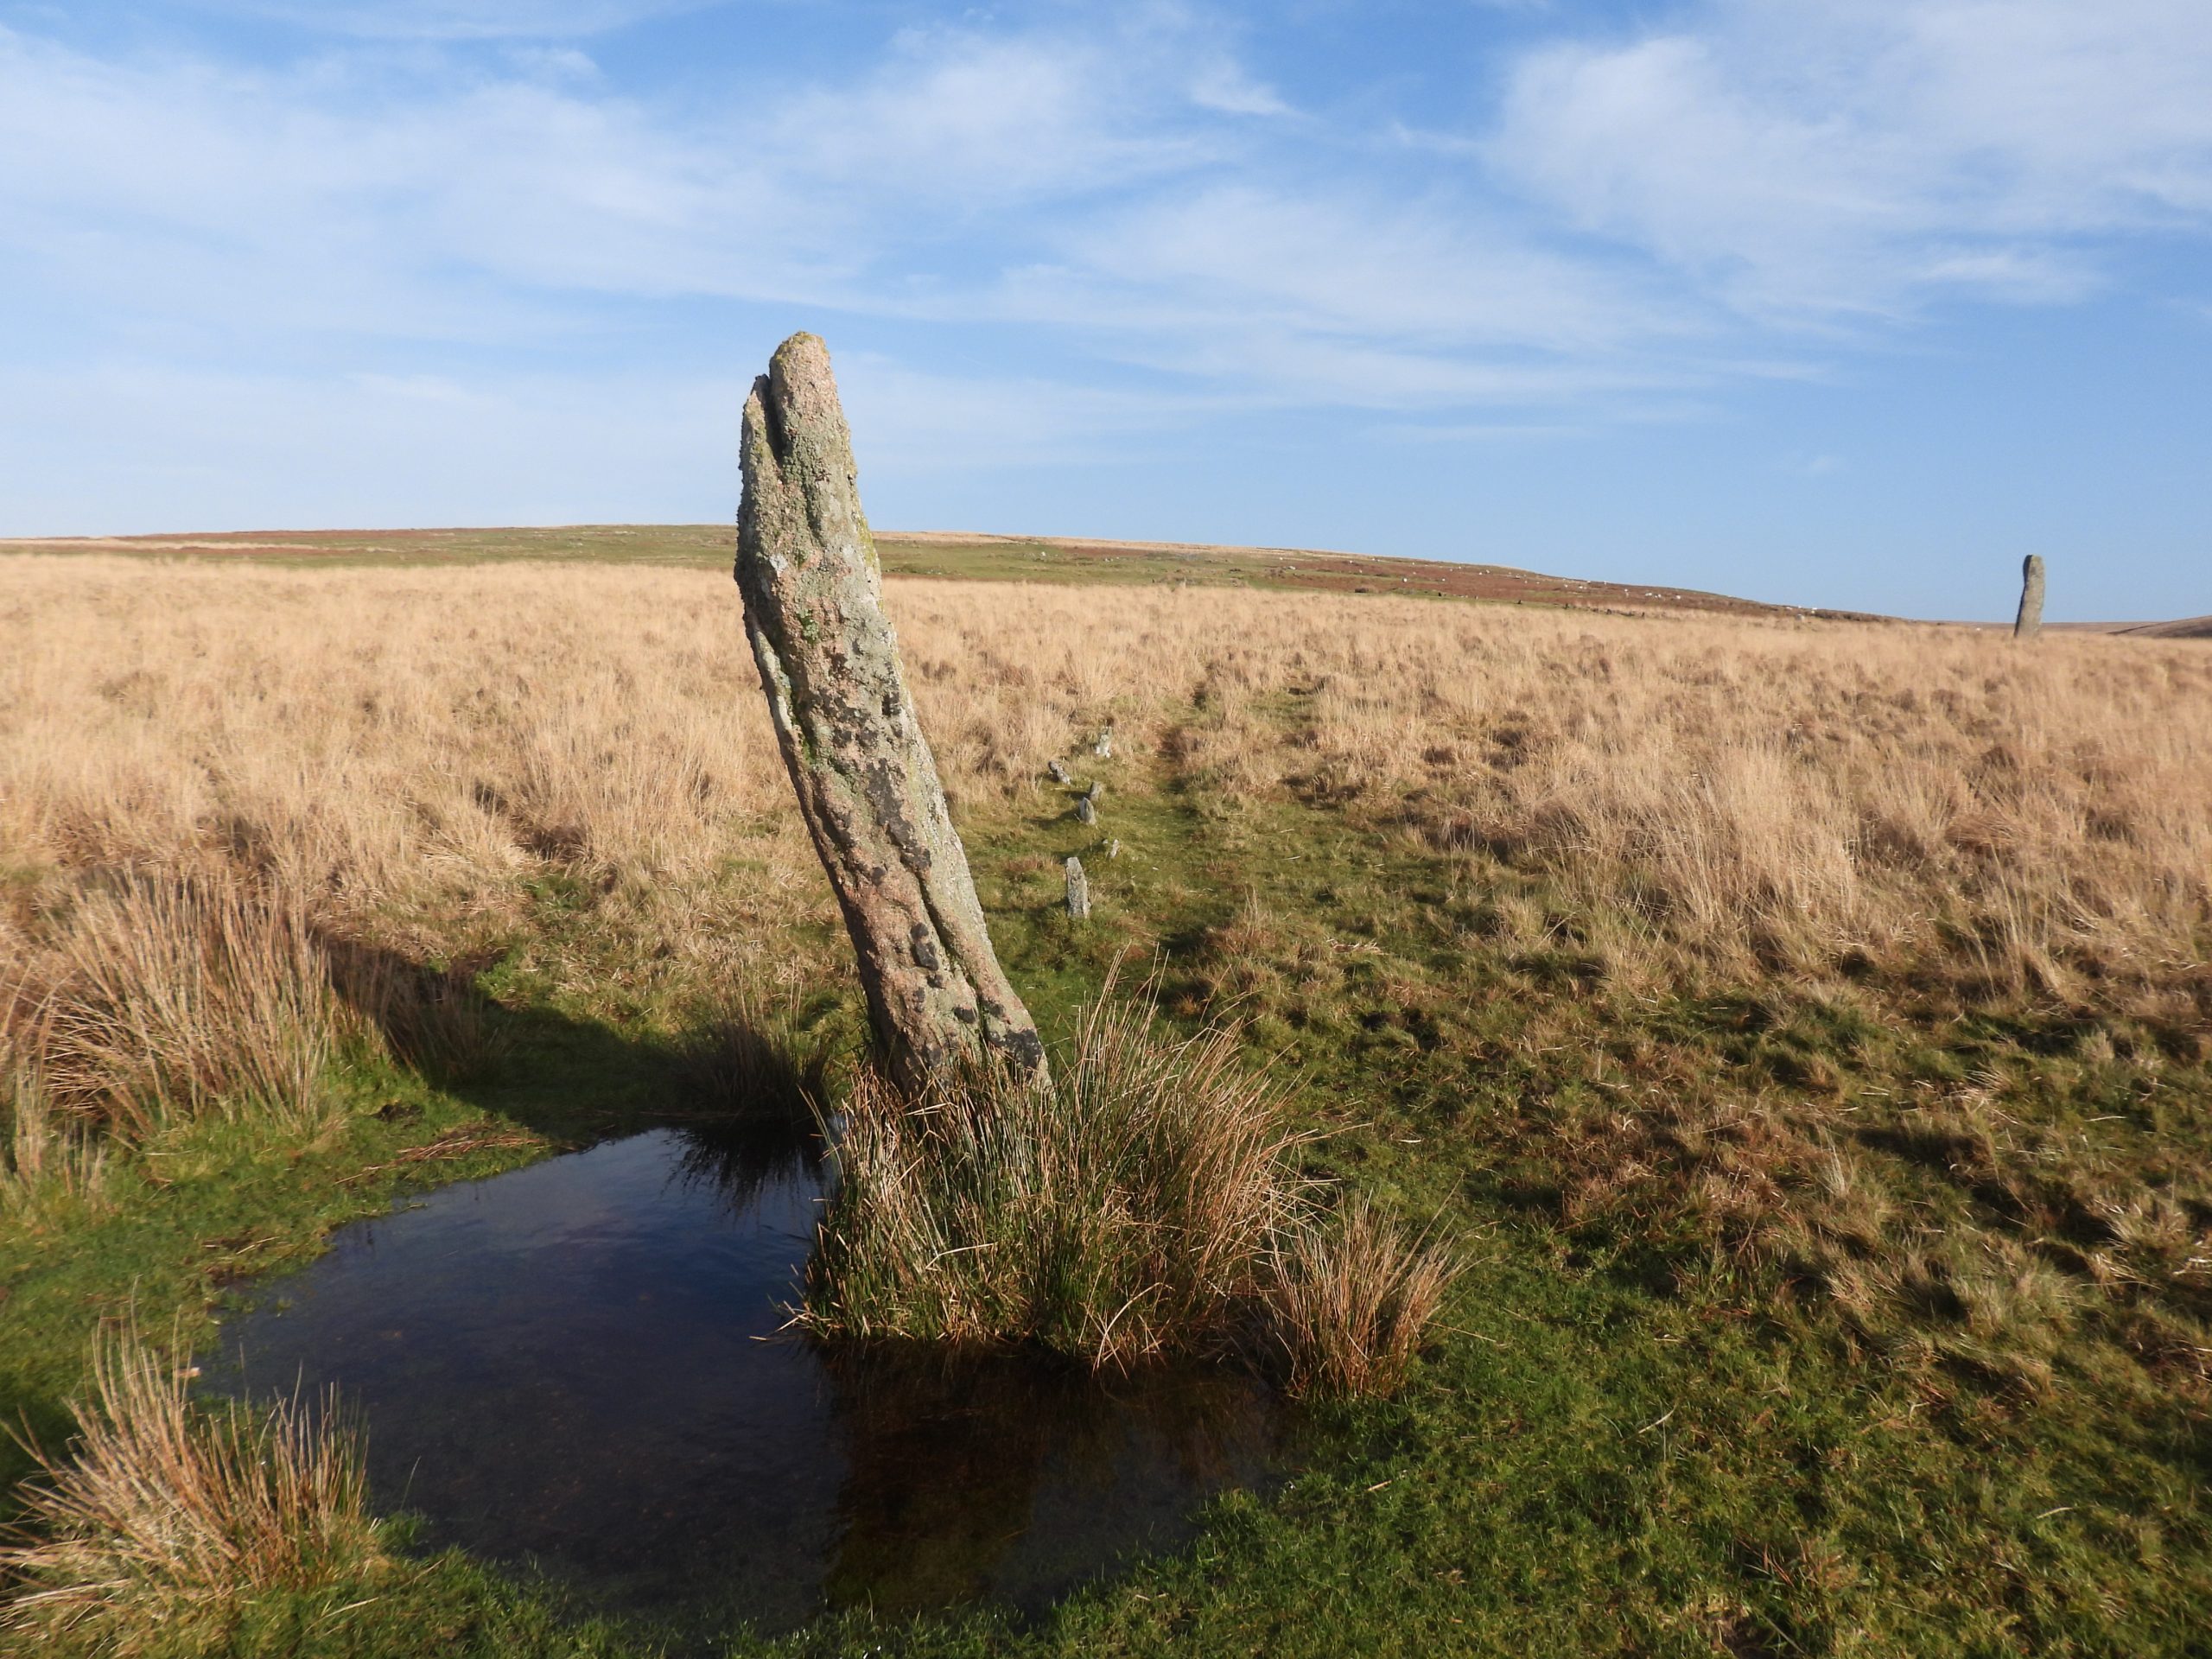
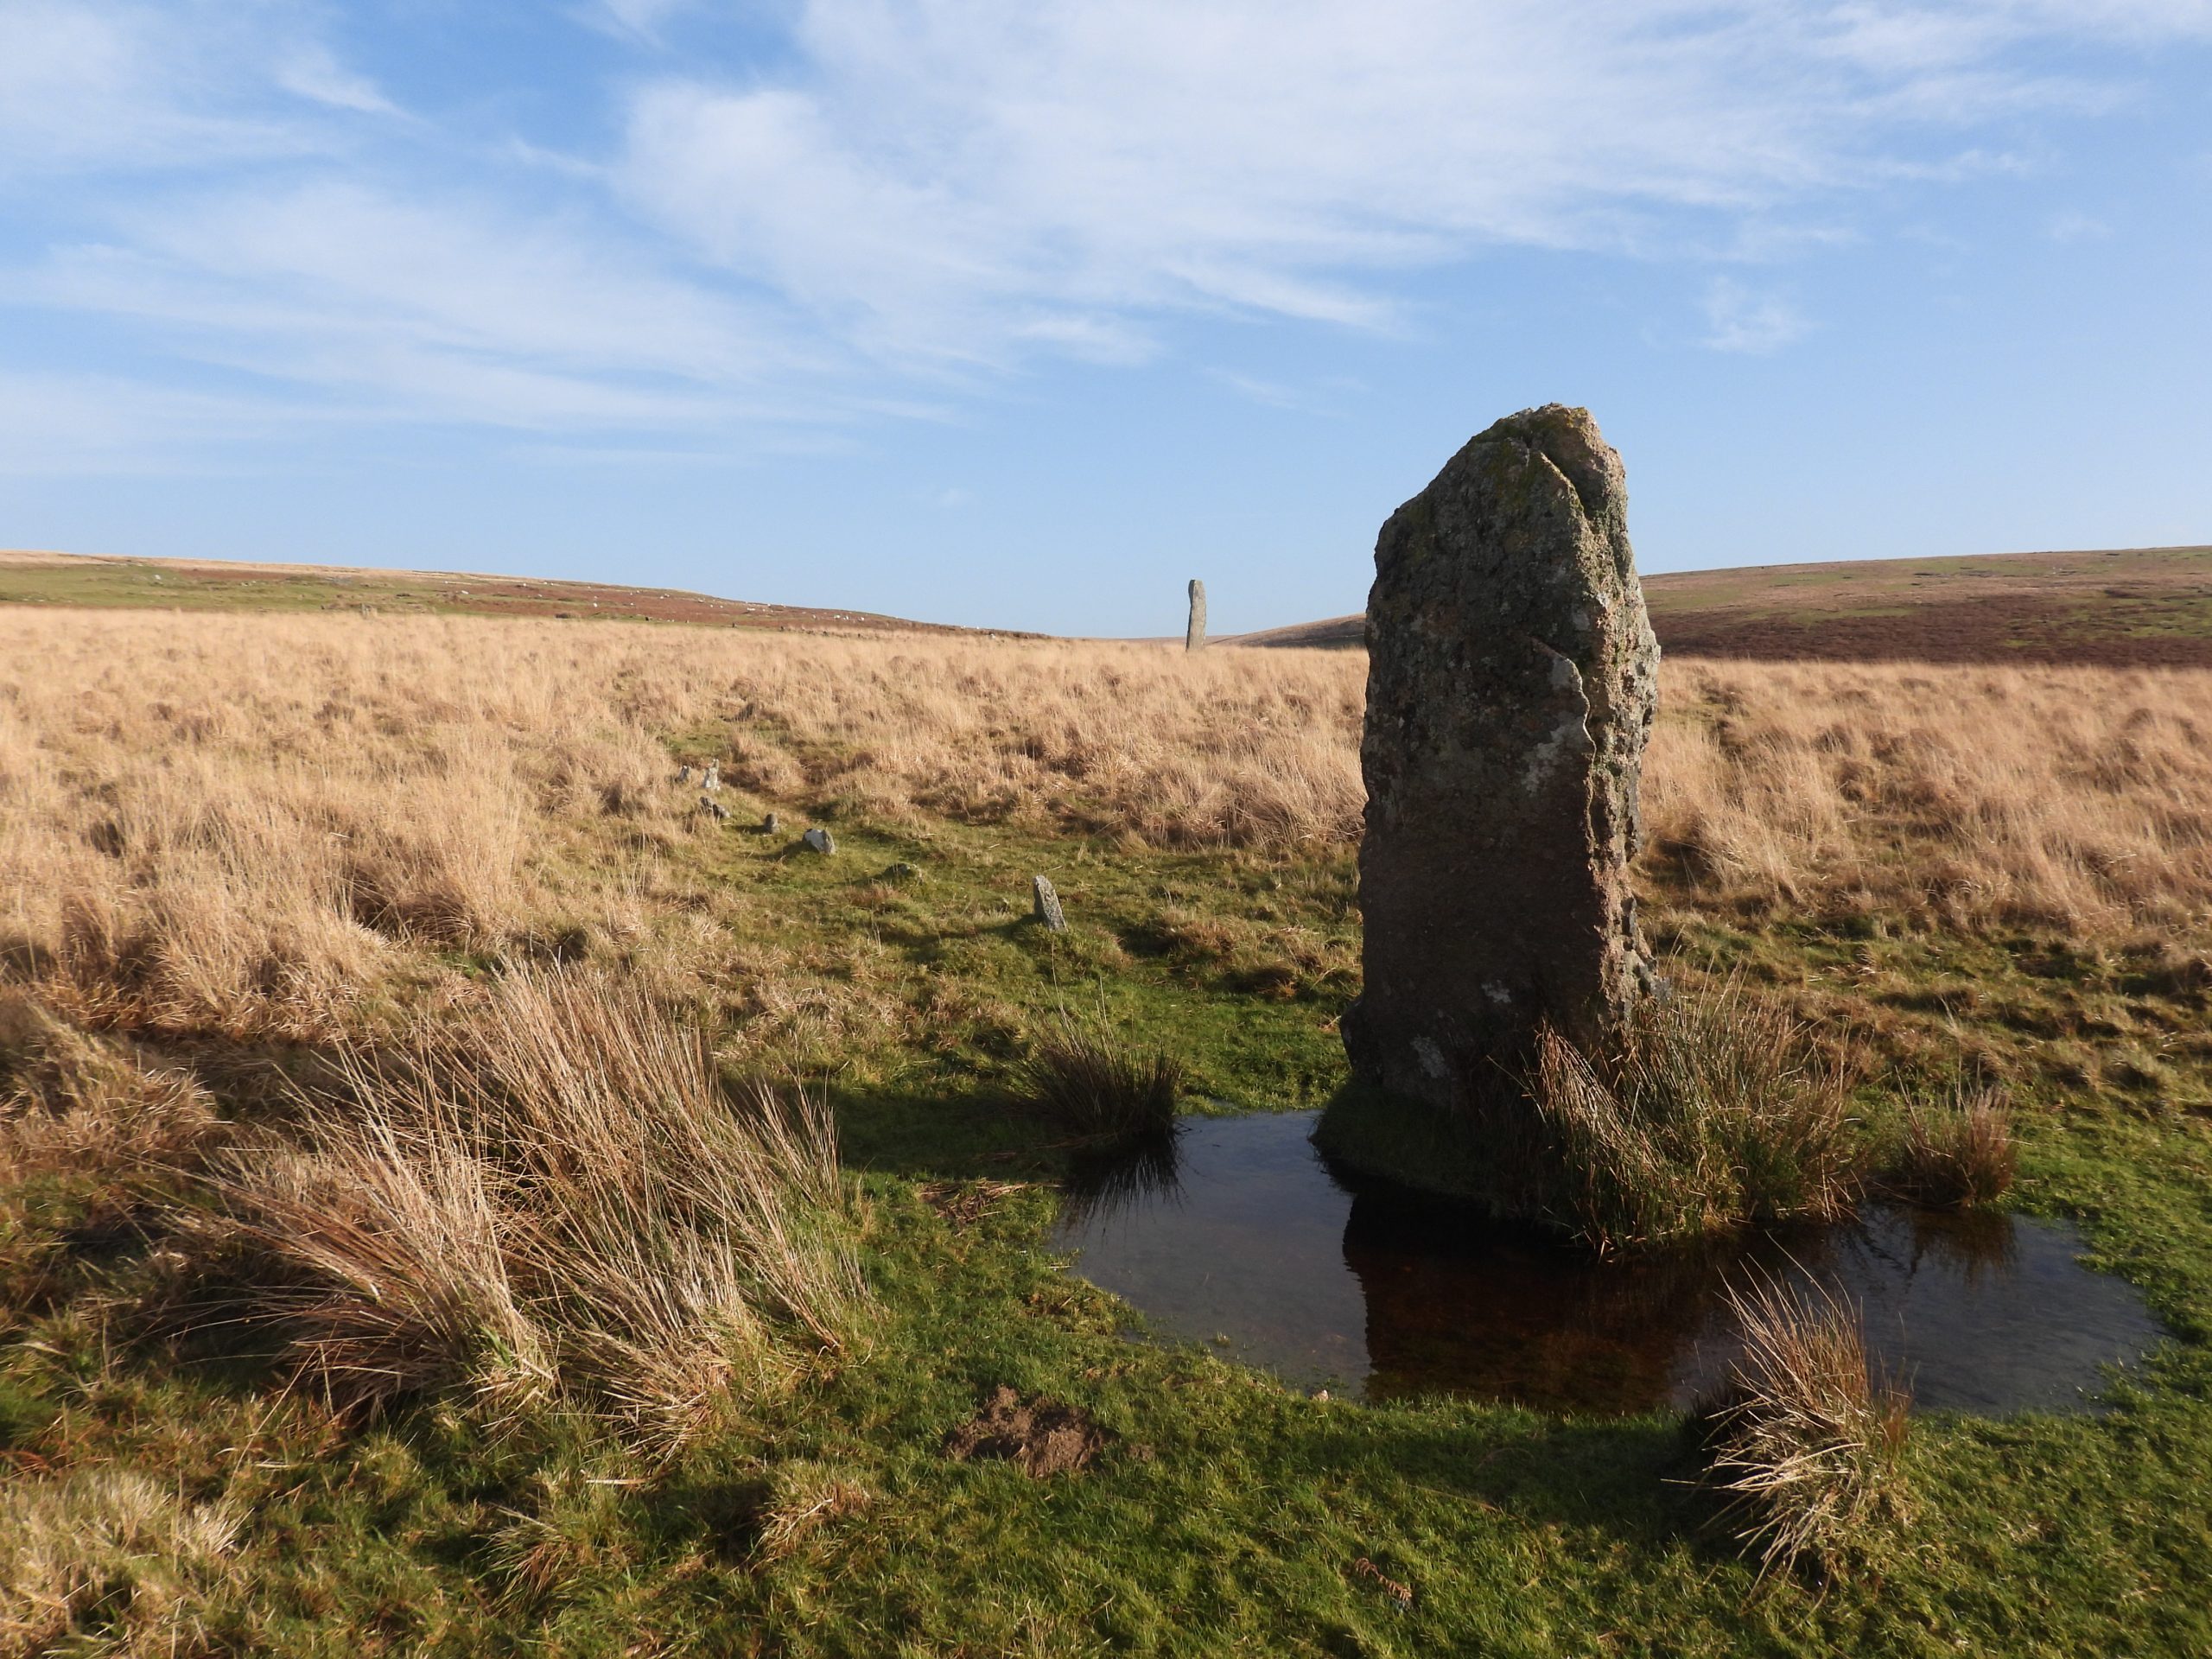
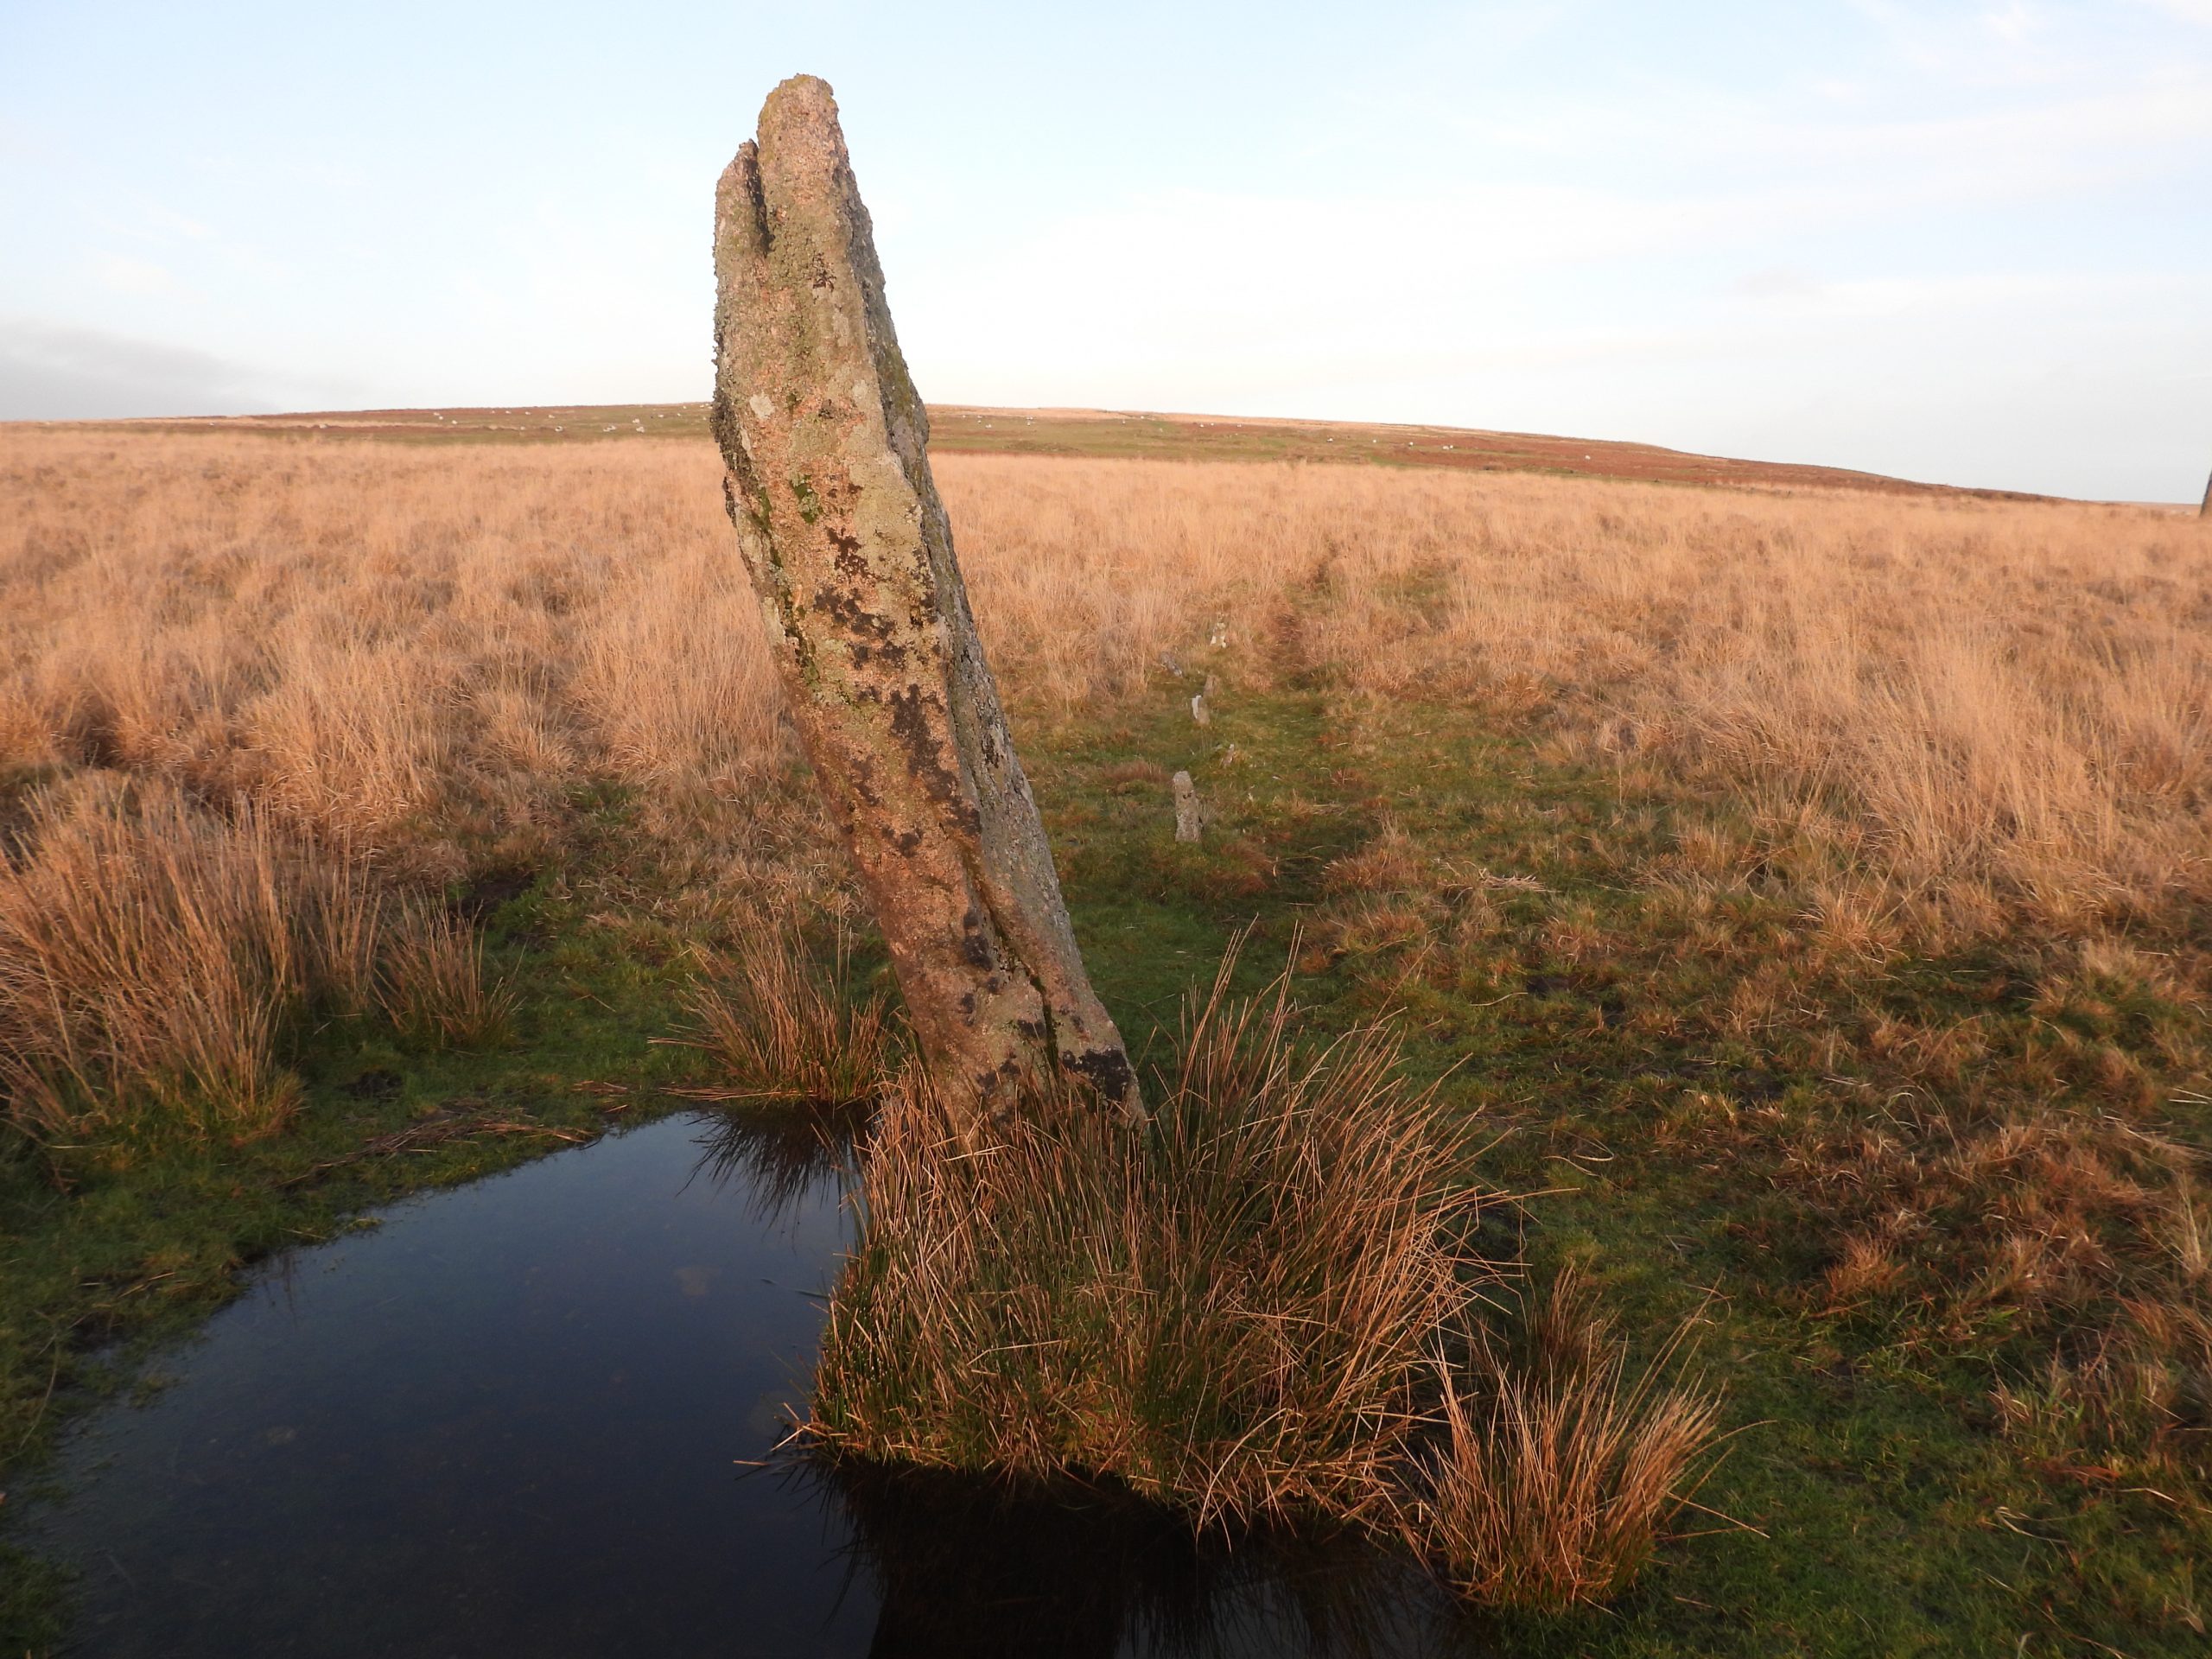
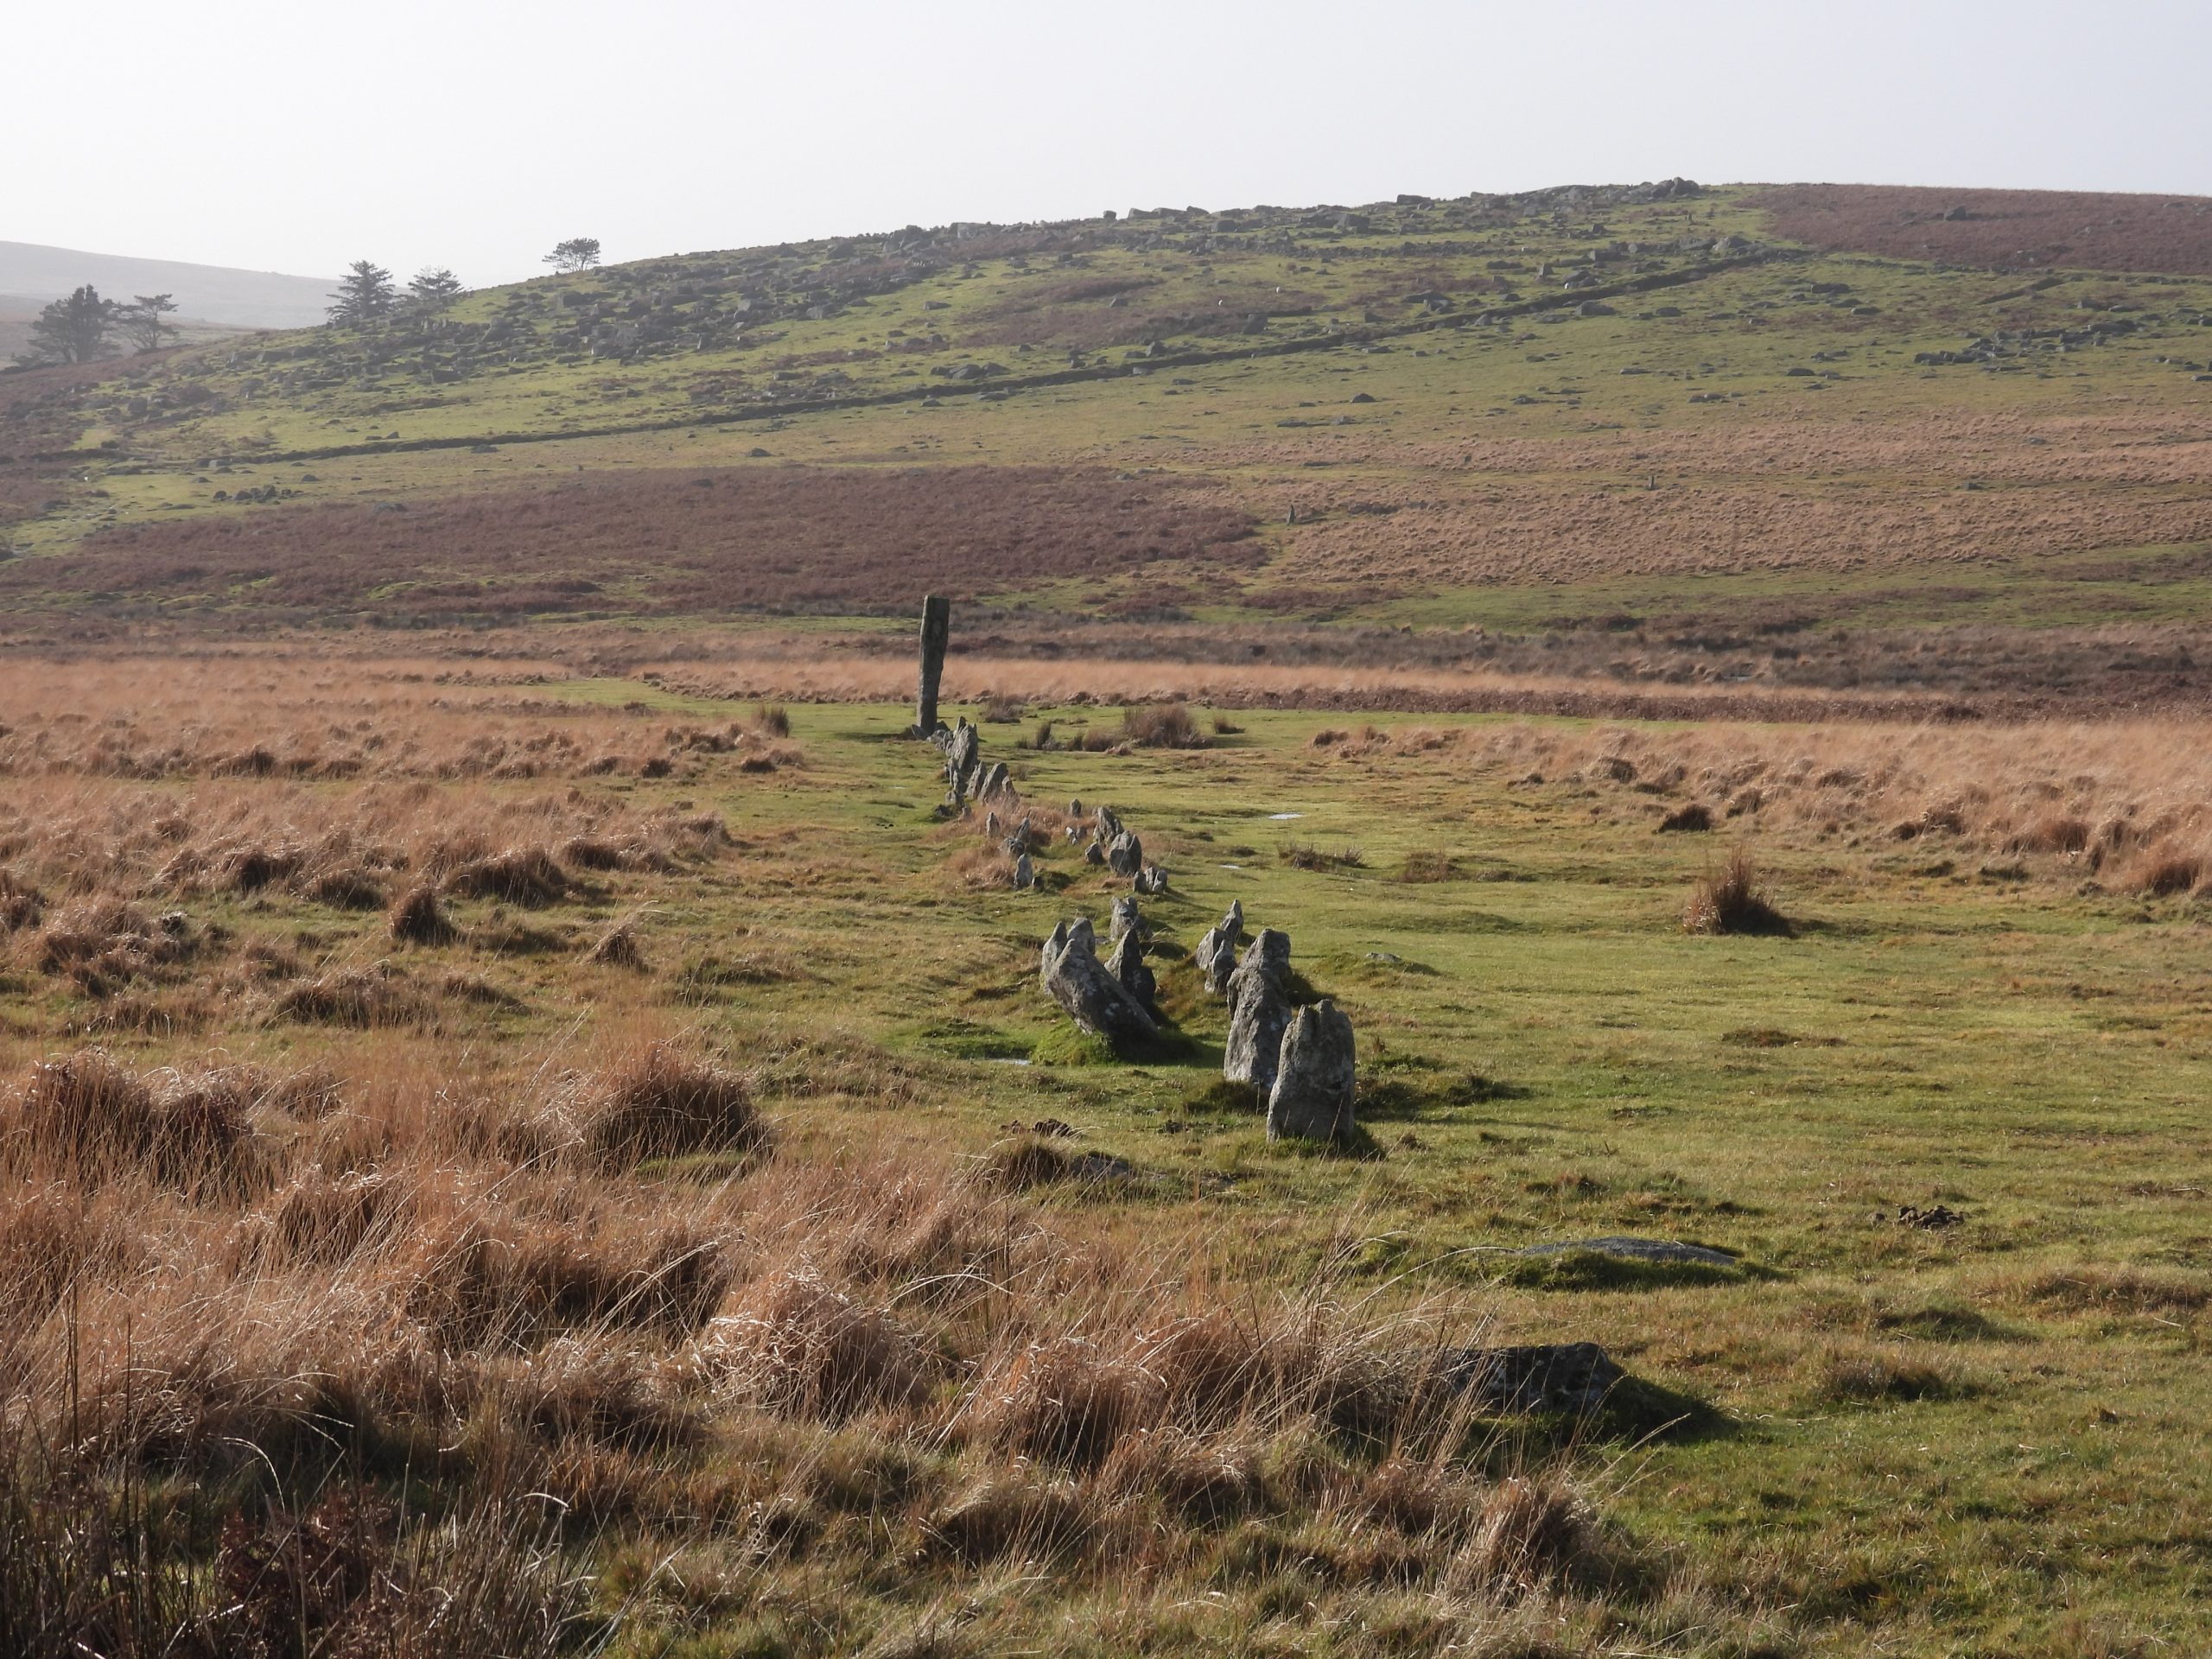
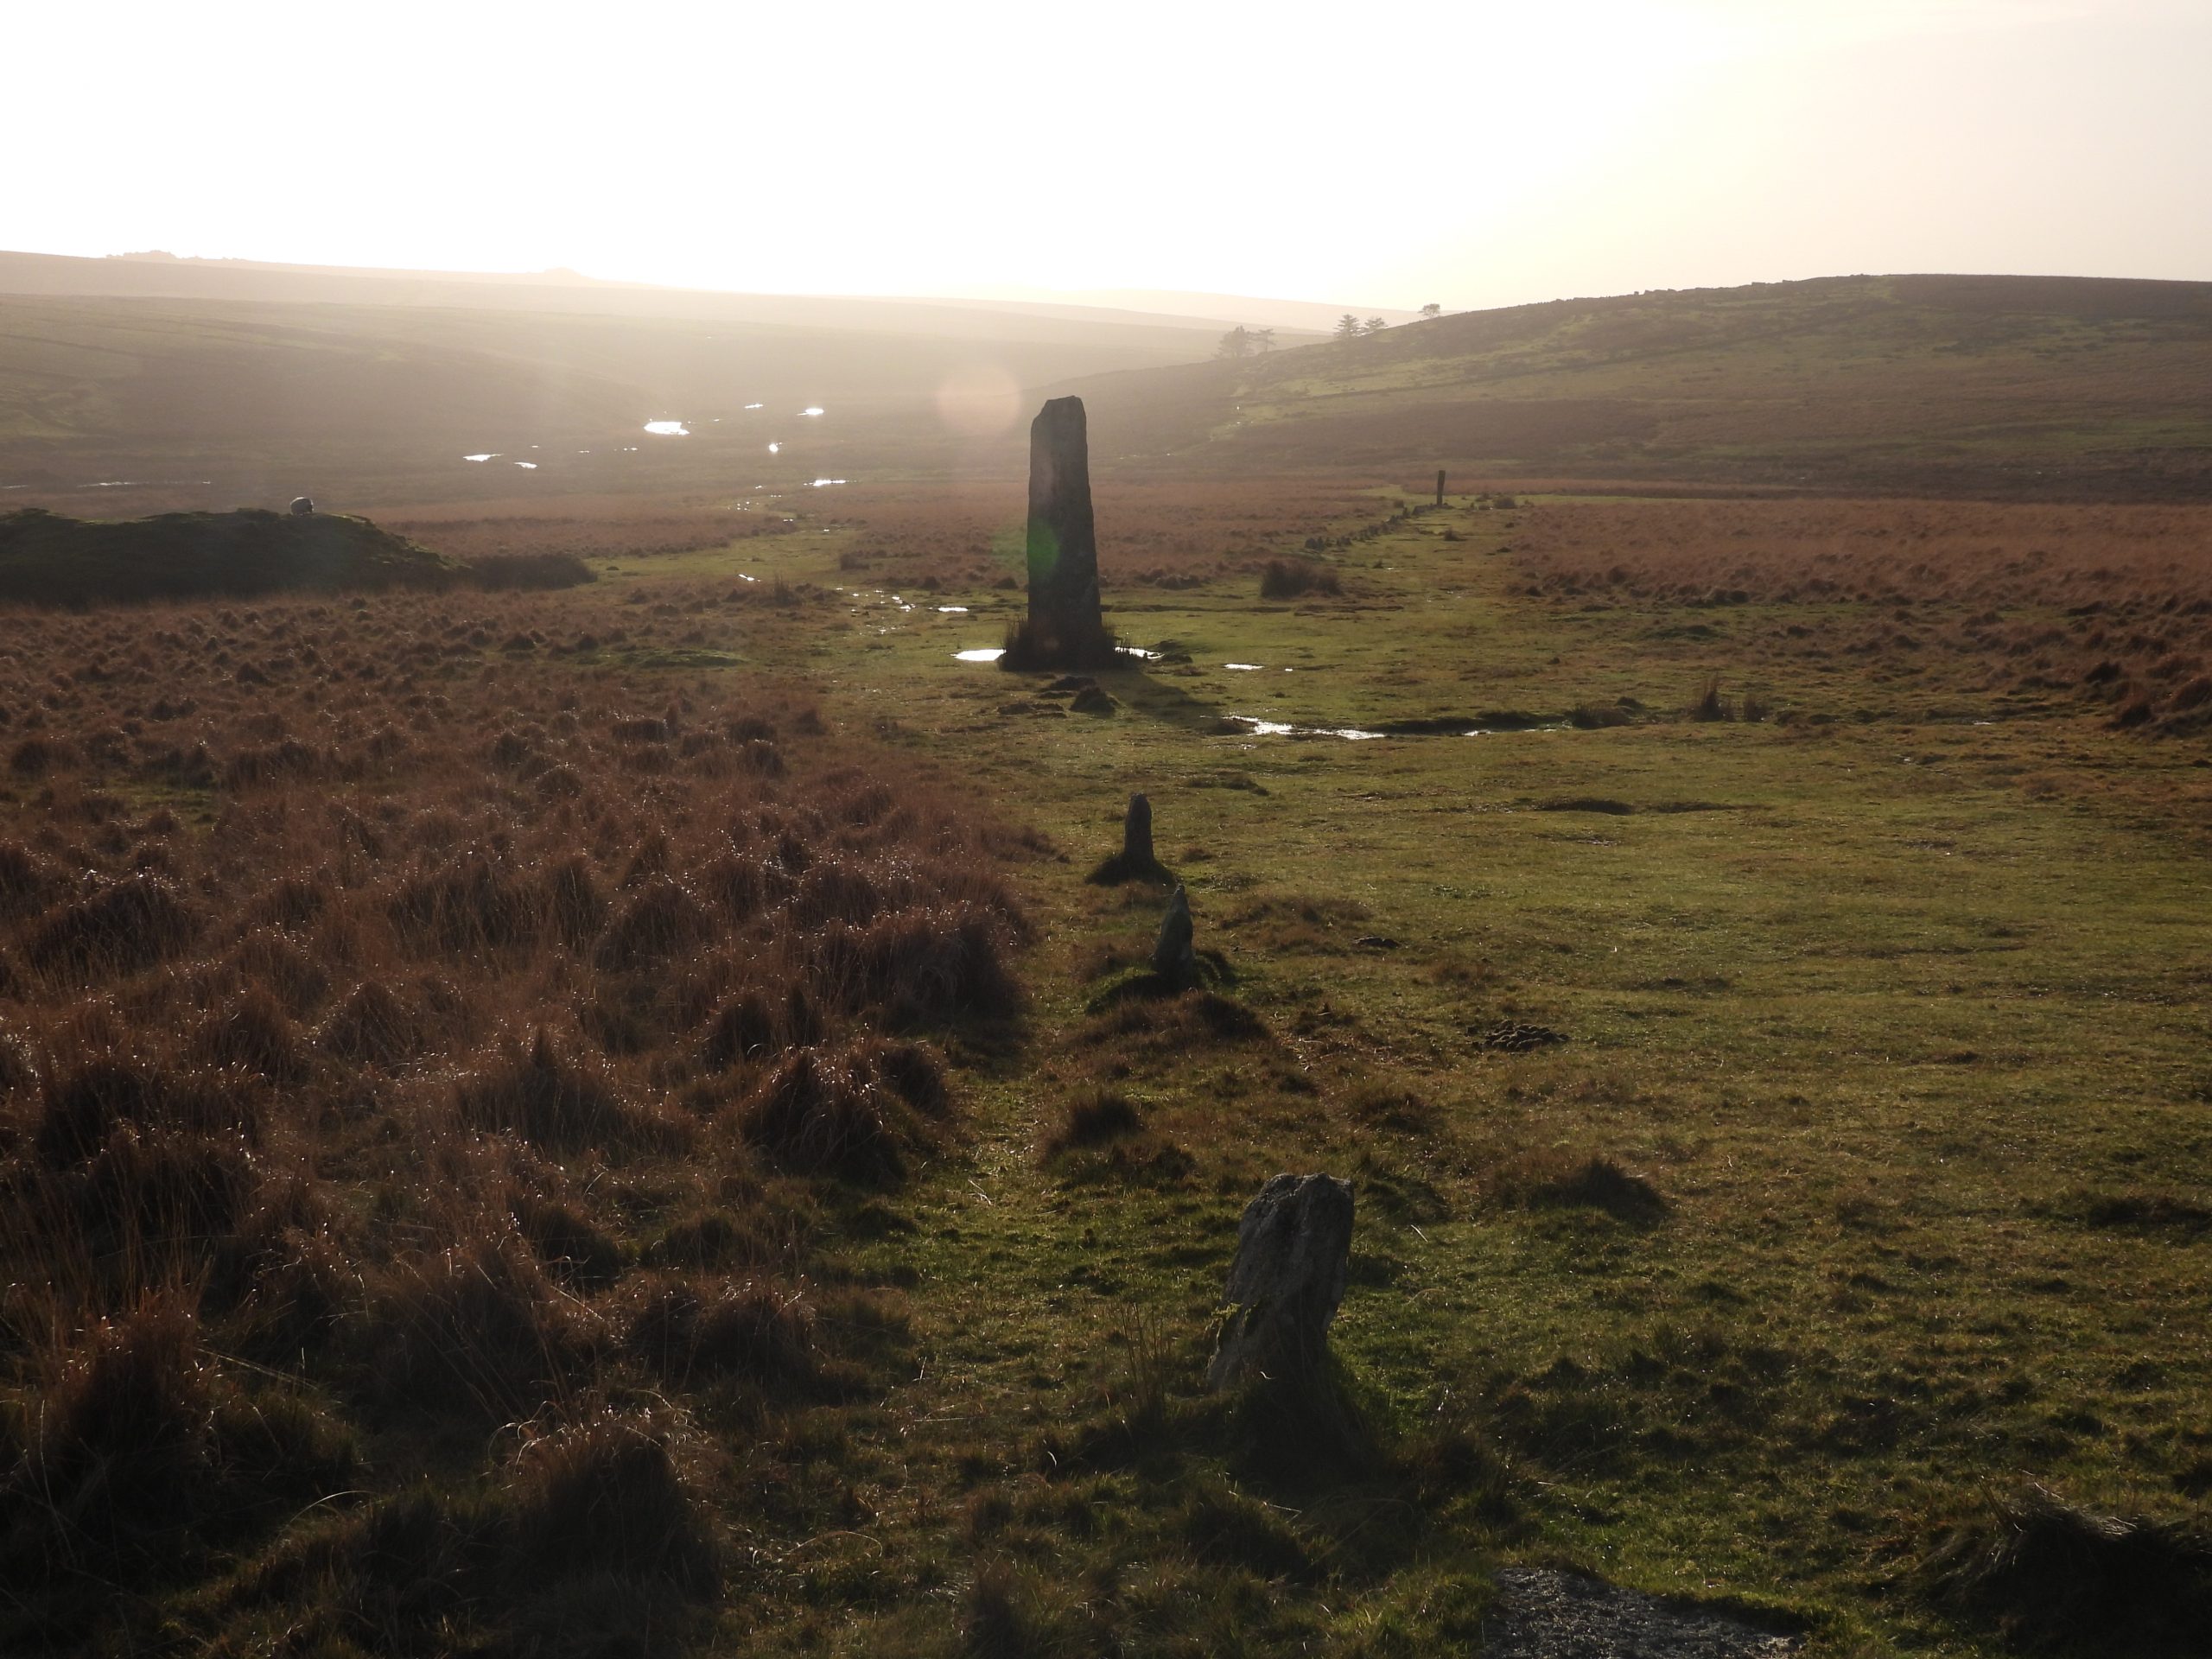
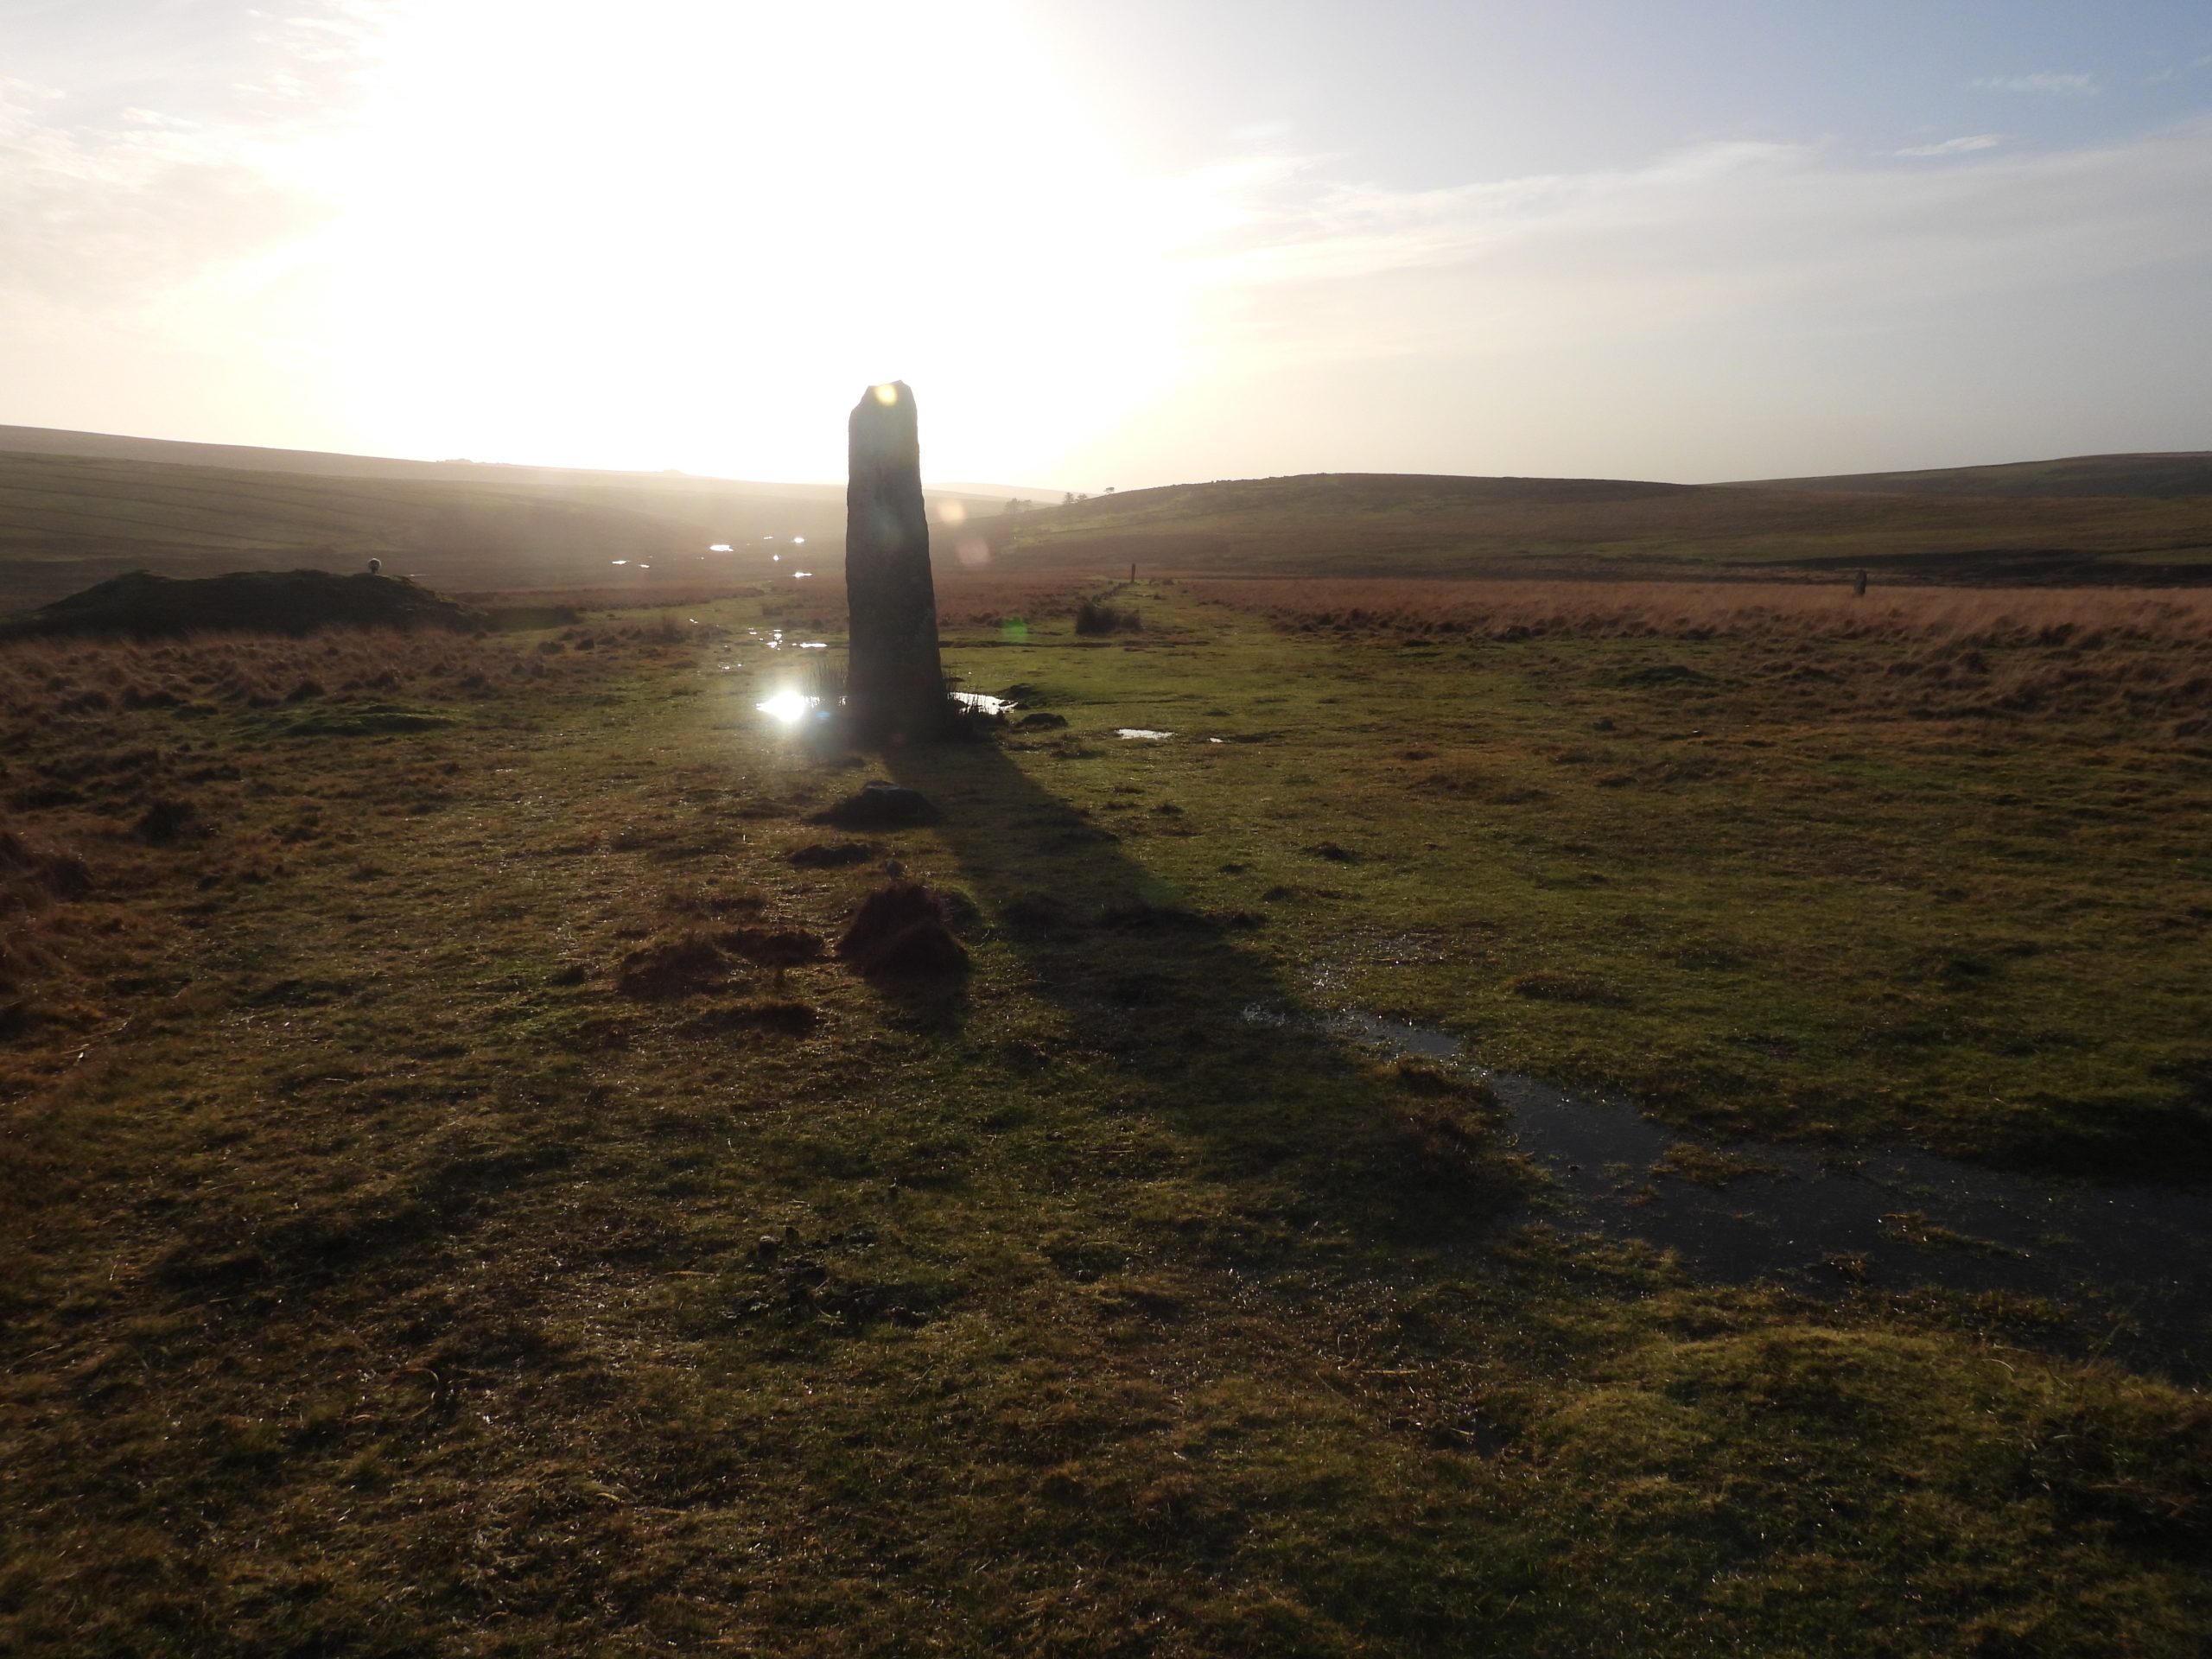
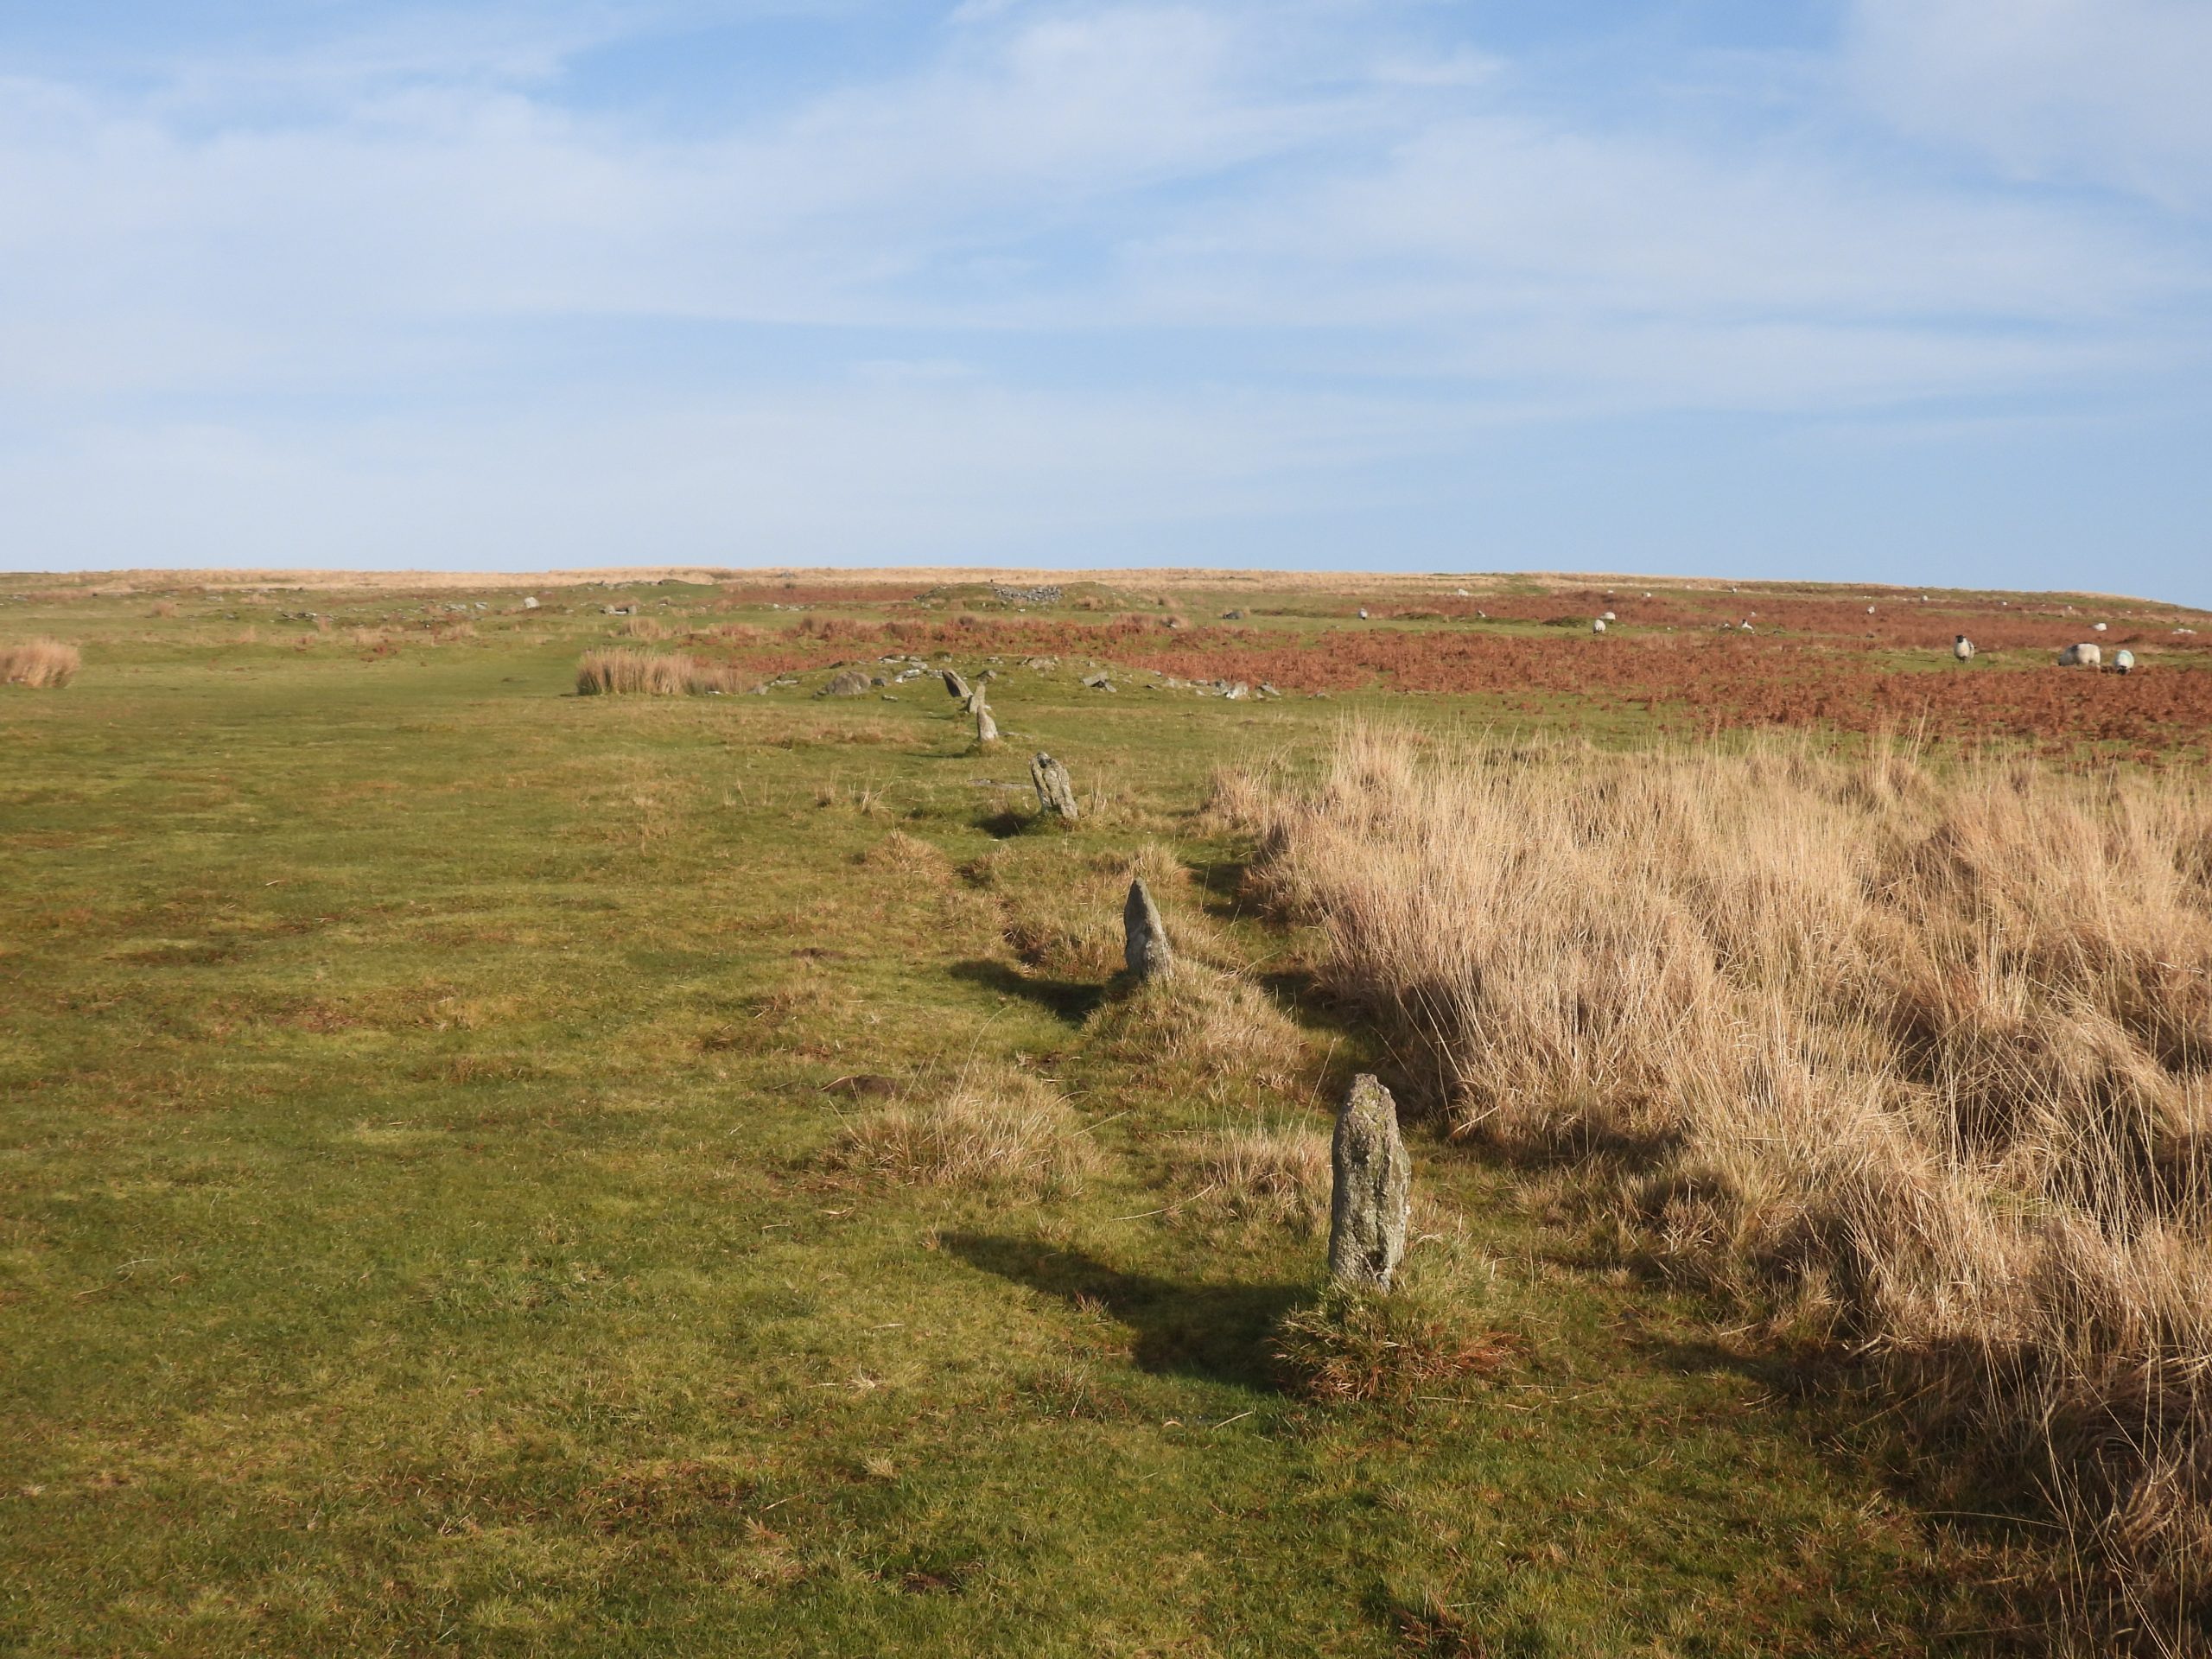
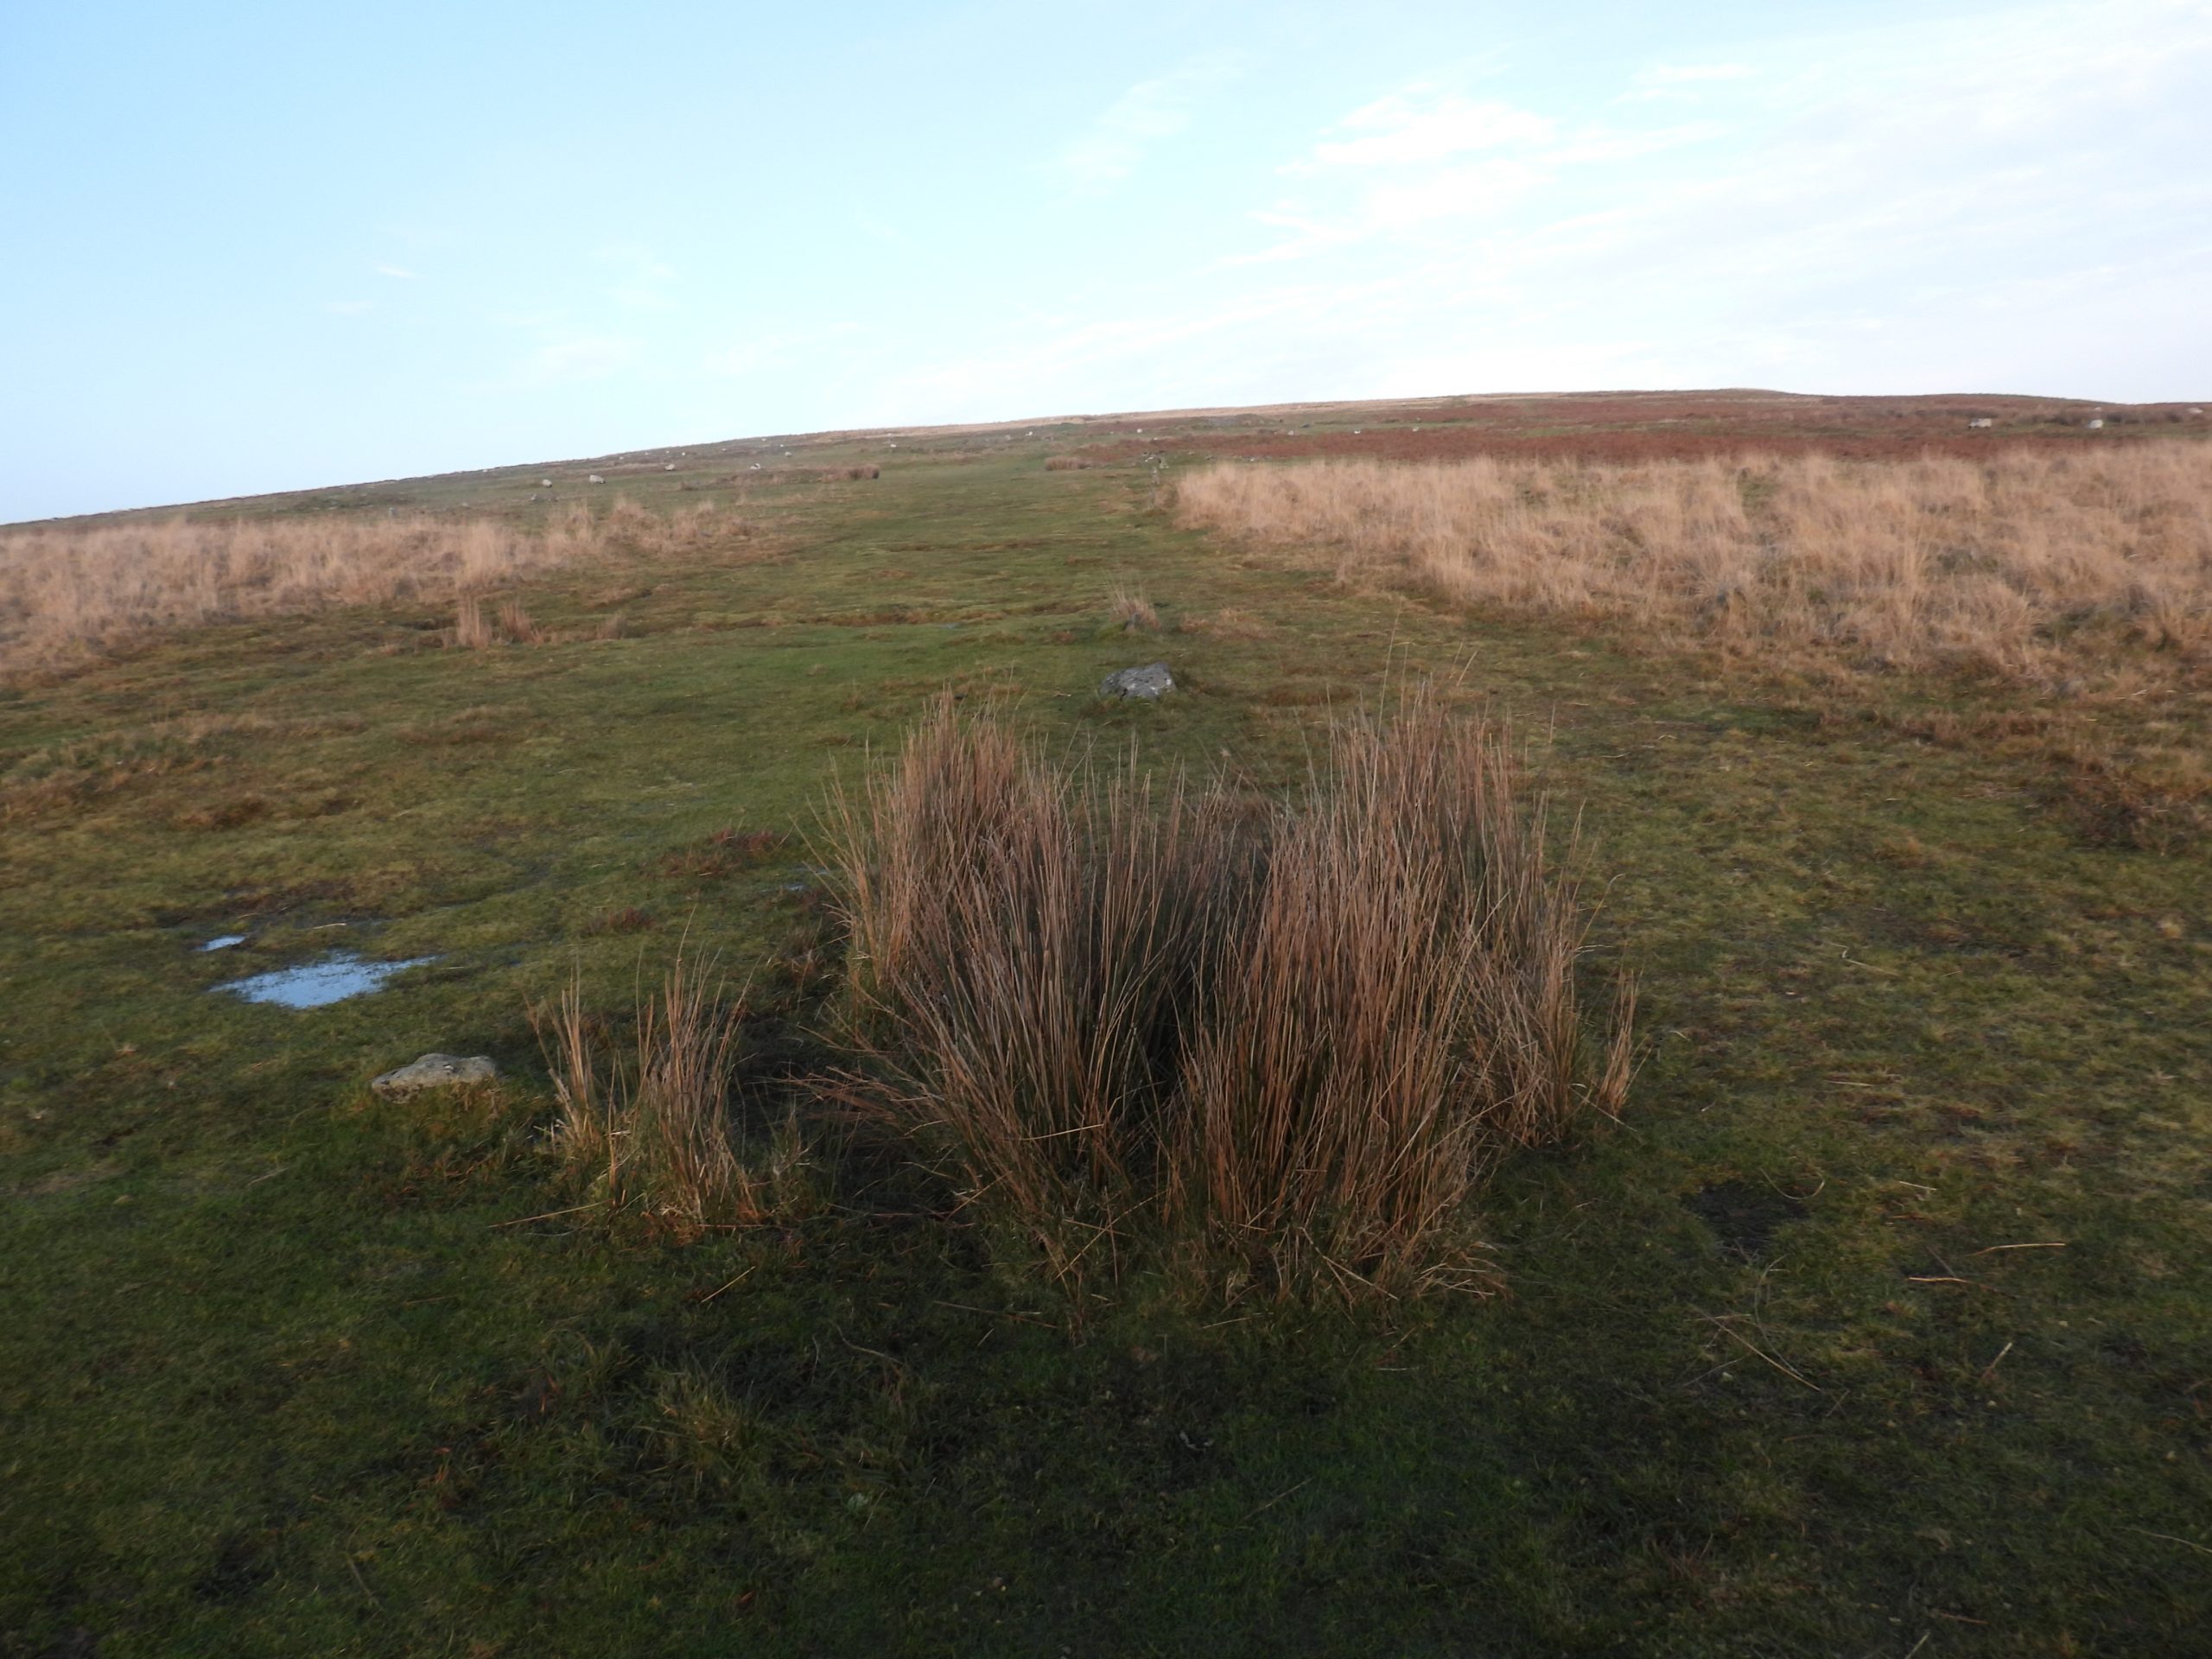
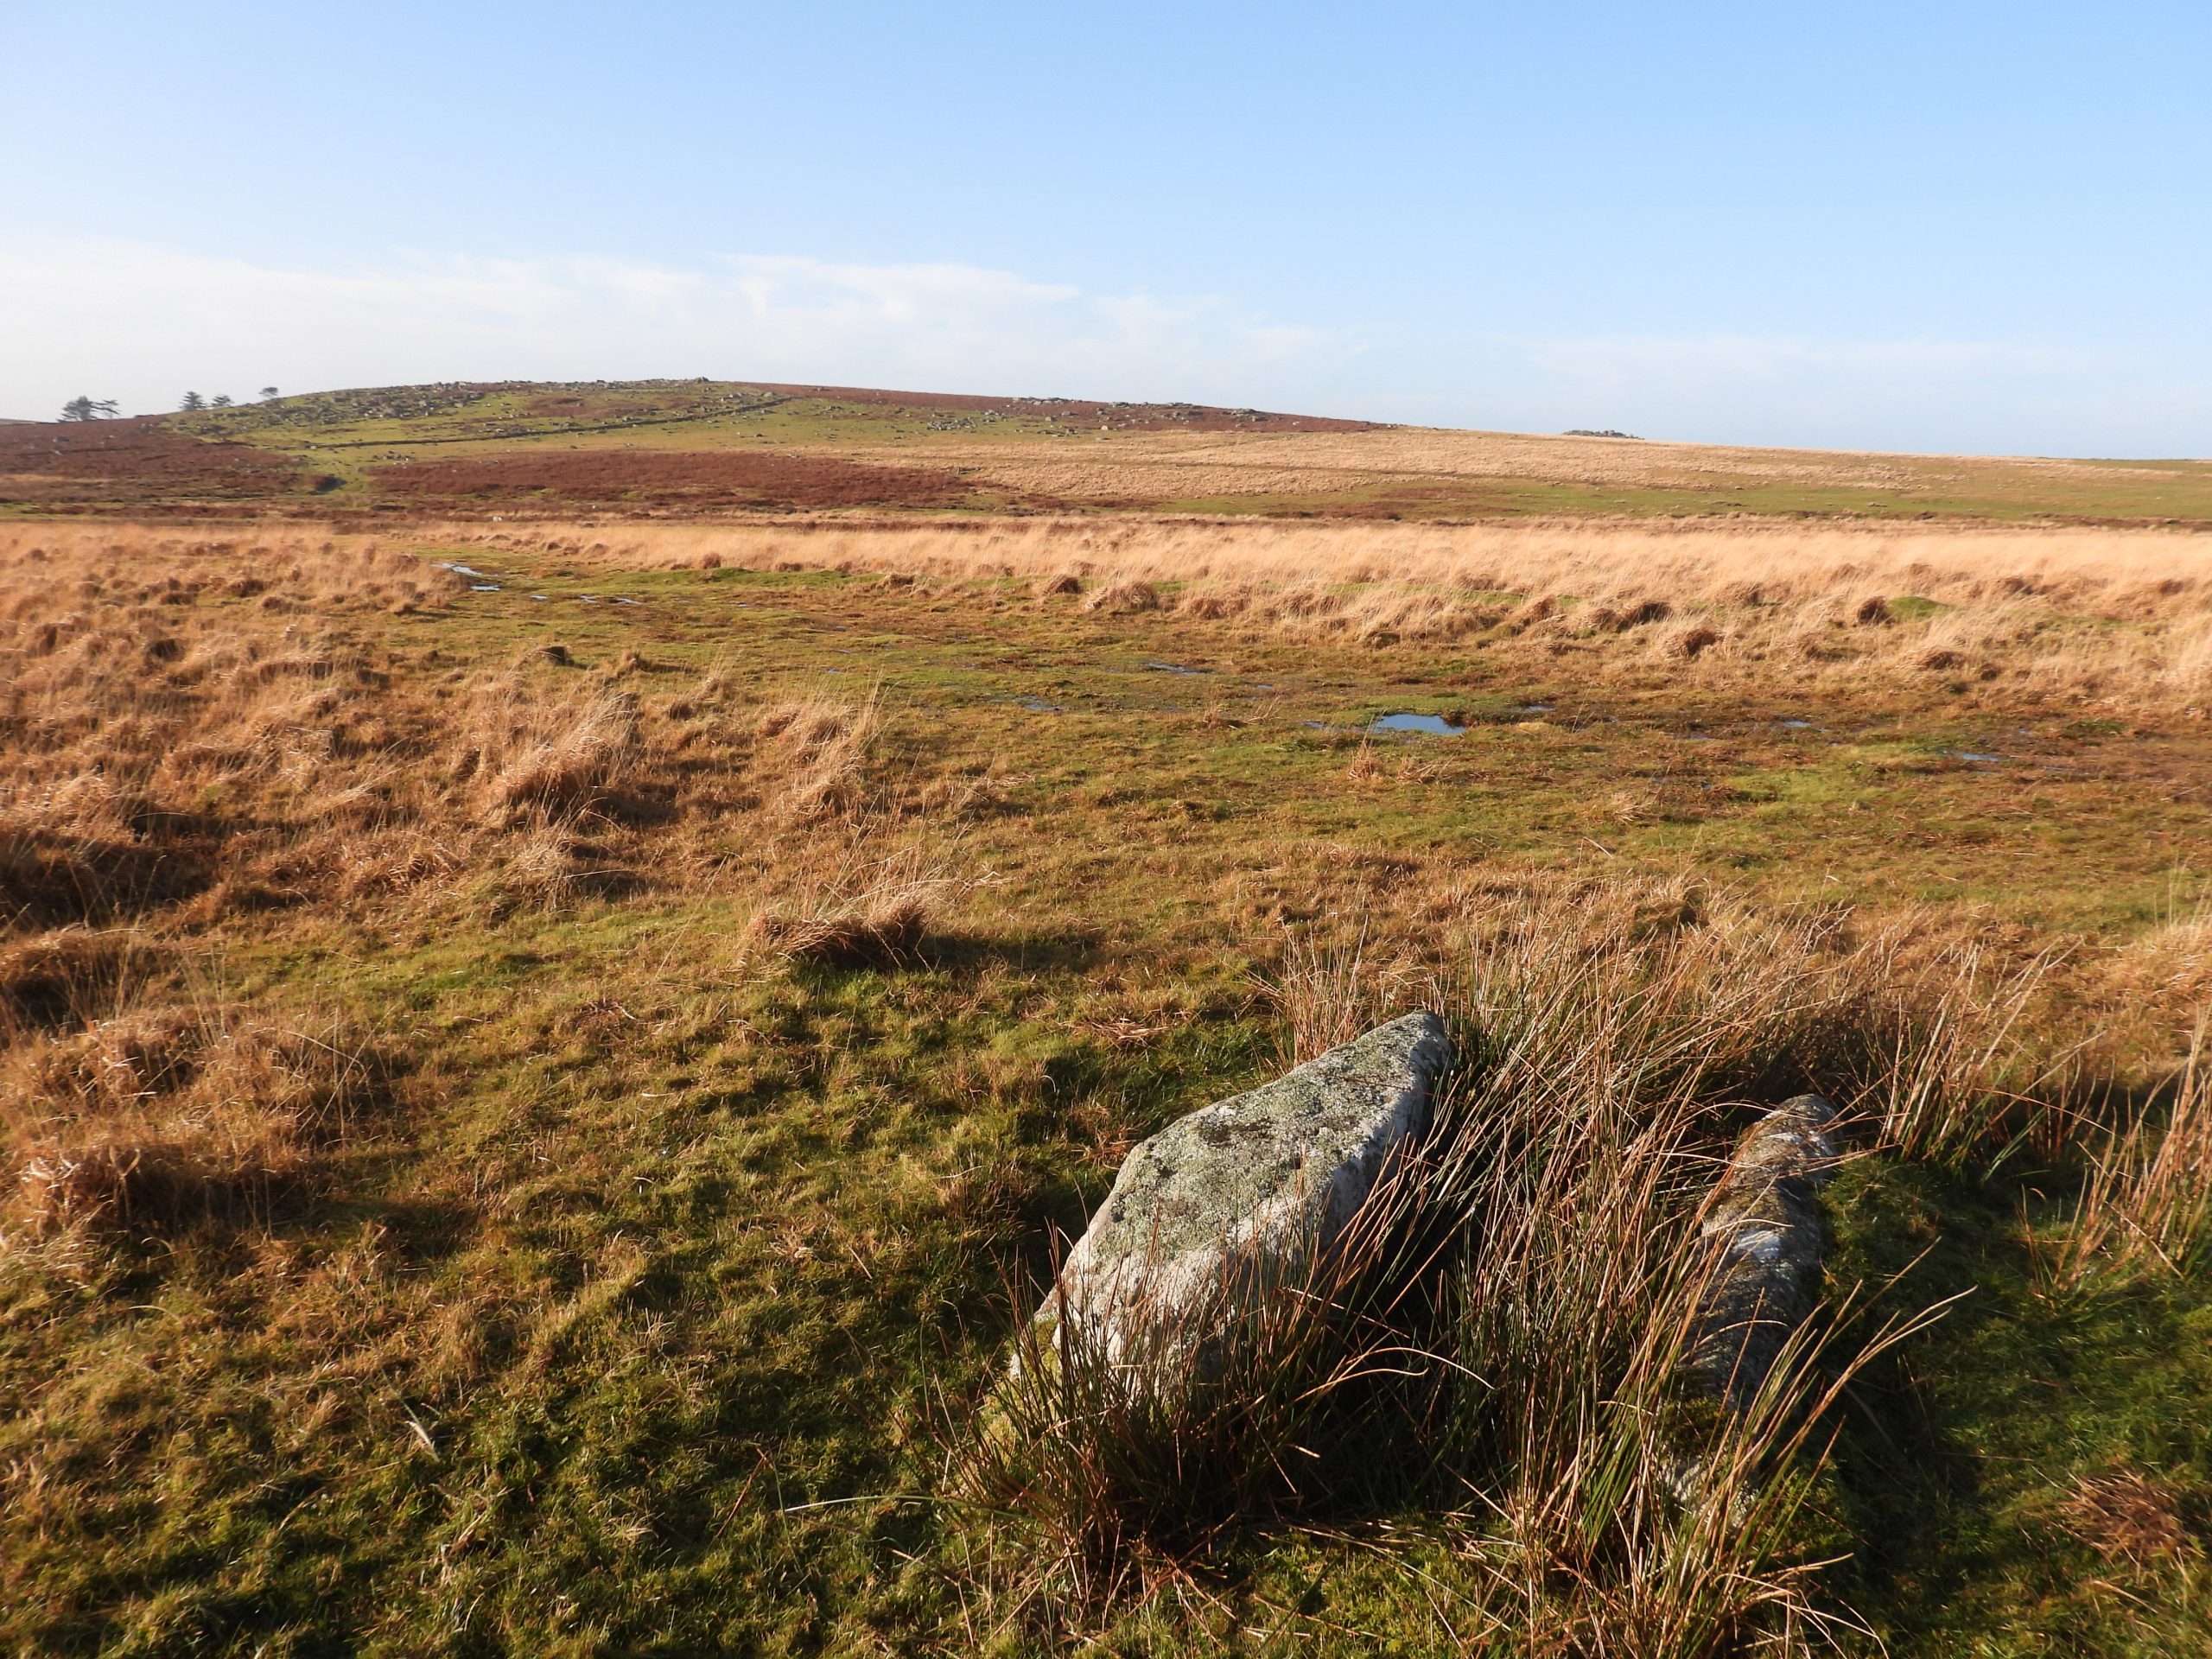
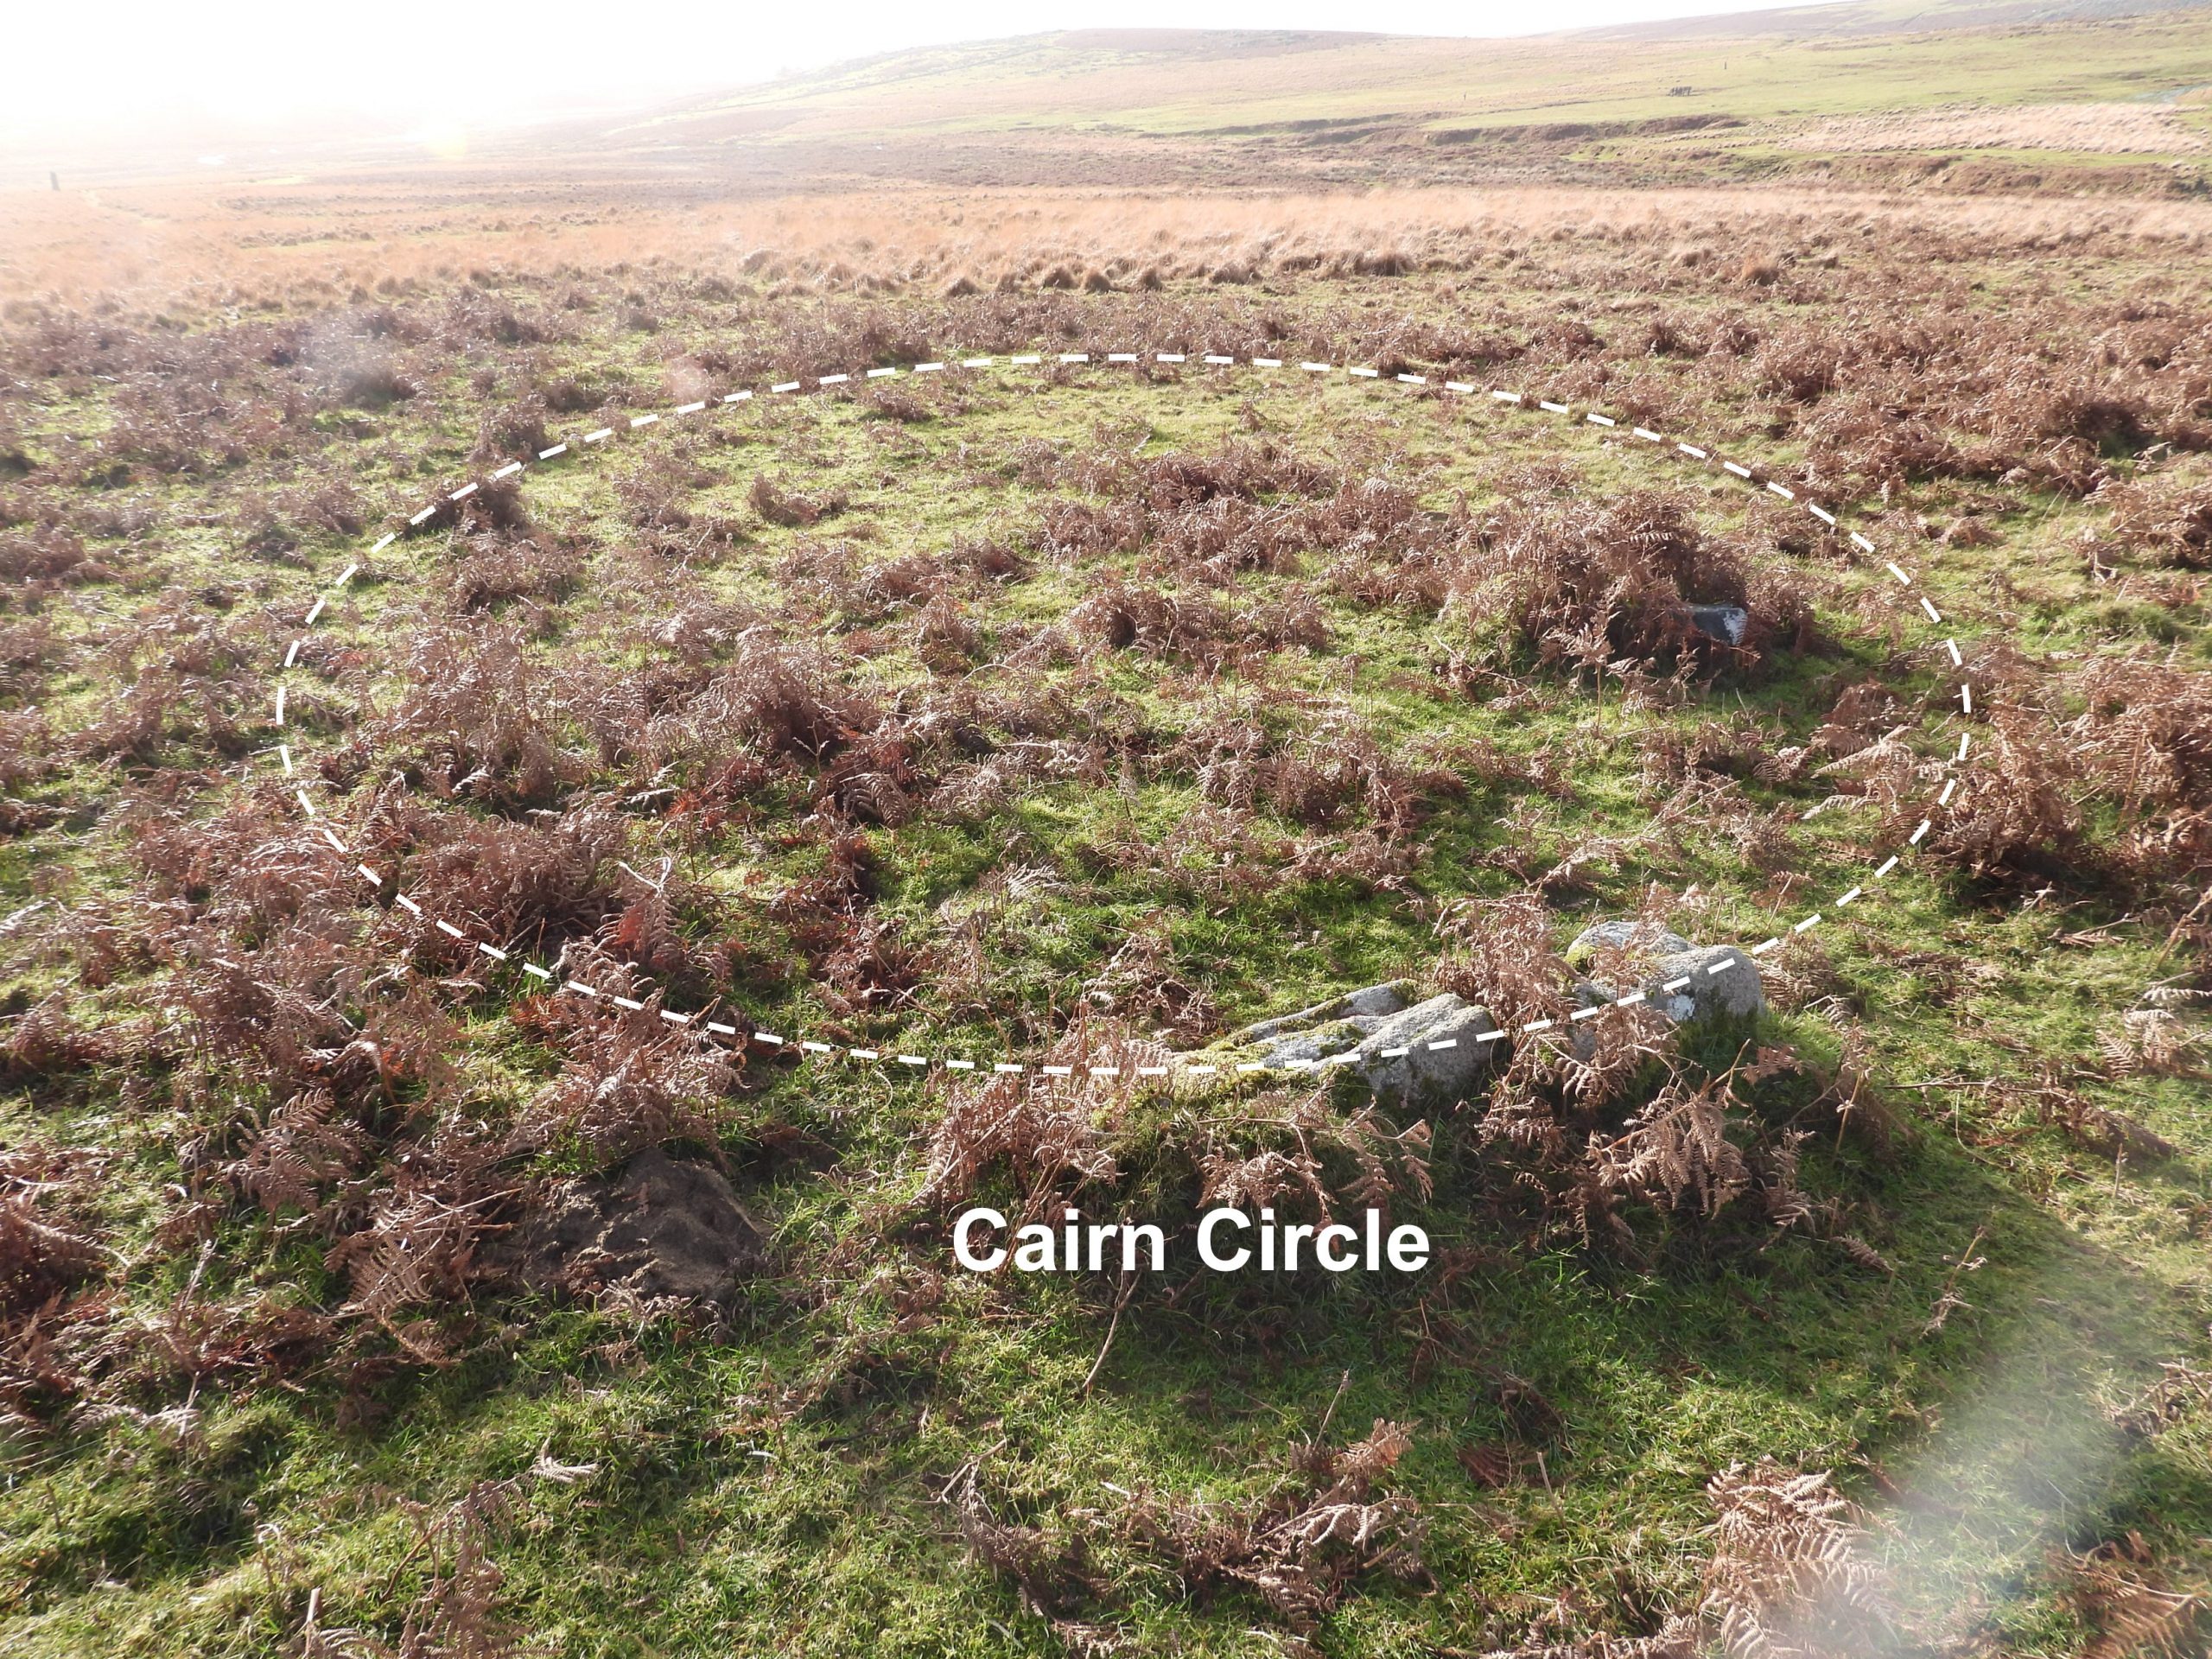
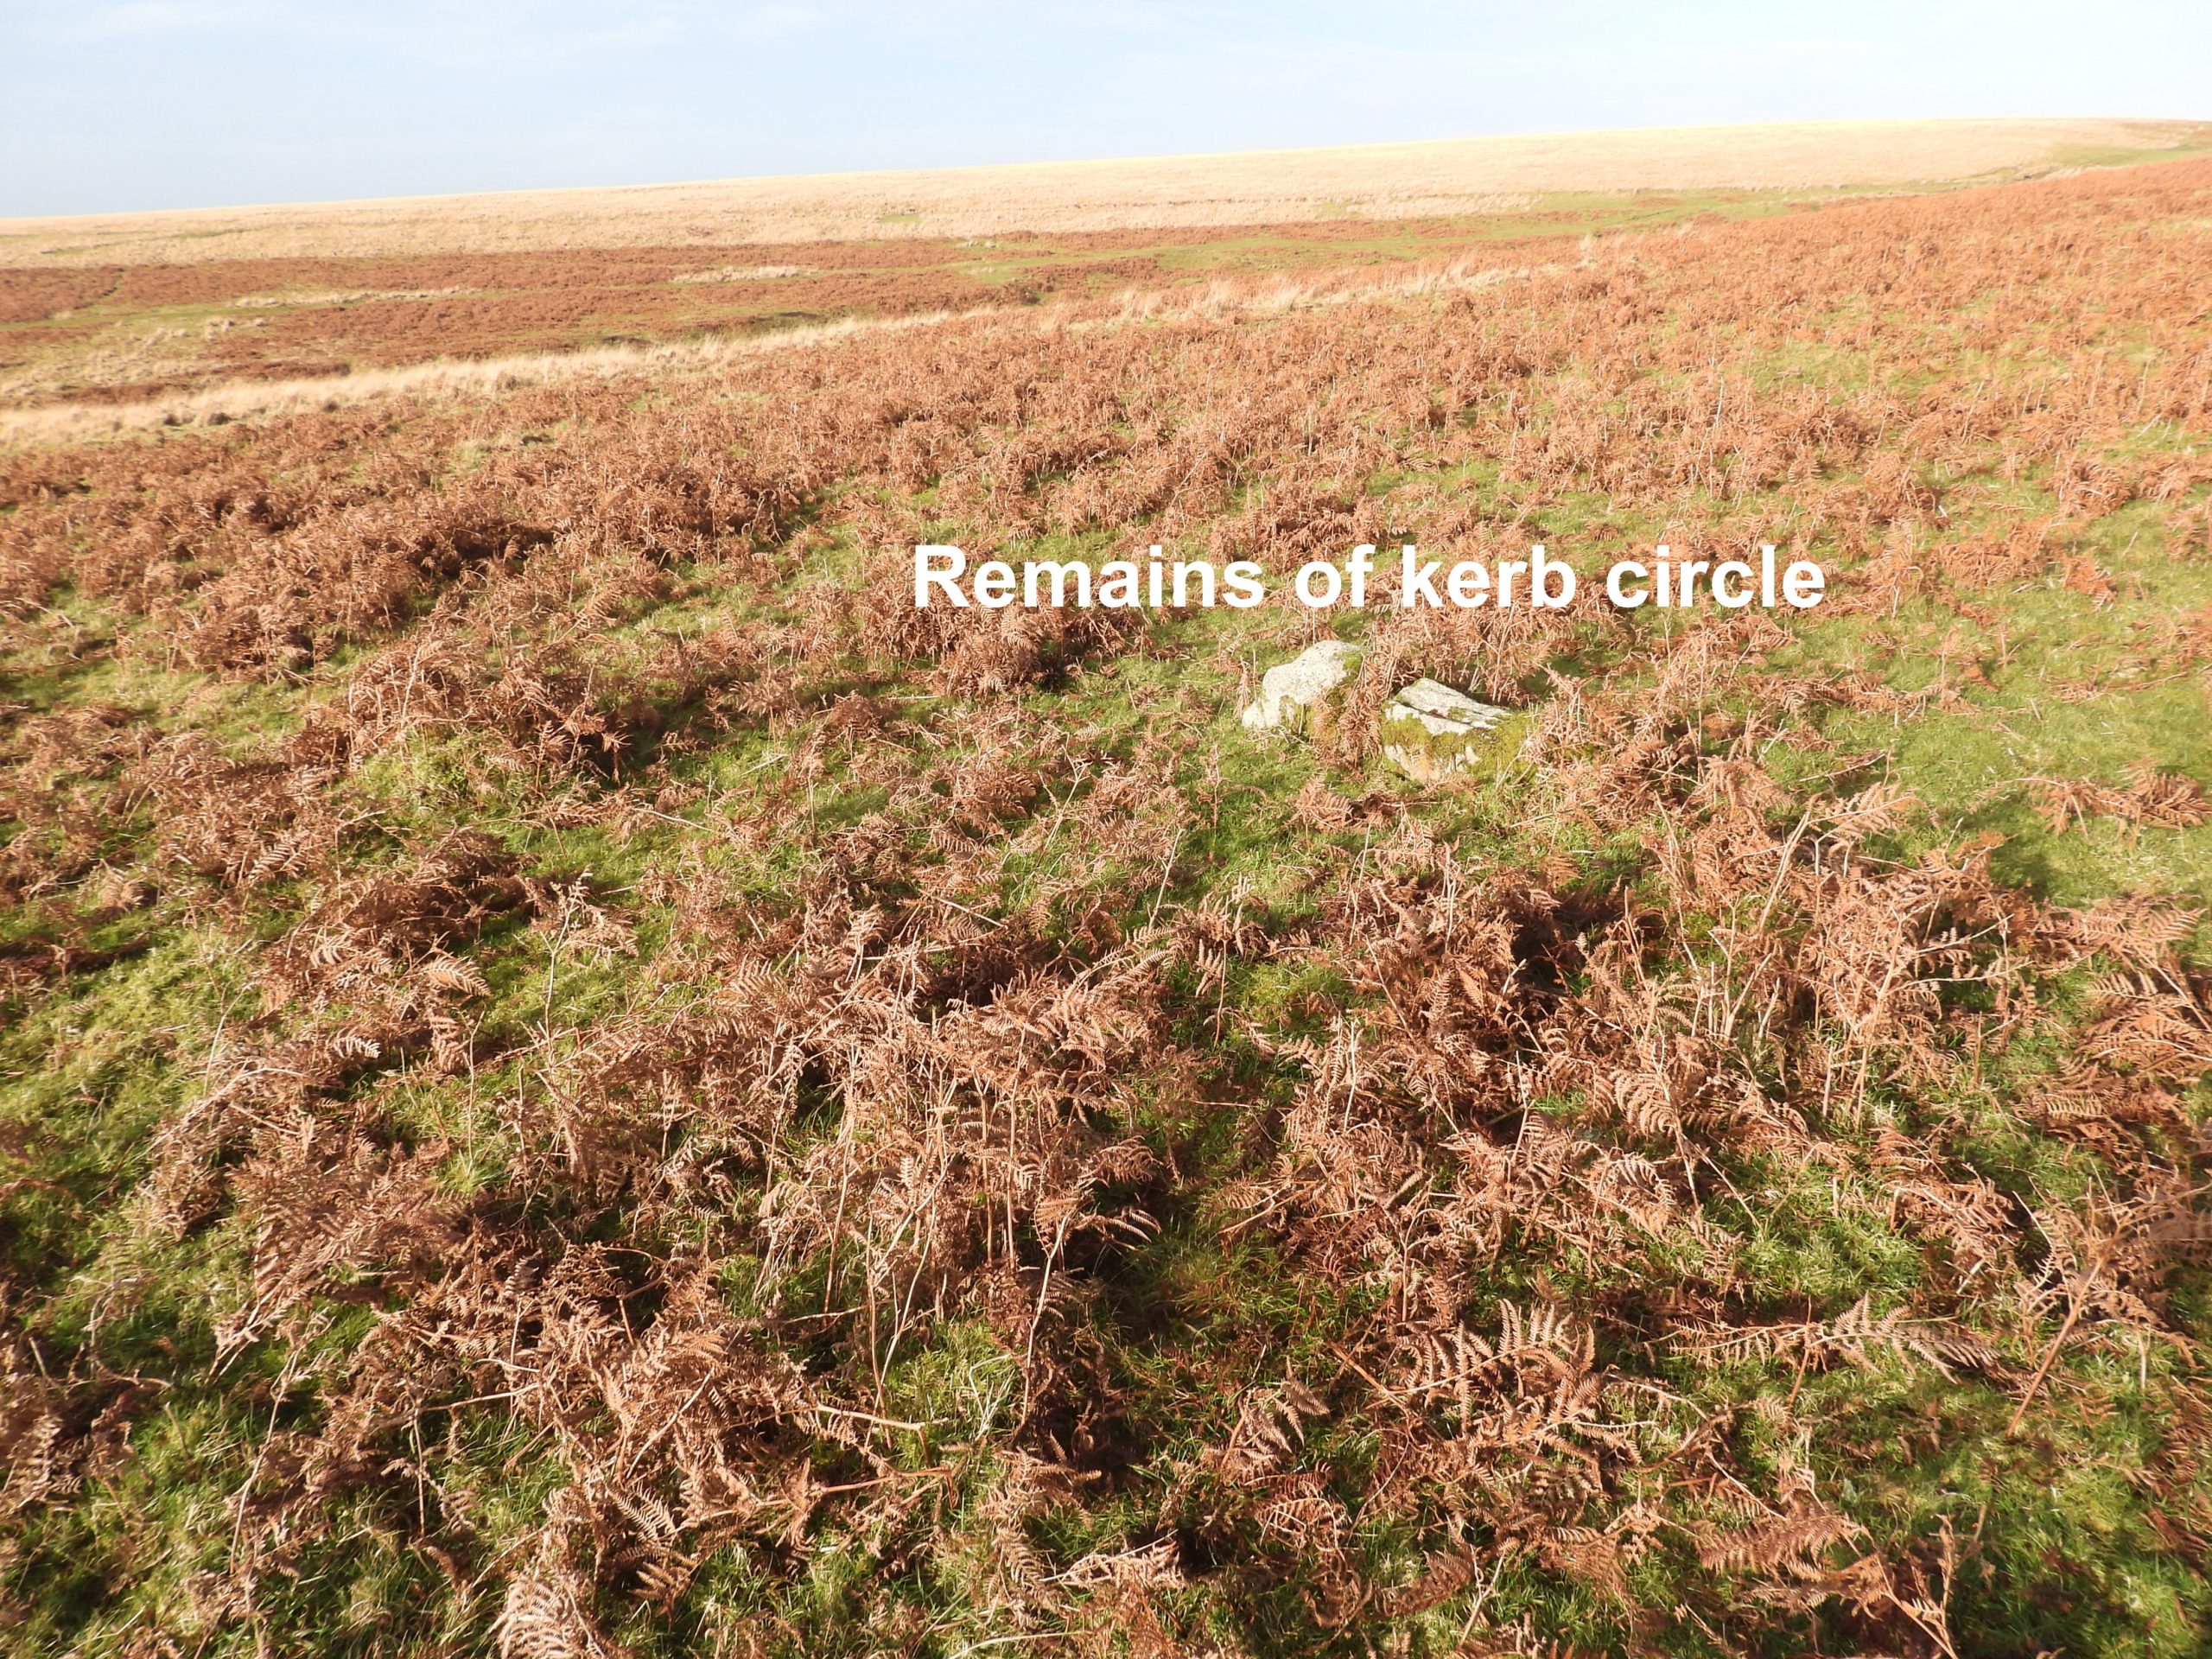
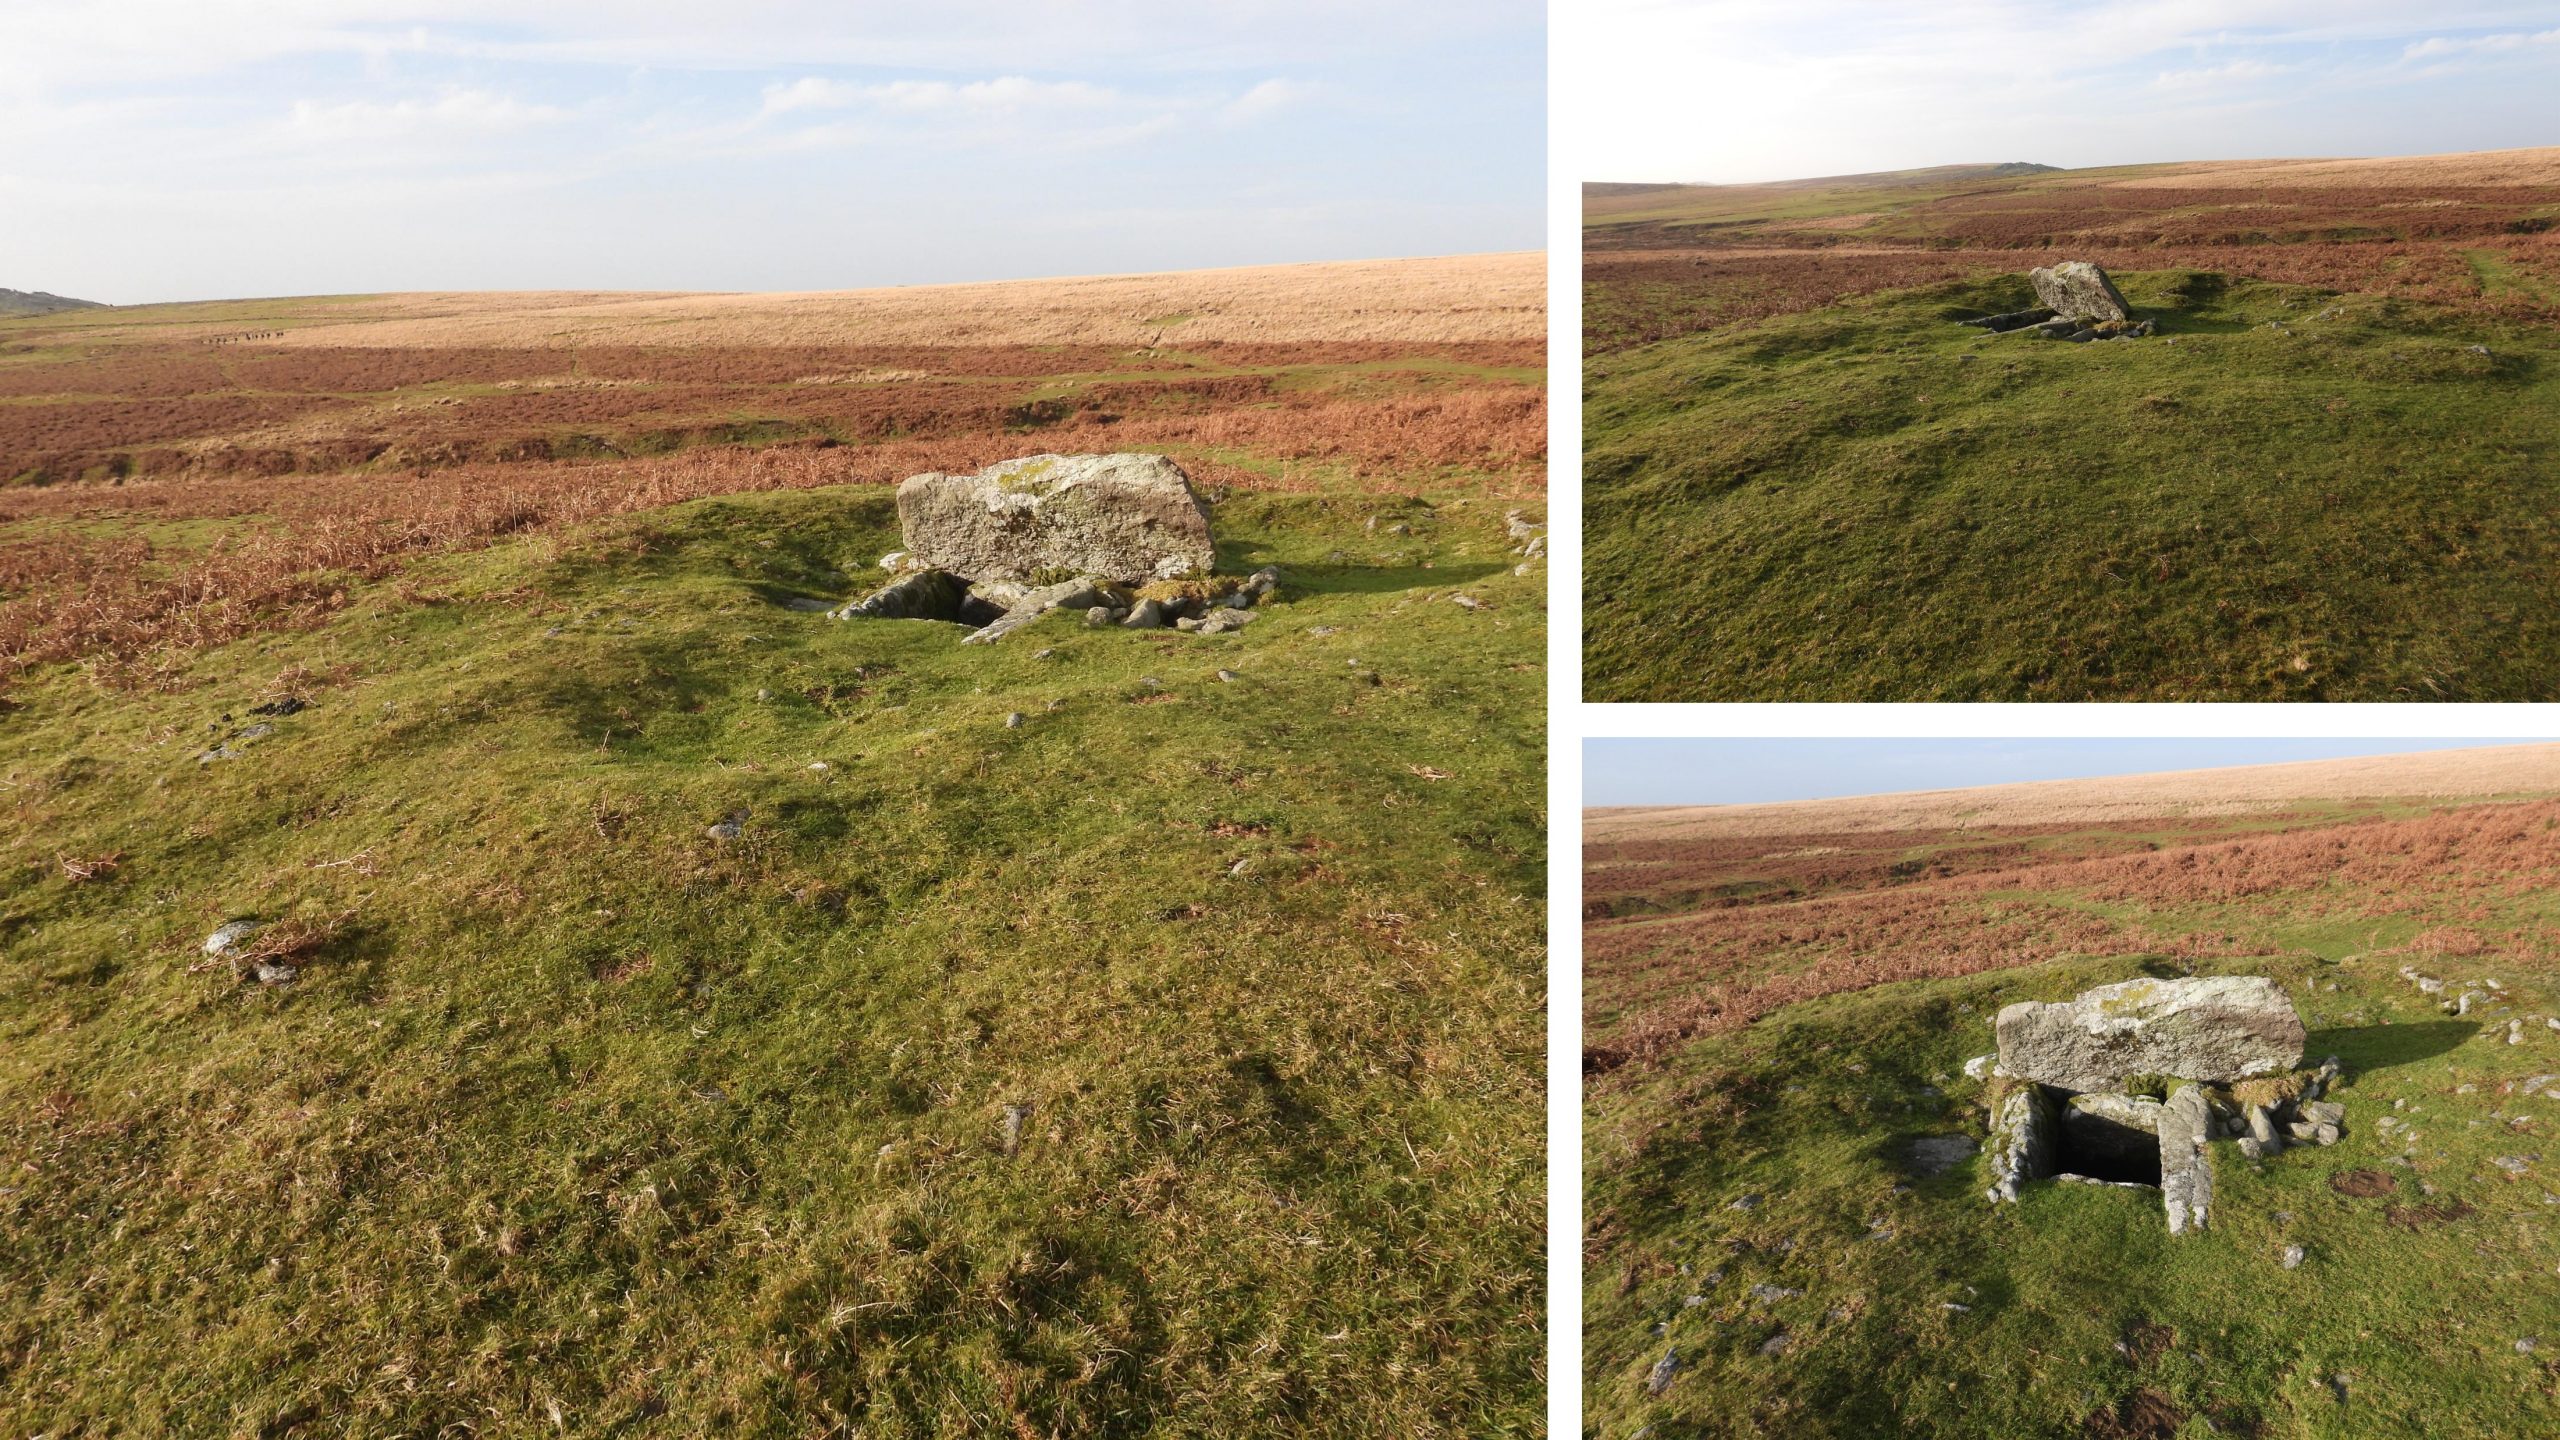
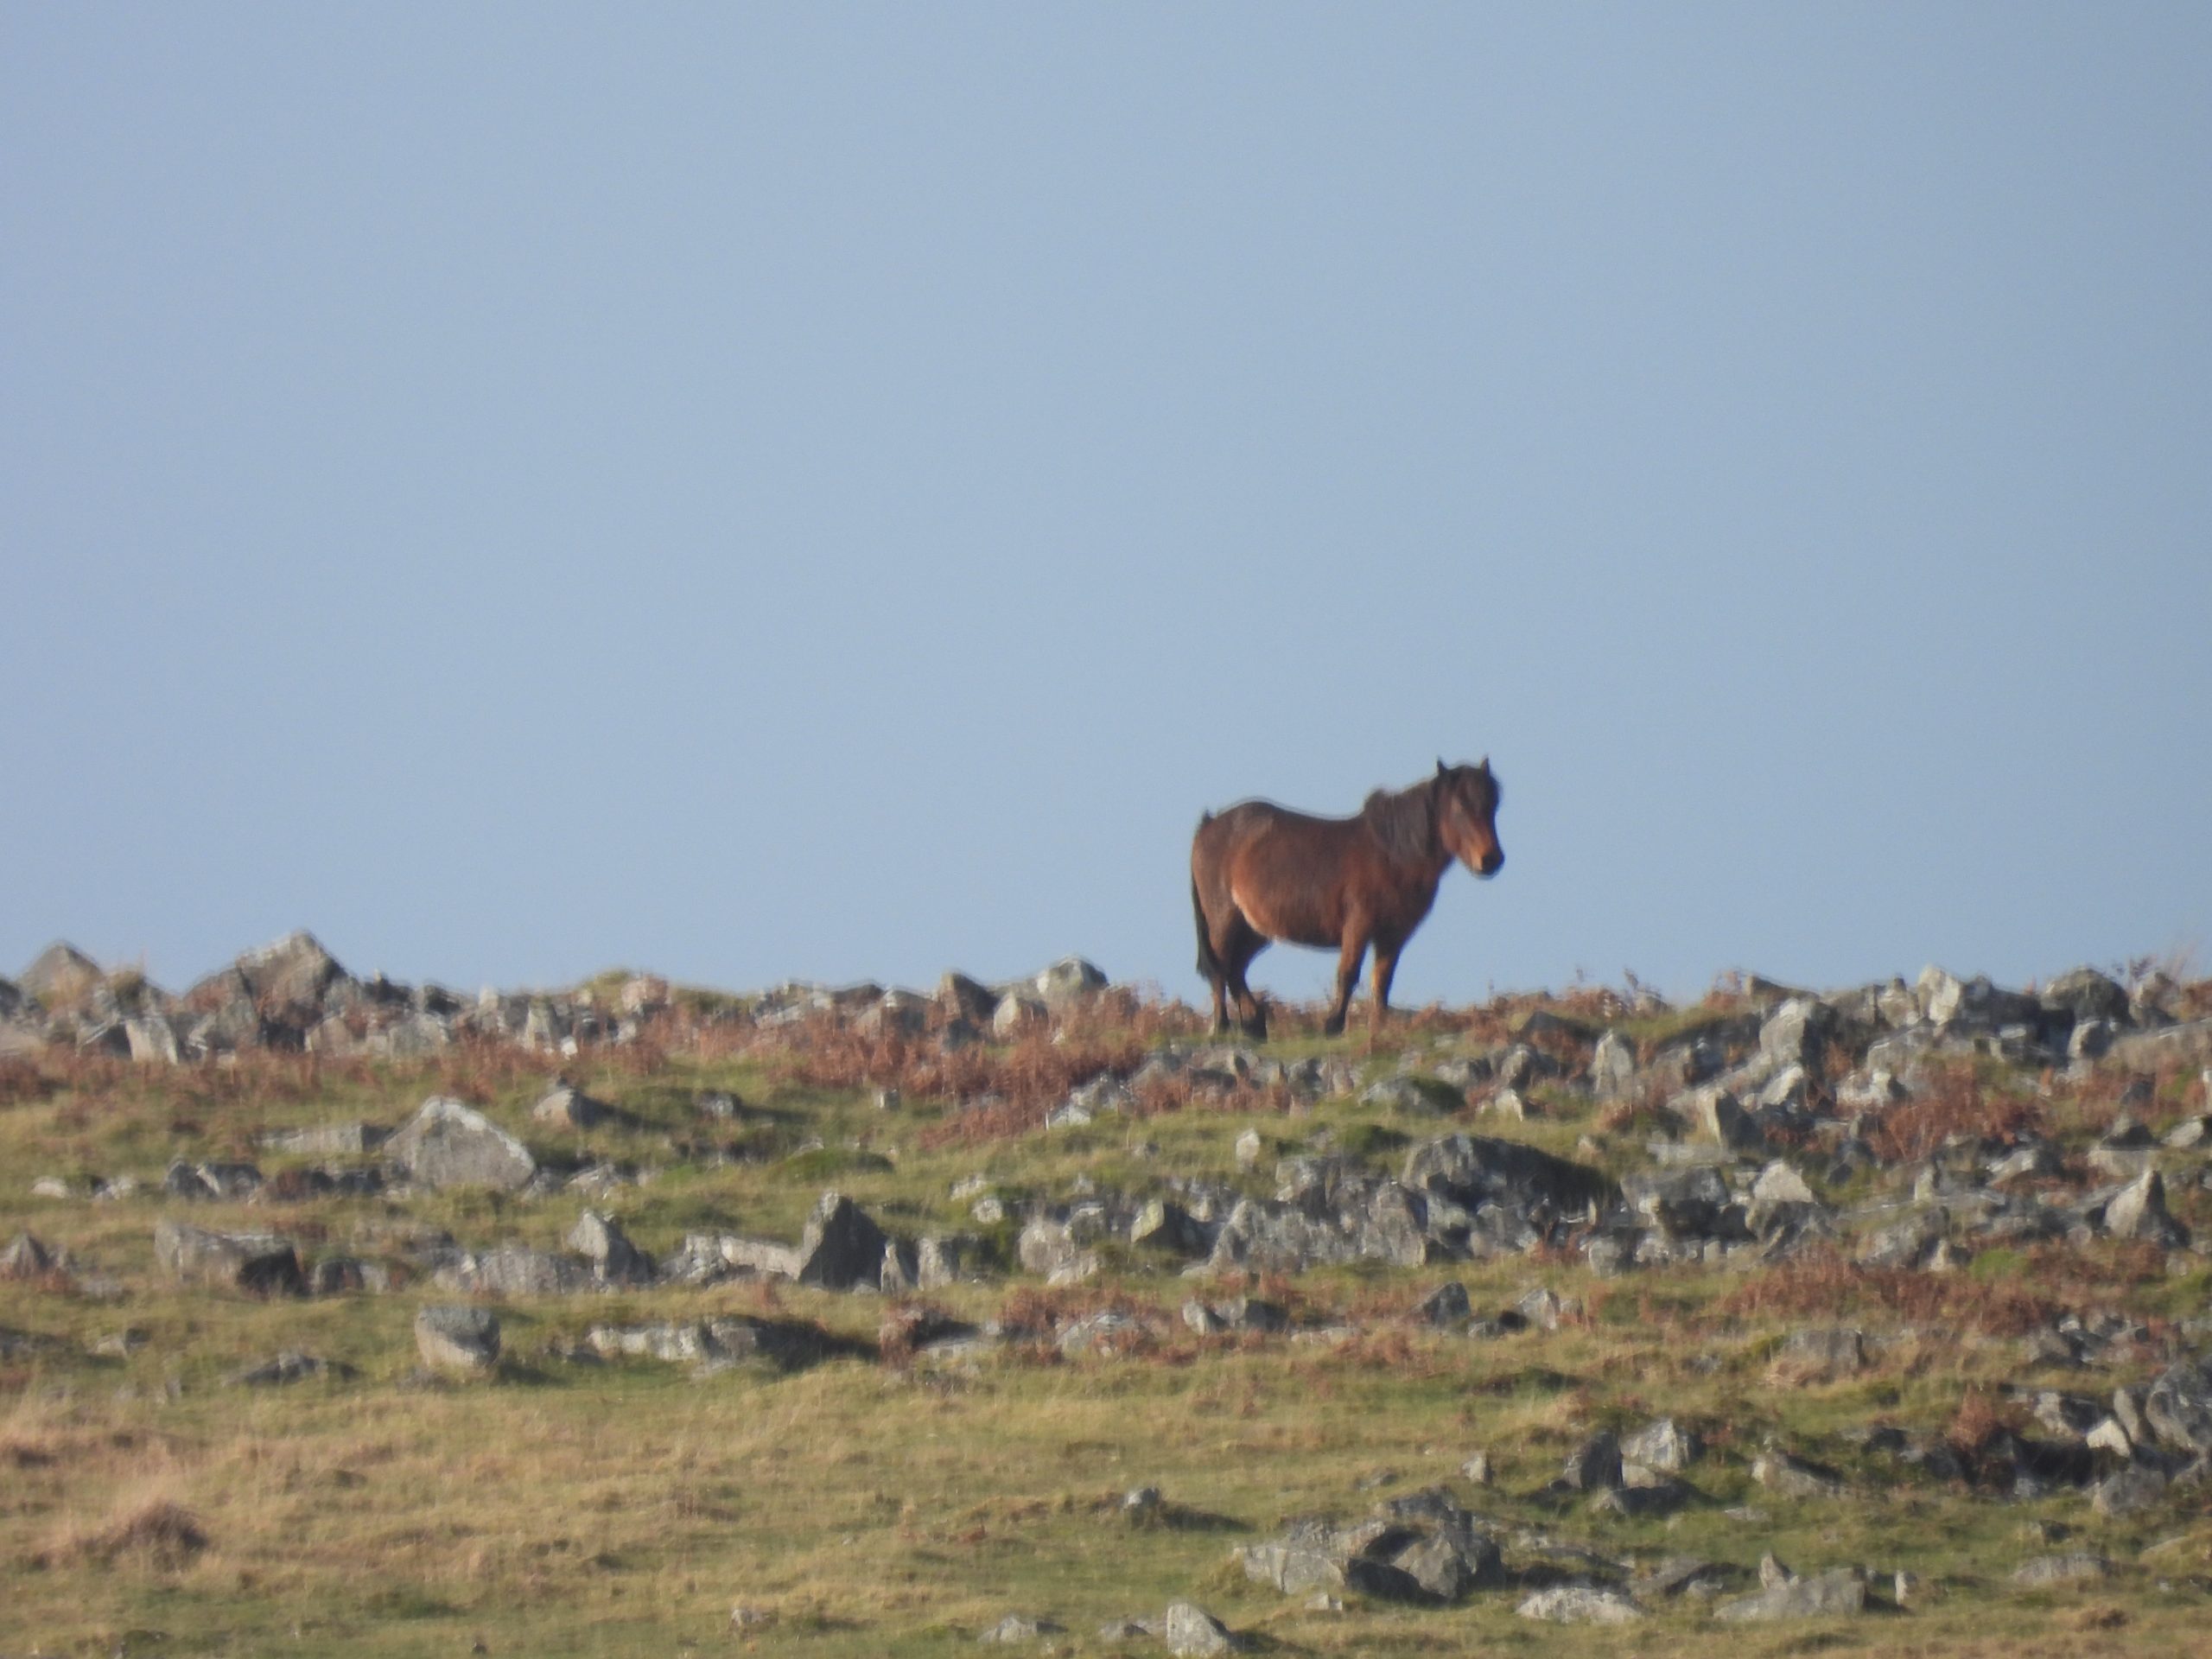
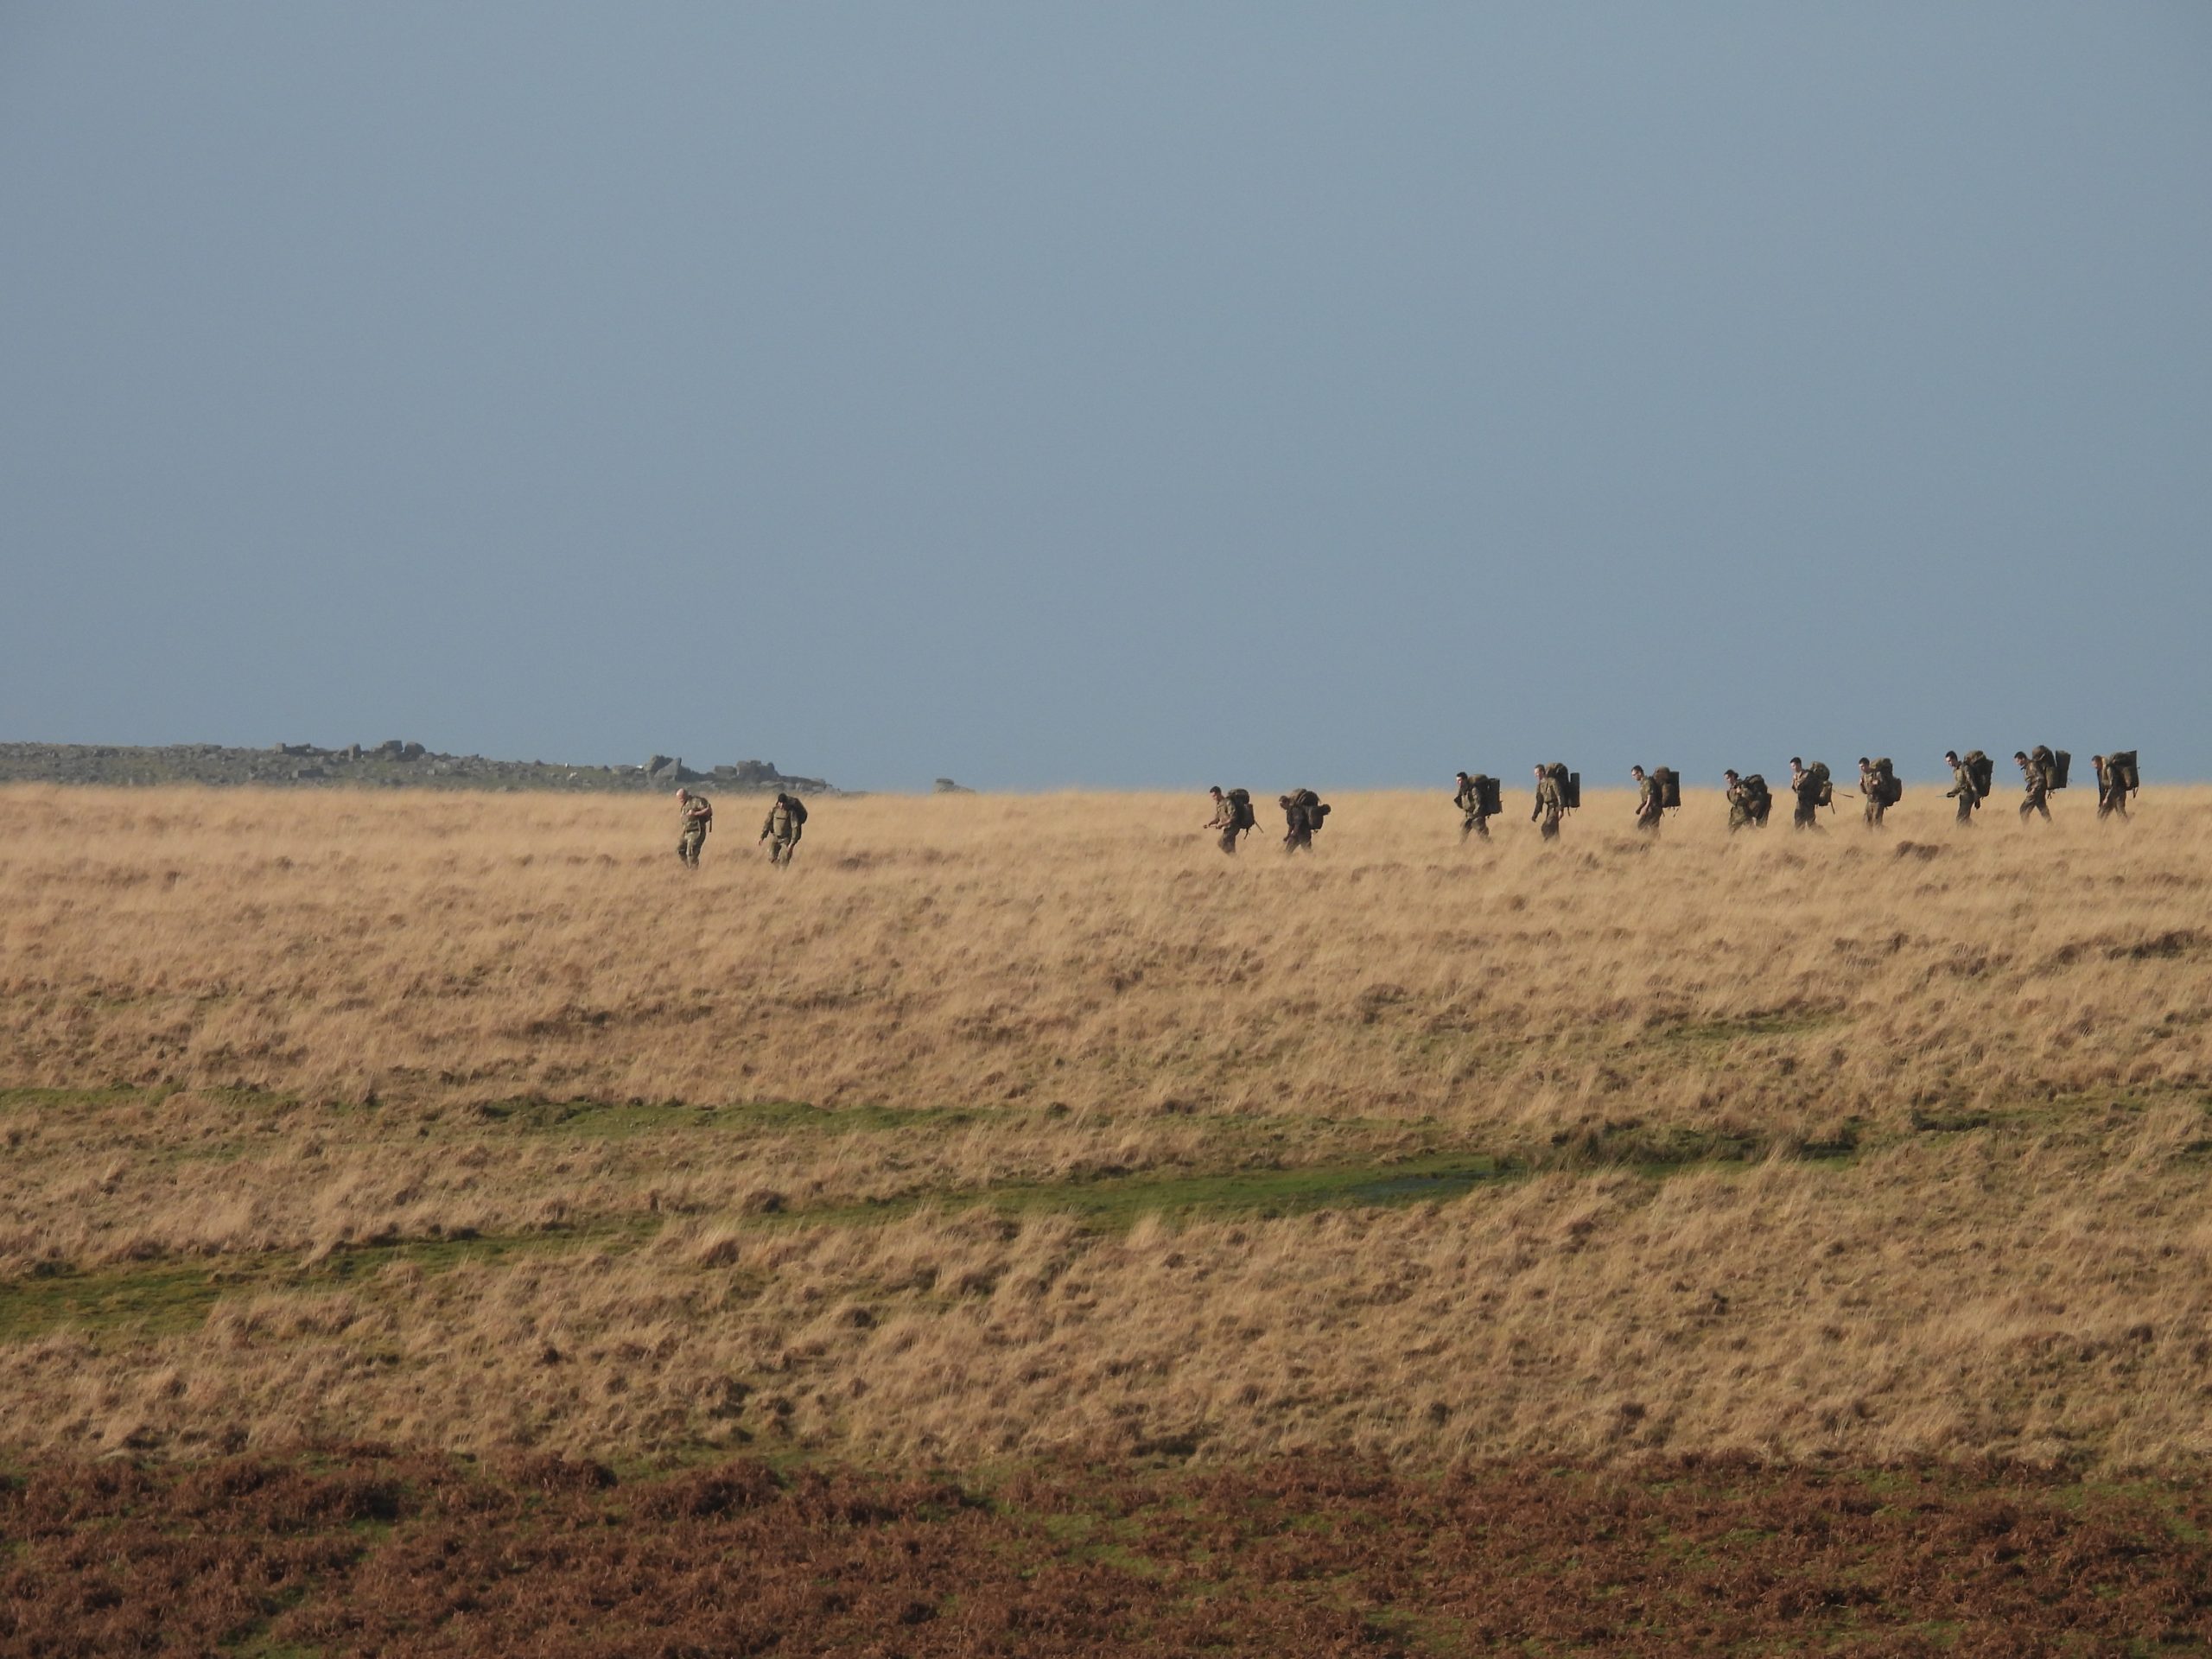
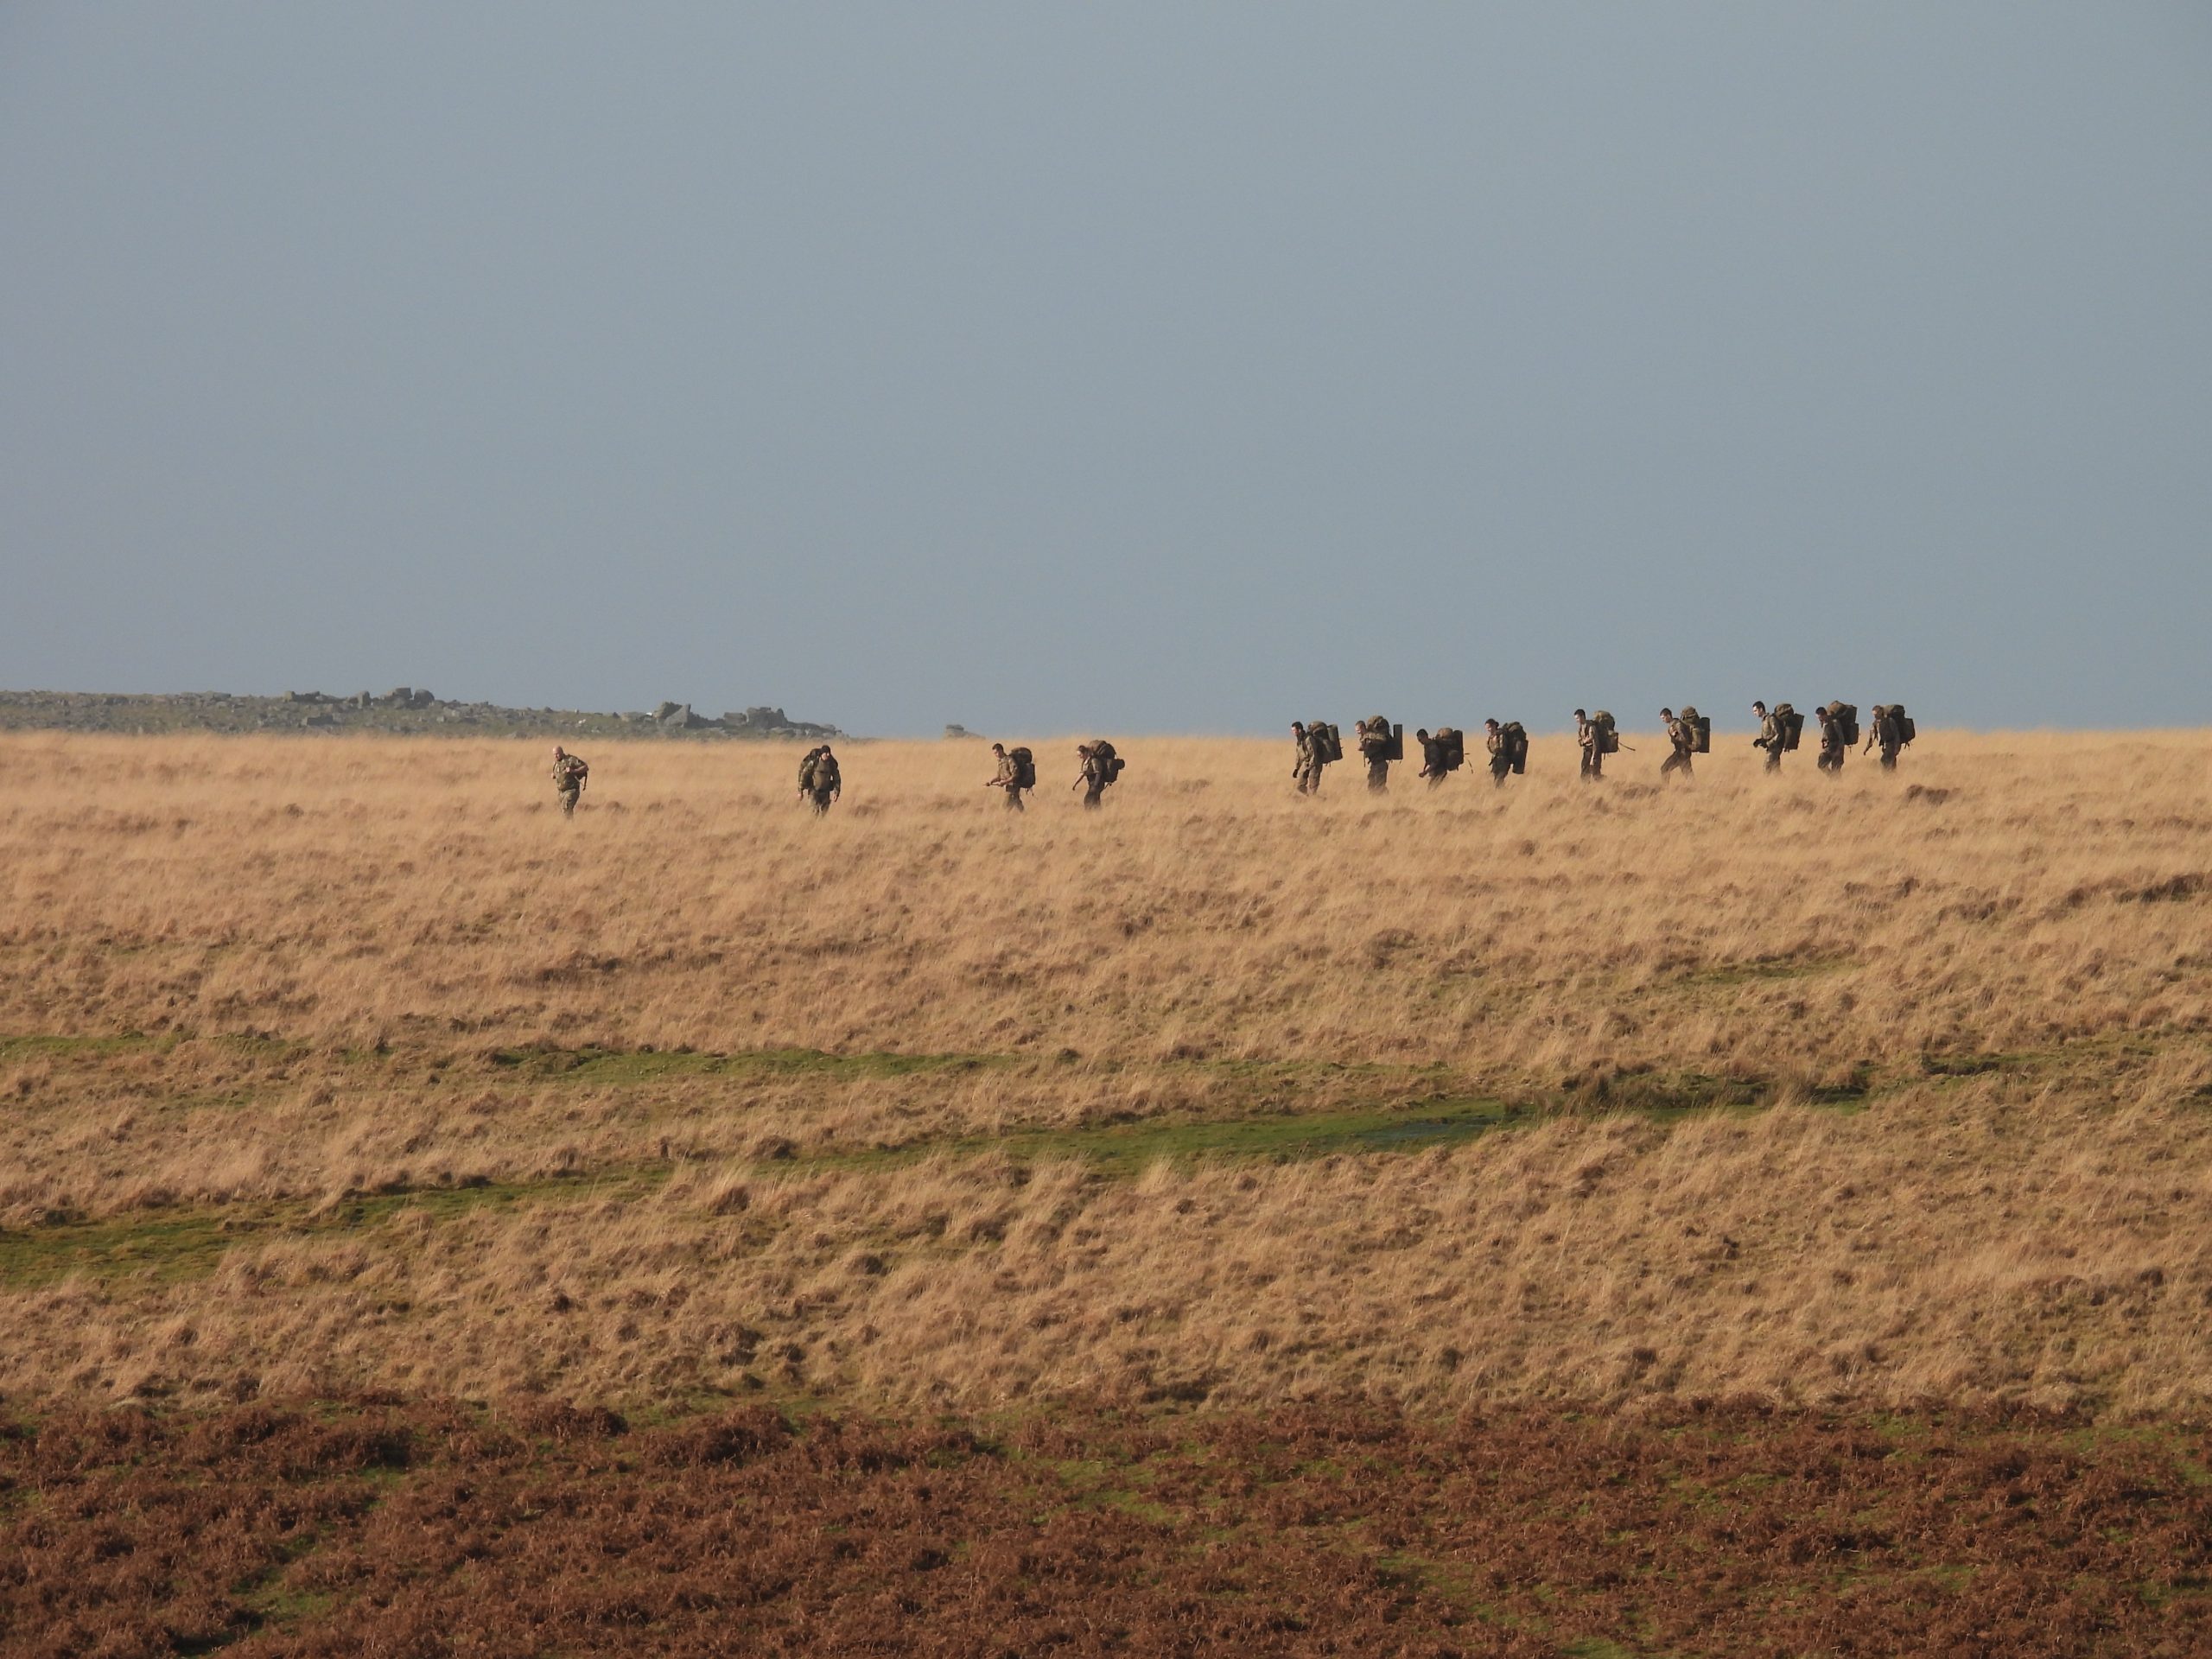
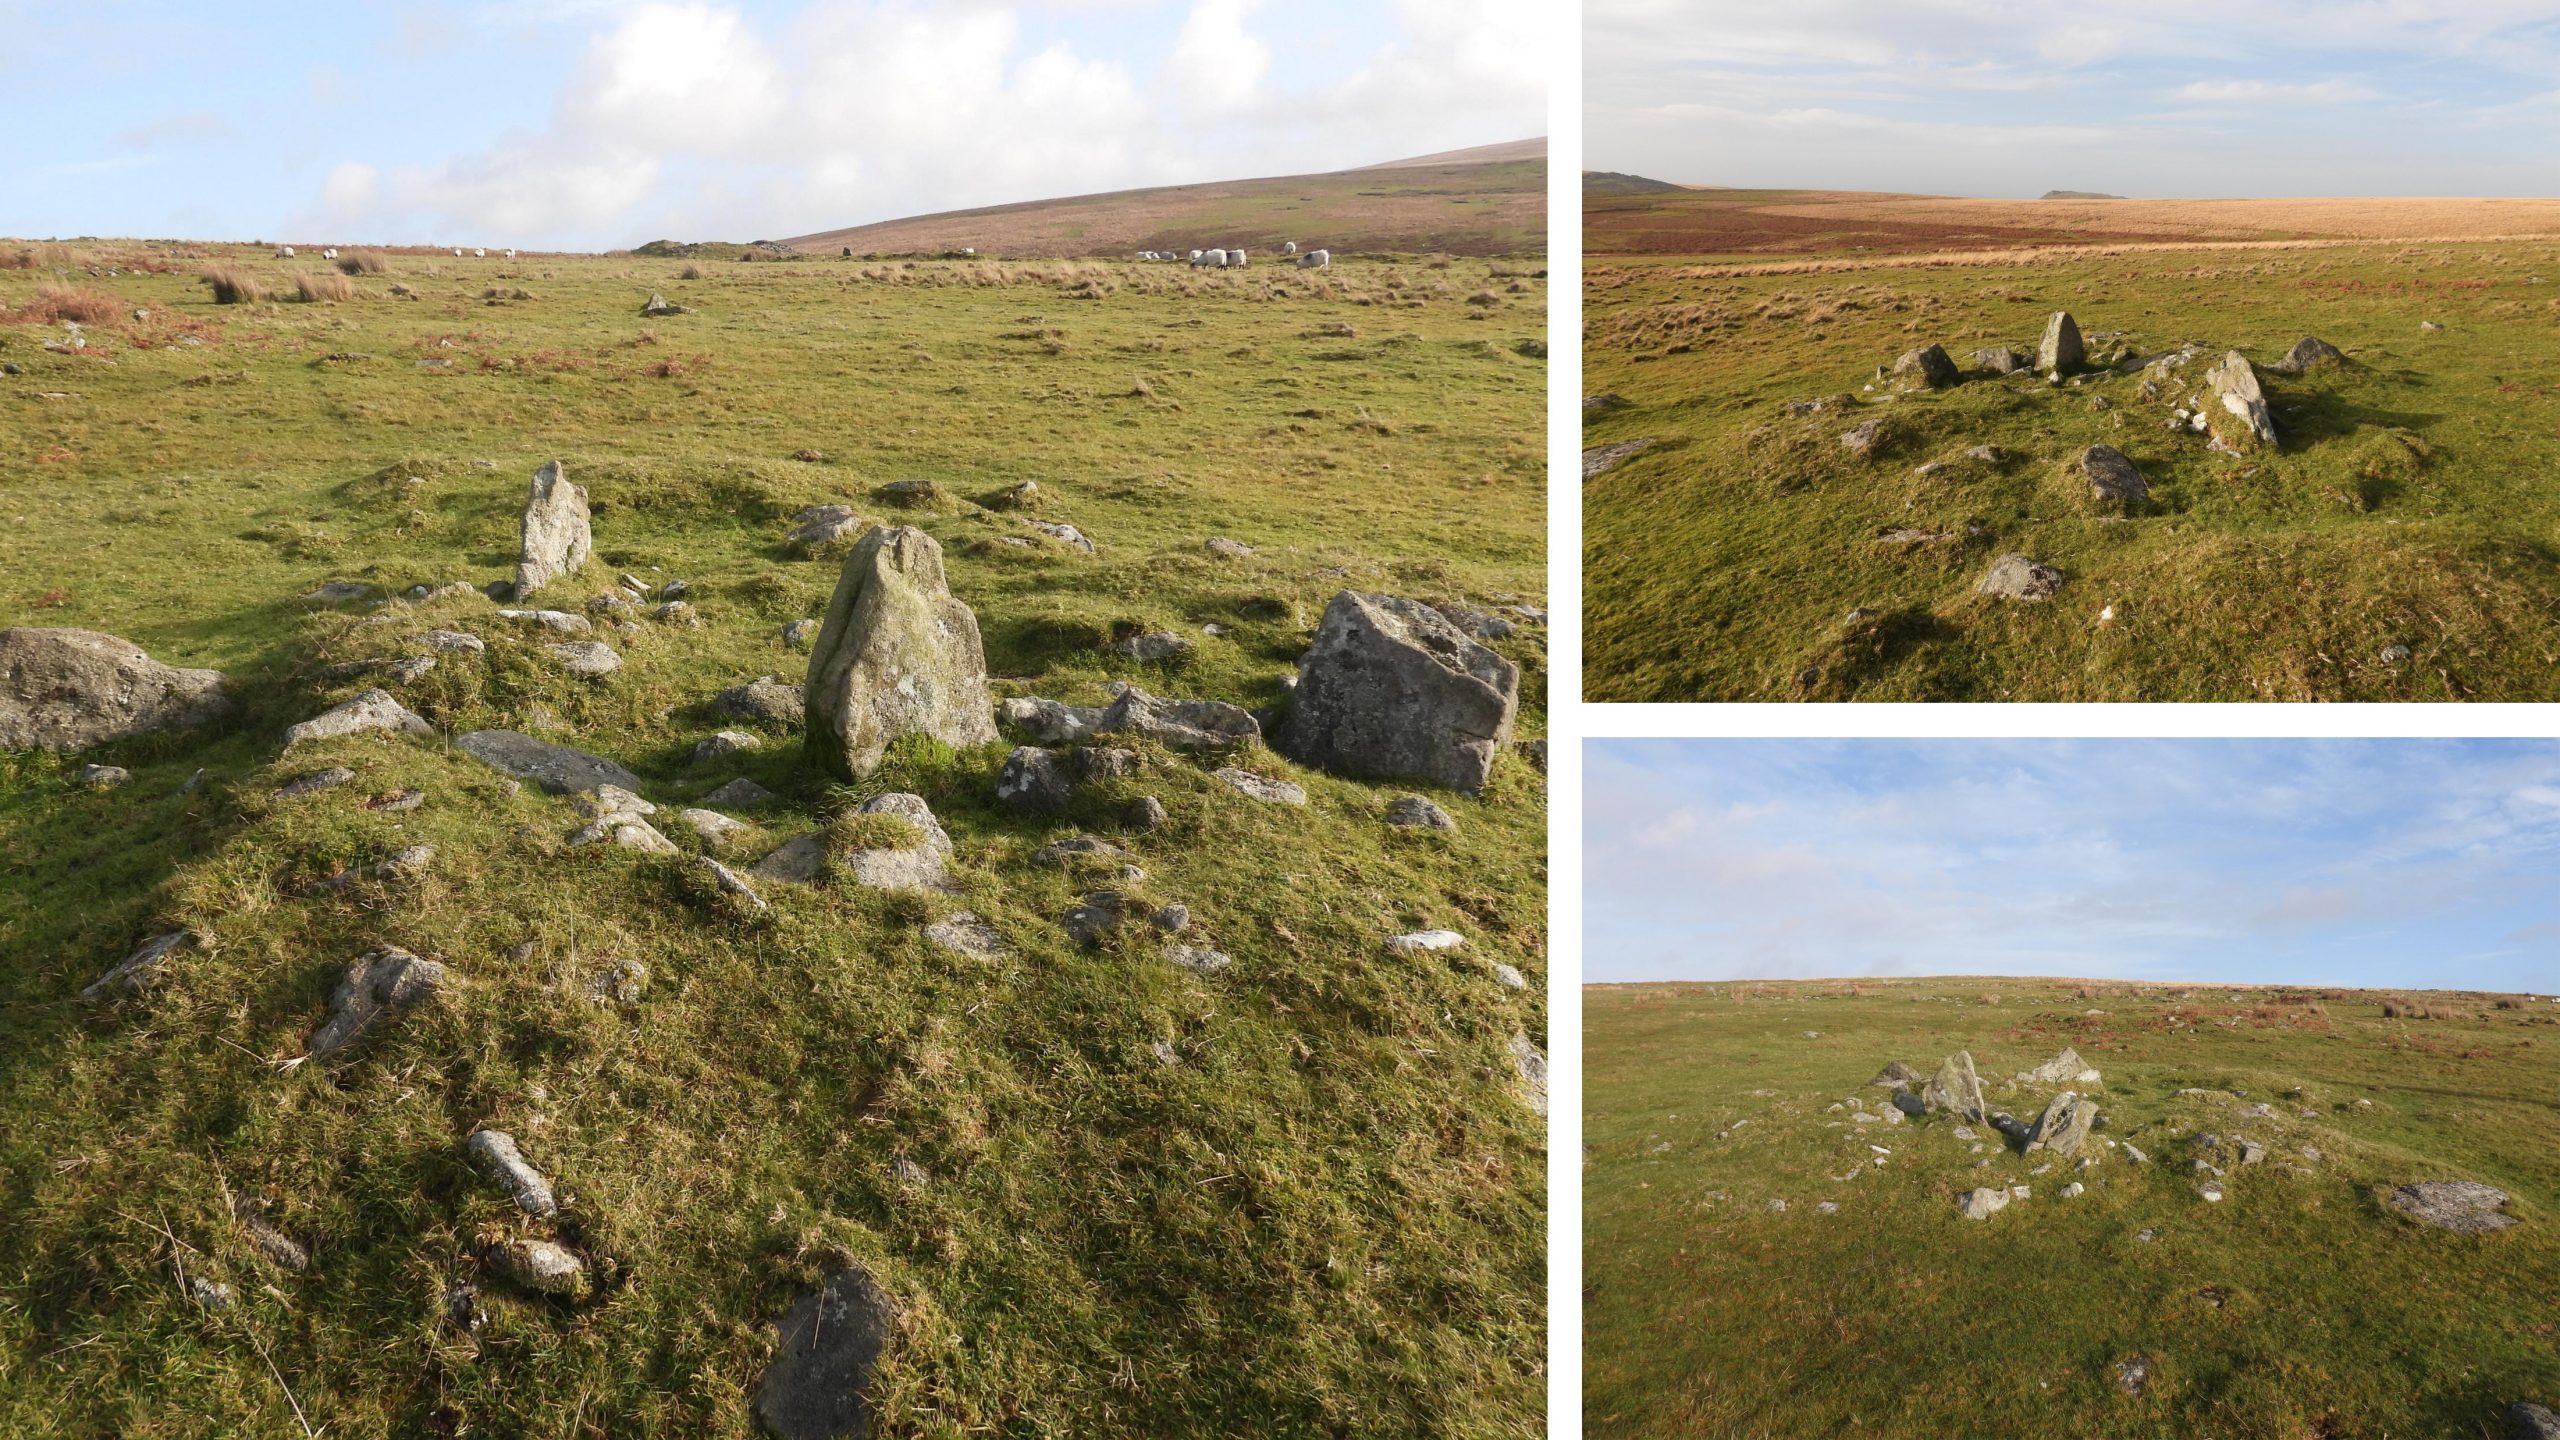
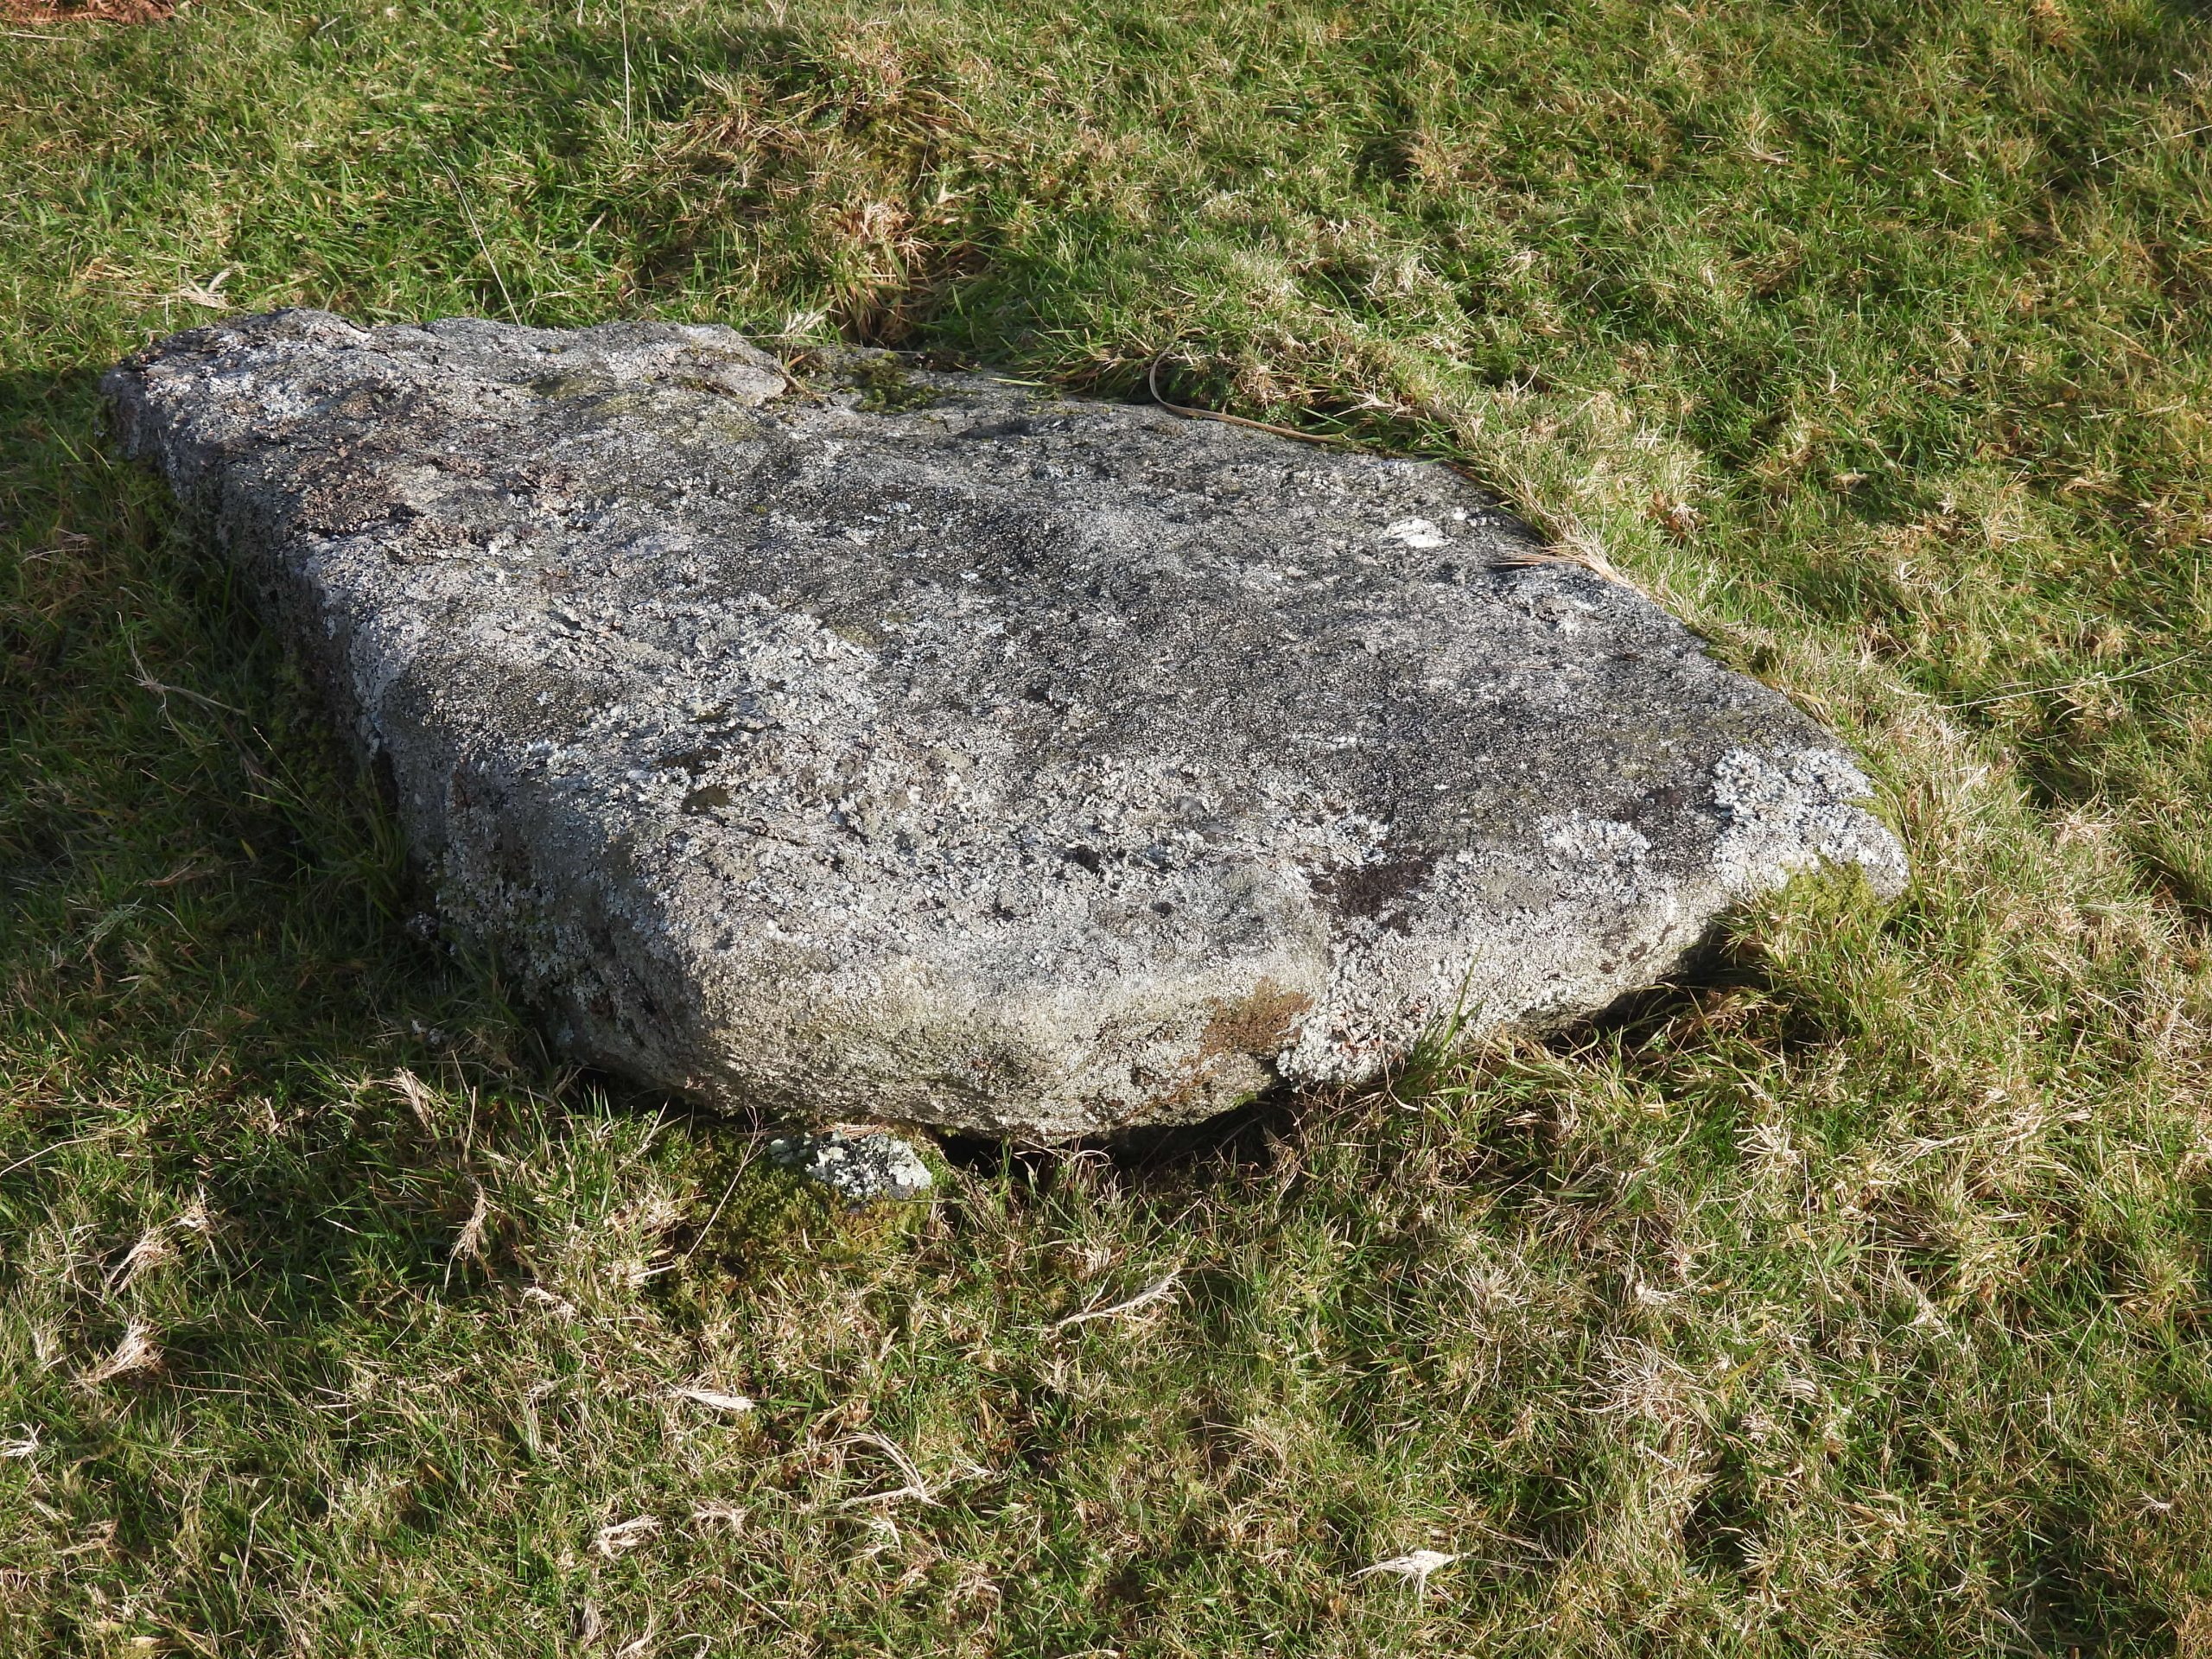
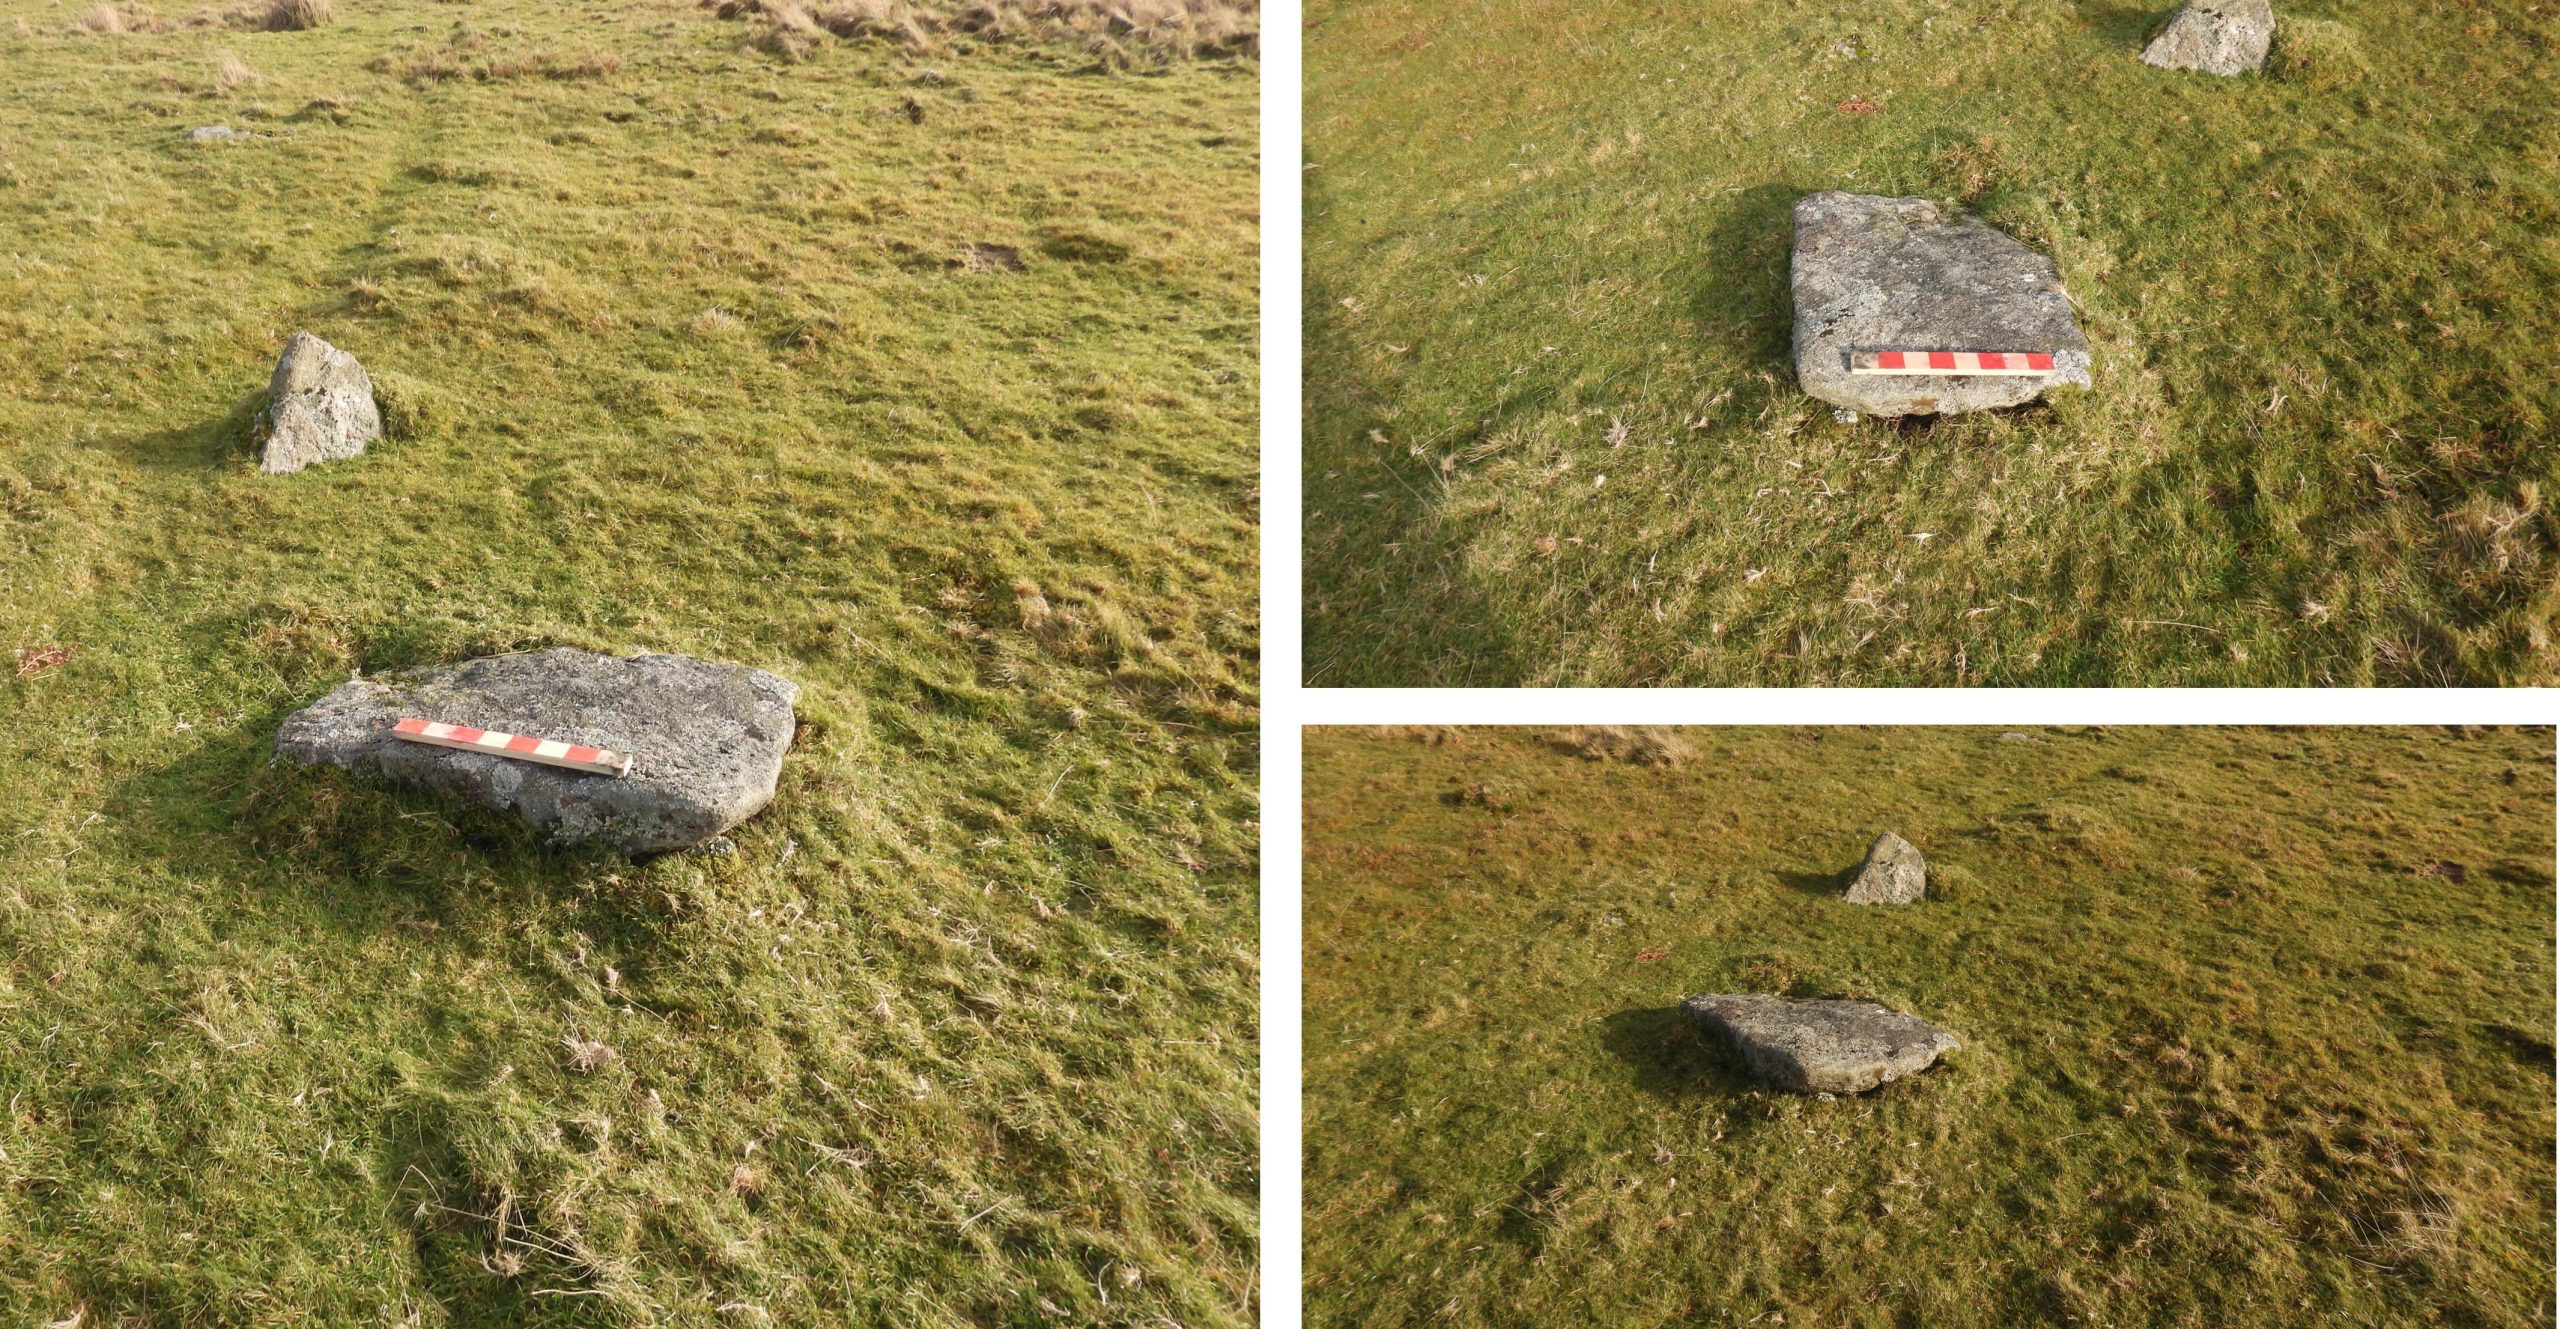
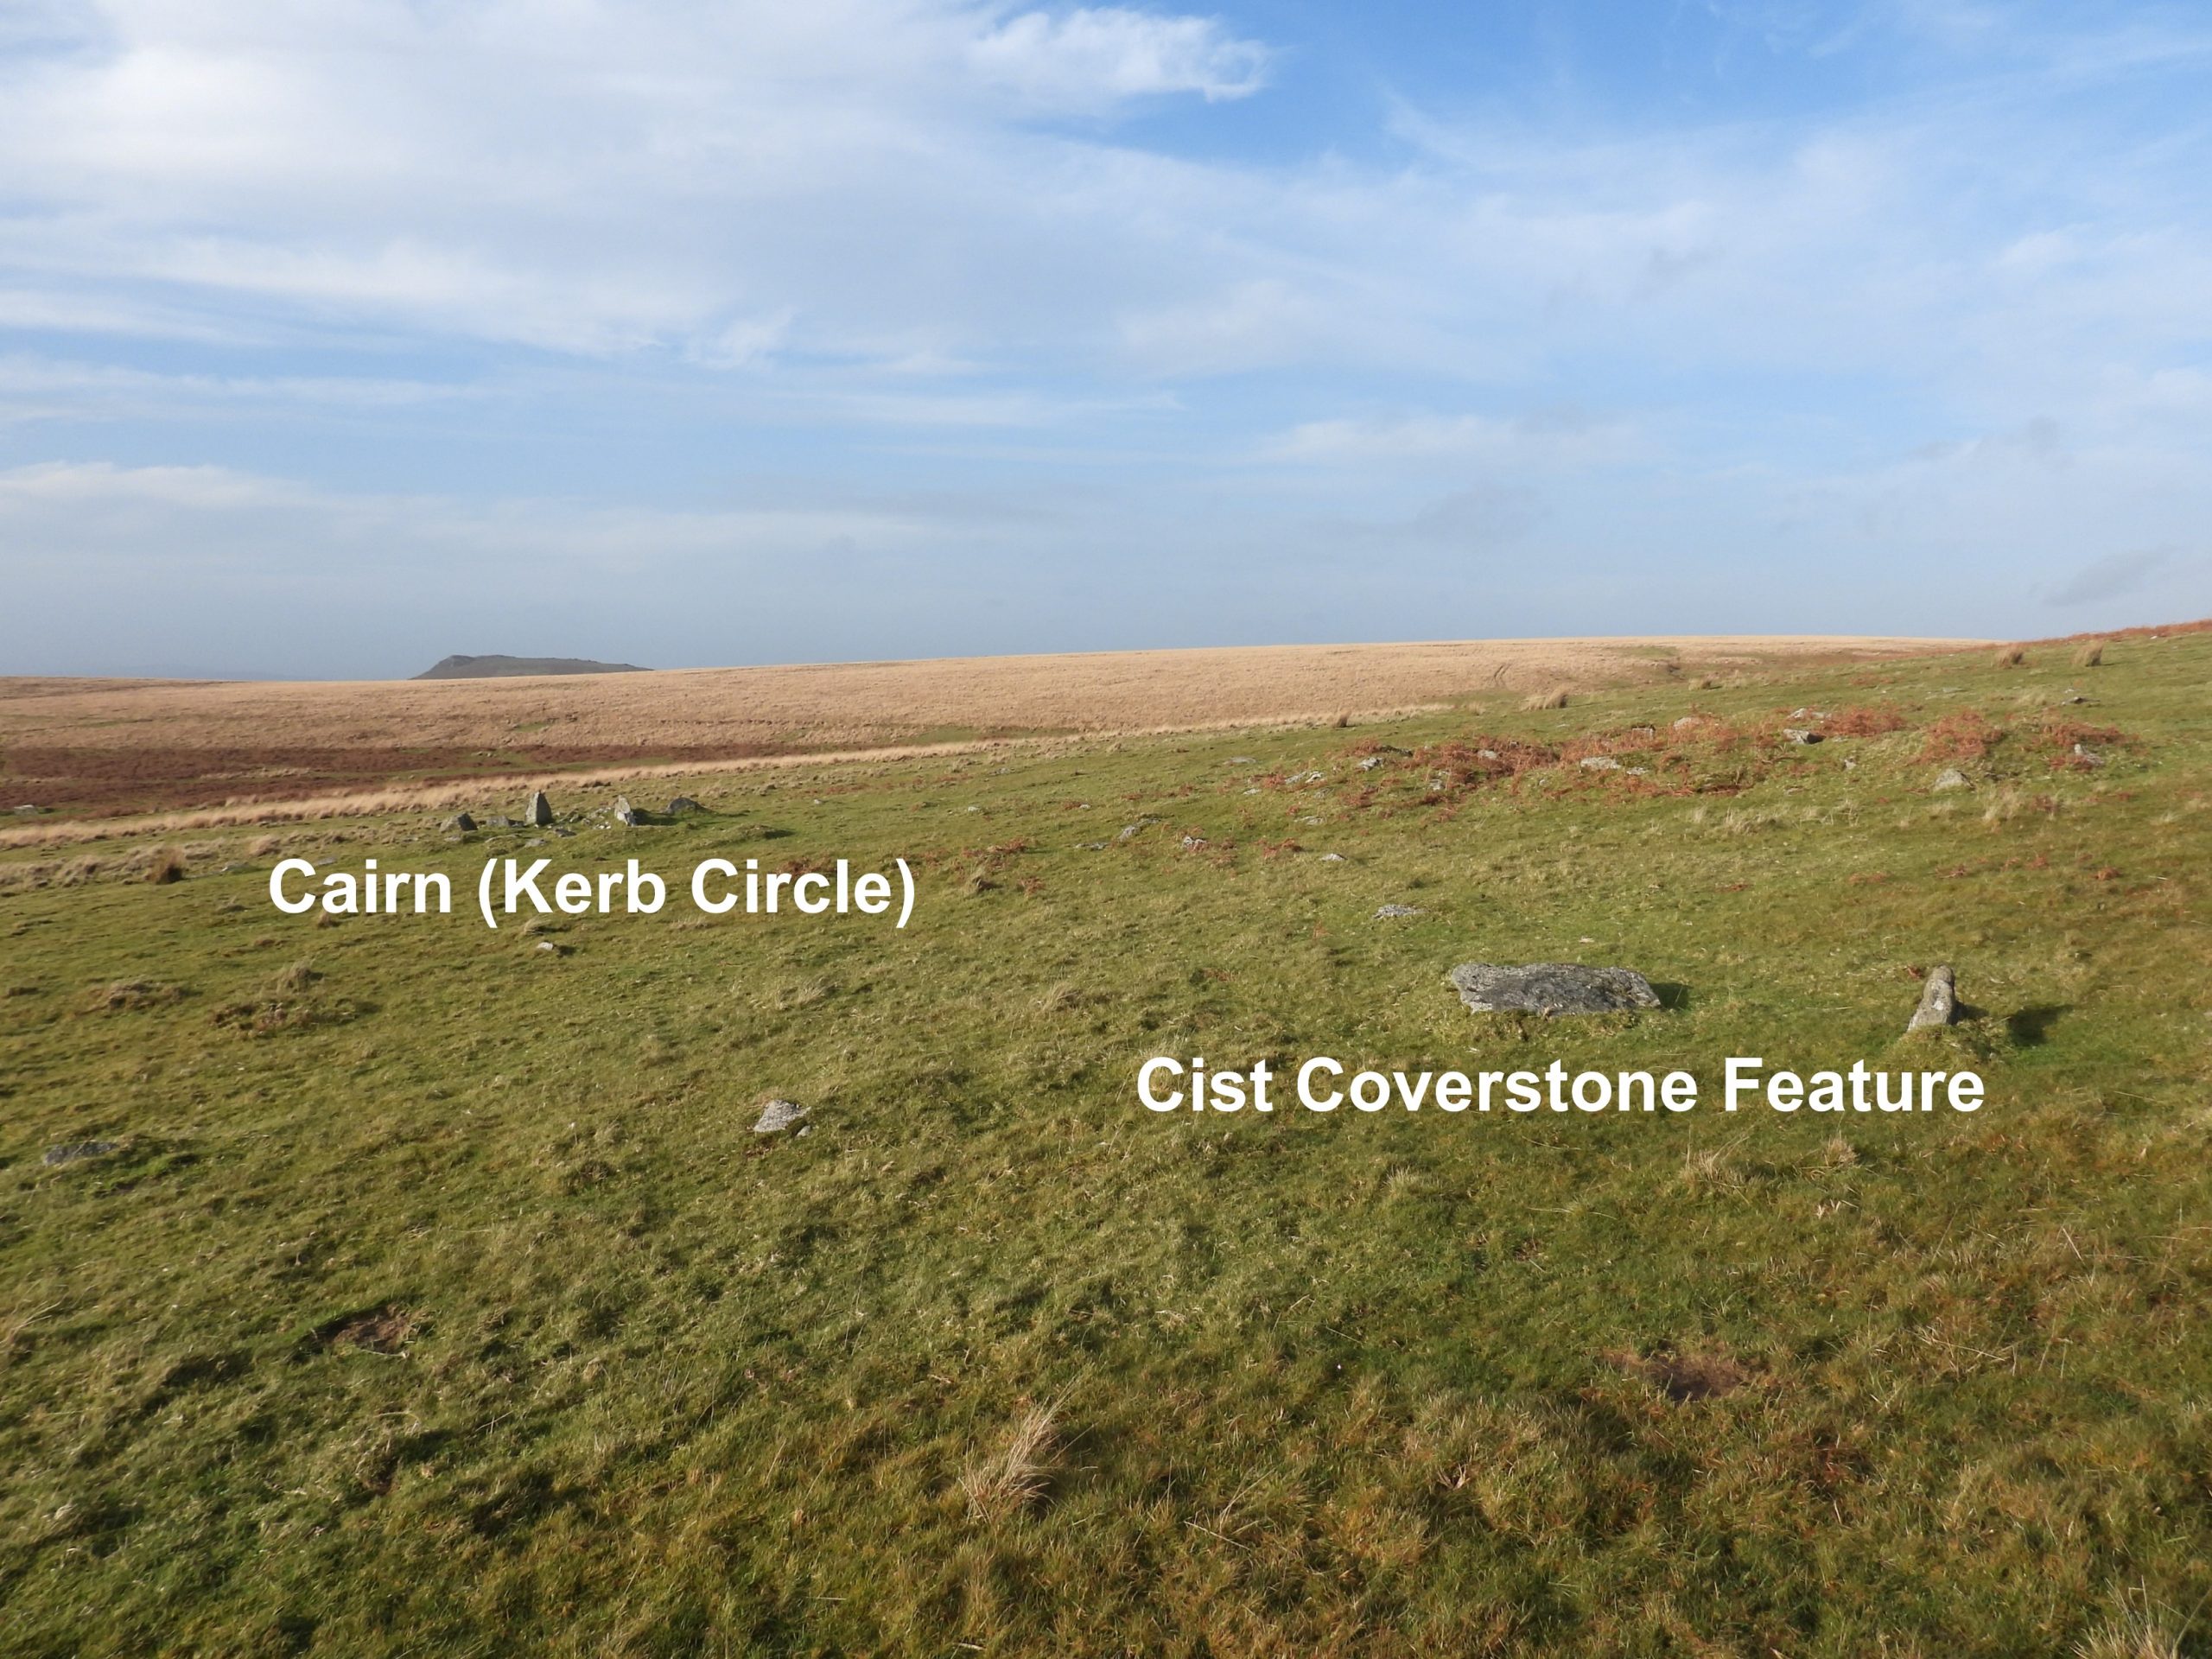
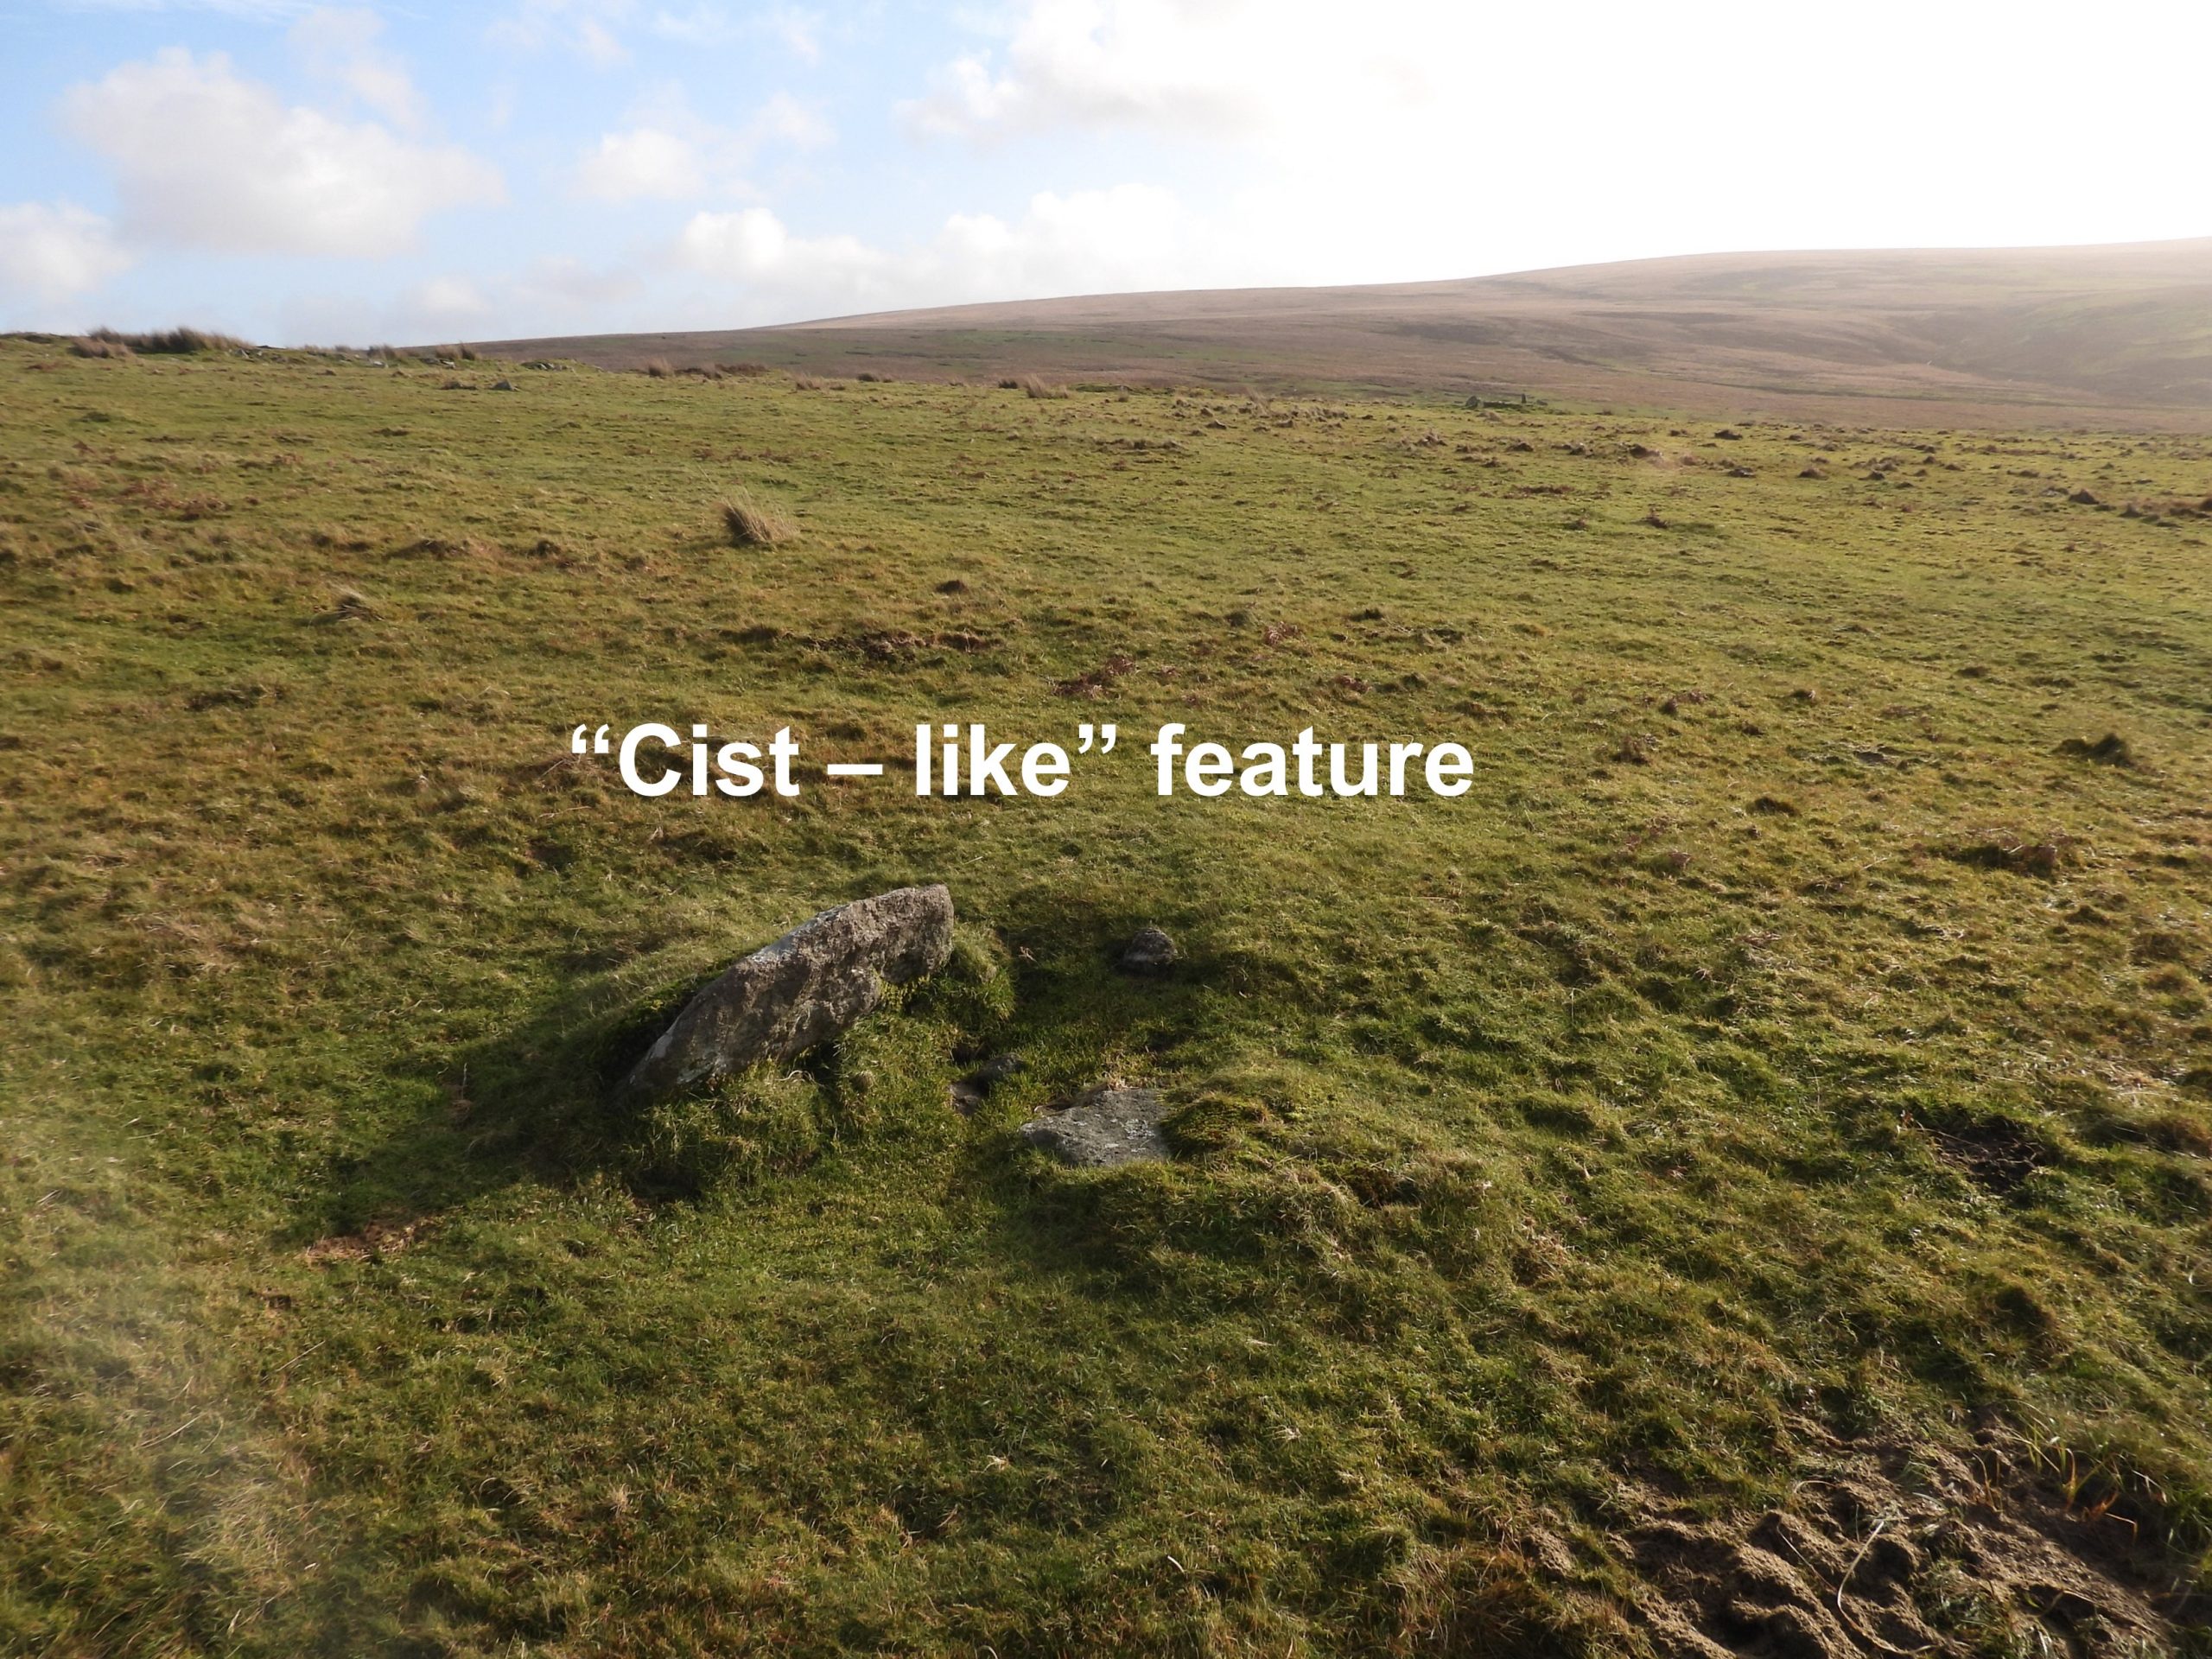
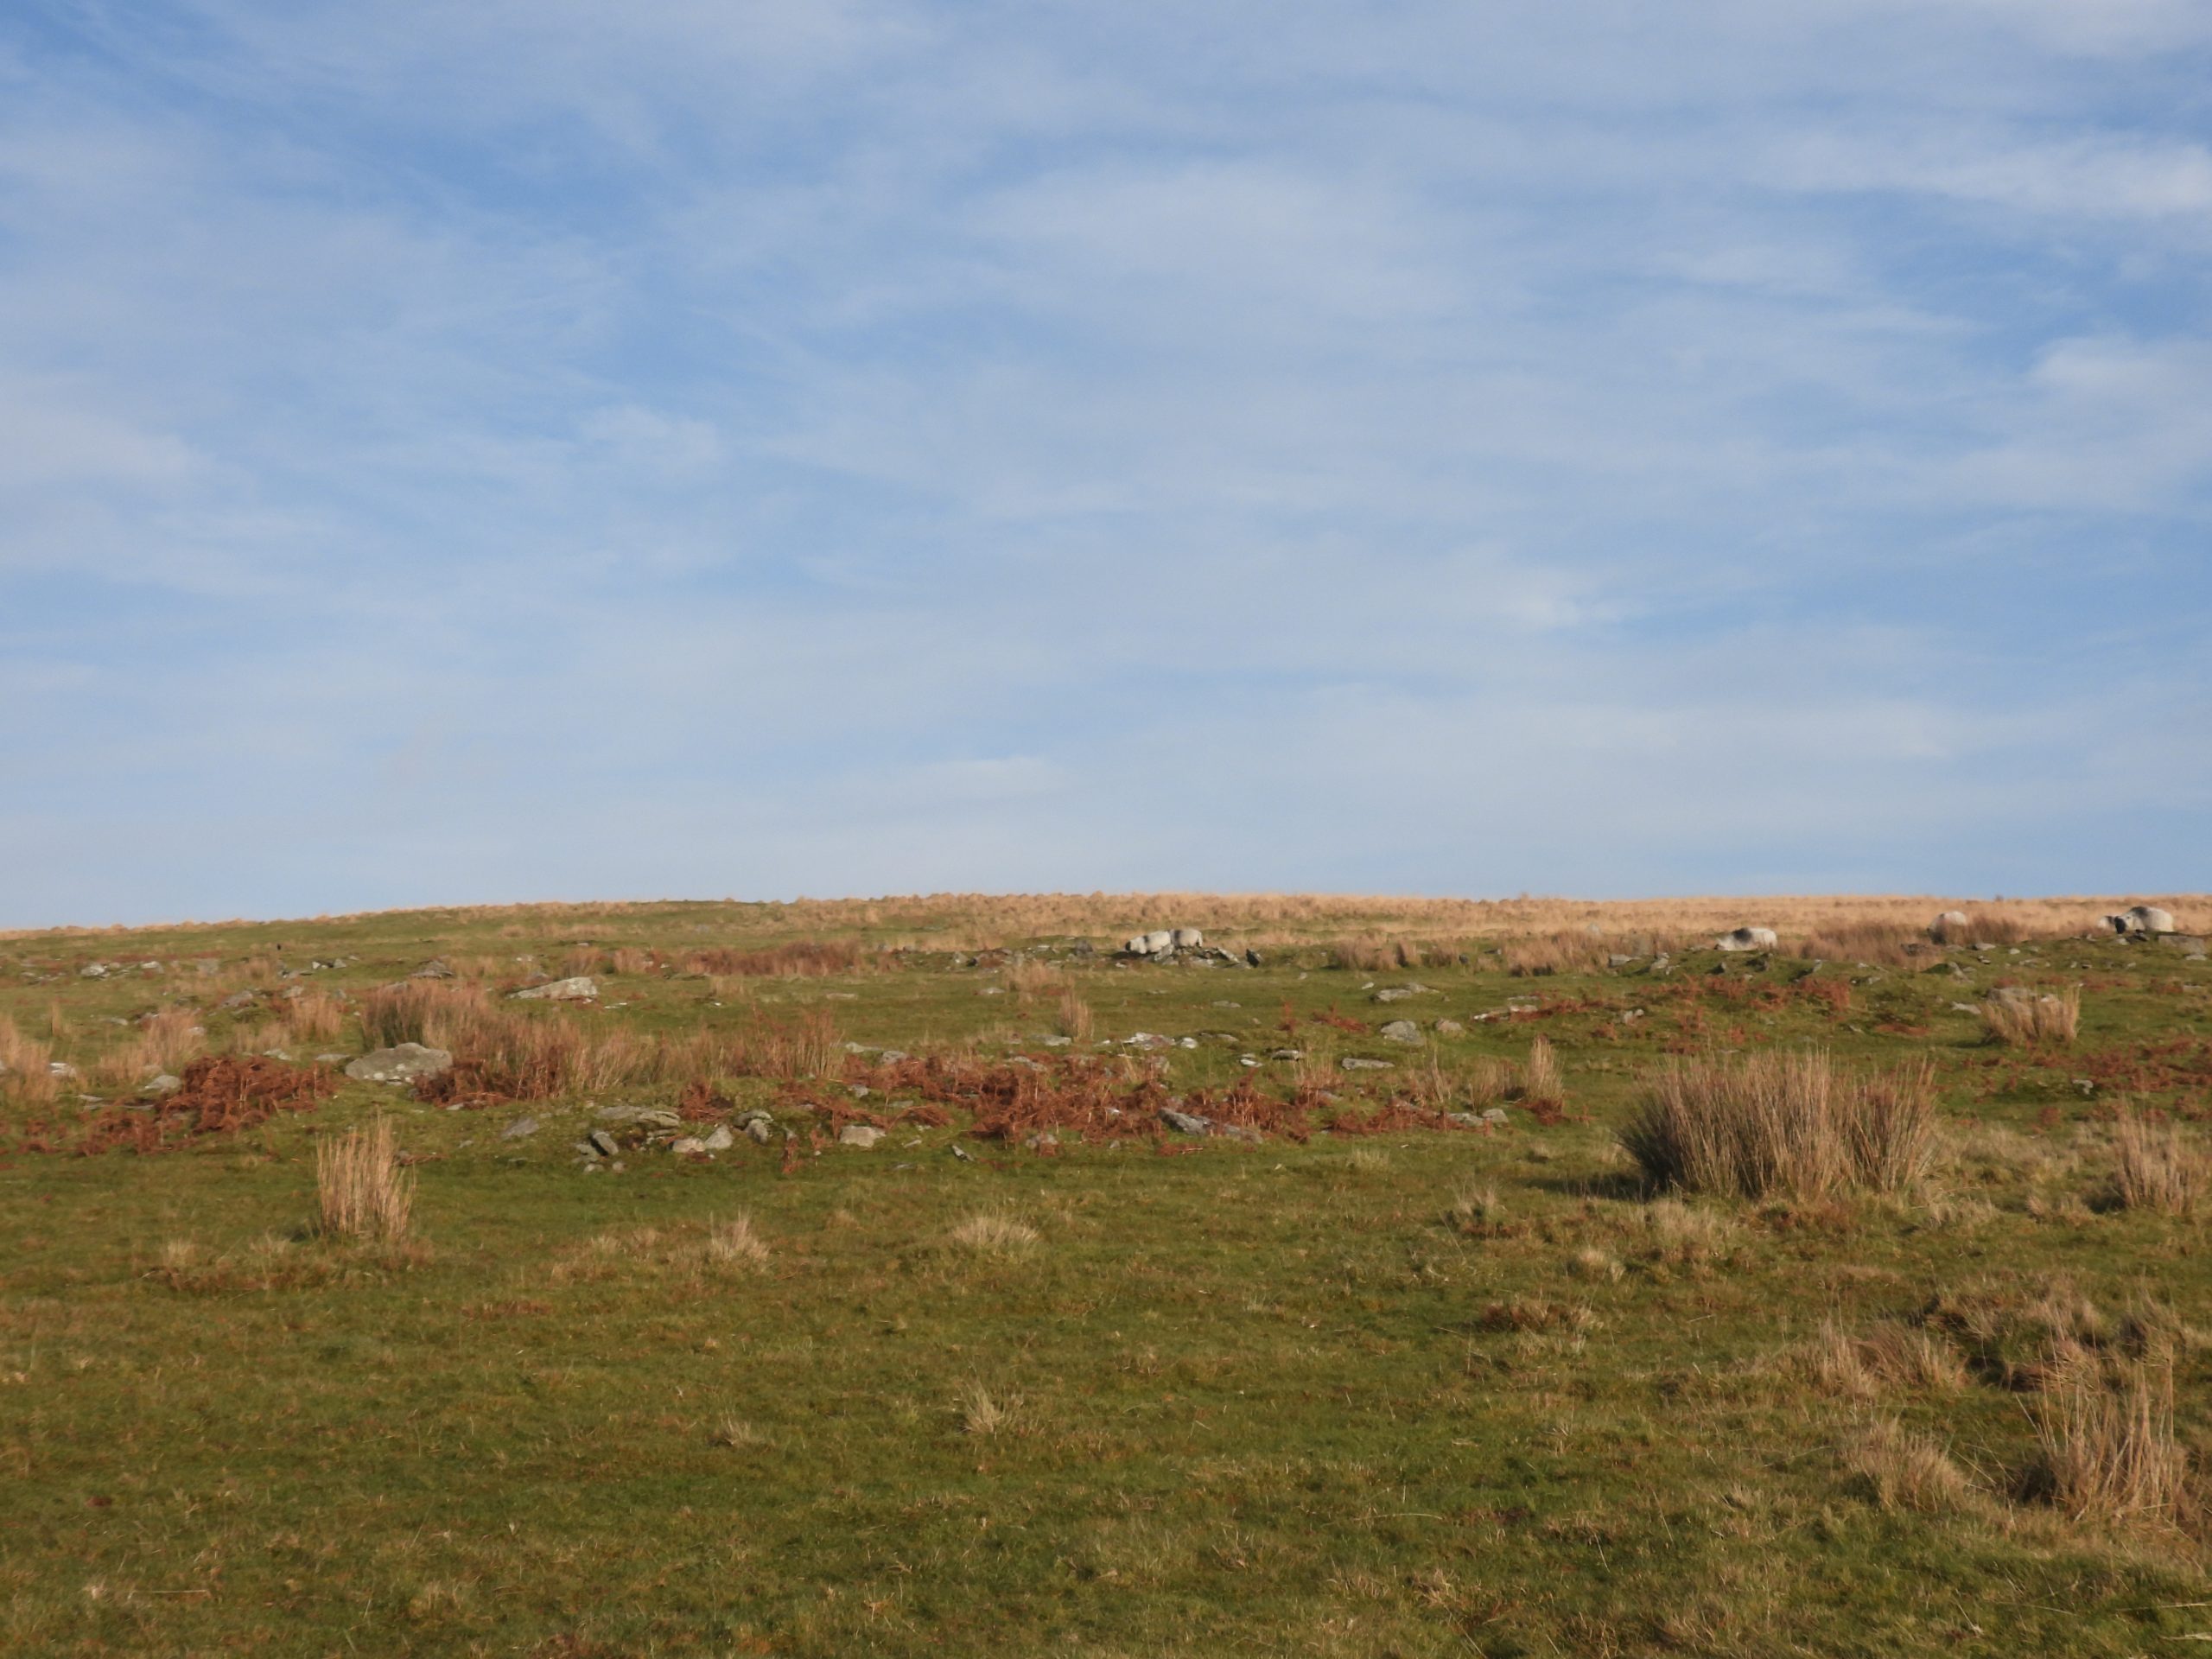
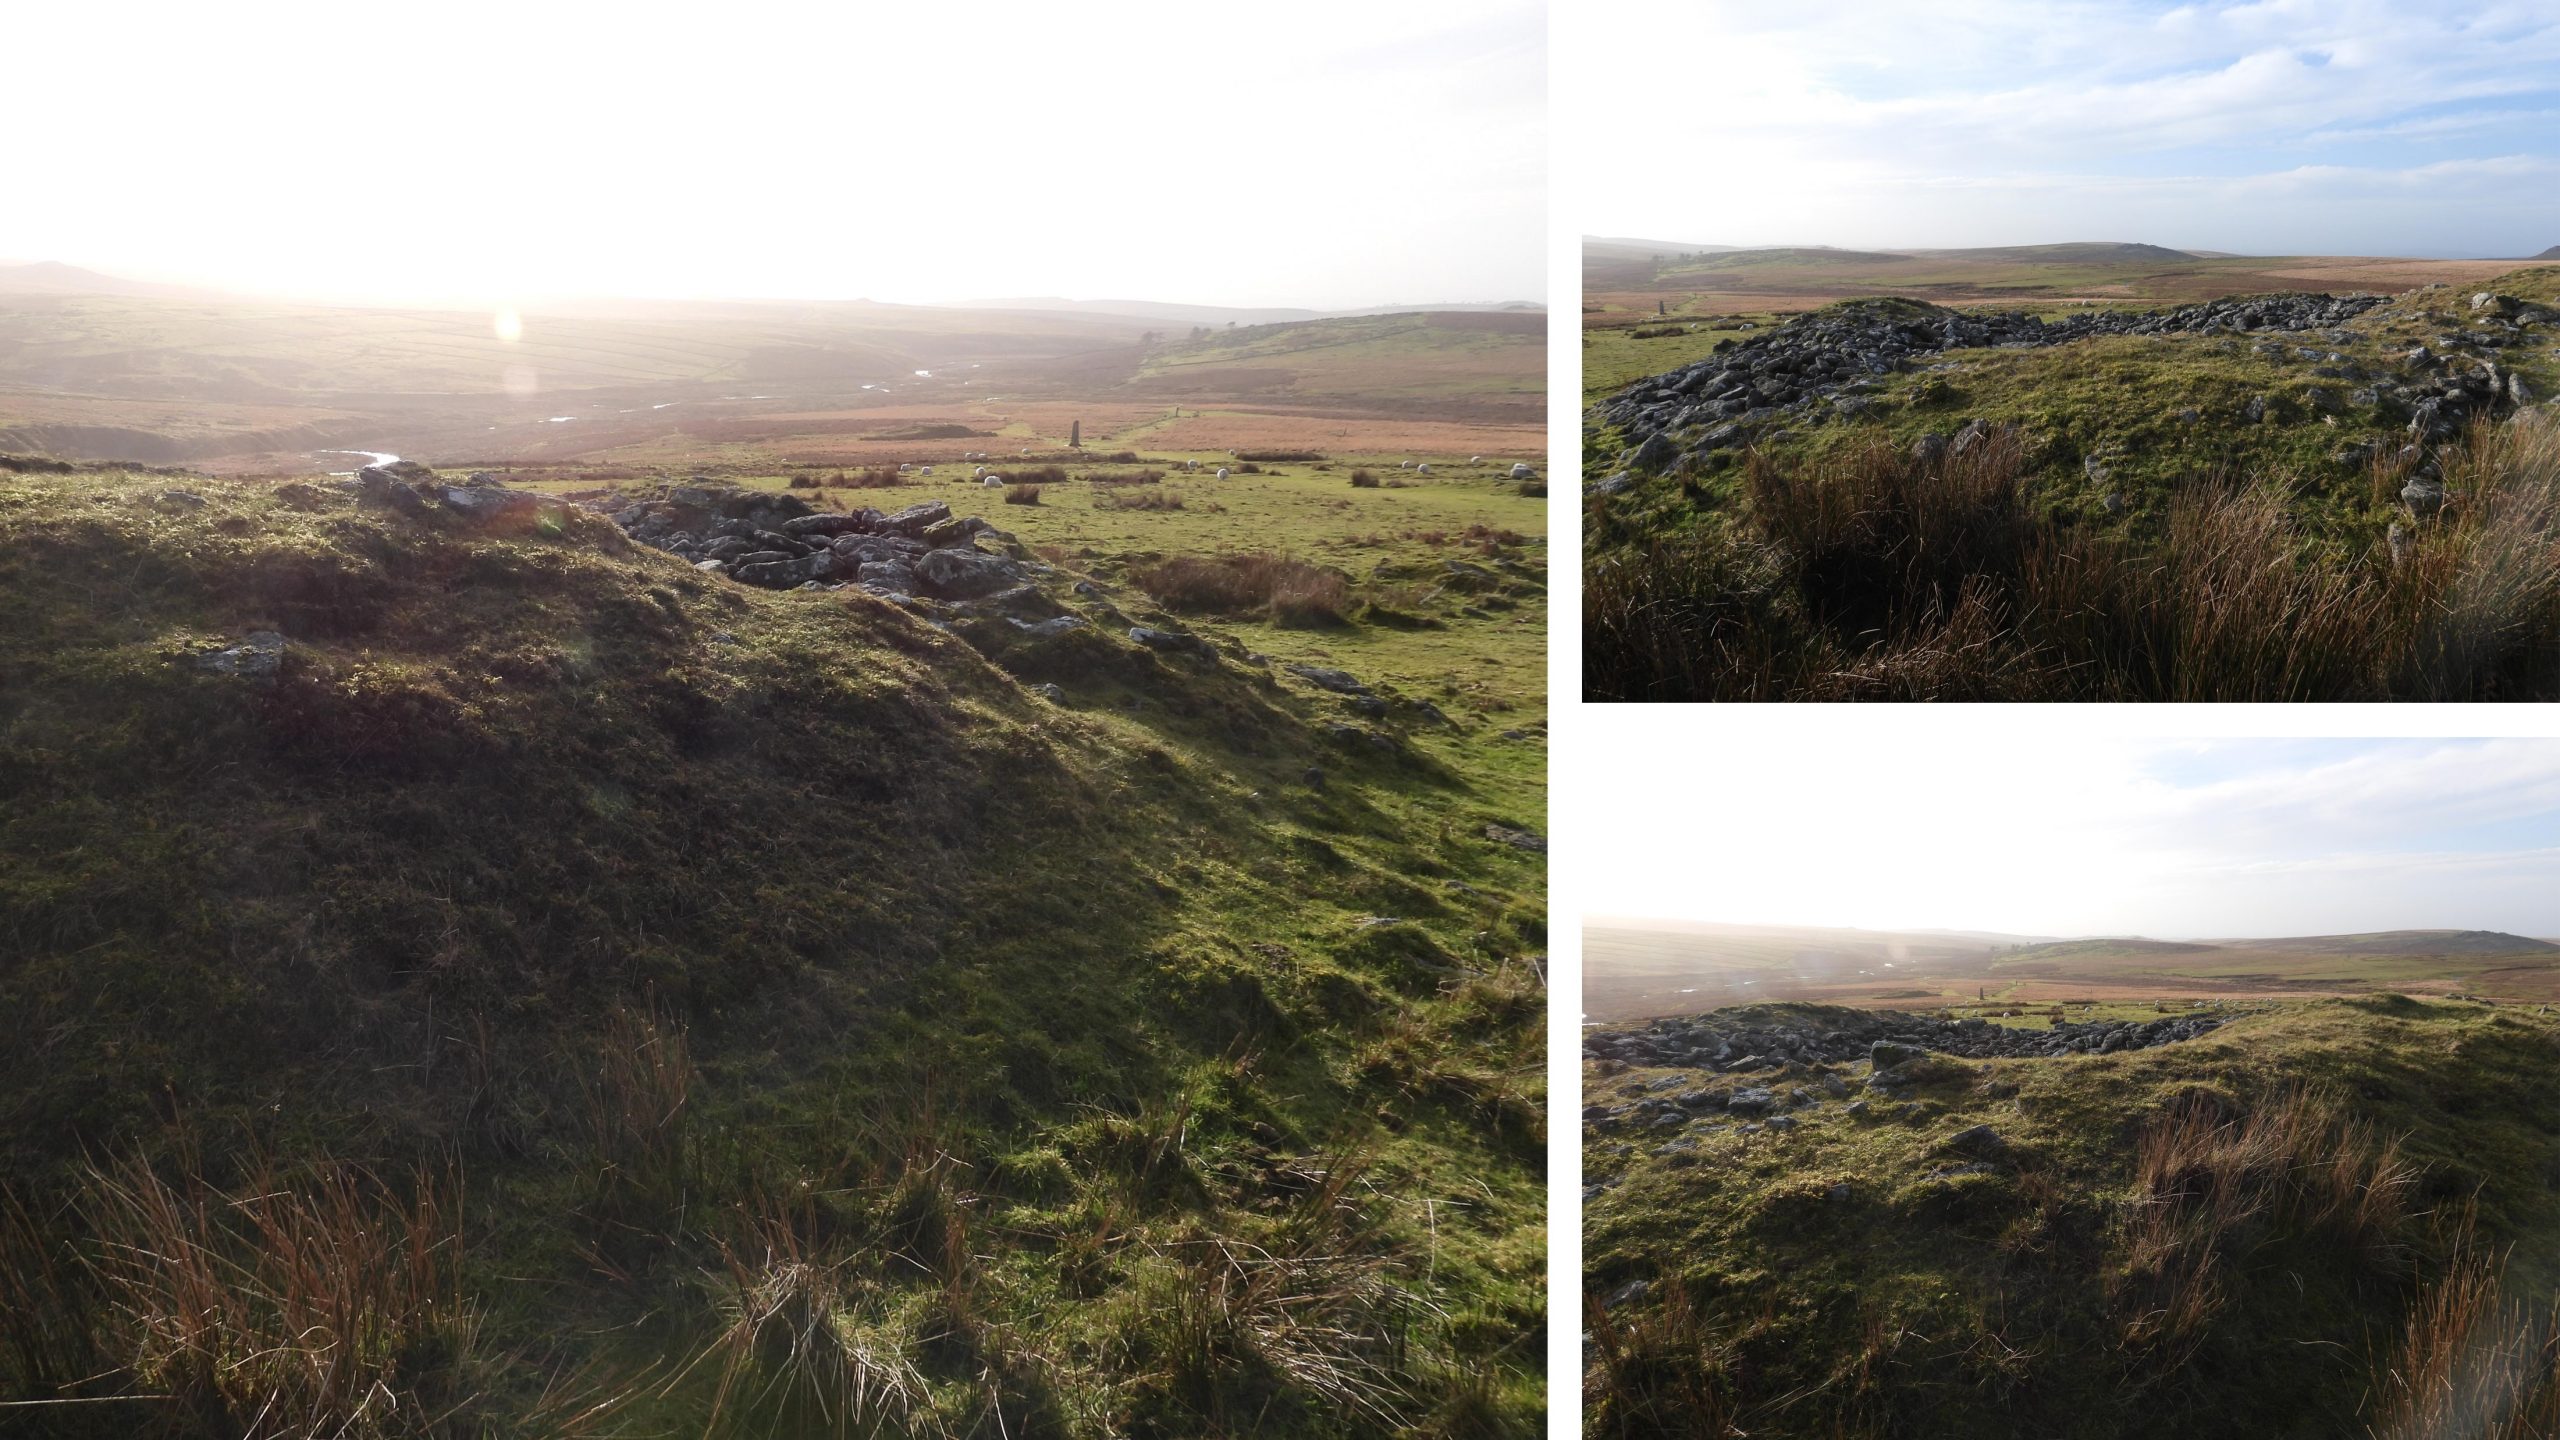
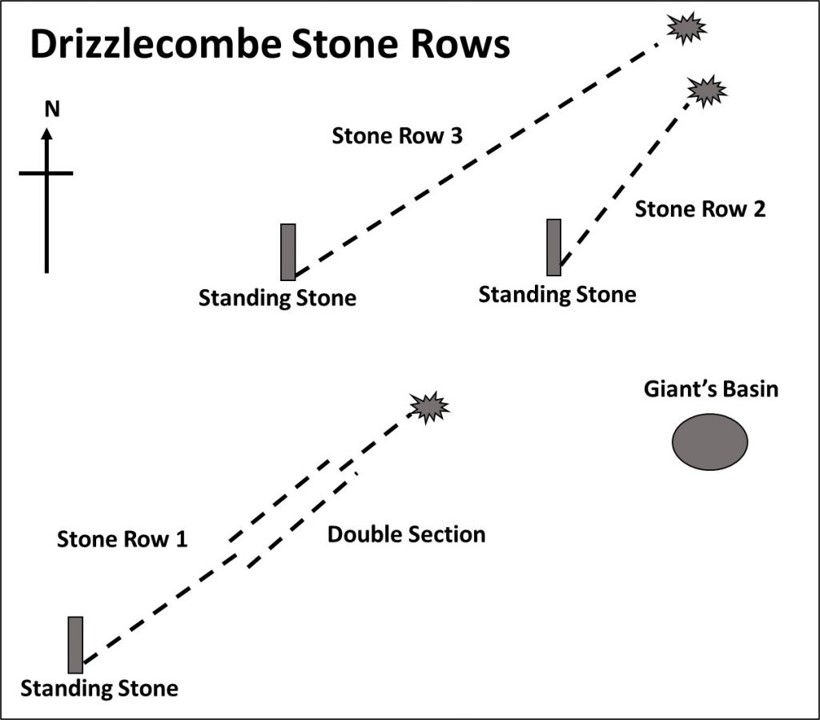
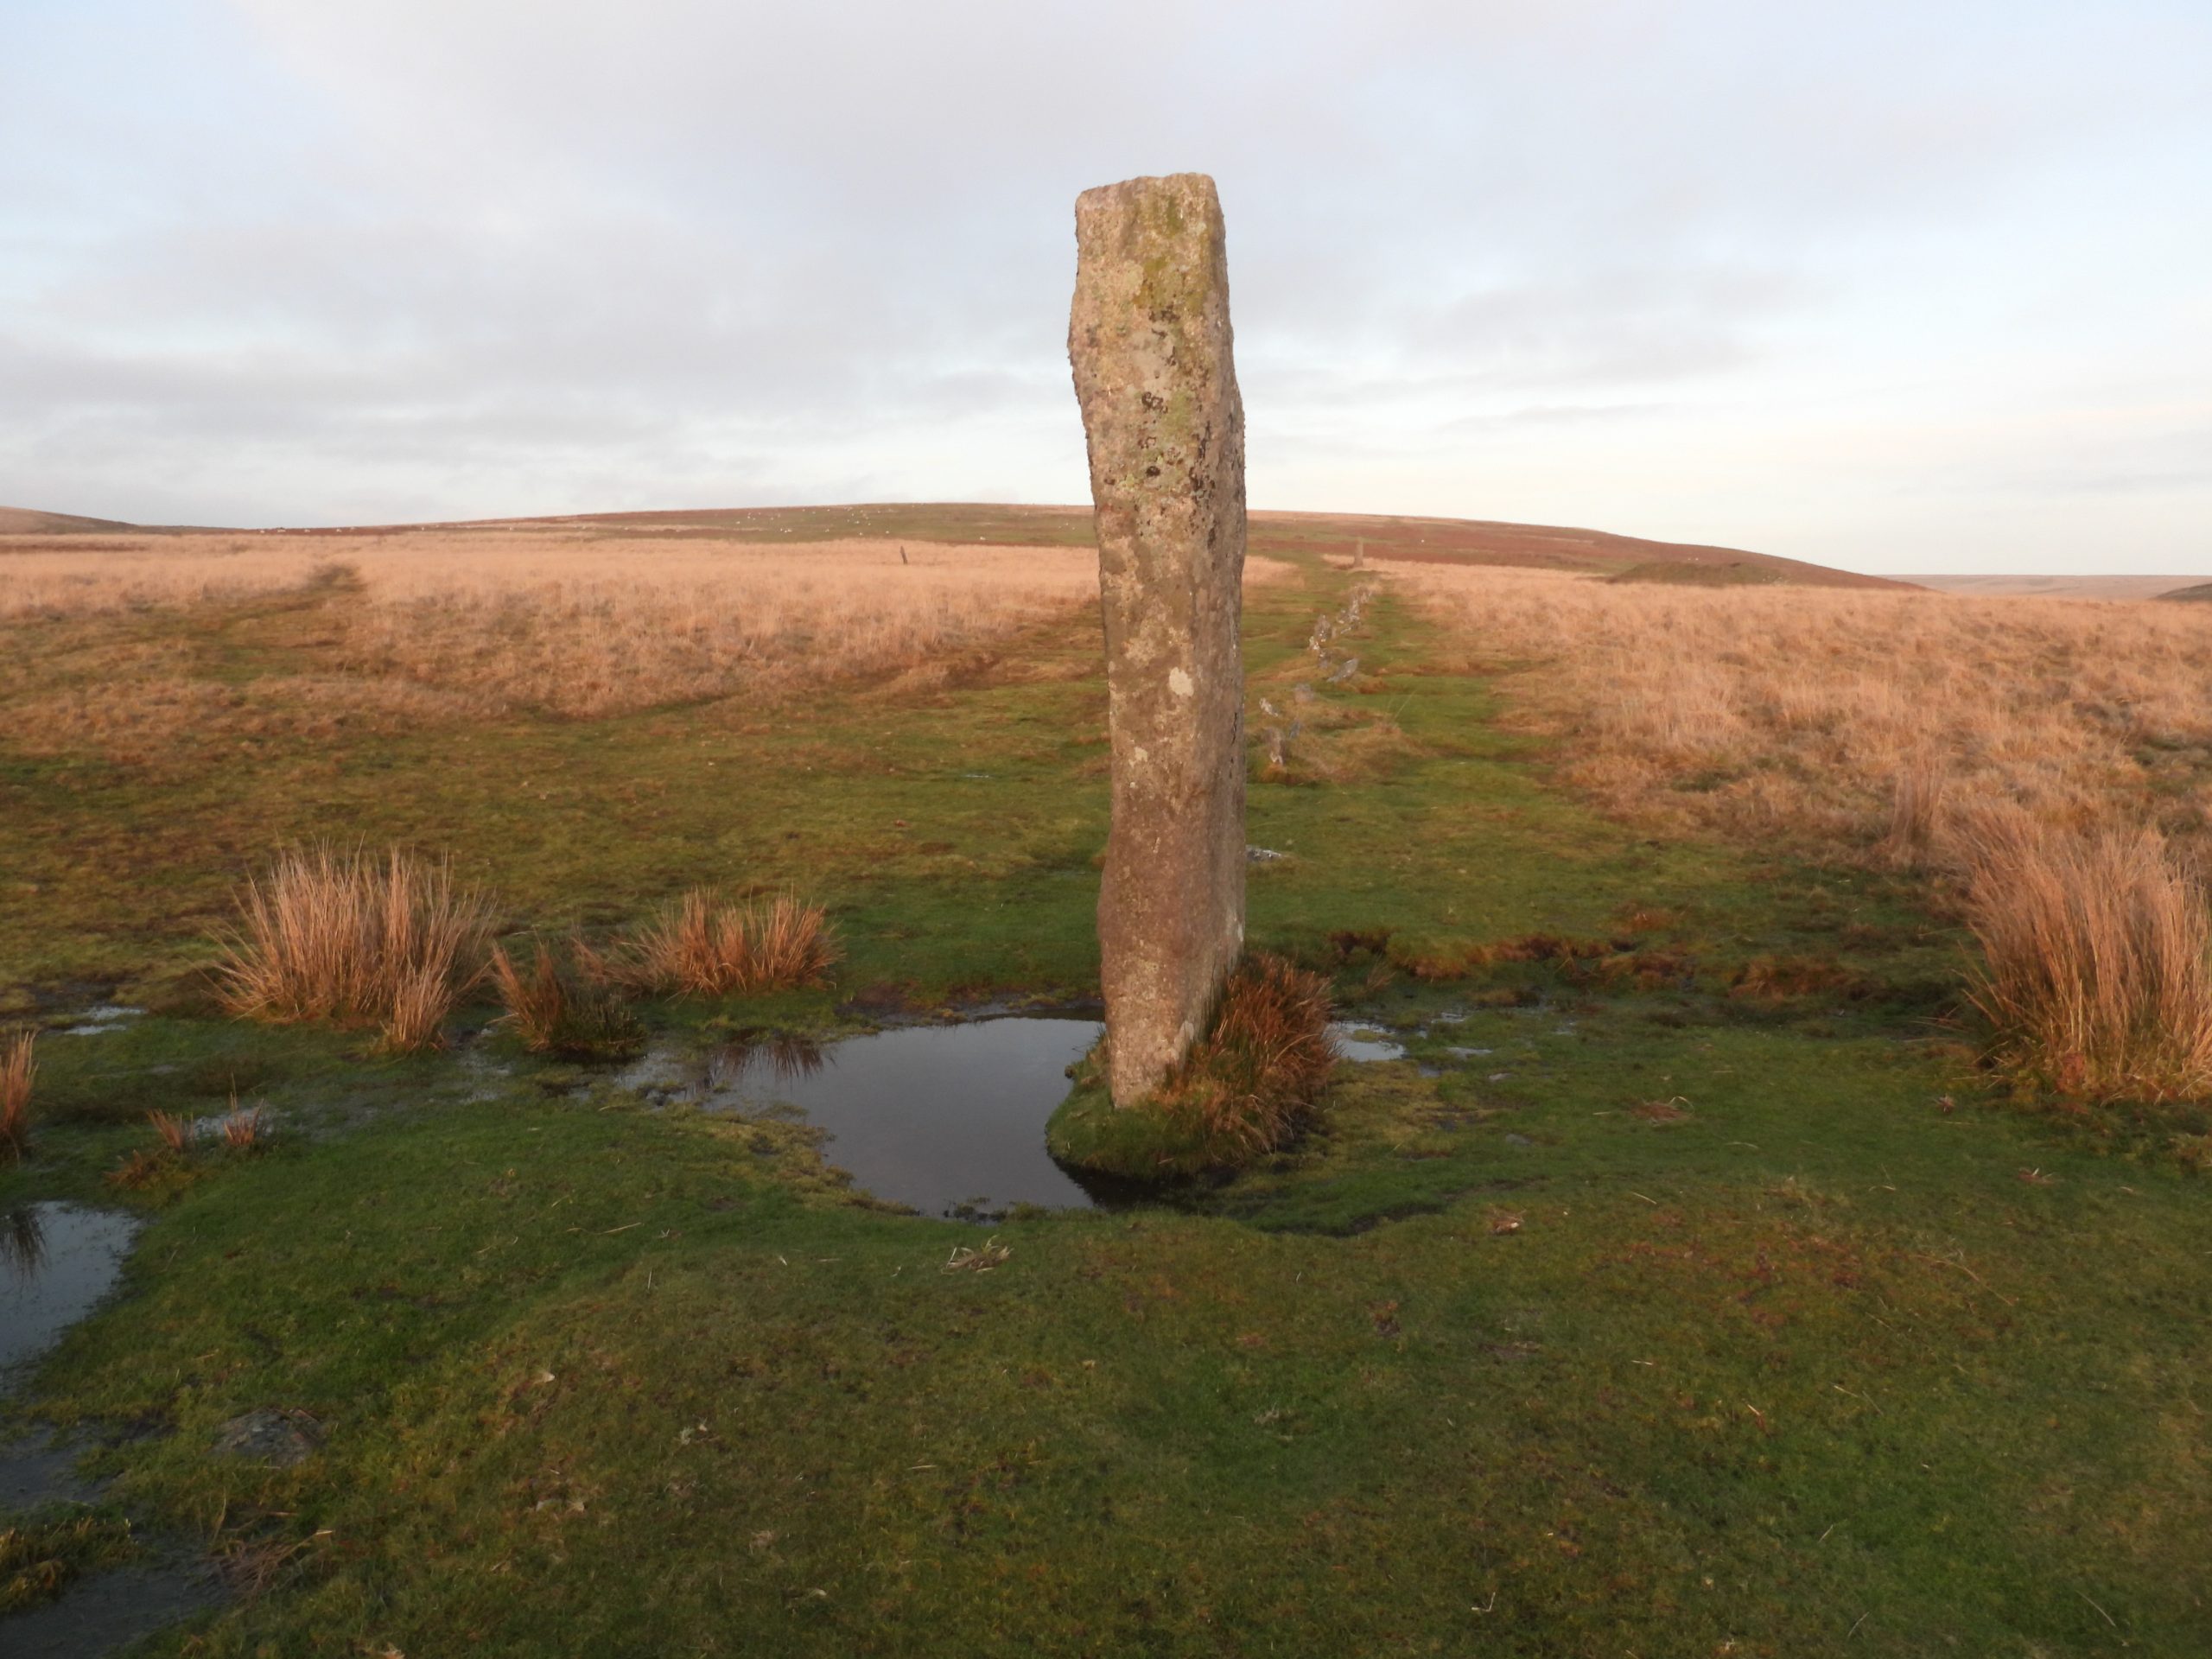
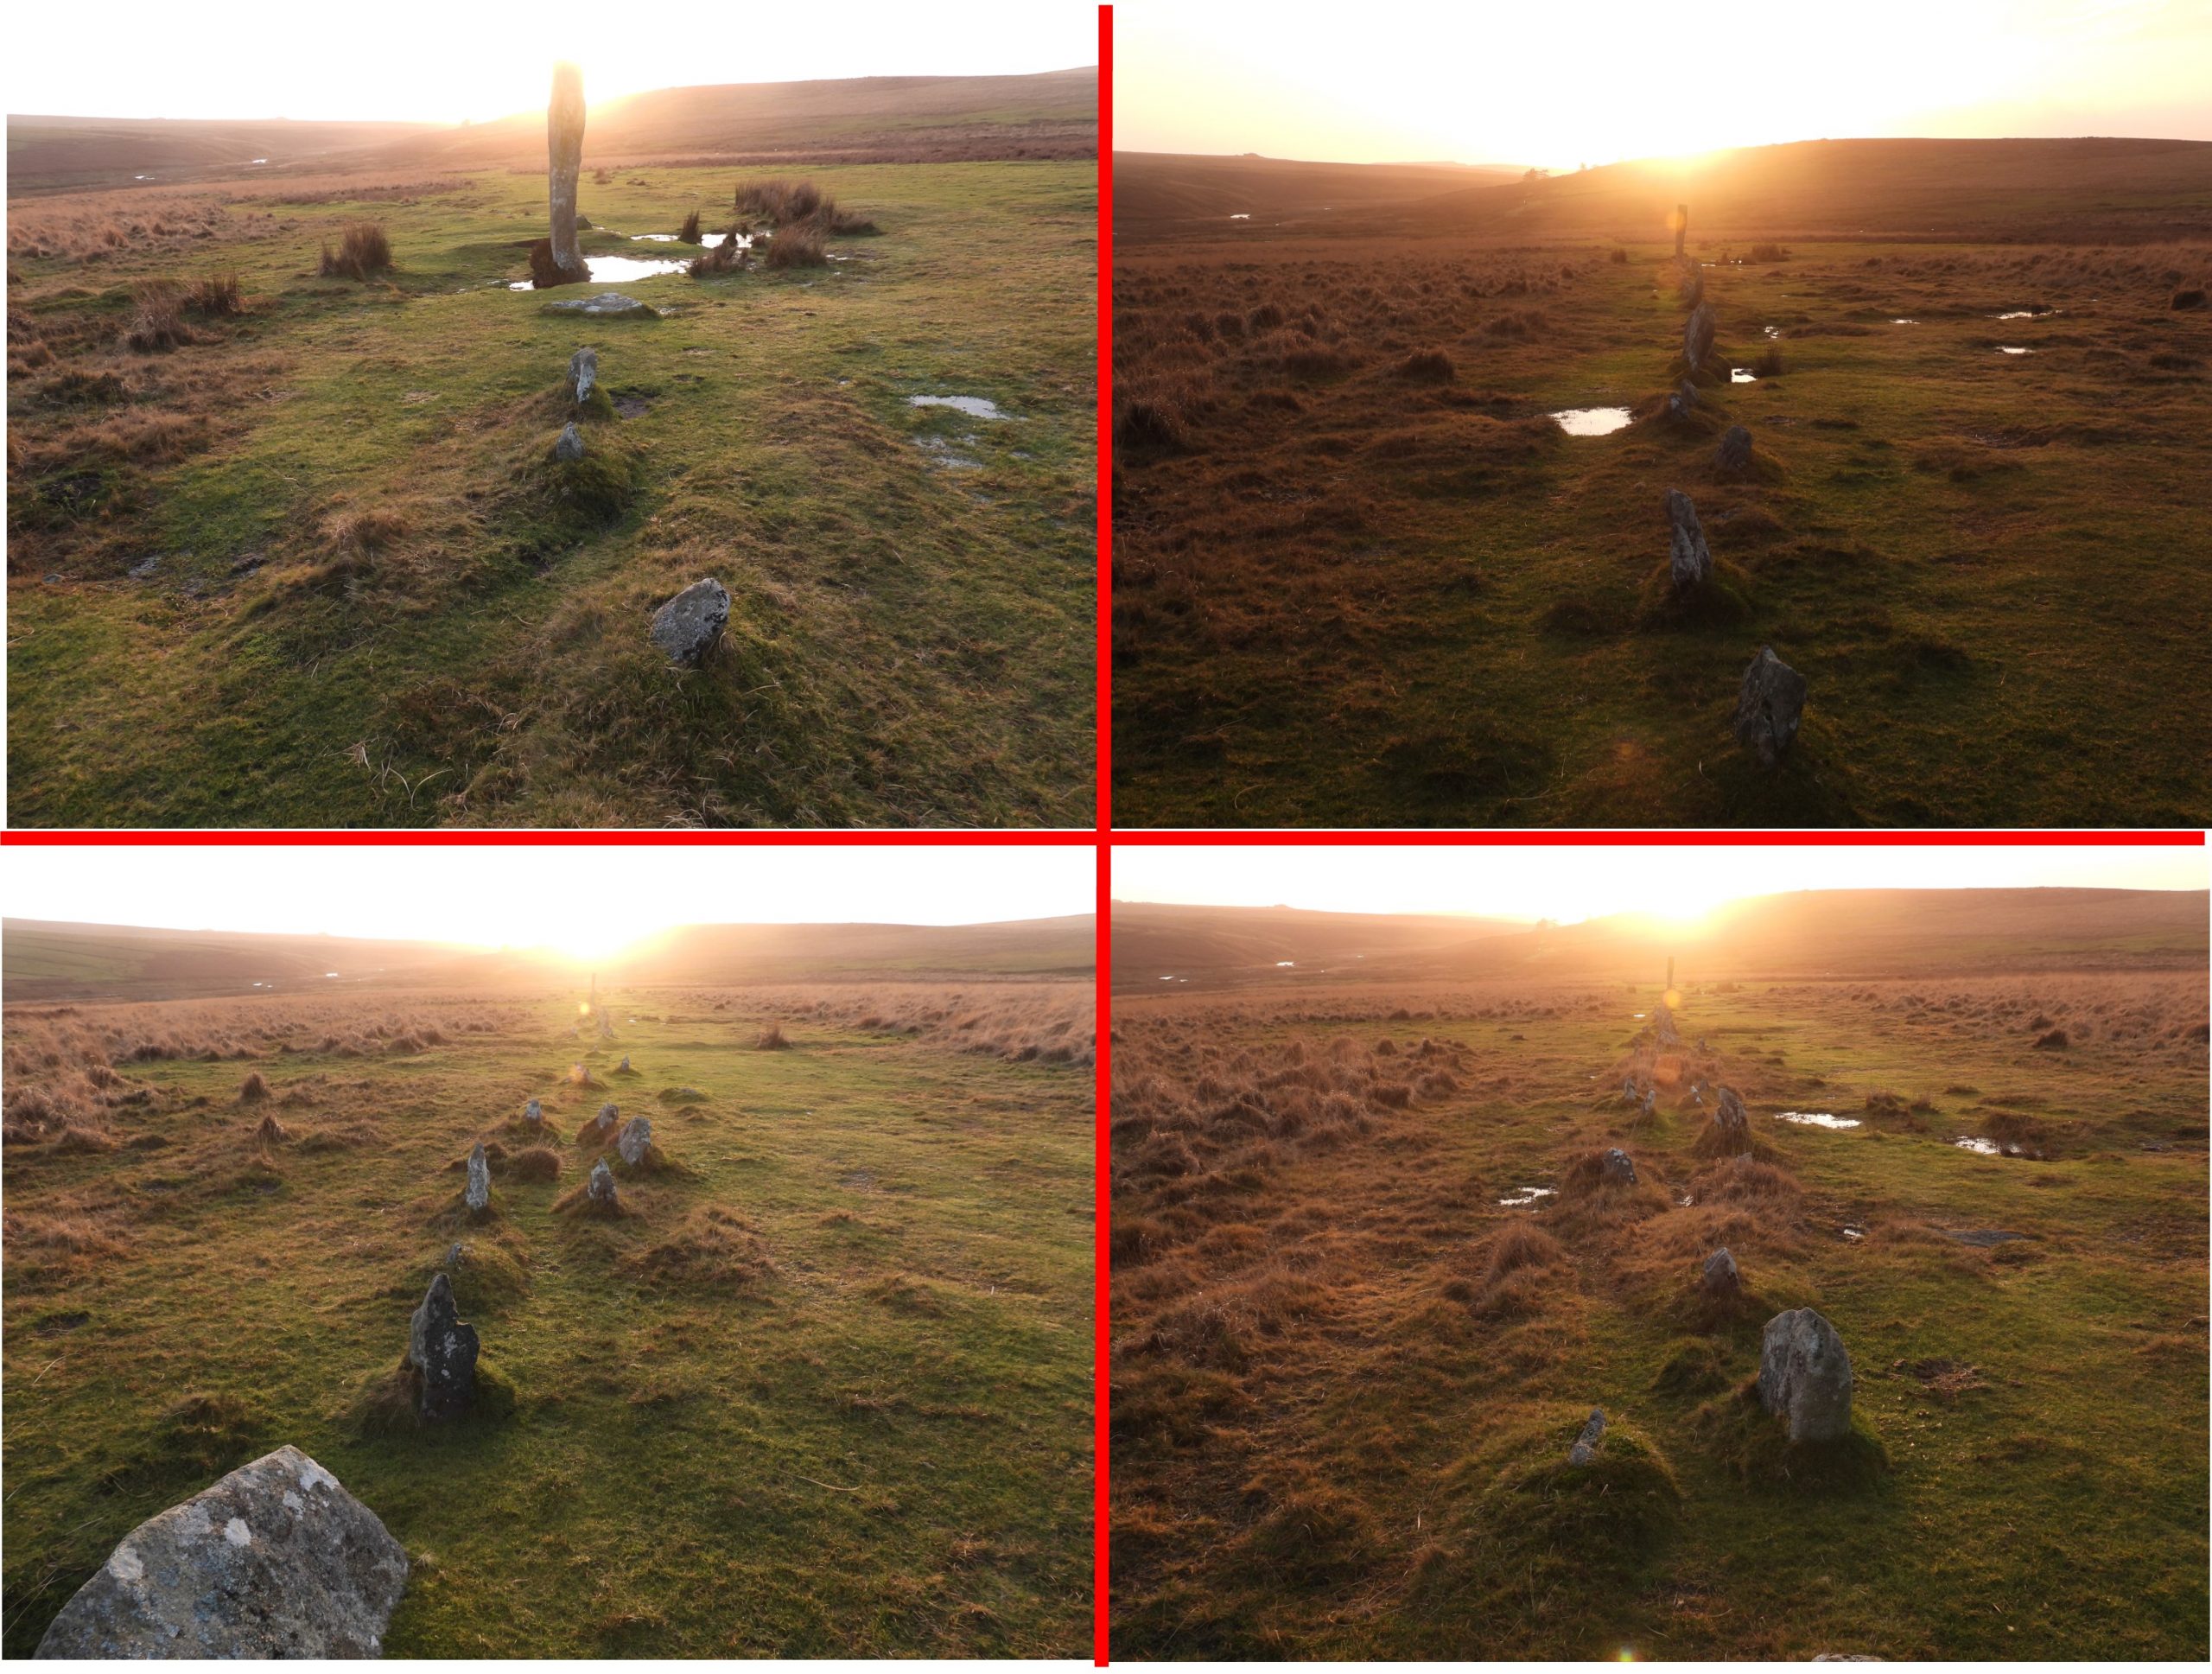
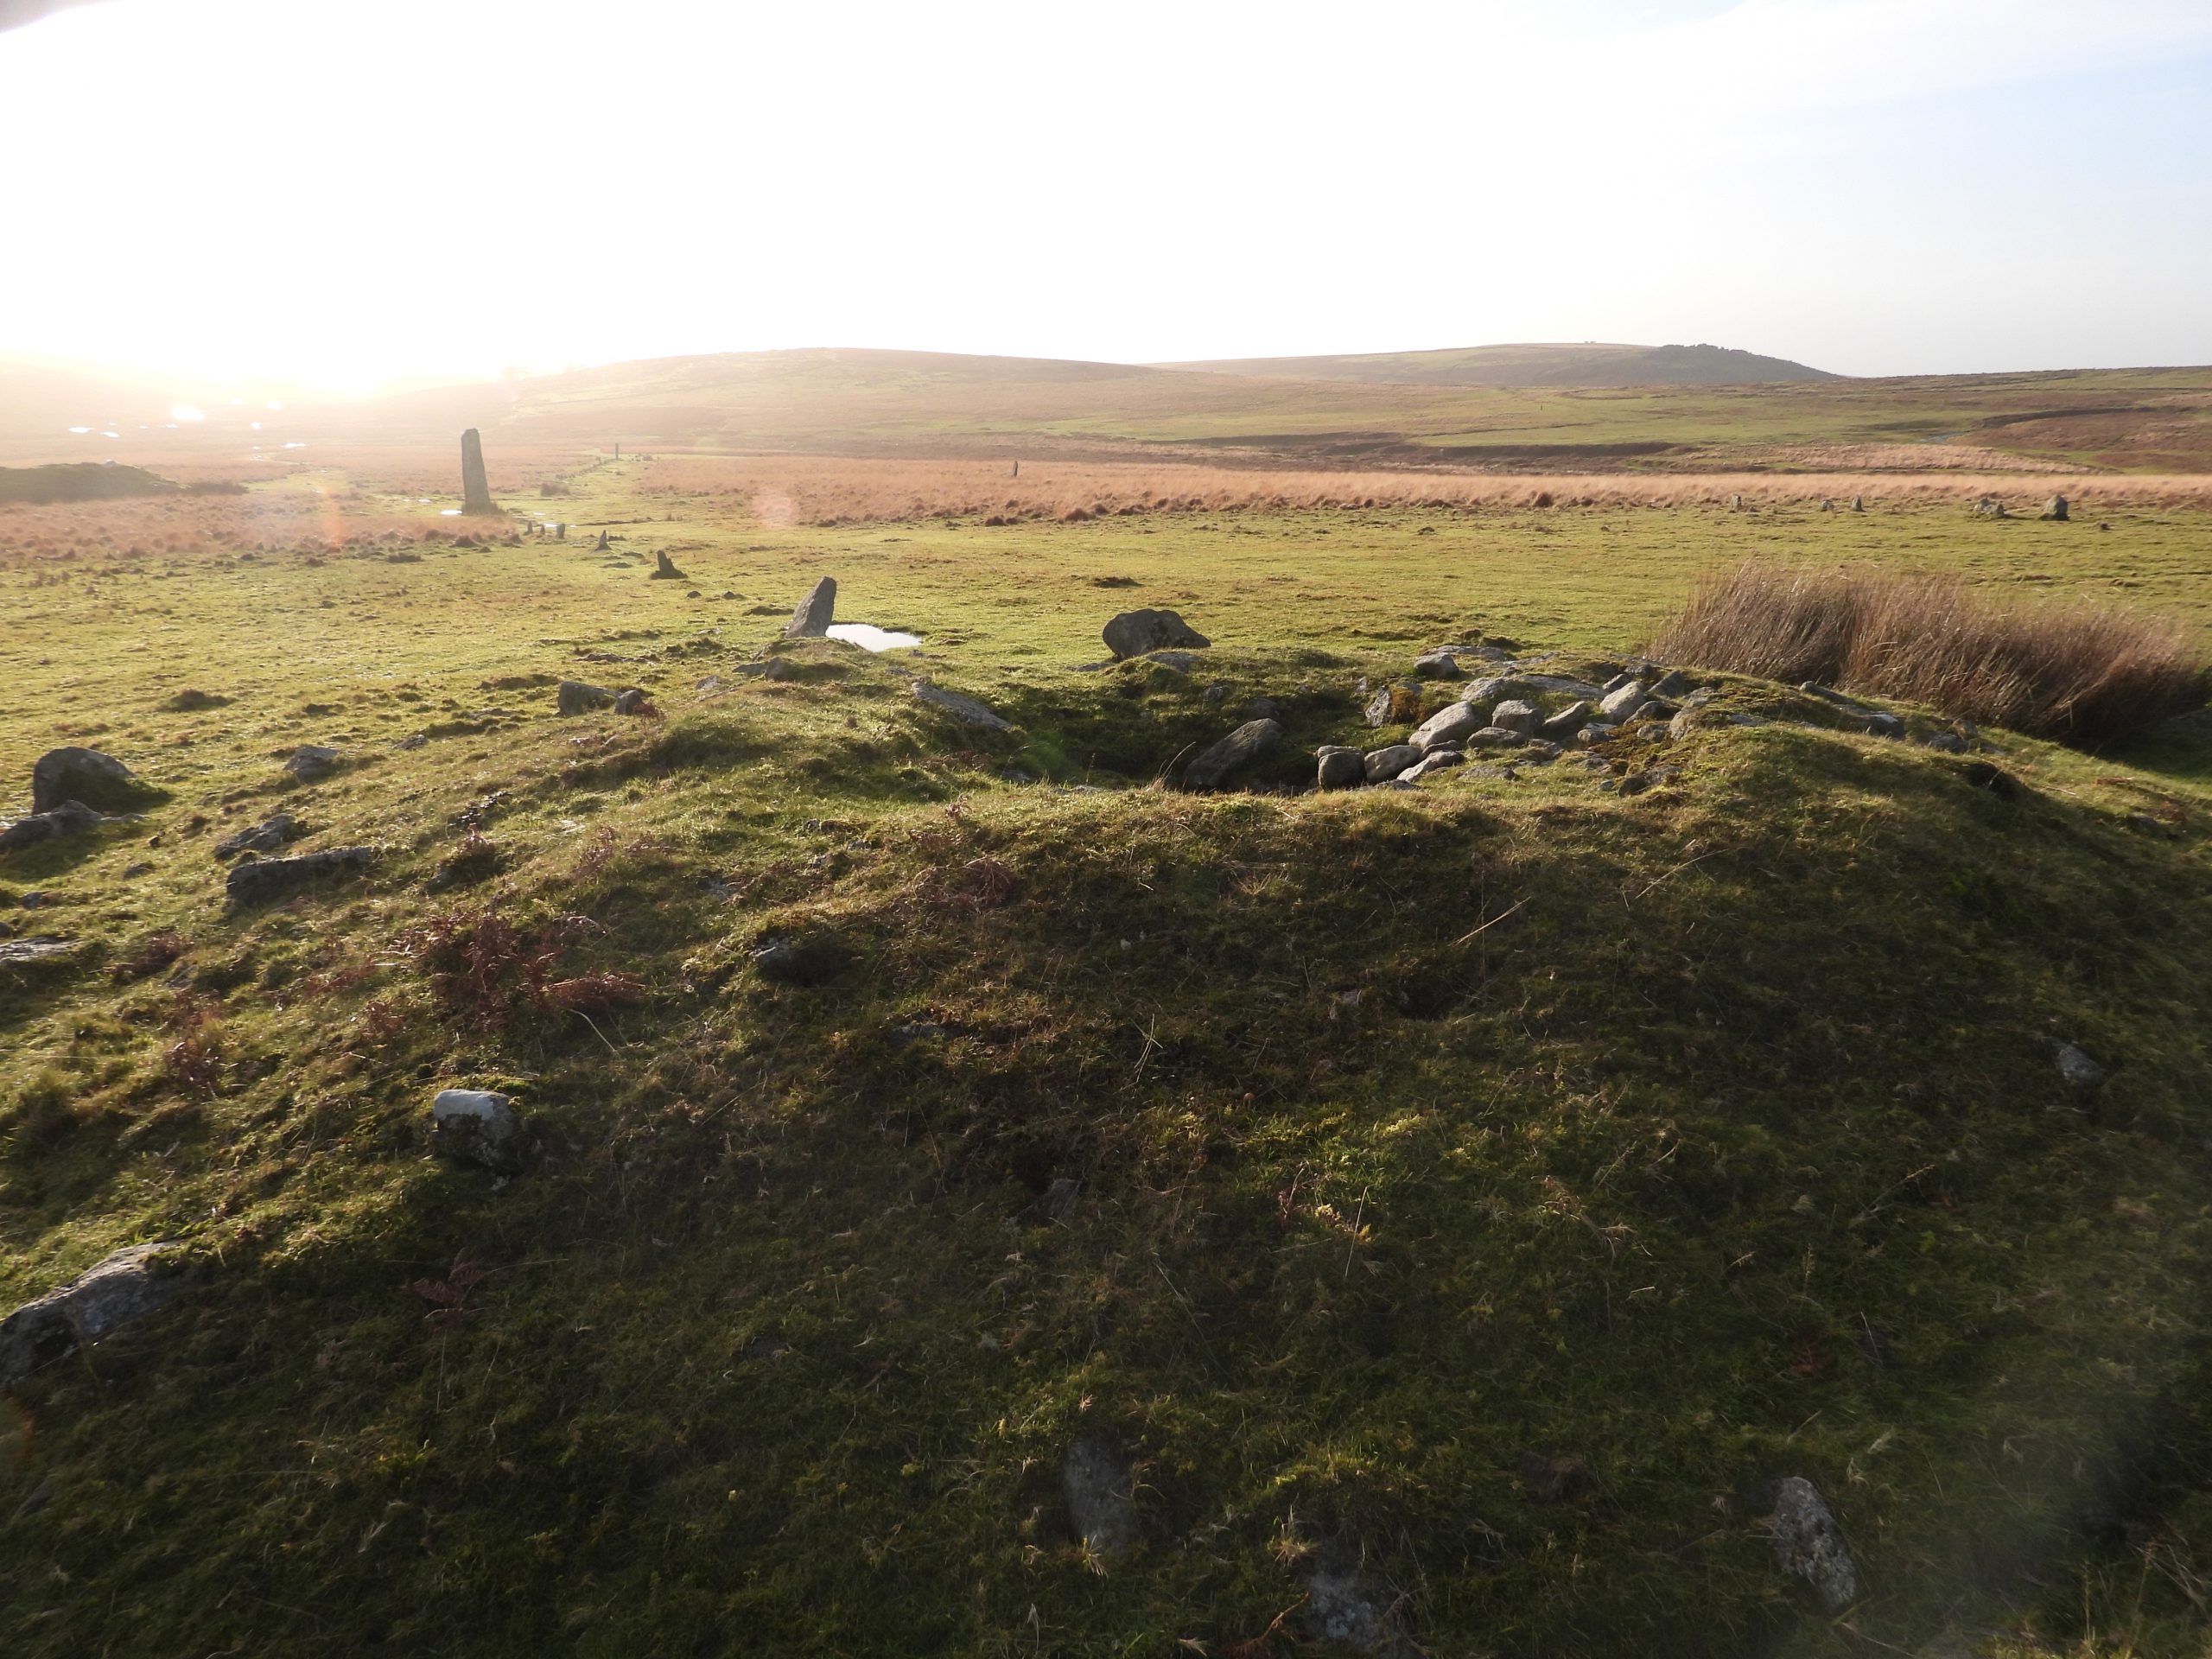
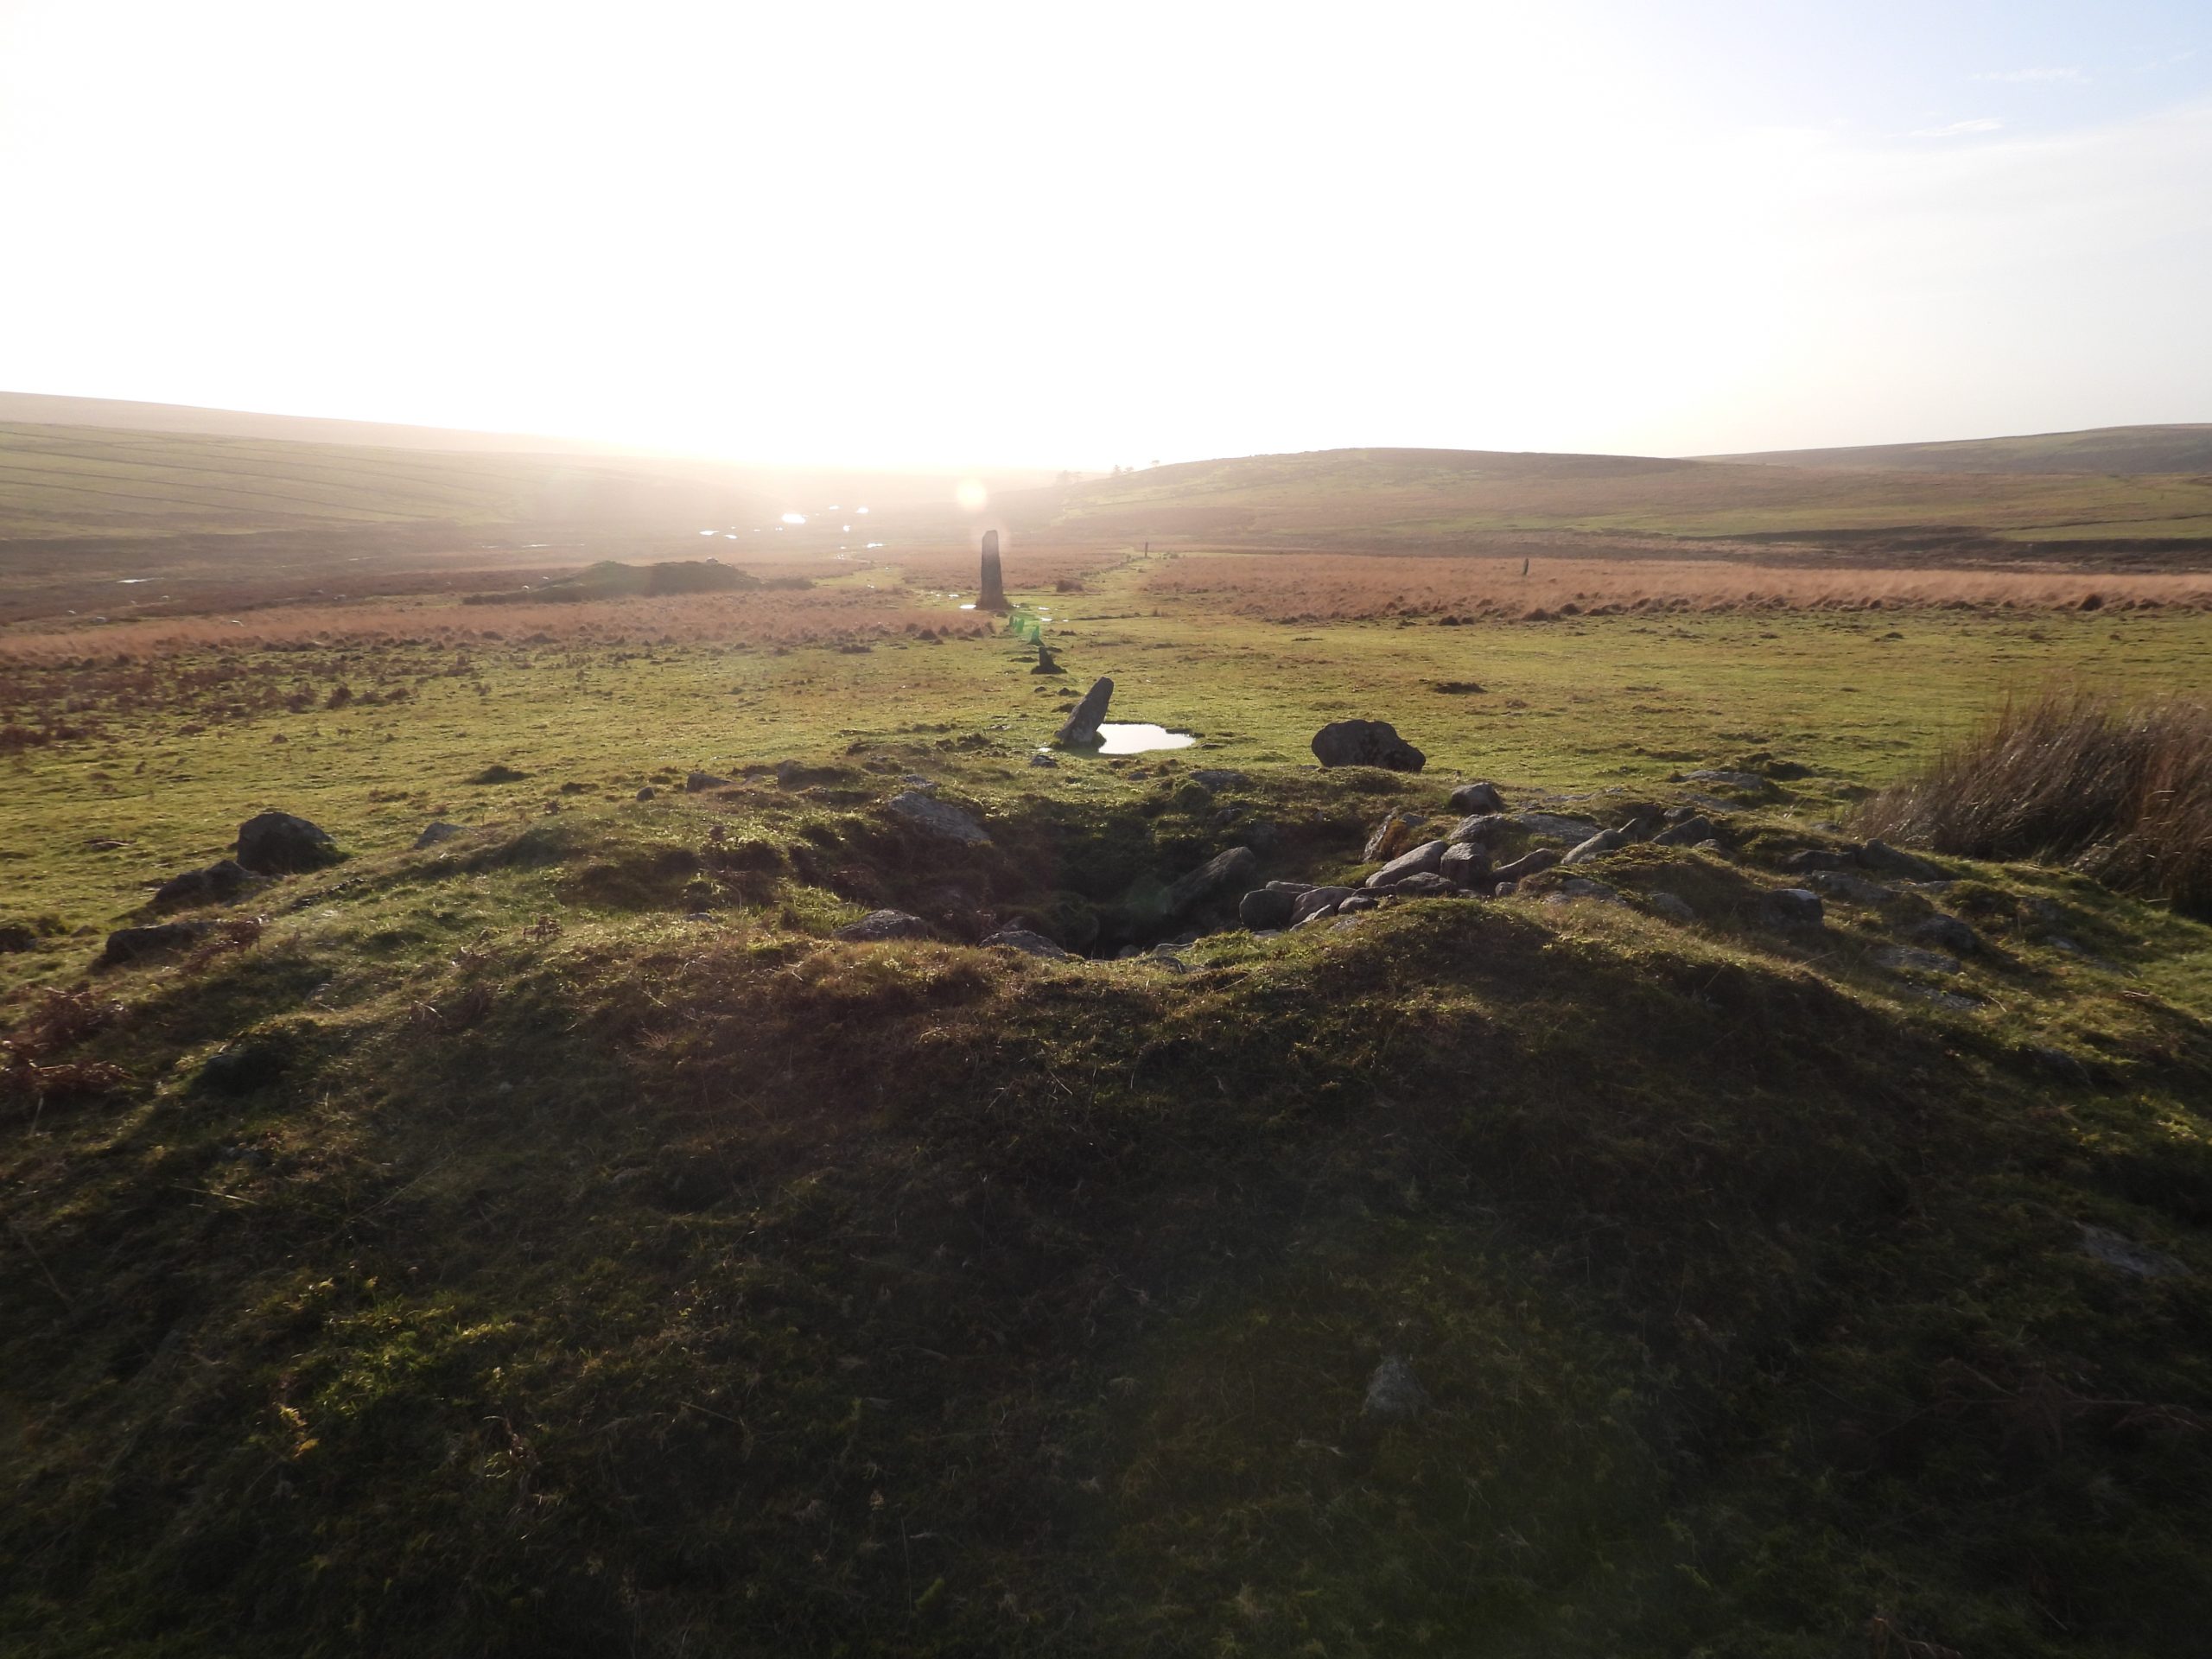
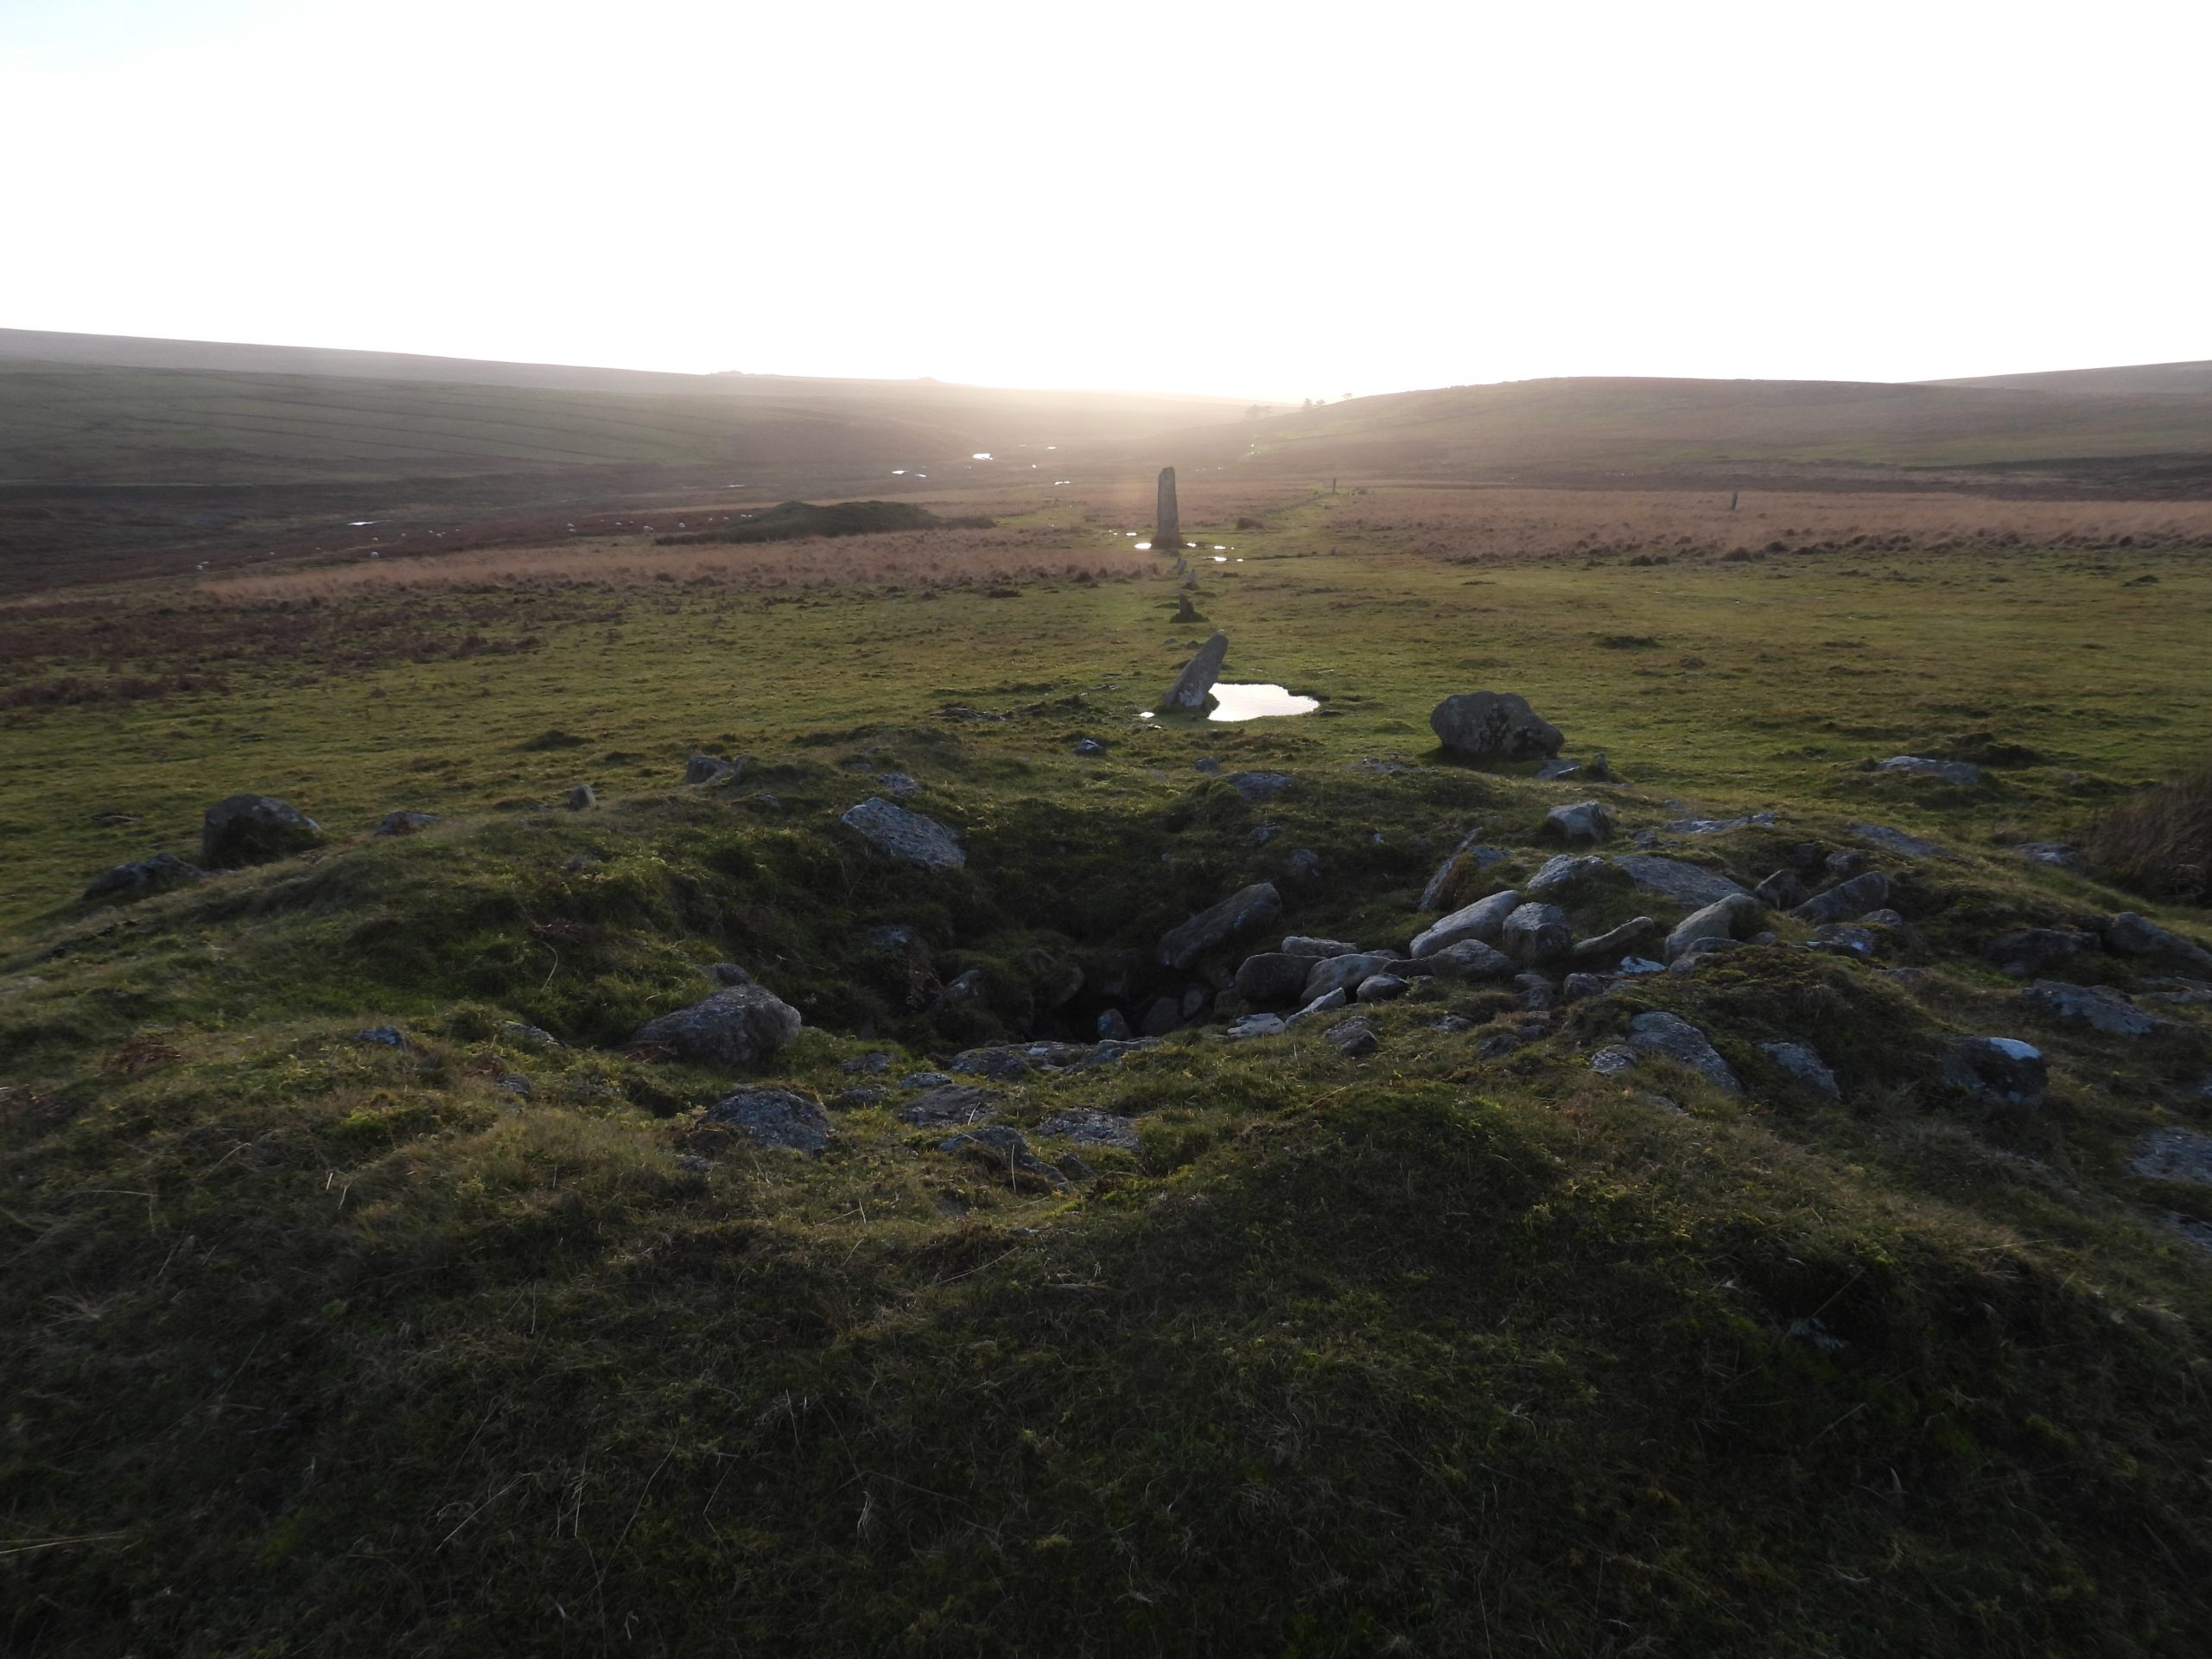
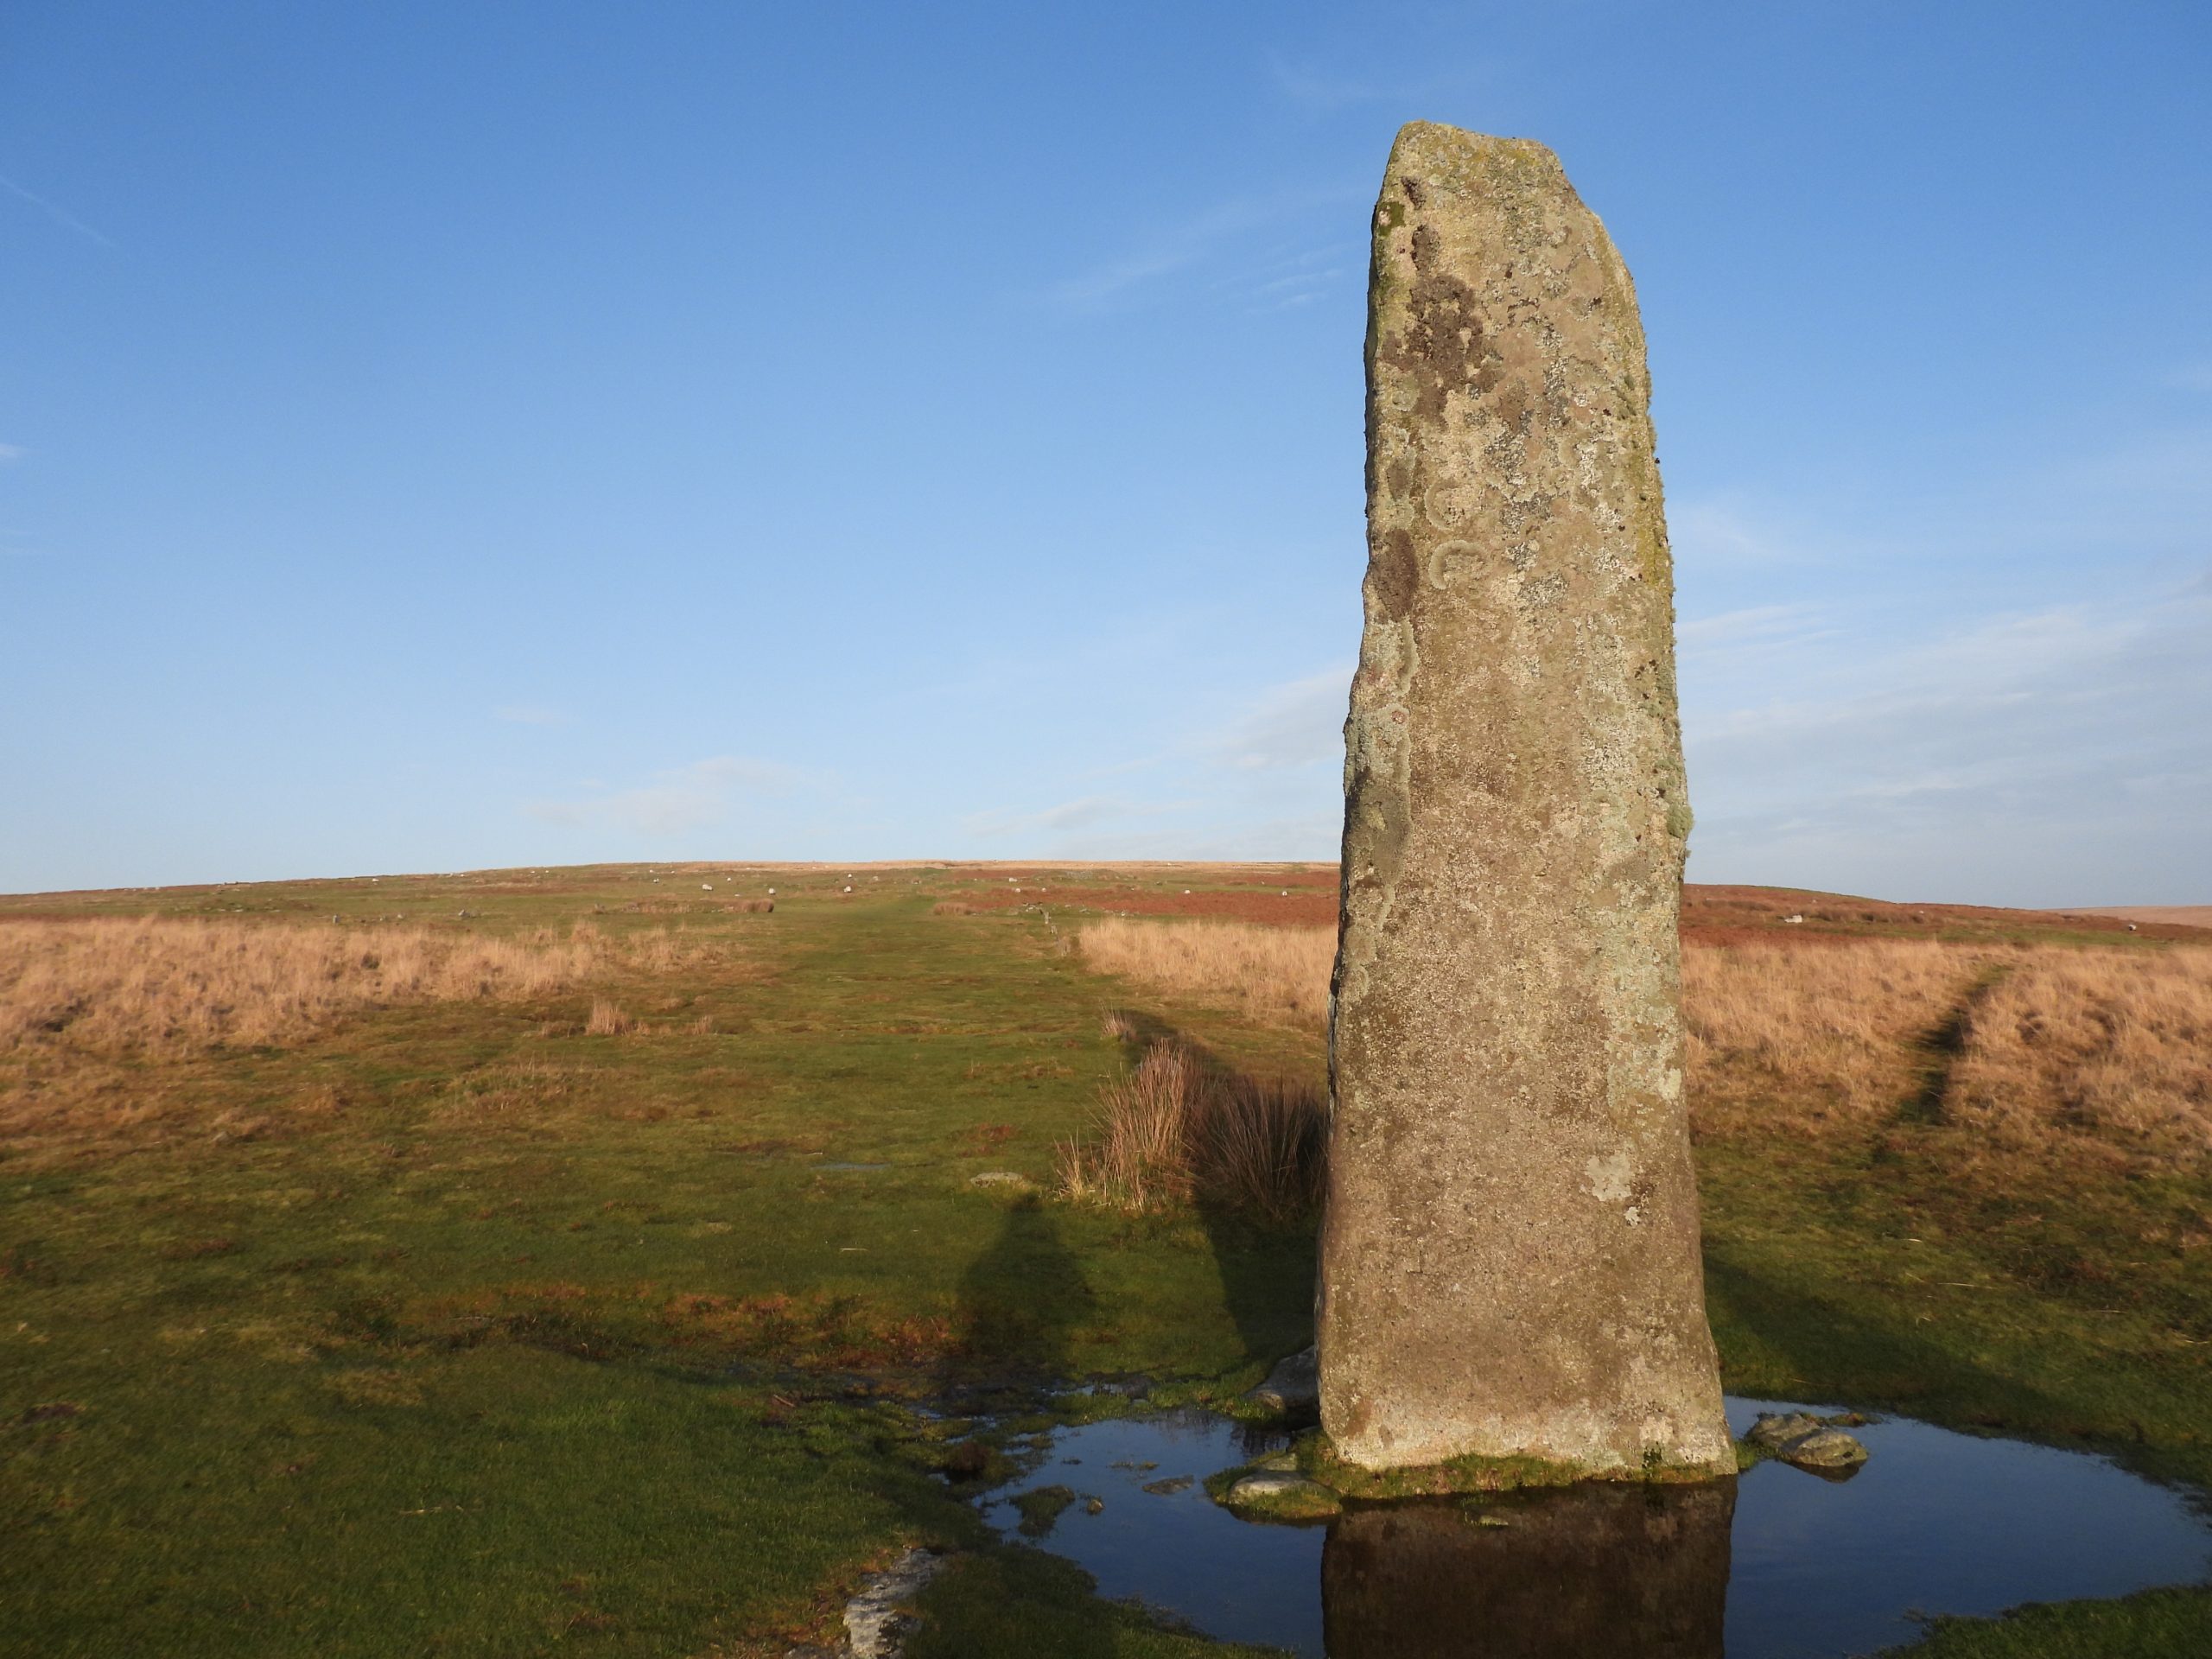
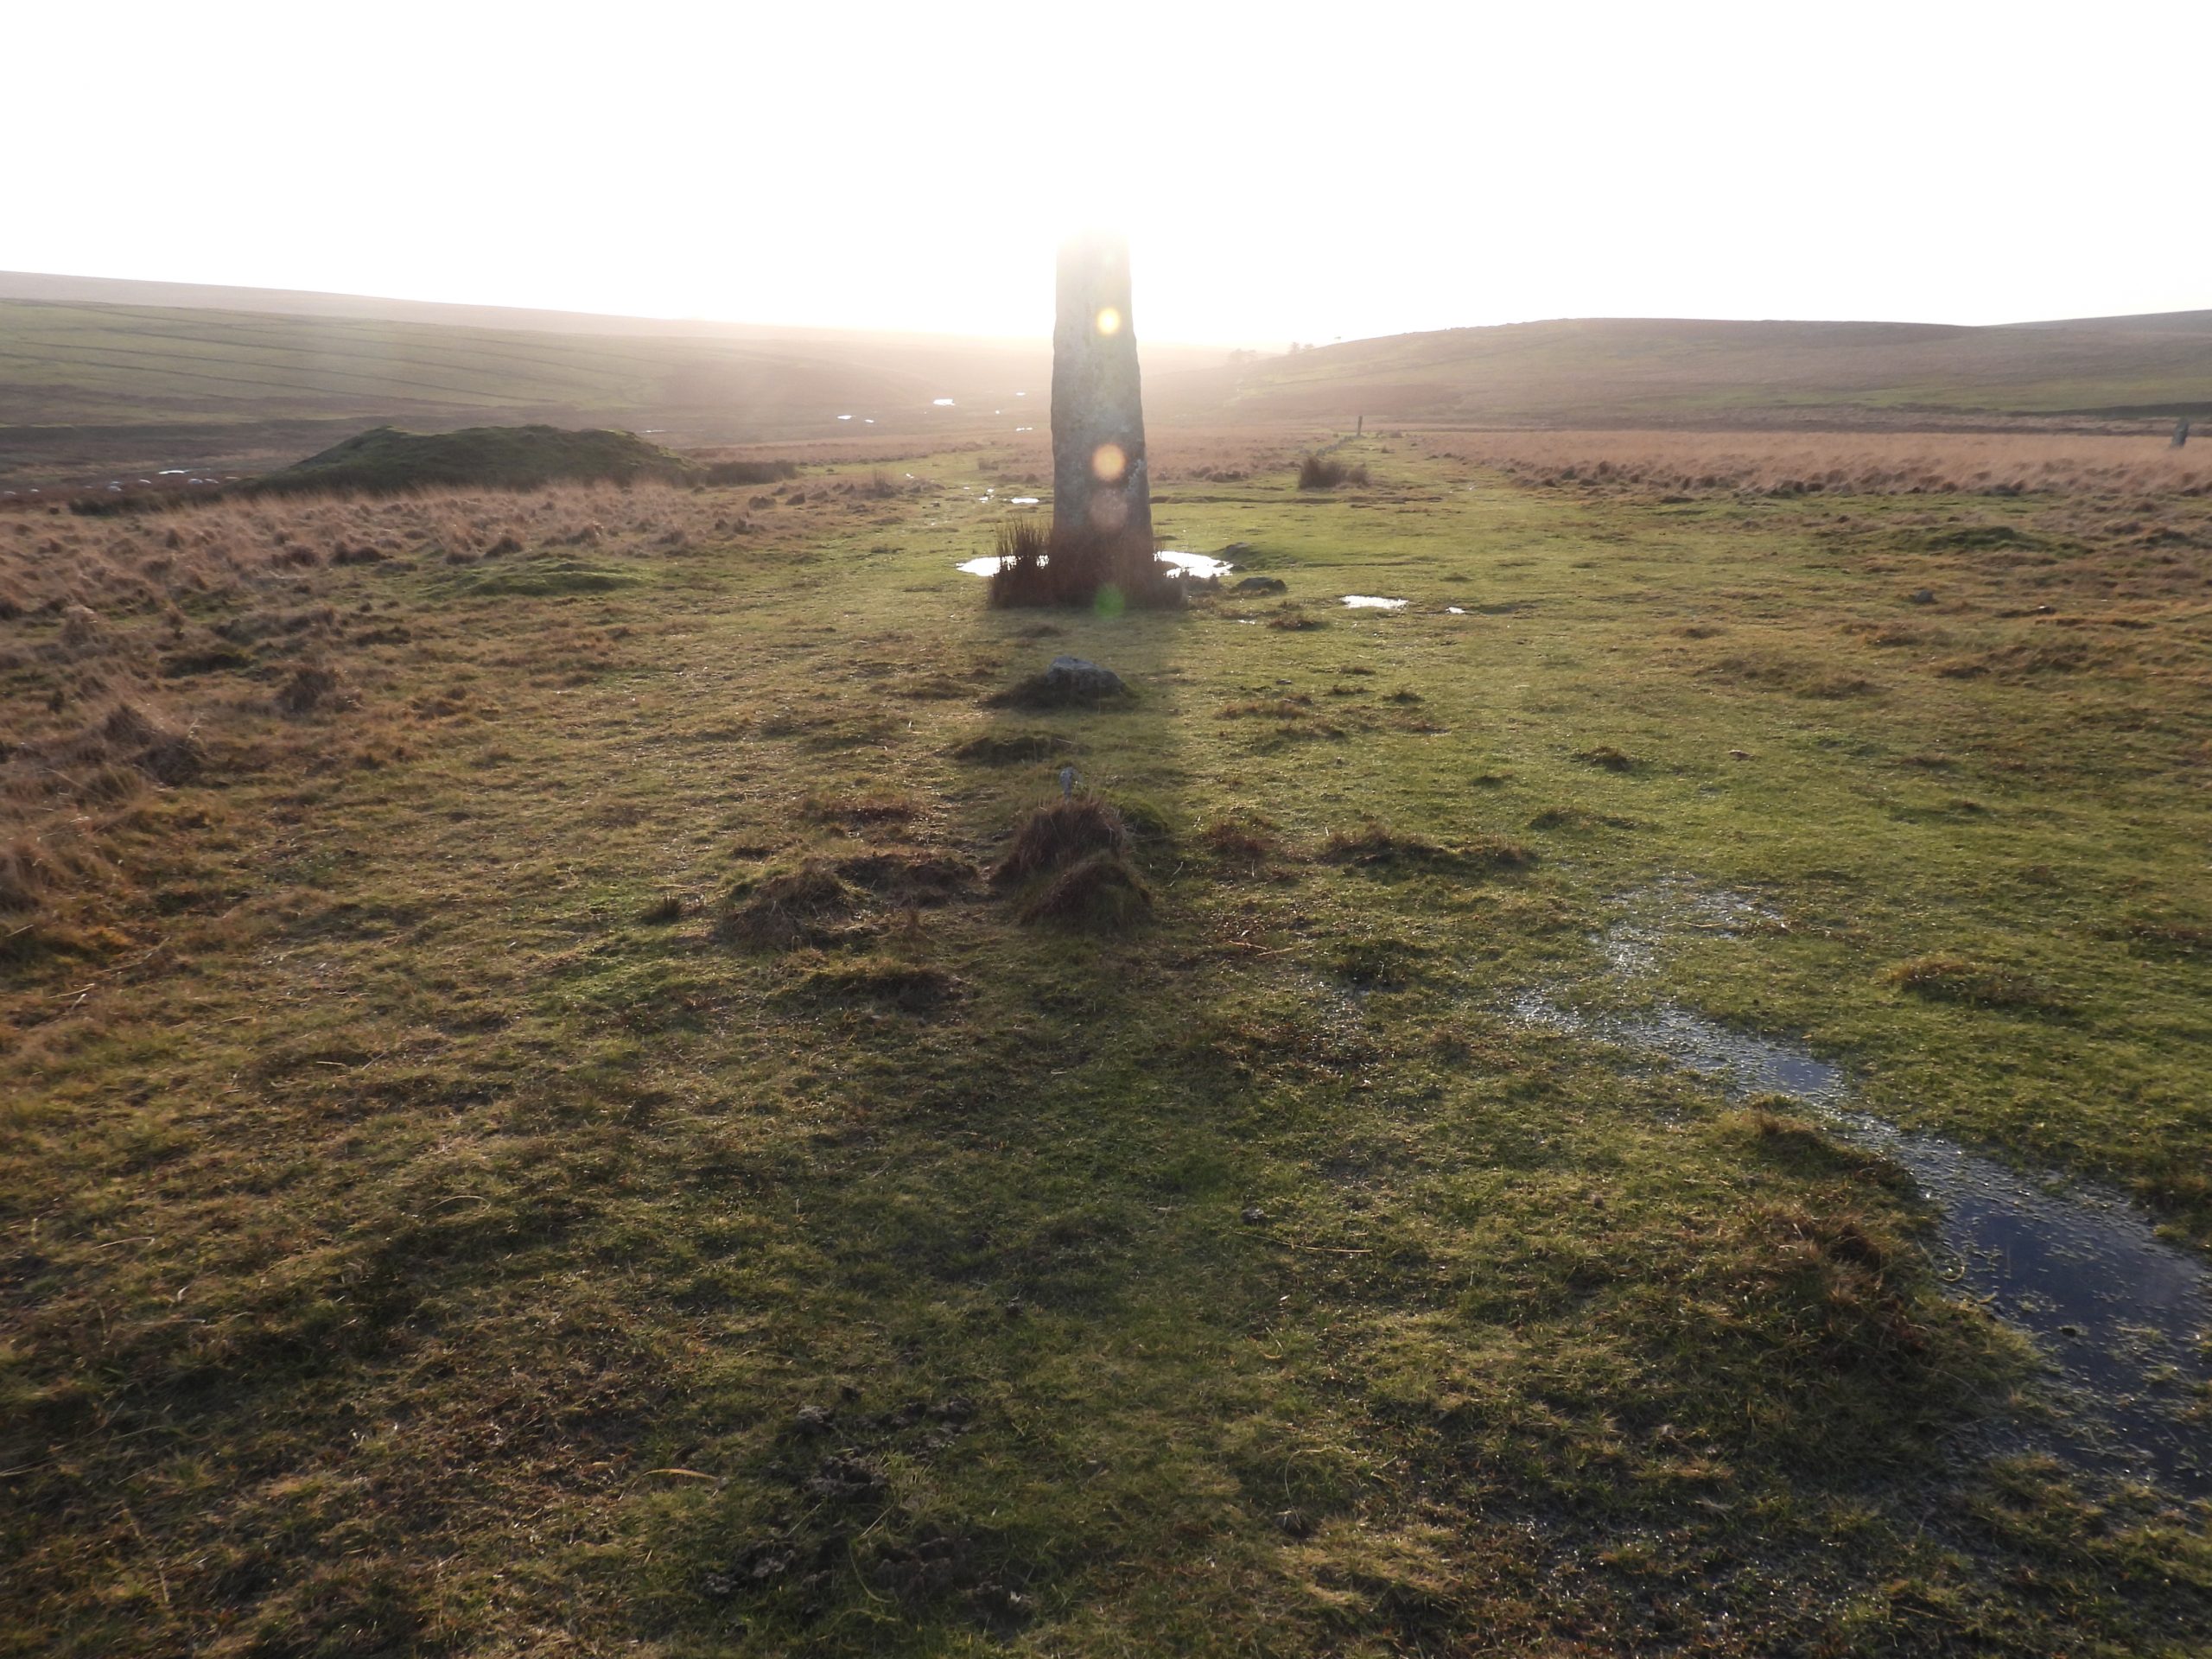
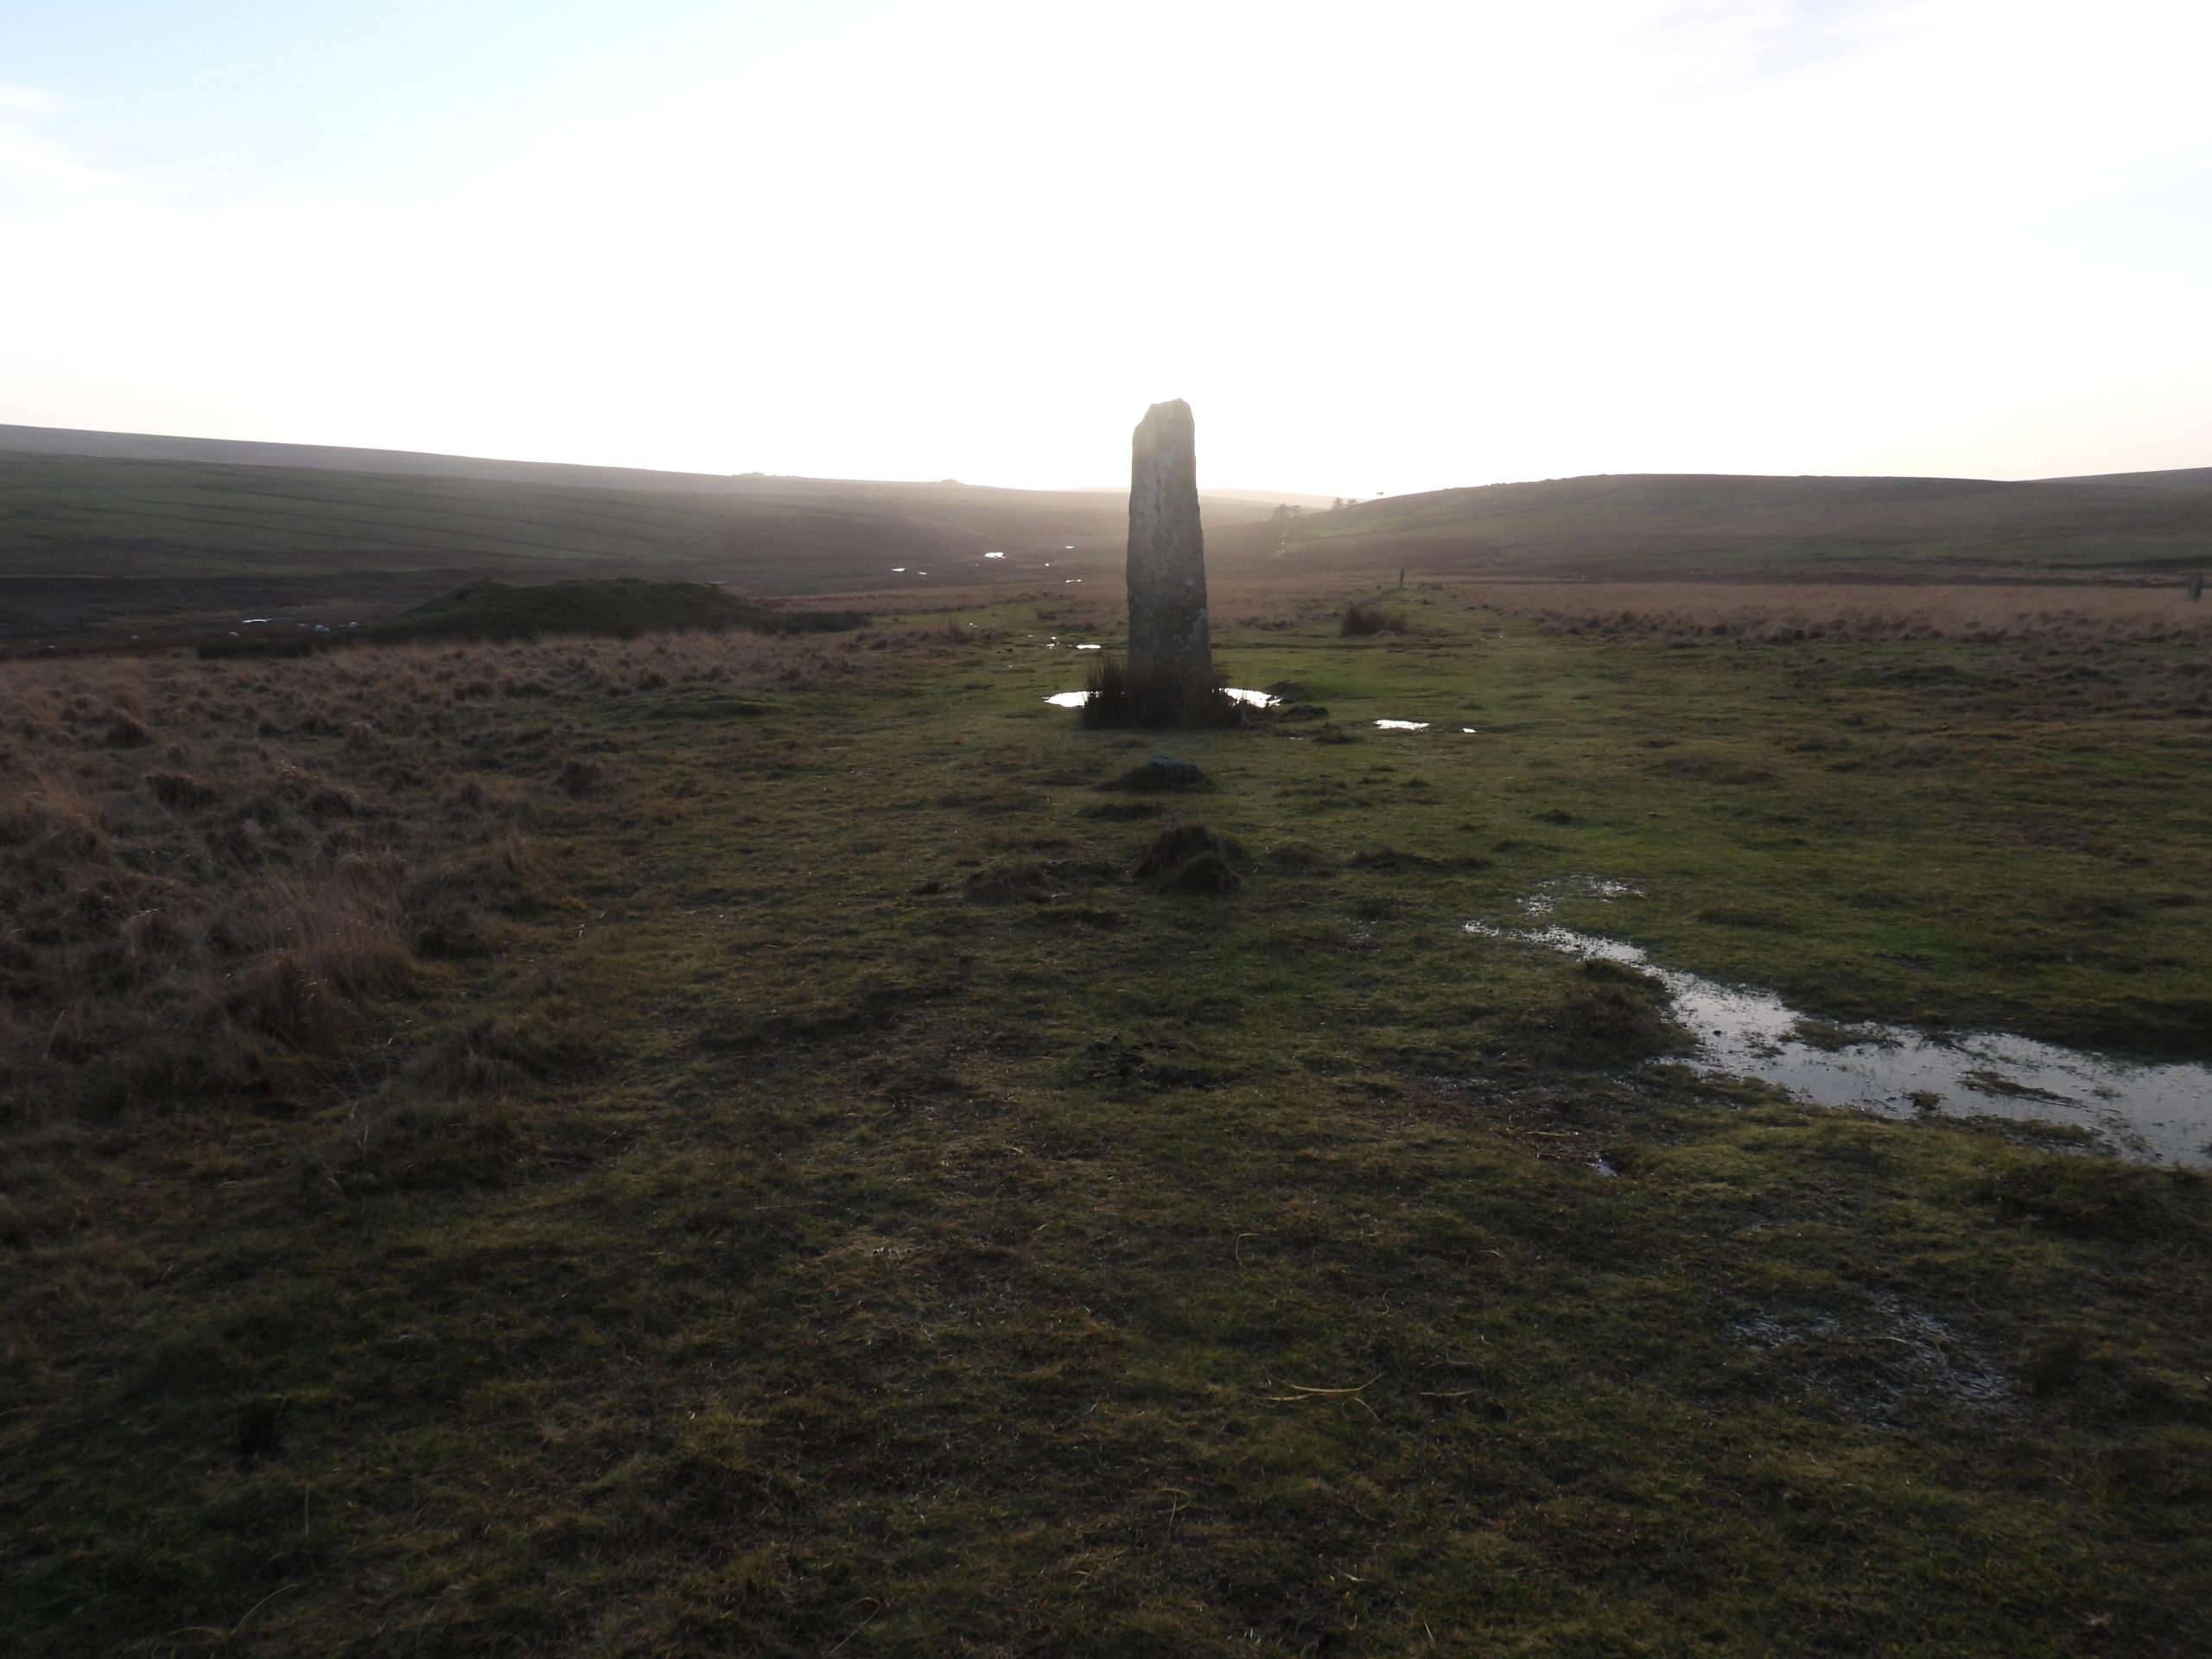
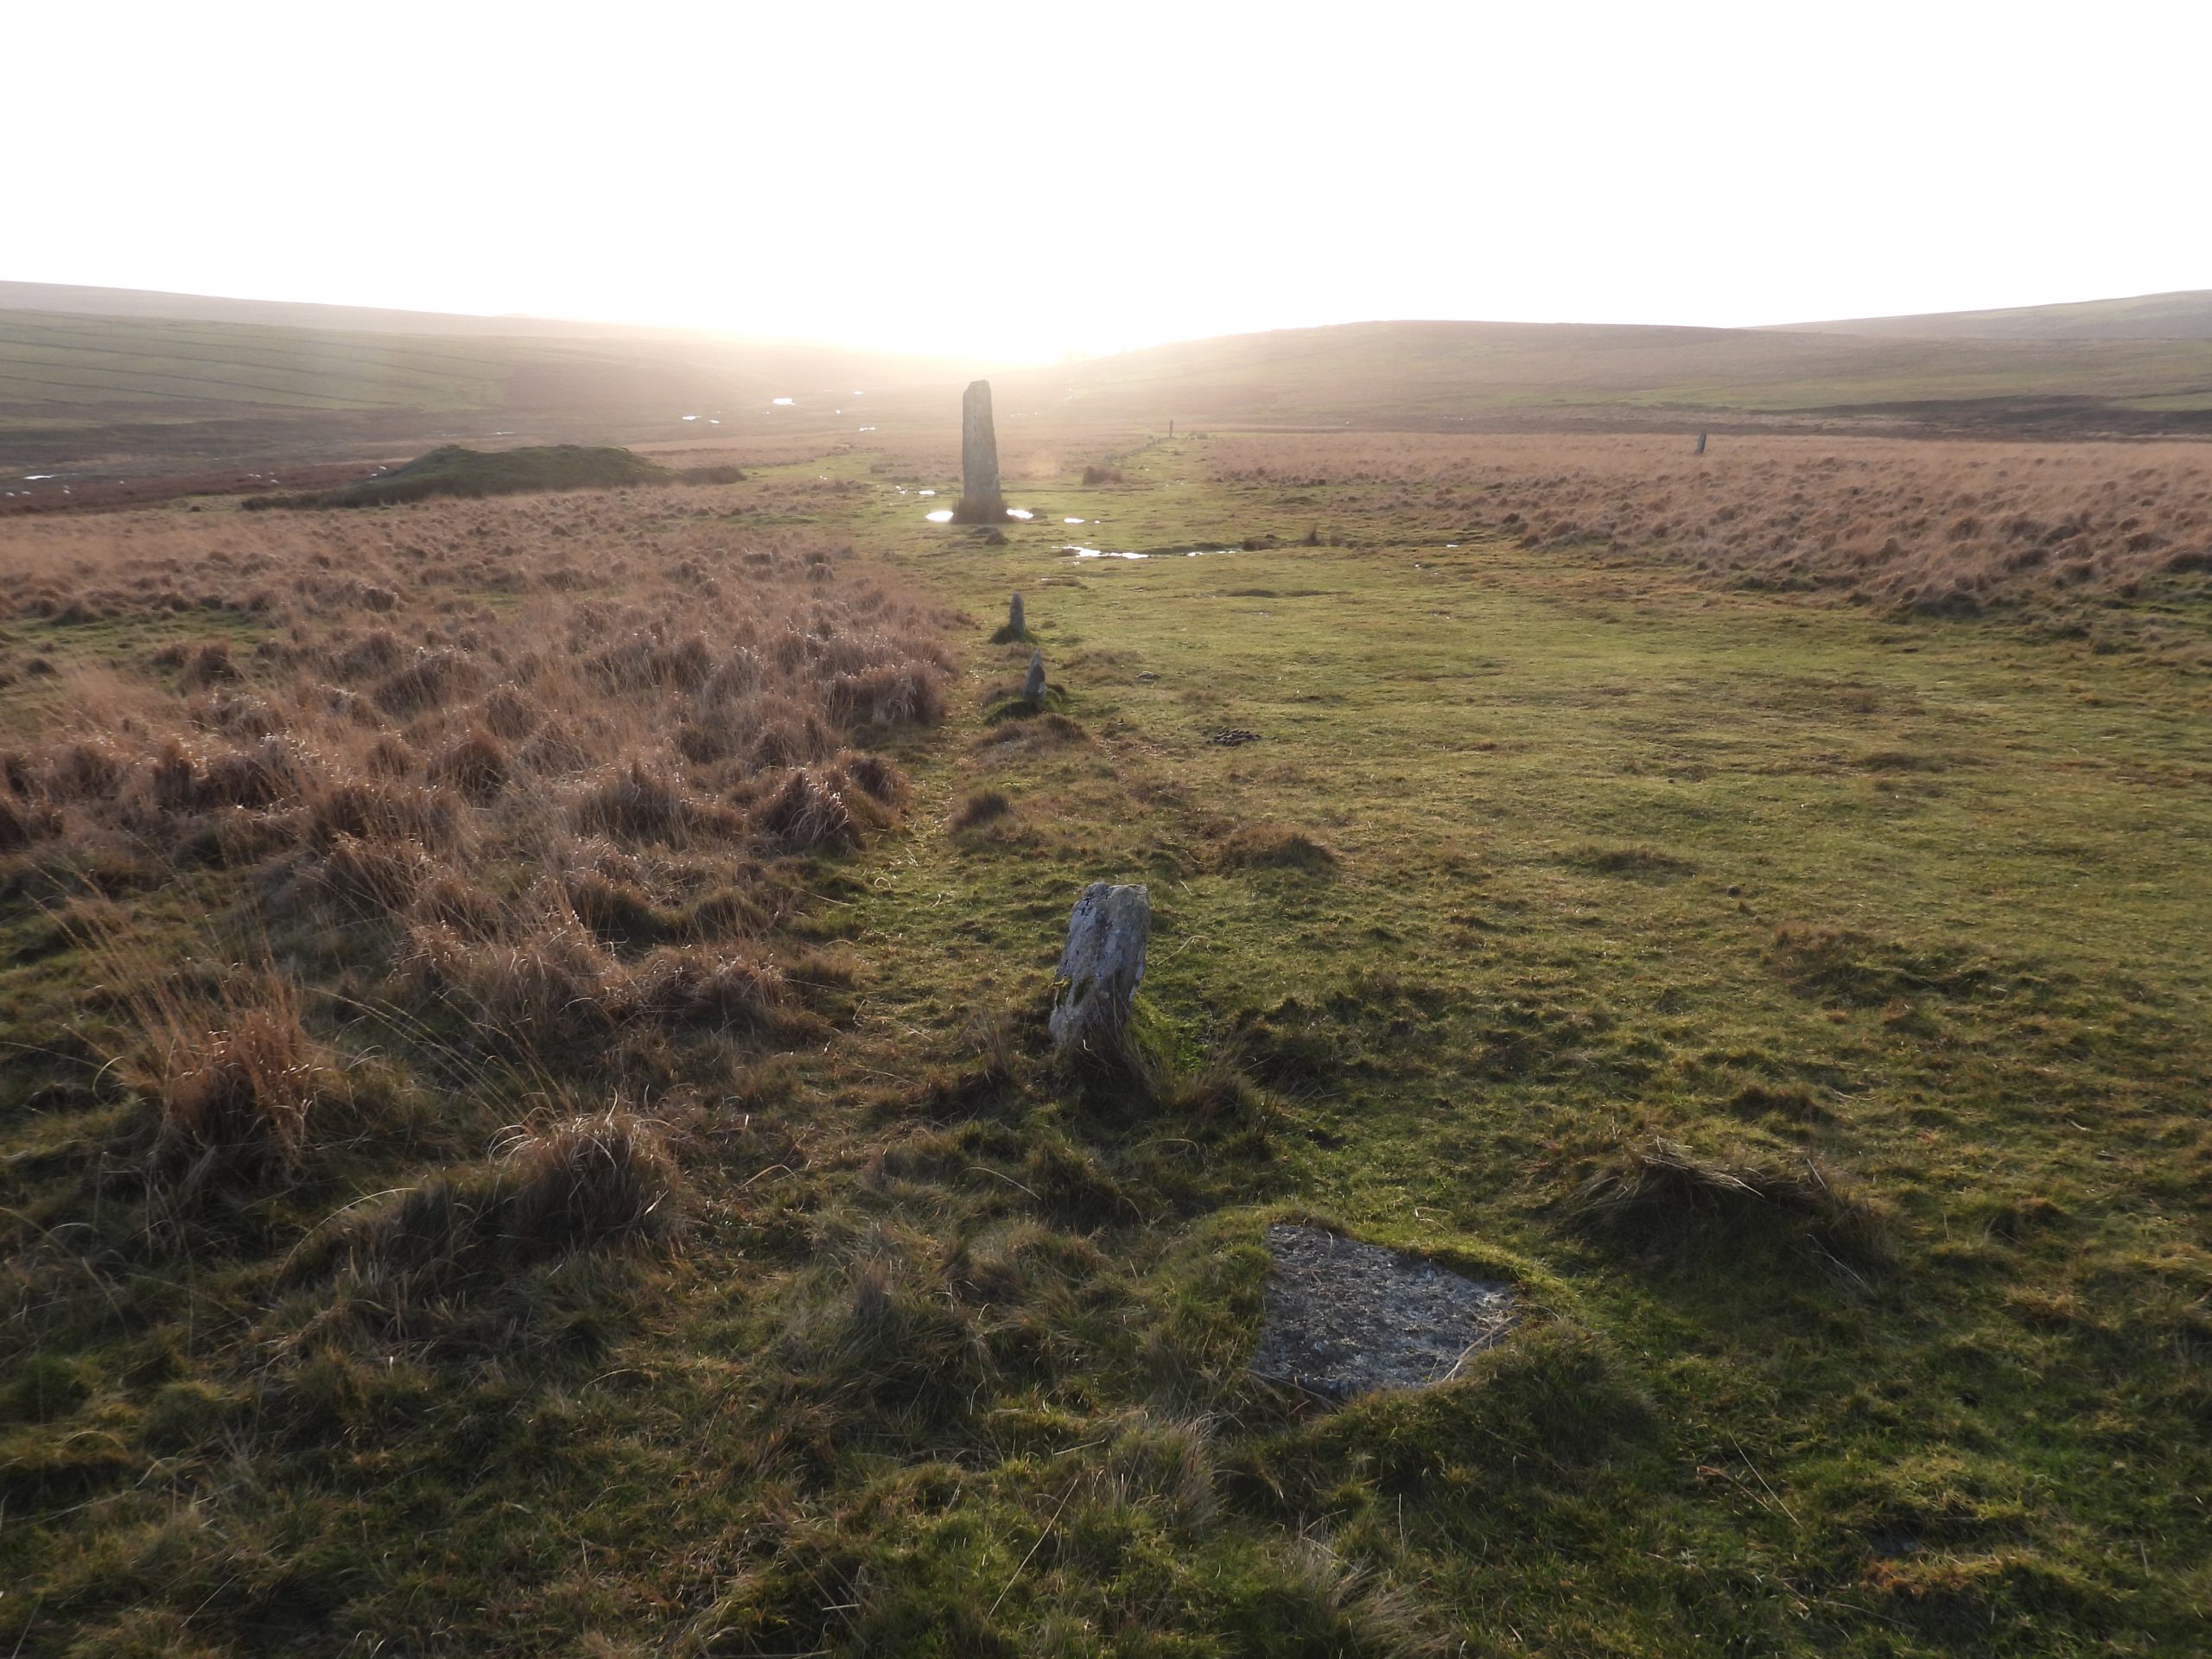
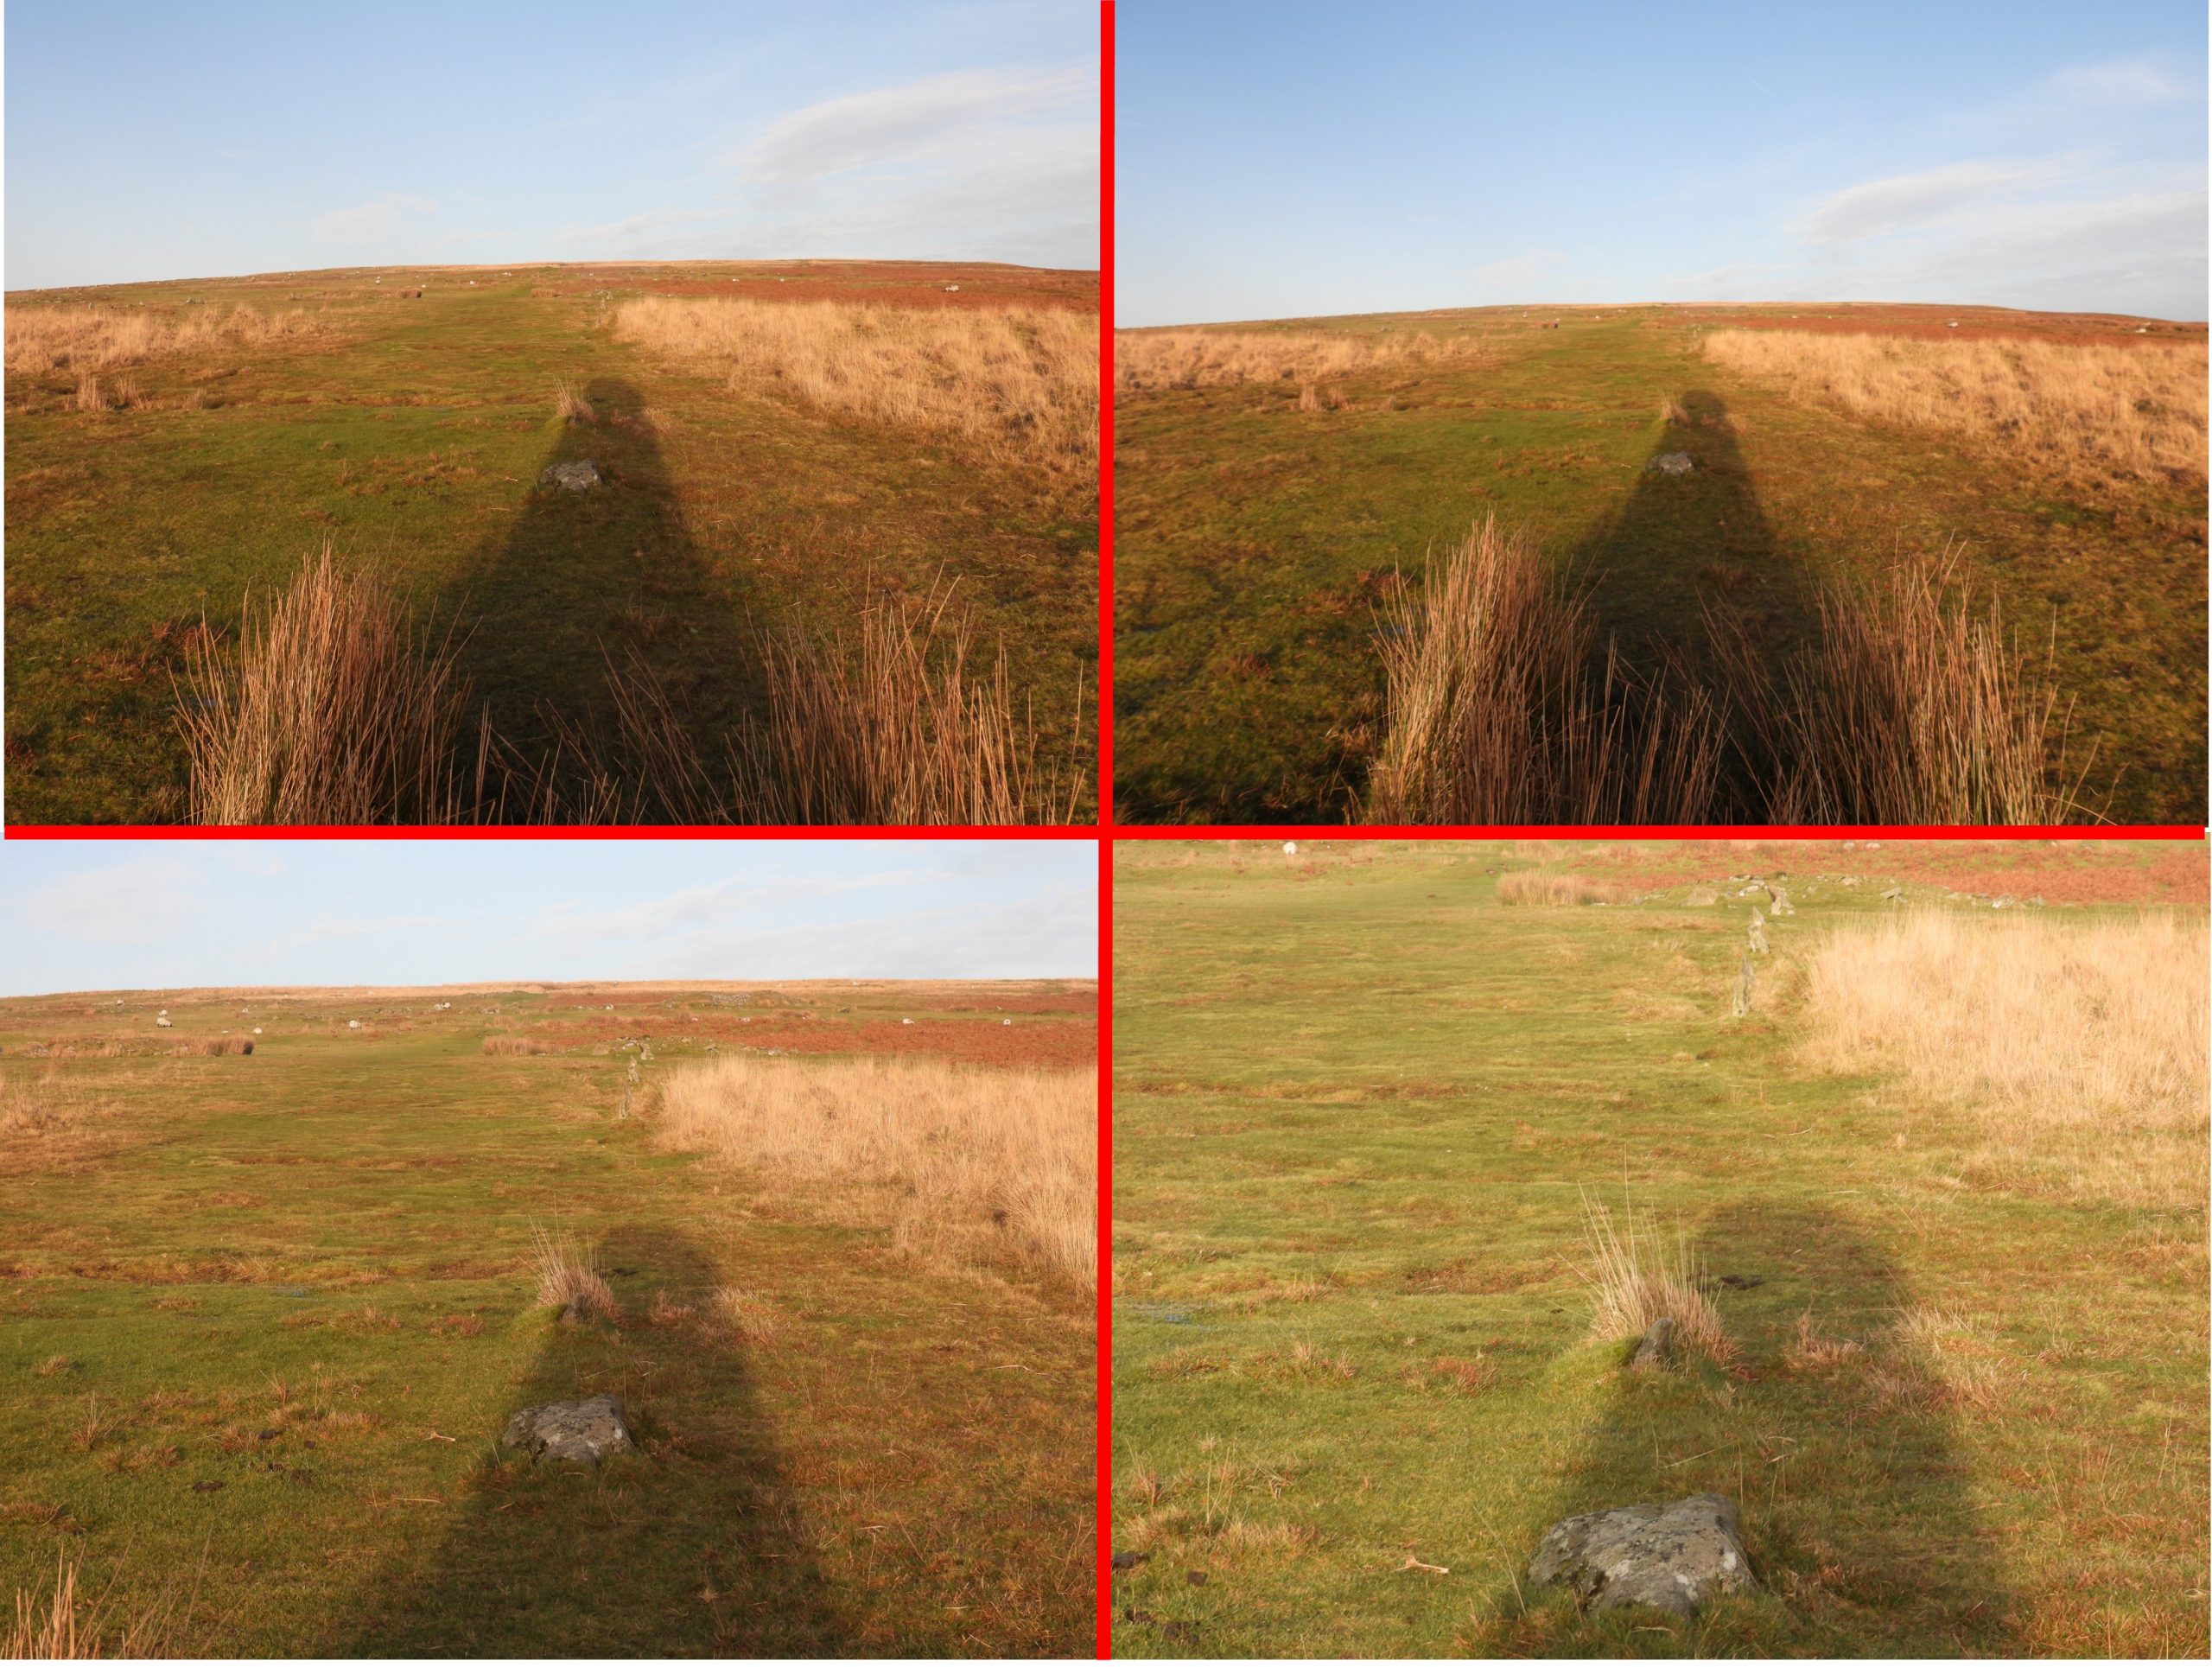
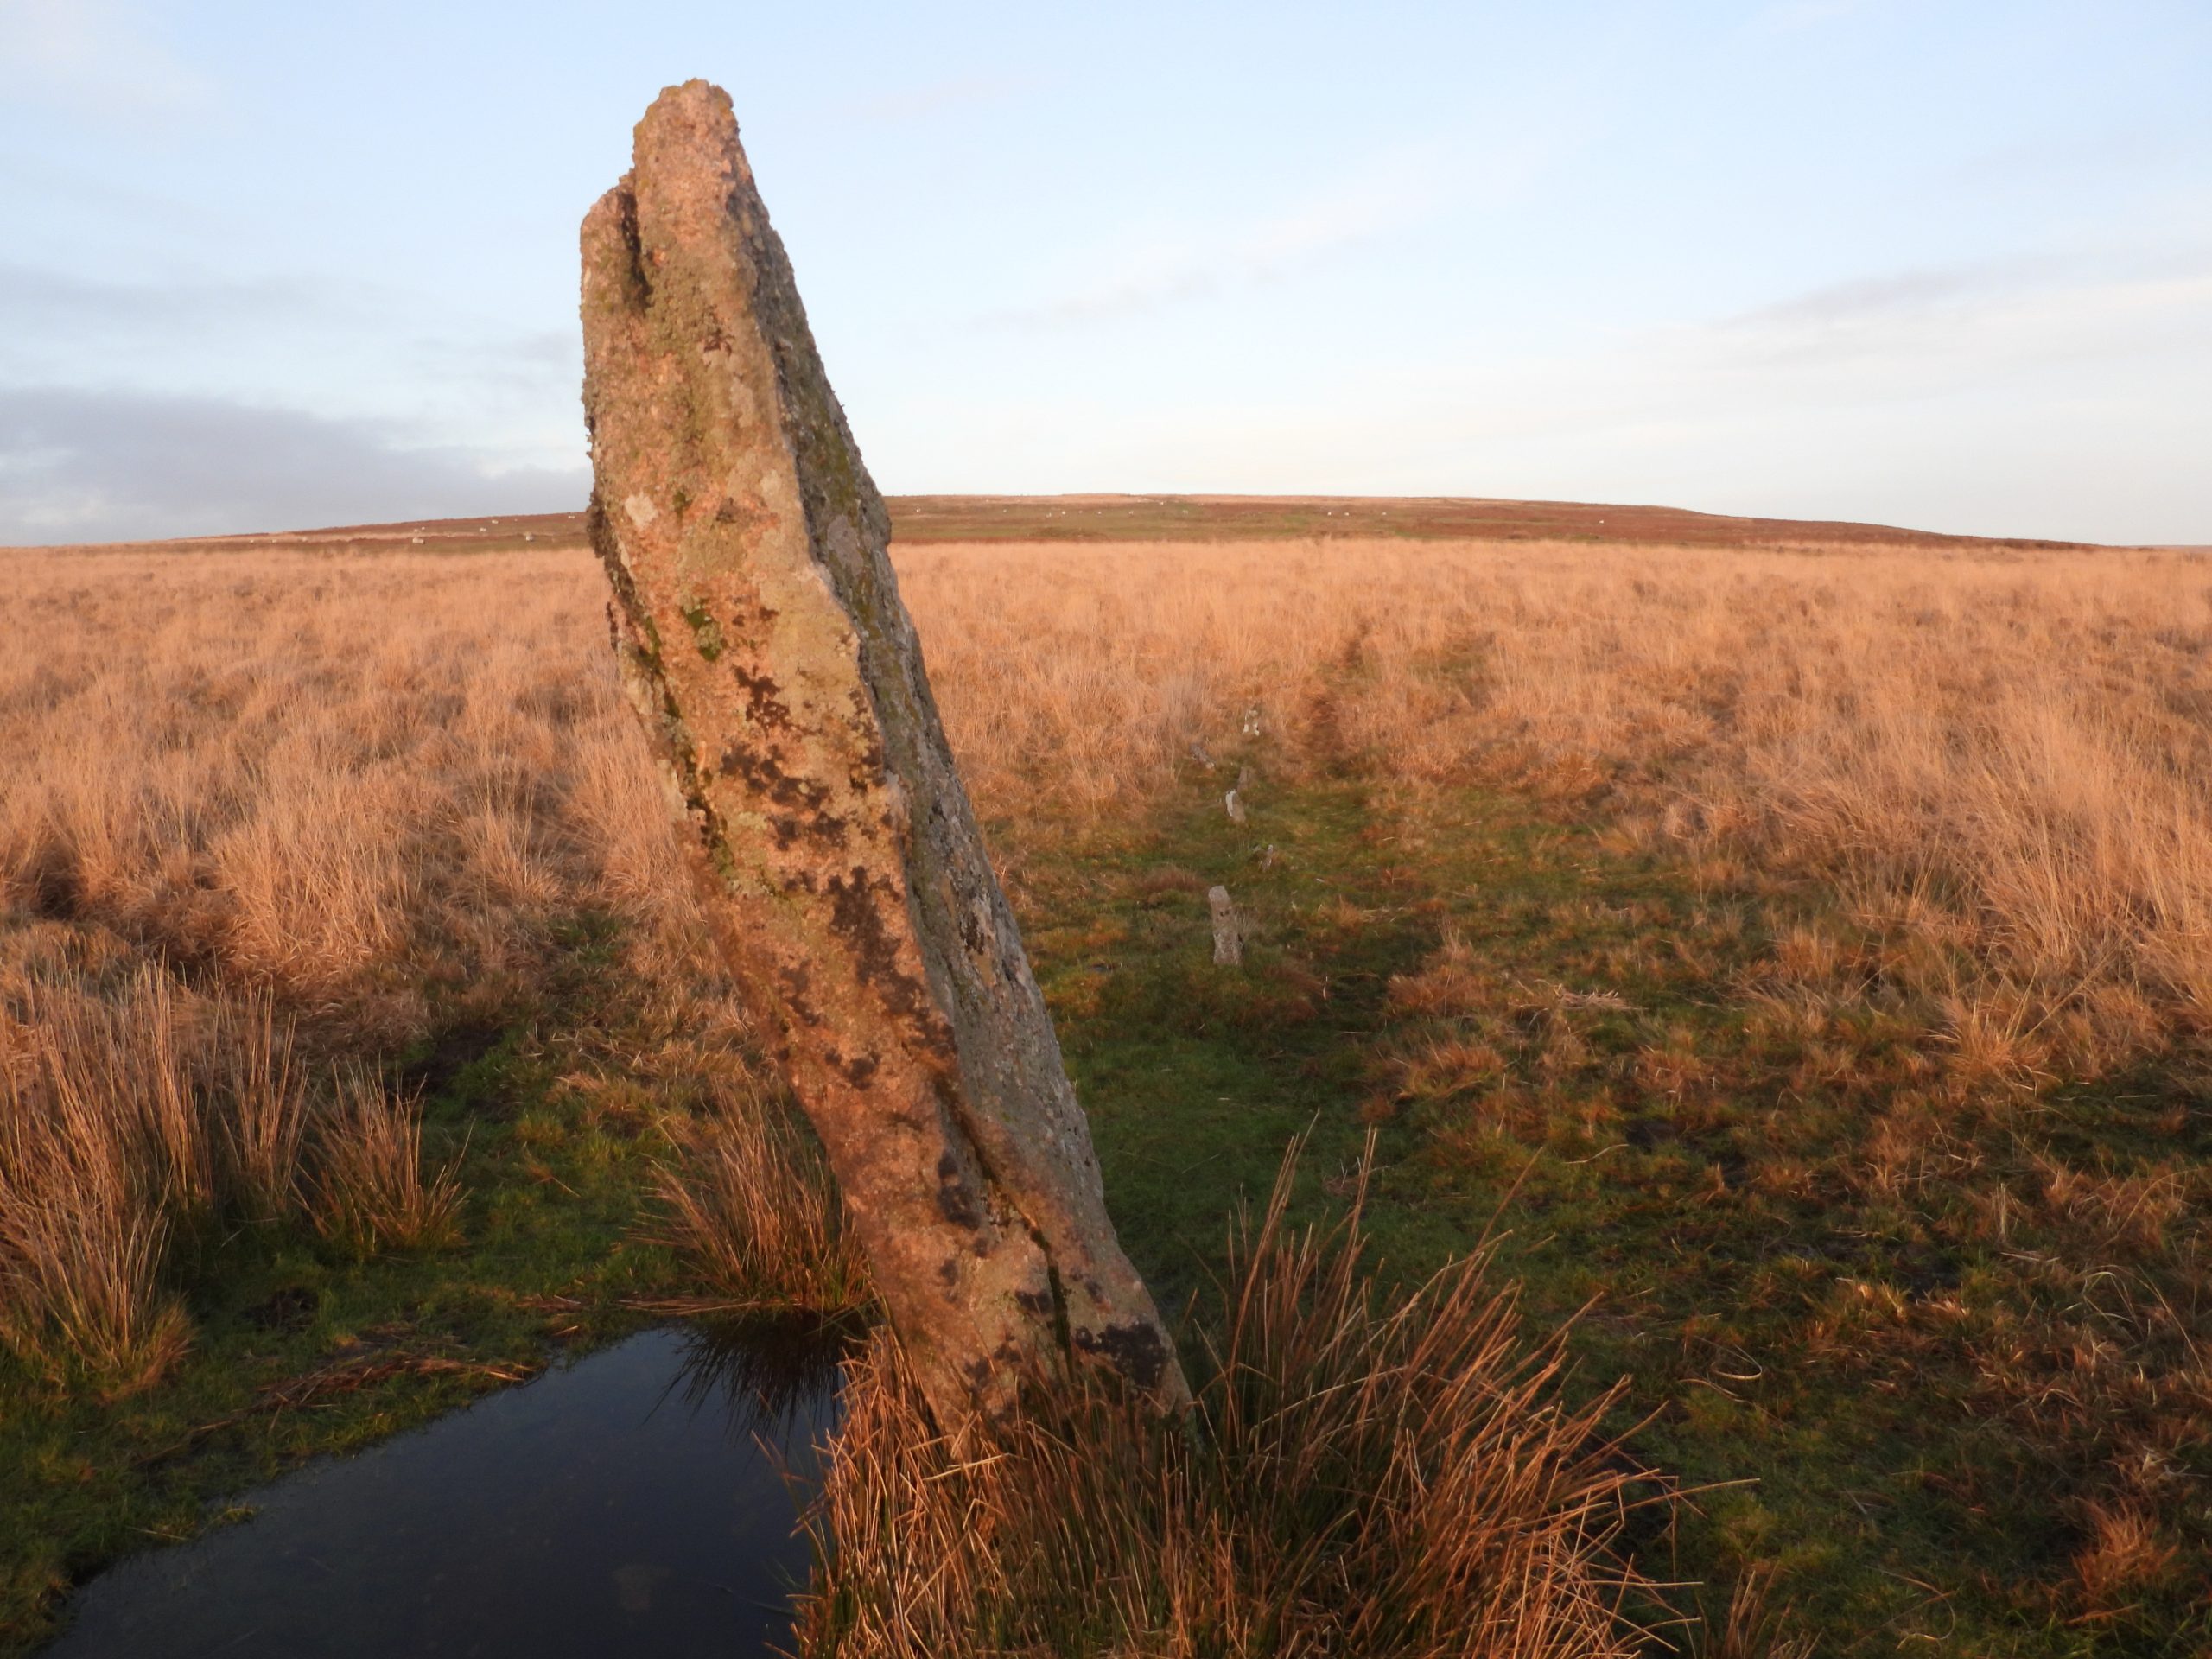
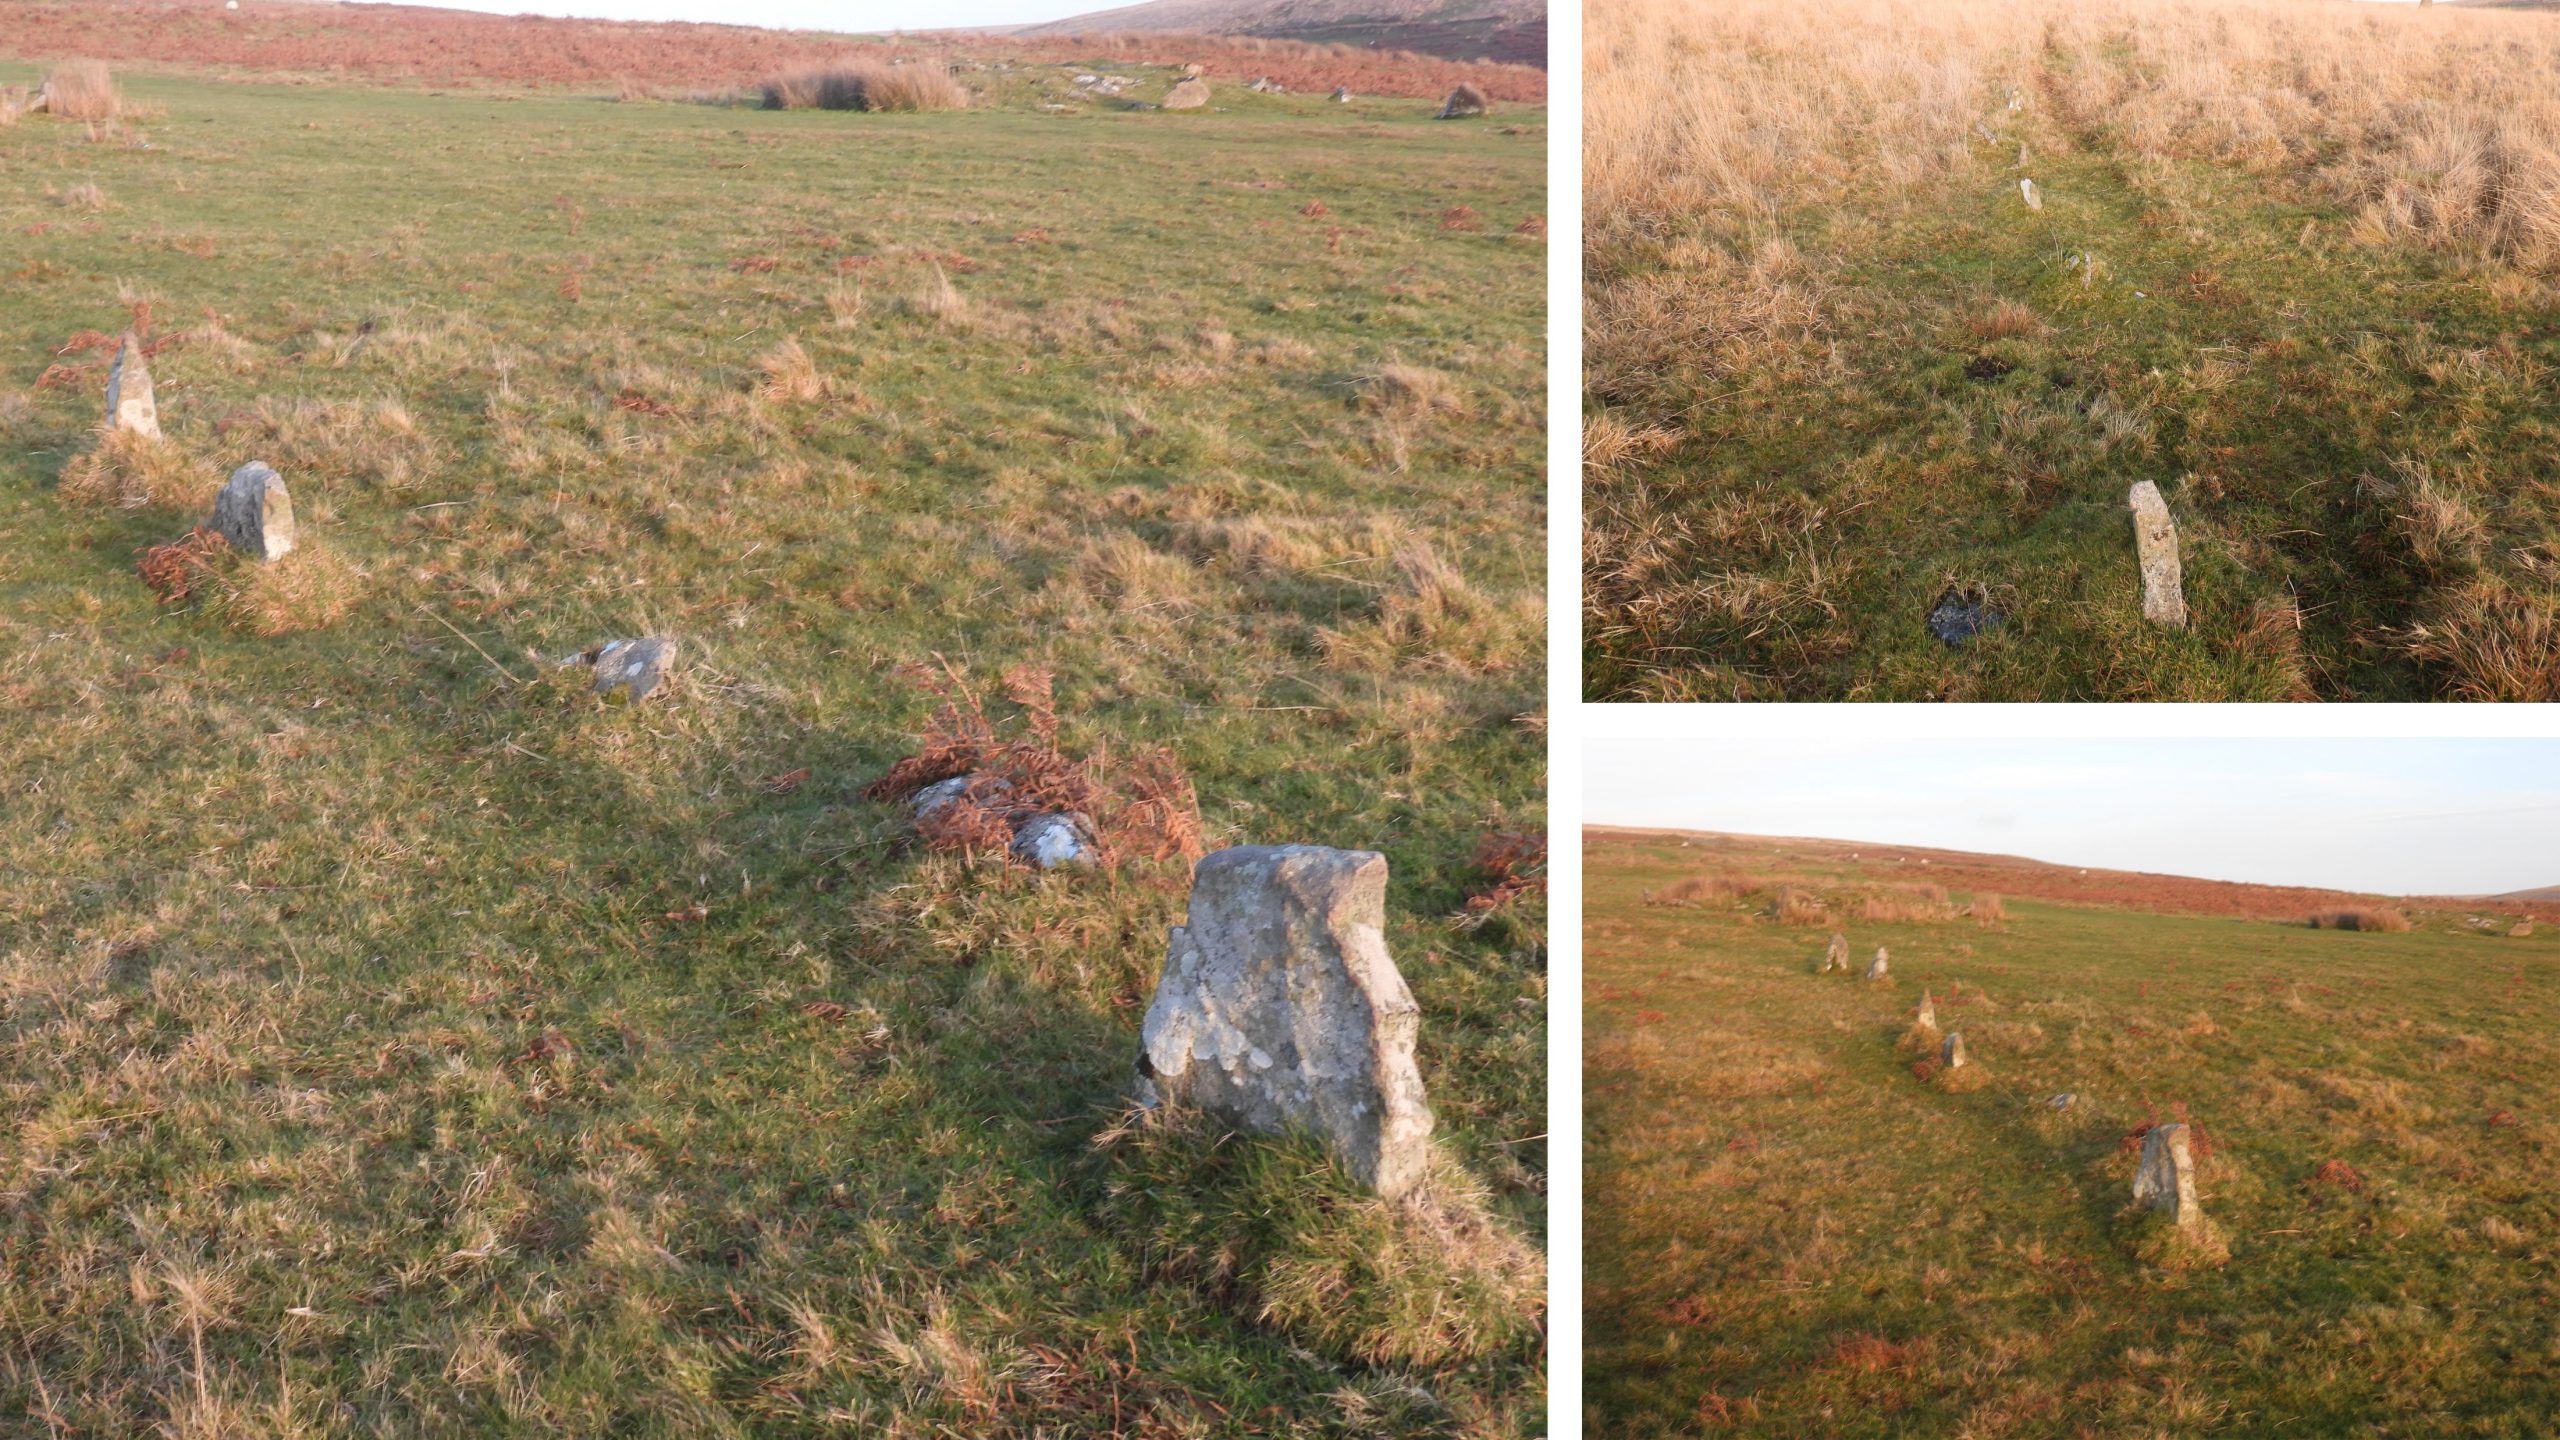
Sketch map of the Drizzlecombe complex. The artefacts shown are not exhaustive of those in the area but are the main features.This annotated plan drawn by RH Worth (found in Worth’s Dartmoor – page 211) shows the consideration that there might have been (according to Worth) a fourth stone row. This feature was first described to the author by Ted Burkett-Dixon in the late 1980’s /early 1990’s. Note: Ted is mentioned in Worth’s Dartmoor and he took over the Devonshire Association Barrow Reports upon Worth’s death in 1950. Worth records the following: “It can be seen that abreast of A on the plan is a standing stone. If a line is drawn from this stone to the north-westernmost of the three barrows below the pound, one then has a completely symmetrical collection of rows, and this may be contemplated”. Further to this, the author noted that a kistvaen lies in alignment with the three barrows (cairns) – Is this orientation by design?The Giants Basin cairn is a huge feature of the complex. It is 22m across and 4m tall. Giant’s Basin has a huge central hollow. The view from atop Giant’s Basin affords the visitor of views of the whole complex. On a clear day, Ditsworthy Warren House, Eastern Tor and Gutter Tor can be seen to the west.The Barrow / Cairn at the eastern end of the southern most stone row. Worth labels this row as ‘A’, with Butler labelling this row as ‘1’ which has been repeated on the sketch map in this post. This picture was taken around midday on the Winter Solstice and the shadows from the sun can be seen, which three hours later would be in alignment of the associated menhir and row. The Barrow / Cairn is recorded (Butler) as being 7 metres diameter by up to 0.8 metres high, with a central hollow. A small number of edge stones around the periphery may represent a kerb. (NOTE: What is slightly confusing is the entry in the Dartmoor HER, which in the summary sections labels the row as number ‘3’ but in the detailed section labels it as row number ‘1’)View of the alignment of Row ‘2’ (Worth ‘C’) and Menhir from its associated Barrow / Cairn. The Barrow / Cairn is recorded as being 10.3 metres diameter by 1.0 metres high and Butler states there are eleven stones here in the retaining circle all at the base of the mound. View of the alignment of row ‘3’ (Worth ‘B’) and Menhir from its associated Barrow / Cairn. Butler records Barrow / Cairn ‘3’ as being 8.6 metres diameter and 1.0 metres high. The Ordnance Survey Archaeology Division in 1979 recorded that the depression in the centre, was possibly the site of a cist and that six stones of the cairn circle remain. (NOTE: What is slightly confusing is the entry in the Dartmoor HER, which in the summary sections labels the row as number ‘1’ but in the detailed section labels it as row number ‘3’)Butler records Barrow / Cairn ‘4’ as being 8.8 metres diameter by 0.9 metres high, being the most northern of a row of three cairns at the east end of the Drizzlecombe stone rows. There is no associated stone row with this Barrow / Cairn.Looking south from Cairn ‘4’ towards Cairns ‘3’ and ‘2’ beyond.300m to the south west of Barrow / Cairn ‘4’ is an artificially set pillar, which the author has labelled as ‘Worth’s Blocking Stone’This pillar is only 1 metre tall and is located at SX58993 66933. Jeremy Butler mentions Worth’s theory regarding a 4th possible row in the Dartmoor Atlas of Antiquities, South West (page 139). One observation though is that this pillar is very short and Butler surmises that if it had any ancient significance at all it was probably as part of a structure now demolished. Butler considers if it was once part of a stone circle.This annotated photograph is an attempt to show the symmetry of Worth’s ‘contemplation’ of there having been 4 stone rows planned.The ‘Blocking Stone’ cannot be seen from the Barrow/ Cairn ‘4’ with it being 300m away and being only 1 m tall. The solution for this picture was to have an (almost) 2m tall walking buddy stand alongside the stone to take a picture of what the alignment might have looked like.Menhir ‘1’ (or ‘A’ – Worth) looking along Stone Row ‘1’ a few hours ahead of the Winter Solstice sunset. The Menhir was re-erected in July 1893, after Worth had found it recumbent. The re-erection was conducted following a small scale excavation by Rev. Sabine Baring-Gould (Dartmoor Explorations Committee) and others to locate the original socket hole.Menhir ‘1’ stands at 10ft 6in (3.2m) according to Worth, who saw it initially recumbent at 12ft 6in (3.8m). Its associated Stone Row ‘1’ has 86 stones (6 of which are recumbent). This row is a single row at each end (by the Menhir and the Barrow / Cairn) but has a double line of stones in the middle. Worth doubted whether the row was ever wholly double.Next to the Menhir near sunset. The Stone Row is around 150m long. The Menhir is orientated in the same direction as the Stone Row.Menhir ‘2’ (or ‘C’ – Worth) is considered to be the largest on Dartmoor and stands at 14ft (4.3m) according to Worth, who saw it initially recumbent at 17ft 10in (5.45m). Stone Row ‘2’ is the shortest of the three rows at Drizzlecombe with an overall length of 84.5 meters. It is a single row of 14 stones (3 recumbent and 11 upright).This Menhir (unlike the other two in the complex) faces across the line of the row and not in line with it. It is orientated in the direction of the river and one of three small cairns around its base. One assumes the Dartmoor Explorations Committee correctly re-erected it in 1893. If so, was this orientation deliberate?The Menhir was defaced with Chinese graffiti some time before 1963 but thankfully this is difficult to discern now.Menhir ‘3’ (‘B’ – Worth) stands according to Worth at 7ft 9in (2.4m) and was 9ft 5in (2.9m) when recumbent. Menhir ‘2’ can be seen in the background of the photograph.Menhir ‘3’ is the shortest of the three at the Drizzlecombe complex. The Menhir is orientated in the same direction as the Stone Row.Menhir ‘3’ and Stone Row ‘3’ near sunset at the Winter Solstice. Although less prominent, Stone Row ‘3’ is longer than Stone Row ‘2’ at 150m. The stones are a lot shorter than those found in the other two rows. There are 2 recumbent and 69 upright stones in row ‘3’.Back to Row 1′ (‘A’ – worth). When viewed from the terminal Barrow / Cairn looking west, the “single – double – single” arrangement of the stones becomes very evident. The trees and enclosures around Ditsworthy Warren farm can be seen in the distance. Jack Walker states this row is 48 degrees east of grid north.Row ‘2’ close to sunset at the Winter Solstice sunset. The shadows can be seen aligning from the Menhir and from stone to stone. Jack Walker in ‘Dartmoor Sun – Chapter 5’ states the row is orientated 42 degrees east to north grid and that the ‘shadow alignment’ occurs around 1500, being the first of the three menhirs / rows to do so. This picture was taken of Menhir ‘2’ a few minutes before 1500 at the Winter Solstice. The shadow alignment is almost complete.Taken at around 1430, the shadows of the stones in Row ‘2’ can be seen looking towards the terminal Barrow / Cairn.Row ‘3’ is orientated 52 degrees east of grid north according to Jack Walker. Its shadow alignment occurs at around 1550 and is the last of the three Menhir / Rows to align.Whilst waiting for the sunset the author visited a few of the other antiquities in the area. This cist lies near the south west corner of the complex at SX59029 66719In the Butler publication this is labelled as Drizzlecombe cist ’22’. It has two side slabs and small end slabs. He records that it contained two pieces of undecorated pottery when excavated. Very little remains of an associated cairn which is 5m in diameter and 0.5m high.Towards Drizzlecombe Brook is a rather indistinct cairn / circle, albeit it is still marked on modern OS maps. It can be found at SX59121 67128 and is recorded by Butler as Drizzlecombe cairn ’14’. It is around 3.5 metres diameter and 0.2 metres high with the tops of seven close set kerb stones. Although very little is of note today, in 1915 Worth wrote in the 34th Report of the Barrow Committee, that “Drizzlecombe Northern” had been excavated in 1914 which revealed notable finds of three flint flakes and a “well finished” flint scraper.Moving north east from Butler’s Drizzlecombe cairn ’14’ a rather splendid cairn of 13 metres diameter by 1.2 metres high with a cist can be located at SX59151 67210. This is Butler’s Drizzlecombe cairn ’13’. Worth wrote about this antiquity in 1900 in his 19th Report of the Barrow Committee, following excavations in 1899/1900. Finds nearby included flint chips, flakes and core fragments.Zoomed in view of lone pony near Whittenknowles Rocks.Military ‘dry training’ in the Drizzlecombe area at the Winter Solstice.These guys were seen later in the day setting up their camp at the hut near Burcombe Ford / Gutter Mire.Back to the antiquities. This Kerb Circle is located at SX59257 67206. This is Drizzlecombe cairn ’15’ (Butler) of circa 8 metres diameter by 0.3 metres high and is one of three cairns to the south of the nearby enclosure(s).This flat slab caught the authors eye. It is most probably natural but does appear very square in shape rather like a cist coverstone. None of the professional Dartmoor observers appear to have recorded anything relating to this slab.The slab is located at SX59277 67201. It is approx. 0.6m x 0.8m. Was this part of an antiquity once ? Contextual view of the flat slab (‘cist coverstone feature’) in relation to the kerb circle ie Drizzlecombe cairn ’15’ (Butler) This ‘cist – like’ feature is located at SX59226 67263. None of the professional Dartmoor observers appear to have recorded anything relating to this. Once again very unlikely to be an antiquity but interestingly located and looking like one.This is Jeremy Butler’s, Drizzlecombe Enclosure (A). There are at least 6 huts here. This large cairn is located at SX59681 67309. The Dartmoor HER records it as being 9.5 metres diameter being up to 0.6 metres high with a ragged 3.0 metres wide ring of stones and small boulders. It is Butler’s Drizzlecombe cairn ’20’ and he states that it “probably once contained a cist but only the top of one of the long sides is visible in the central hollow”.Looking up the Plym Valley before returning to the Drizzlecombe complex.Back to the Drizzlecombe Menhirs and Stone Row shadow alignments at the Winter Solstice. This picture is a simplified sketch based on one found in the Jack Walker publication ‘Dartmoor Sun’. The labelling ‘1’, ‘2’ and ‘3’ is commensurate with the Butler labellingThis is Menhir 1′ at the Winter Solstice sunset (around 1540). From looking north east up the row the shadows aren’t very evident in the photograph.However, looking south west down Row ‘1’ at the Winter Solstice sunset (1540) the alignment and shadows are more evident.More views of Menhir ‘1’ / Stone Row ‘1’ shadow alignment.Barrow / Cairn ‘2’ just before Winter Solstice sunset.The alignment of Barrow / Cairn ‘2’ and Menhir ‘2’ / Row ‘2’ at 1500 at the Winter Solstice.A small cloud filtered the sun a little at 1500 but the alignment is still very obvious.Menhir ‘2’ and the shadow alignment of the first few stones in Row ‘2’ at 1500 at Winter Solstice.Menhir ‘2’ shadow alignmentMenhir ‘2’ shadow alignmentMenhir ‘2’ shadow alignmentShadow alignment along Stone Row ‘2’Menhir ‘2’ shadow looking along Stone Row ‘2’. The author took the picture from behind the Menhir to avoid getting his own shadow into the photograph.Onto Menhir ‘3’ at the Winter Solstice sunset (around 1550). This is the last Menhir / Stone Row, of the three to align. The shadow from the Menhir can just be made out in the photograph aligning with the stones in the row.Shadows from the stones in Row ‘3’ aligning at sunset.After a rather successful Winter Solstice at the Drizzlecombe complex, the last view of the sun was seen as it set over the slopes of Gutter Tor