A collection of walks, discoveries, insights and pictures of exploring Dartmoor National Park
April 17, 2023
Merrivale Bridge Mine / Wheal Fortune
To the west of the River Walkham, located between Merrivale Bridge and Shillapark Farm are the remains of a 19th century mine, which was rather ambitiously called Wheal Fortune (or Merrivale Bridge Mine). In the Dartmoor Historic Environment Record (ref: SDV358455) Dr Tom Greeves records ‘Merrivale Bridge Mine, Wheal Fortune & Staple Tor Sett, 1806-1887’, which the author assumes was the period the mine was operational. The author has learnt that Dr Tom Greeves research into the mine was conducted in 1975 and was published in the Plymouth Mineral and Mining Club Journal 7(3) 3-11. The research included 18 documents from the Duchy of Cornwall offices. A 3 page Greeves report of the history of the mine was passed onto David Eeles of Dartmoor Tinworking and Research Group (DTRG) around 2016 and his summary of the report is replicated in this post.
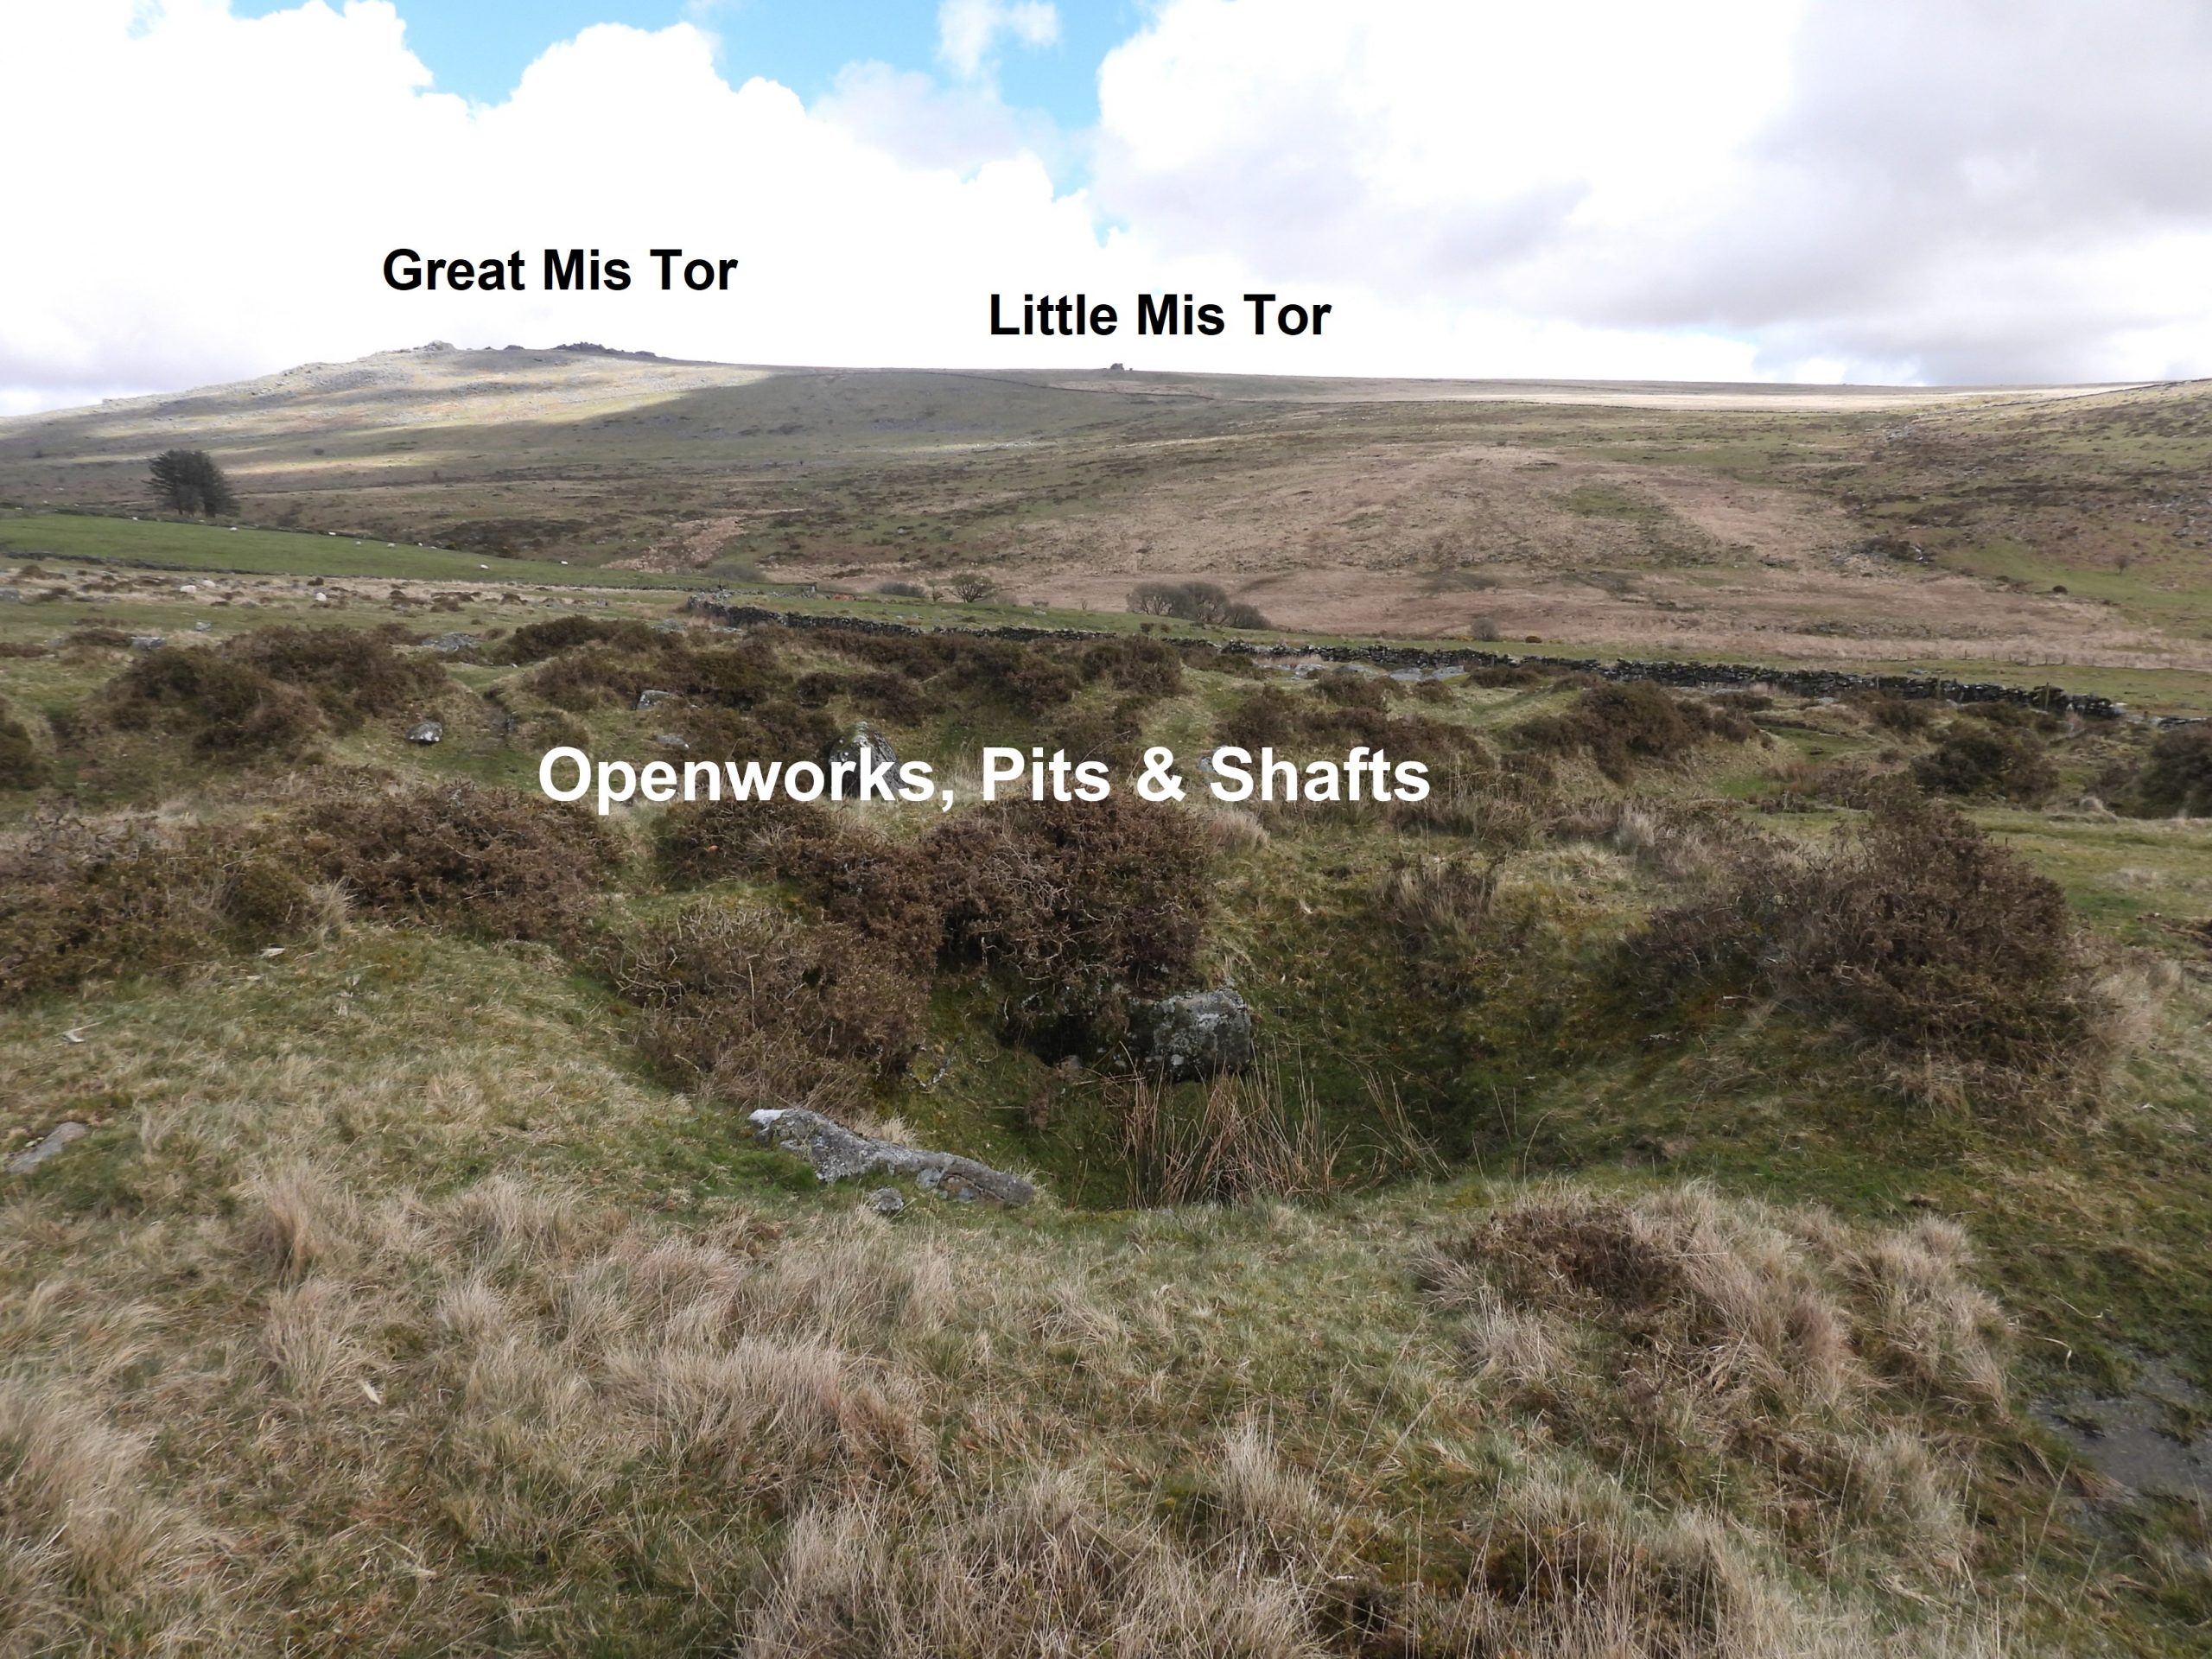
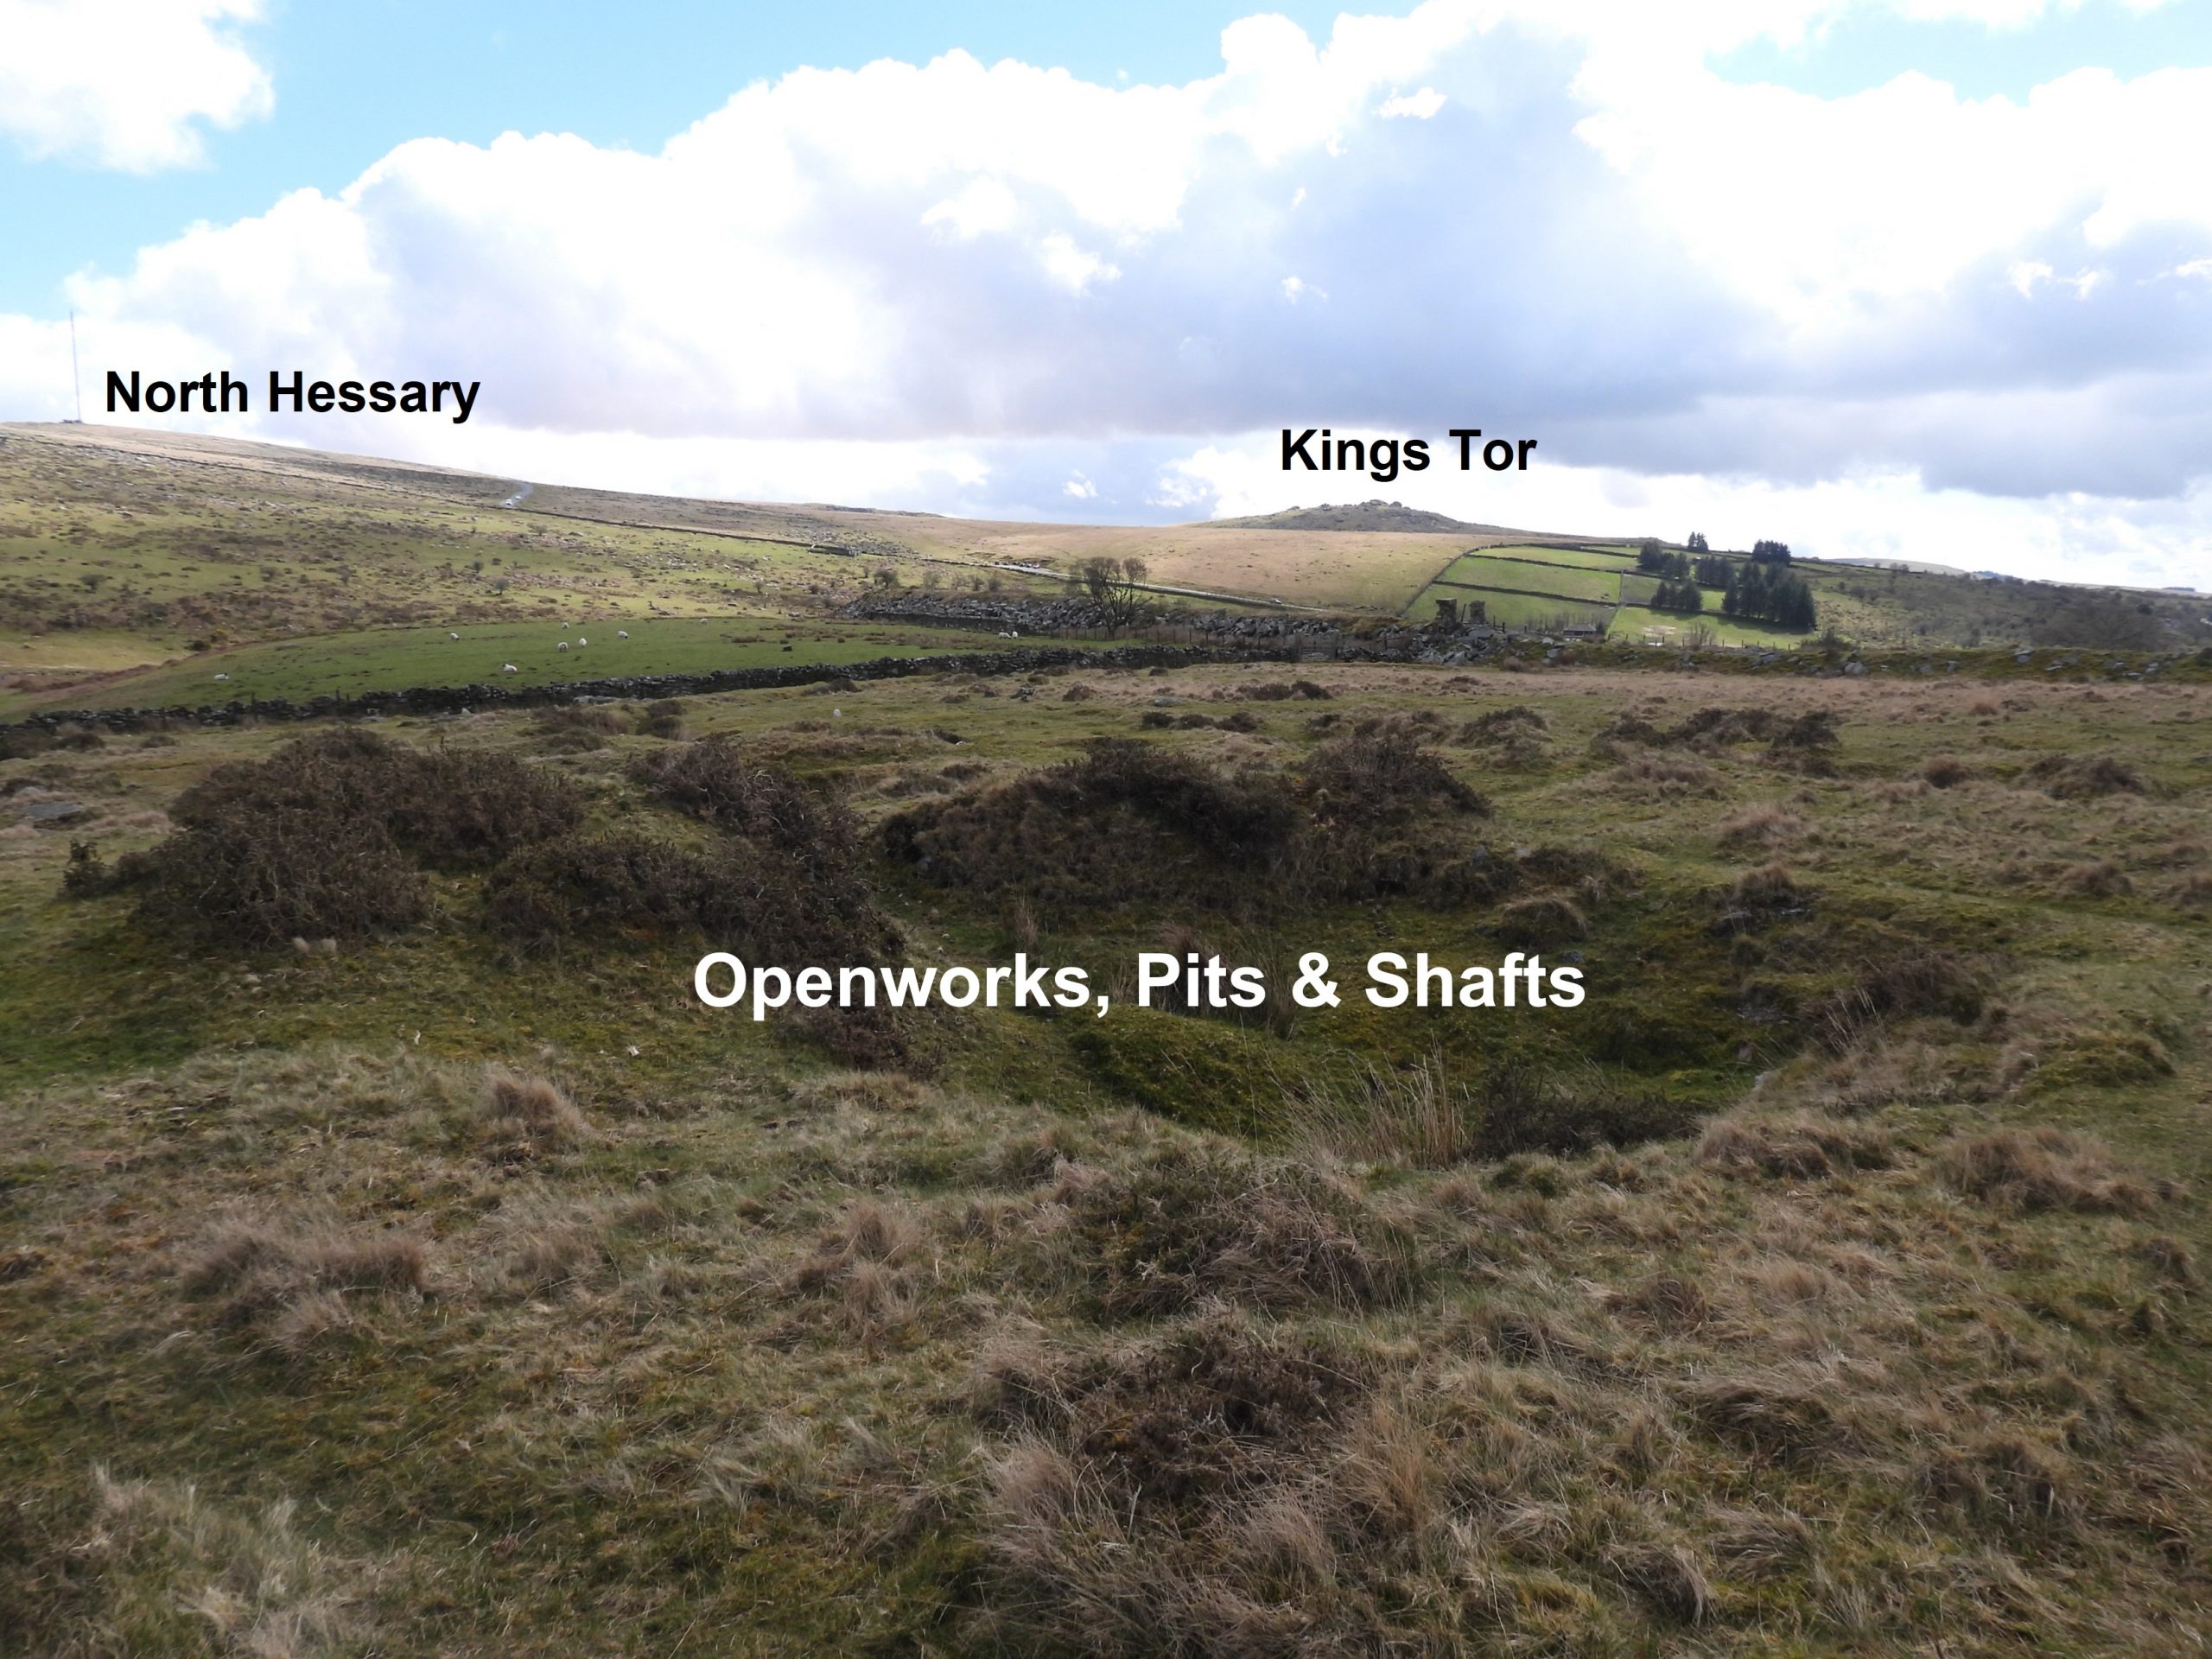
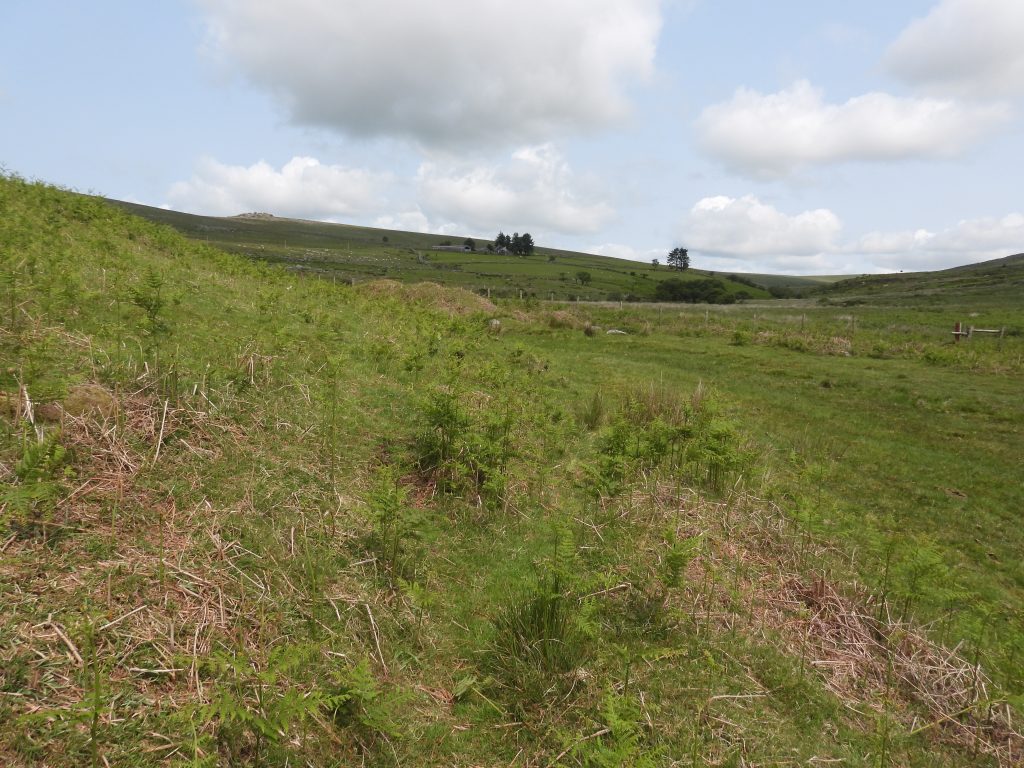
The main ore extraction comprised a line of openworks, pits and shafts which can be found running up the hill between the river and the track which leads to Shillapark Farm.
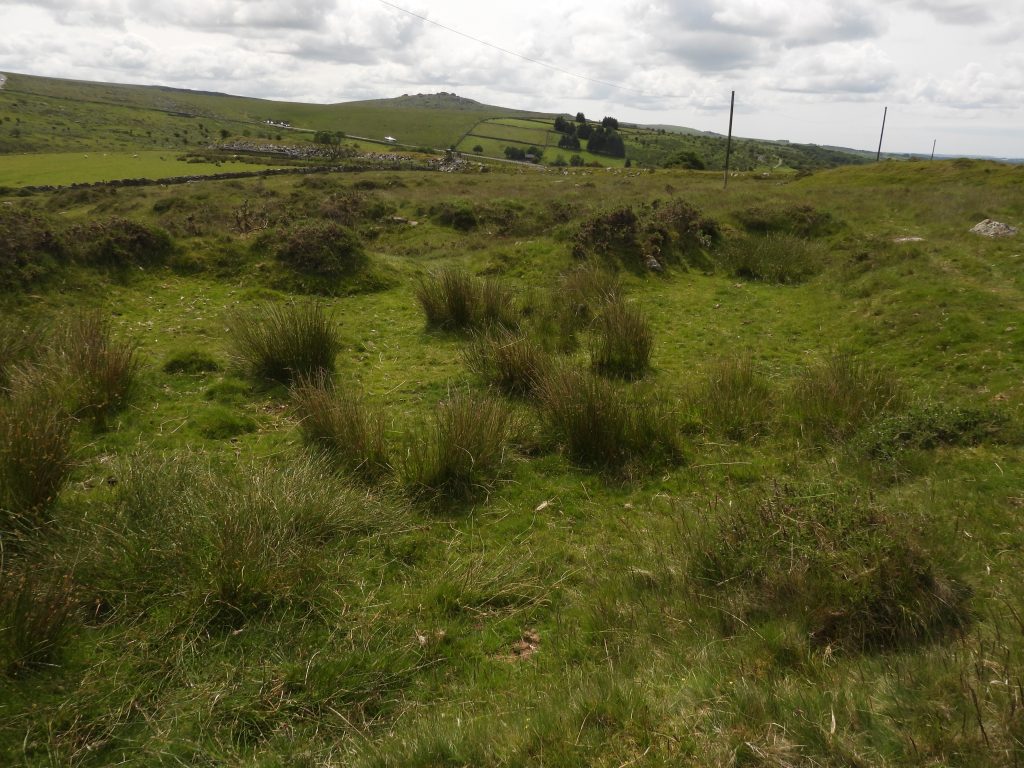
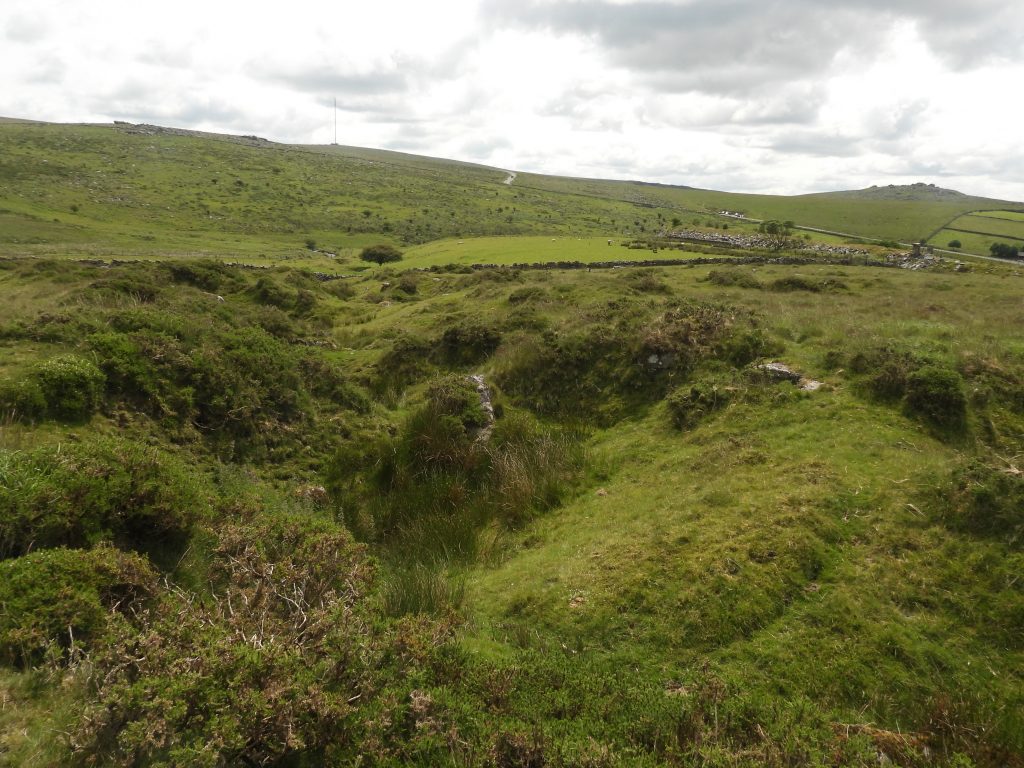
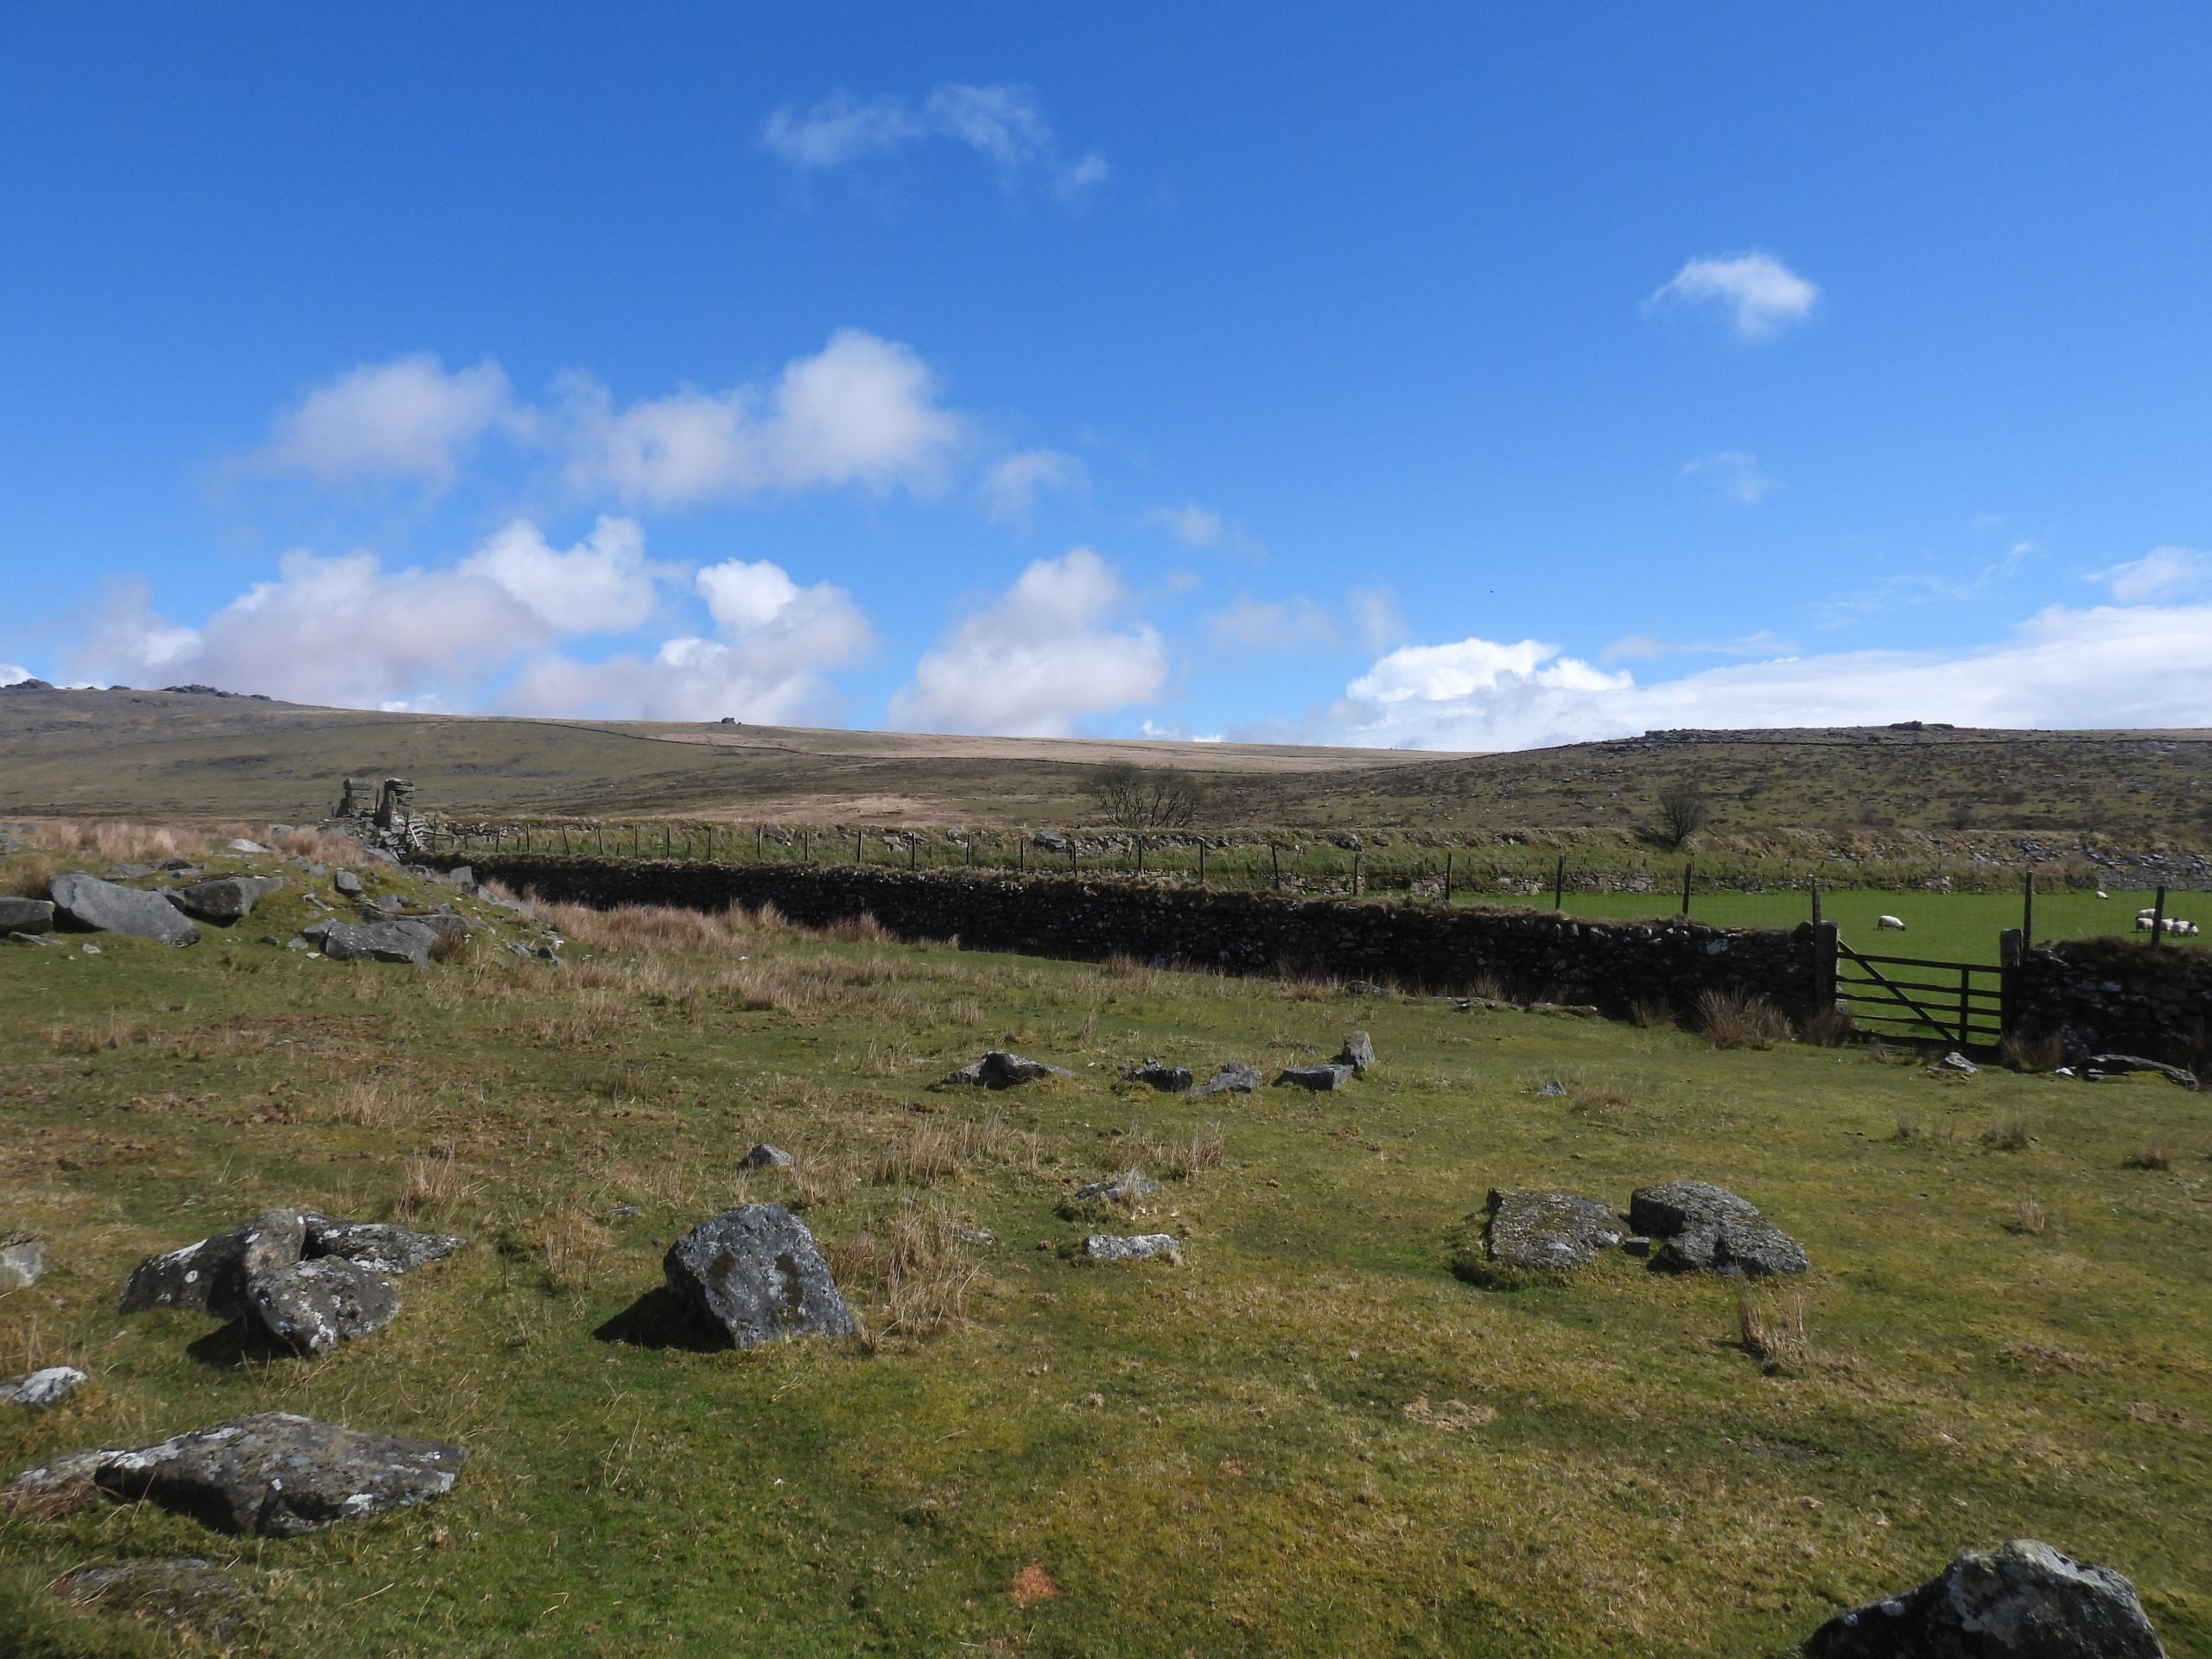
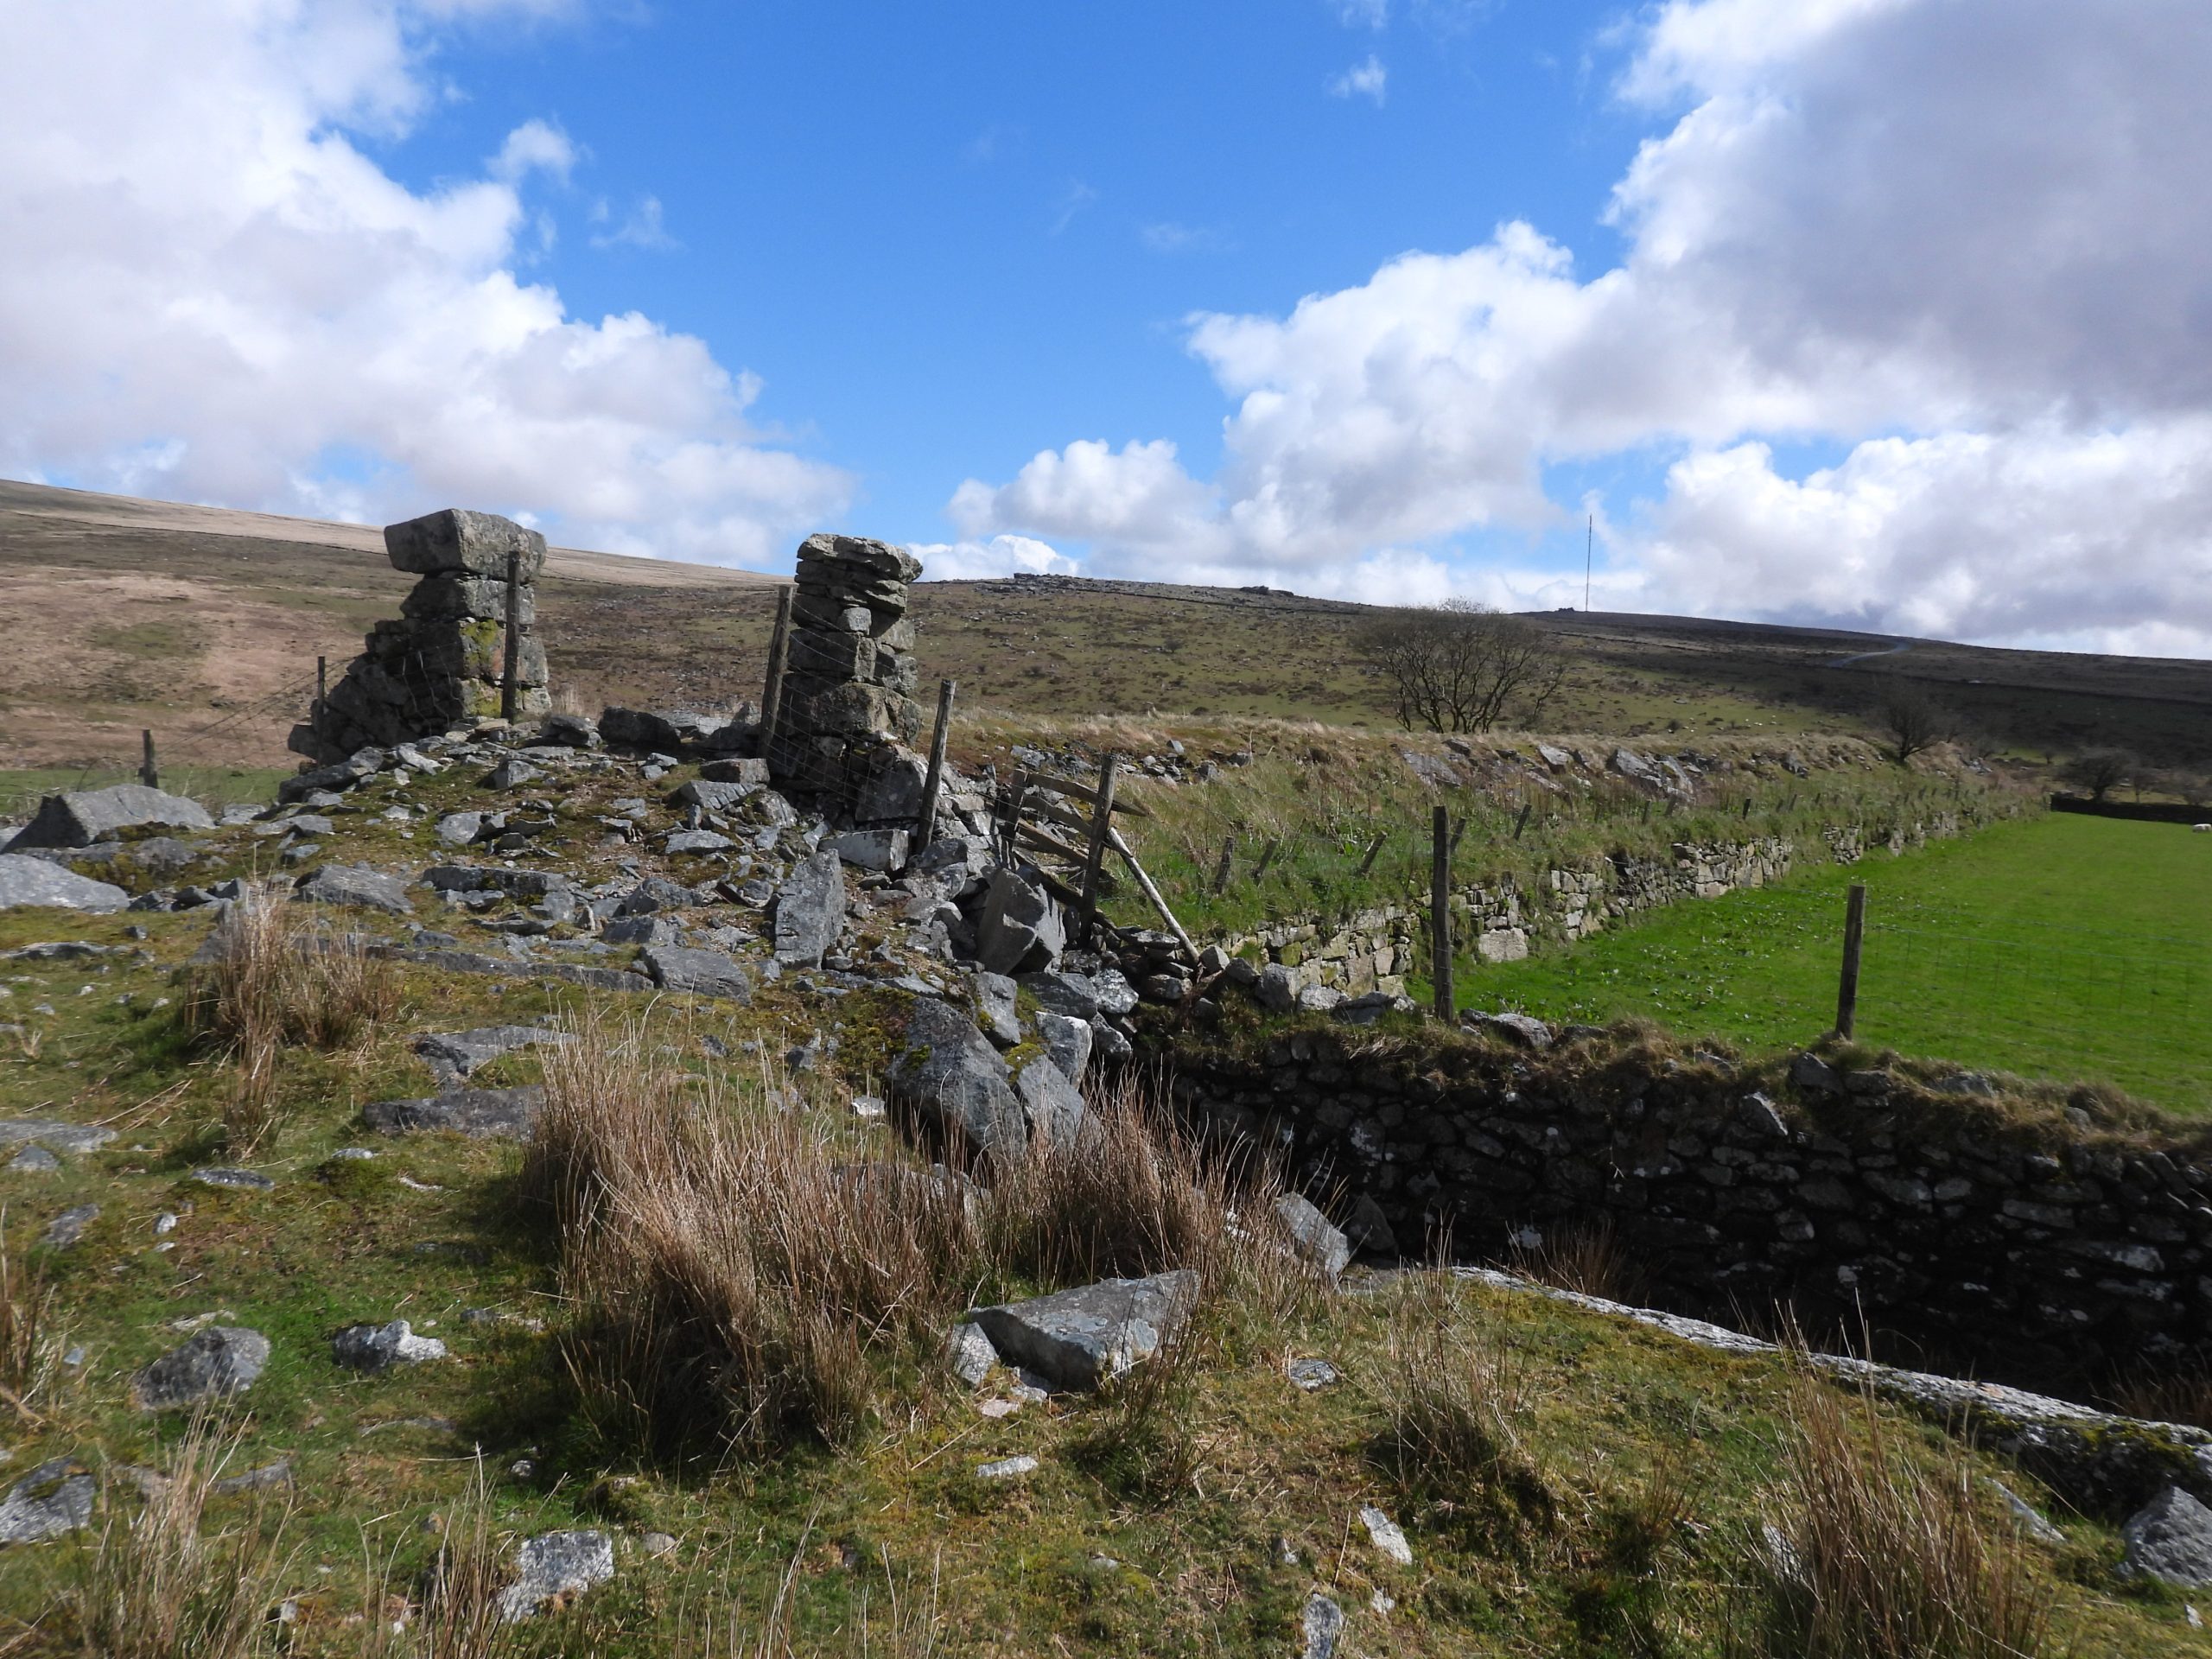
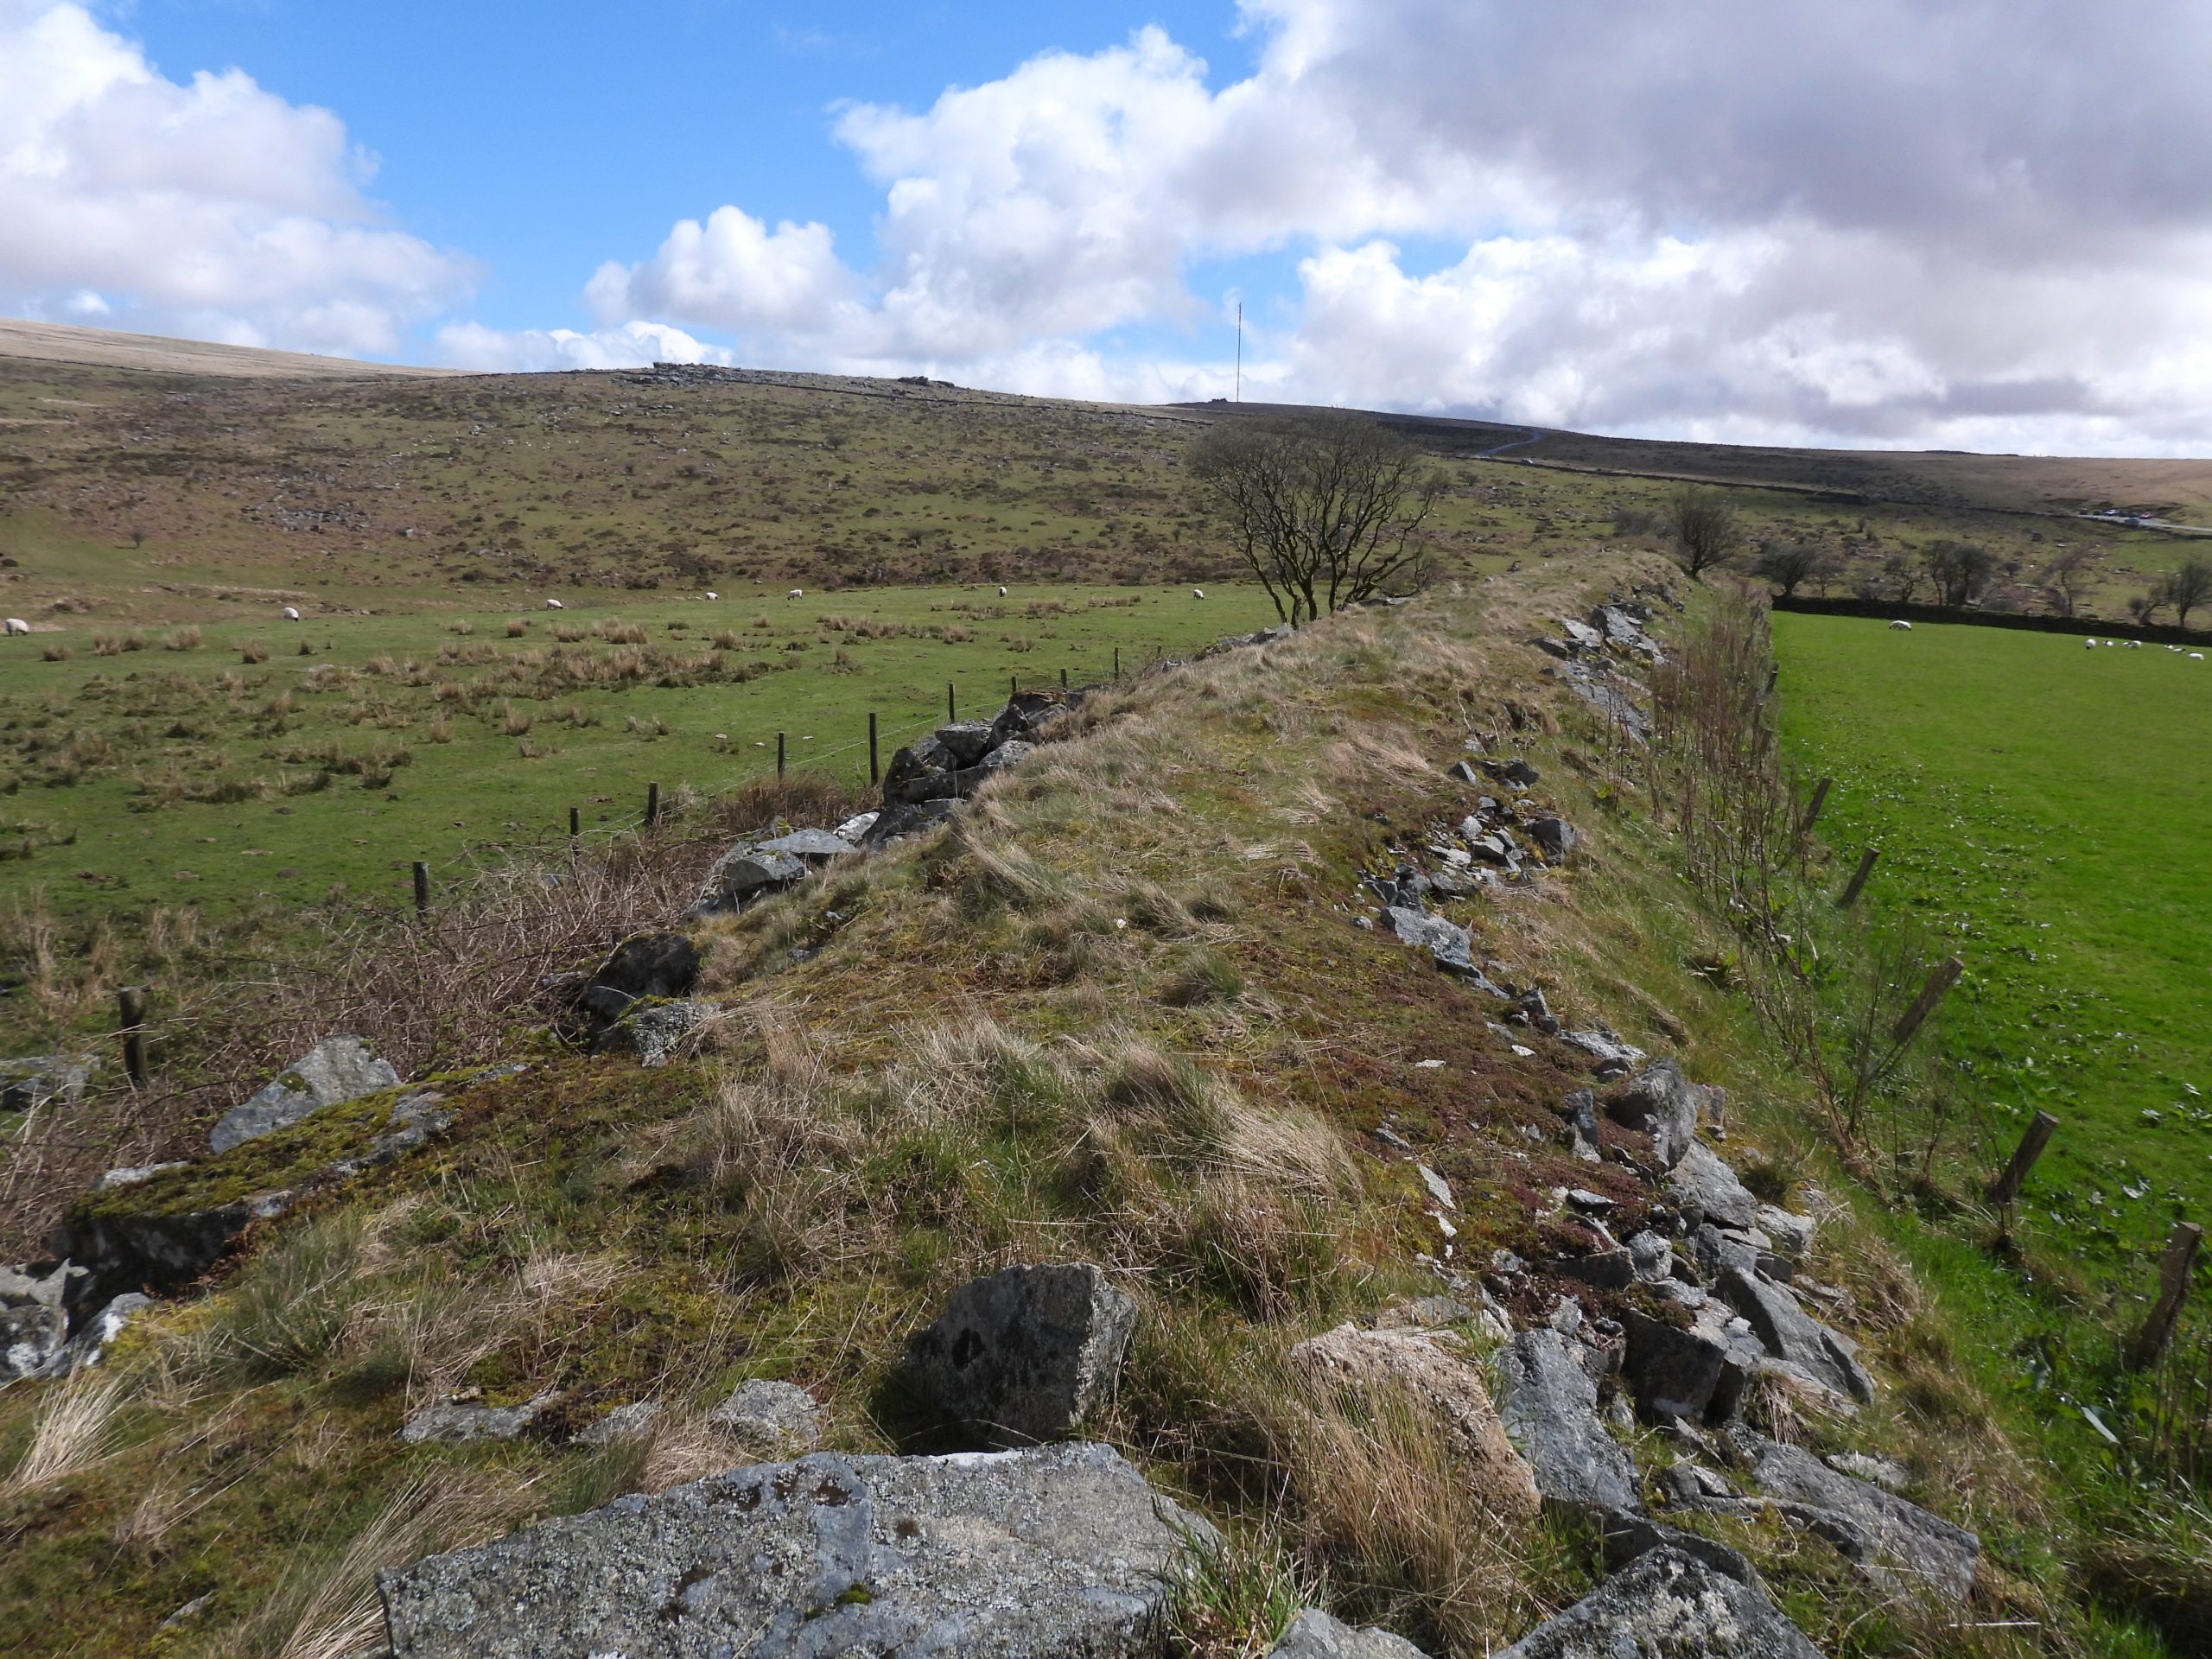
The mine appears to have had three associated dressing floors (albeit one appears never to have been used), at least four wheelpits which were used for pumping out water at a shaft head and for stamps. Within the complex, there are two leat embankments with associated (dry) leats. Intriguingly, there is another feature cutting through the site in the form of stone embankment, which is approx 250m long running east-west. It is the only part of the planned Merrivale Light Railway (MLR) to have been built. The MLR was planned in 1908 at a cost of £12.6k and was to run from the GWR line near King’s Tor to Merrivale Quarry.
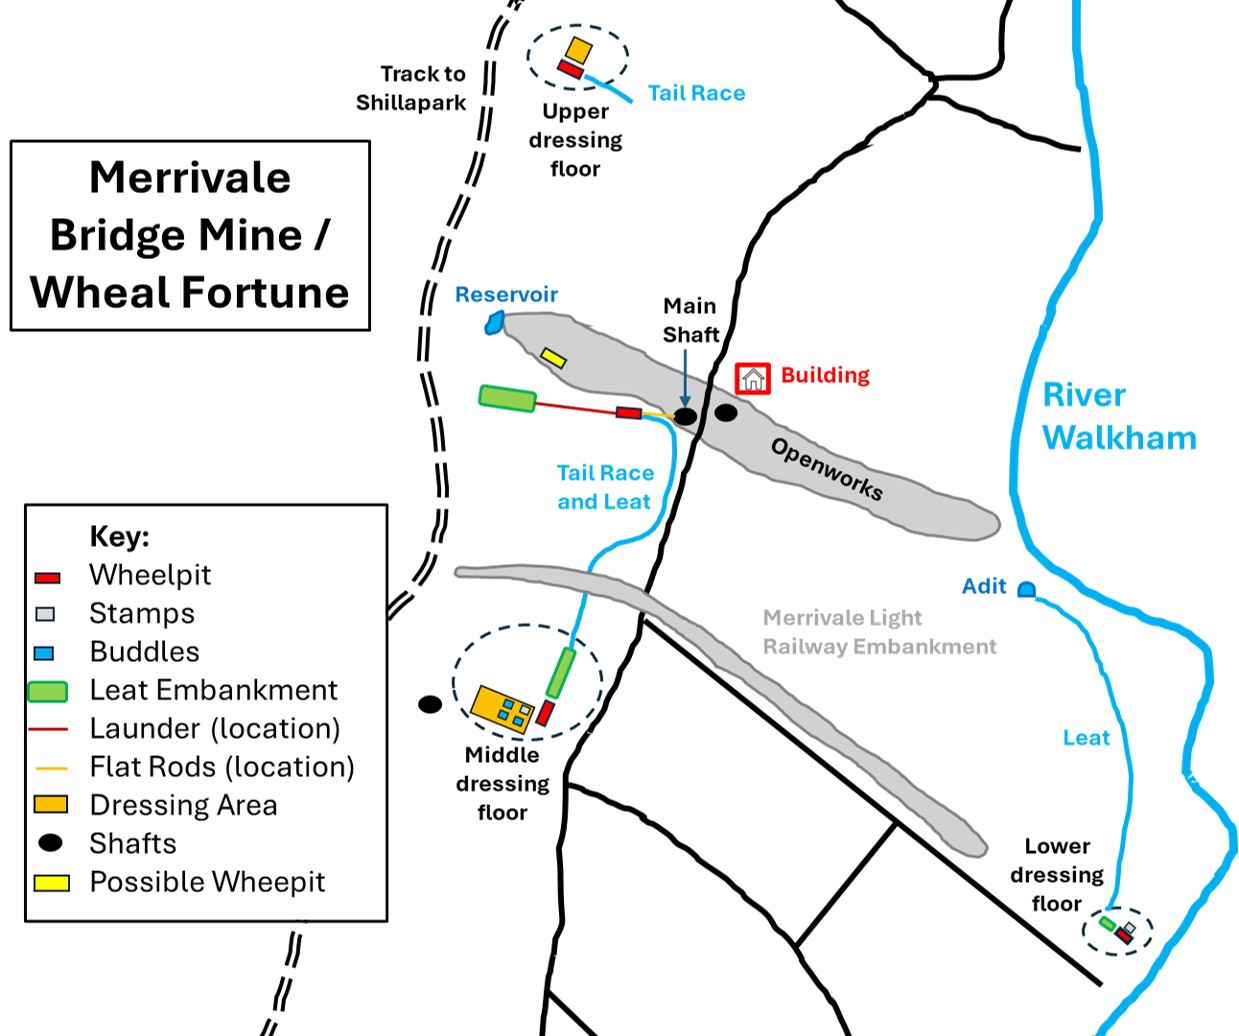
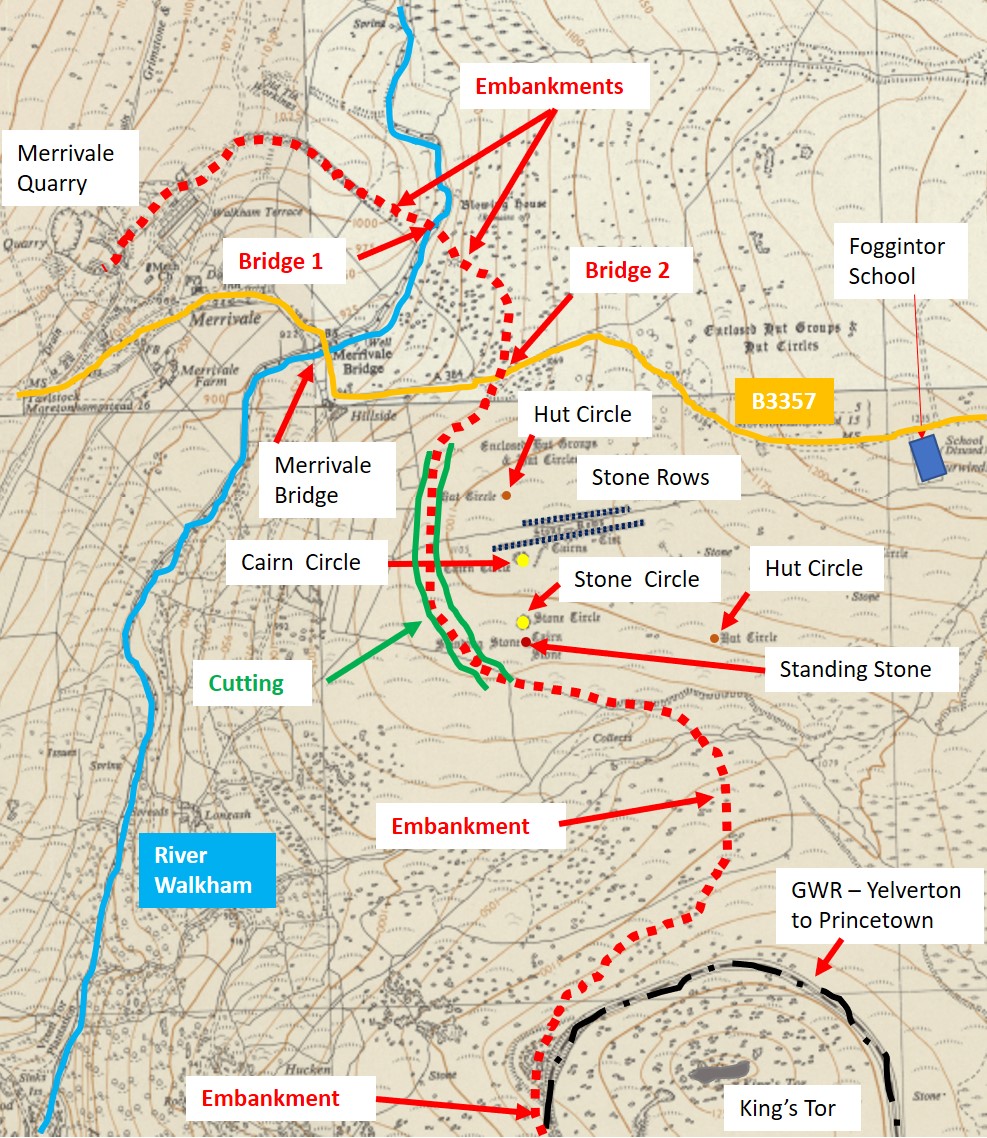
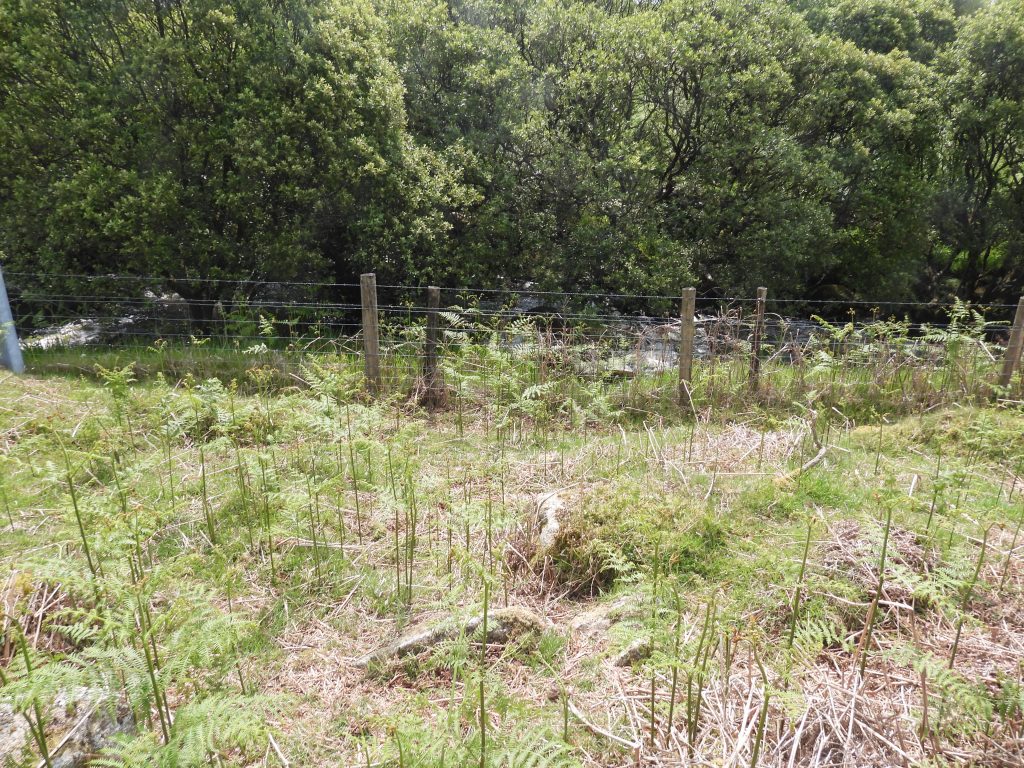
Sketch map showing the interpretation of Merrivale Bridge Mine / Wheal Fortune. Note that the area sandwiched between the River Walkham and the wall runnung north – south wall (black line) is on private land. Google Earth view of Wheal Fortune. The location made more evident from the view of Shillabeer Farm at the top left of the annotated view. This post will explore the mine from north (Upper Dressing Floor) to south east (Lower Dressing Floor)
Summary of the history of Merrivale Bridge Mine / Wheal Fortune (as created by David Eeles from Dr Tom Greeves 3 page report)
1806: a tin mine called ‘Merifield Bridge Mine’ listed in Webb’s weekly prices of mines under his management. However only £30 out of a fund of £880 was spent suggesting little development
1837: site of mine marked as ‘just north of Merivale Bridge’
1840: a Mr Pascoe reported as dewatering a mine, which suggests a flooded level. 1 year licence to work ‘Wheal Fortune’ to two Cornishmen
1849: John Paul, mine agent of Tavistock, applies for licence to work ‘old mine near Merrivale Bridge’. No outcome
1853: Another 1 year licence granted to Charles Bawden, another Tavistock mine agent
1859: a new 1 year licence granted to John Lord (Mine Captain of Devon Burra Burra) and Nichols and Richard Toll (engineers at North Wheal Robert). The significant clause was inserted: “the lesees were not to interfere with existing leats or watercourses” within the sett. This extended to Beckamoor Combe. The mine was known at this time as Staple Tor Sett. There are the remains of a building with a fireplace at the head of Beckamoor Combe which may have been where the workers were based at this time. Lord reported that year that 4/5 cwt of tin was awaiting sale, but a little later he was moaning that this ore had not been properly “cleaned” but “about that time our water all dried up”. However, he renewed the licence the following year
December 1859: some work being done at Beckamoor Combe as there was a complaint that water had been turned out of Longford Mill leat. Later Lord was complaining that the men employed at Beckamoor Combe did not know how to dress the tinstuff despite being supplied with all kinds of machinery. A later report on this period says: “operations upon a small scale were carried on by them for mining and streaming”
1869 – 1871: various parties applied to work the sett but were not granted it. Mention is made of the sett having been worked by Capt. A.H.Rowse whose address was ‘Tavistock Mining Office’ in 1859, and who was captain of ‘Devon and Cornwall Mines, Tavistock’
1872: sett granted to Thomas Dunn, mine agent of Tavistock, but he appears to have done no work on it.
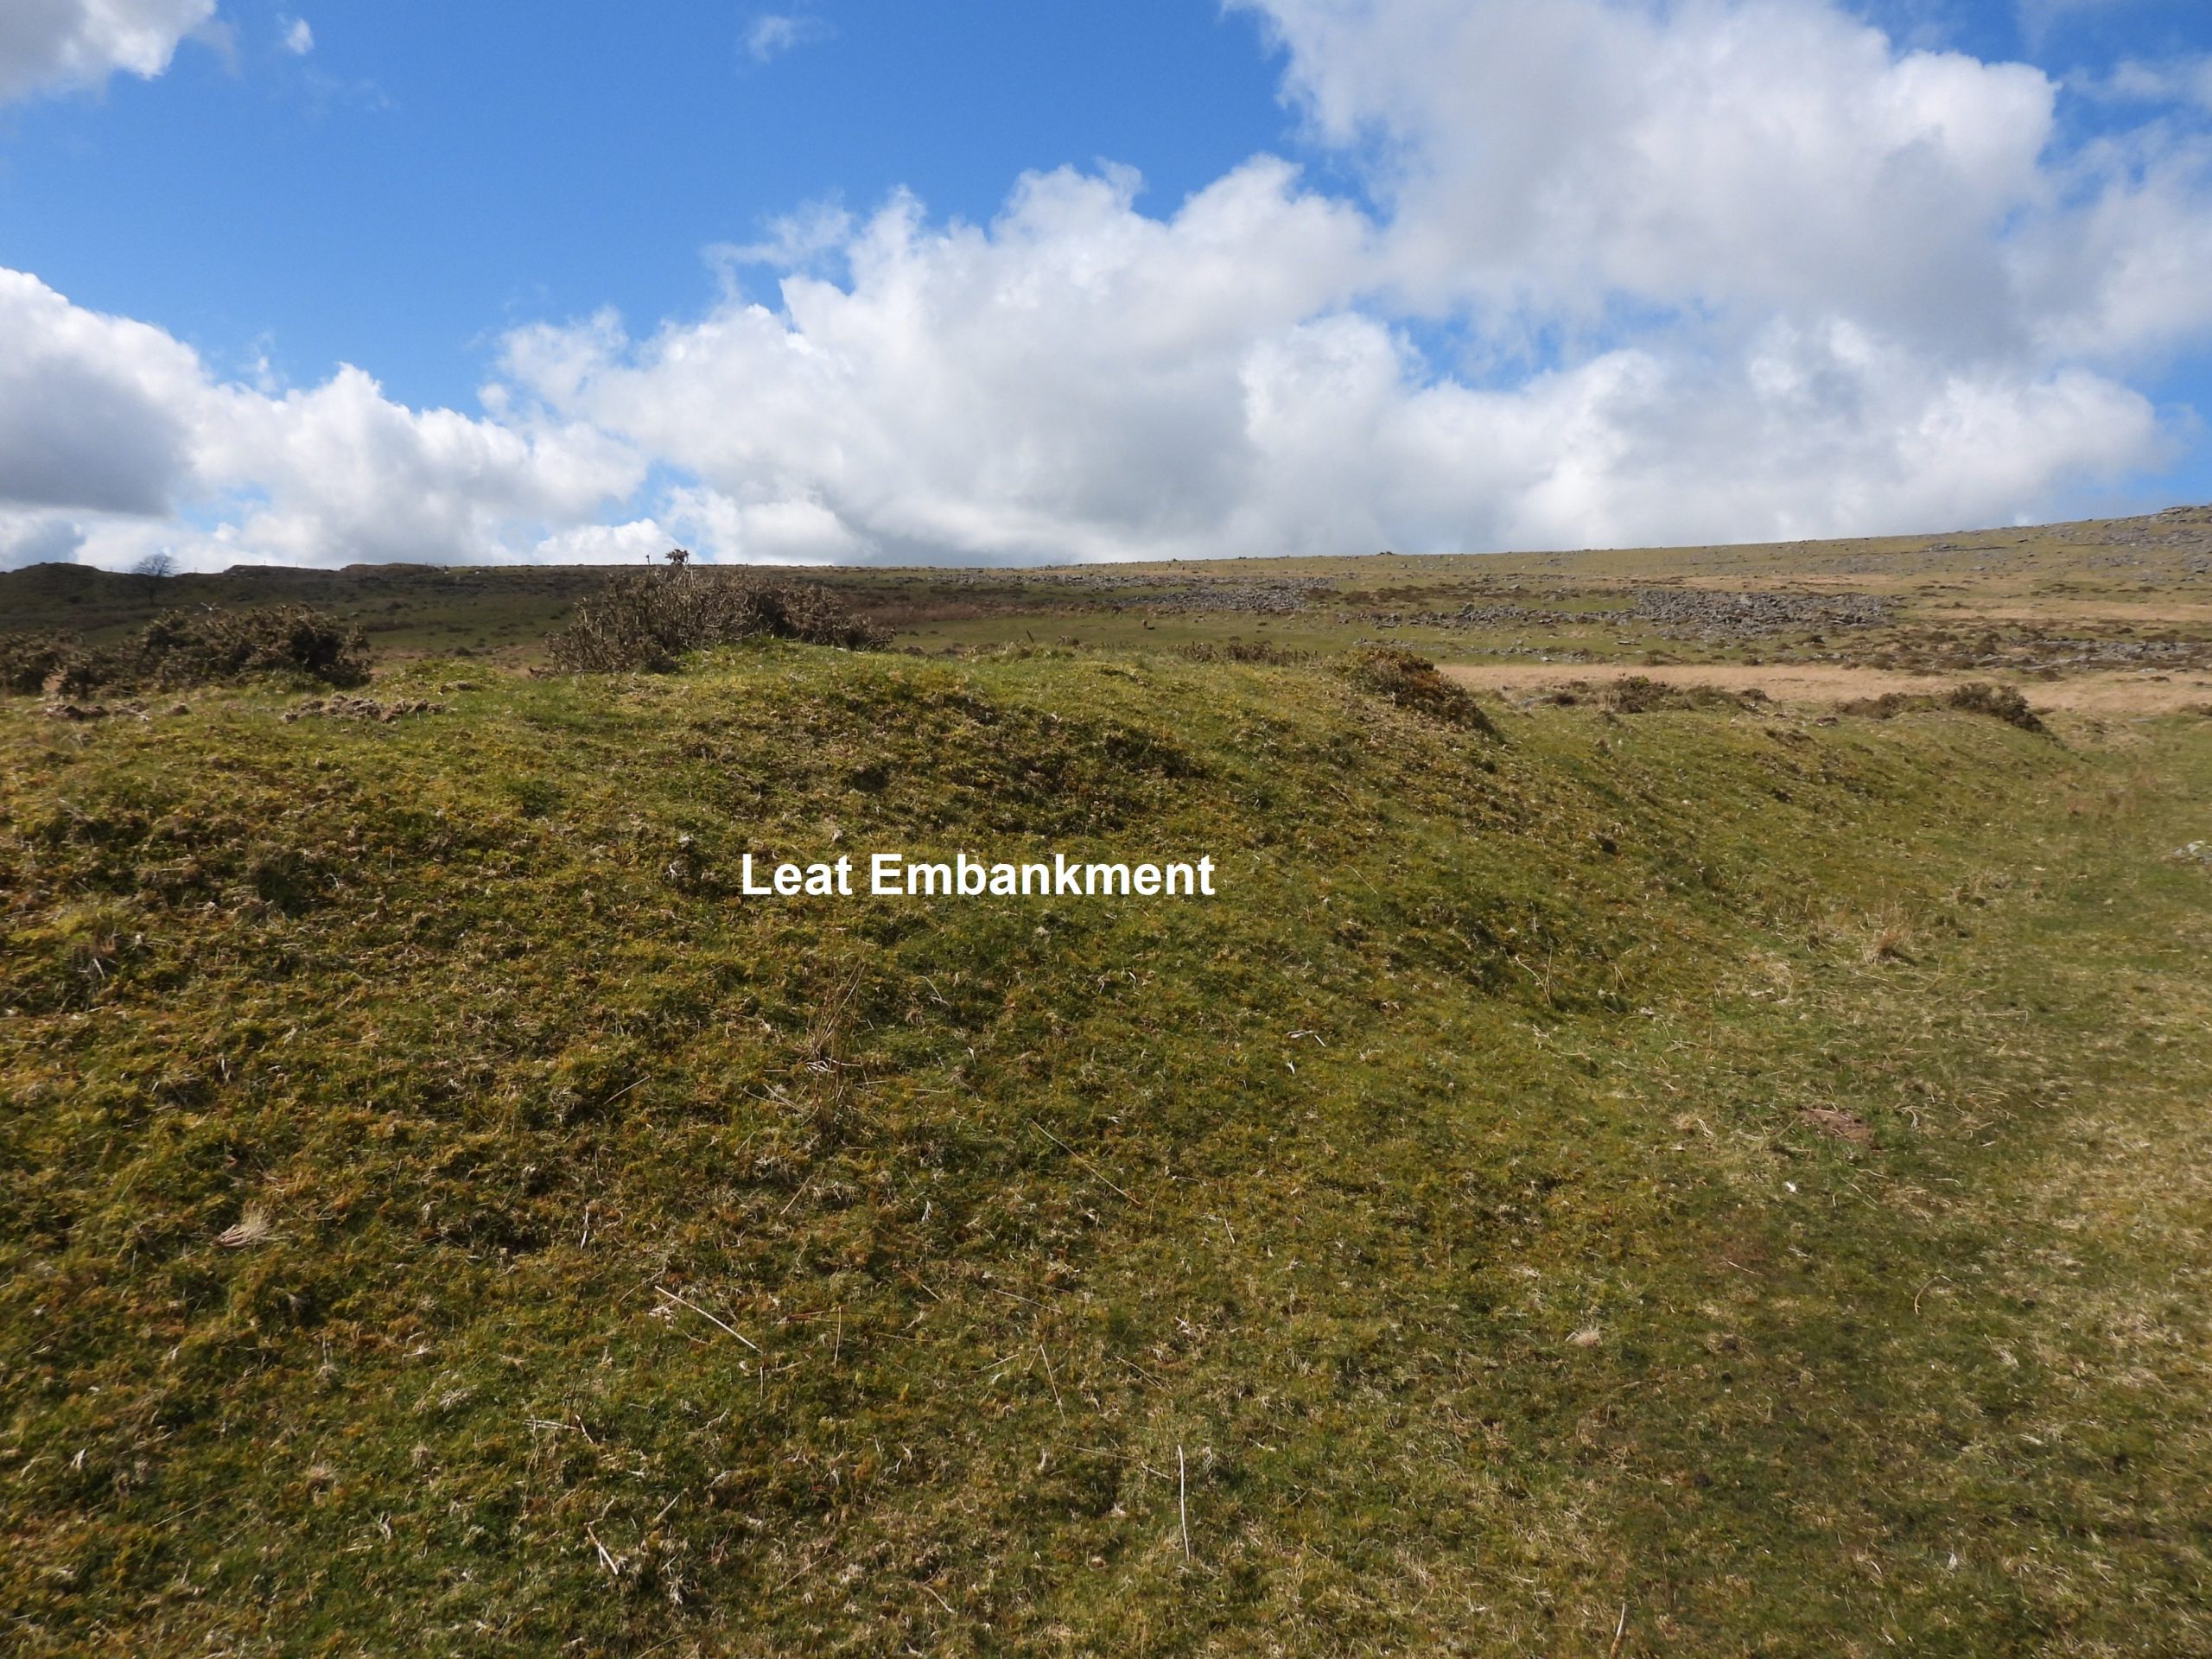
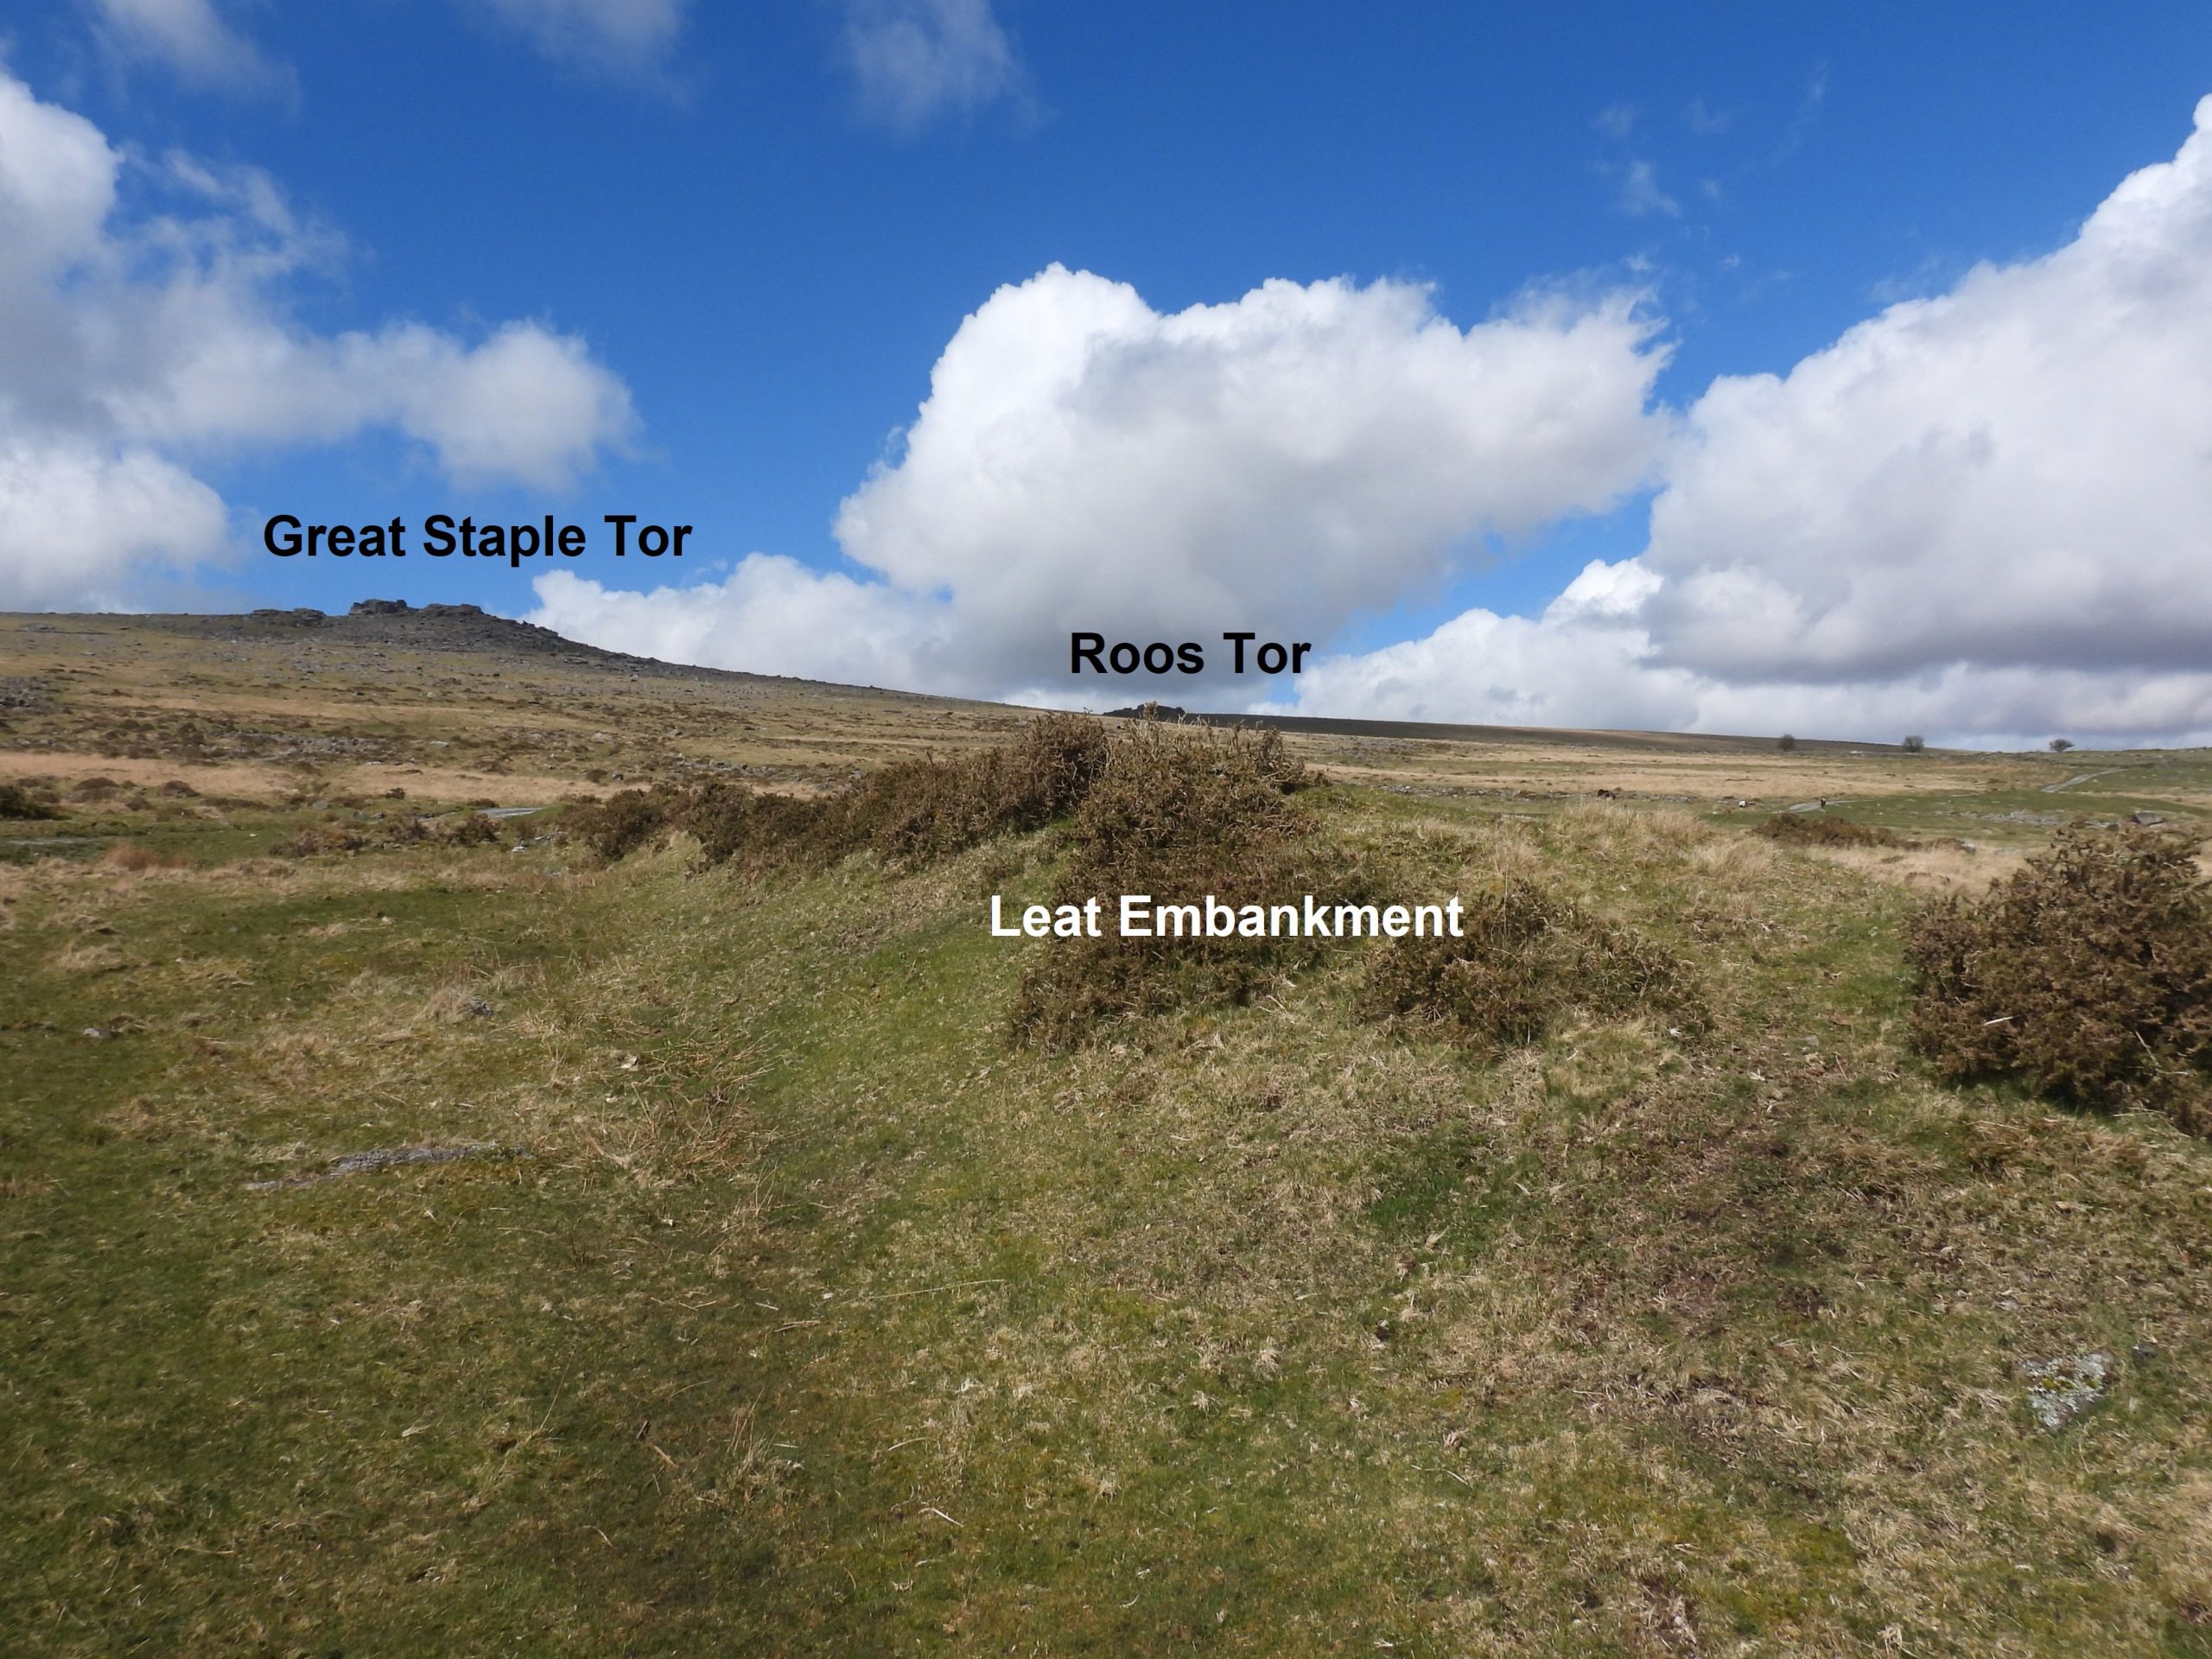
Tom (Greeves) speculates, that although it is difficult to assign the surviving wheelpits to any particular period of working, it may be that the Upper Dressing Floor areas were the earlier ones, perhaps whilst under Webb’s management. One strong factor is that the main pumping wheelpit, with its impressive leat embankment, appears to have been fed from the Grimstone and Sortridge leat, something that was expressly forbidden in later leases. It would also explain why the Lower Dressing Floor water wheel appears to draw its water from the adit rather than the more obvious choice of the Walkham, making this the later workings, perhaps attributable to Messrs Lord and Toll
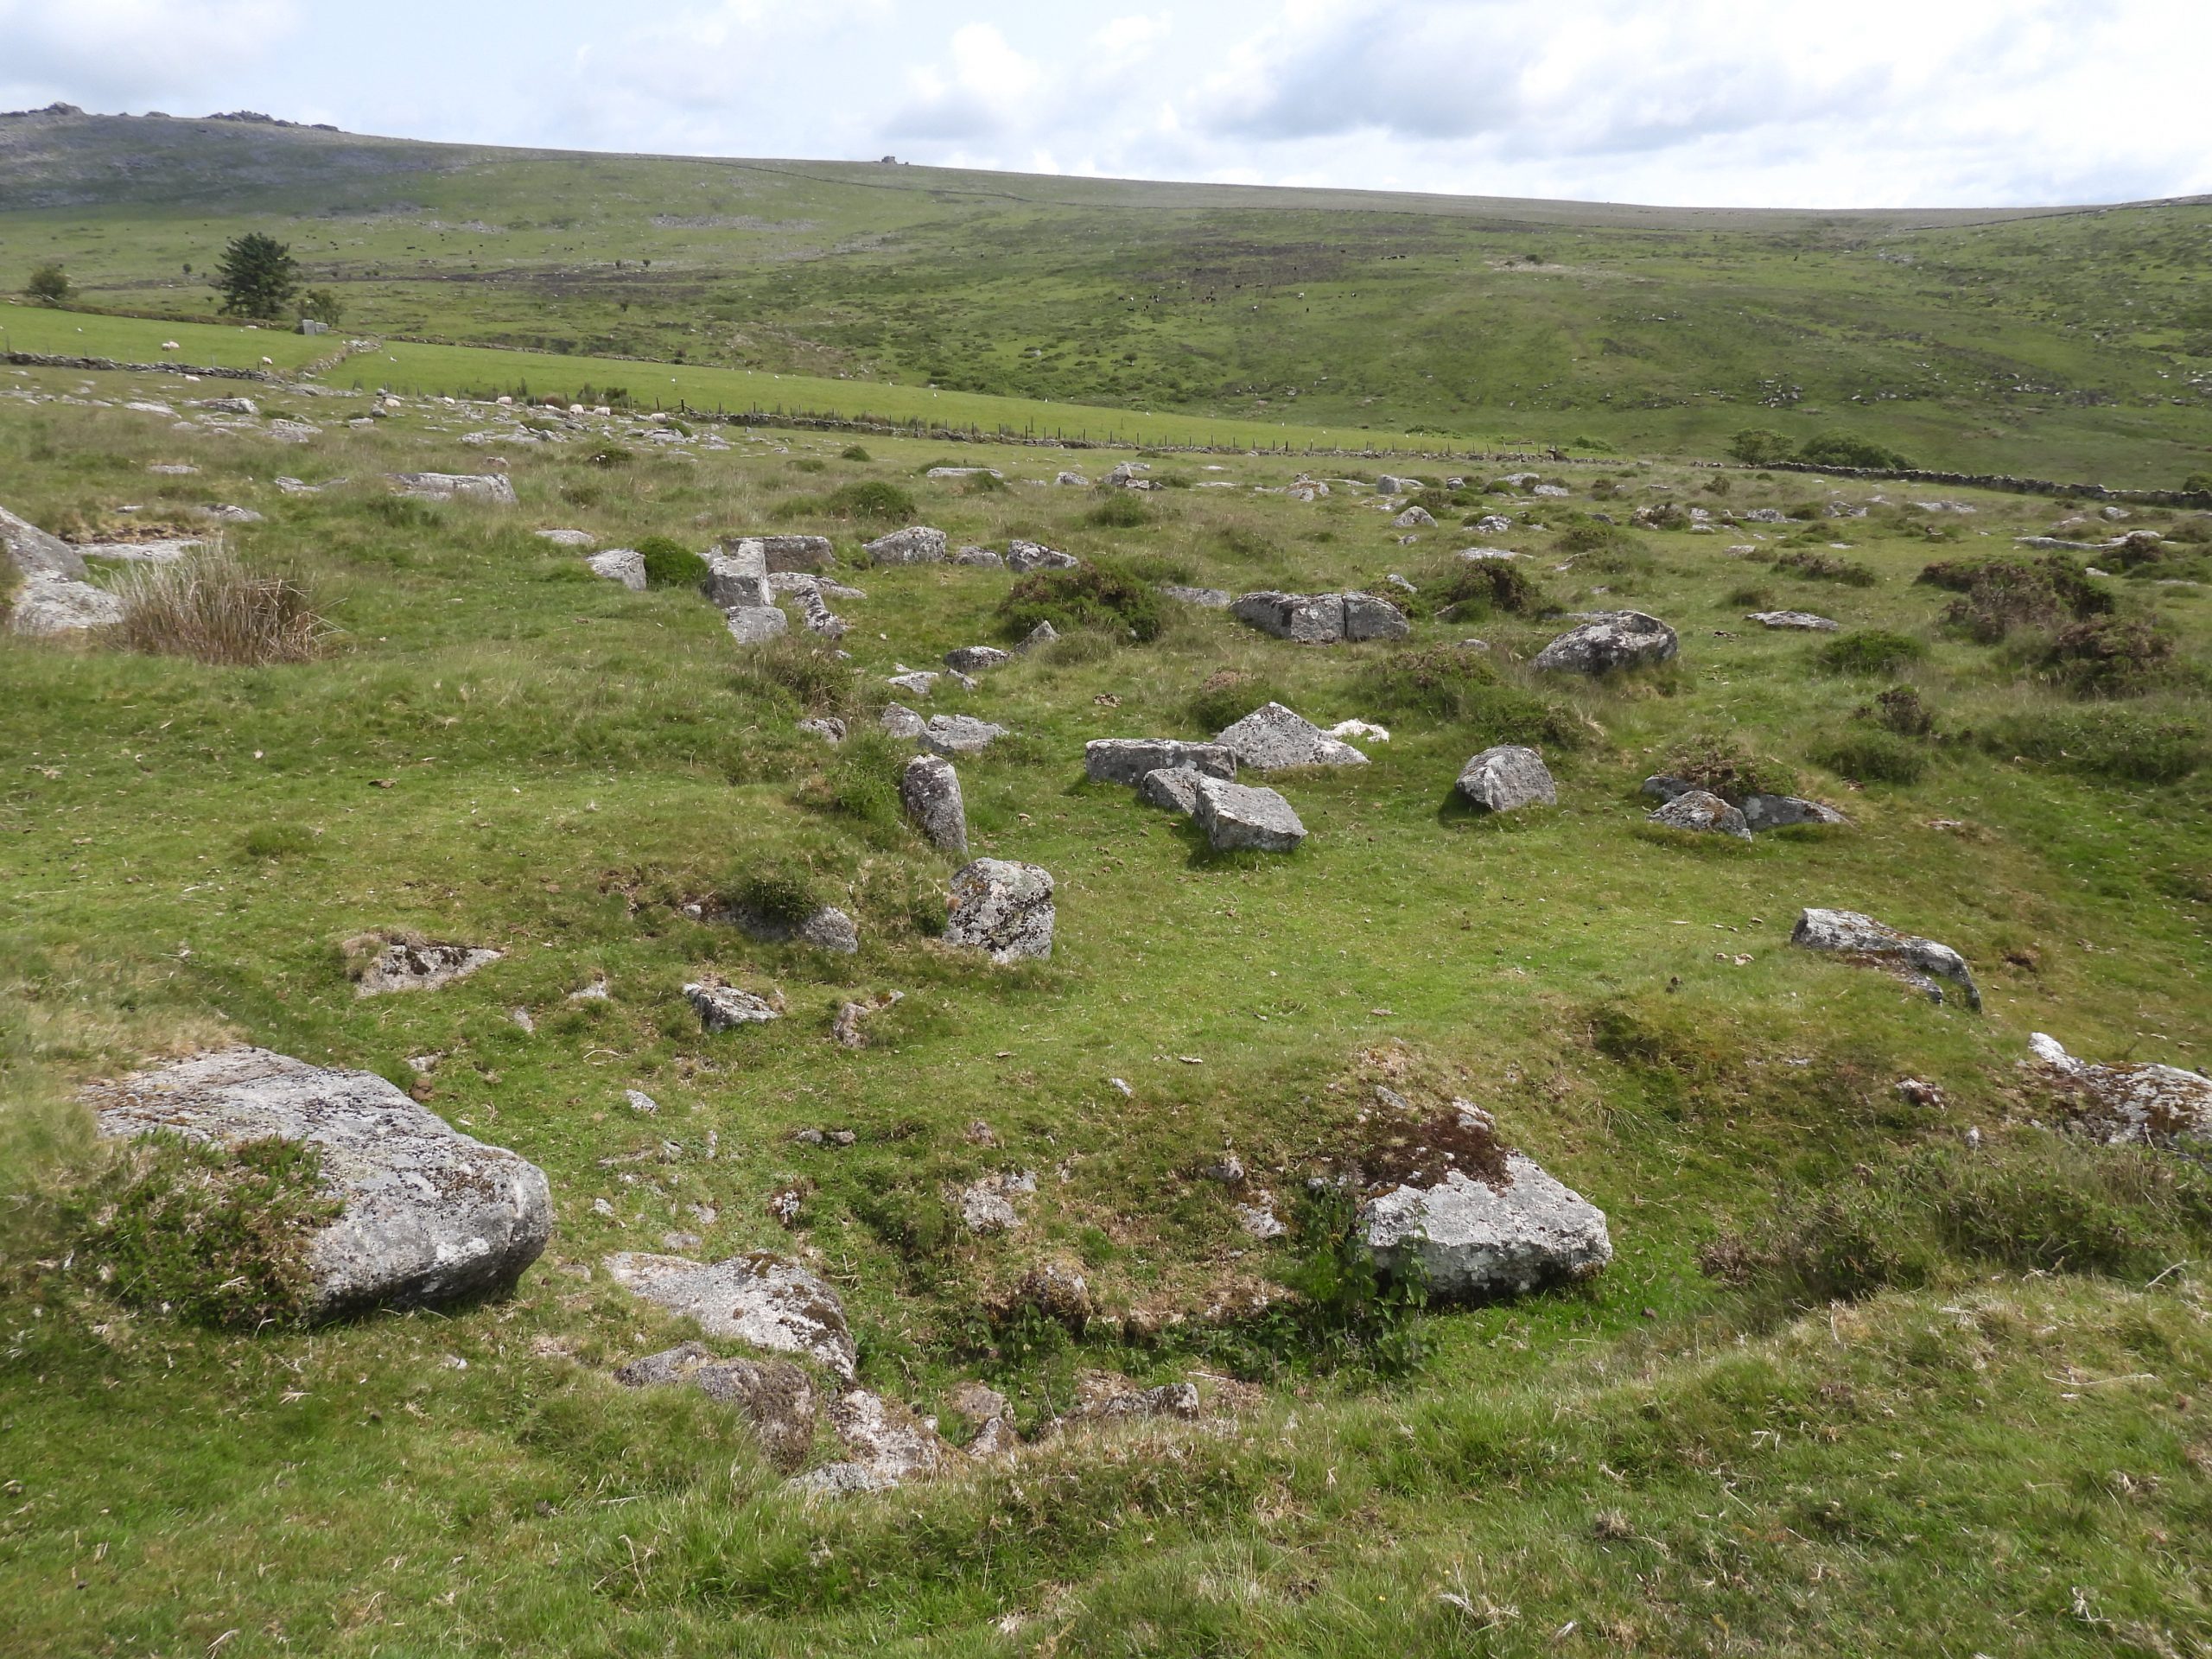
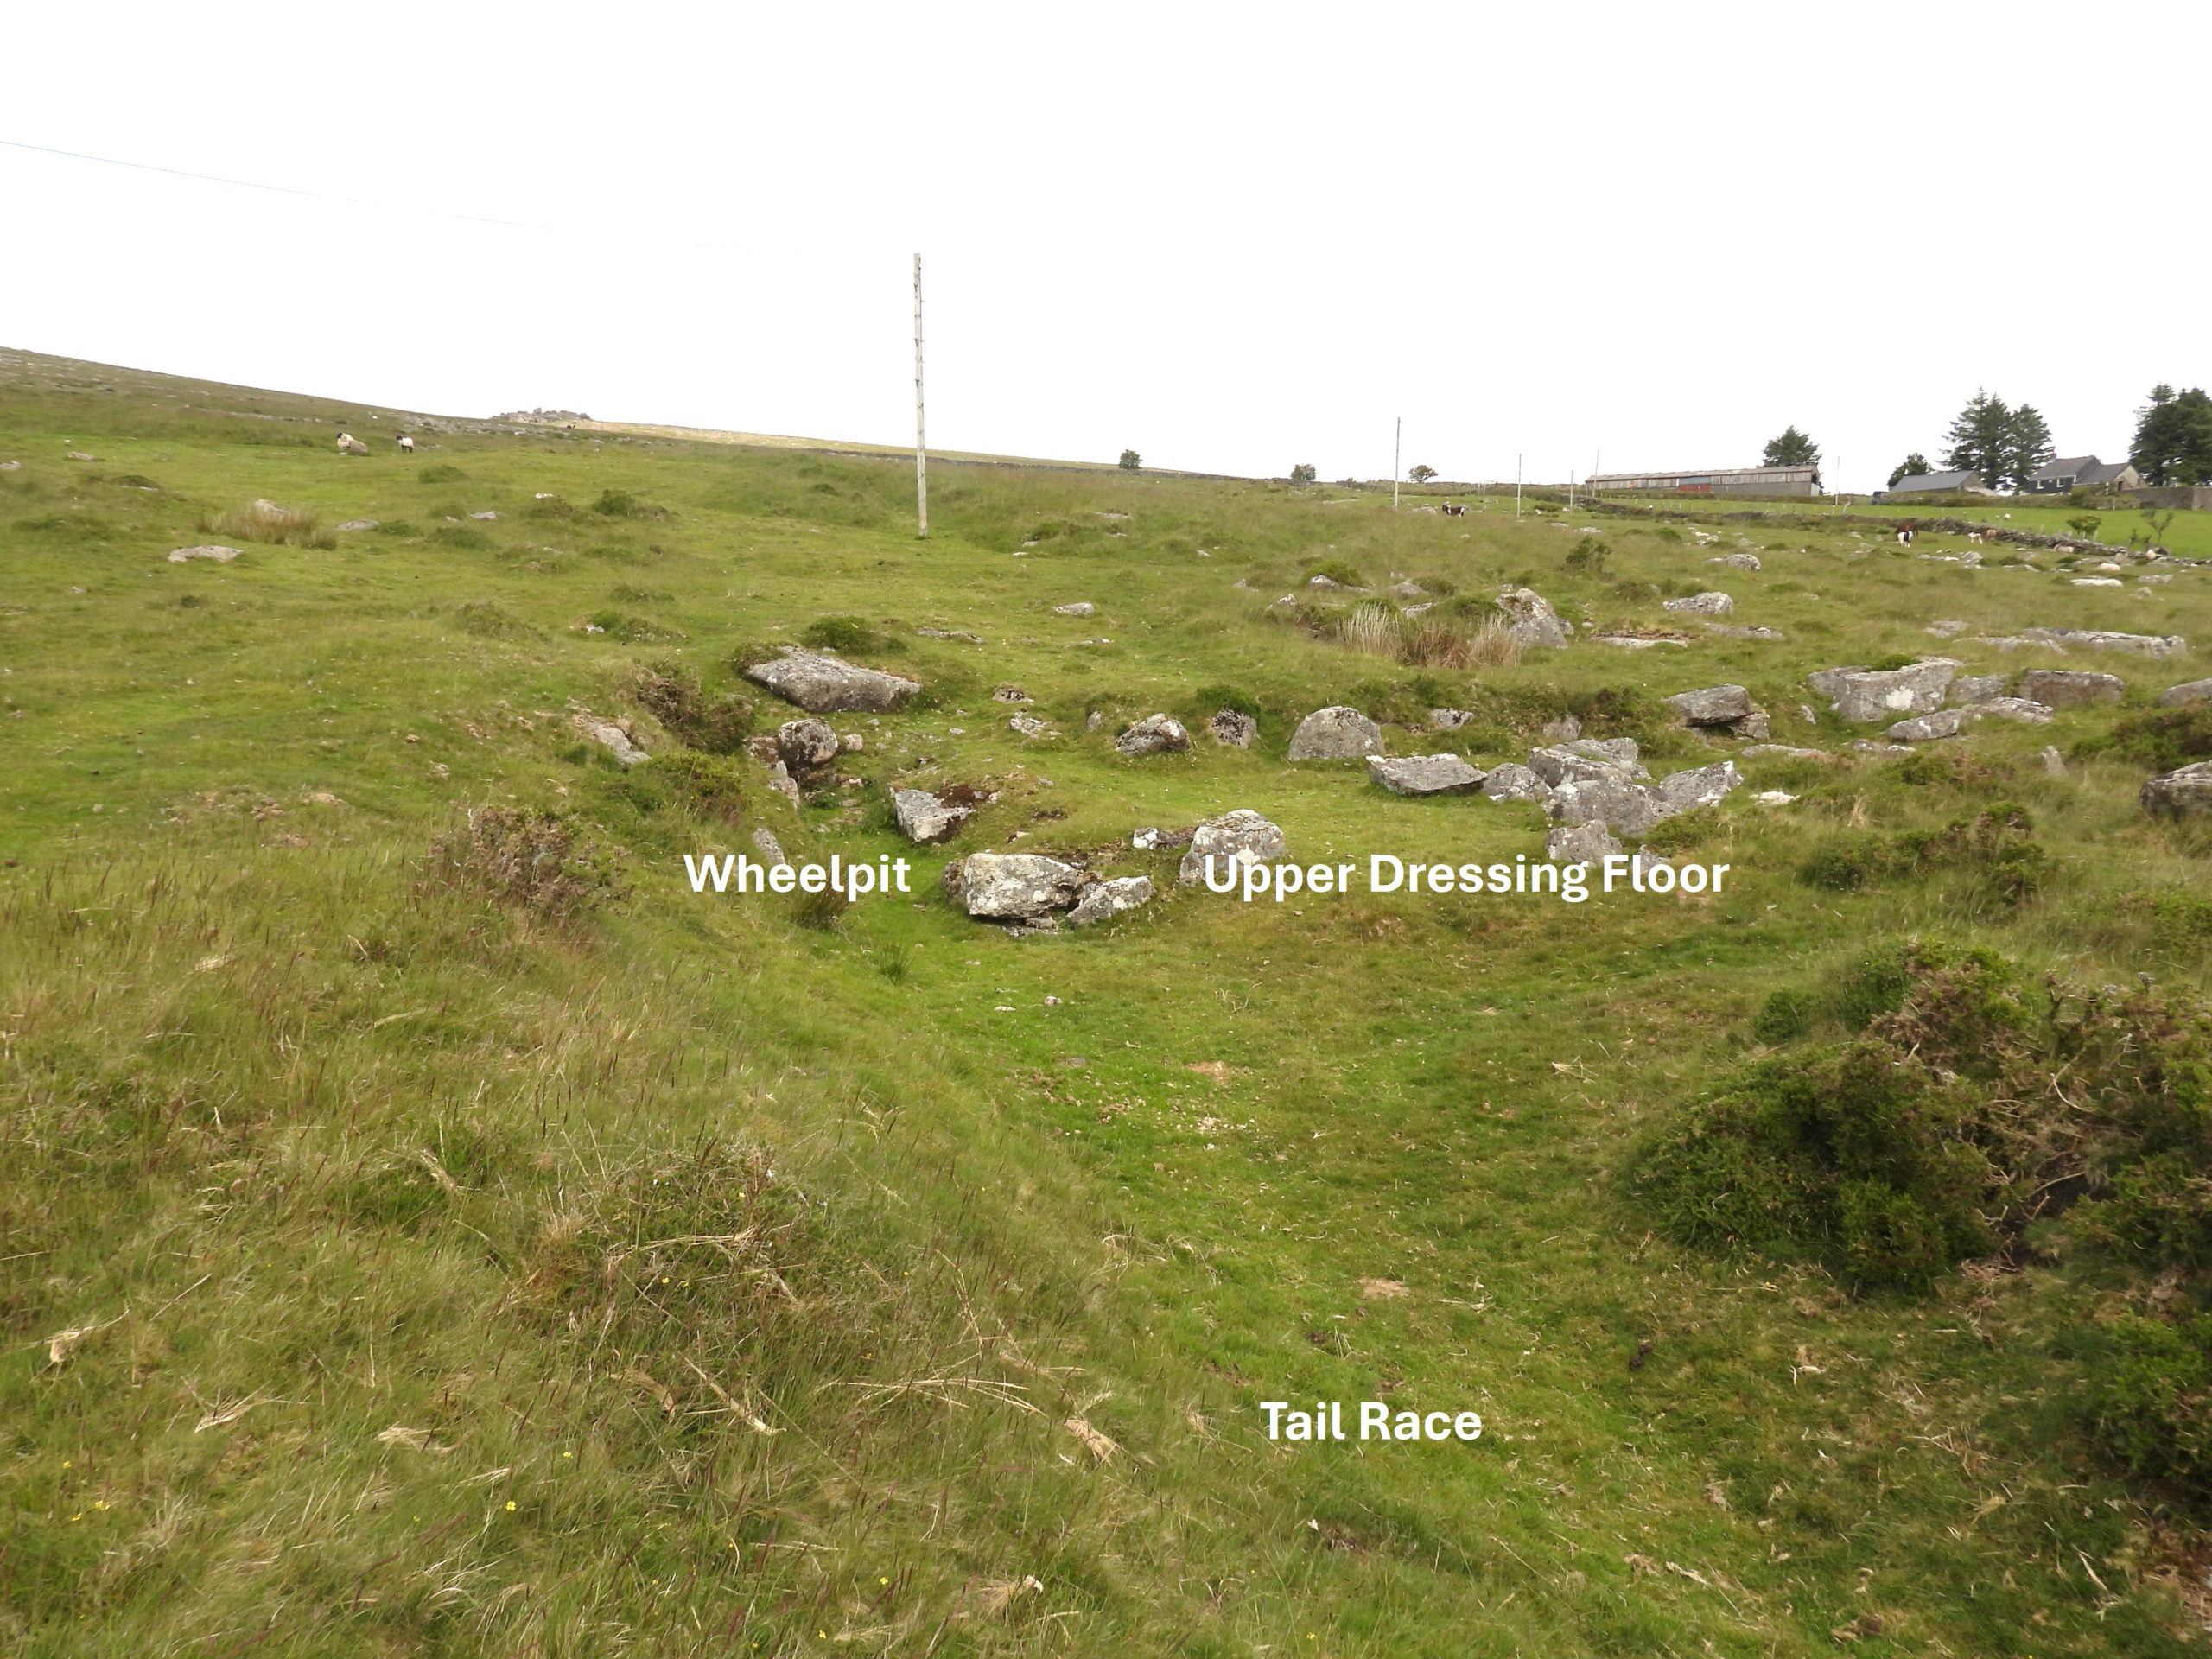
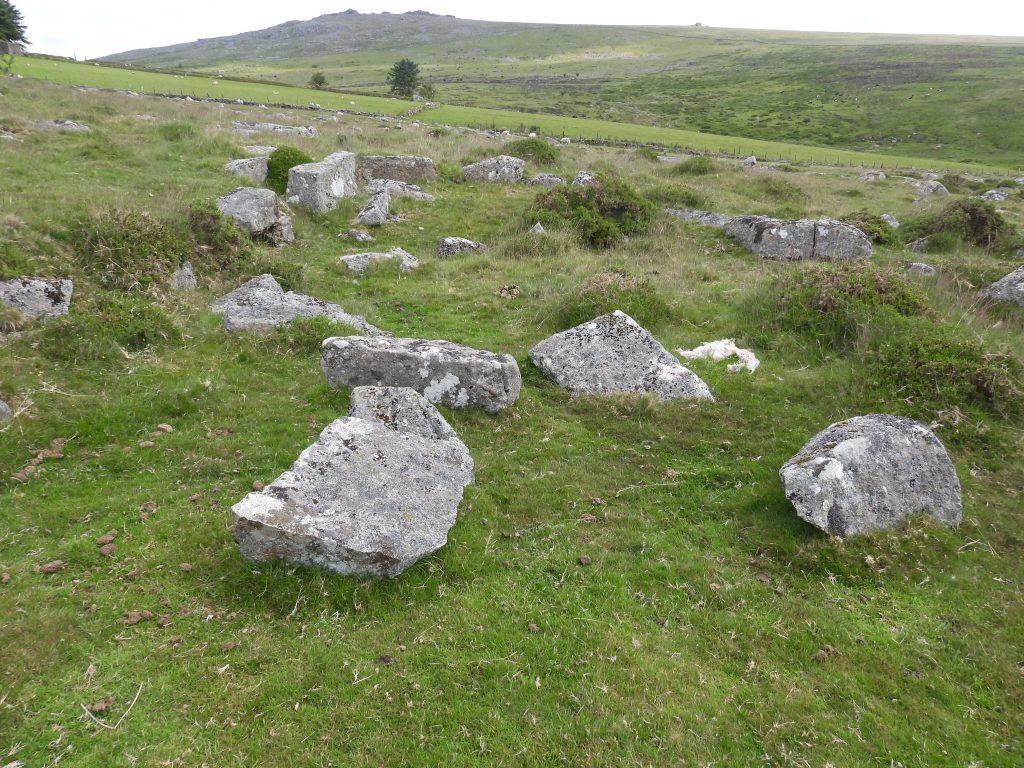
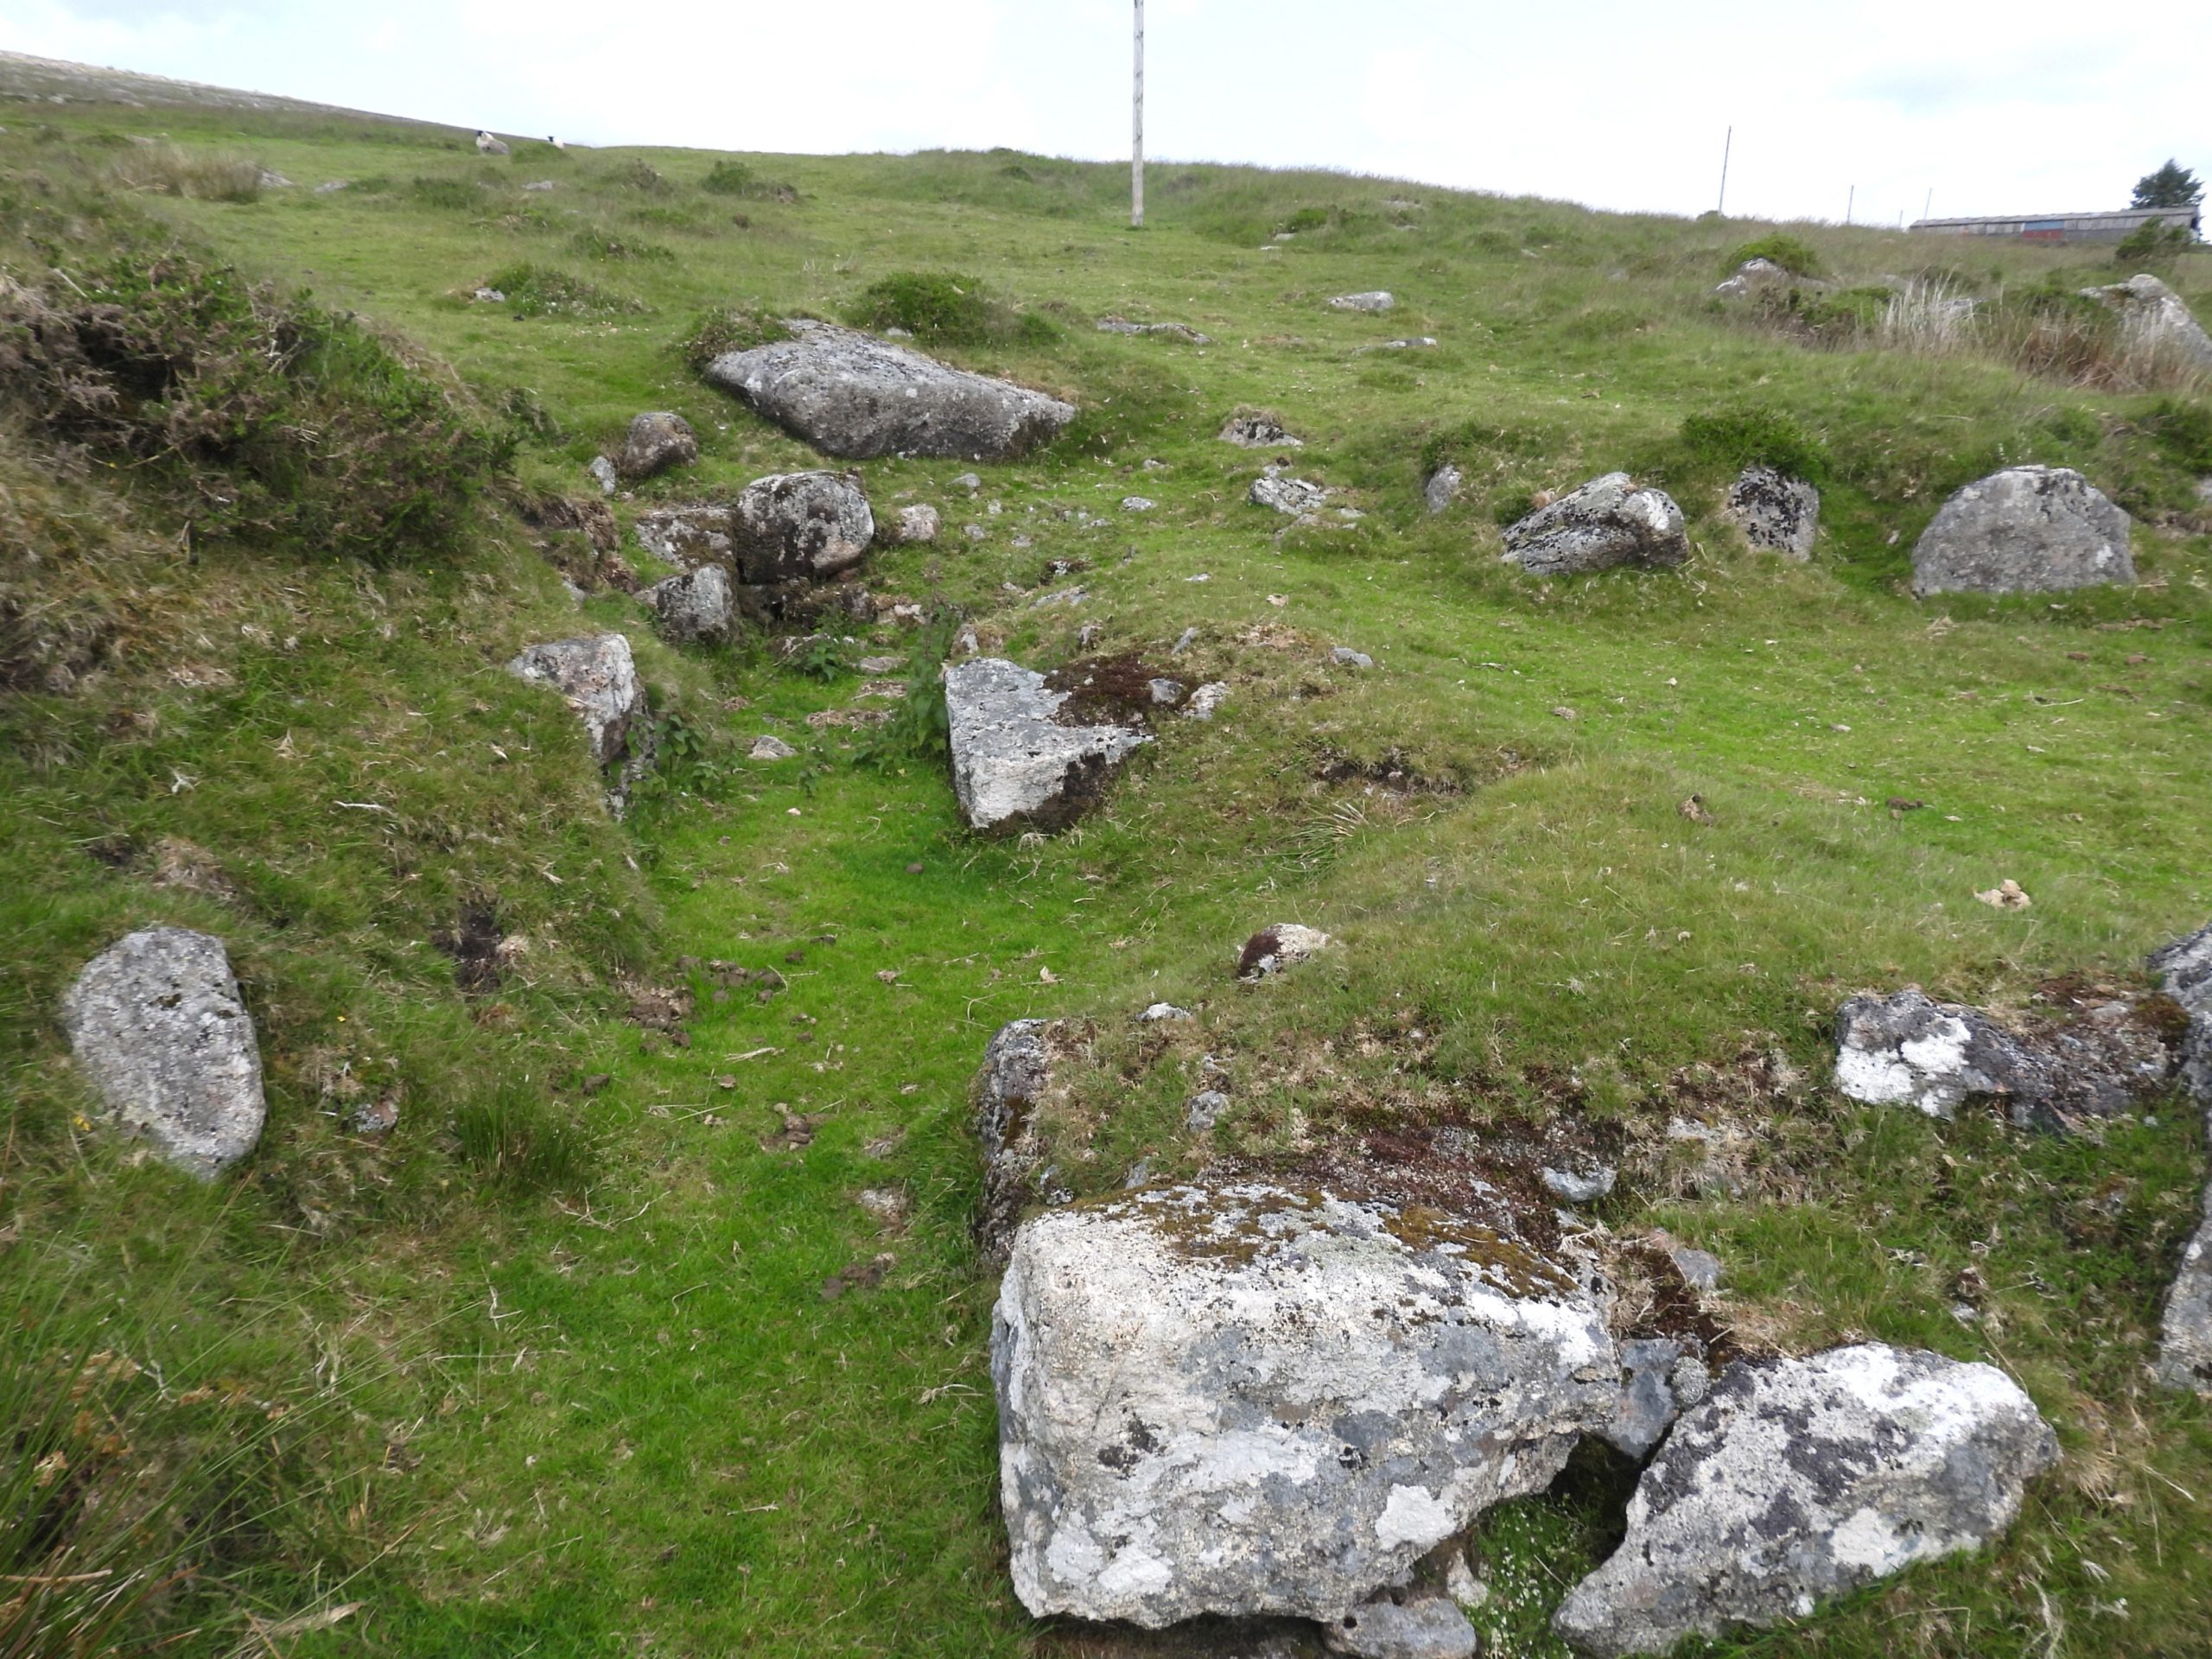
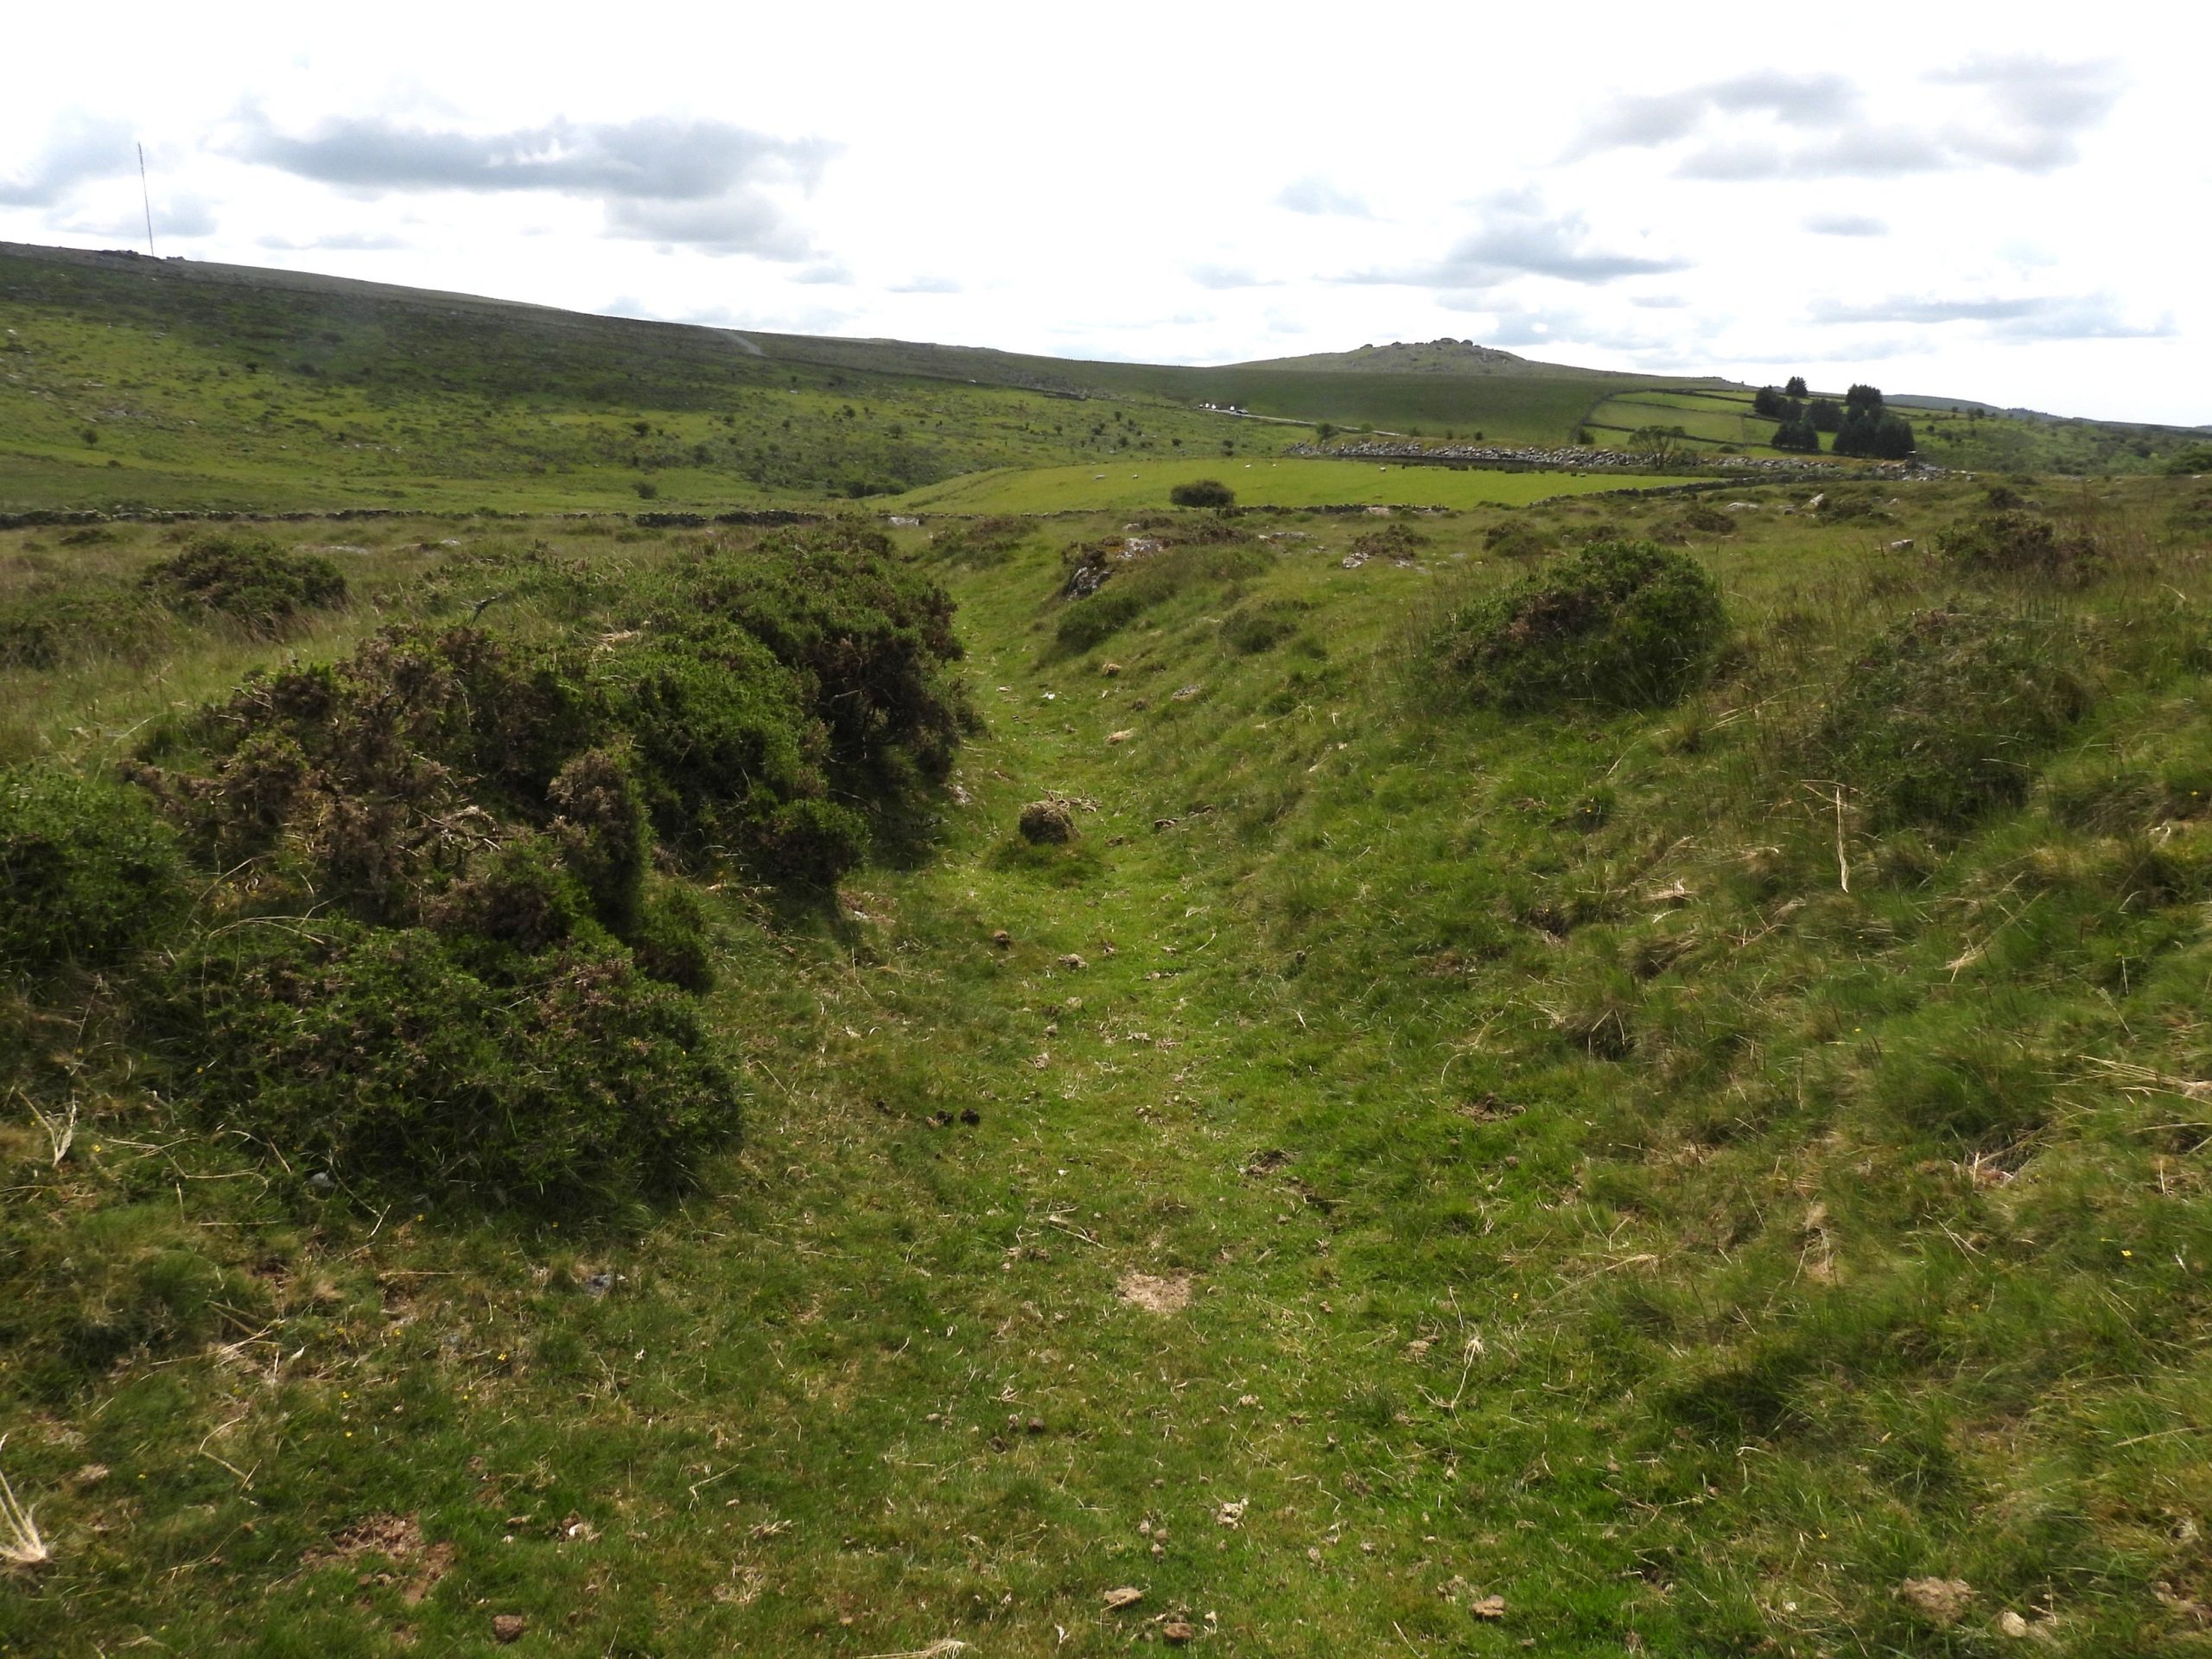
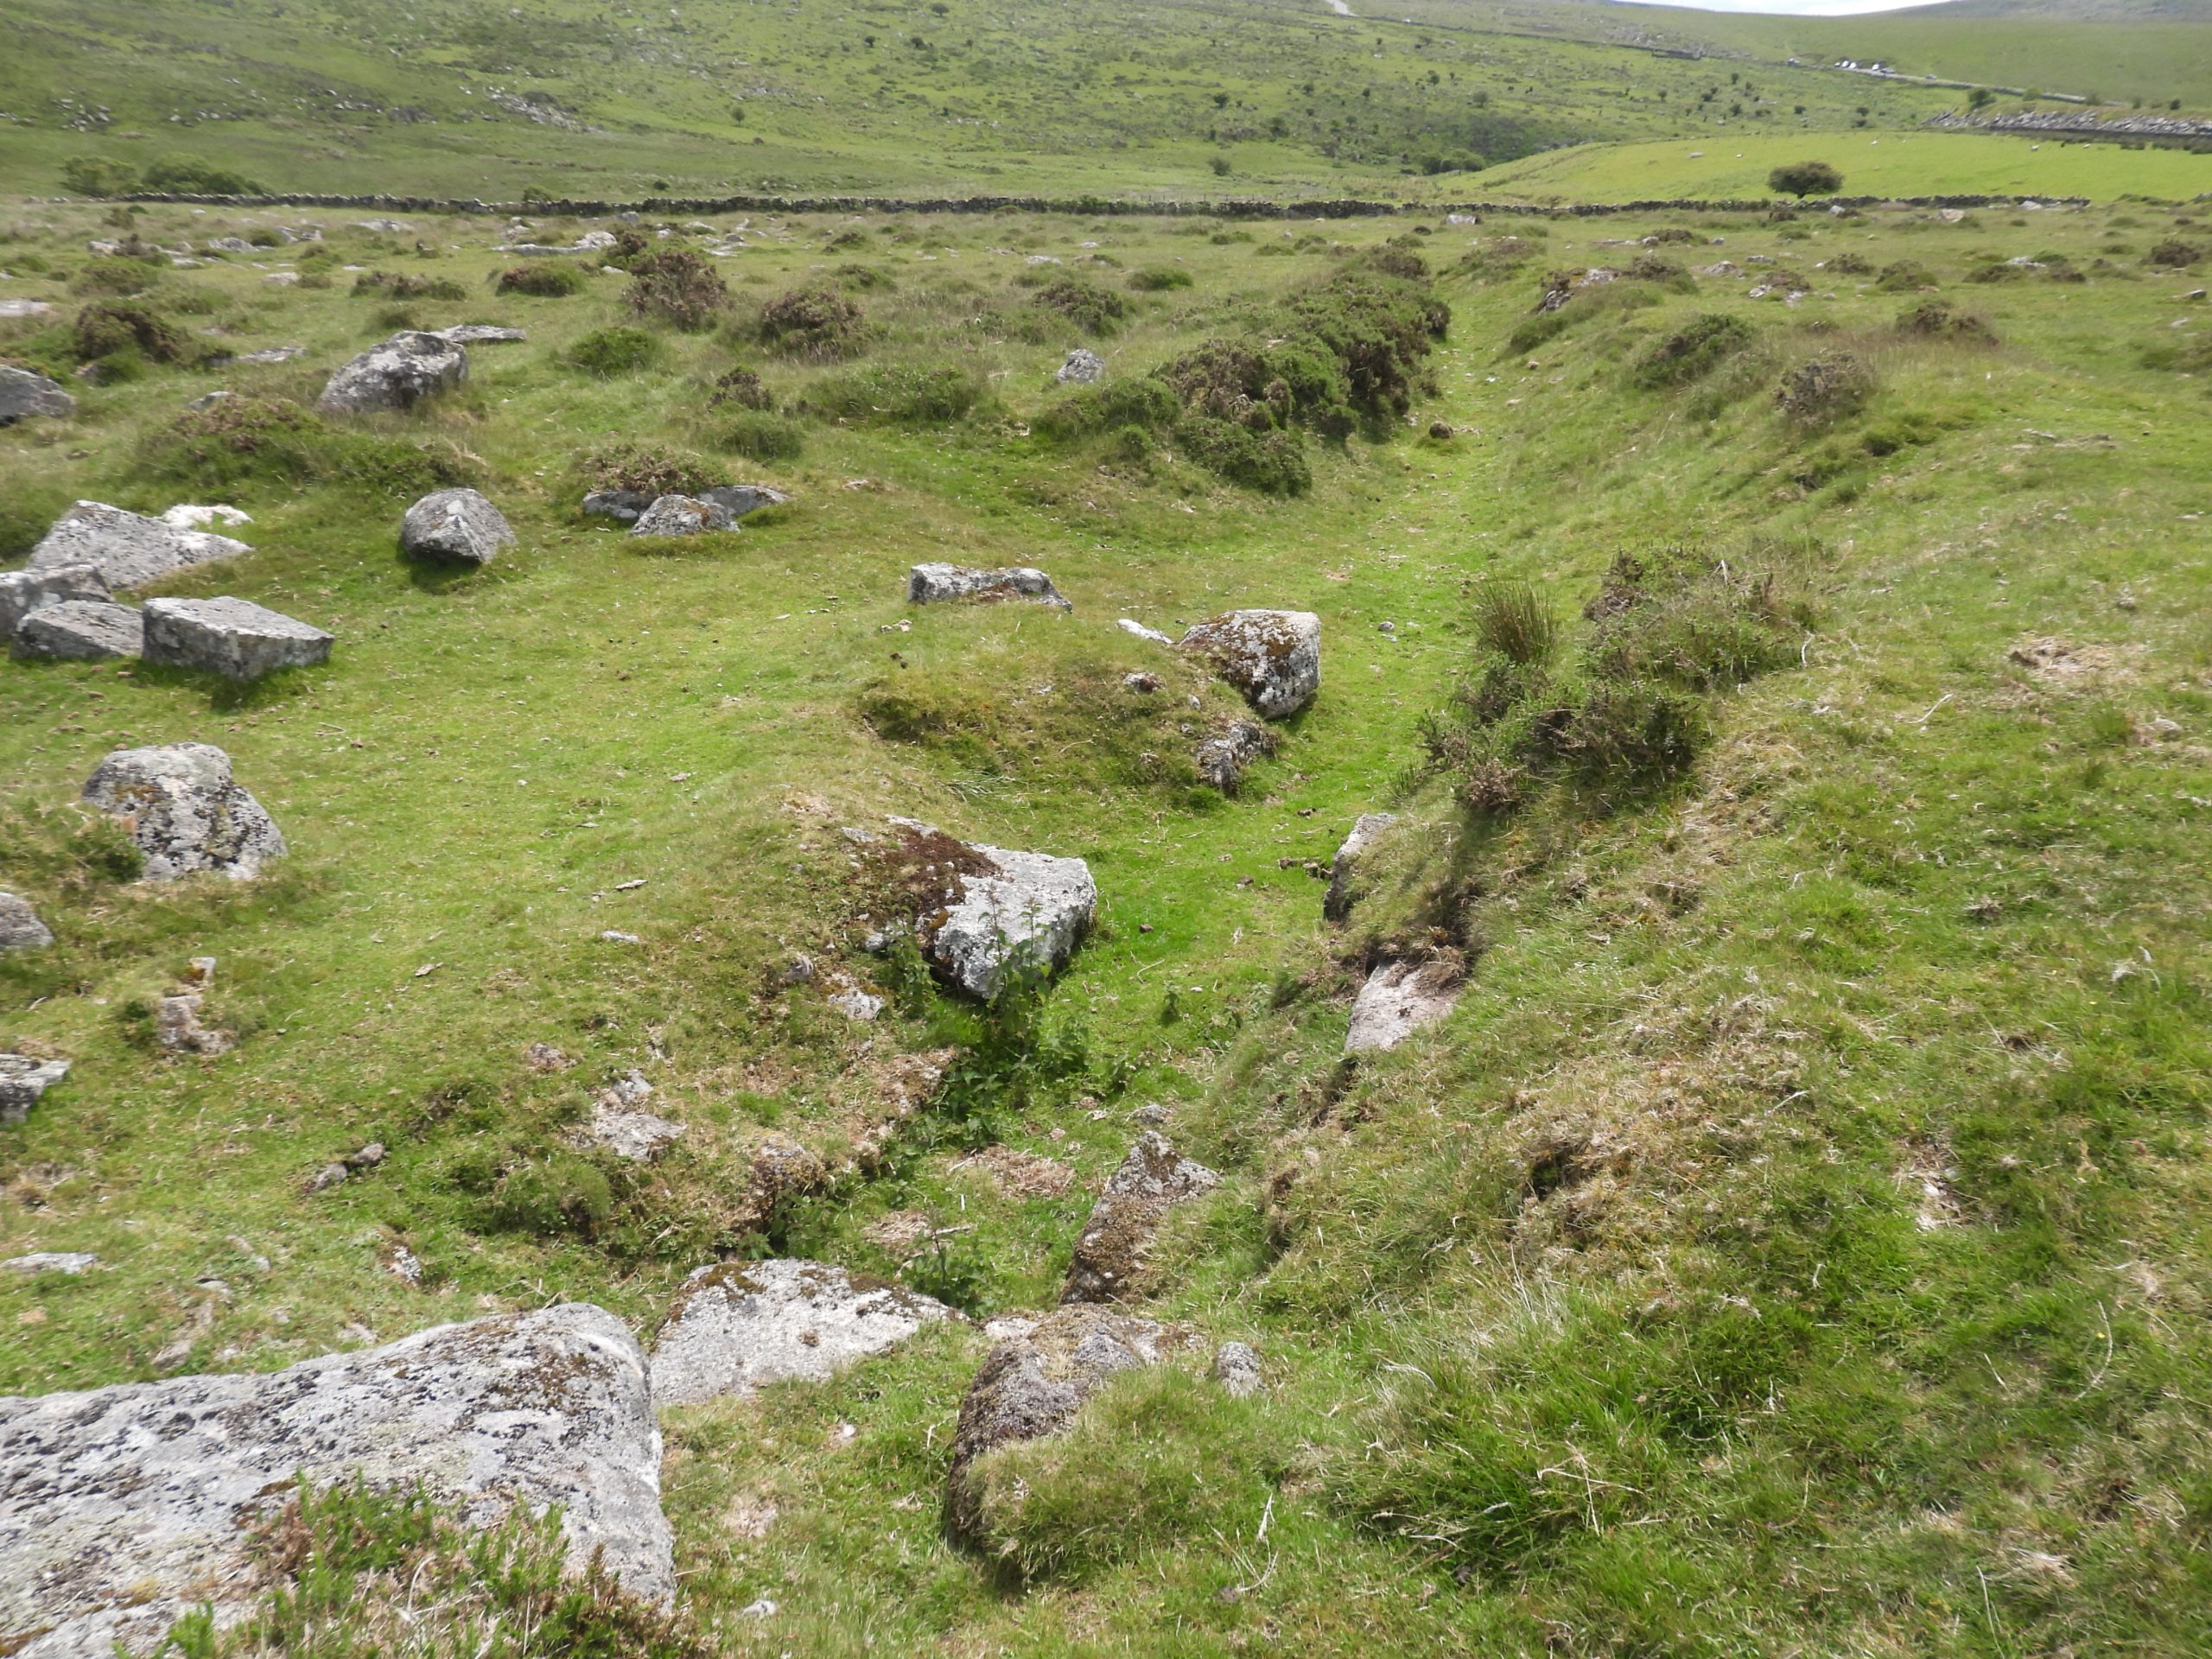
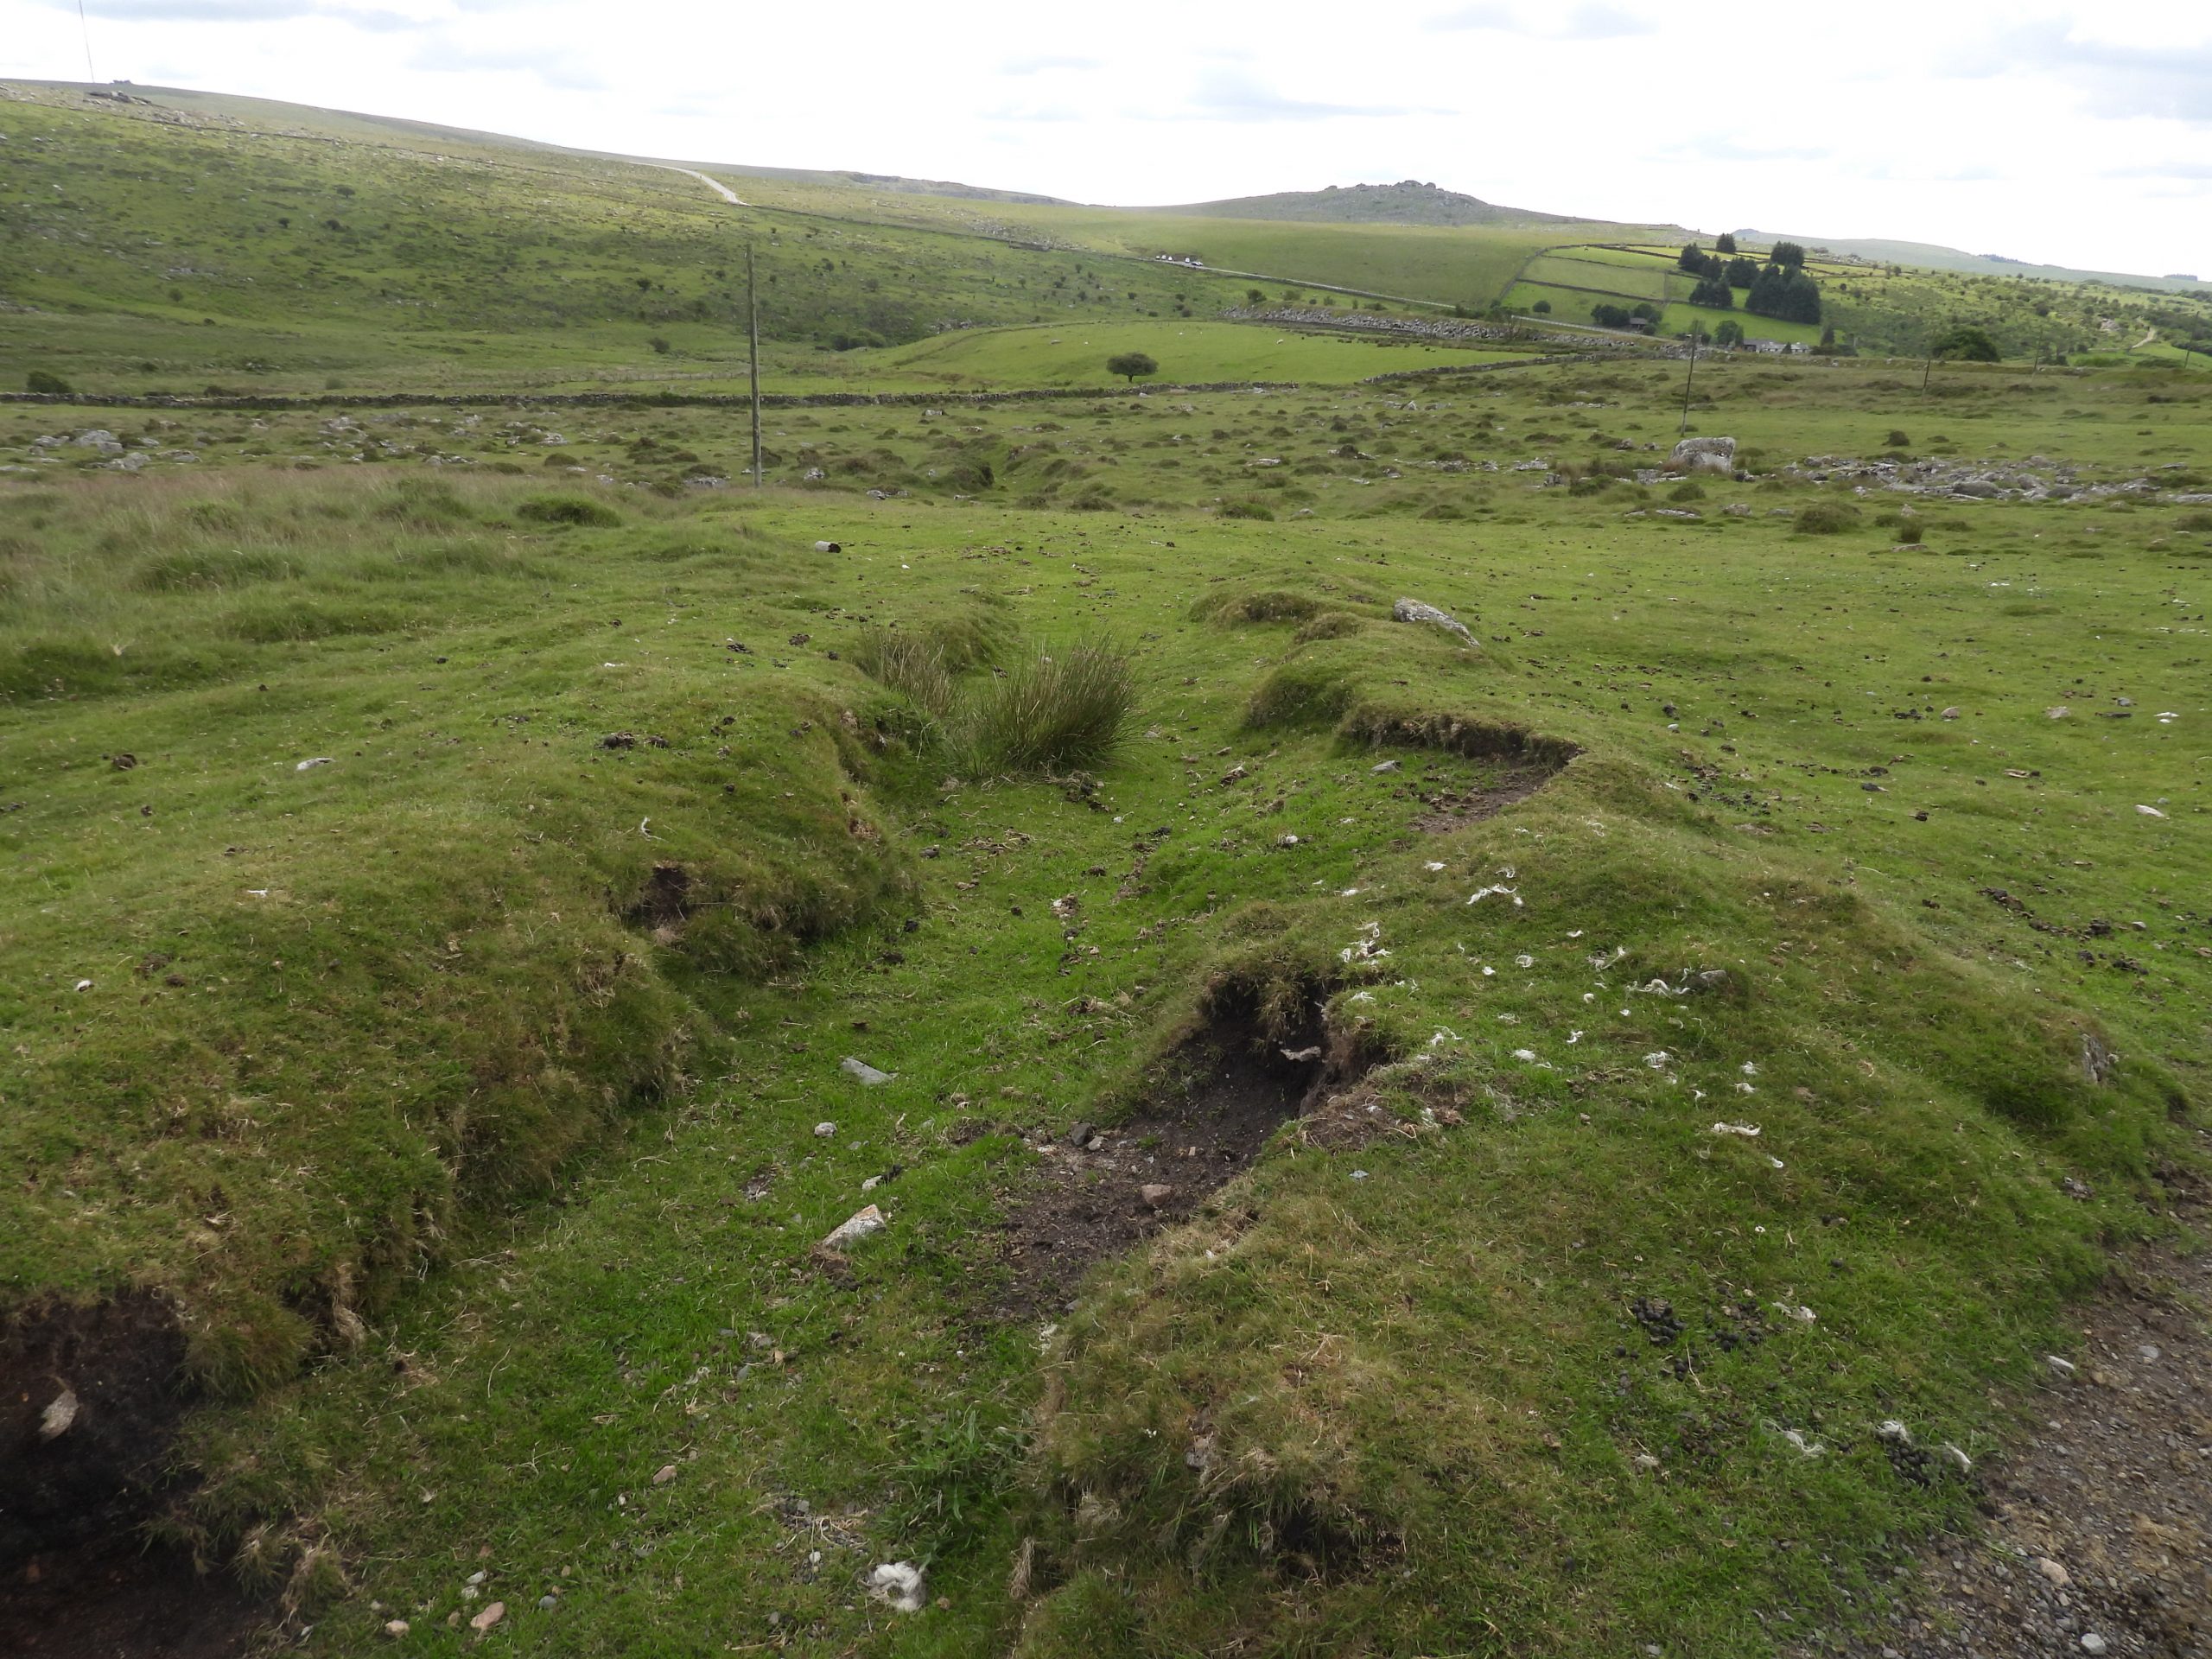
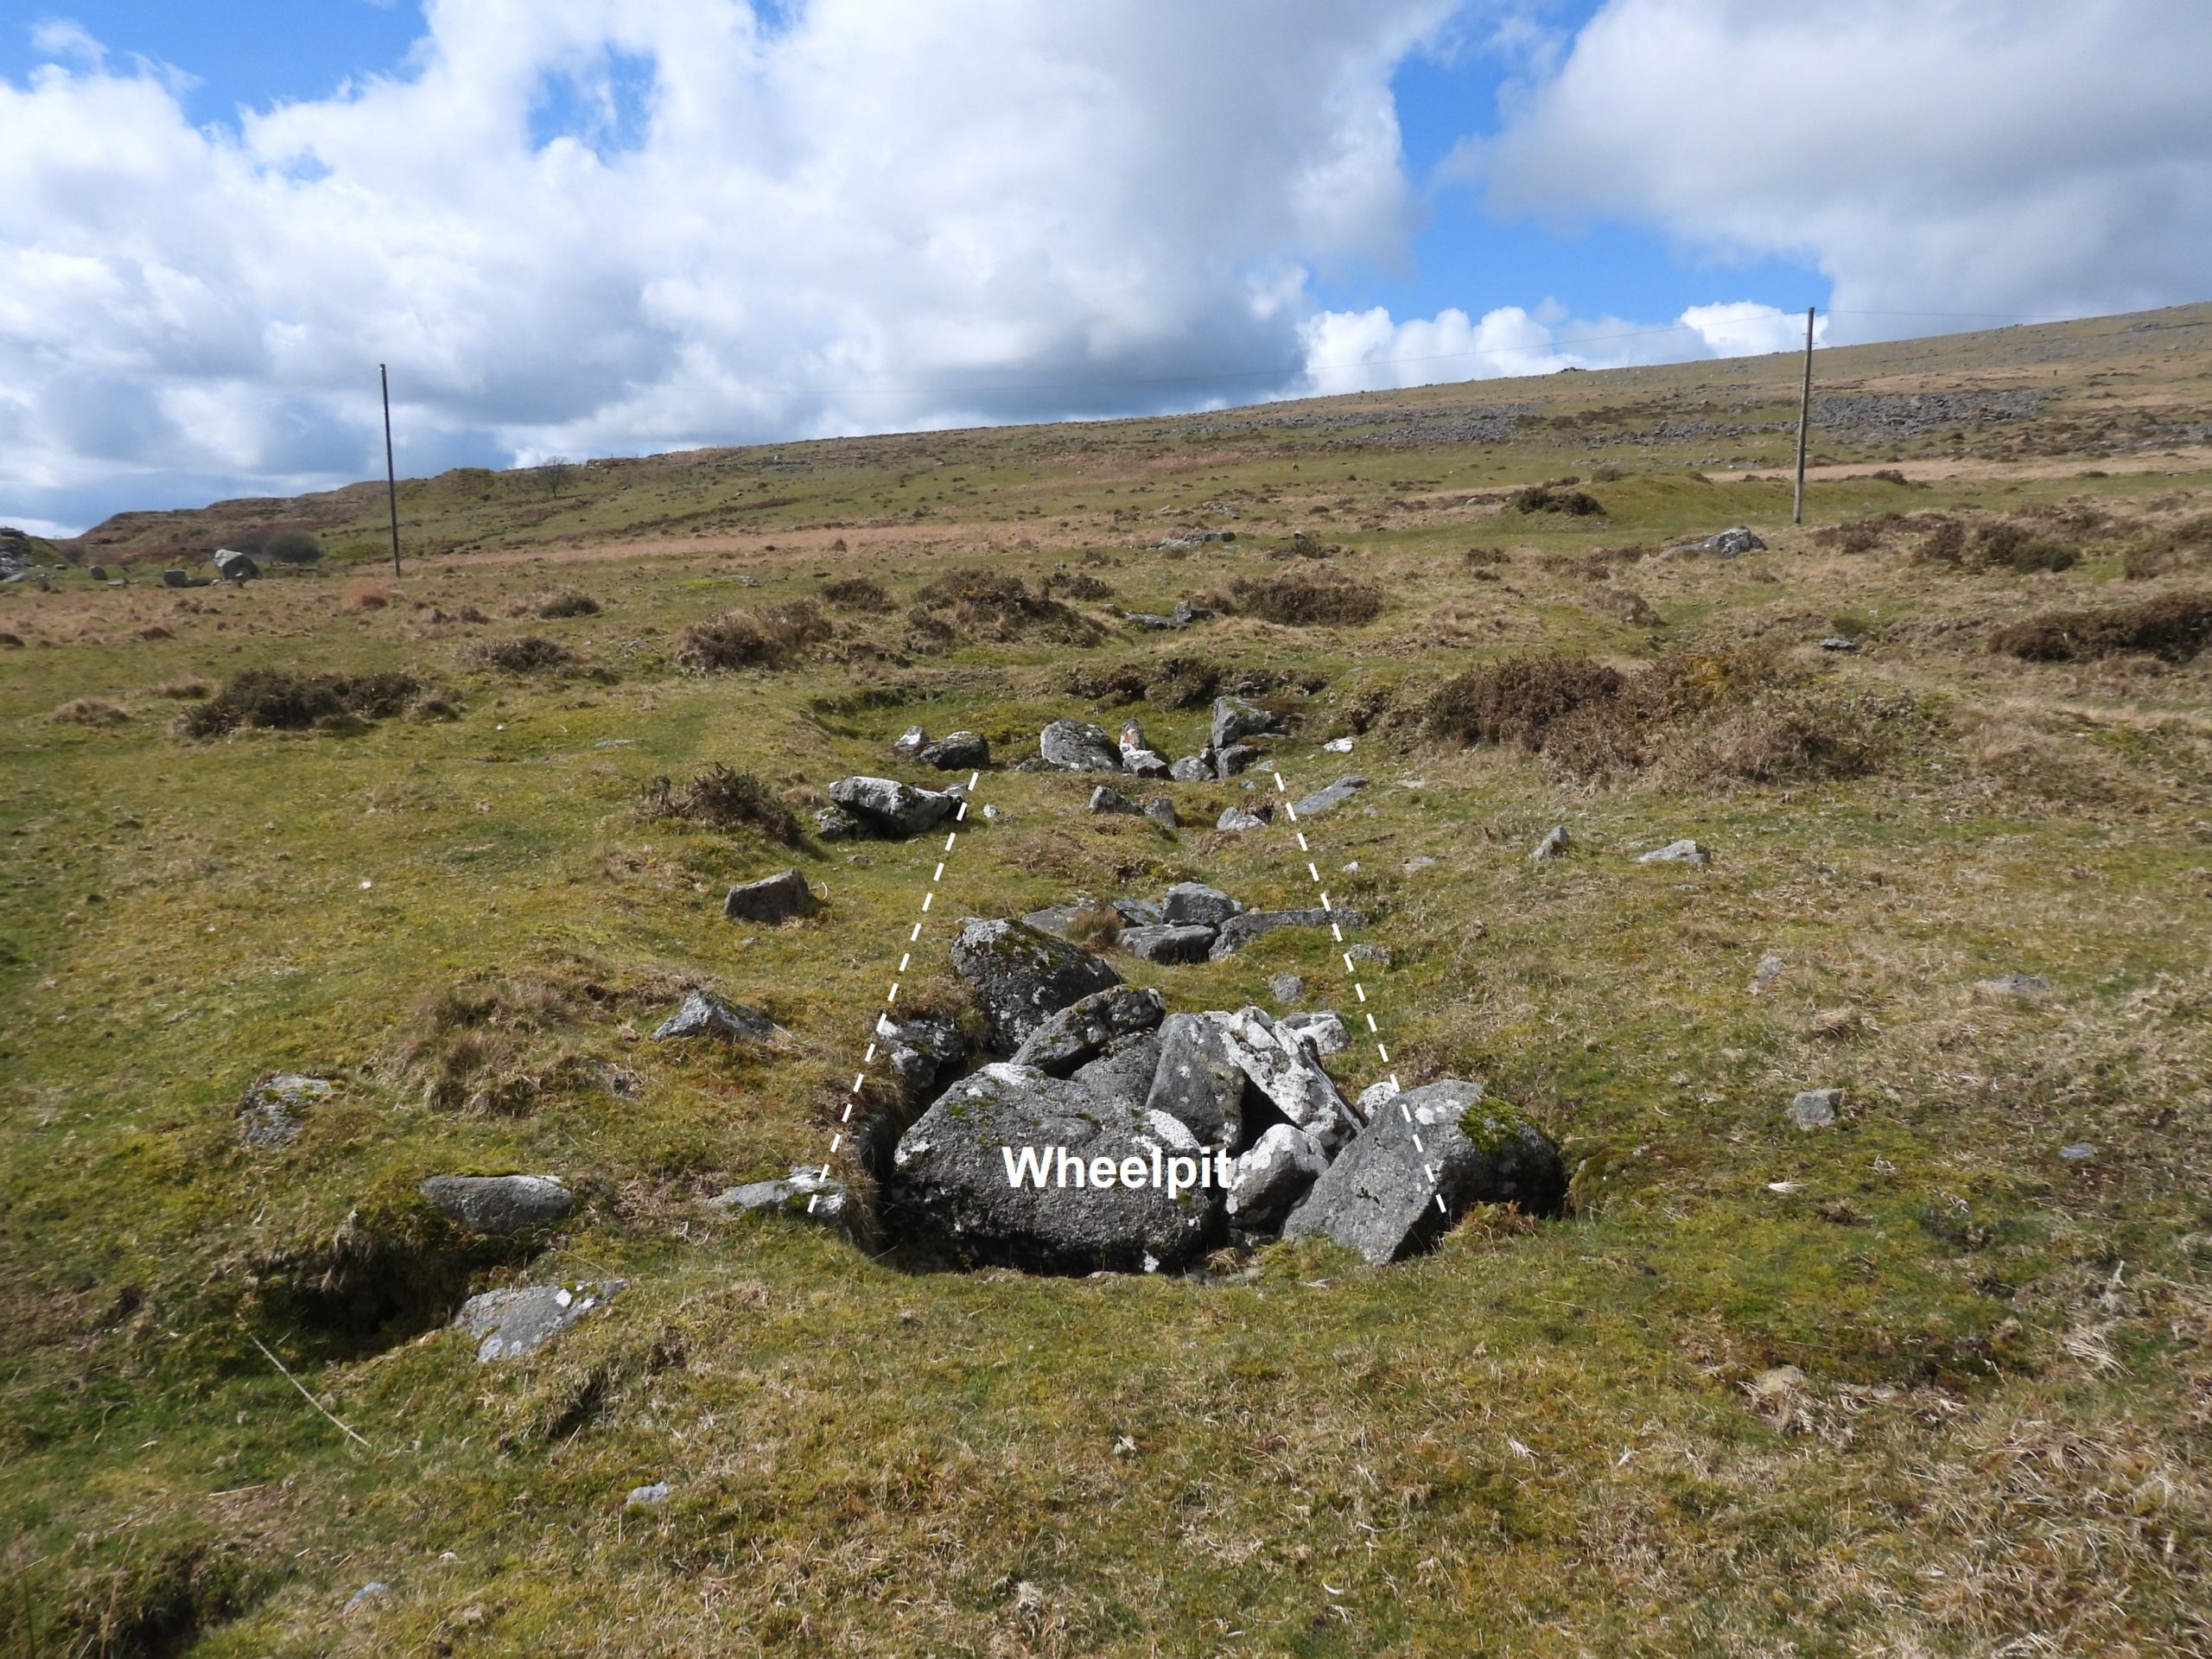
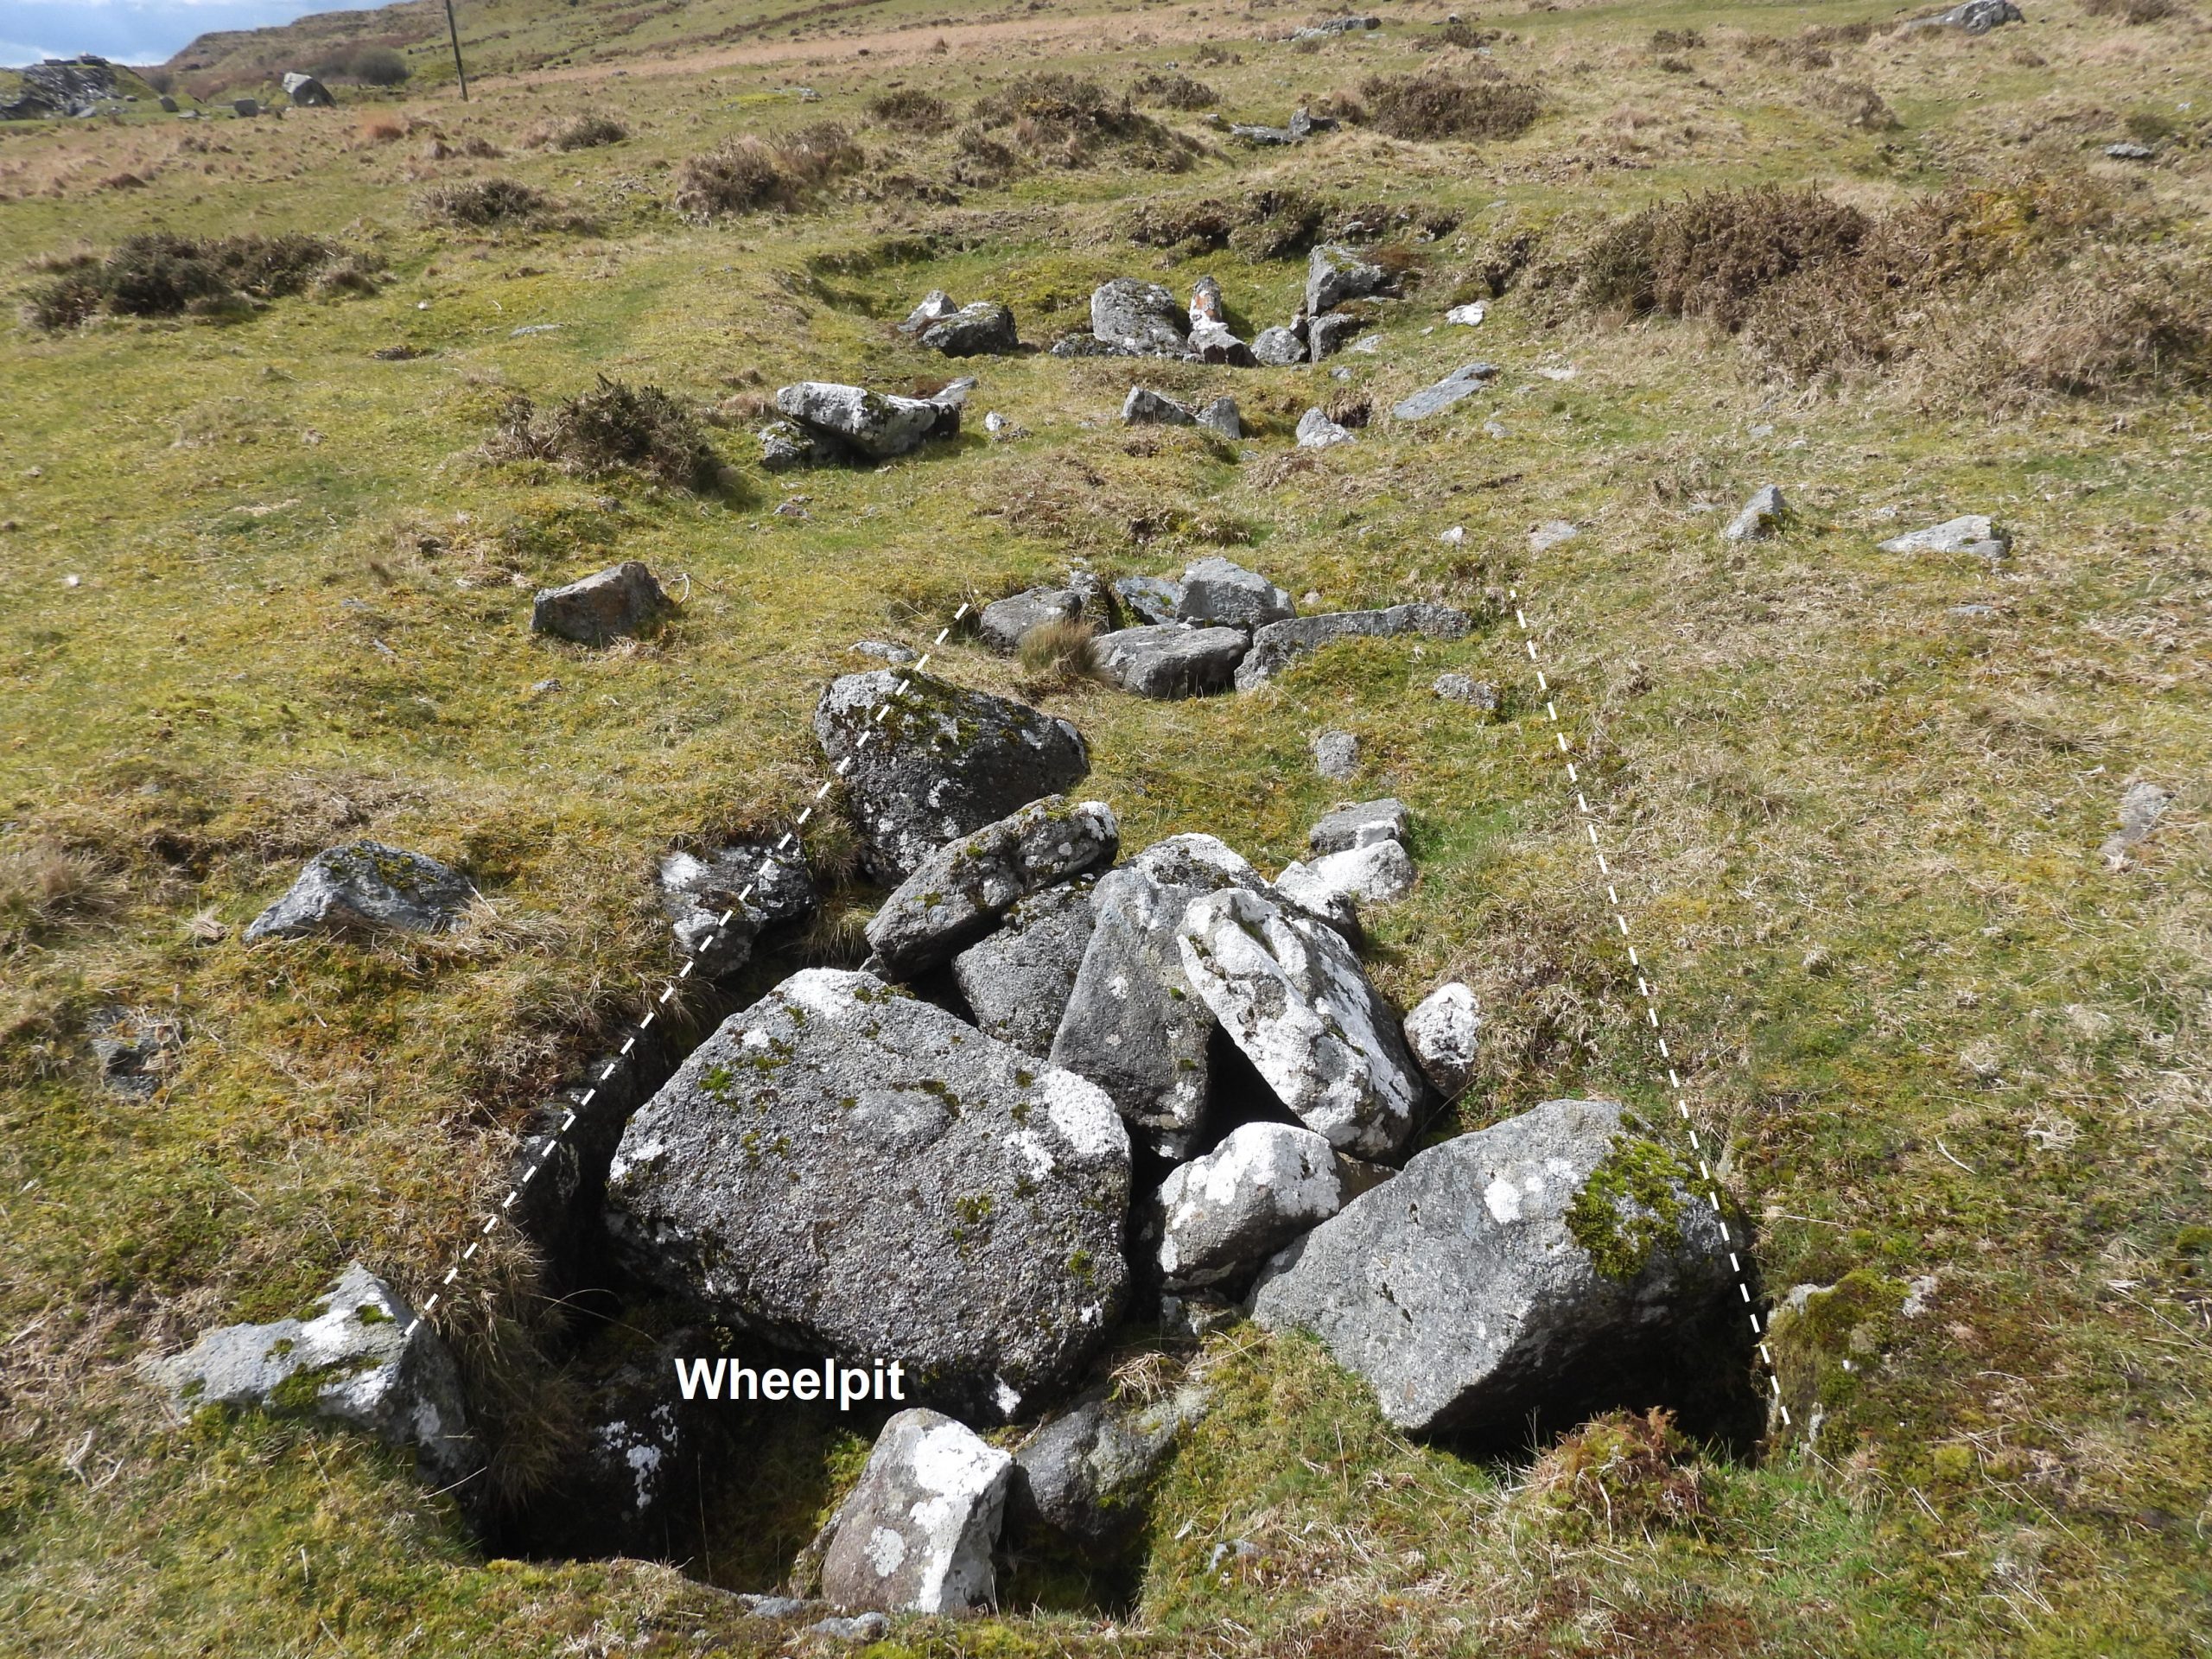
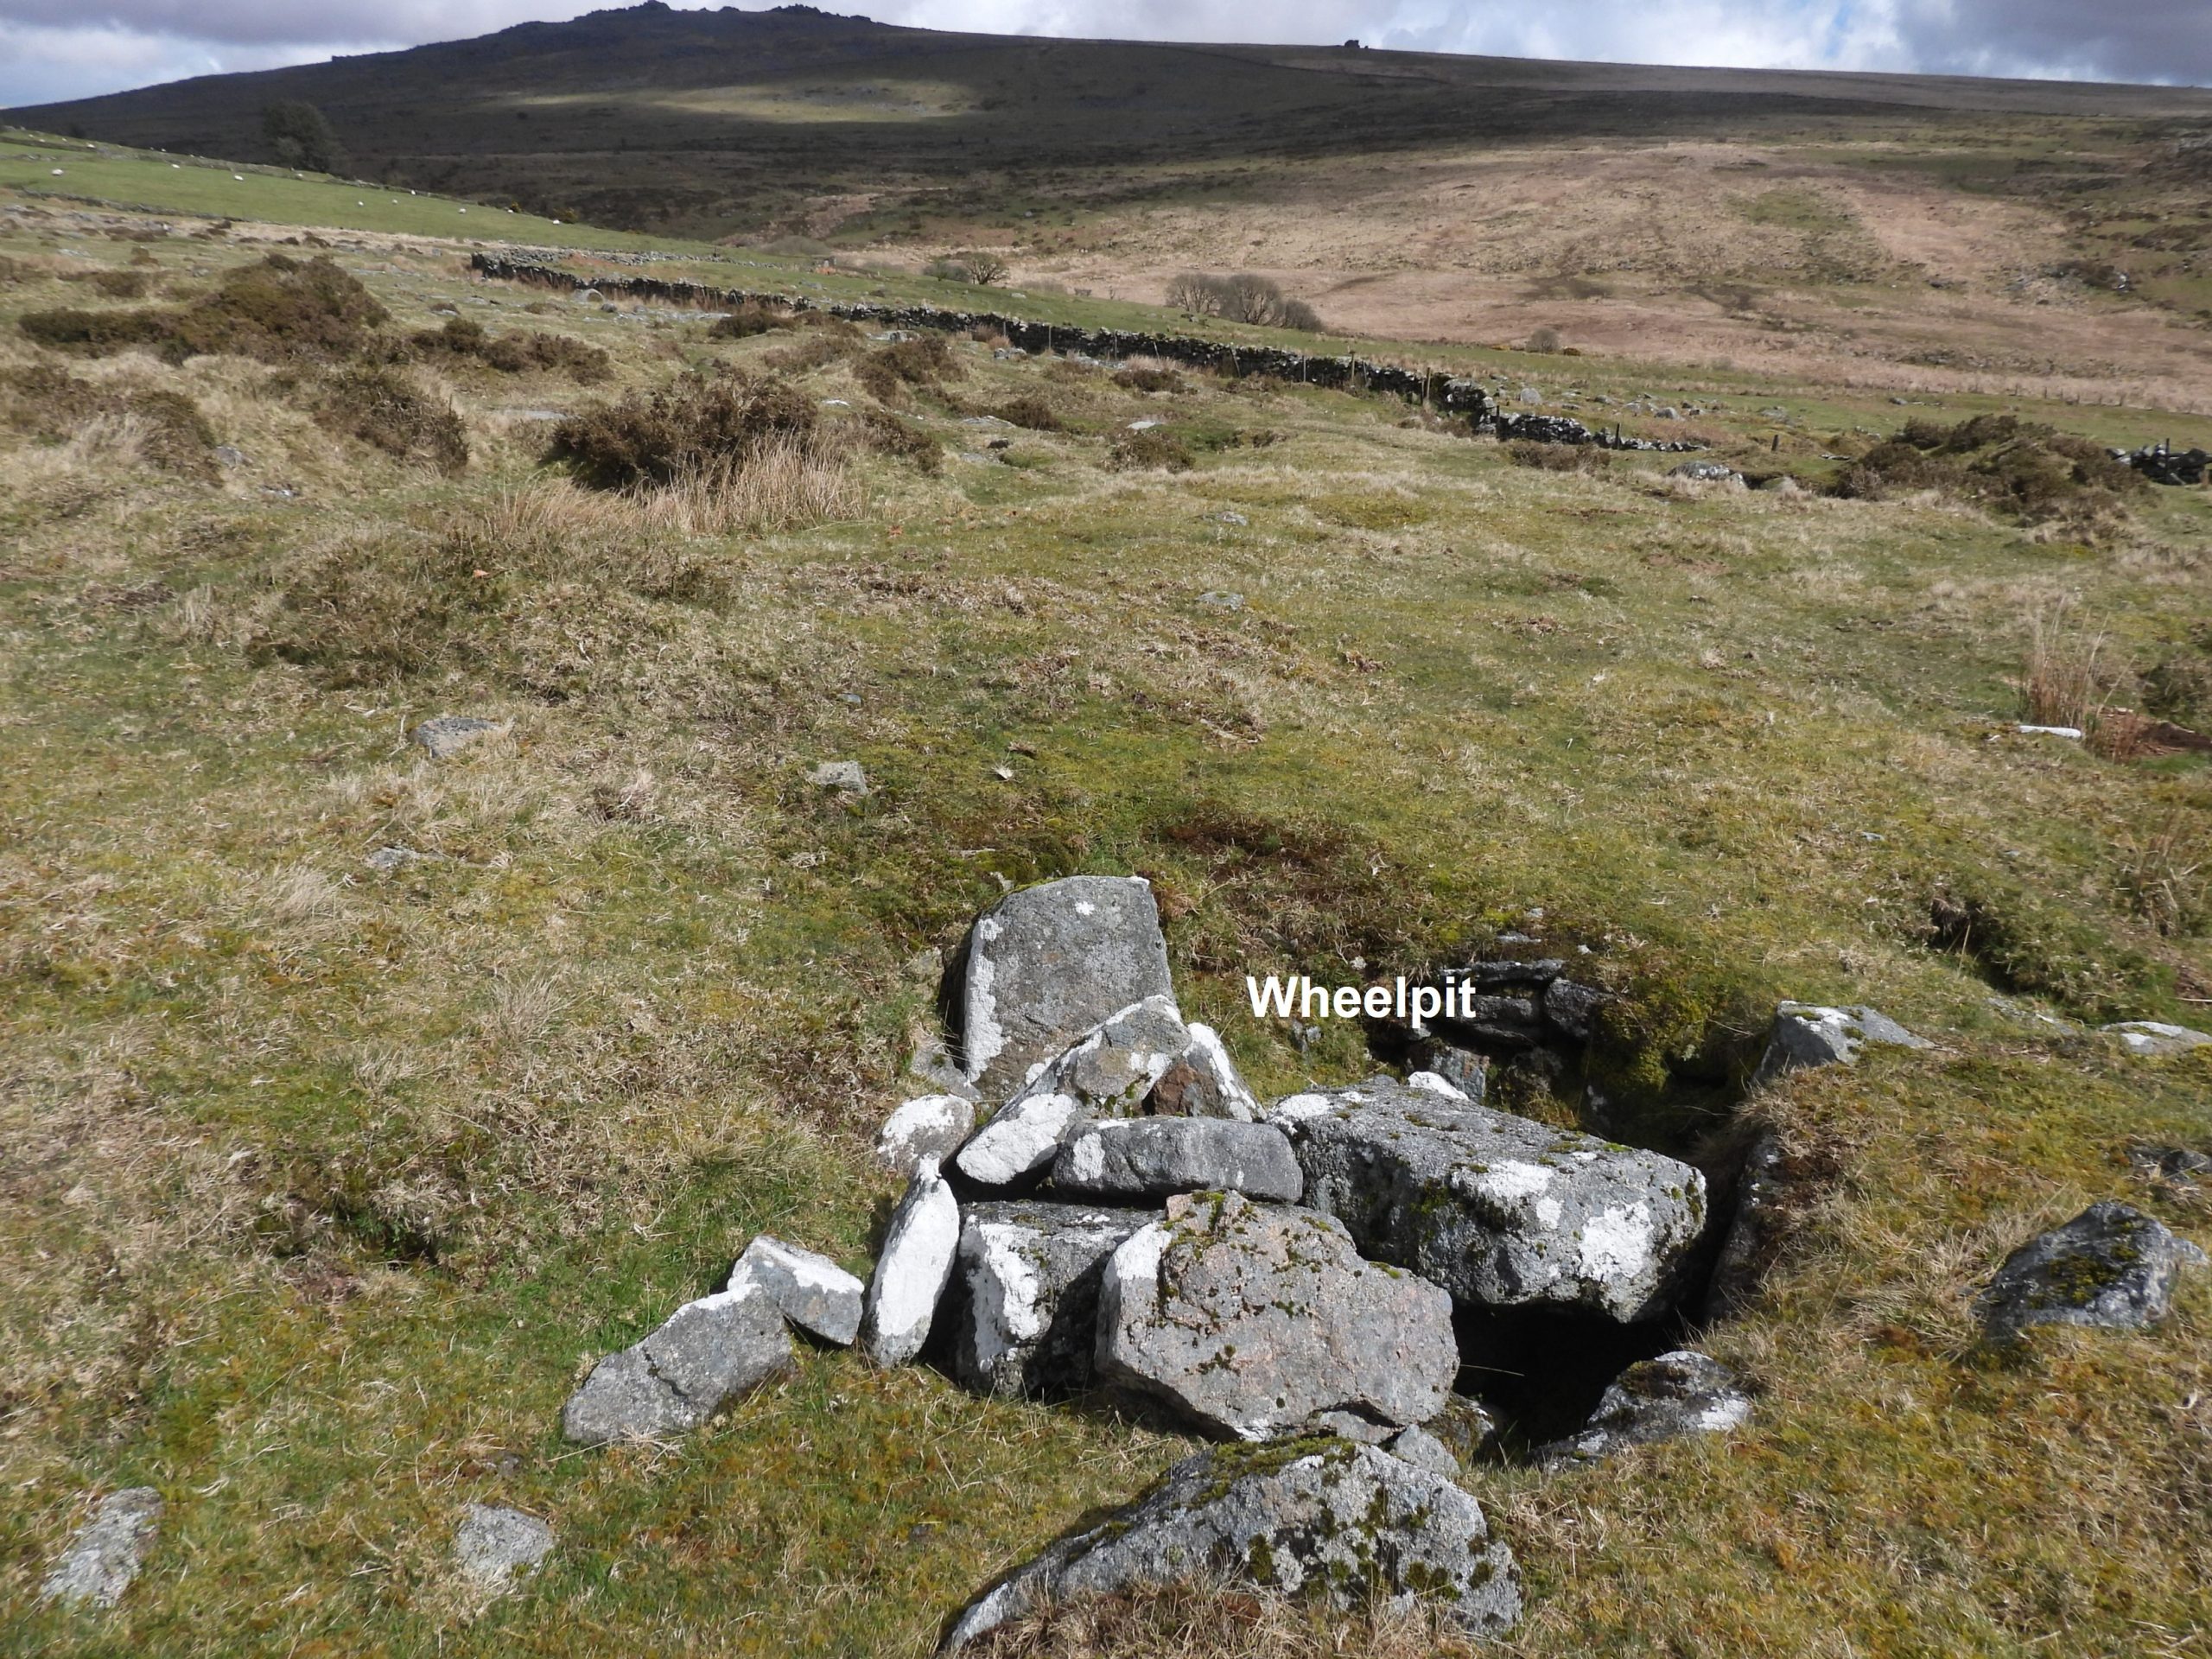
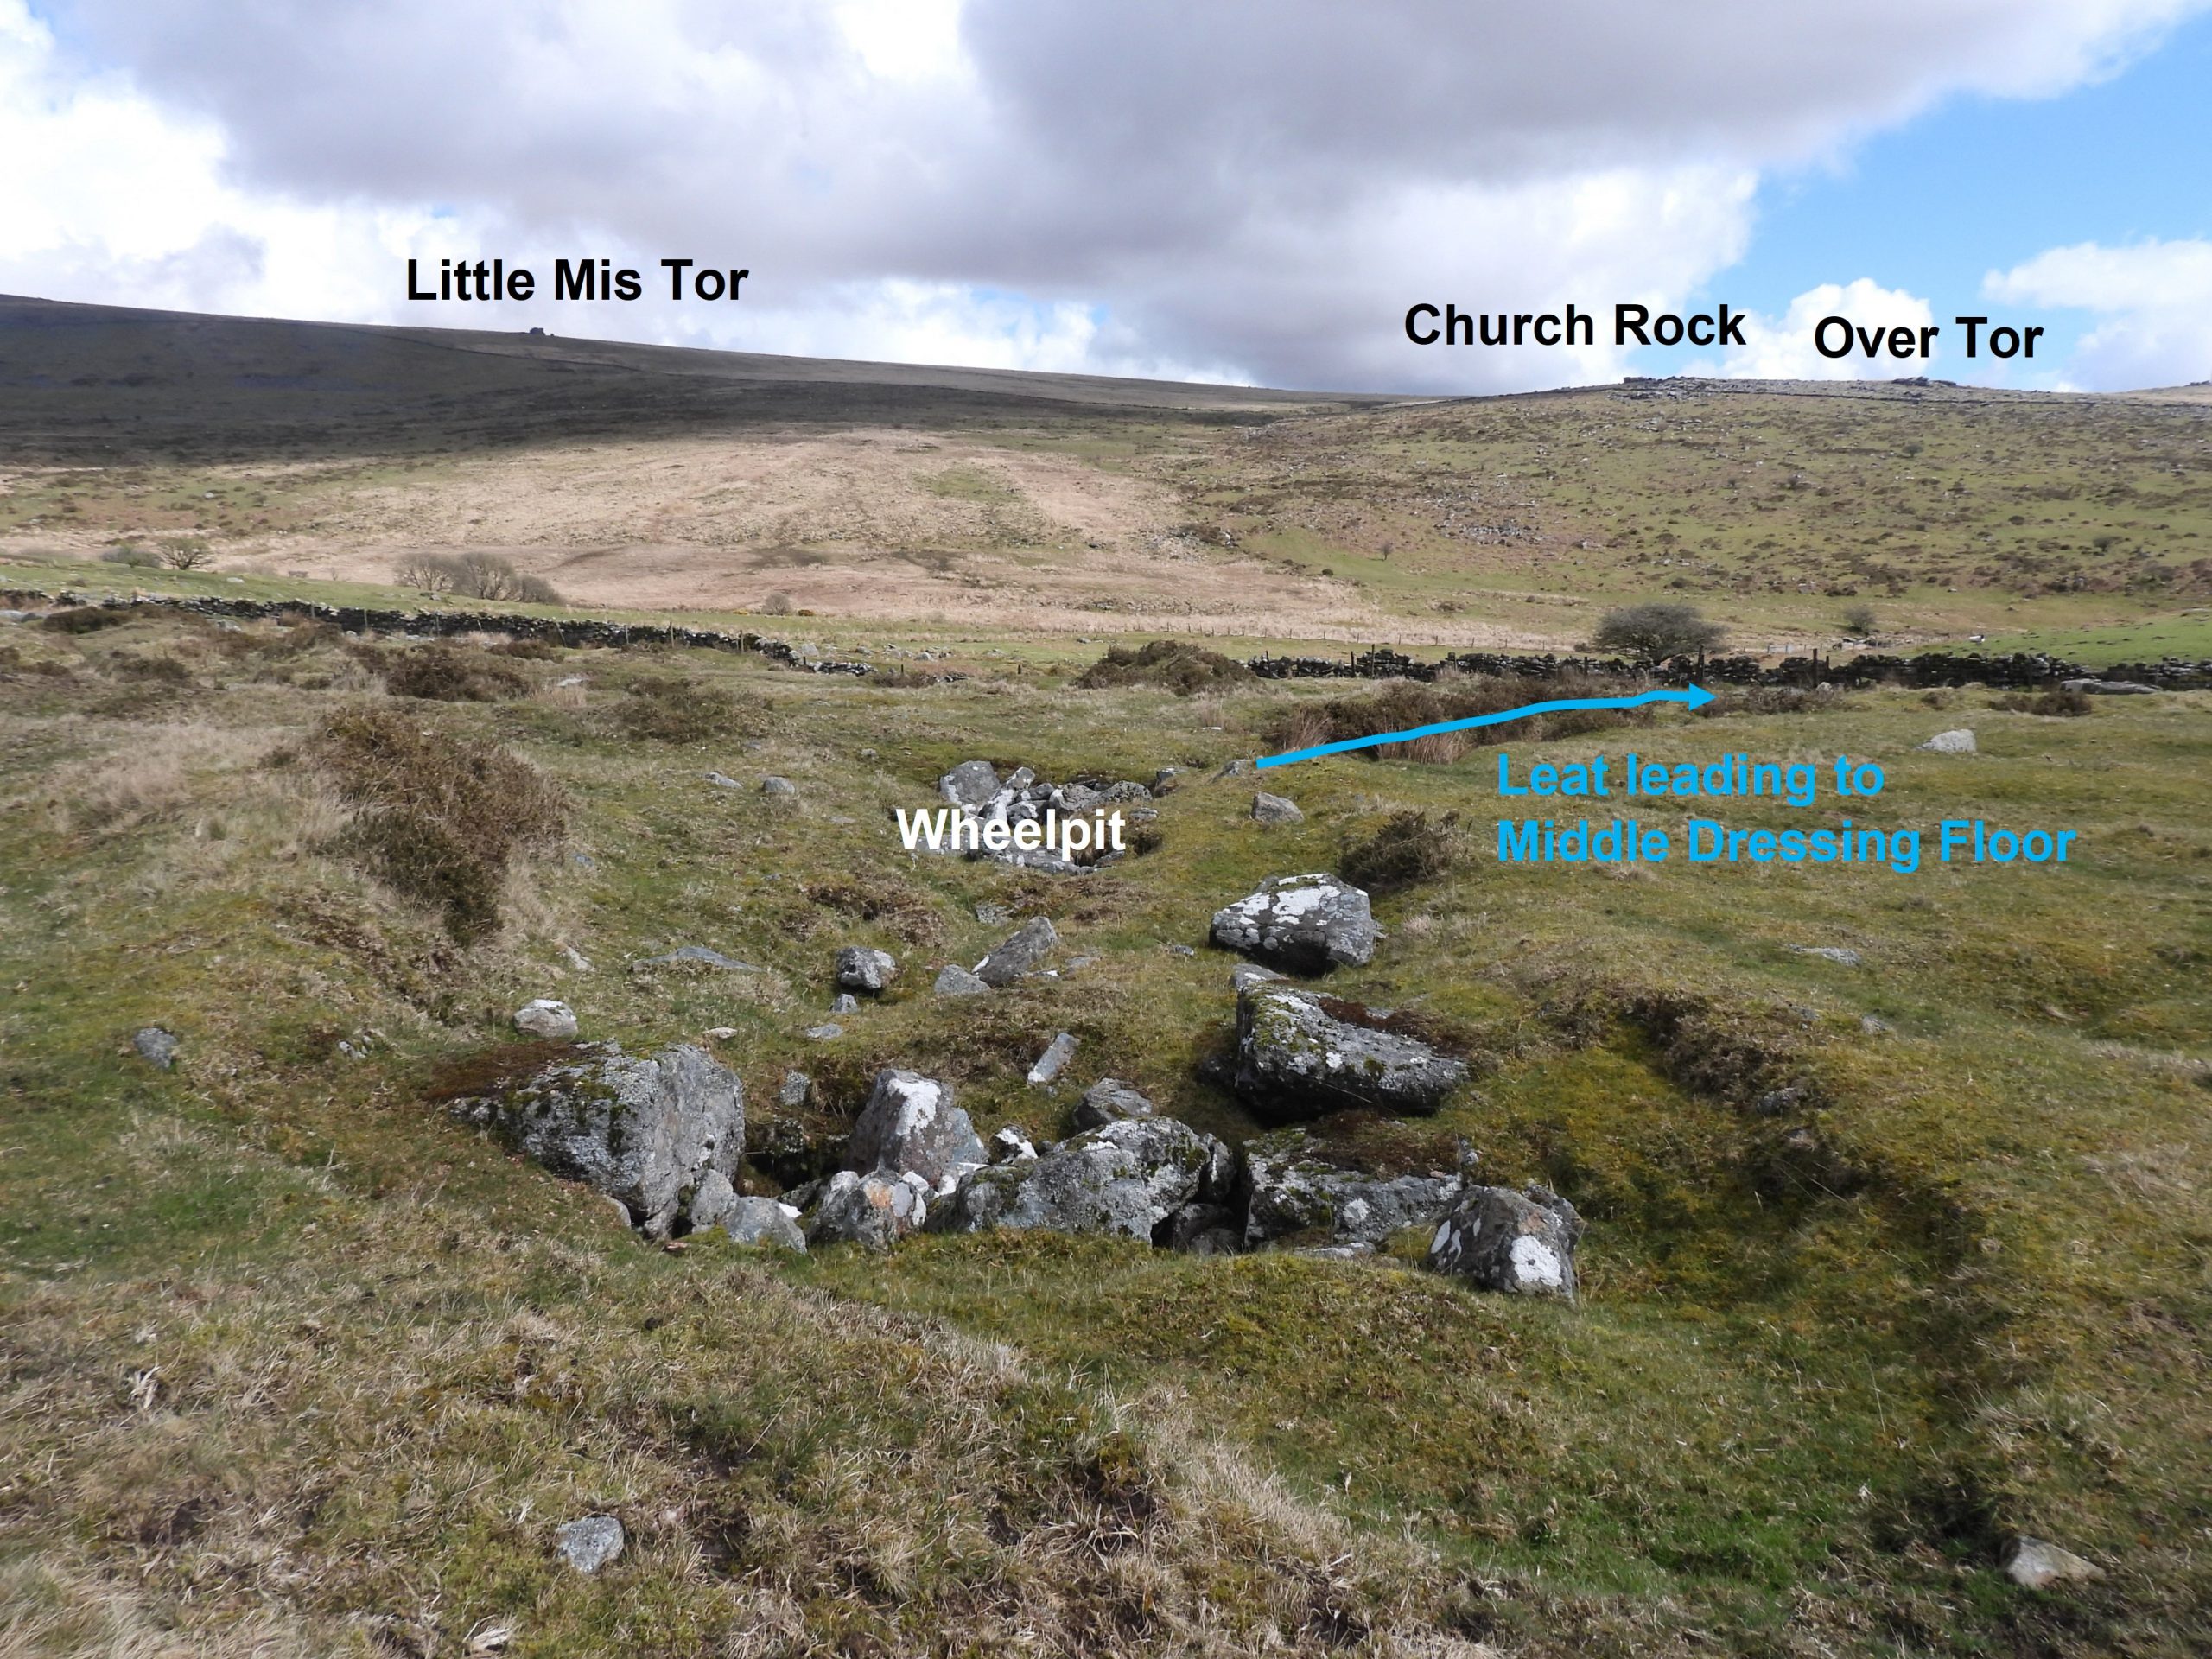
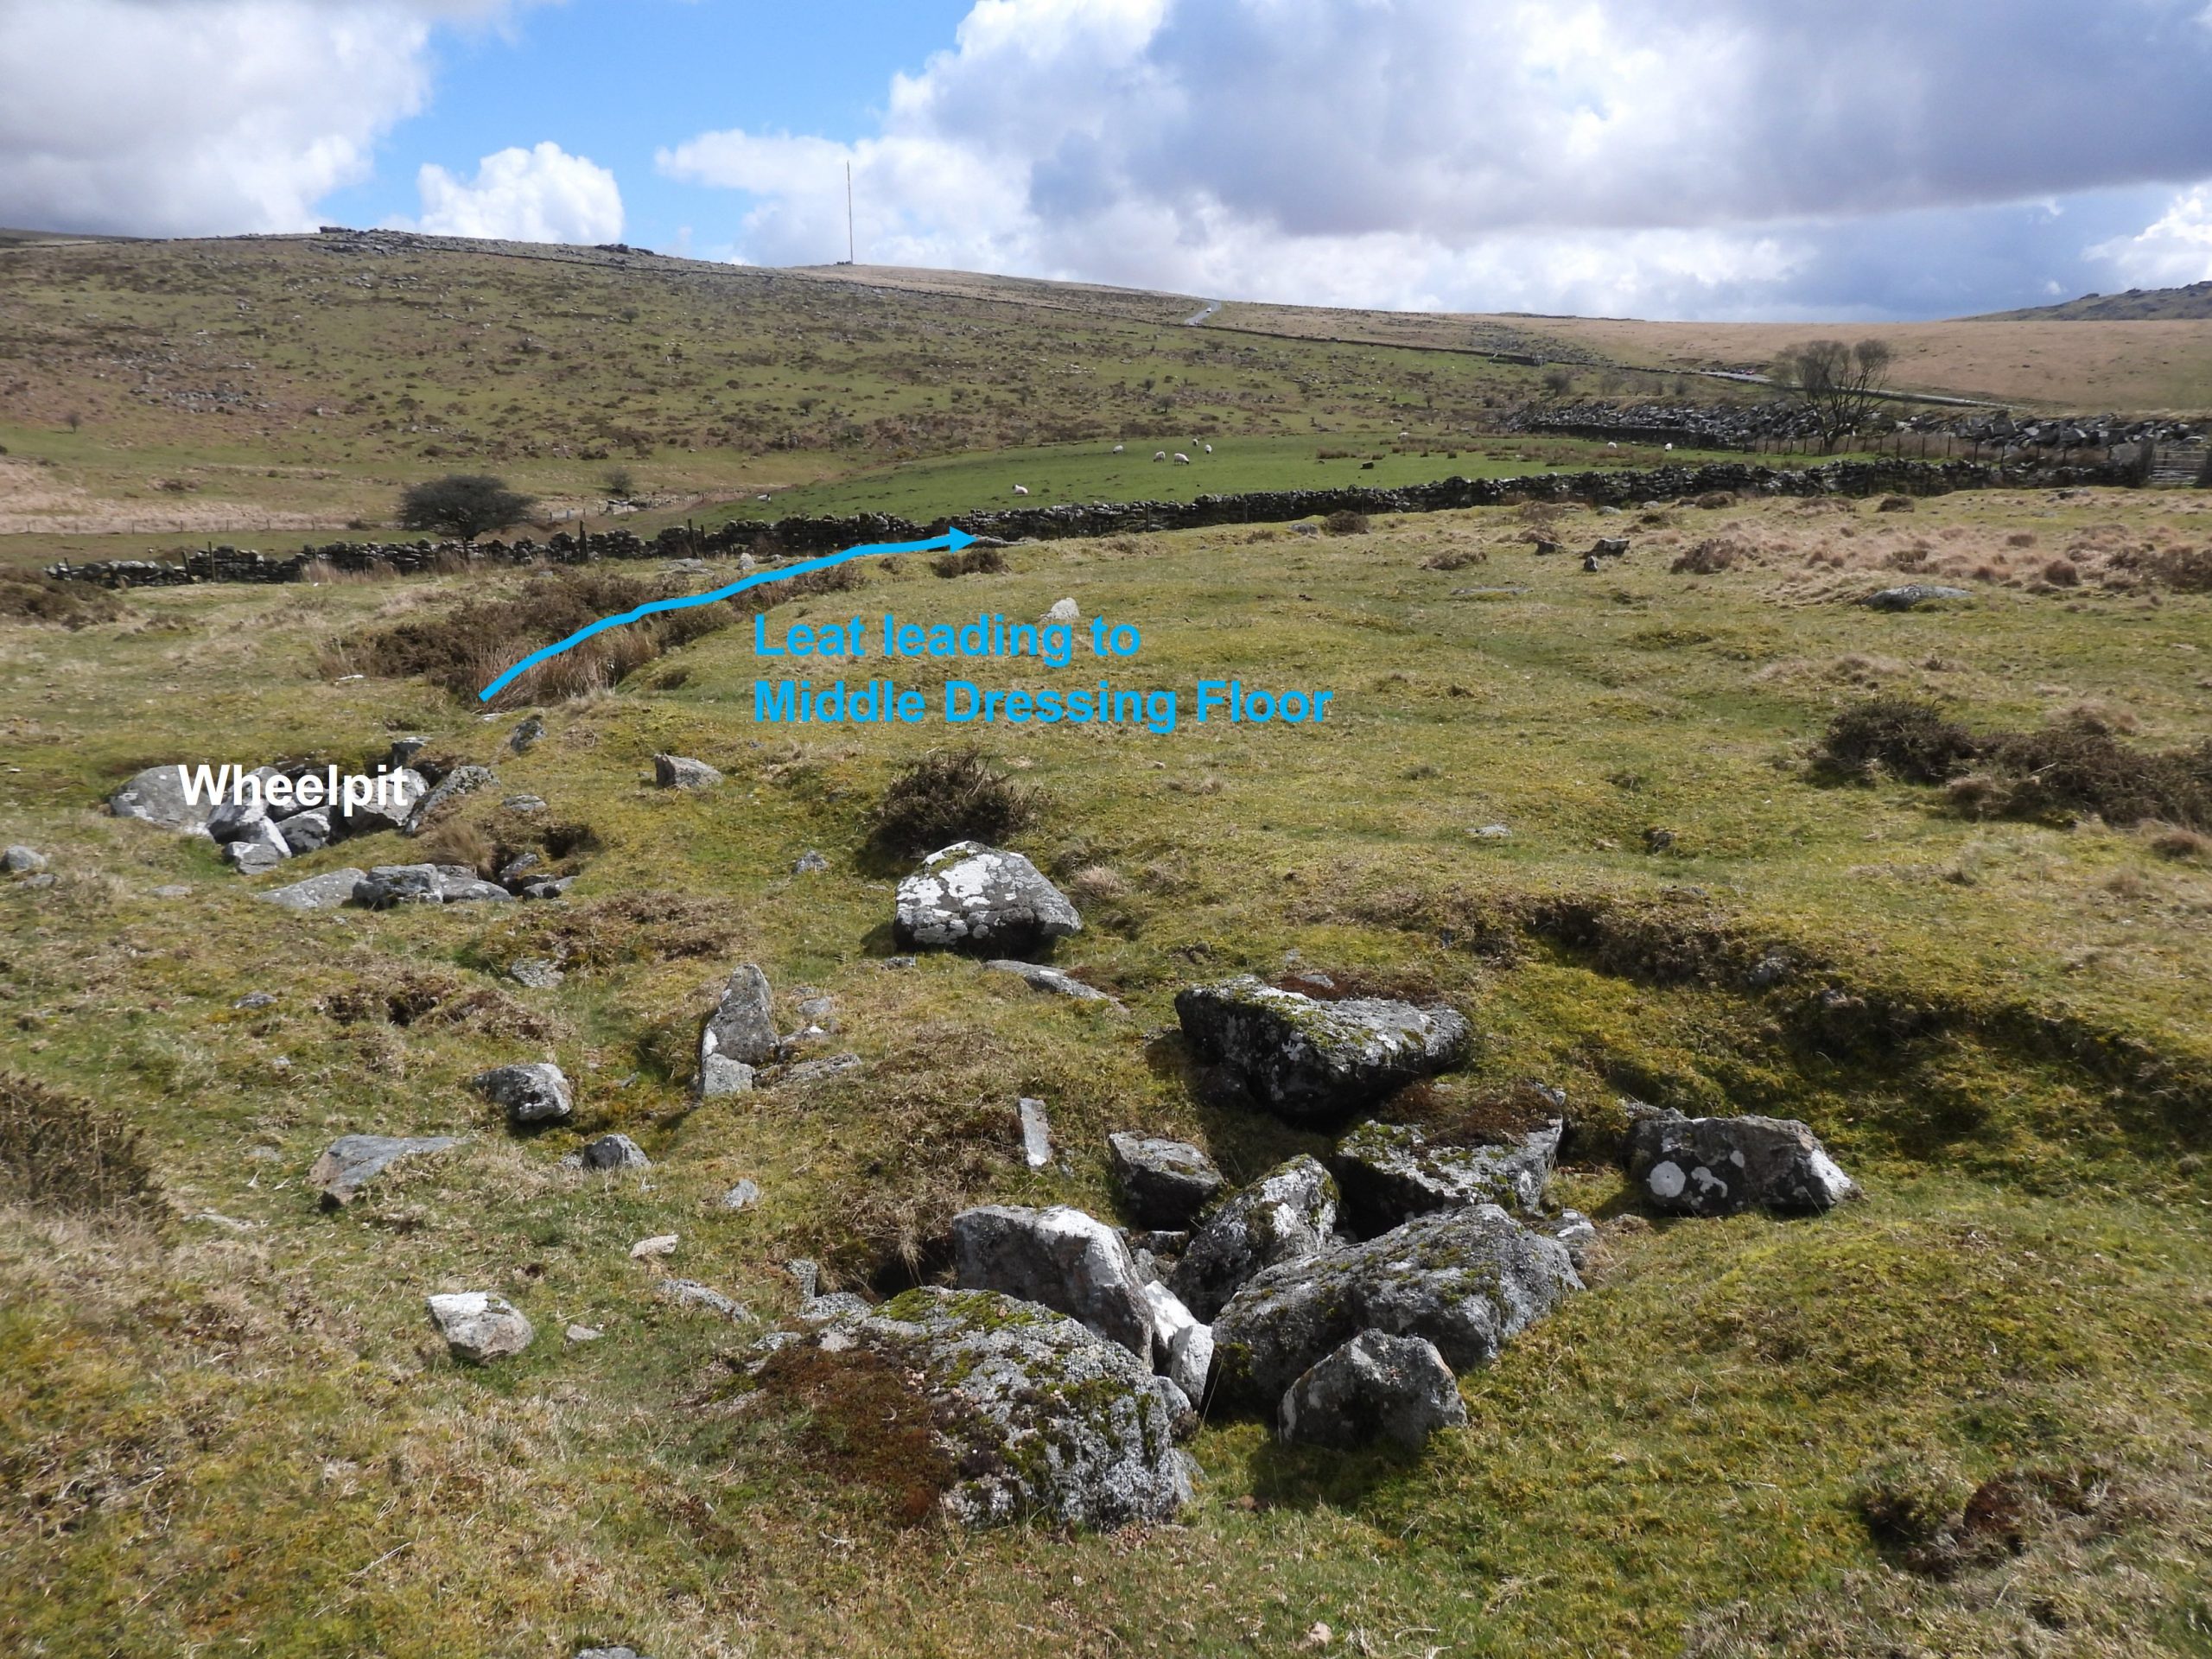
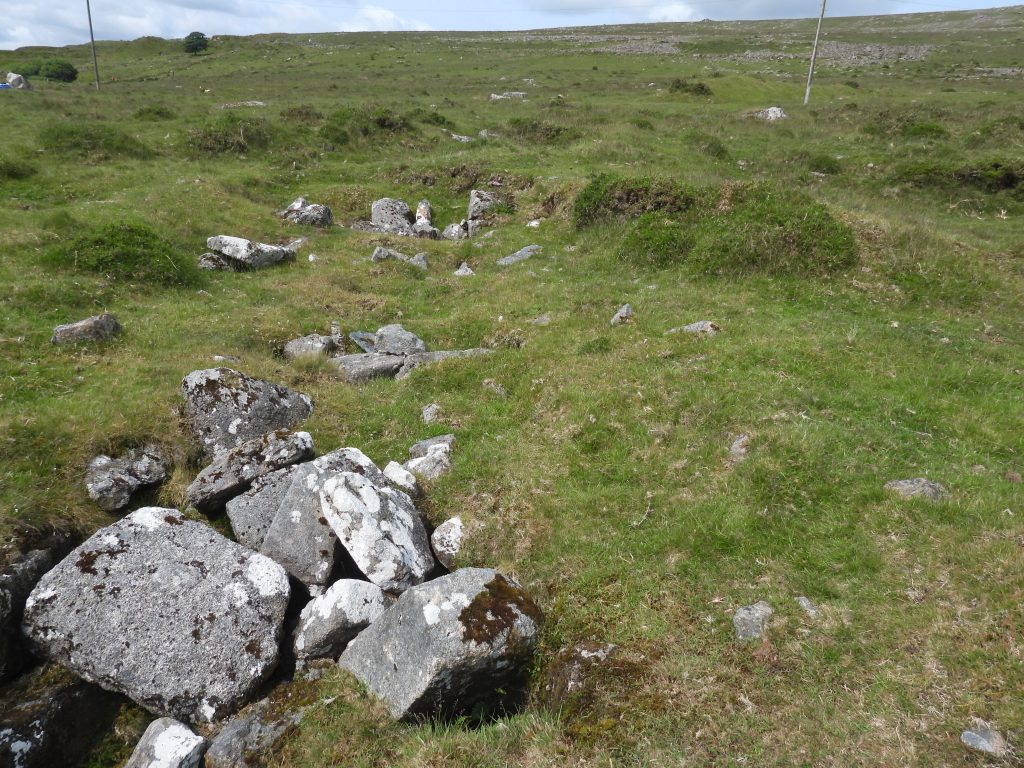
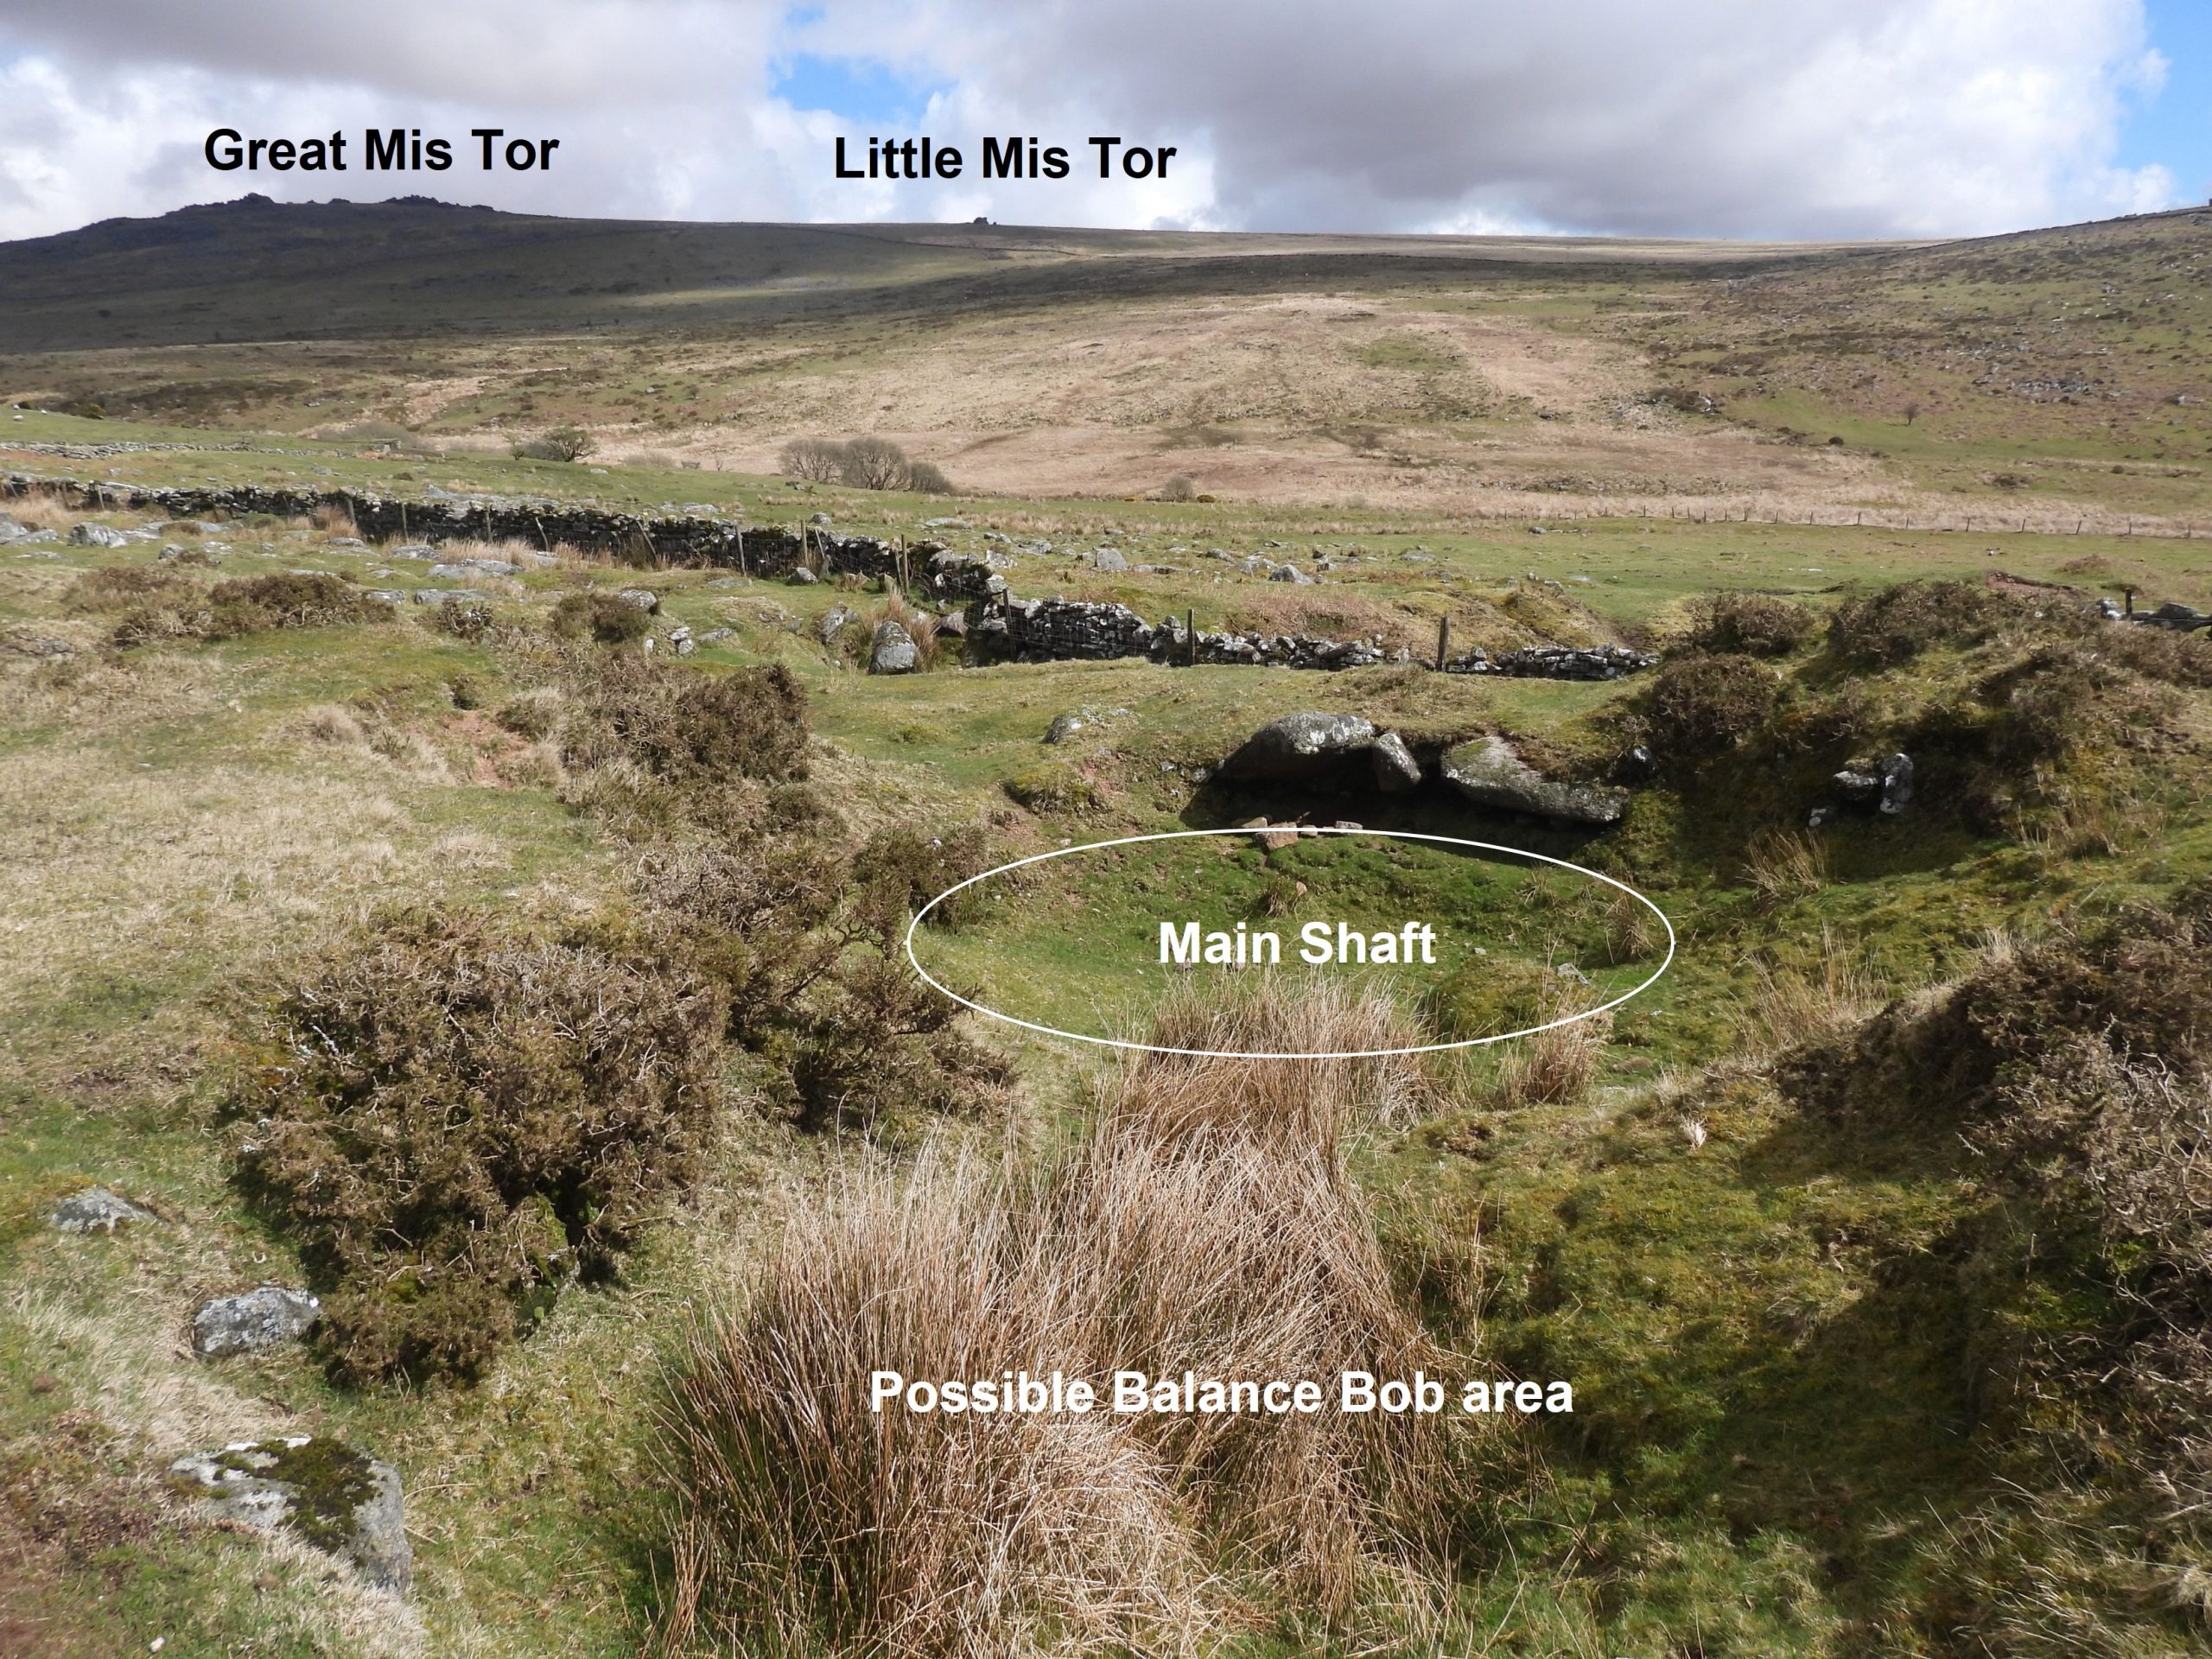
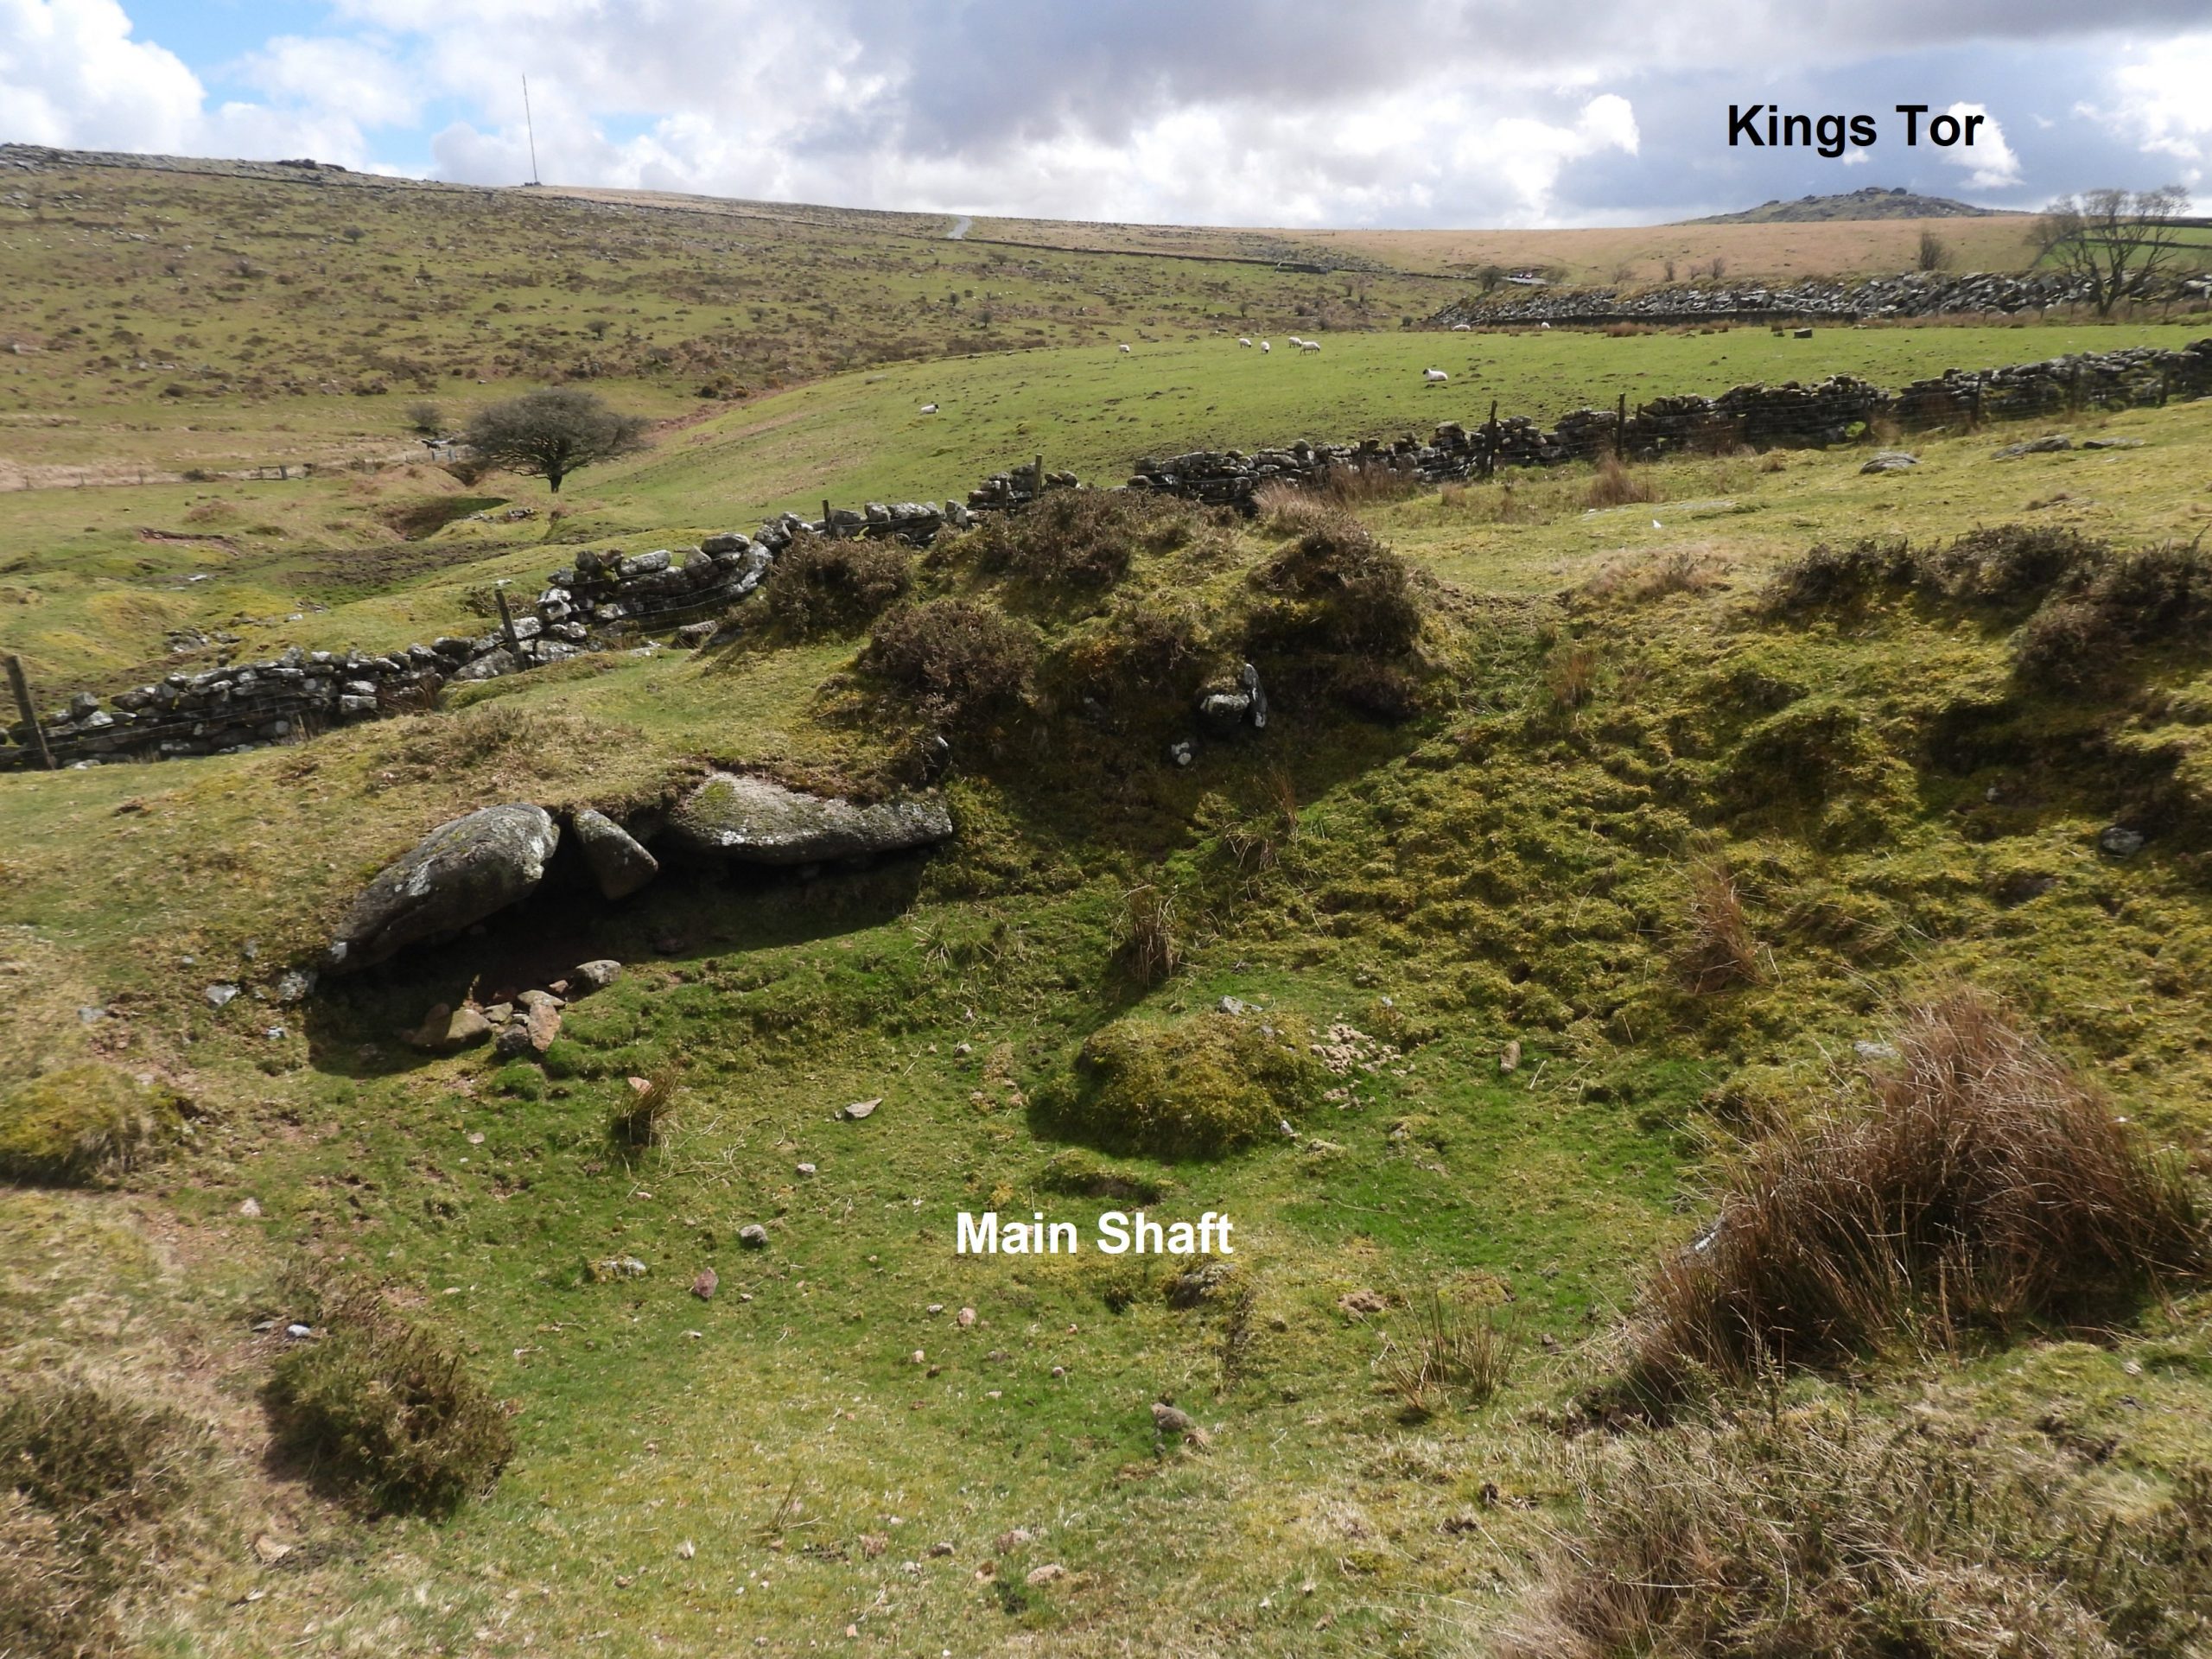
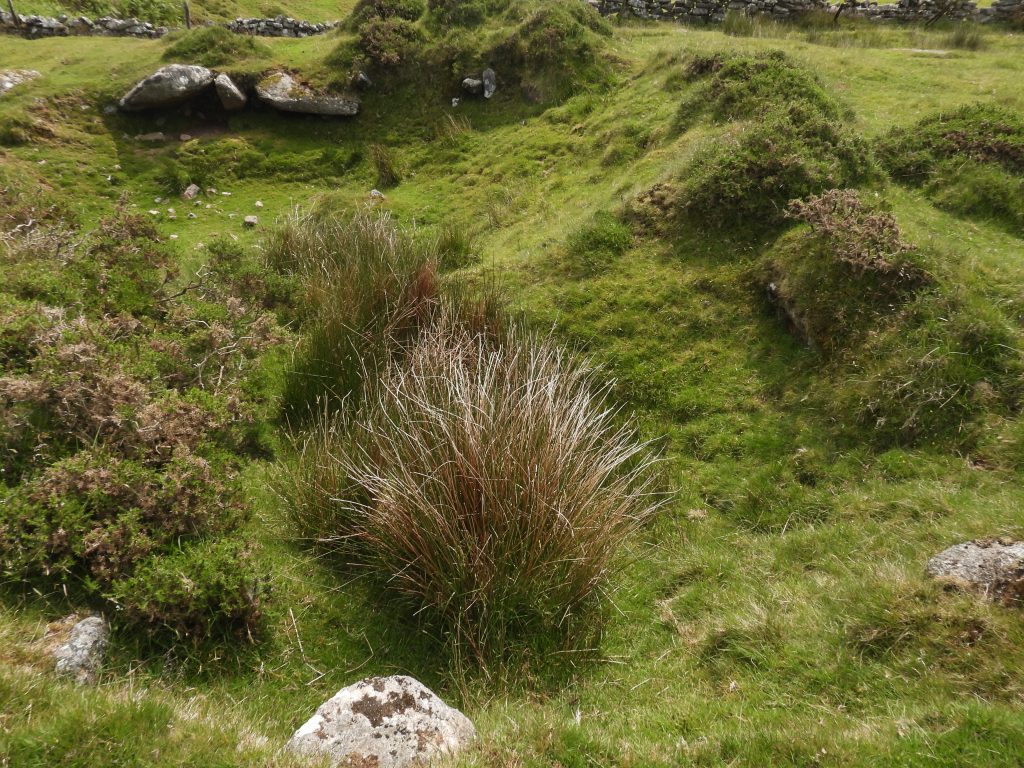
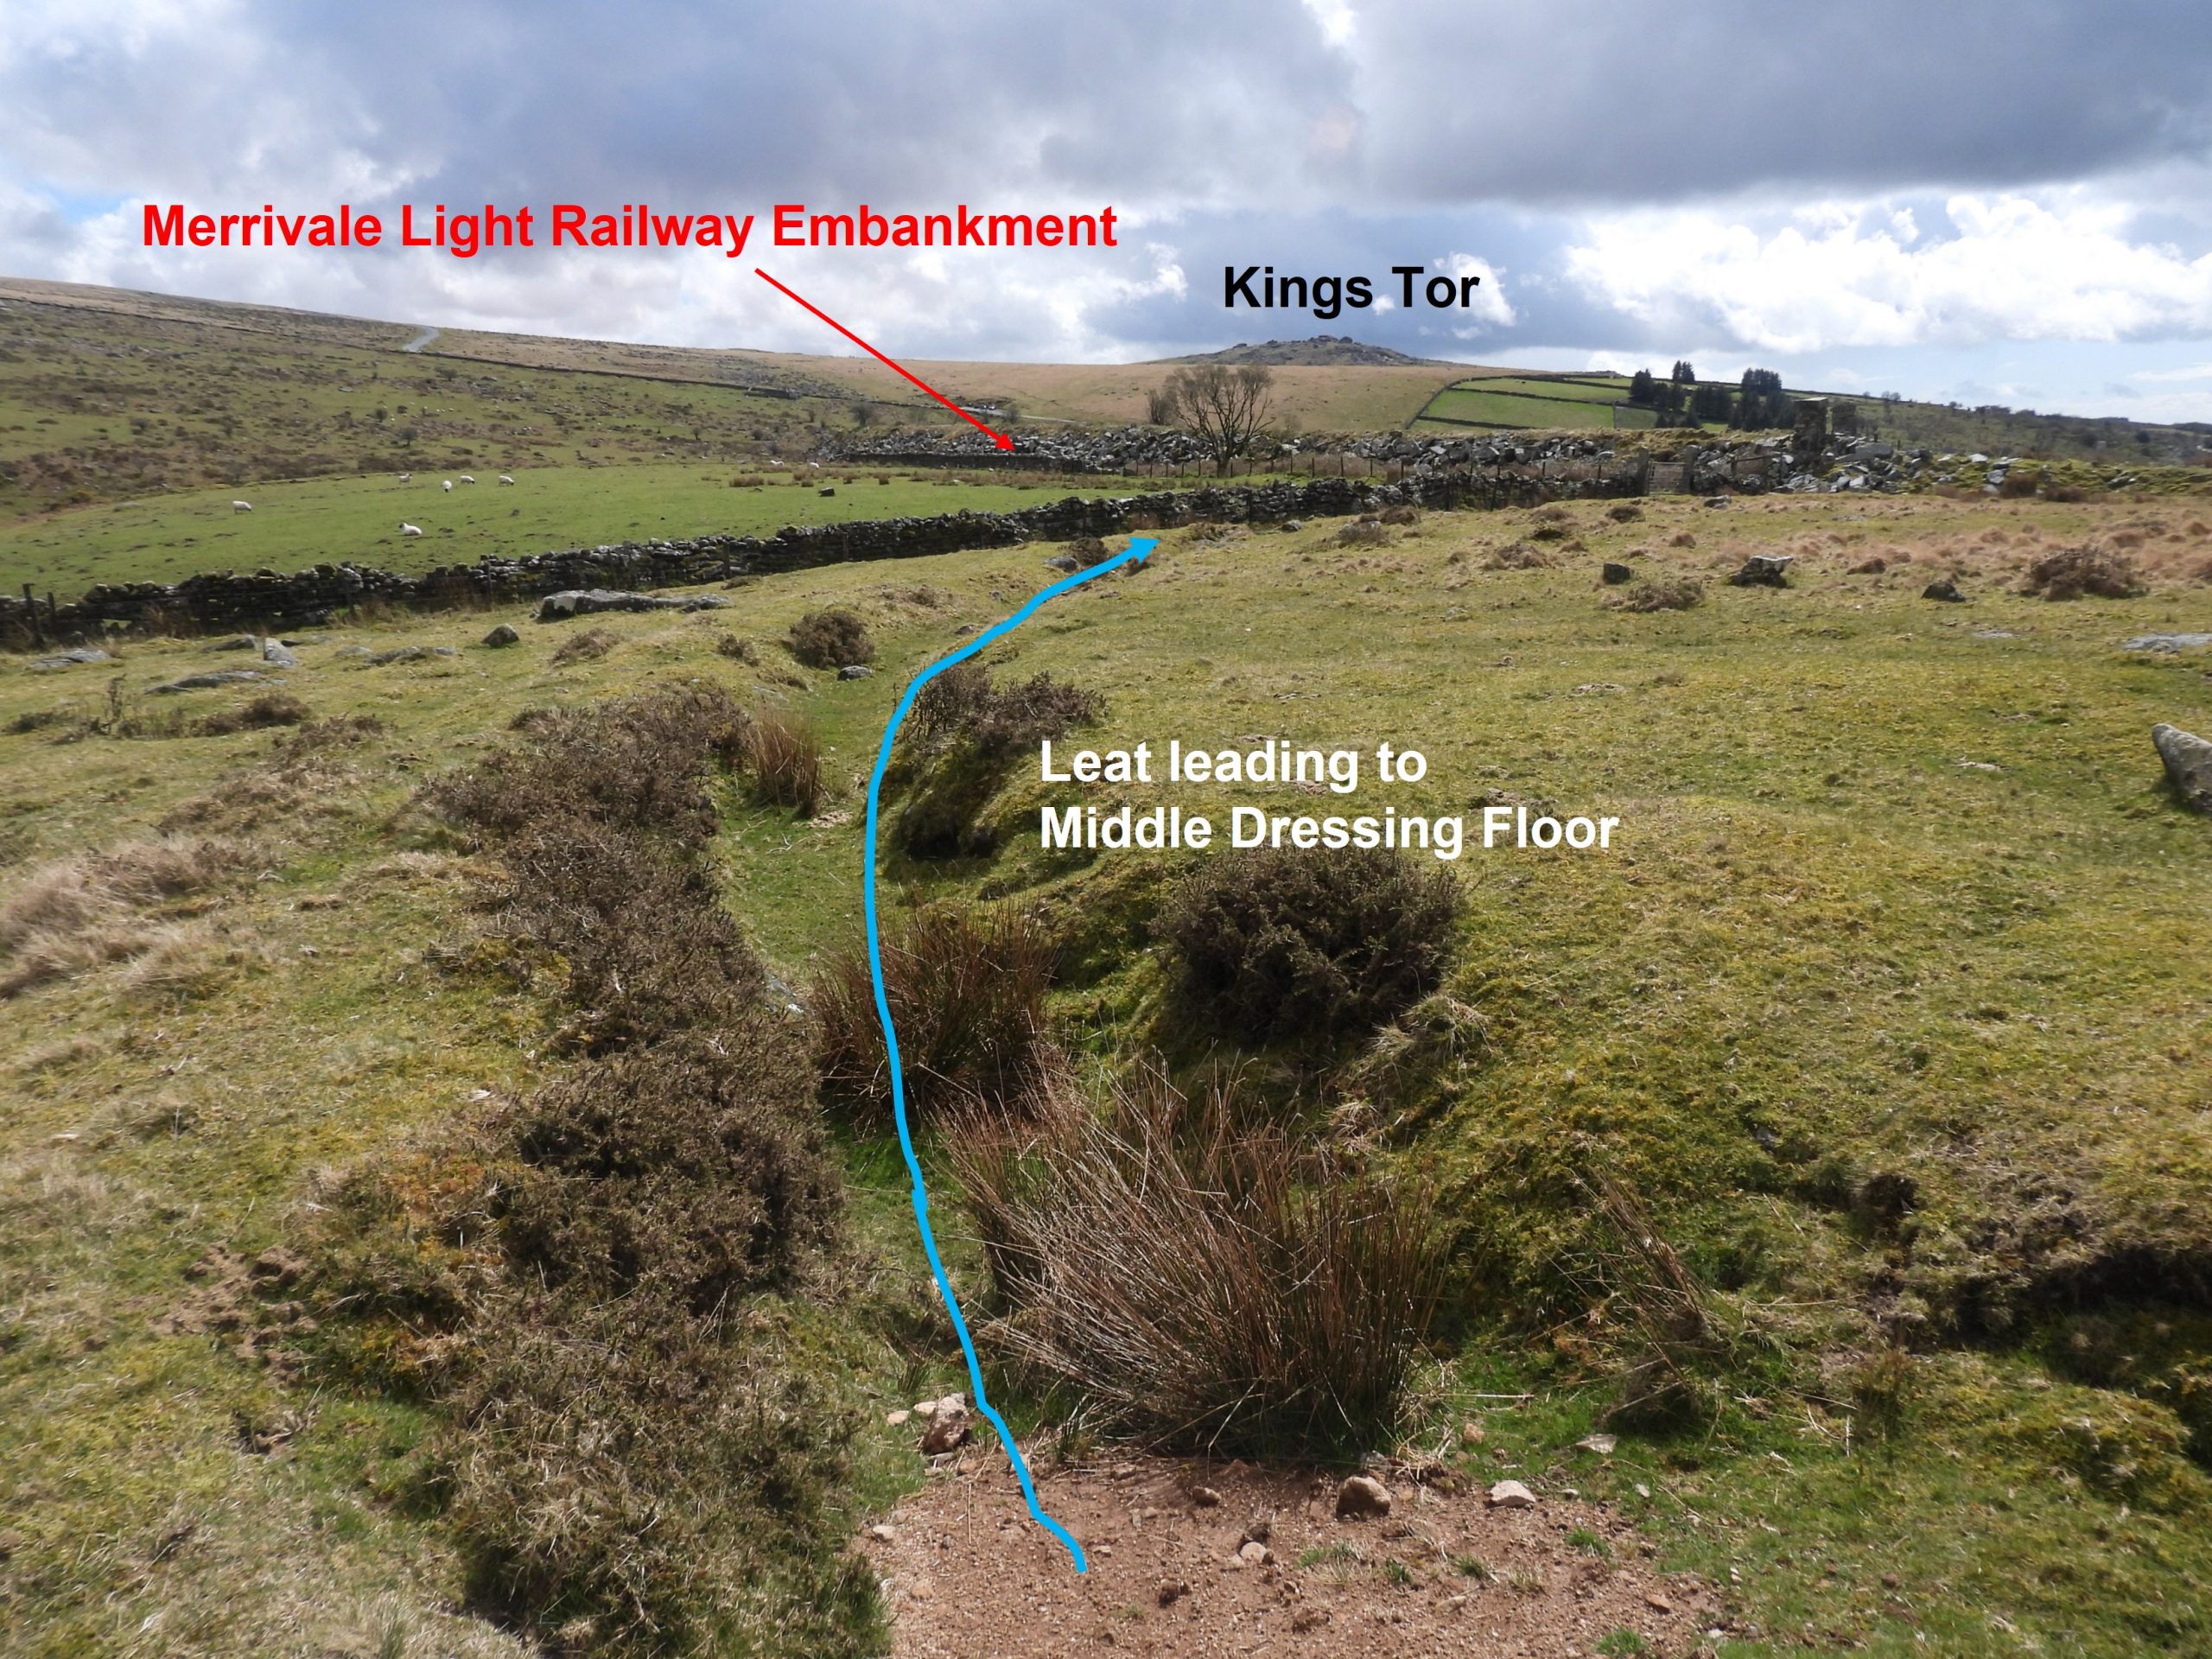
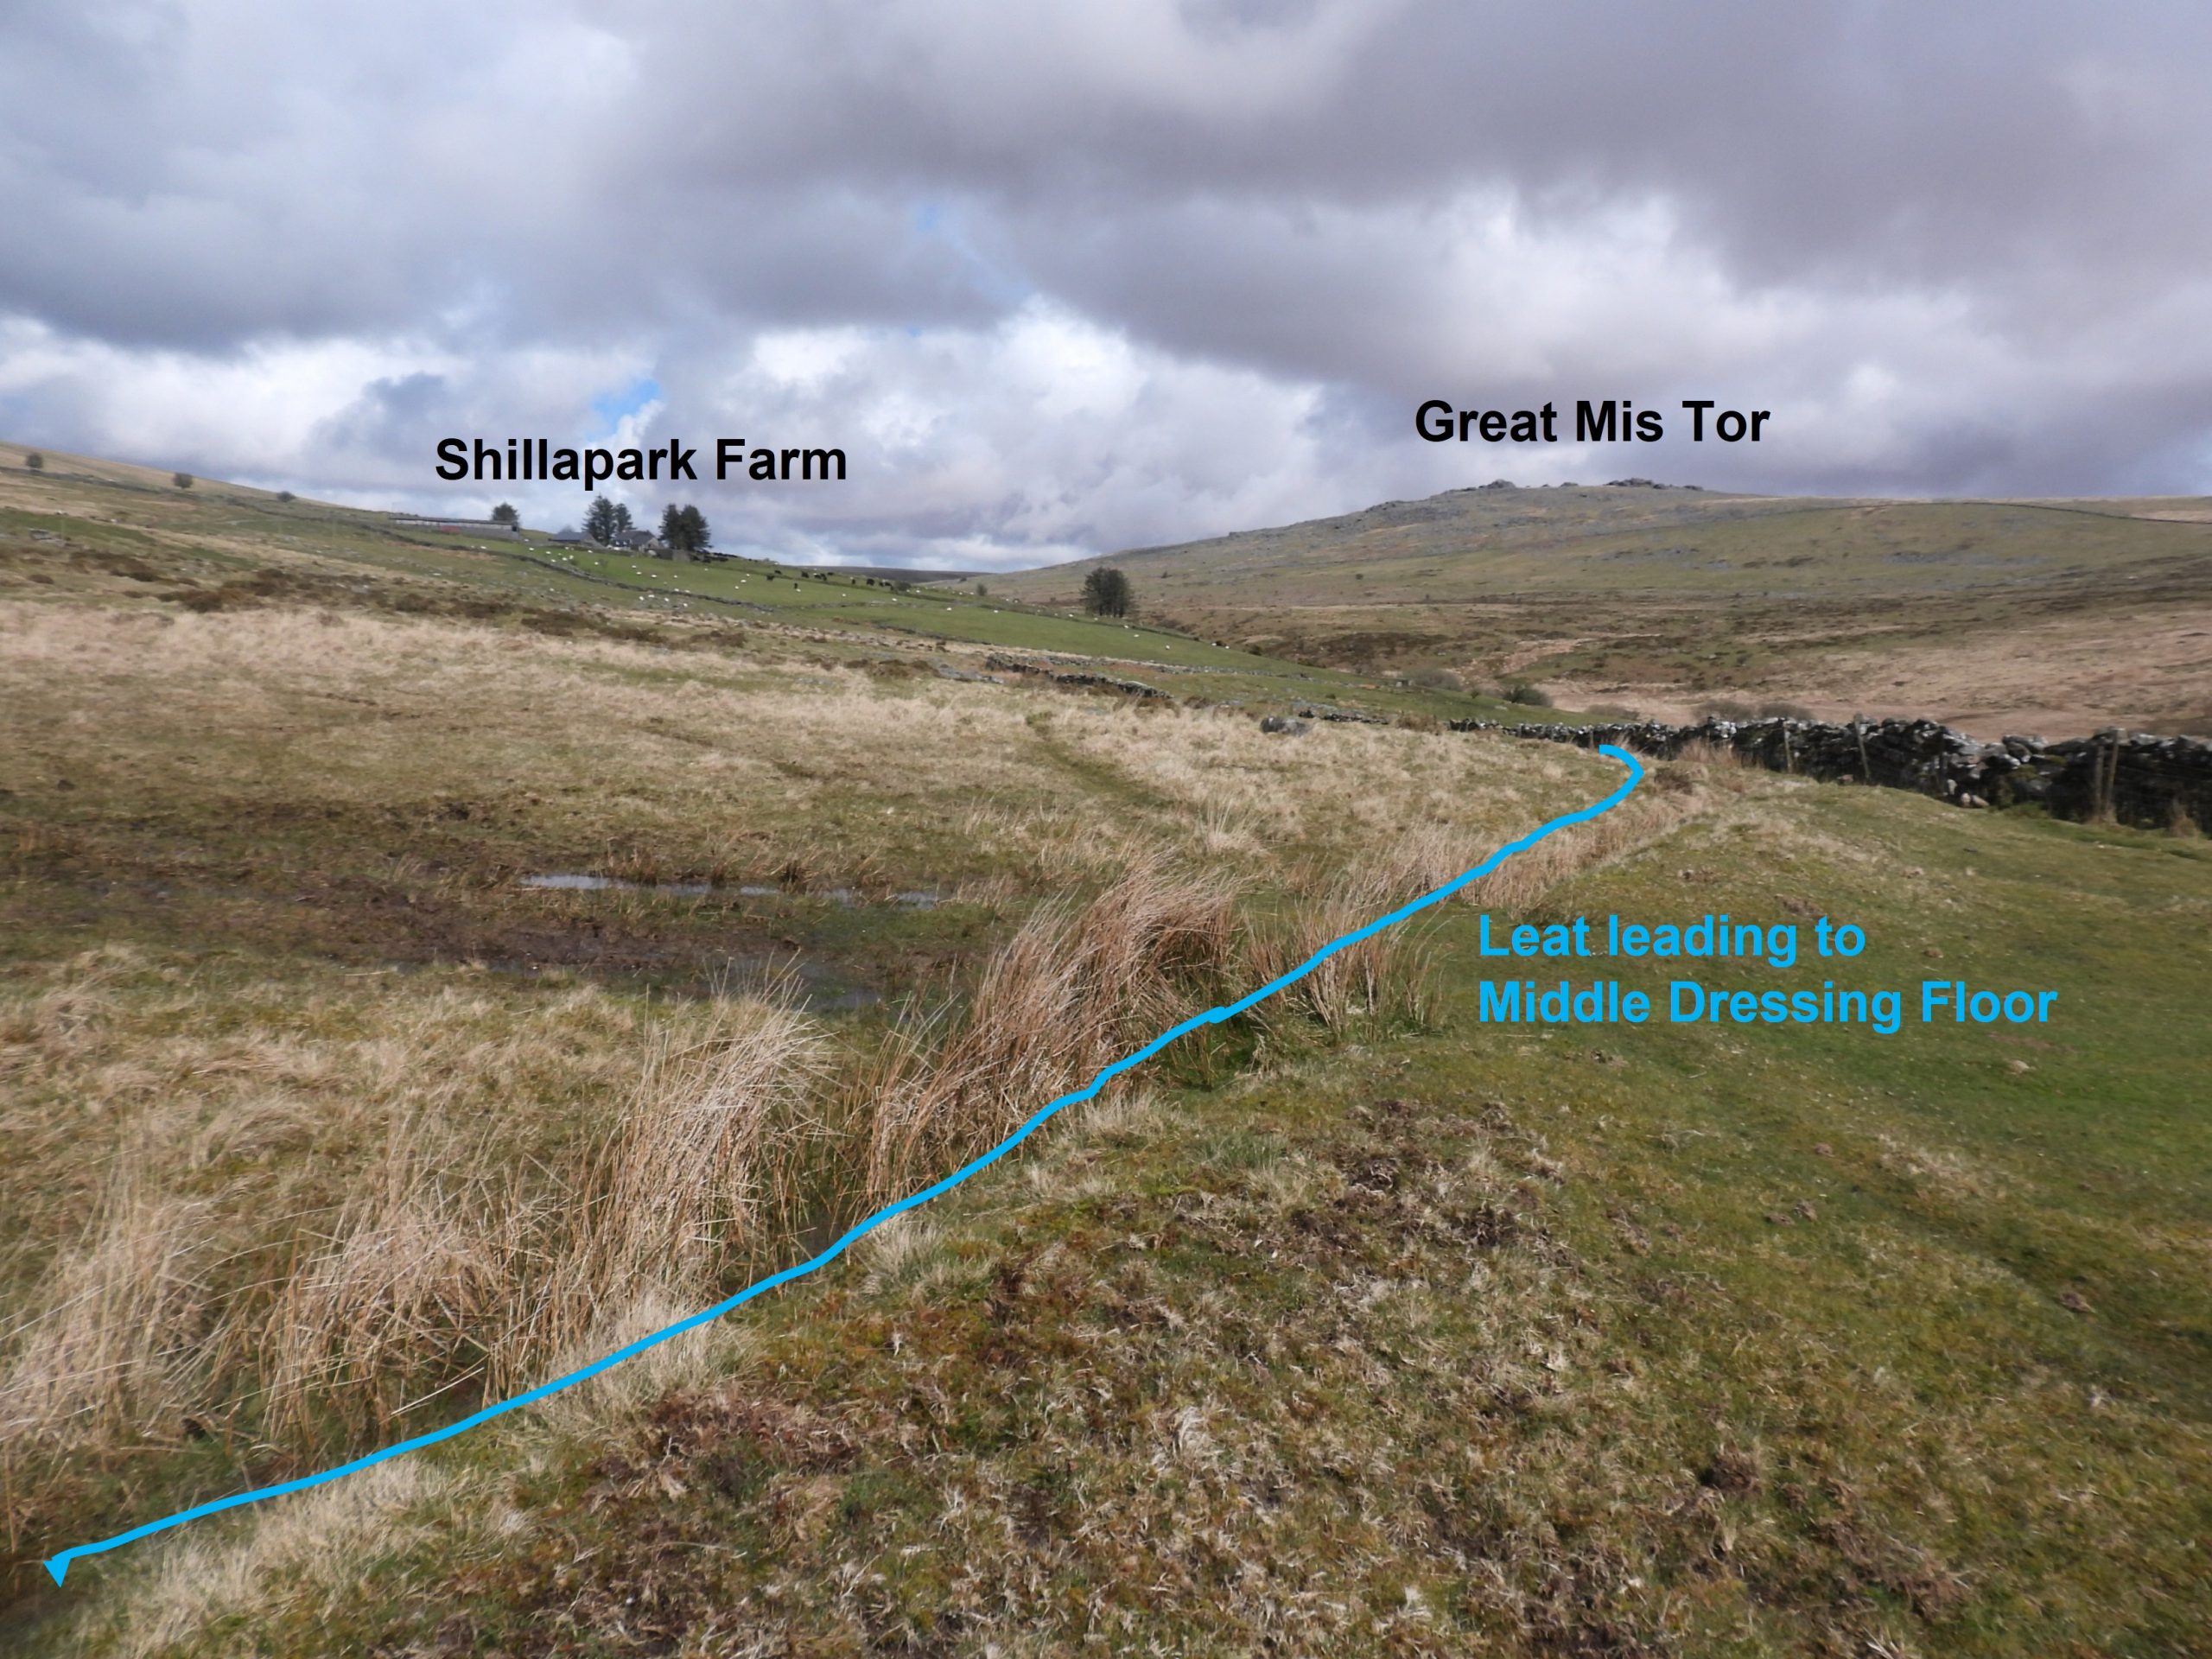
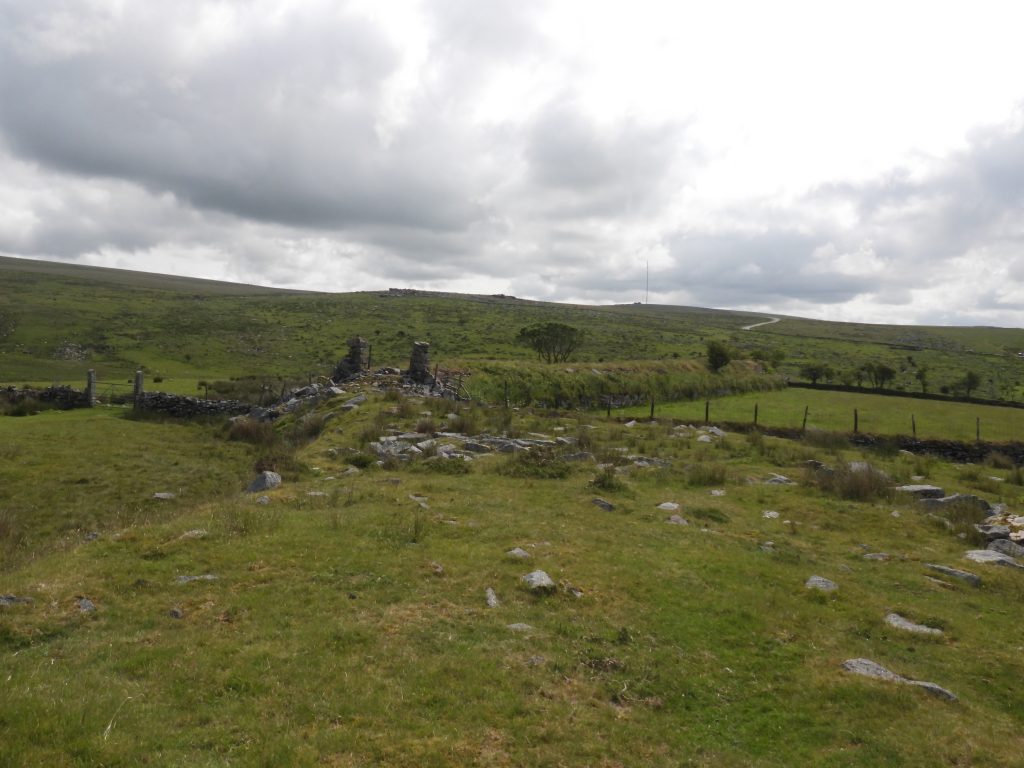
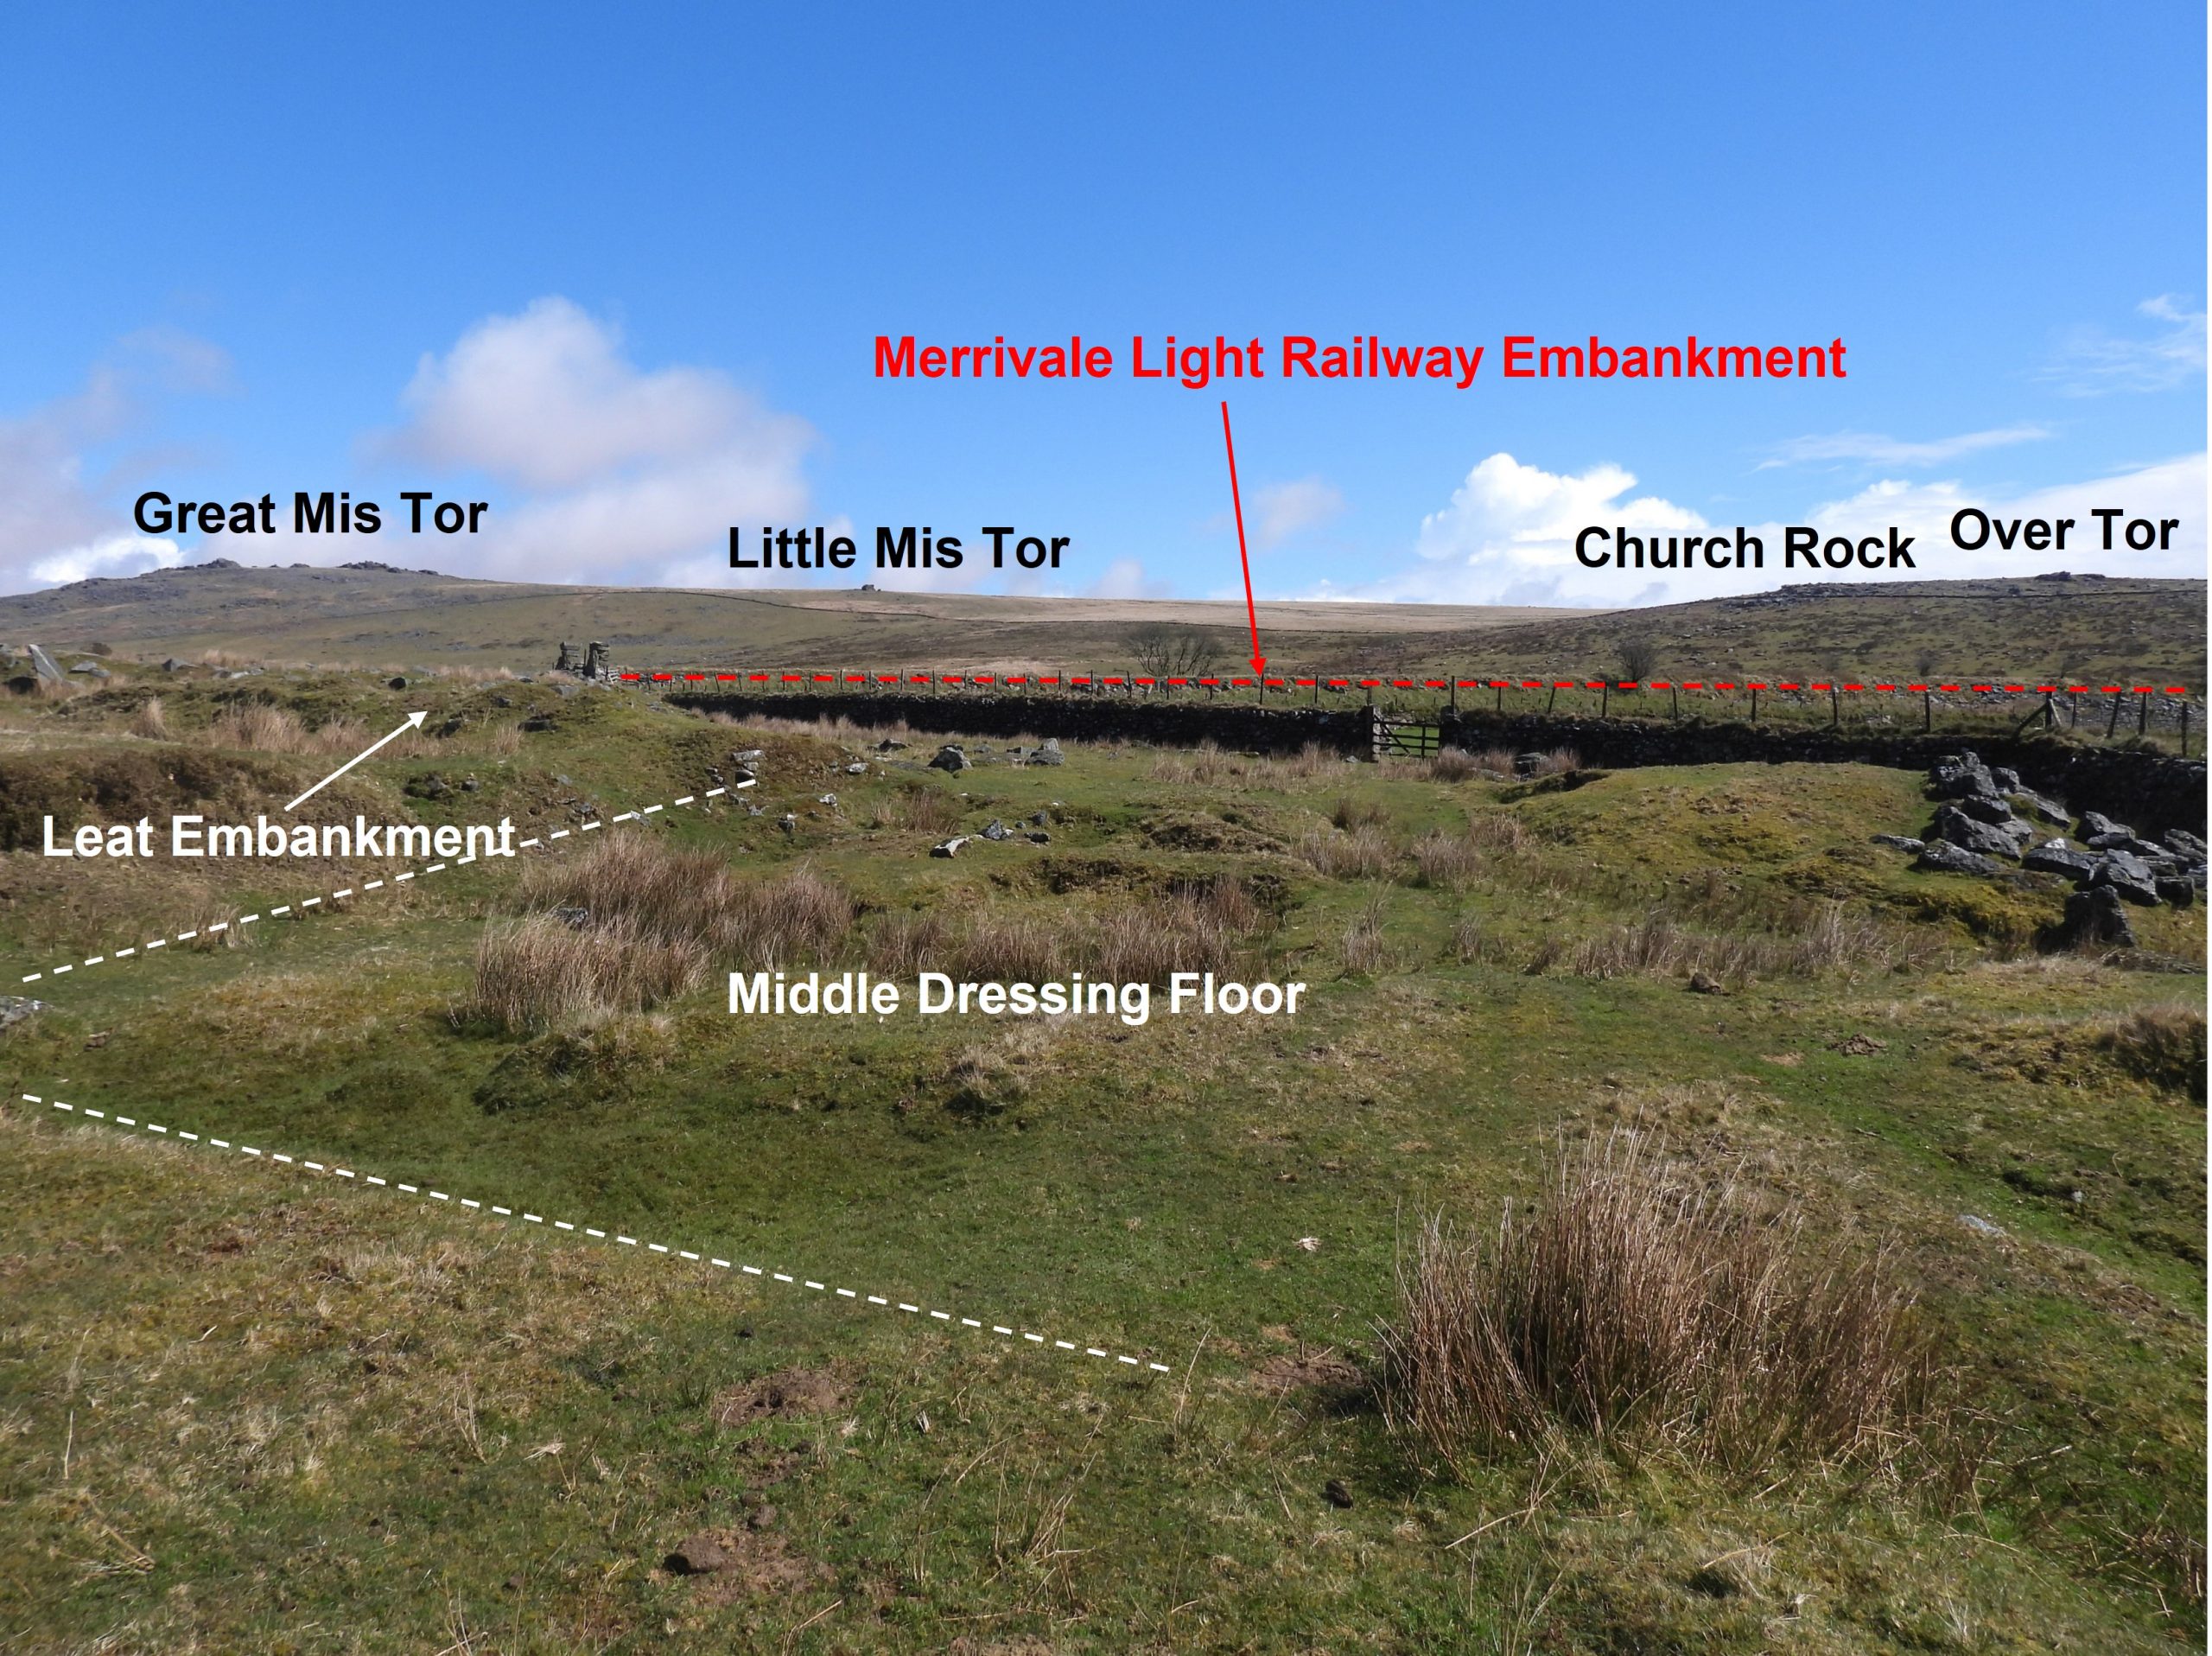
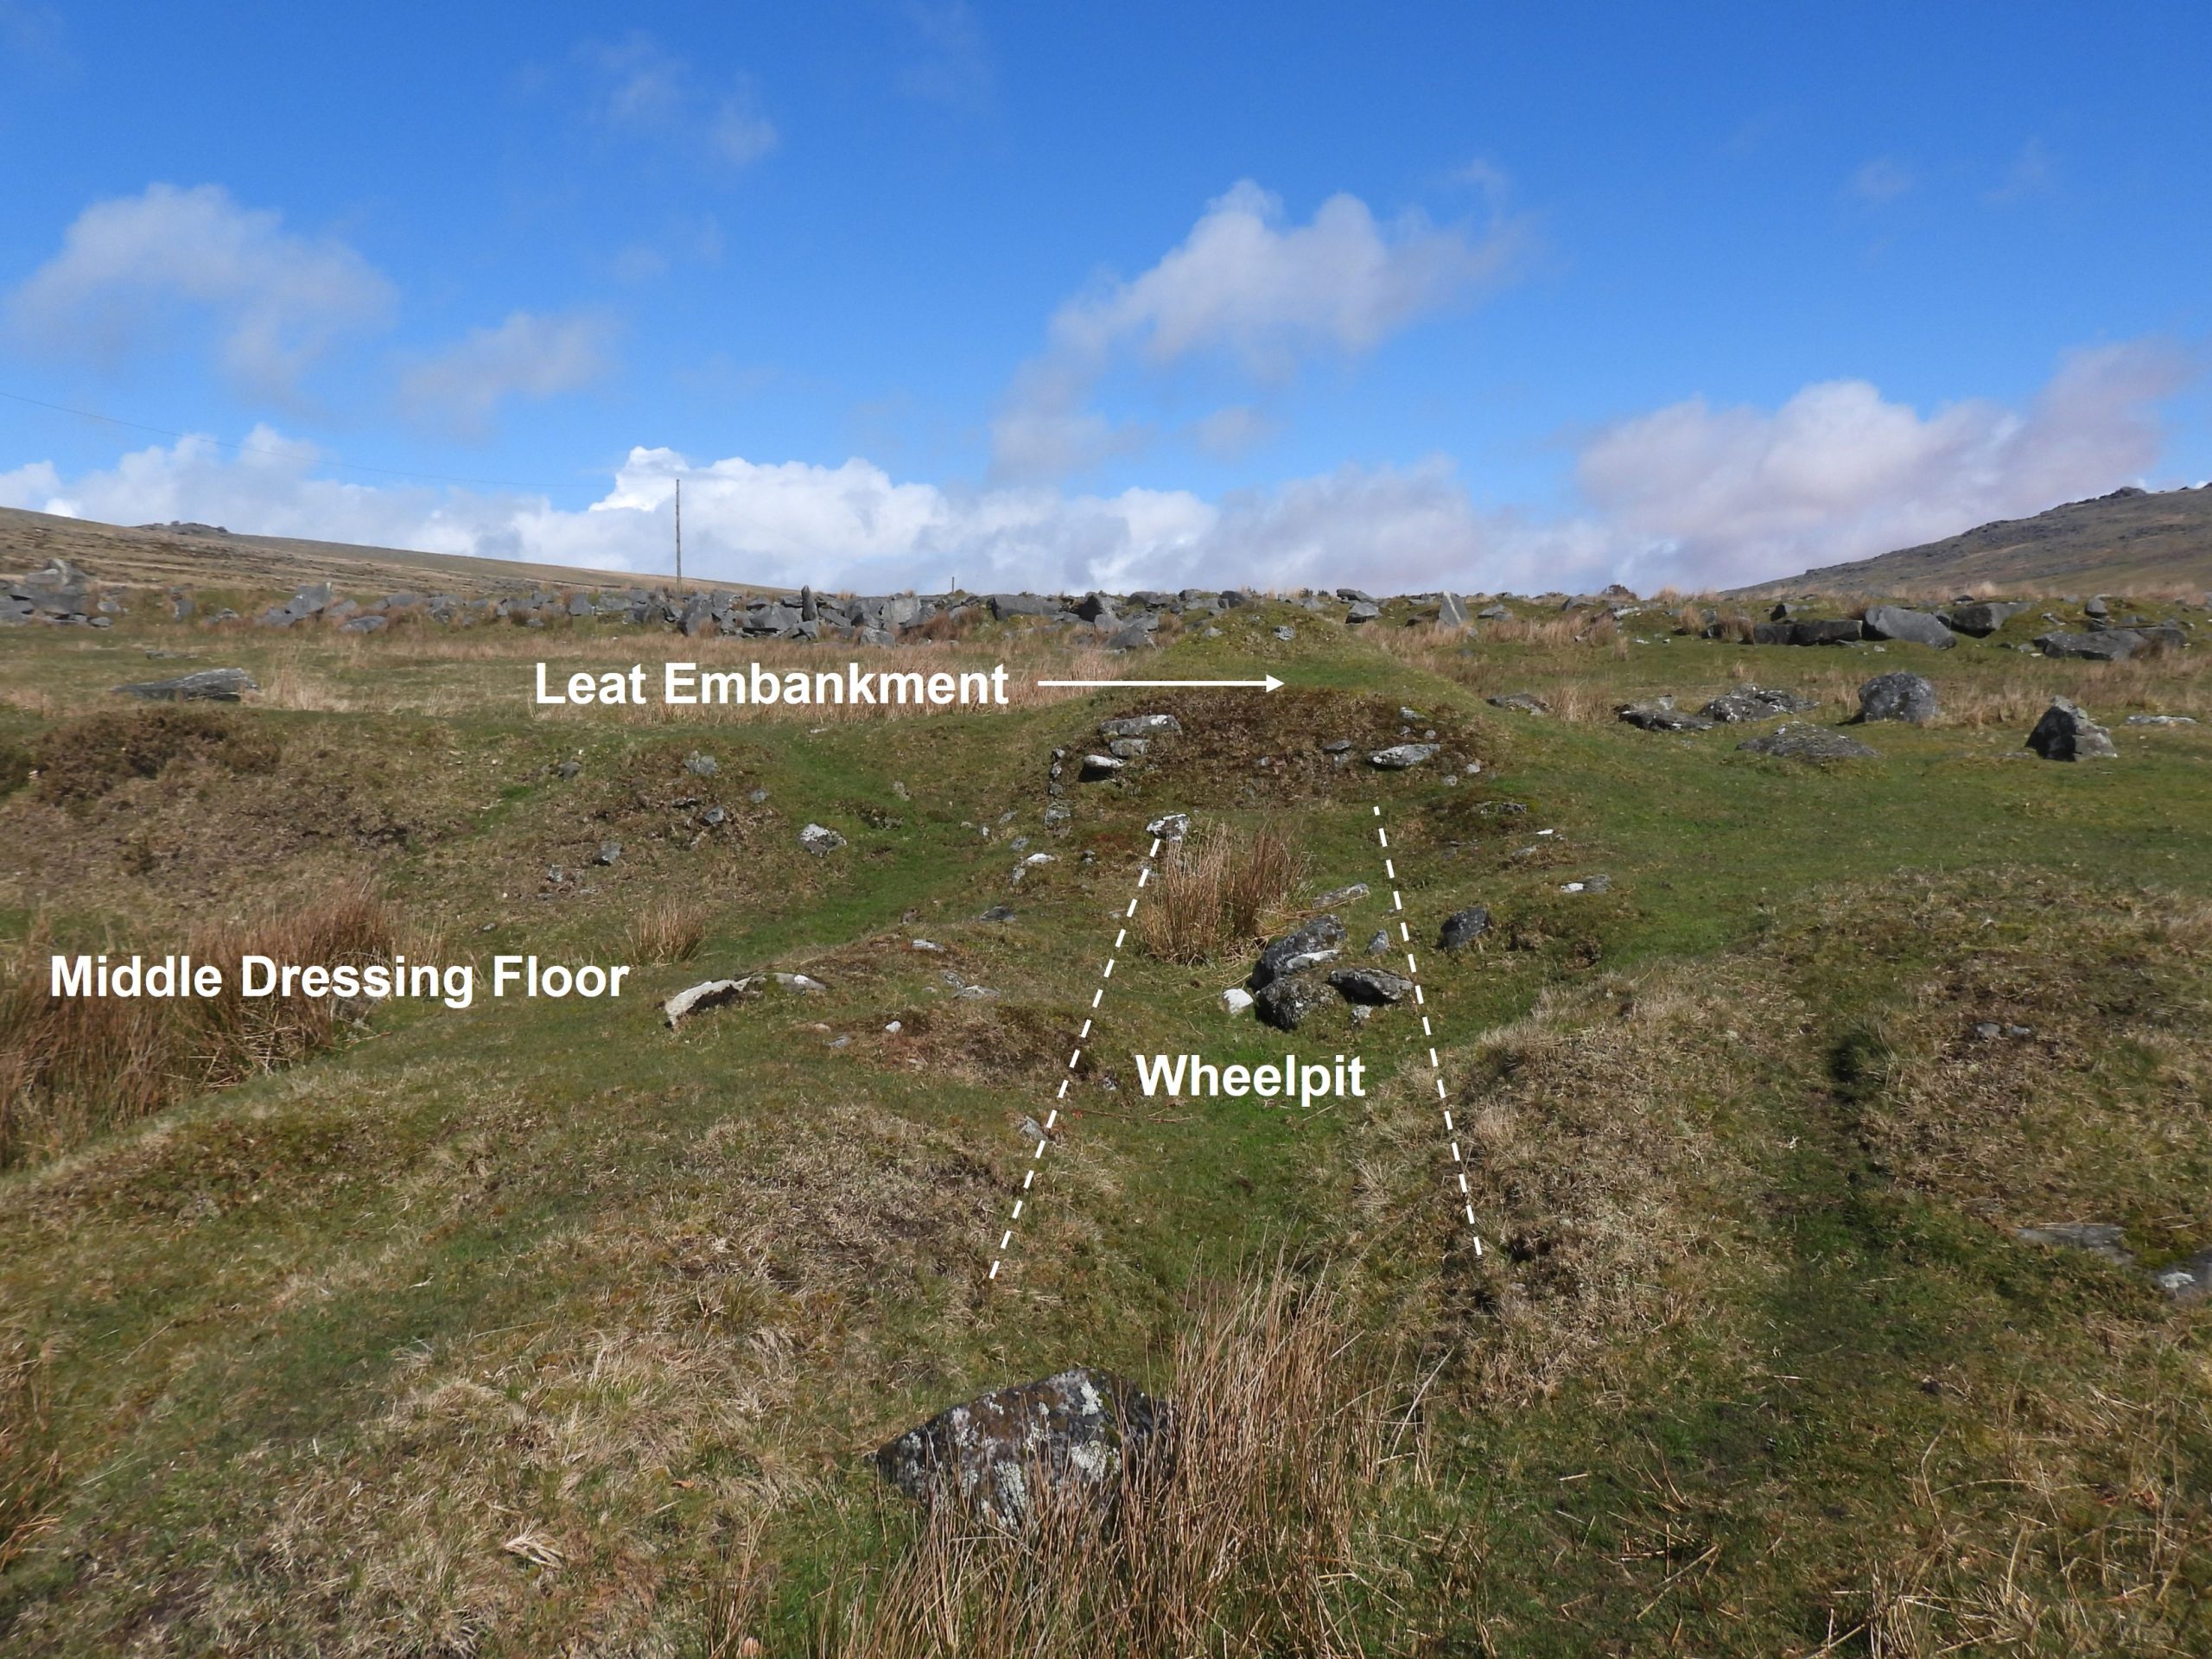
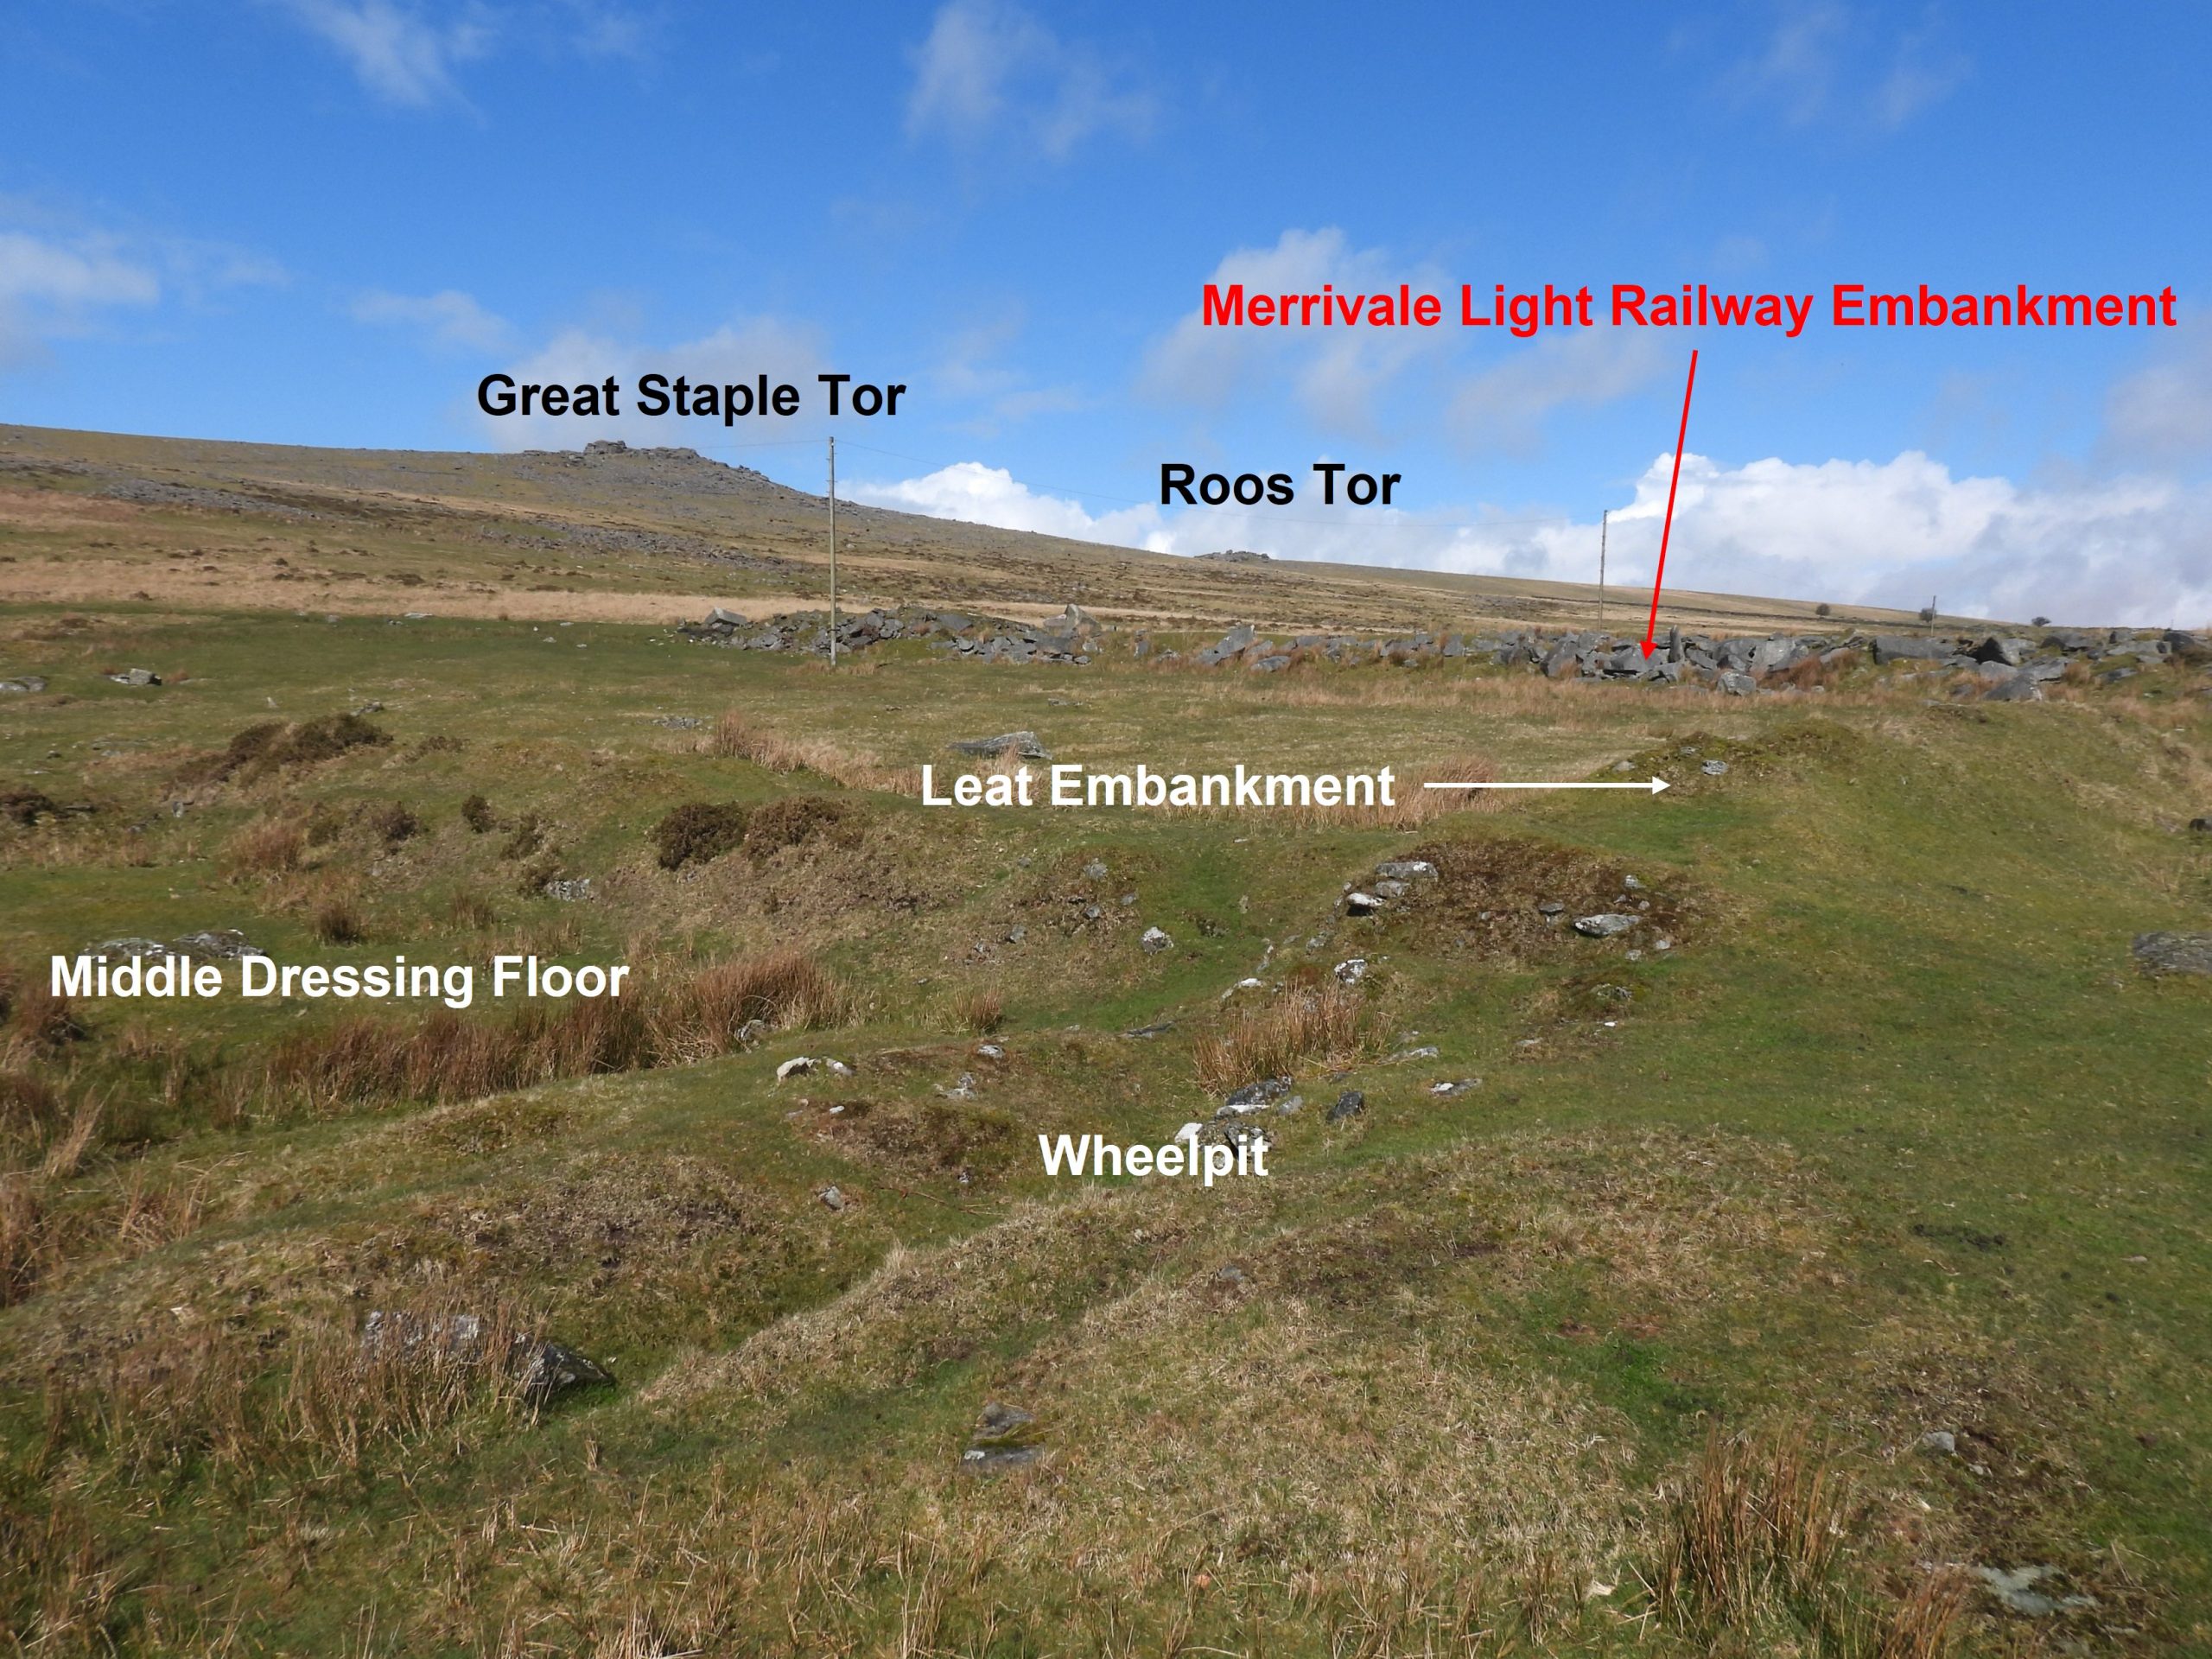
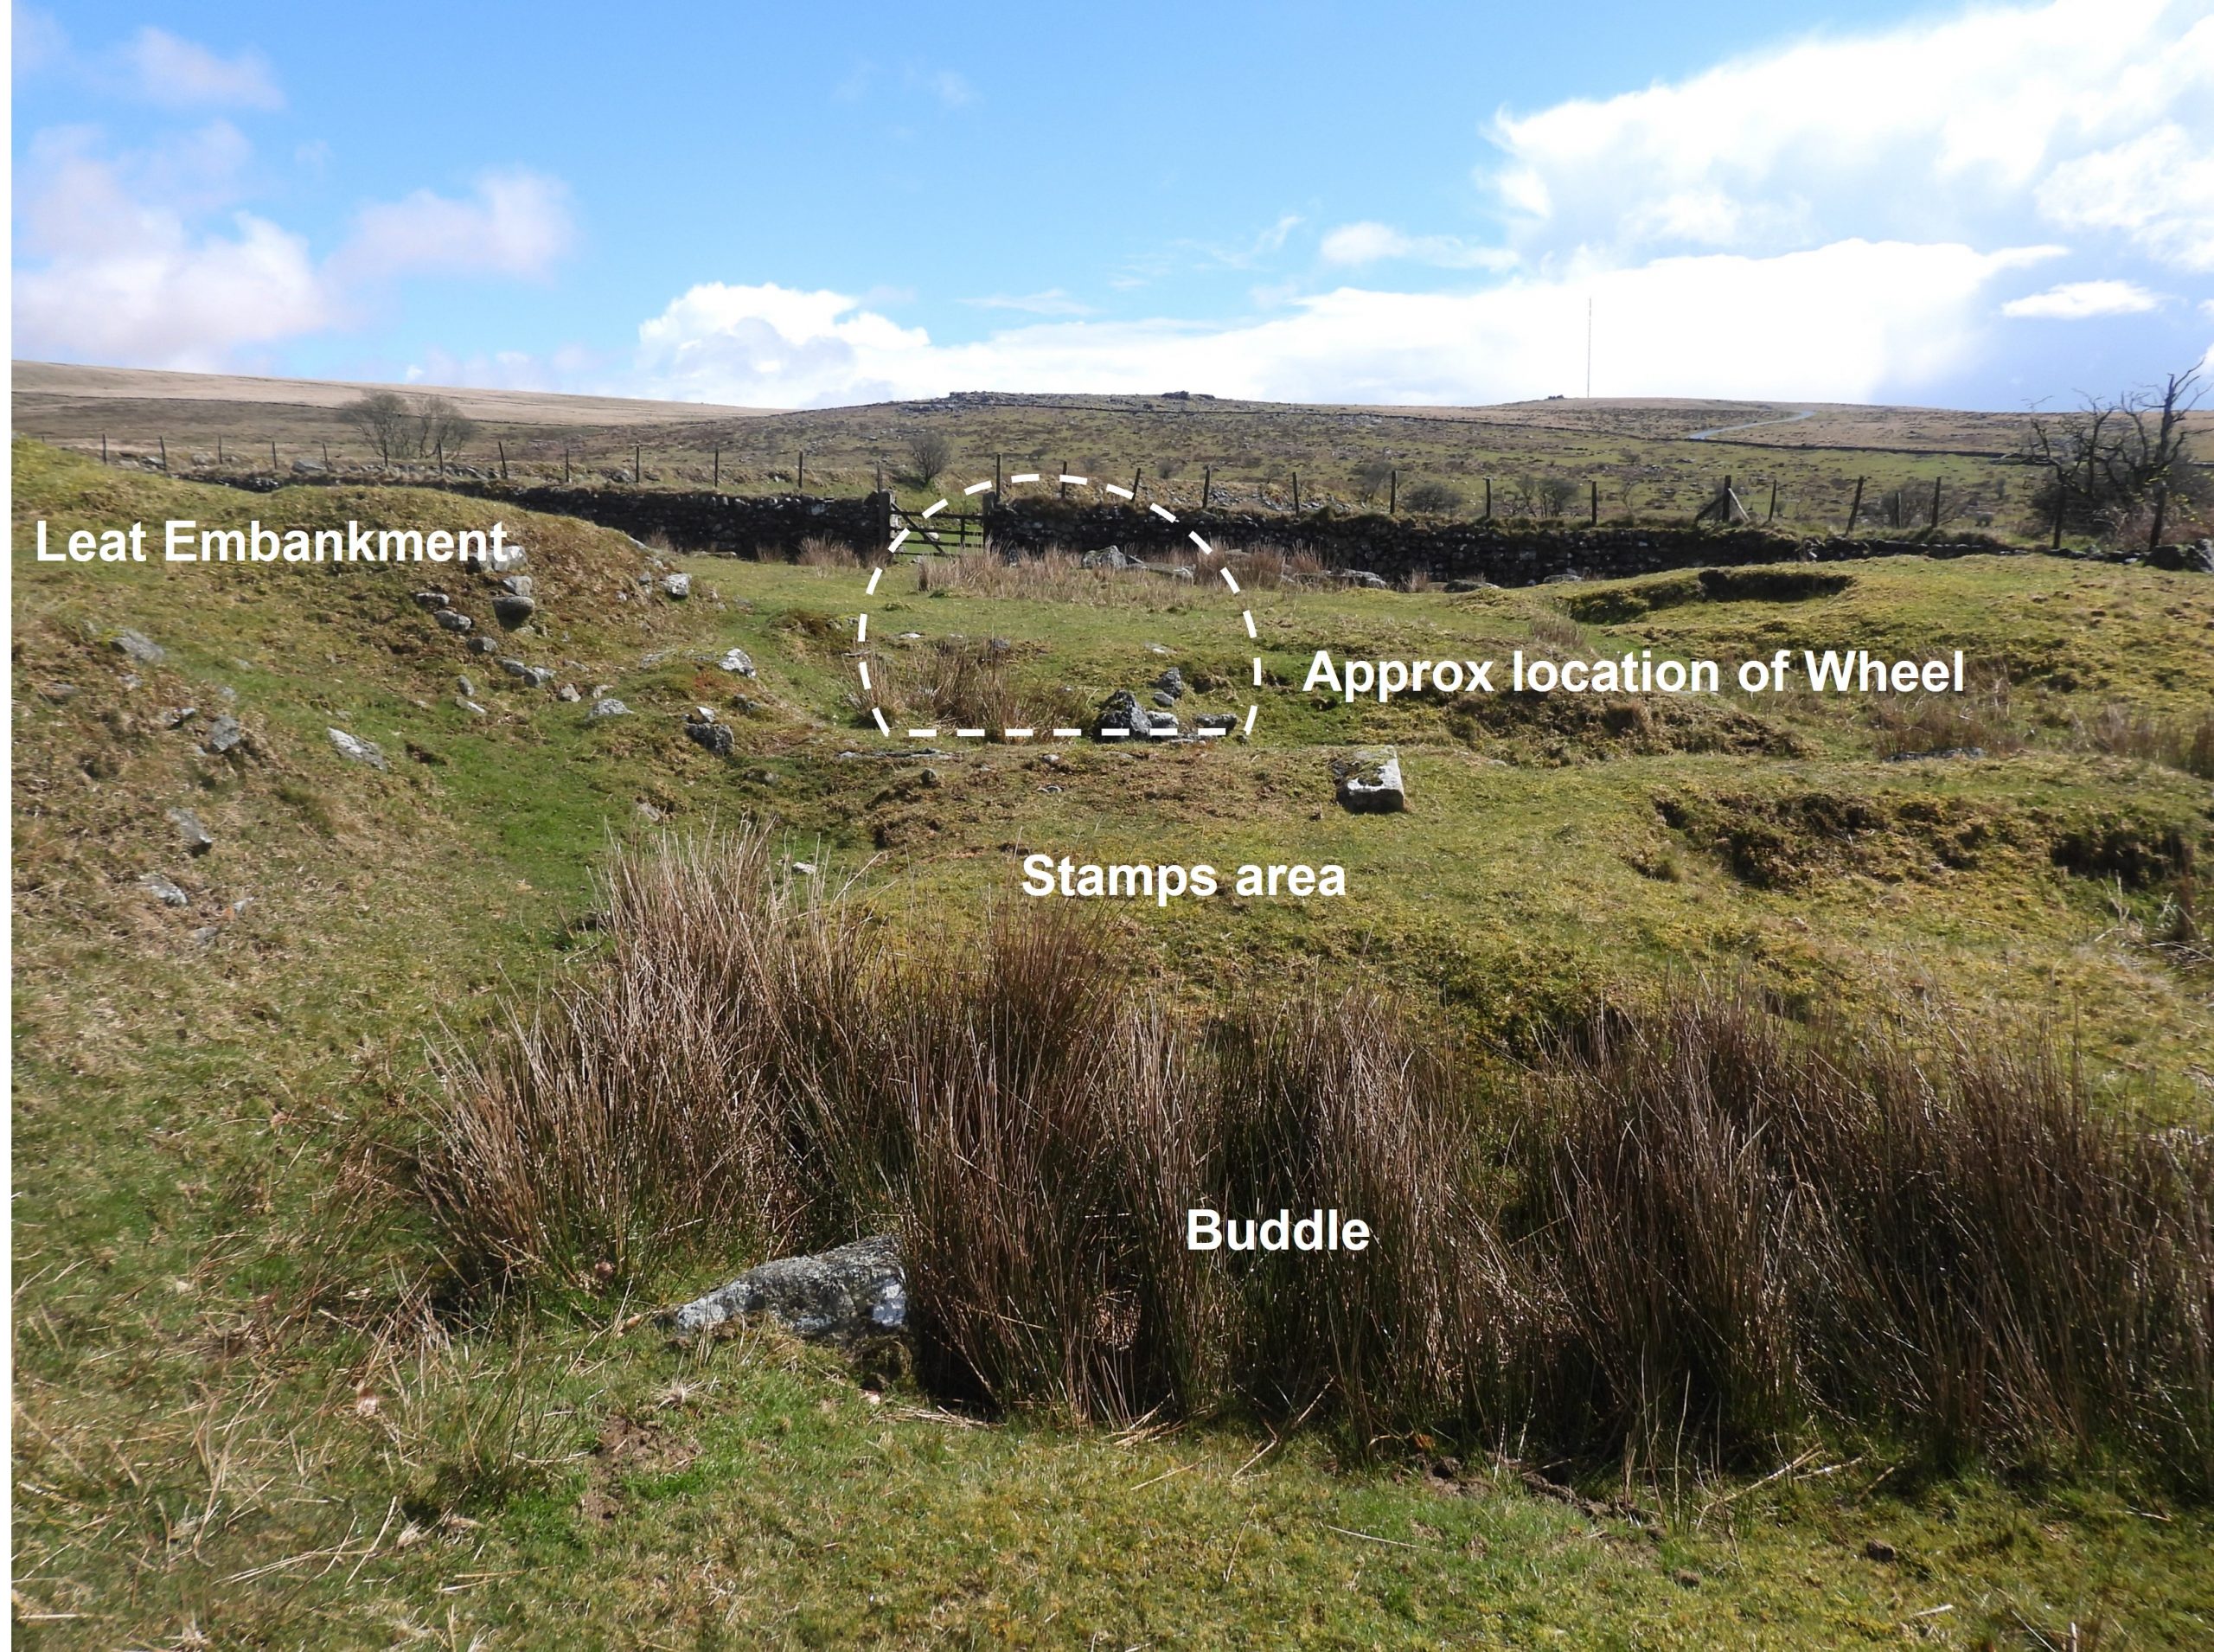
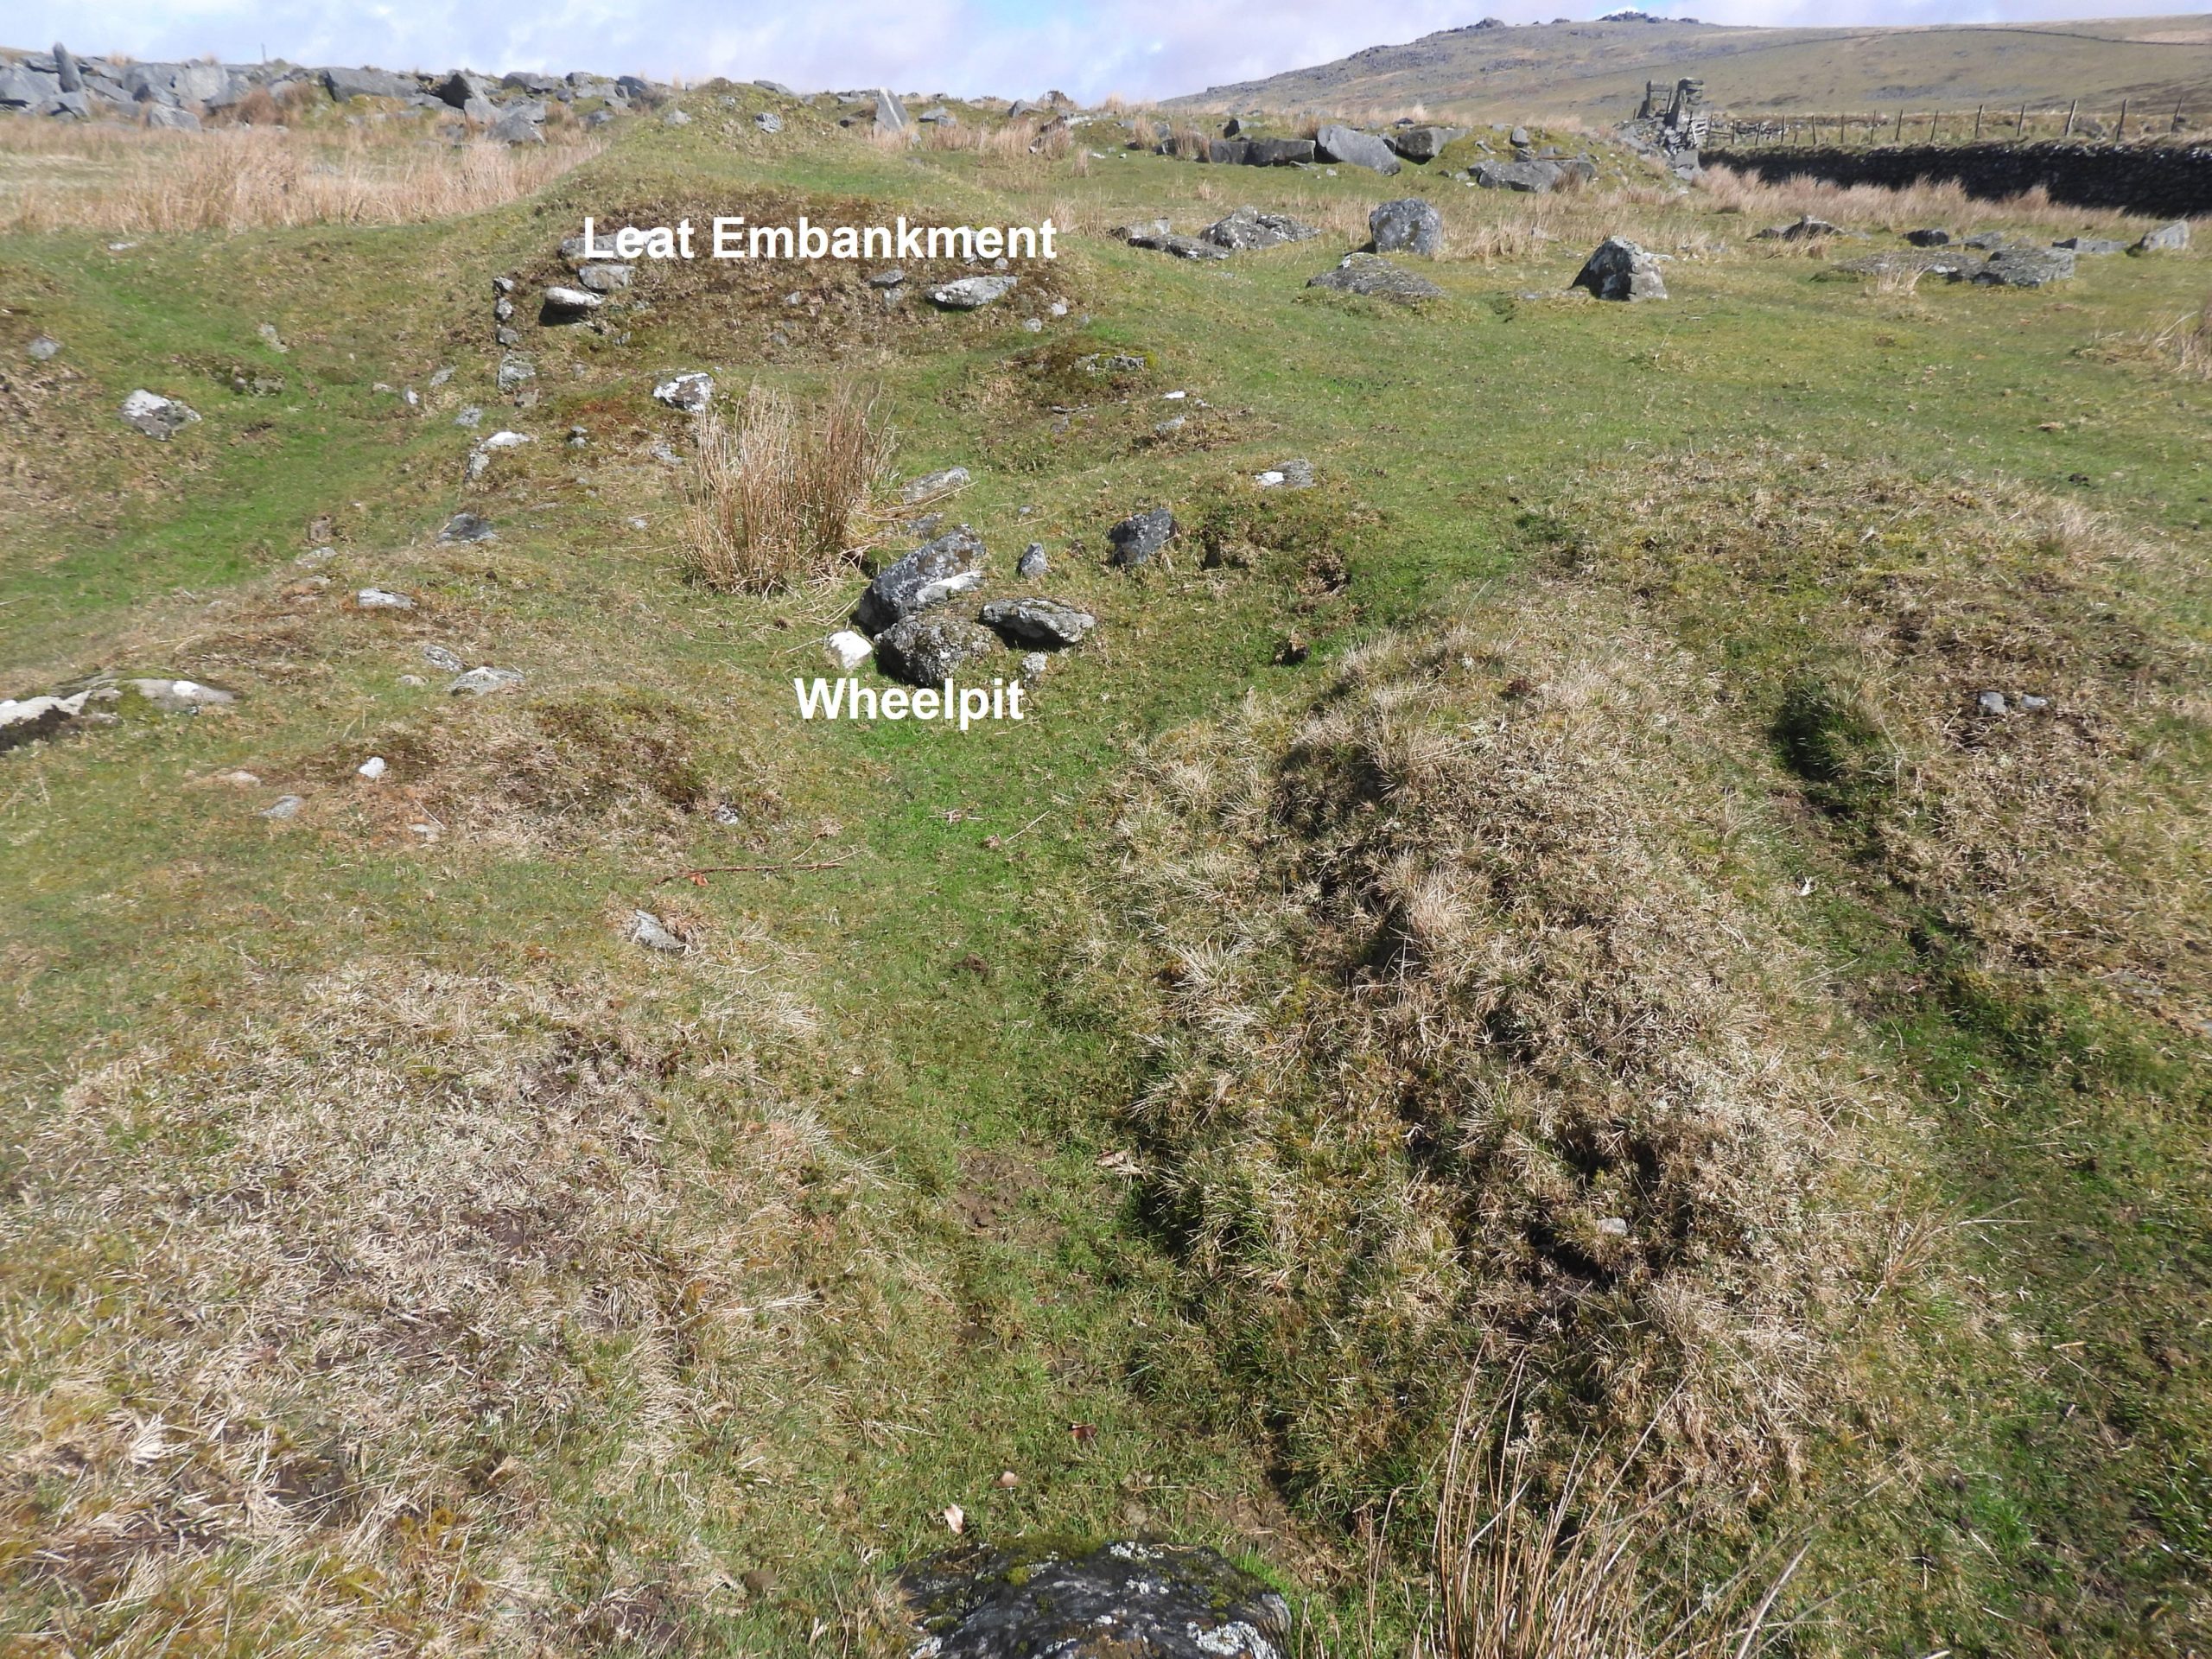
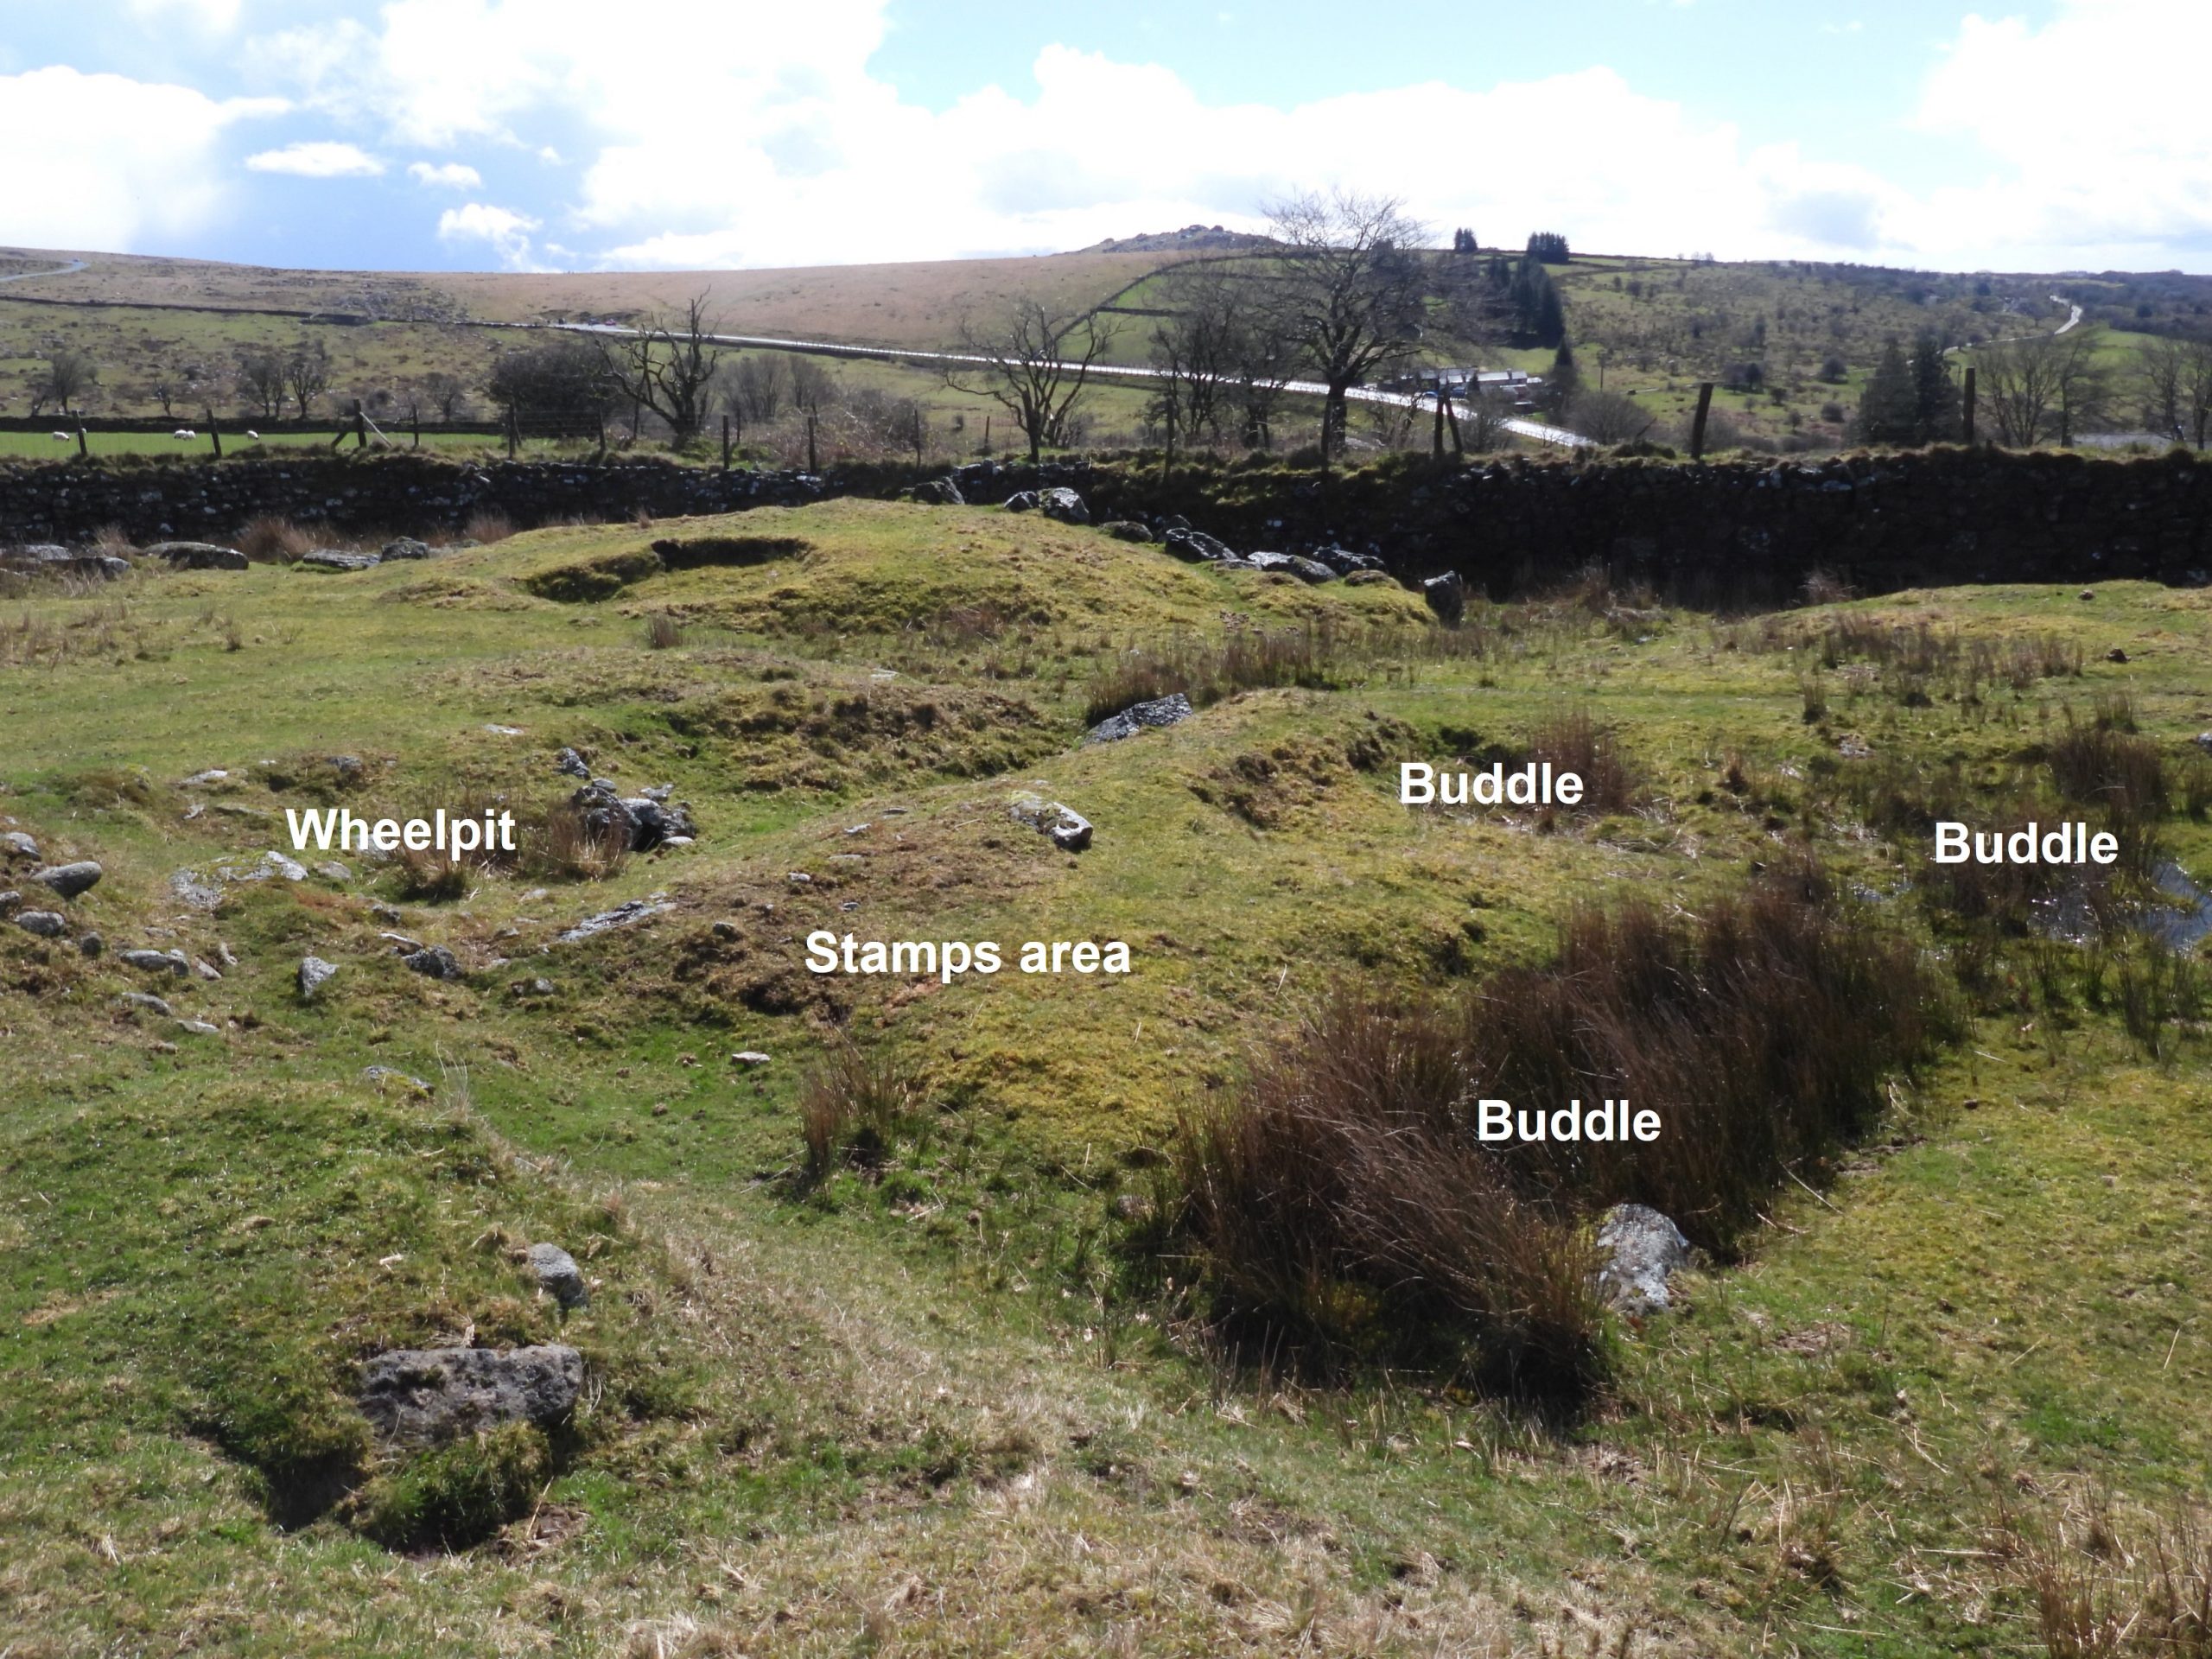
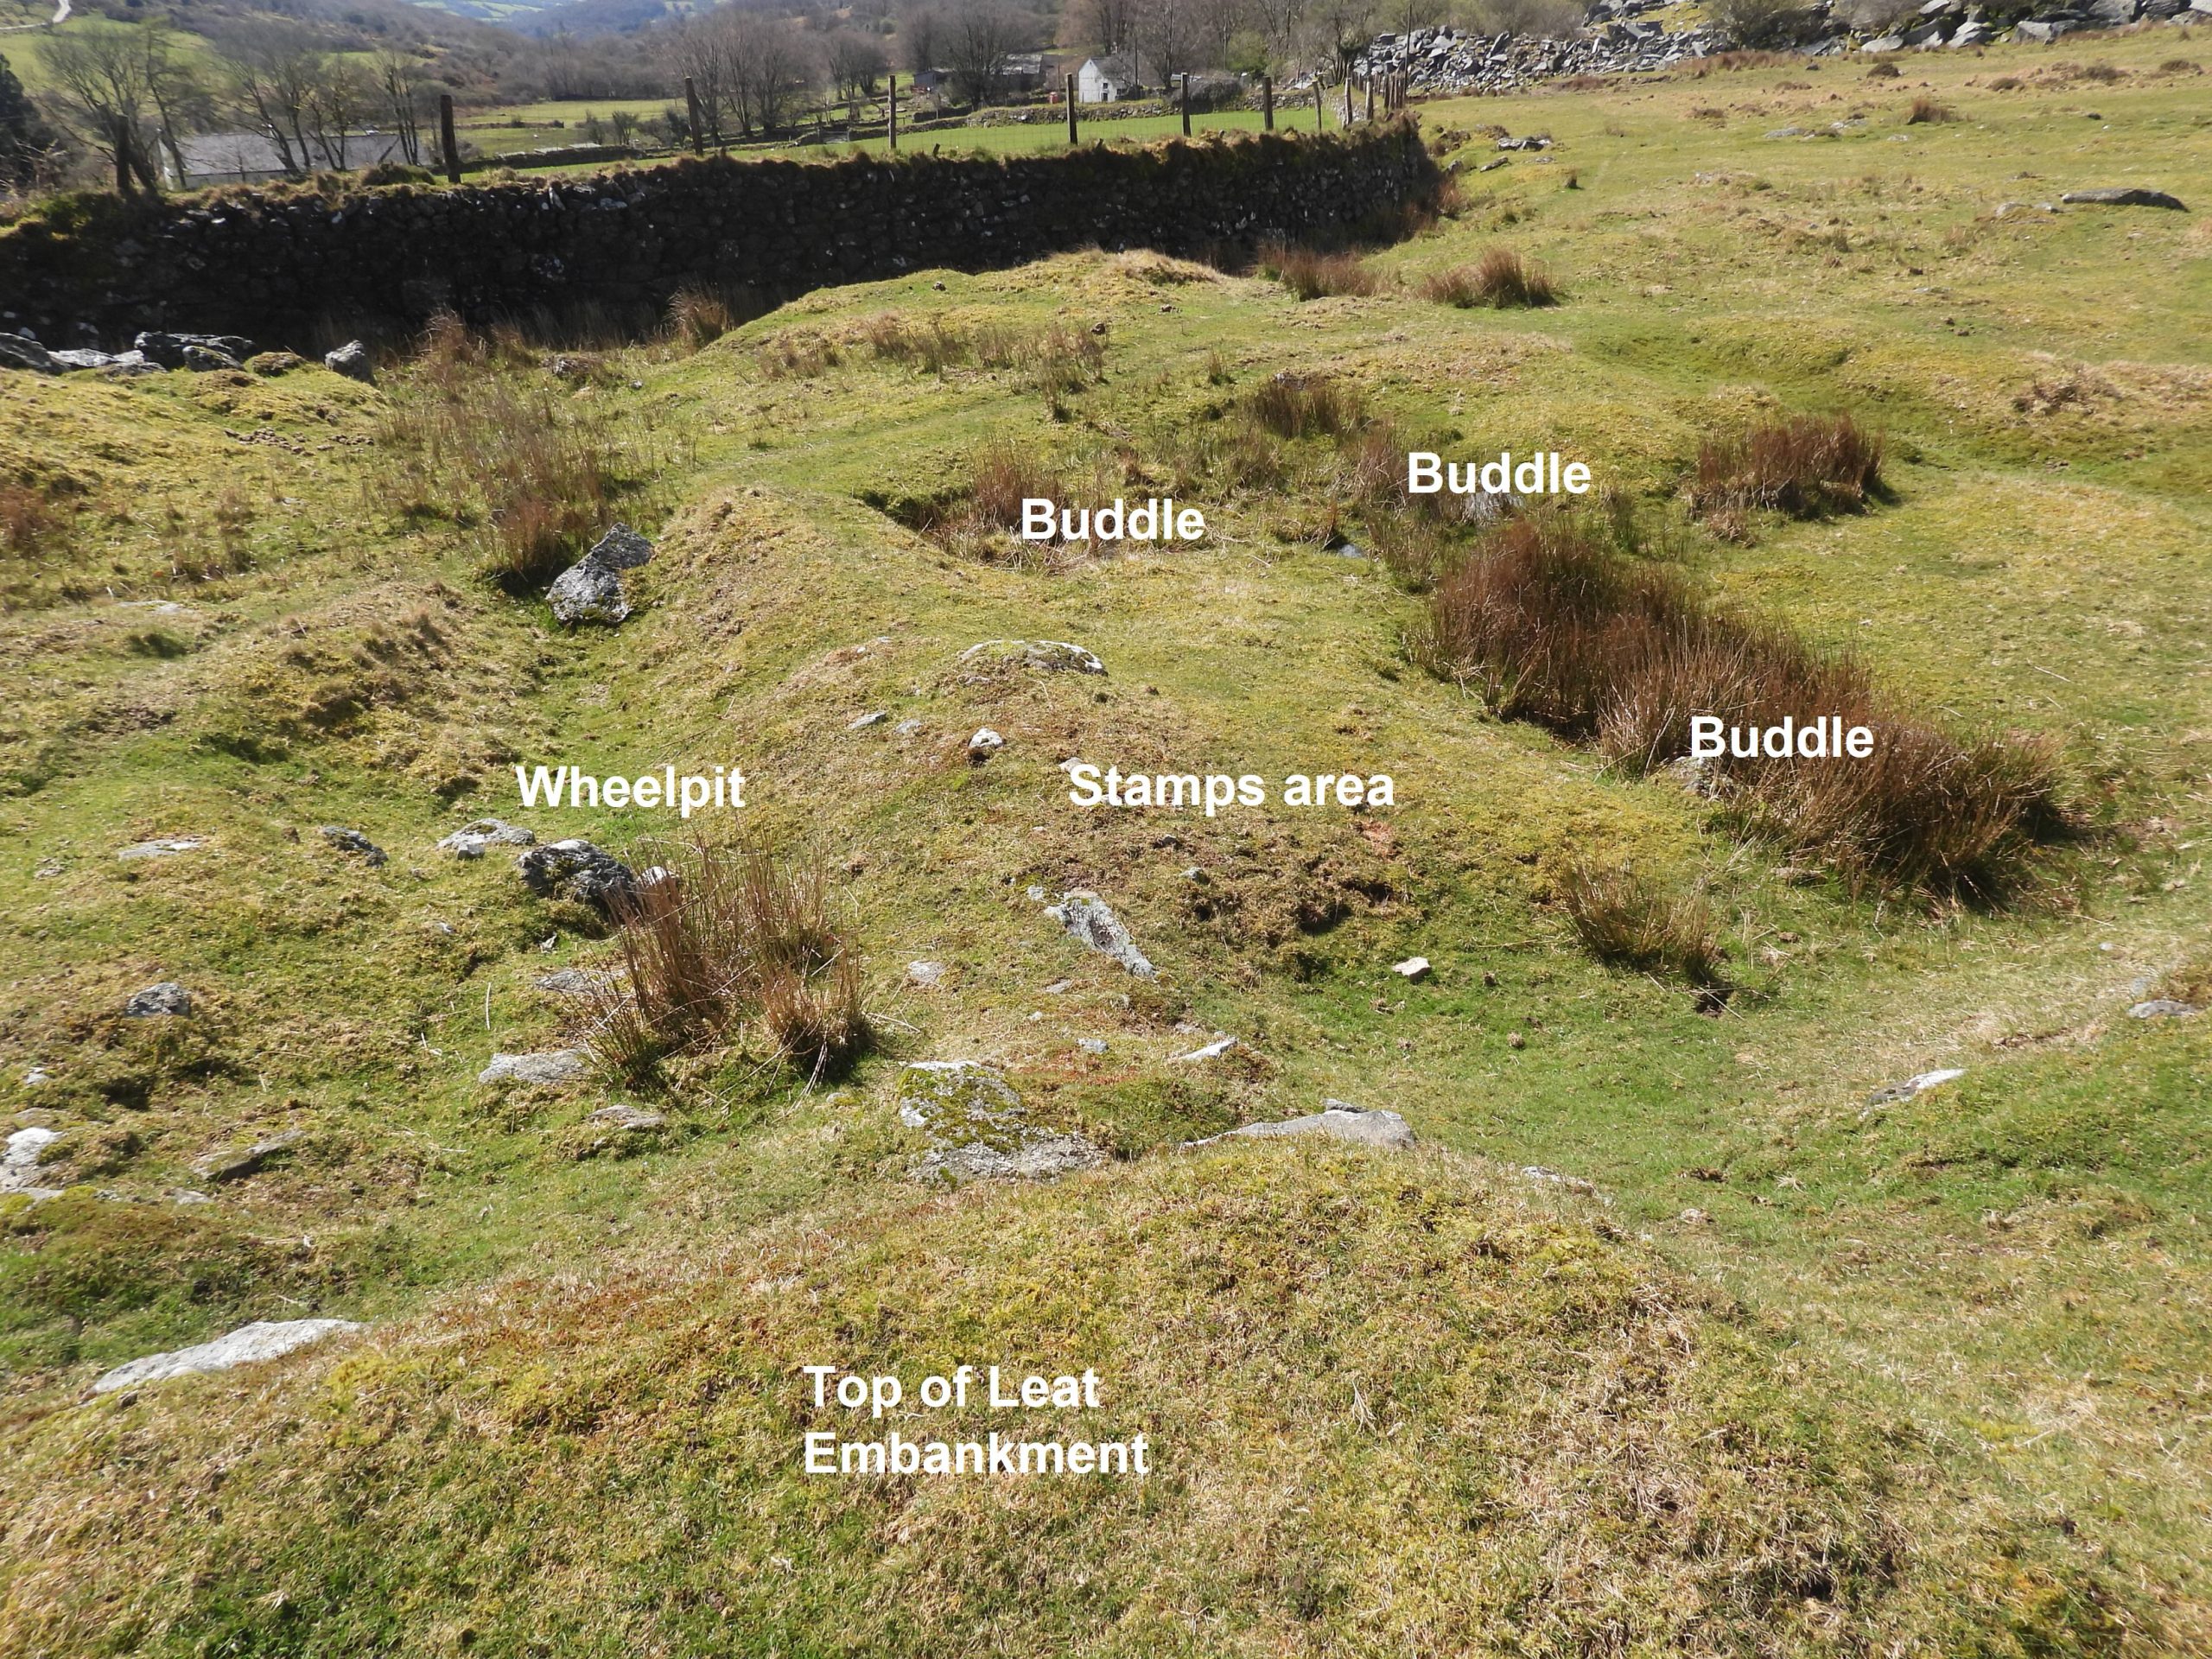
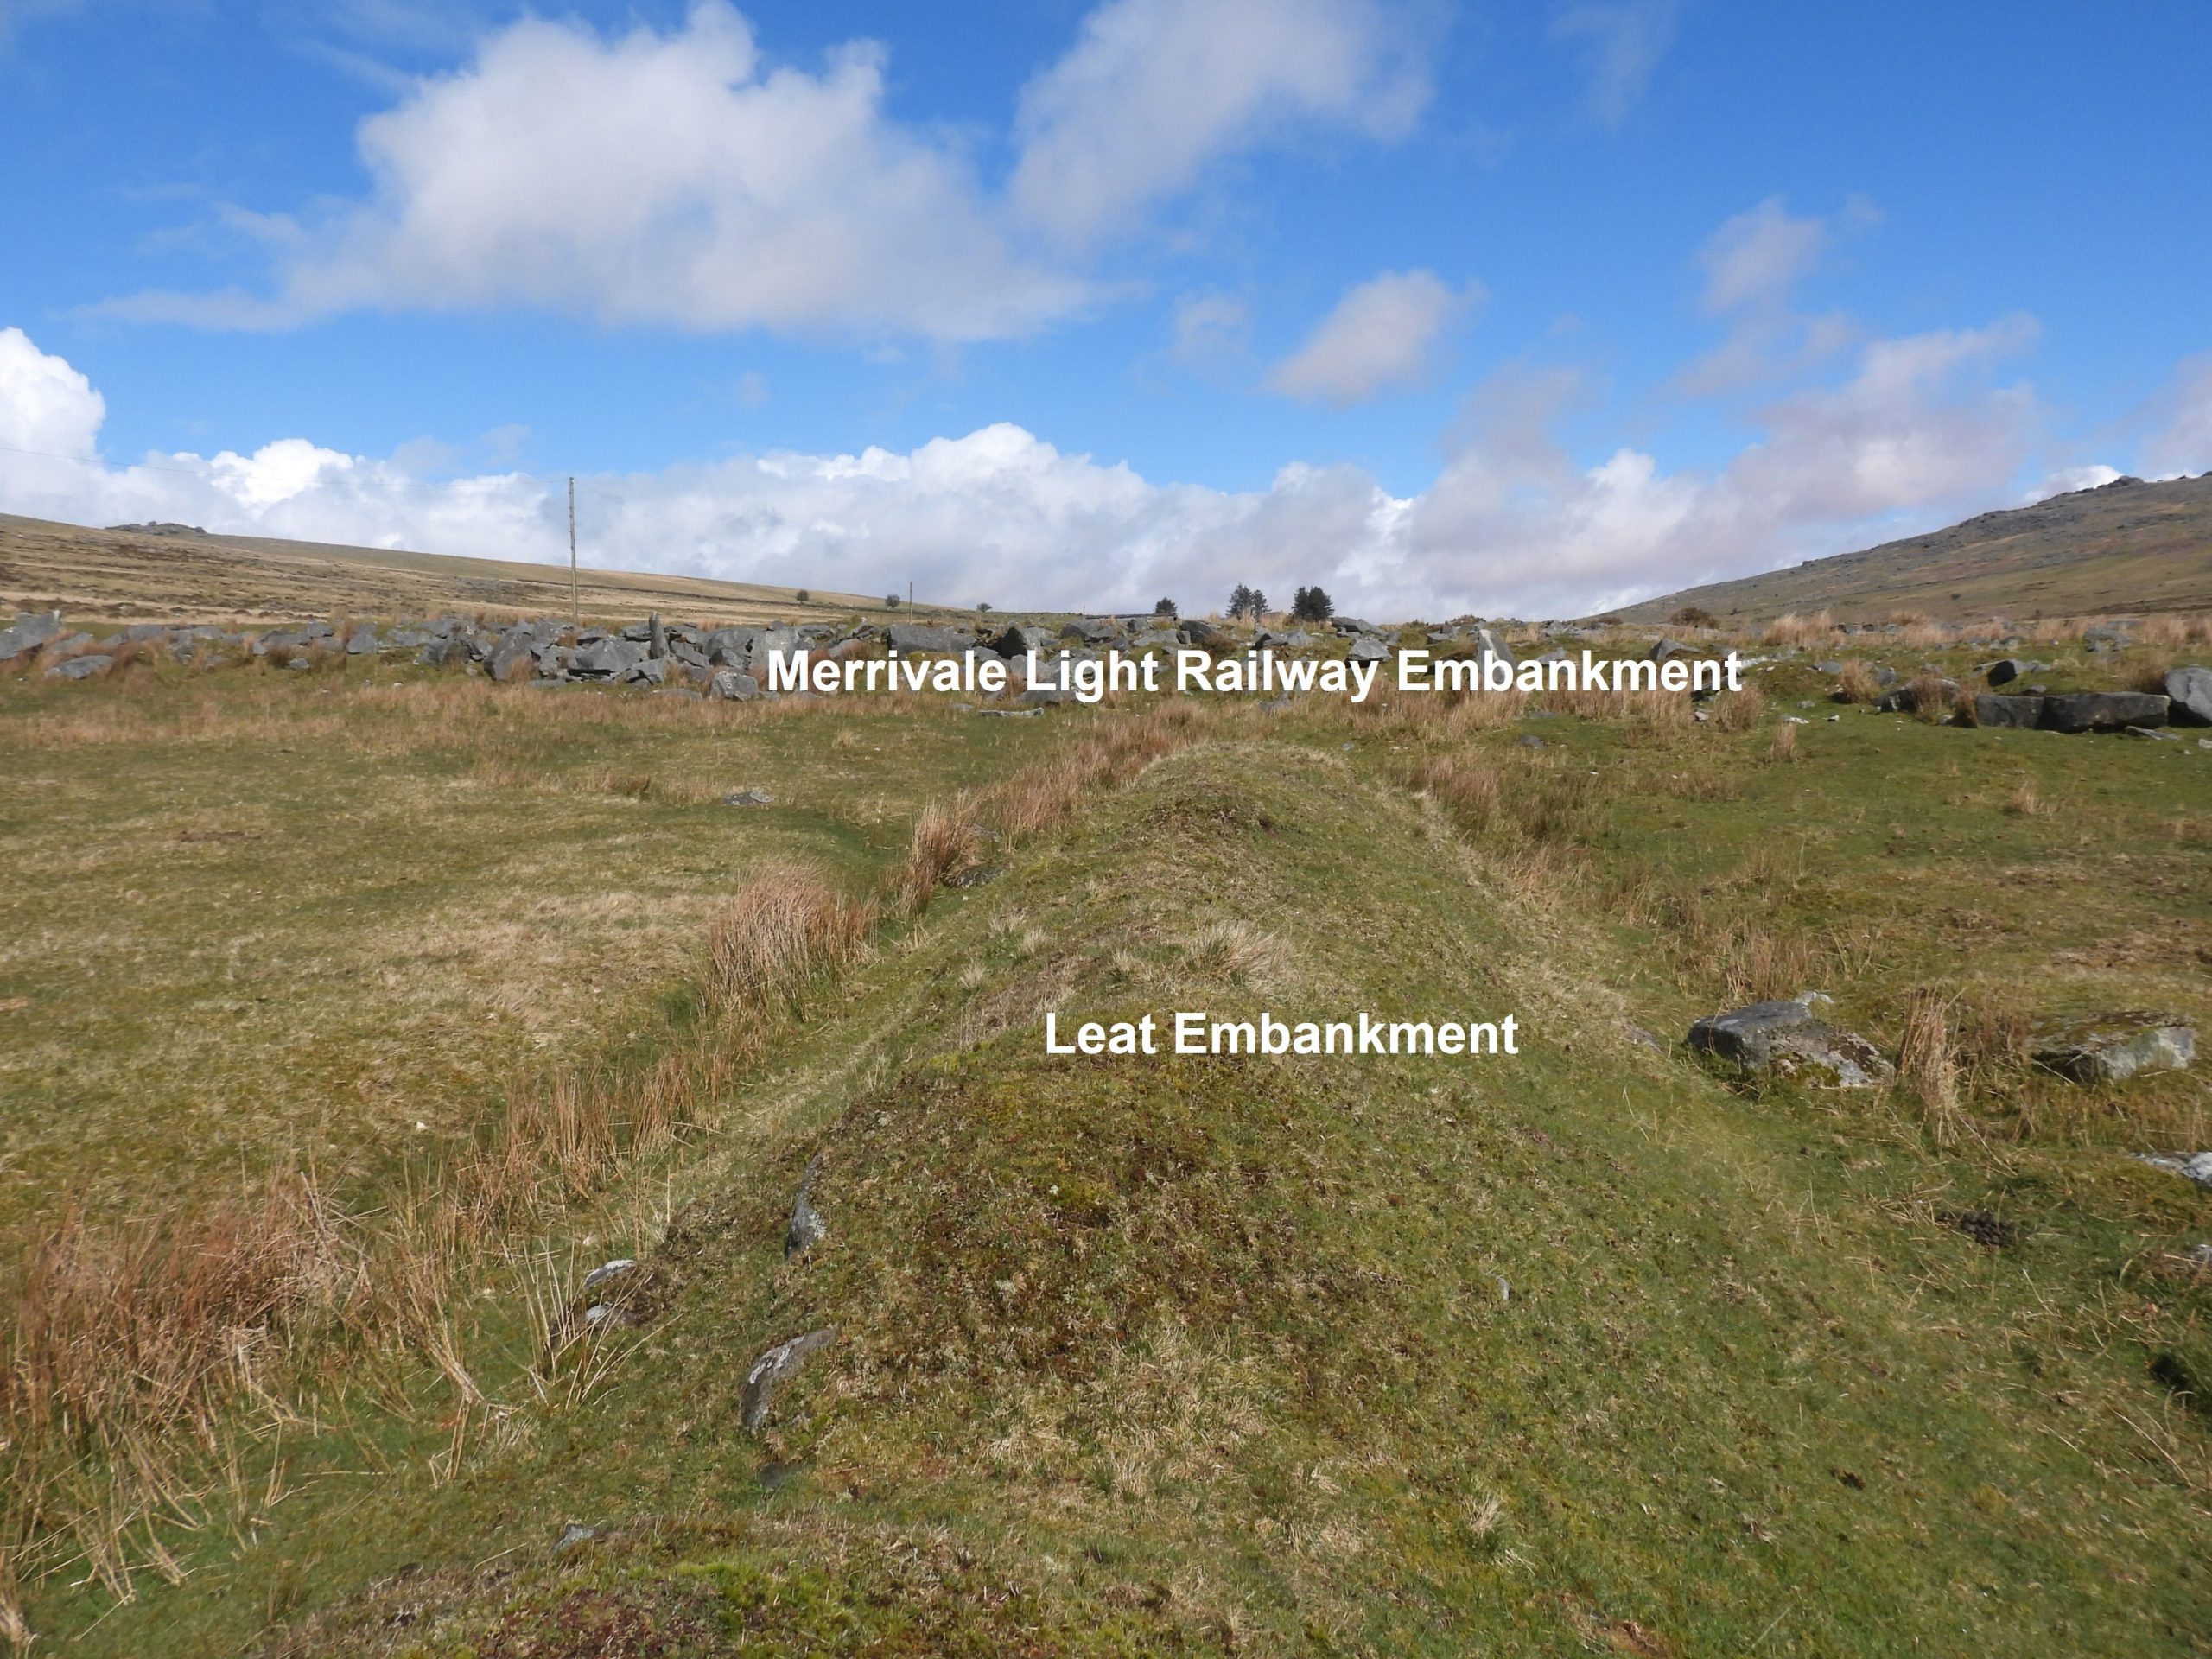
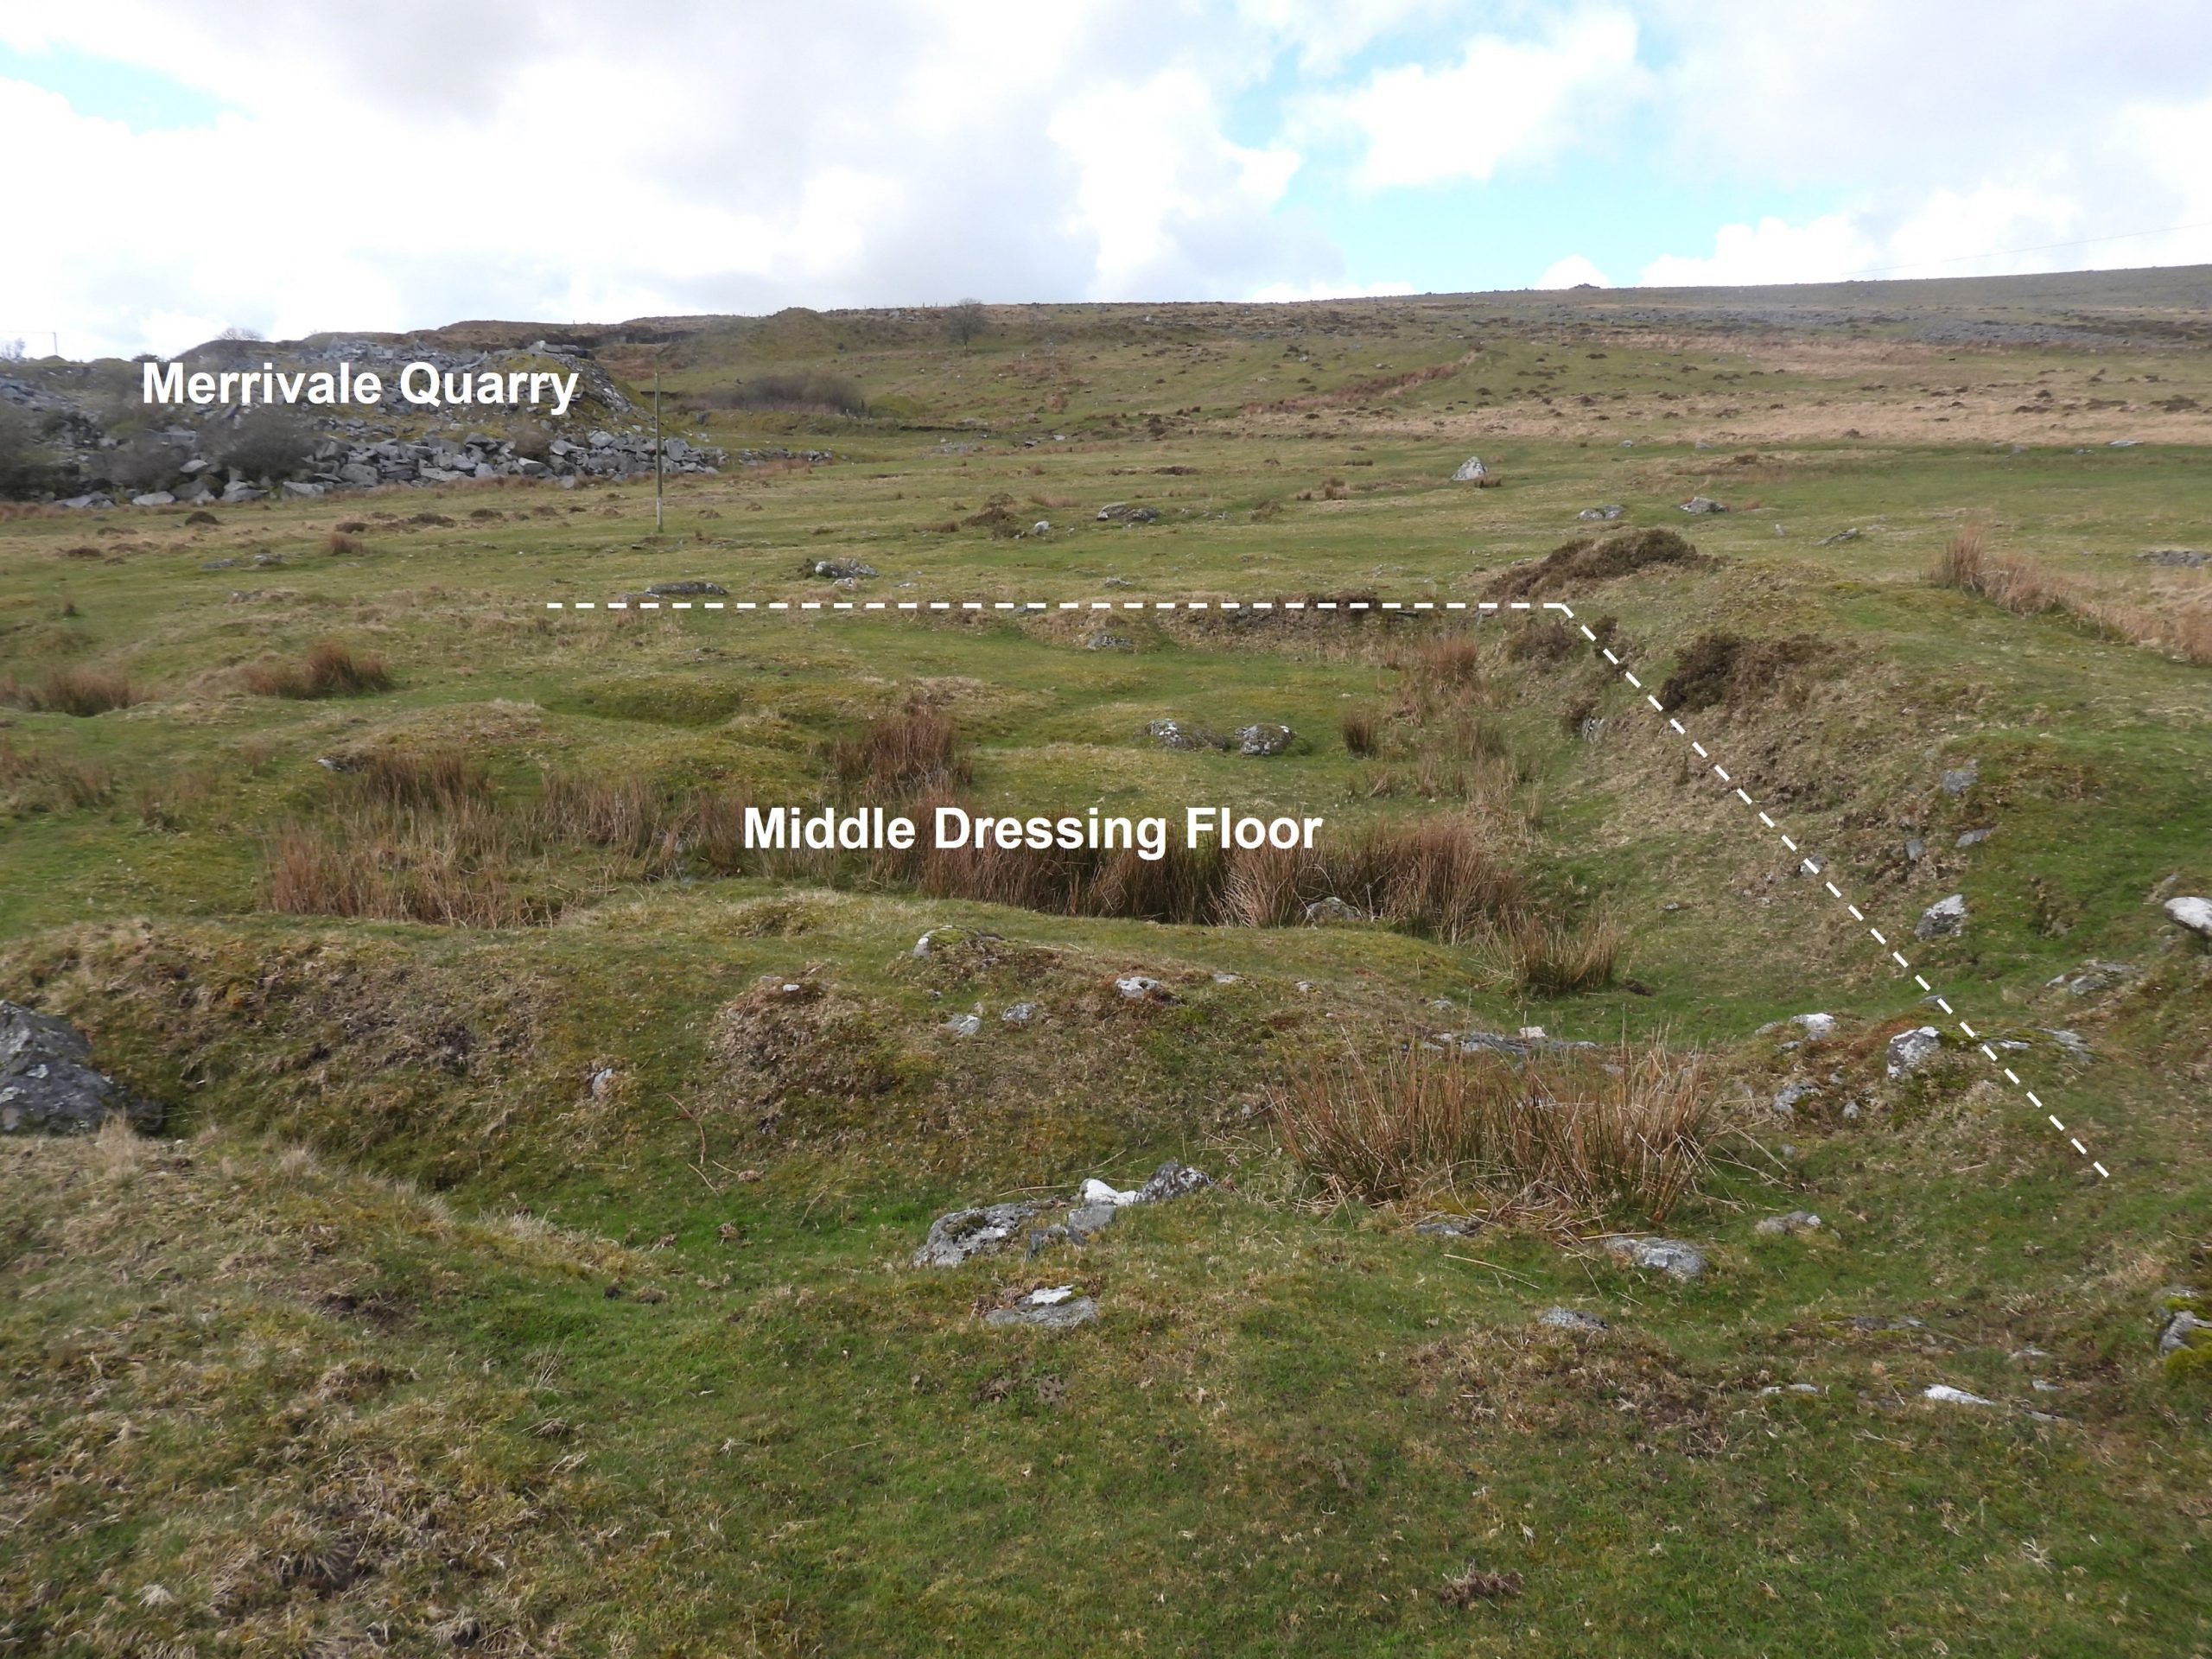
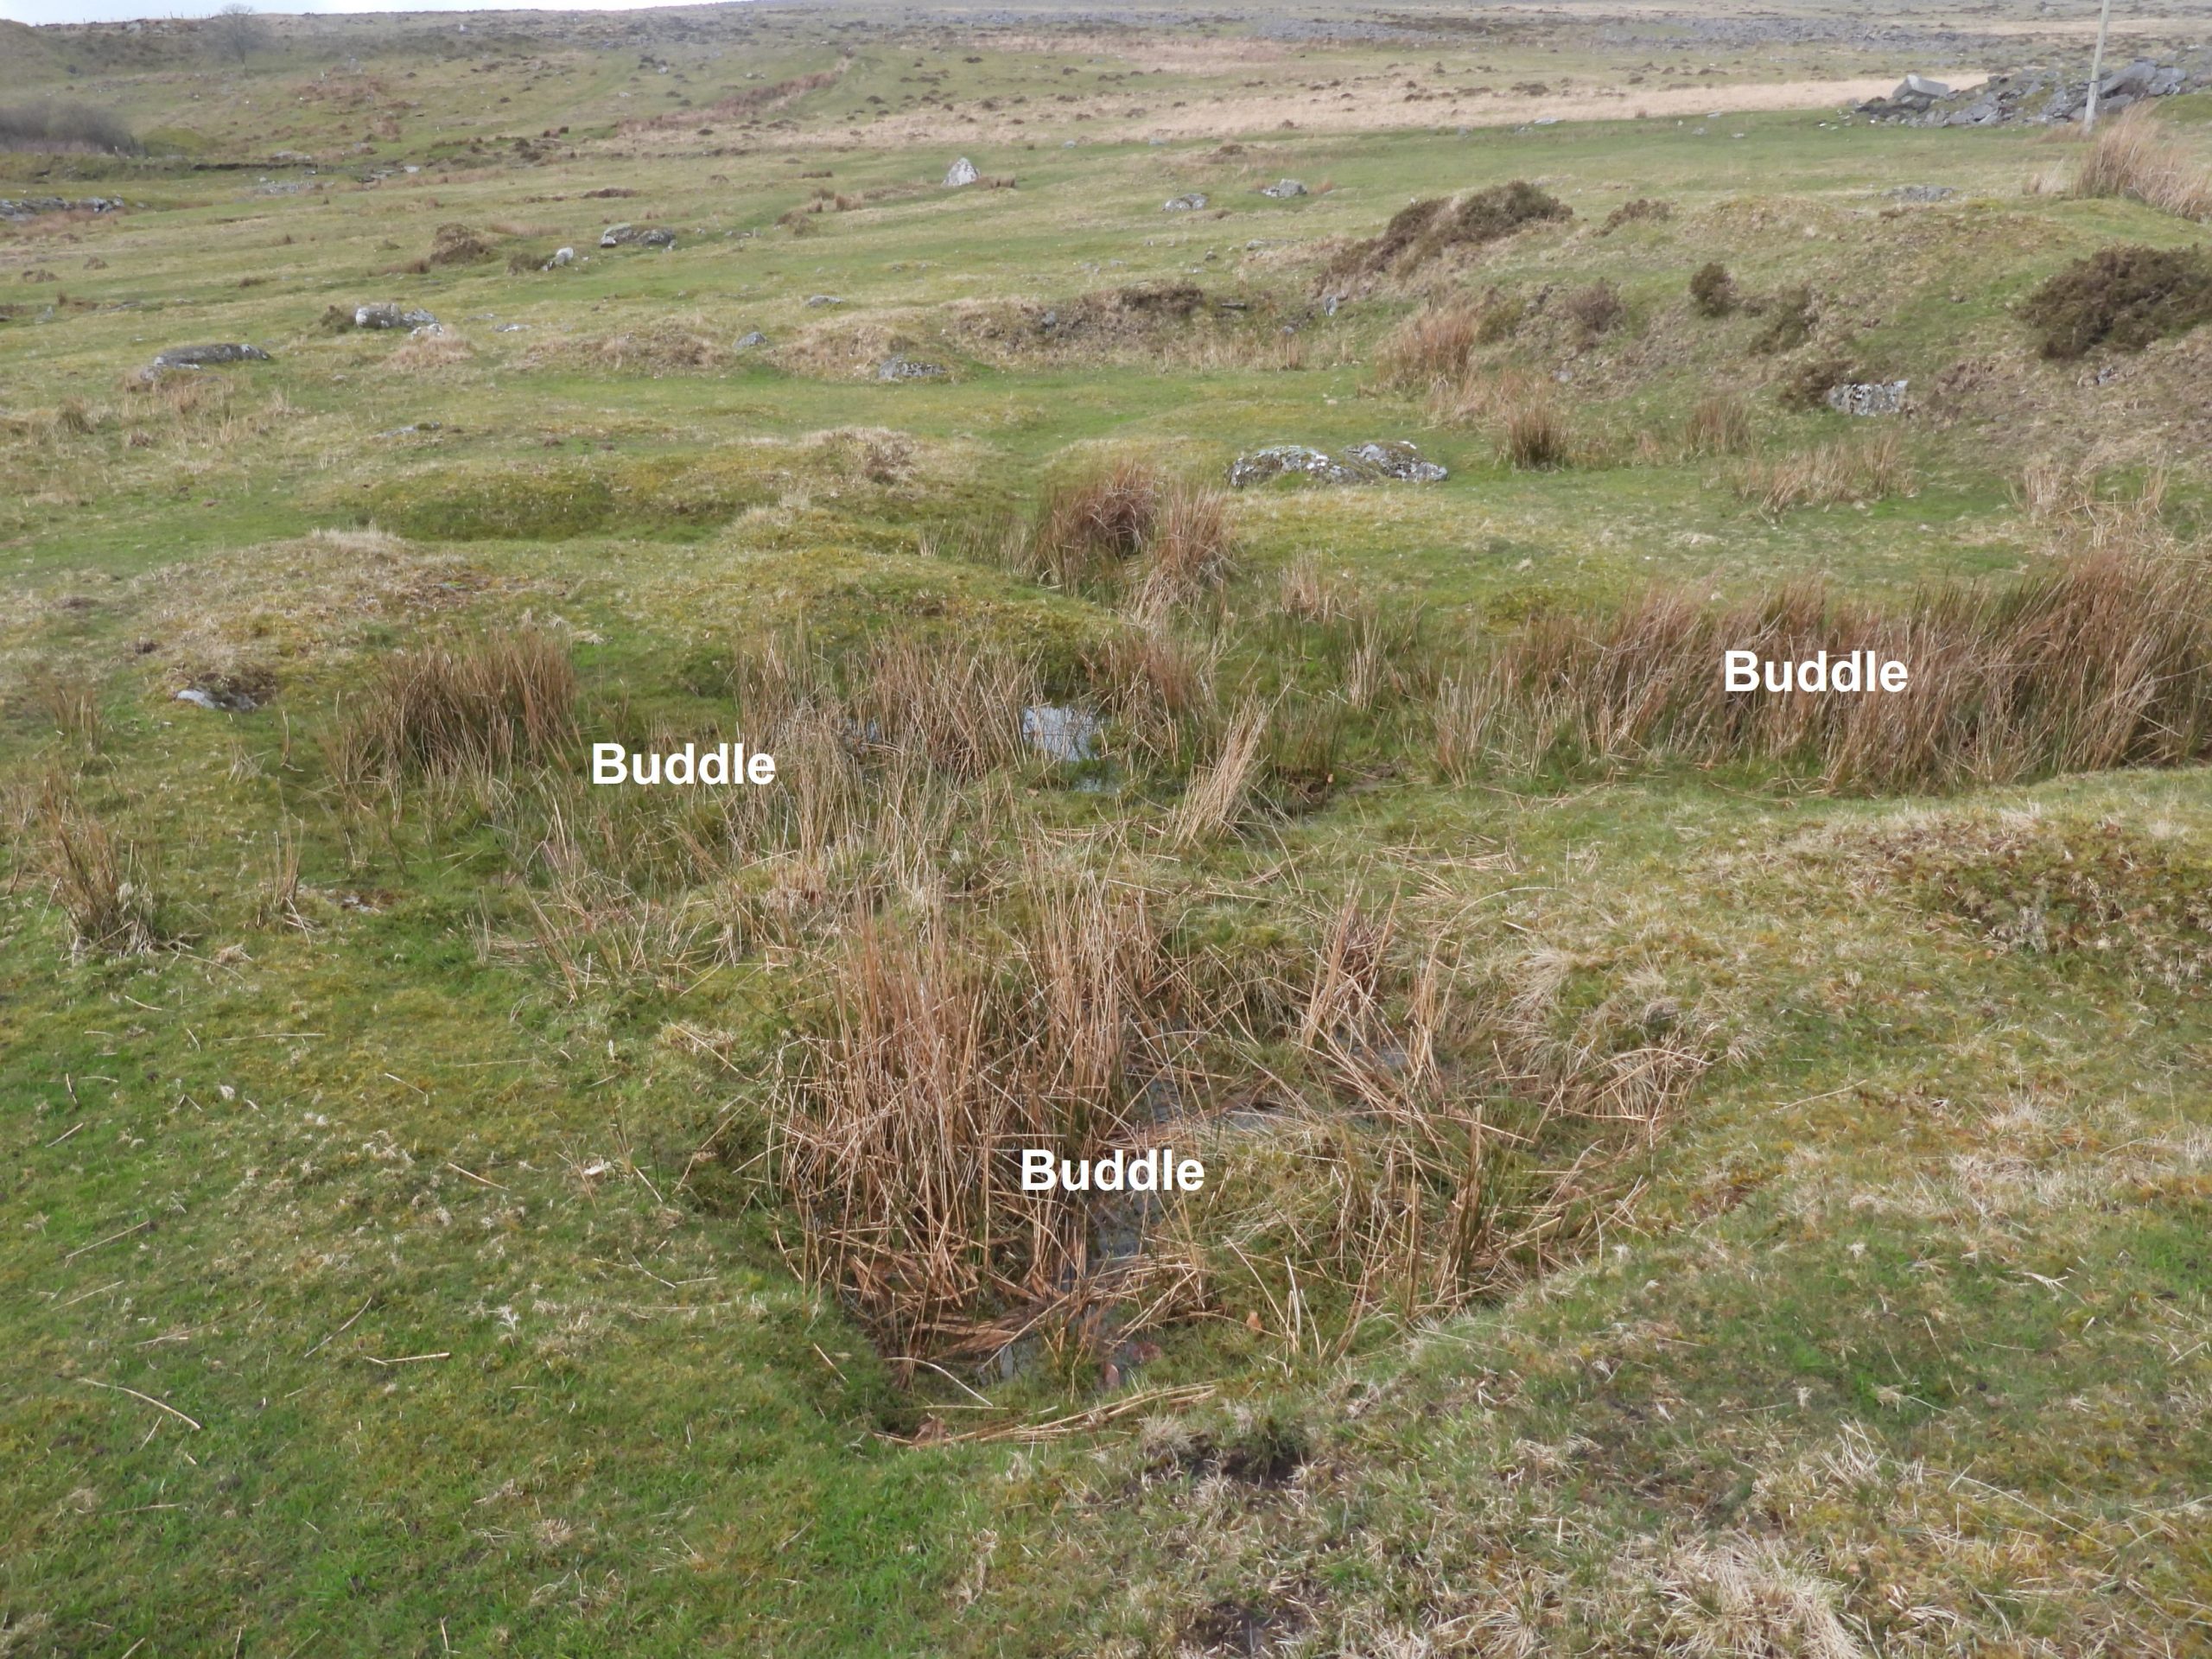
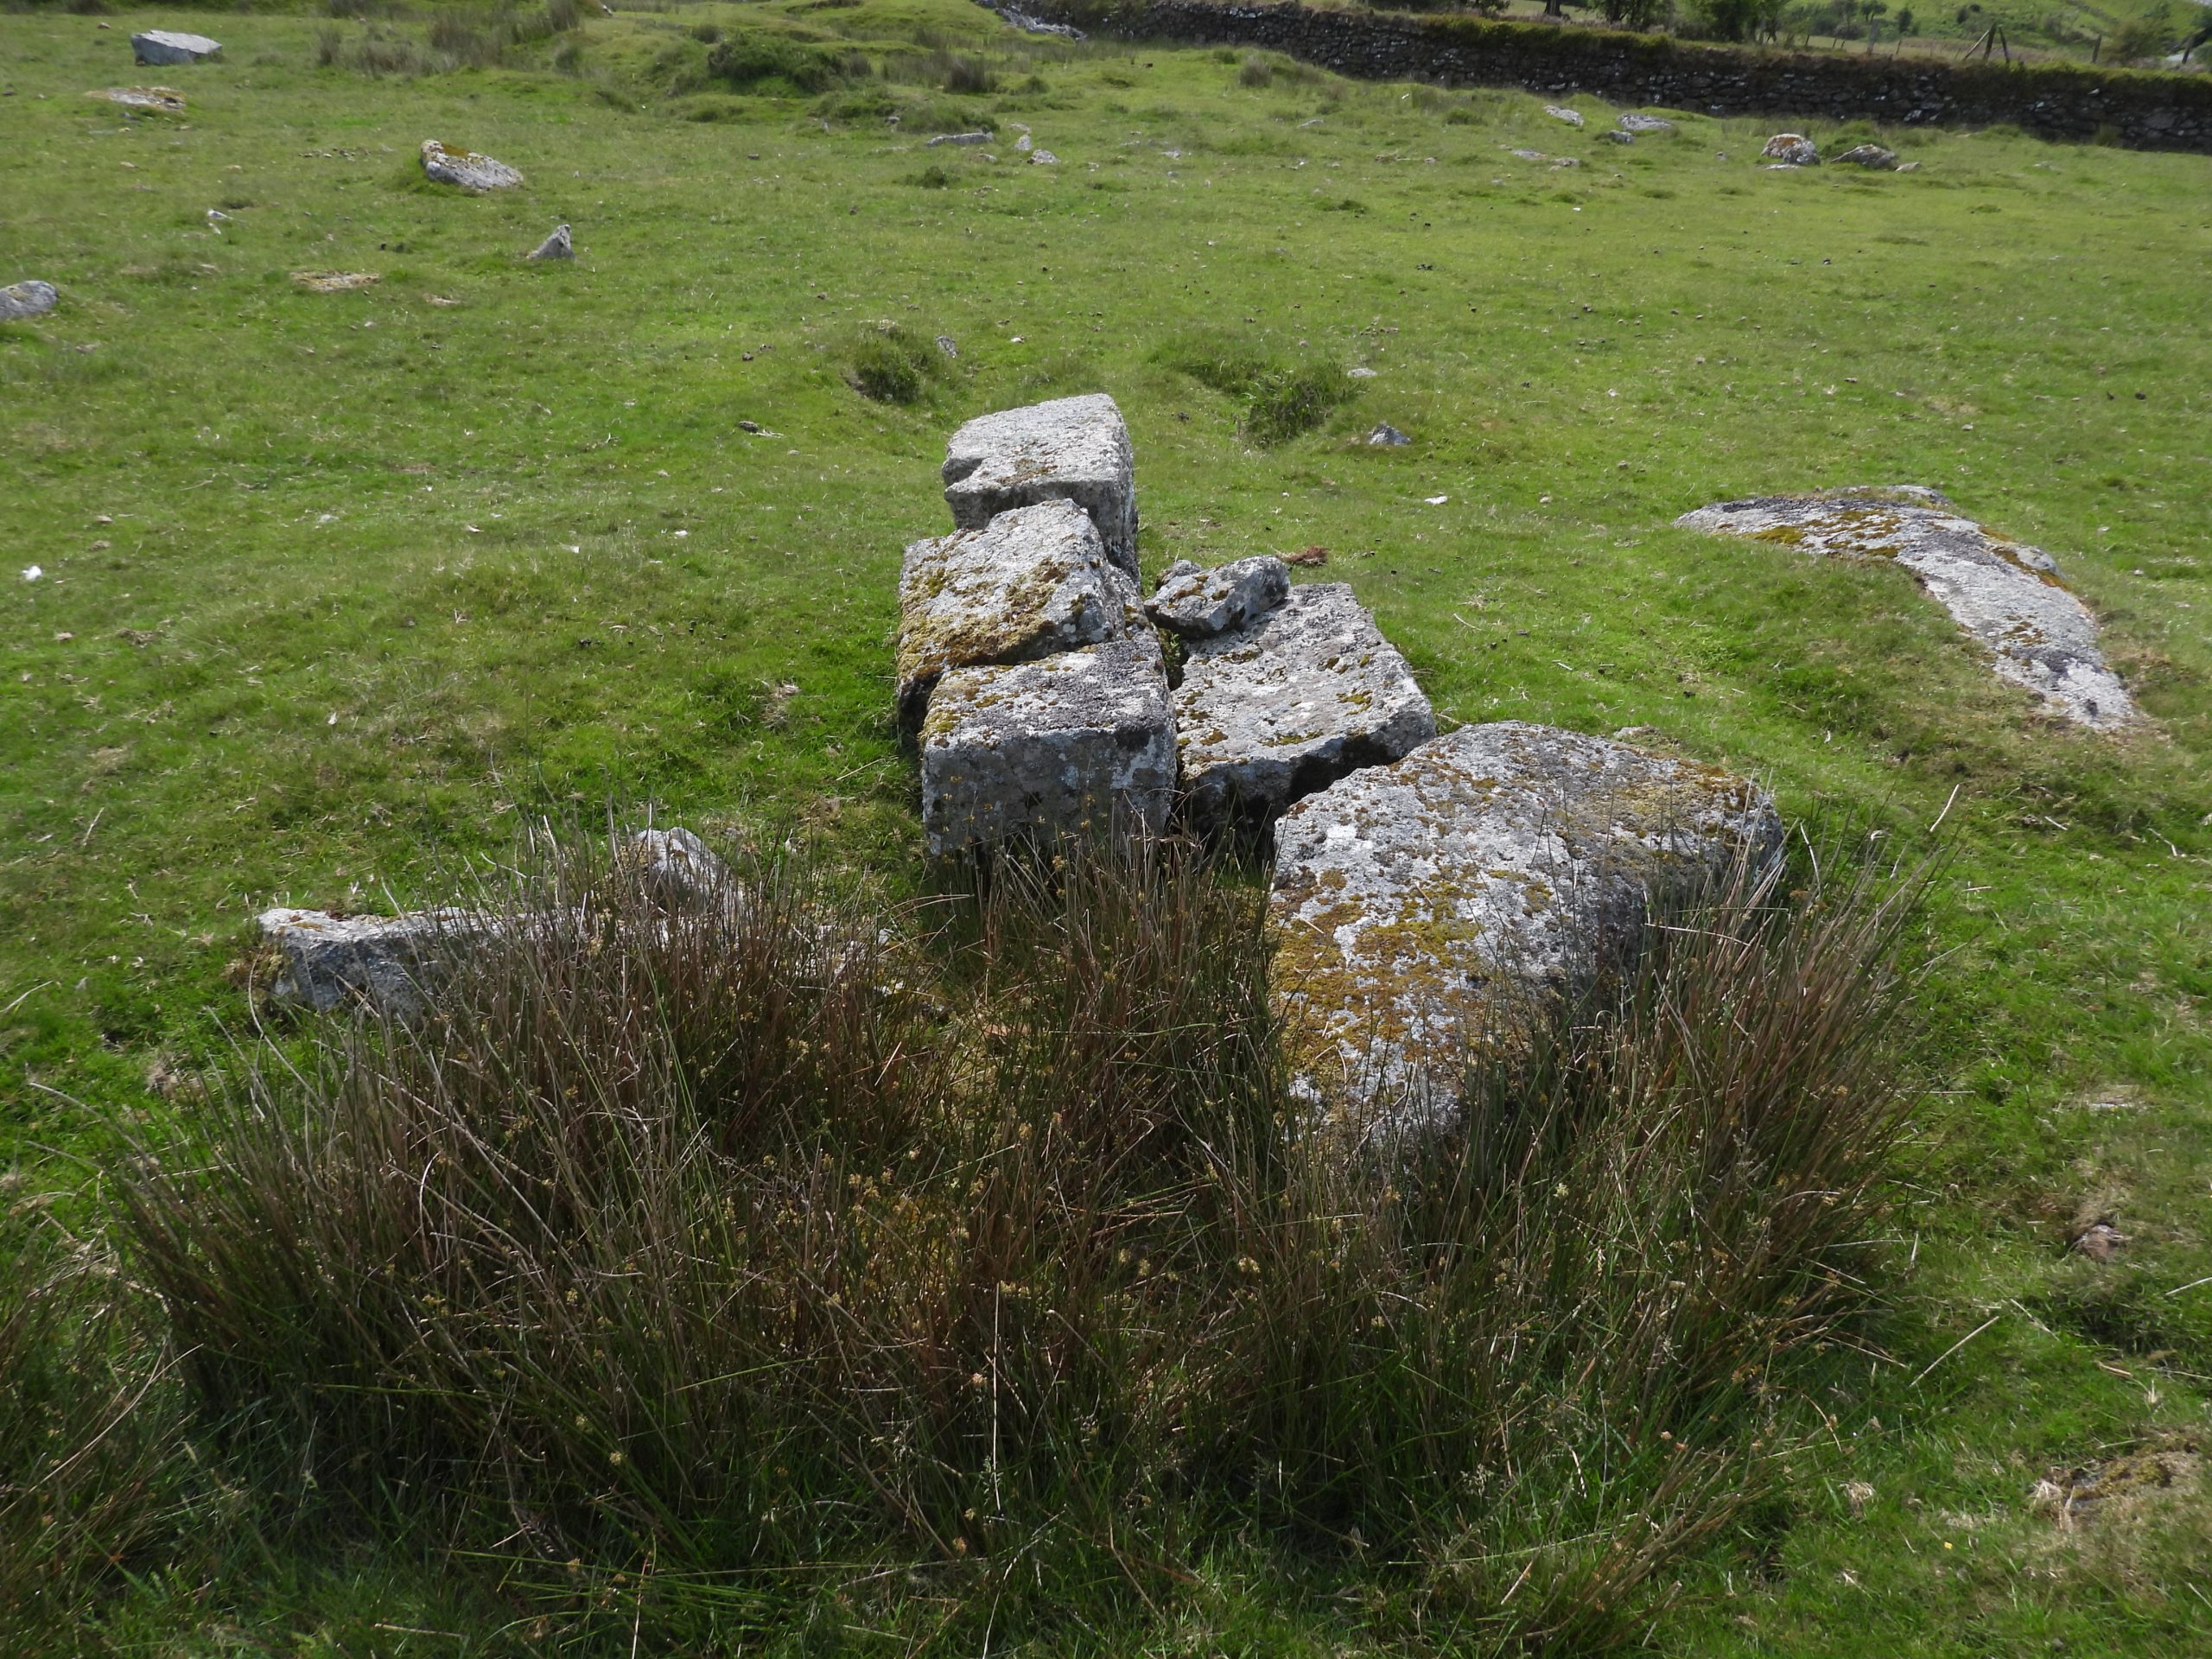
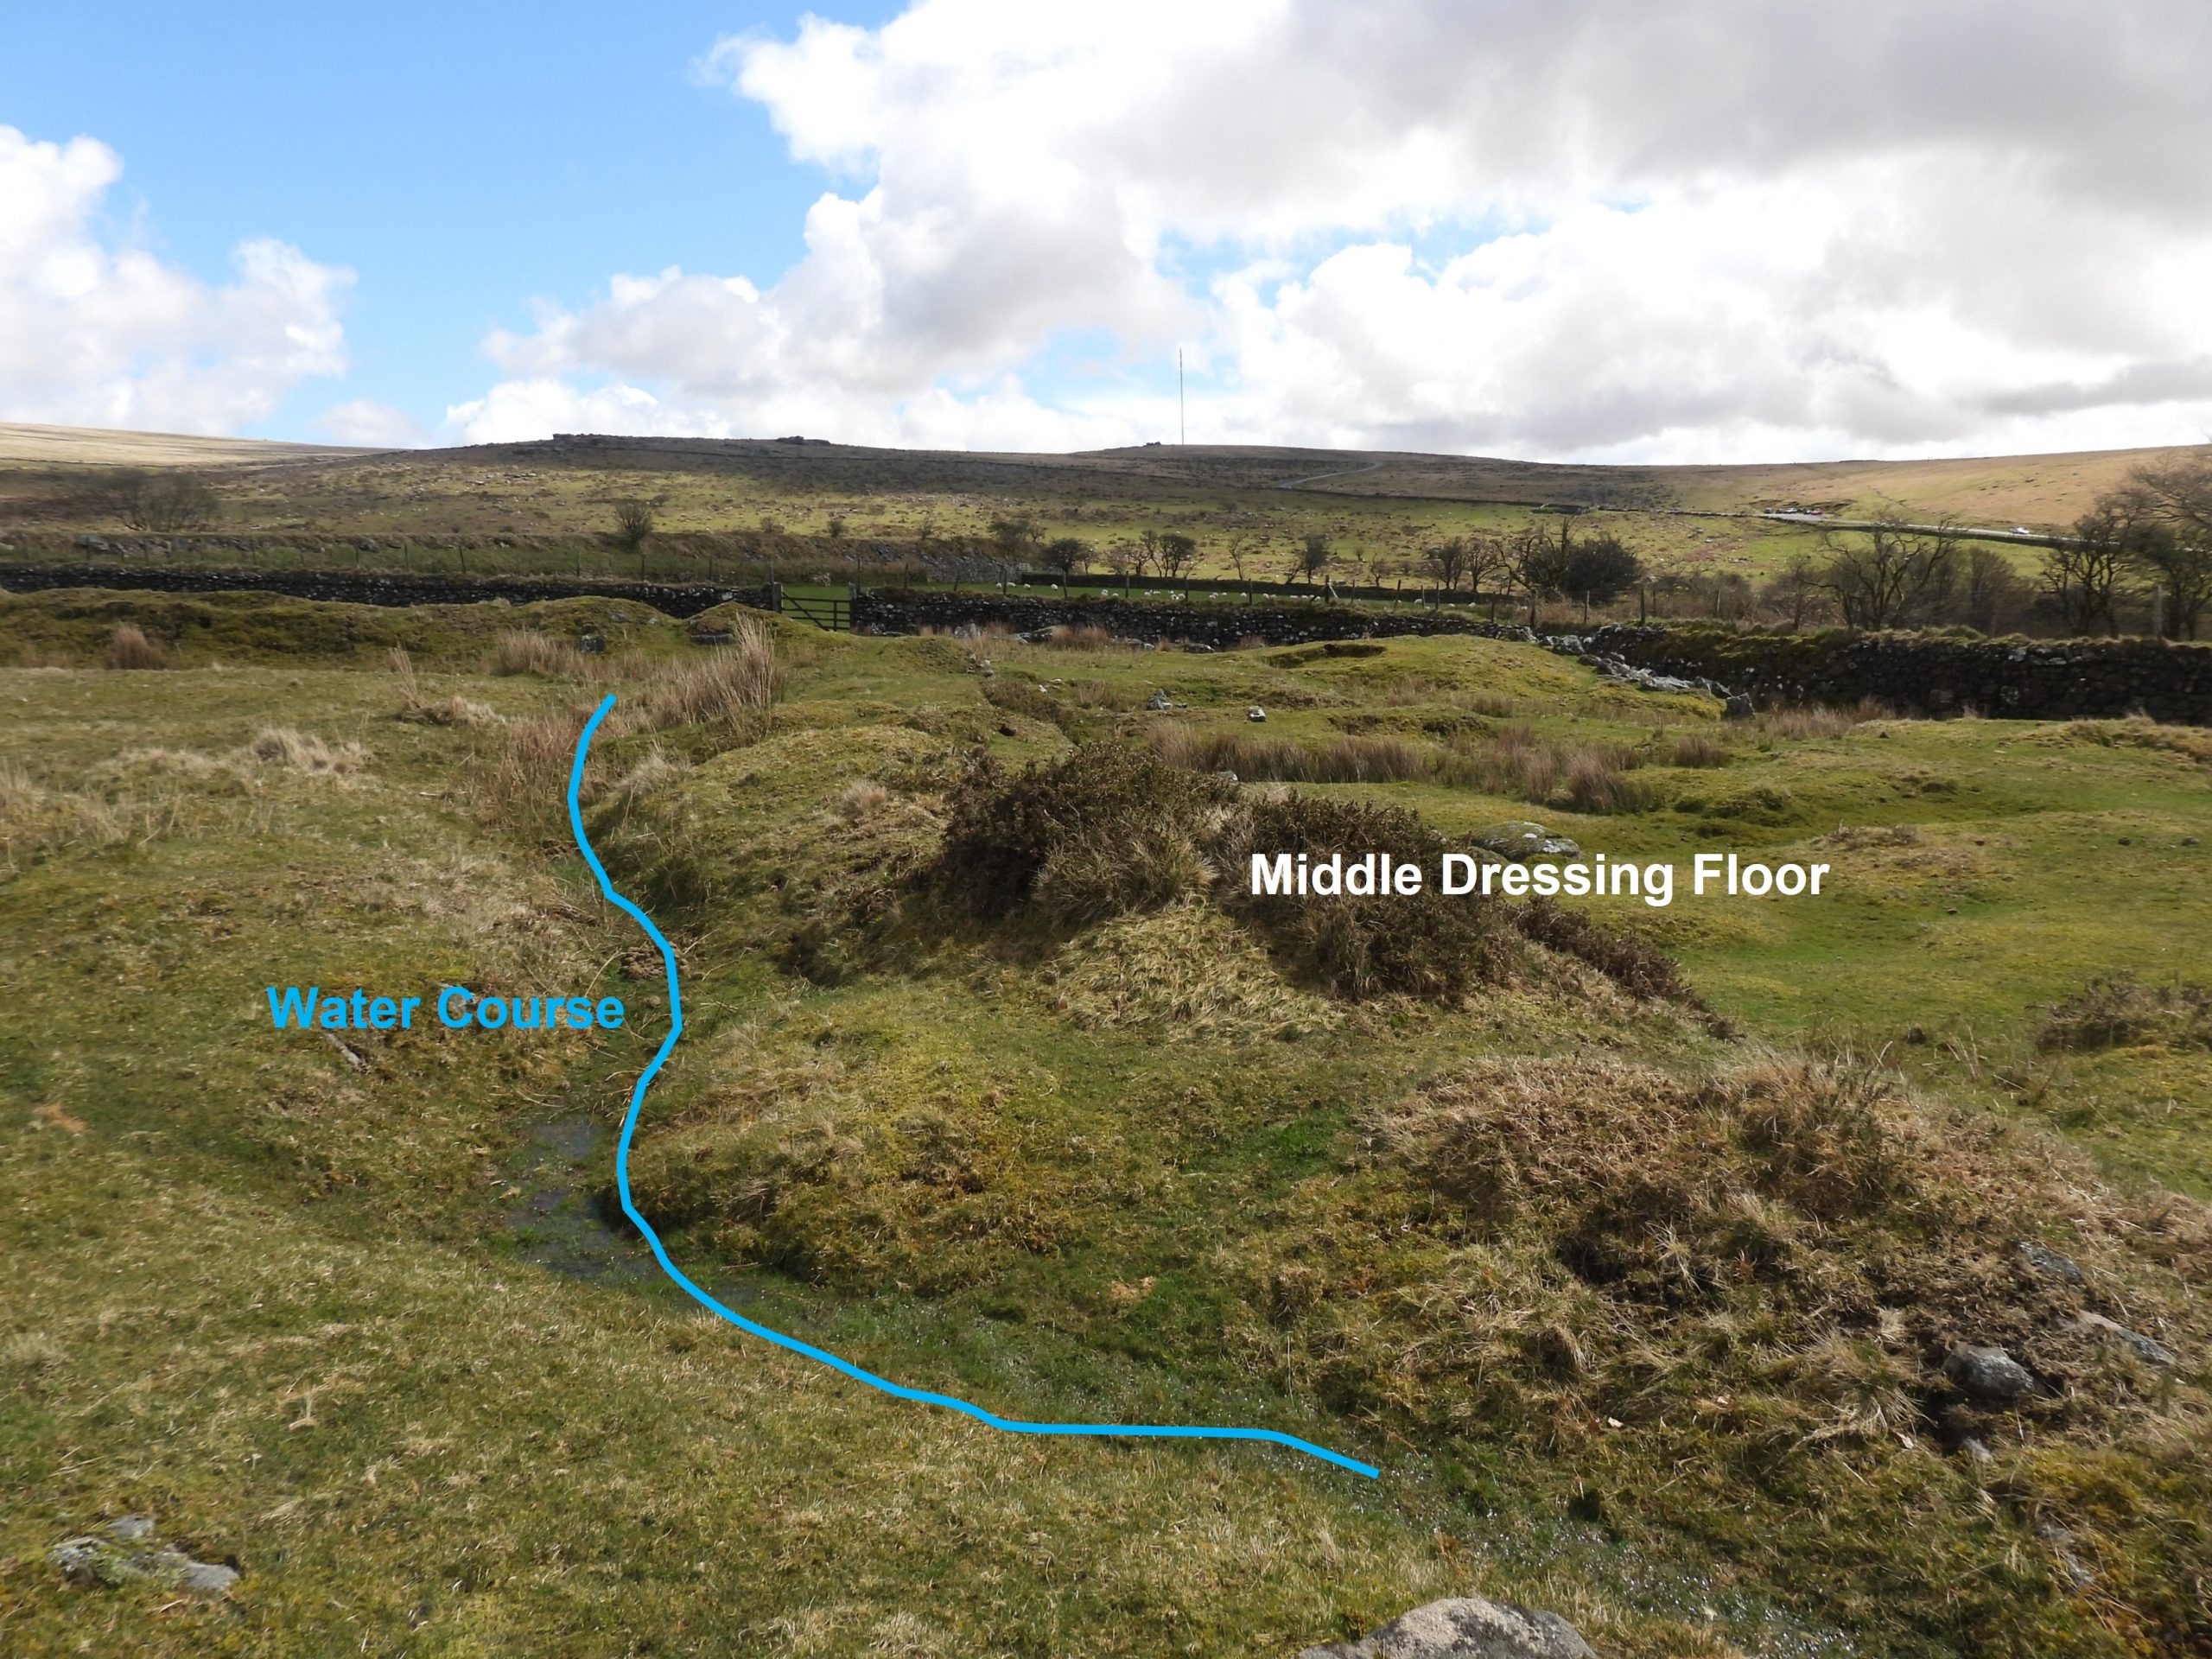
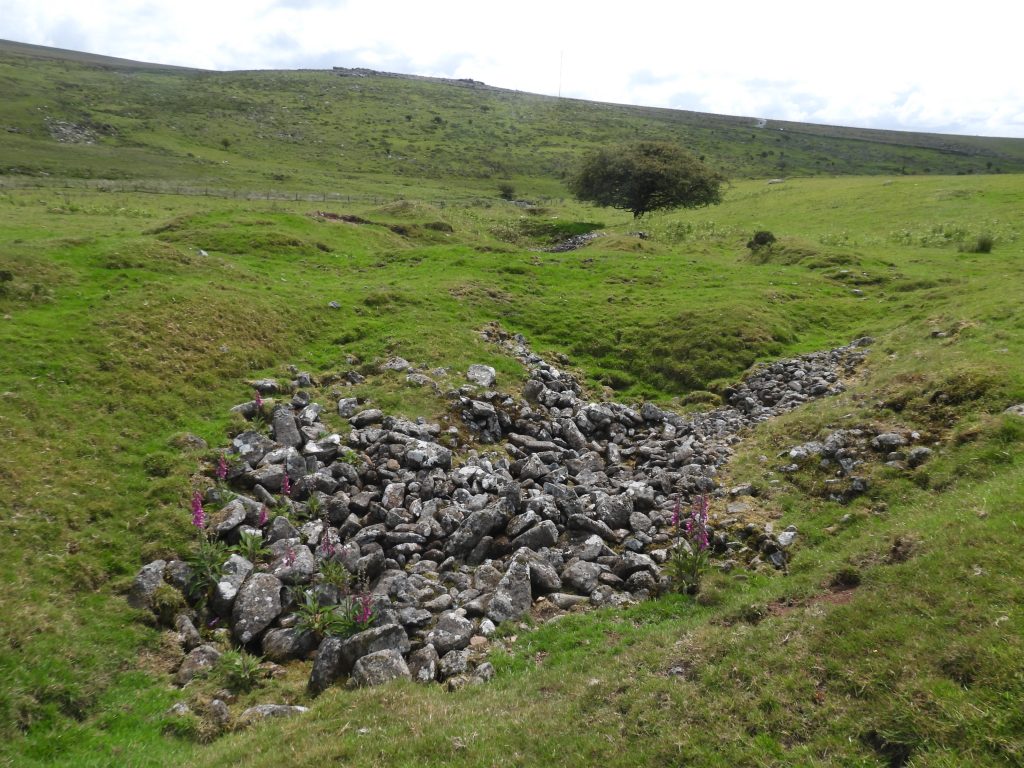
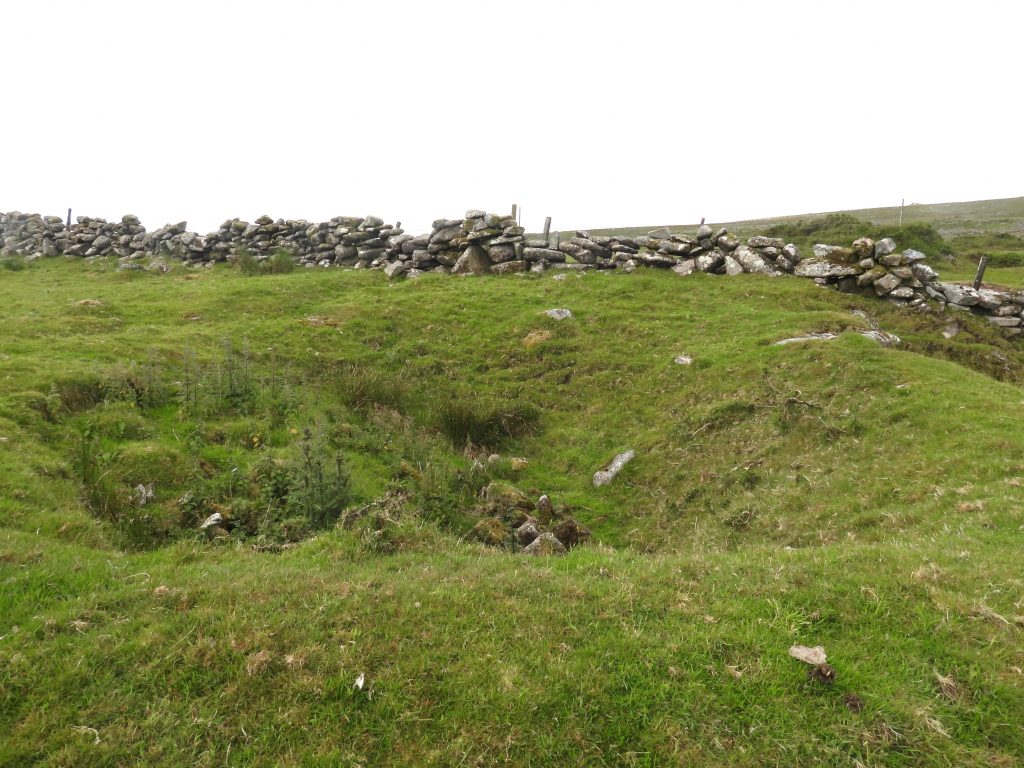
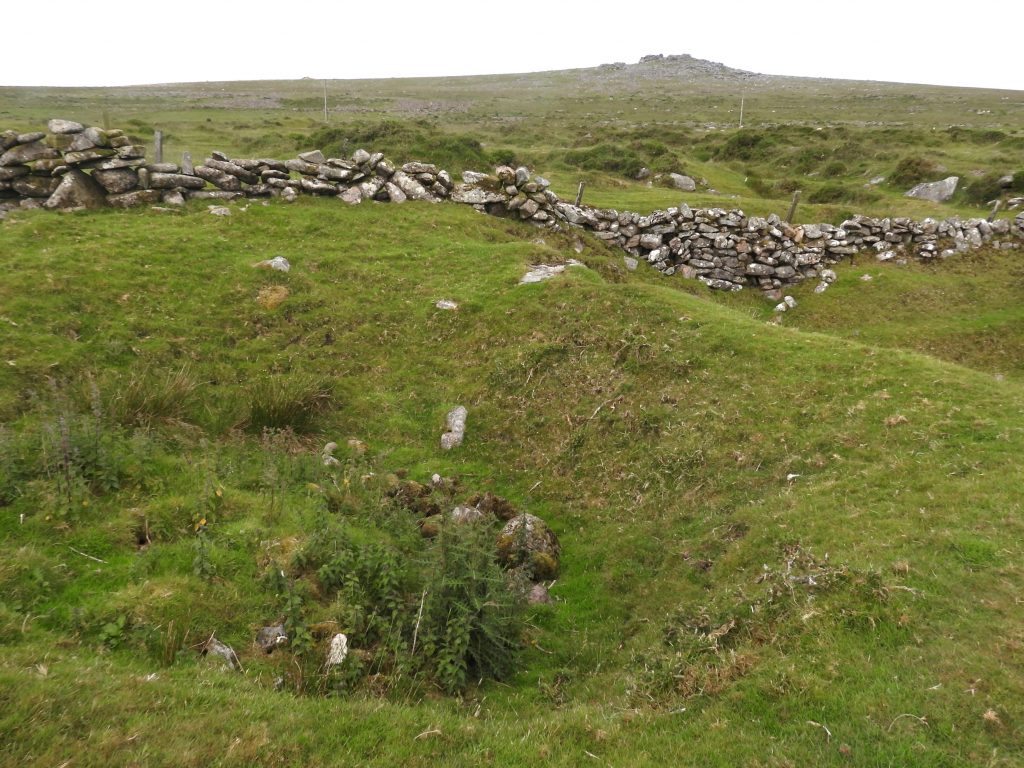
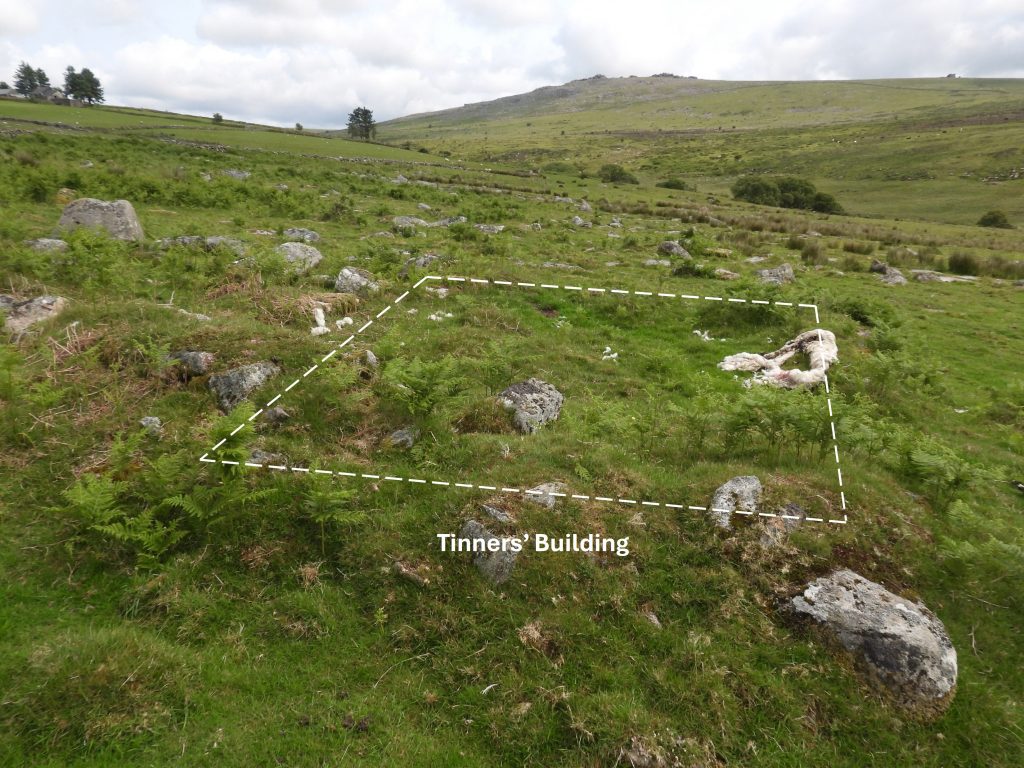
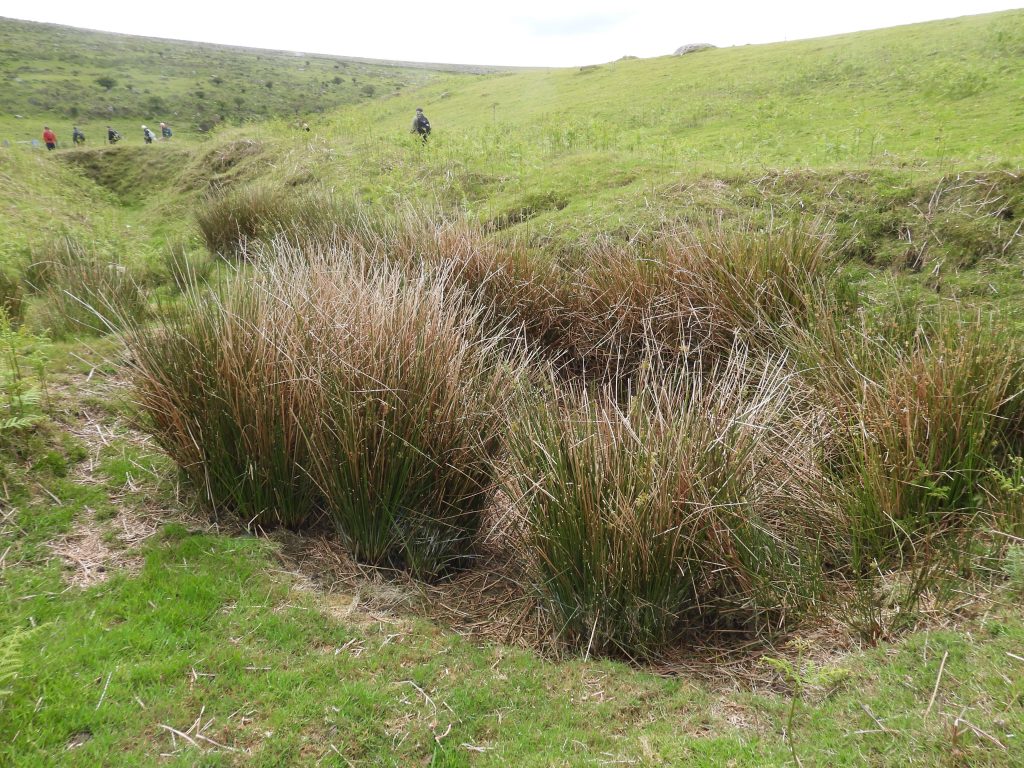
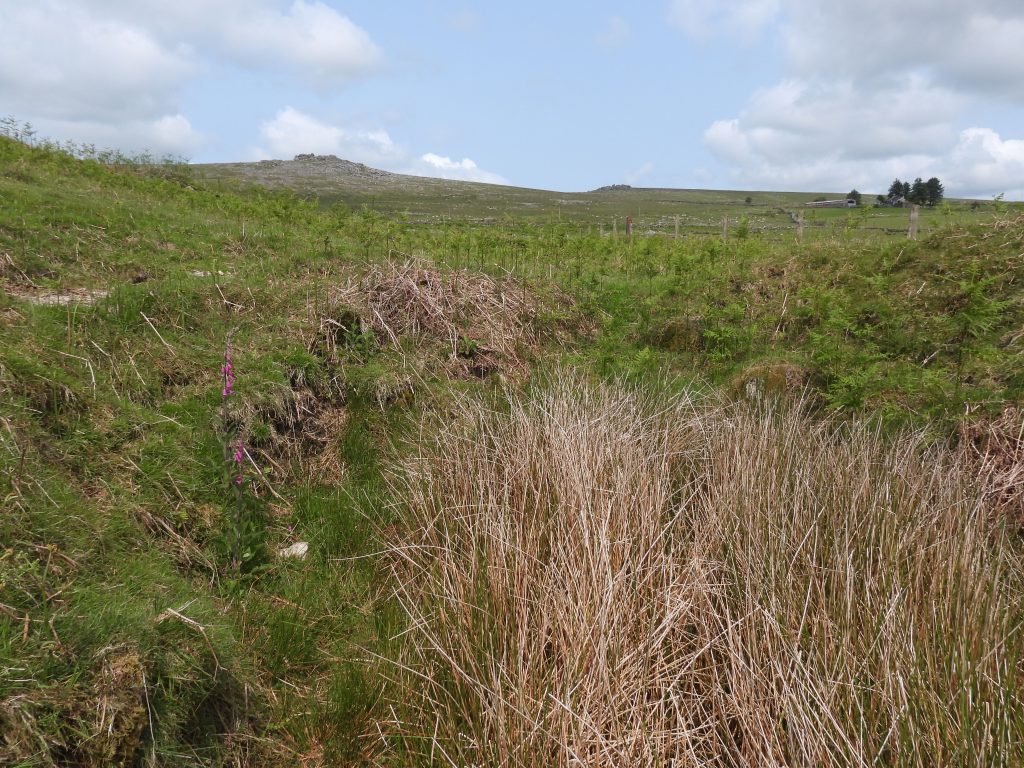
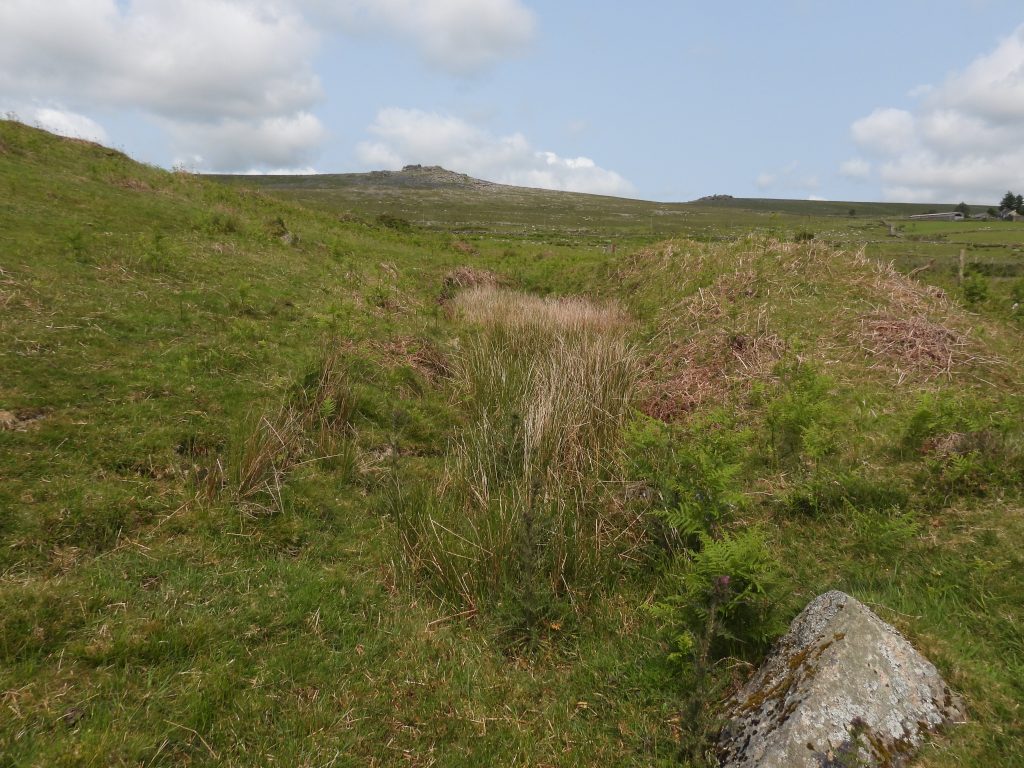
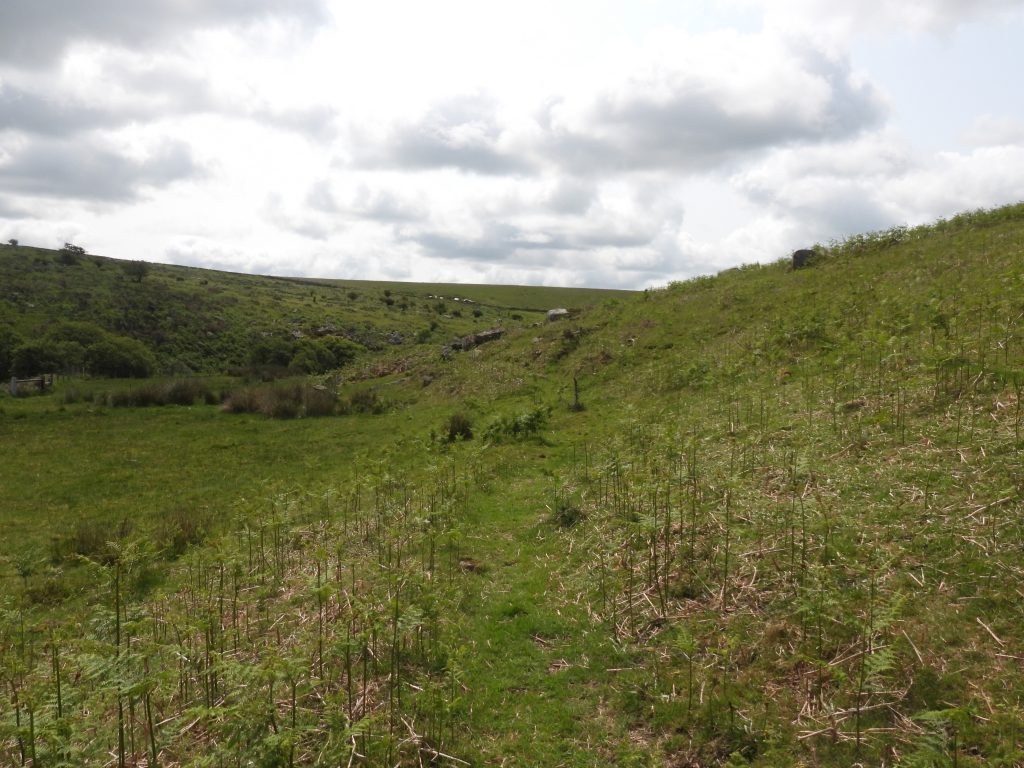
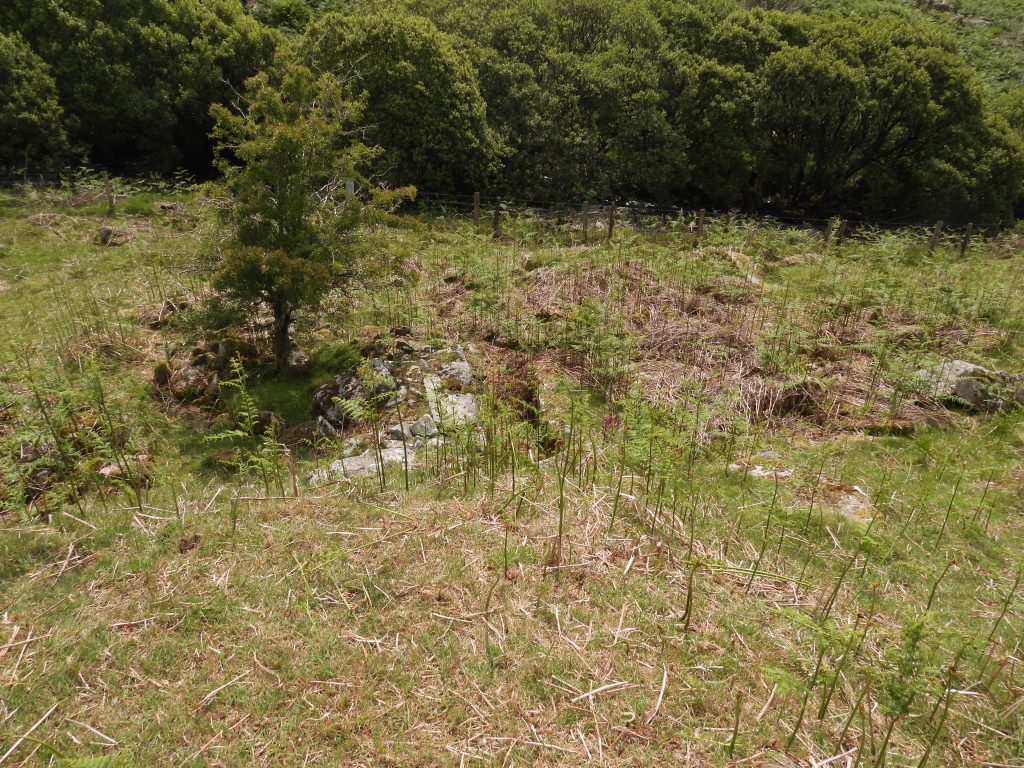
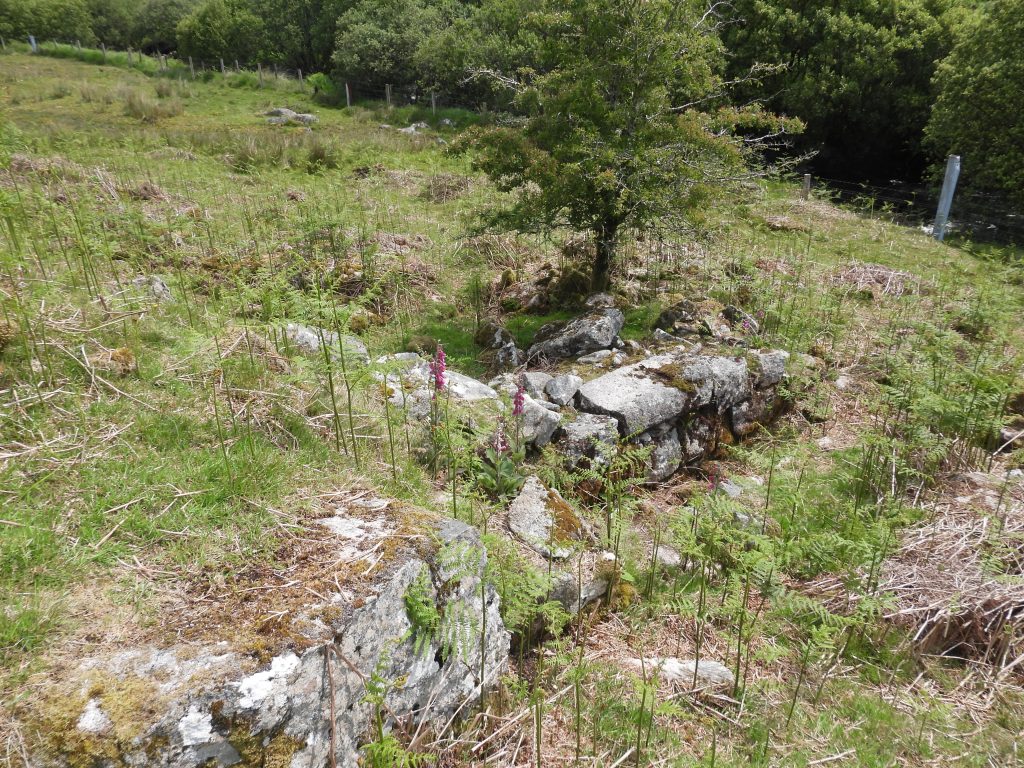
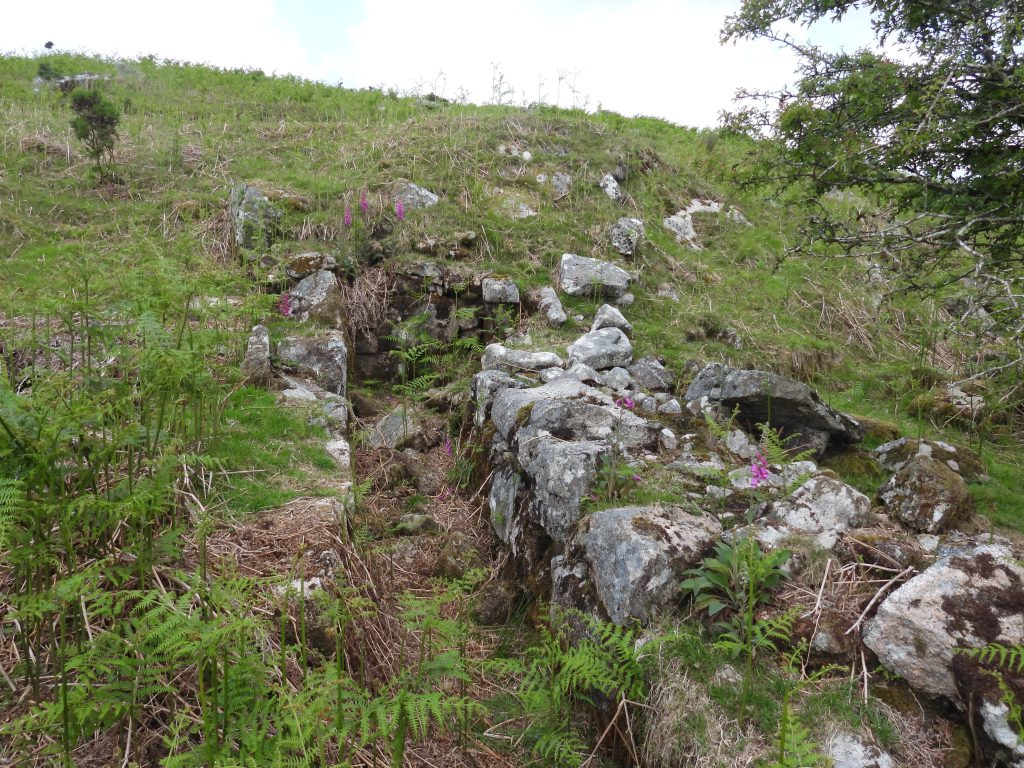
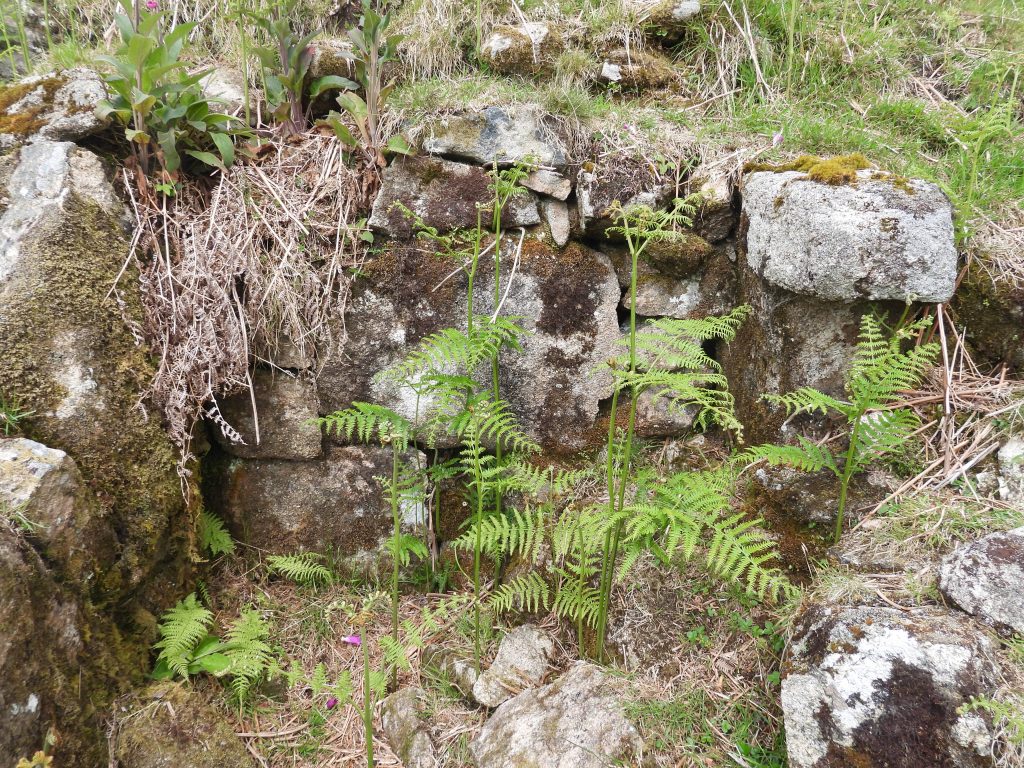
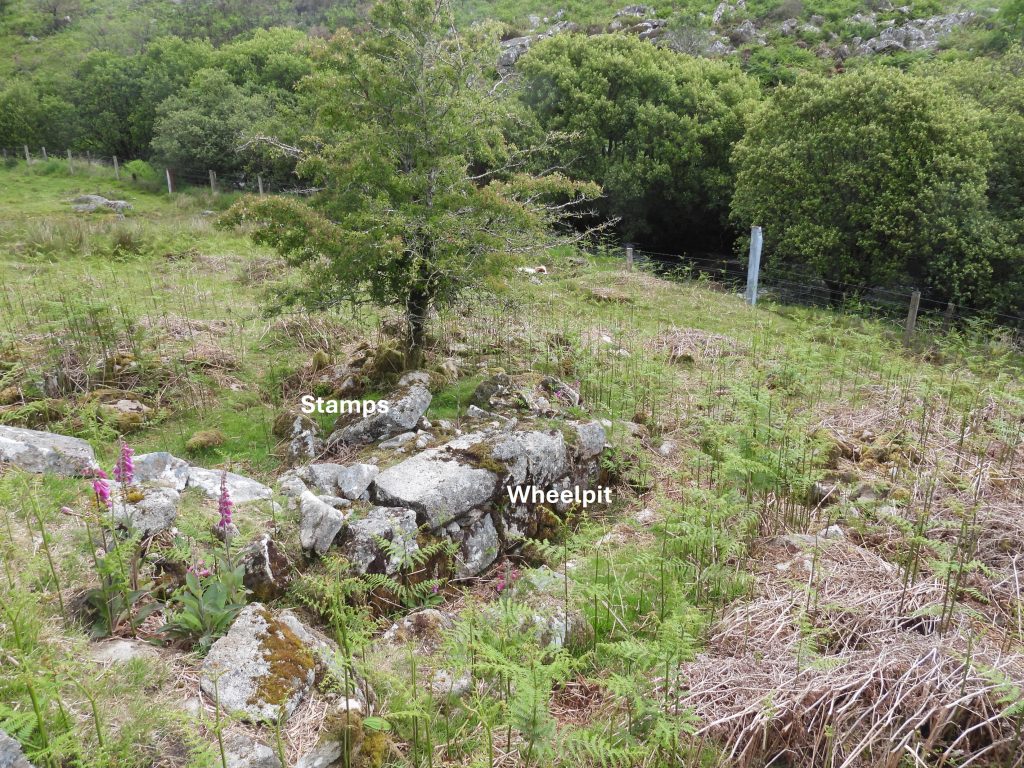
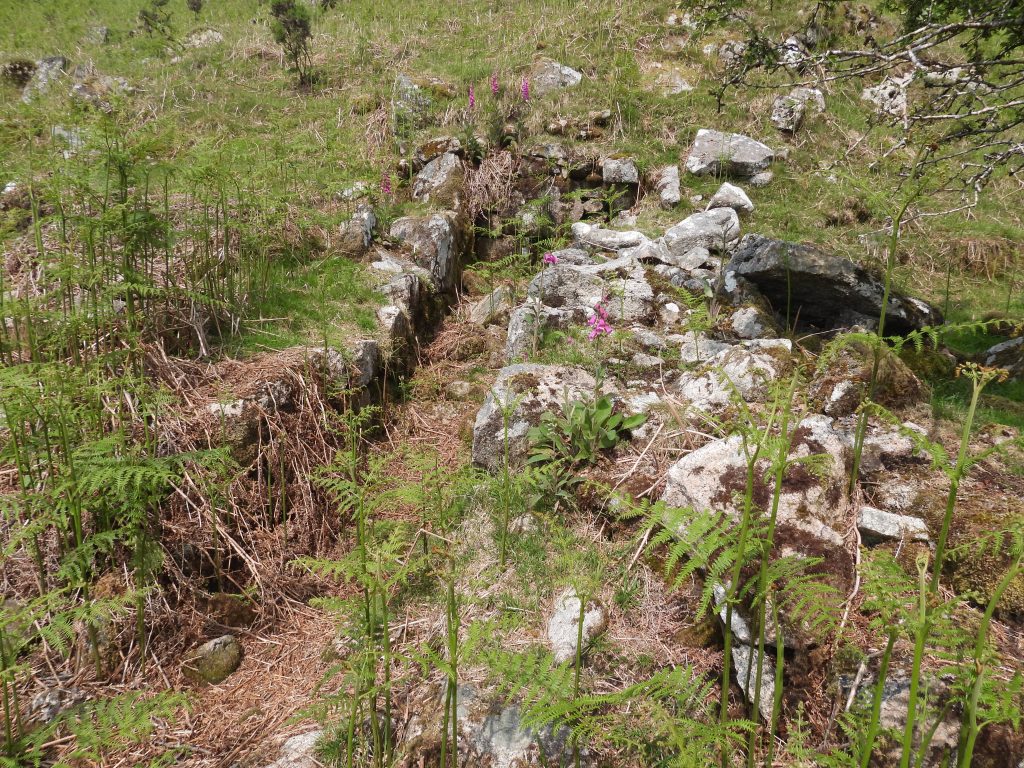
The Upper Dressing Floor is described in the Dartmoor HER (Tom Greeves) as being an artificial terrace with revetment wall to rear and stone-lined wheelpit below. The attached picture shows the dressing floor (square blocks in the centre of the picture and the wheelpit in the foreground). The dressing floor is located at SX54956 75681.The description of the Upper Dressing Floor in the Dartmoor HER states: “There is no launder embankment above the dressing floor and it is possible this floor was never used. Prominent tailrace running south-east”. The Upper Dressing Floor is only 15m from the track.The Upper Dressing Floor doesn’t look like it was ever usedWheelpit associated with Upper Dressing Floor. The wheelpit is located at SX54948 75676There is a substantial tailrace leading away from the Upper Dressing Floor WheelpitUpper Dressing Floor, Wheelpit and Tailrace. The lack of a Leat Embankment here casts another doubt whether this Upper Dressing Floor was ever usedPossible leat (next to track) leading to Upper Dressing FloorAt the top (west end) of the main workings is a flat area which is bounded by low banks and is thought to have been a Tinners’ ReservoirOpenworkings just below the Tinners’ ReservoirA prominent leat embankment runs parallel to the main mine workings (between the Upper and Middle Dressing Floor). This leat supplied the pumping ‘wheel’ at Wheal Fortune Mine. The leat can be traced up the slopes of Great Staple Tor. The leat branches from the well-defined ‘Longford Leat’.The centre of the leat embankment was recorded at SX54906 75526.These Linear trenches with spoil dumps on either side of the gully are believed that may represent an openworking phase of the Wheal Fortune Mine (ref: Phil Newman, Fieldwork and survey at Wheal Fortune Mine, May 1993). The trench in the above picture does give the impression of possibly being a former Wheelpit (see yellow rectangle on this post sketch map)A typical pit / shaft at the mineThe extraction at the mine consisted of line of pits and shafts running up the hill.The main mine workings have been recorded as being from 19th century.Zoomed in on the lower section of the openworks where there are piles of loose stones. It is suggested that these may have been a result of field clearance from the enclosure (which is on private land). The Walkham valley can be seen beyond.This rubble filled wheelpit was identified during fieldwork by Phil Newman. He recorded that the wheel would have powered pumping equipment (using flat rods) in the underground section of the mine.This wheelpit is located at SX54964 75512.A revetment wall can be discerned amongst the filled in pit.Below the wheelpit (to the left in this picture) is the main shaft head. Also, below (to the right in this picture) is a leat leading away from the tailrace which would have taken water to the Middle Dressing Floor.This photograph shows the (dry) leat which curves around the hillside (south). The Merrivale Light Railway stone embankment can be seen to the right and was built over the leat. Close up of WheelpitBelow the wheelpit is a large shafthead has an adjacent hollow, which may have been a balance-bob pit to operate the pump rods (ref: Newman).The main shaft was recorded at SX54992 75518. It is suggested that this underground phase of activity was of a later date than the adjacent pits.The Main Shaft with Balance Bob Pit in front The (dry) leat leading to the Middle Dressing Floor is quite discernible.The (dry) leat looking north from neat the Merrivale Light Railway stone embankment.Crossing the Merrivale Light Railway stone embankment the Middle Dressing Floor can be found. There are plenty of very discernible features at this location. Merrivale Light Railway EmbankmentMiddle Dressing Floor view from Merrivale Light Railway EmbankmentThe Middle Dressing Floor looking east.The wheel at the Middle Dressing Floor was served by a leat embankment which brought water via the leat from the pumping wheel at SX54964 75512.To the west of the wheelpit was the dressing floor, where three square buddles were located.Looking east across once of the square buddles and probable stamps area, showing the approx. location of the wheel here. The leat embankment is 21m long and 1.5m high. The size of the wheel was probably (estimated) as being 1m wide by 3m in diameter. This wheelpit is located at SX54927 75386.The Dartmoor HER records the ‘stamping mill with wheelpit’ being around 6.9m long. The three settling pits or square buddles have been interpreted by the author as shown in the annotated photograph.View of the wheelpit, stamps area and buddles from the top of the leat embankment.This picture shows the leat embankment looking north, towards the Merrivale Light Railway embankment which was built over the leat.Contextual picture of the Middle Dressing Floor in relation to Merrivale Quarry. The Middle Dressing Floor ‘enclosure’, to the west of wheelpit, measures 20m by 7m.The three square buddlesThis feature near the Middle Dressing Floor caught the eye. It is located at SX54886 75404 and is thought to be a location where granite from the quarrymen nearby was loaded onto a cartTrail Shaft near Middle Dressing Floor at SX54875 75391This gully around the Middle Dressing Floor appears to have either supplied water or indeed protected the site from flooding.The Merrivale Light Railway stone embankment as seen from close to the Middle Dressing Floor.At the entrance to the main part of the embankment are a pair of rather grand granite posts. It would seem it was a lot of effort for no reward. The 250m long stone embankment is very substantial. Thankfully, this was the extent of the construction. There would have been two bridges needed to have been built plus a major cutting next to the Merrivale Bronze Age antiquities.Merrivale Light Railway: In 1908 plans were drawn up by Prigg & Lindon (Engineers) for this railway. It was to be 1 mile, 5 furlongs and 7.25 chains long, which is 1.72 miles or 2.76km. (NOTE: A furlong is 220 yards and a chain is 22 yards). It was to be of standard 4 ft 8.5″ gauge and its departure point was just past the Swell Tor sidings on the main Yelverton – Princetown line. More information here: https://dartmoorexplorations.co.uk/merrivale-light-railway/Medieval Workings which appear to have been infilled with rubble possibly from field clearanceShaft close to the Medieval Workings and a short distance west from the Main ShaftThis (probable) Trial Shaft is located at SX55013 75511A short distance from the Trial Shaft is a possible Tinners’ Building, the only known building in the areaThe small rectangular Tinners’ Building is located just to the north of the tin mining openwork at SX55029 75529. It is probably associated with the mine but not 100% known if this is the caseThere is another shaft type depression located at the western end of the openworksLocated at the western end of the openworks is an adit, whose water discharge was once used to drive the waterwheel at the Lower Dressing Floor. The adit is located at SX55159 75436Adit runoff, looking west back towards the aditAdit runoffTraces of the leat leading from the Adit to the Lower Dressing FloorThis small leat runs between the 975 and 950 foot contour heightsThe leat may have used water from the adit. The more obvious source of the Walkham for water was dismissed due to licence limitations from 1859Approaching the Lower Dressing Floor along the leatLooking north up the leat from near the Leat Embankment at Lower Dressing FloorLeat Embankment and Wheelpit at Lower Dressing FloorWheelpit, where there would have been an overshot waterwheelInternal dimensions of wheelpit, 0.9m by 5.5mClose up of the wheelpit masonry work at SX55197 75293TailraceIt has been suggested that this mill dates from mid 19th century (Greeves)Wheelpit and Stamps area from below