A collection of walks, discoveries, insights and pictures of exploring Dartmoor National Park
December 8, 2020
YALLAND WARREN AND ENCLOSURES
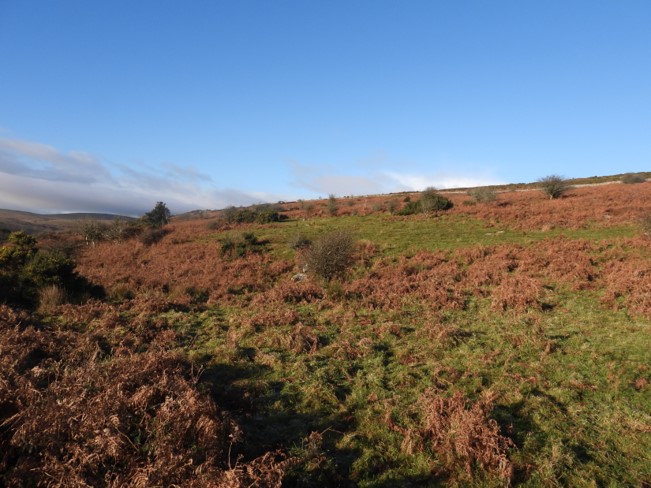
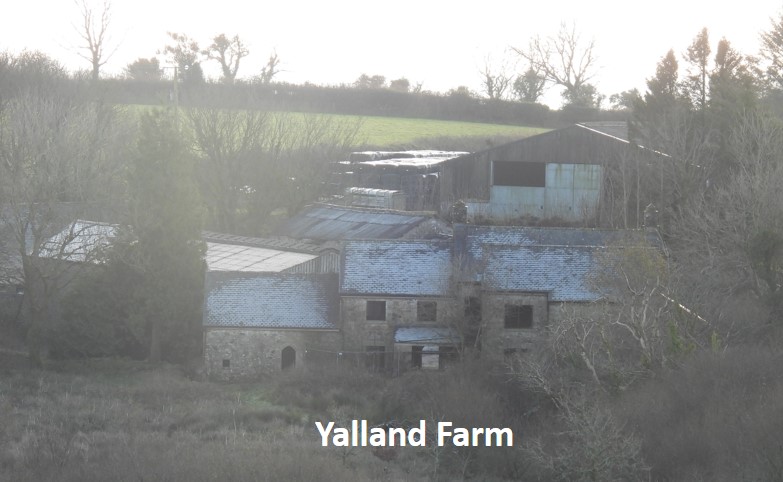
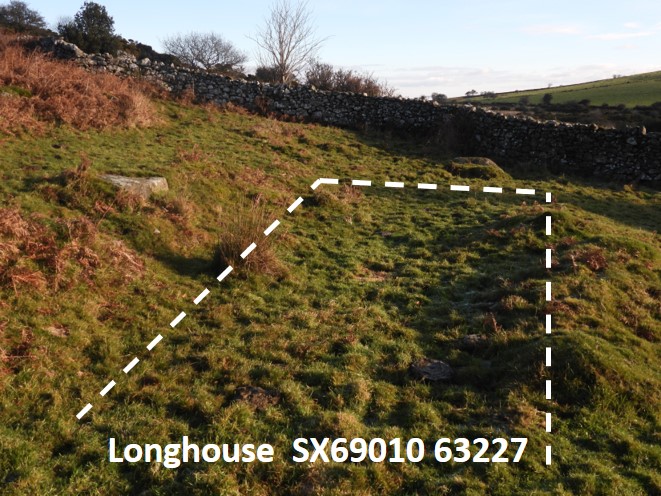
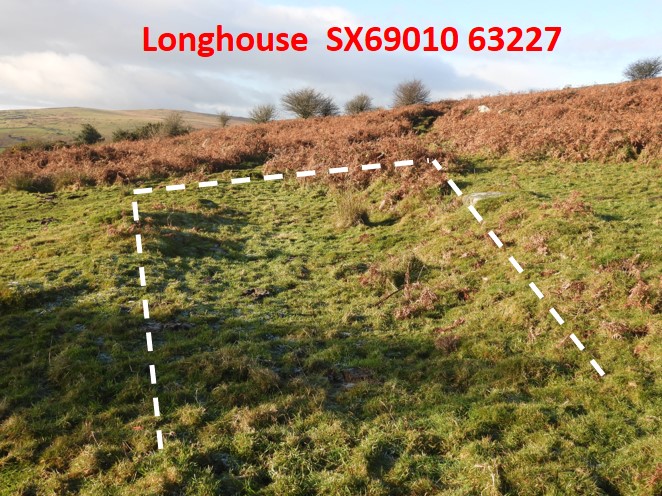
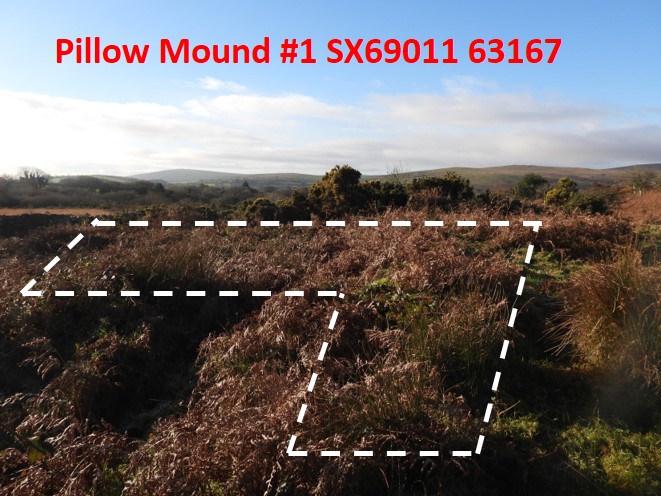
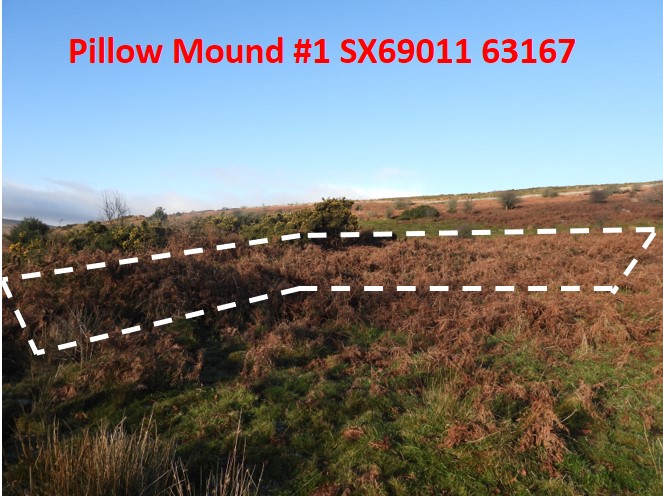
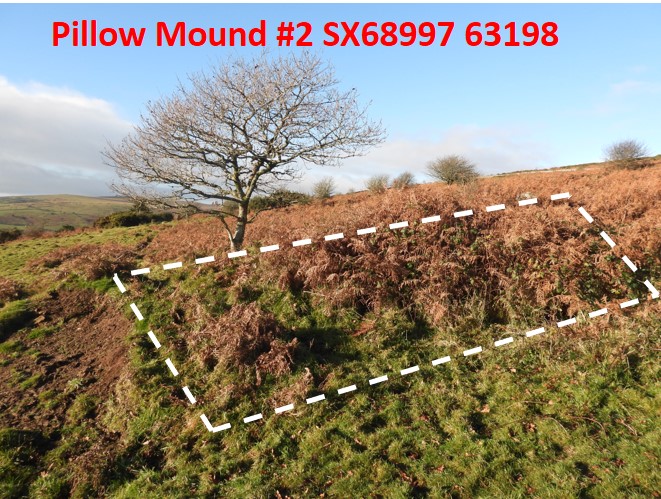
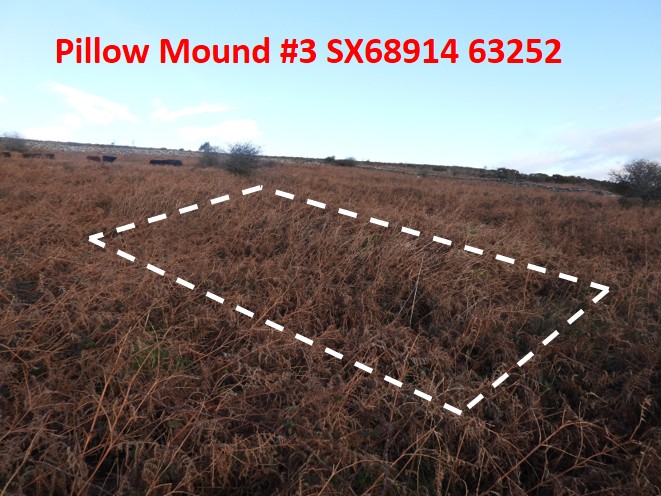
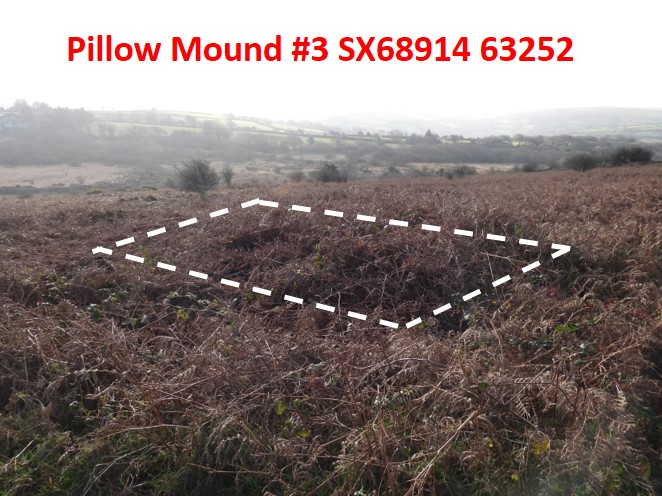
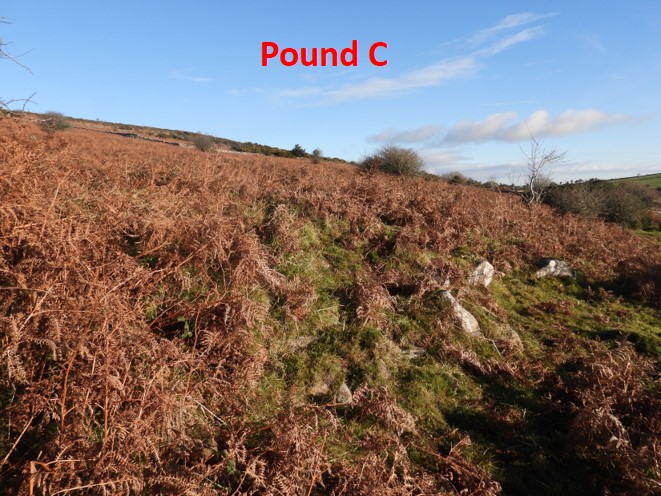
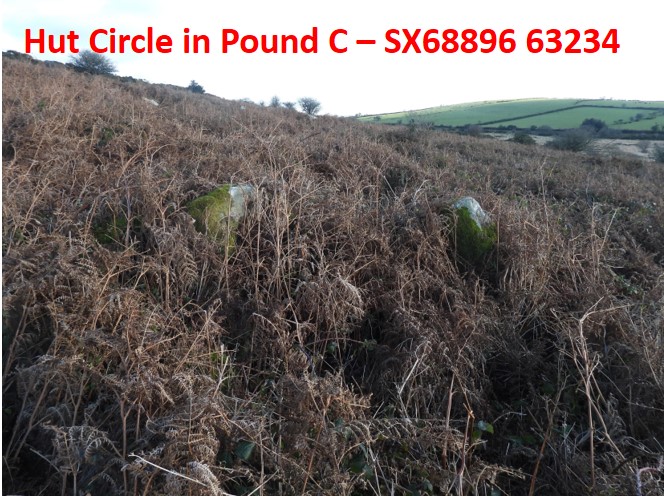
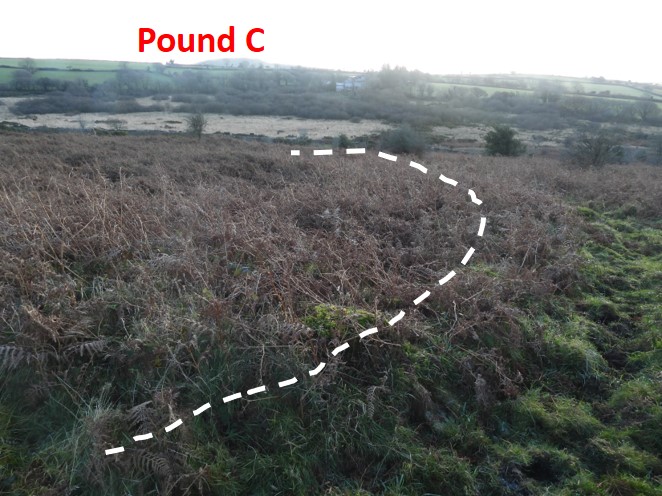
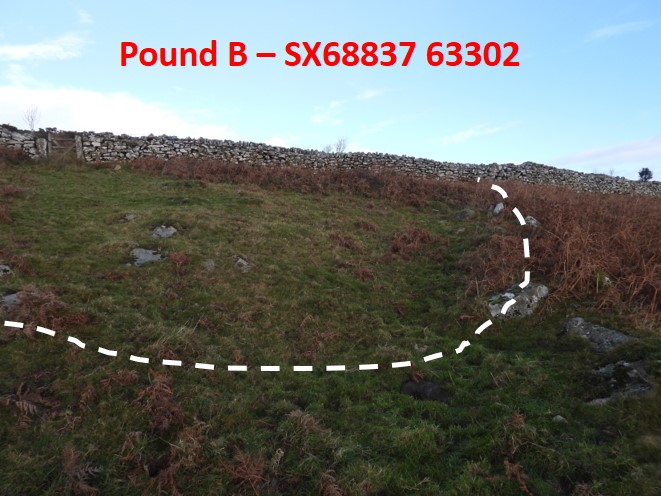
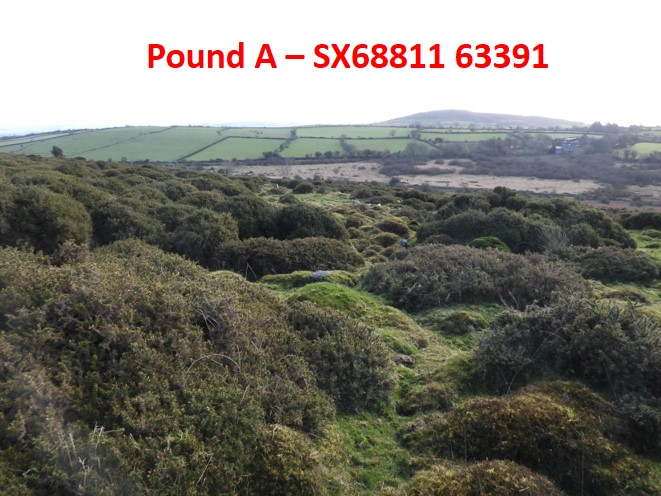
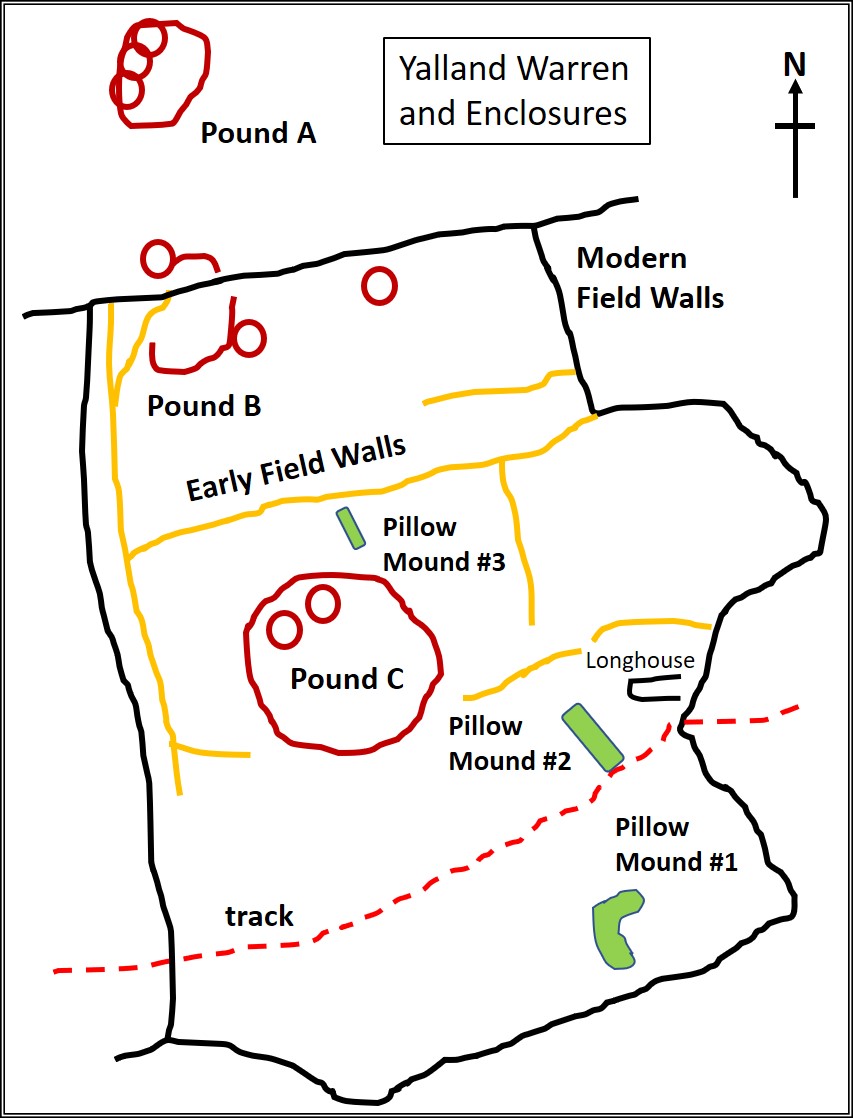
This post is inspired by the publication Dartmoor Atlas of Antiquities, Volume 4, The South East by Jeremy Butler and by the author having visited most of the warrens around Dartmoor, but never having explored fully the one at Yalland. The day for the visit was chosen on a clear winters day as the bracken would be down which would enable finding and discerning the features that much easier. The above sketch is based on the original in the Butler publication, which was of immense help.This view of the warren is looking towards Shipley Tor / Wacka Tor direction to the North West, next to the track as shown on the map between Pillow Mound 1 and Pillow Mound 2. Access to the warren and enclosures can be obtained through gates from the north (Dockwell Ridge) or across CRoW (The Countryside and Rights of Way Act 2000) land via the bridleway at Yalland FarmYalland Farm to the south from the warren / enclosures. Near the eastern wall and the track (which goes through a gate), the outline of a longhouse can be found.In the Butler publication, it is stated the the earlier boundaries were of medieval period (see map) and that the fields seem to have been ploughed, with the “rubble banks” (early boundaries) may well have been constructed as a result of the field clearance by farmers who lived in this longhouse.Butler noted that the most southern pillow mound within the warren was an unusual “L” shape. Even with the bracken down the pillow mound (or bury) is quite difficult to discern.Unlike other warrens on Dartmoor, this one does not appear to any associated vermin traps Pillow Mound 2 is near the longhouse and the mound is quite easy to make outPillow Mound 2 looking back towards the Longhouse (near the wall in shade middle – right of the photograph).Pillow Mound 3 can be made out amongst the dead bracken but would not be discernible in SummerThis pillow mound is at least 1.5m high and to the north-east of the large enclosure (Pound C)As stated by Butler, bracken and brambles colonise this part of the area, making the pound (which is very large – see map) difficult to fully appreciate. The early farmers appeared not to have destroyed this pound, probably due to the effort it would have taken to remove the walls. This picture shows part of the enclosure wall.There are two hut circles associated with Pound C. This is the smaller of the two.The western edge of the pound has a path alongside it making is easy to discern.Pound B is dissected by the modern wall. As stated by Butler, little exists of the pound on the northern (moorland) side of the wall.Much of the hillside to the north of the modern wall is overgrown with gorse. Pound A can be reached on the western edge (where there are three huts). This view looks back towards the warren and the farmhouse at Yalland can be made out. Brent Hill is on the horizon.Hut in Pound A