A collection of walks, discoveries, insights and pictures of exploring Dartmoor National Park
October 3, 2021
East Vitifer Mine
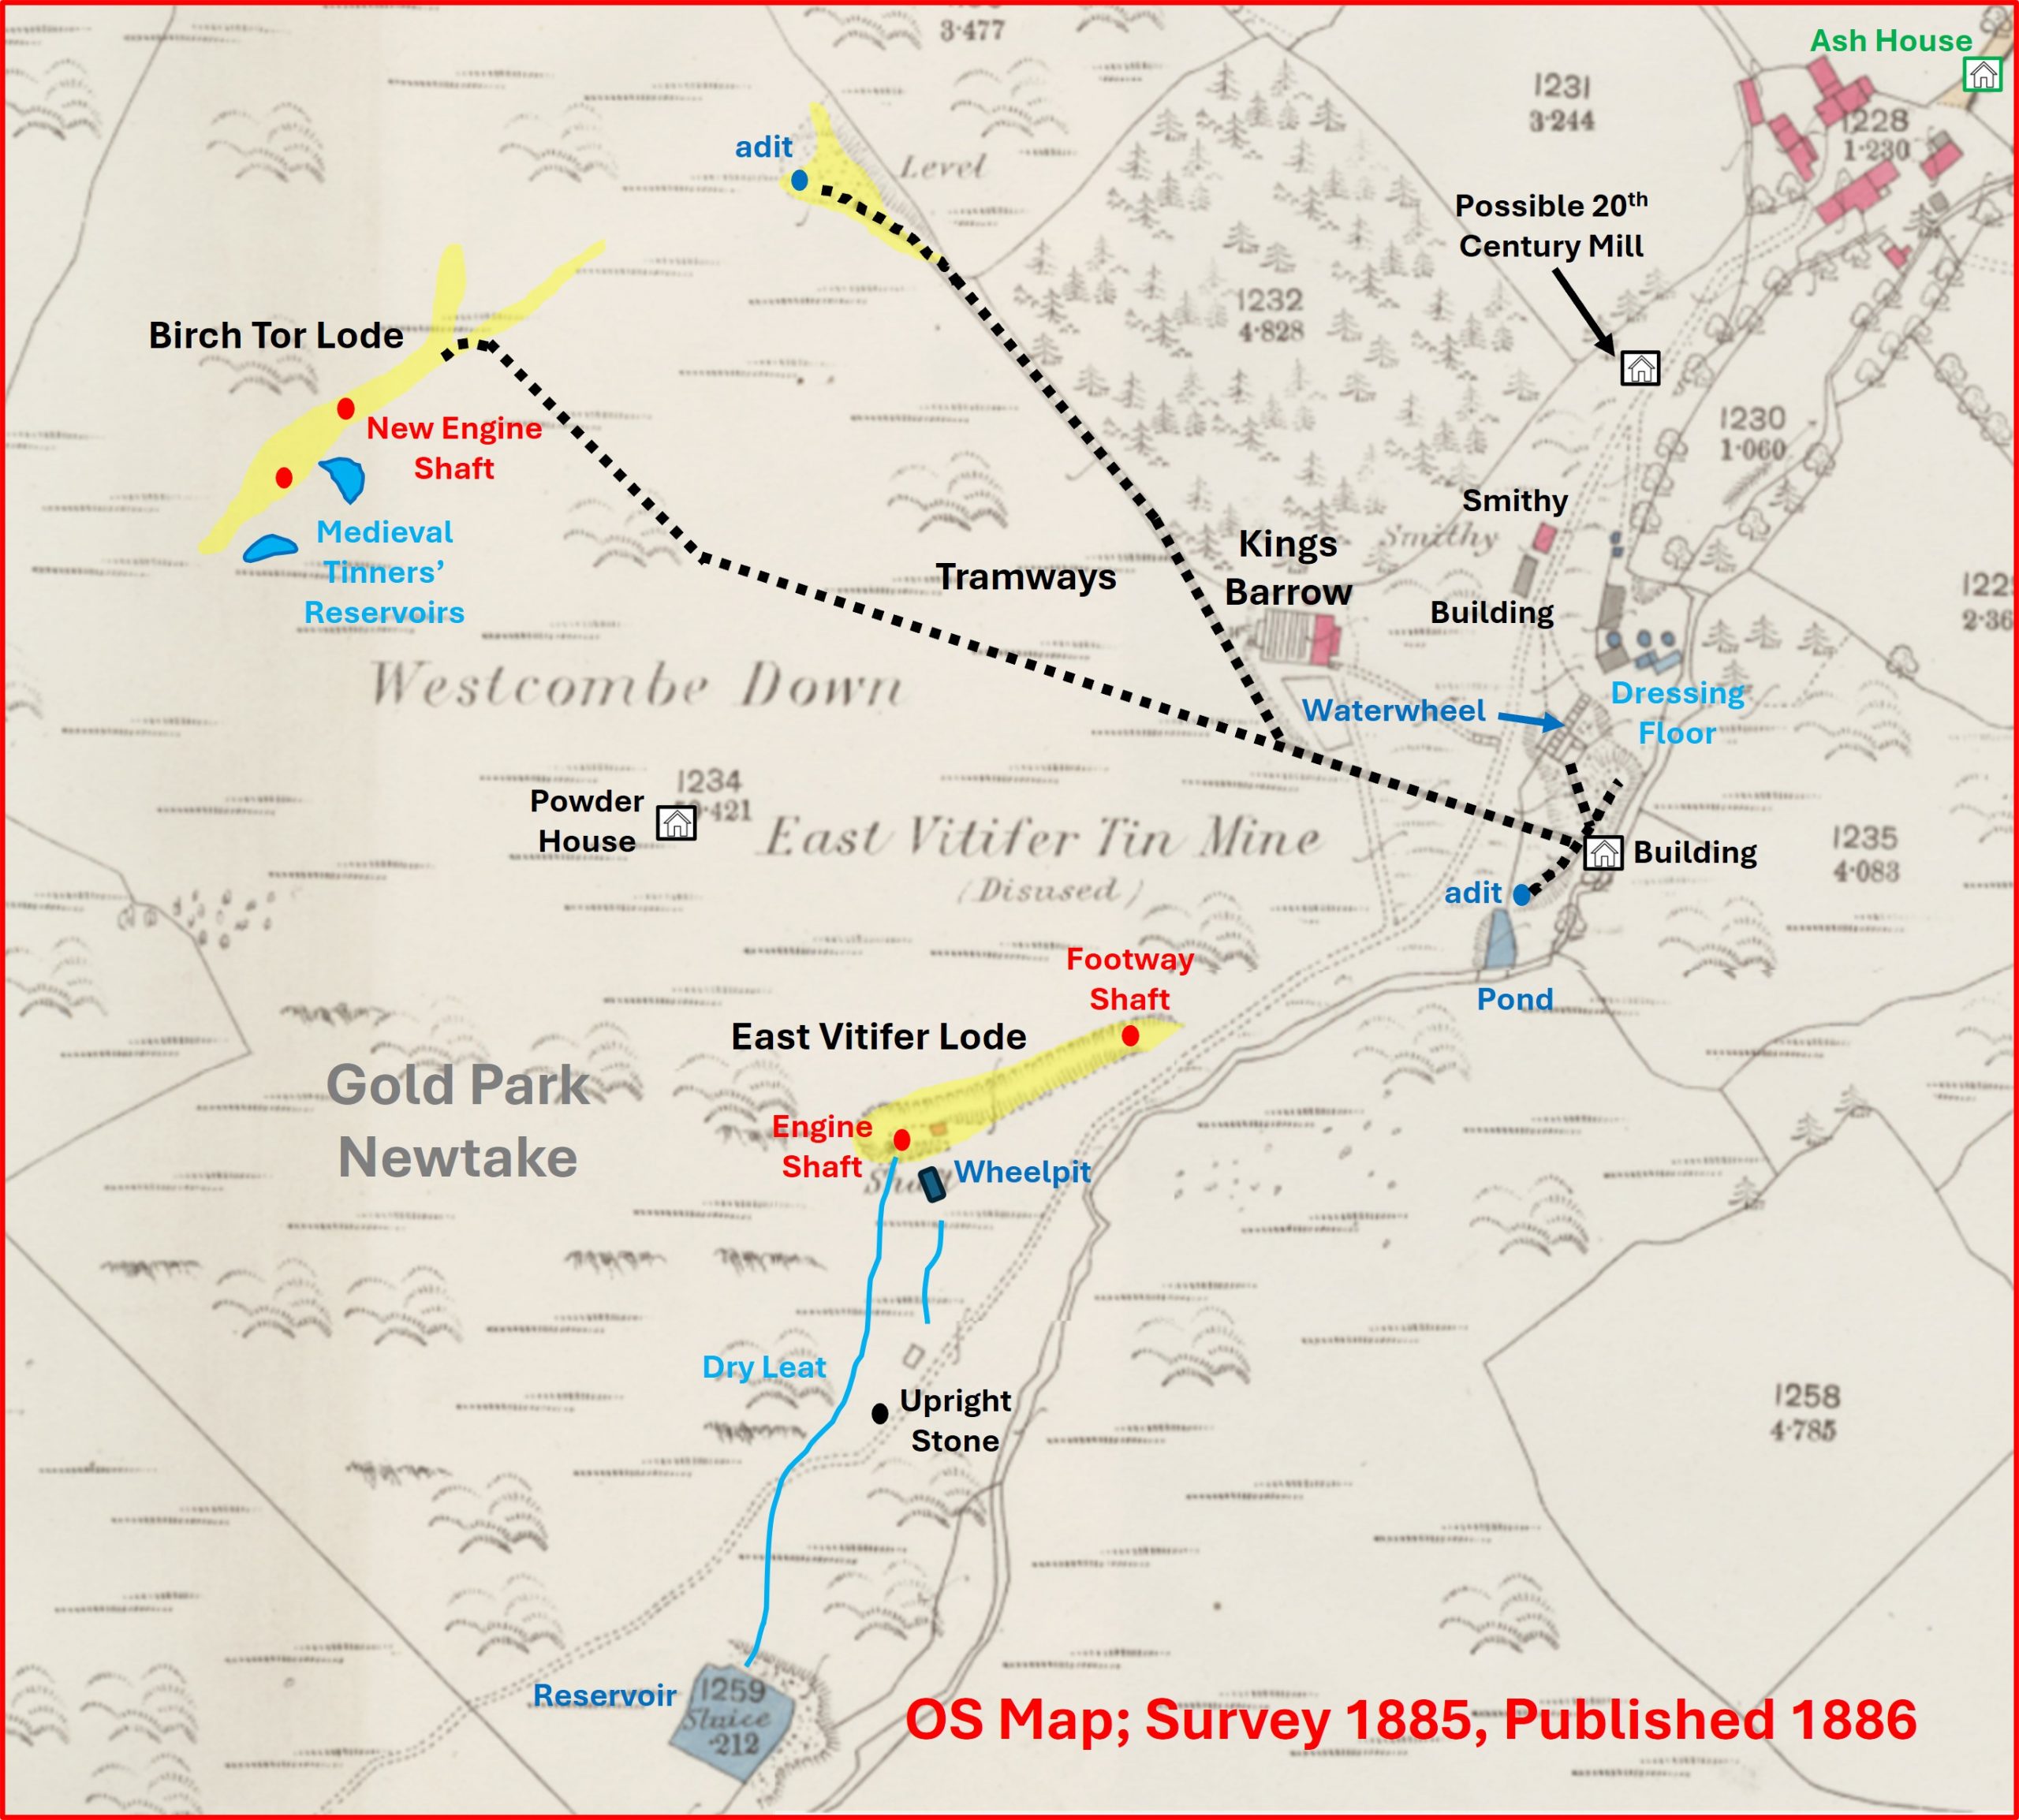
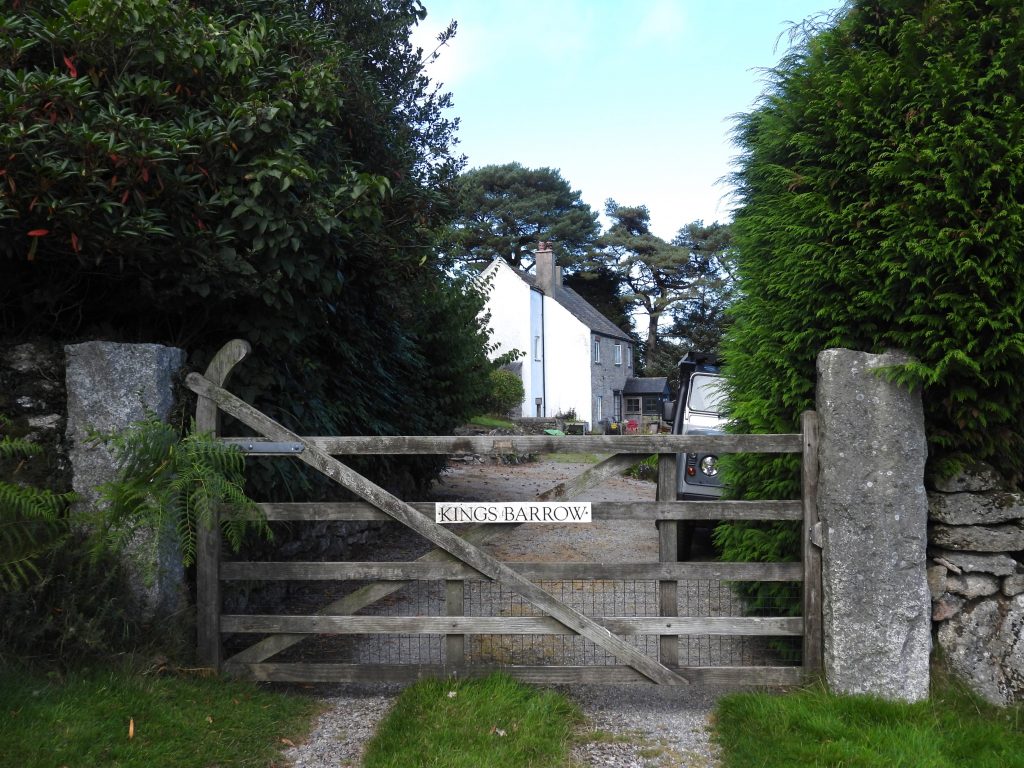
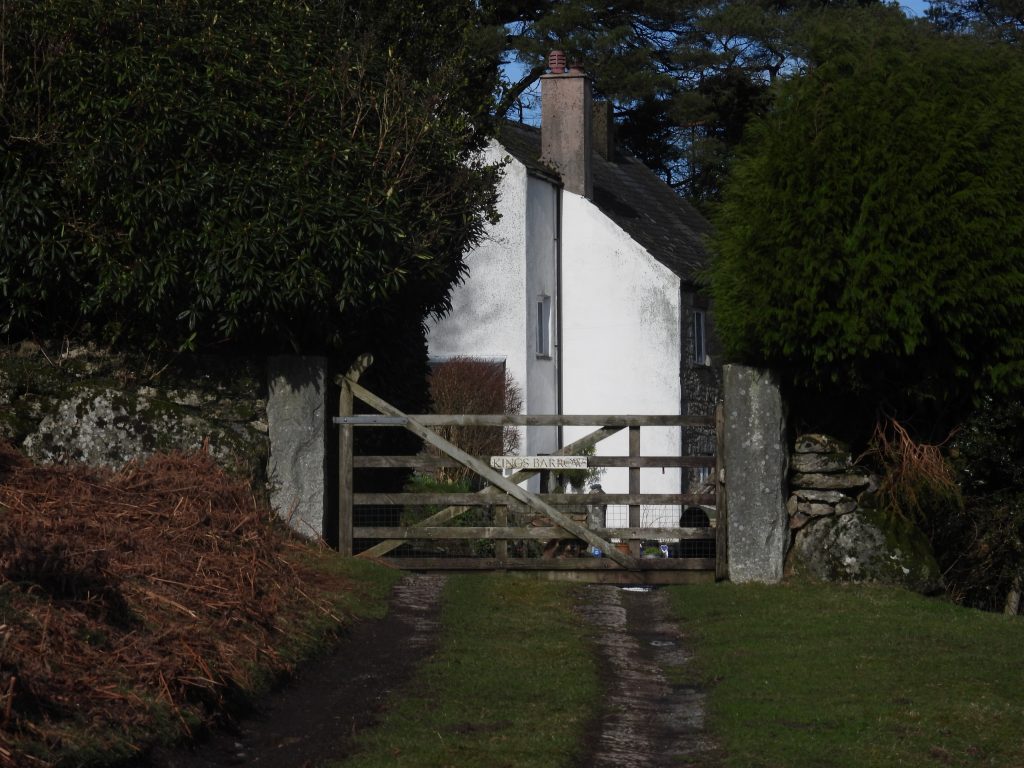
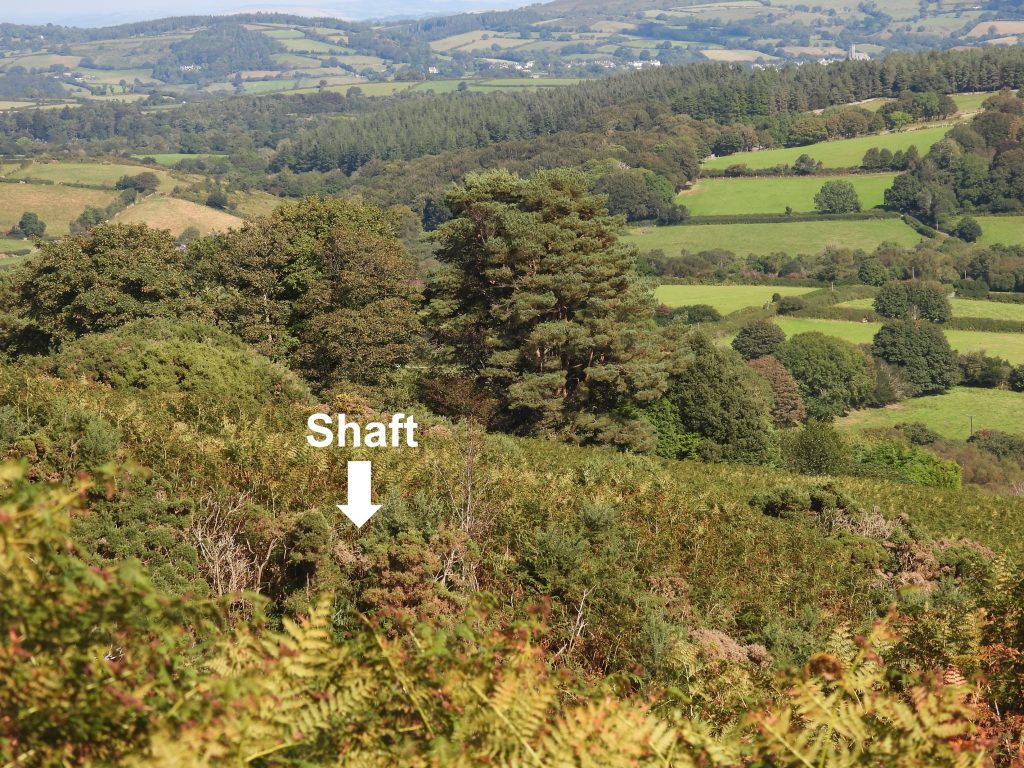
On Shapley Common and Westcombe Down (aka Gold Park Newtake) a number of late Medieval openworks can be found. Two of these lodes near West Coombe are known as Birch Tor Lode (or North Lode) and East Vitifer Lode (Main or South Lode) and it is these two lodes which attracted mining companies in the 19th century, trying to continue the exploits of the ‘old men’. Mining here was undertaken on one or both of the aforementioned lodes between around 1845 and 1887, then again in the early 20th Century. The main dressing floor of East Vitifer Mine can be located to the south west of the farming community of West Coombe in a sheltered valley next to West Combe Brook with the shafts being located on the open moor above a dwelling called Kings Barrow.
Broughton records that interest in the tin deposits started around 1845, through local adventurers and businessmen from Moretonhampstead and North Bovey, albeit there had been no evidence of previous streamworks along West Combe Brook itself. Initially, the main lode (East Vitifer) which ran parallel to the brook was explored and several adits were driven along this. One of these adits, near the upper (south west) end of the dressing floor complex can still be located today. In February 1849, the sett was taken over by the Devon Great Tincroft Mining Company, who erected new machinery and plant. By 1851, the drivage of the adit to the main lode had continued and the sinking of two shafts (New Shaft and Footway Shaft) were commenced. The main lode was only 18in wide but by July 1852 tin was being sold. The upper of two shafts (Engine Shaft) has a small wheel pit alongside it, and water was fed to it by a large tinners’ reservoir a short distance up the hill.
By 1855 or 1856, the mine had been consolidated with East Birch Tor under the title of Devon Great Tincroft. The lease for this had little success and expired in 1866. On 8th June 1869, a Richard Moore acquired and bought the leases of the adjoining properties and formed the East Vitifer Tin Mining Company Ltd. After the creation of the new company, operations commenced with the erection of two waterwheels, workshops and dressing floors, which were laid out near the main lode adit portal.
Sometime after 1869 (exact date unkown), a second lode (known as North lode or Birch Tor lode) was worked 300m to the north. Operations on the second lode included the sinking of a shaft (New Engine Shaft) and driving a shallow adit from the north east. Ore was transported to the dressing floors by way of a tramway from the adit and from the area of New Engine Shaft. In February 1873, an advertisement (West Briton) requested tenders for a turbine or waterwheel to power 20 head of stamps or two head of pneumatic stamps, two drags, two round buddles and a stock of frames for dressing the slime. By late summer 1873, a 60ft waterwheel and stamps were known to be dismantled at East Bottle Hill Mine and brought to East Vitifer. The mine had never been that successful, but in 1876 production reached 13.5 tons of black tin.
By 1876, nearly £7,600 had been spent on new machinery, dressing plant, the tramway, stamps, leats and underground workings. A year later, in 1877 it is thought that the company was restructured as East Vitifer Tin Mining Company Ltd. By 1880, the total expenditure had risen to £9,800 (which is equivalent to an eye watering £1.5 million in 2026). The two adits at this time had been driven 936ft and 924ft for the Birch Tor lode and East Vitifer lodes respectively. Workings were to a depth of 132ft and 22 people were employed. On 17th May 1880, the directors passed a special resolution and the working capital was increased through issuing of more shares.
Operations continued in a haphazard fashion into the 1880s and it is known that the greatest number of men employed in one year at the mine was 27 (25 underground and 2 on surface), which was circa 1881 (Greeves). By 1886, the main lode was abandoned due to low values of ore and by the end of 1887 the Birch Tor lode was also abandoned as it had been worked out. Further attempts were made to open up more lodes to the north, but on 21st July 1890, the mine was wound up.
The mine re-opened briefly, sometime after 1905 but most probably 1909 to 1912-3, when it employed 8 men conducting mainly surface work only. The mine story concludes on 17th February 1915, when machinery and mine effects were put up for auction.
The details in this post would not have been possible without information gleaned from the sources shown in the Bibliography. Special thanks to the Dartmoor Tinworking Research Group (DTRG), notably Tom Greeves and Stephen Holley for their tenacious gathering of information and undoubted enthusiasm for sharing their knowledge
Bibliography
D.G. Broughton – (1968) – The Birch Tor and Vitifer Mining Complex
Dartmoor Tinworking Research Group – (2026) – walk notes by Stephen Holley (Chairman)
Jeremy Butler – (1991) – Dartmoor Antiquities, volume 1 – The East (map 23), page 163
Dartmoor Tinworking Research Group – (2015) – Newsletter (Tom Greeves)
West Briton – (6th February 1873) – Newspaper record
C.Robinson – (2019) – Plymouth Bronze Age to Today
Western Times – (15th February 1915) – Newspaper record
Burt et. al – (1984) – The Mineral Statistics of the United Kingdom 1845 -1913, Devon and Somerset
Stephen Holley (DTRG) – (2026) – Pers. Conv.
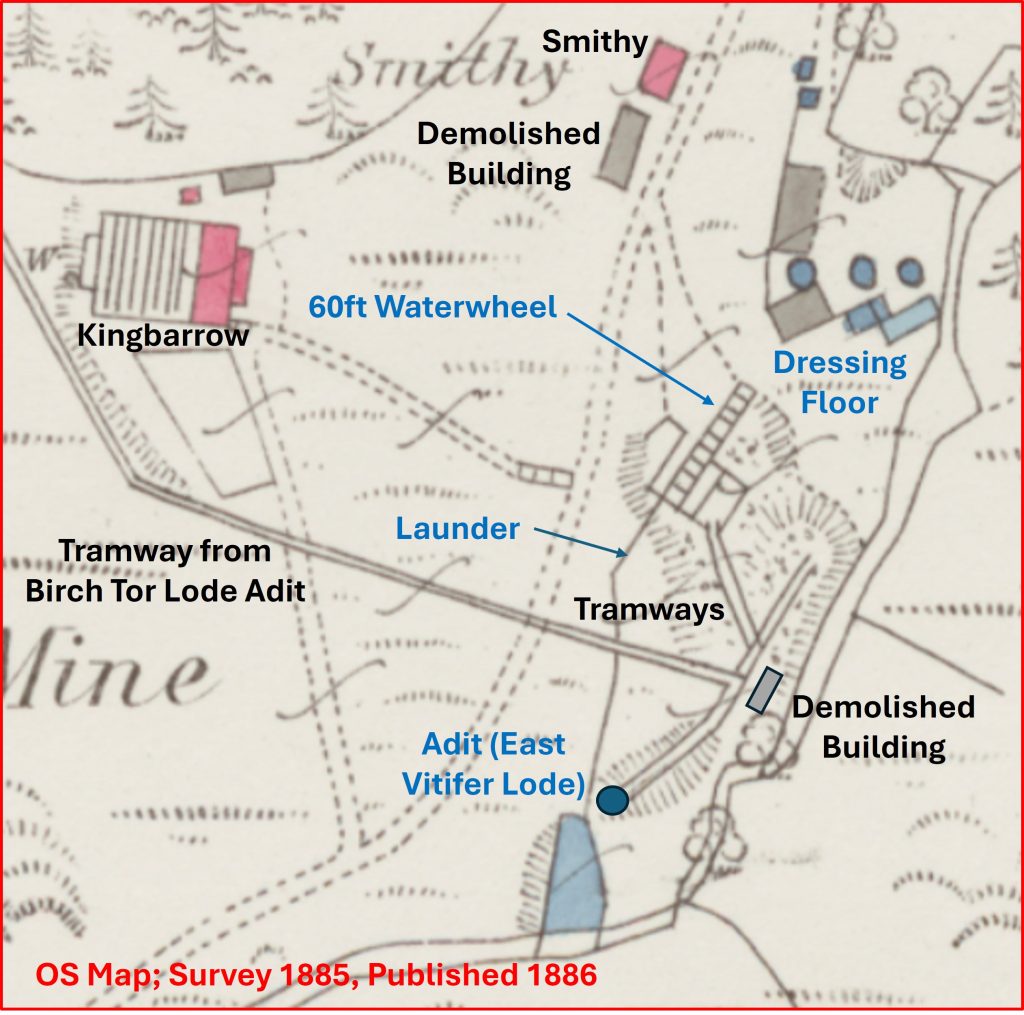
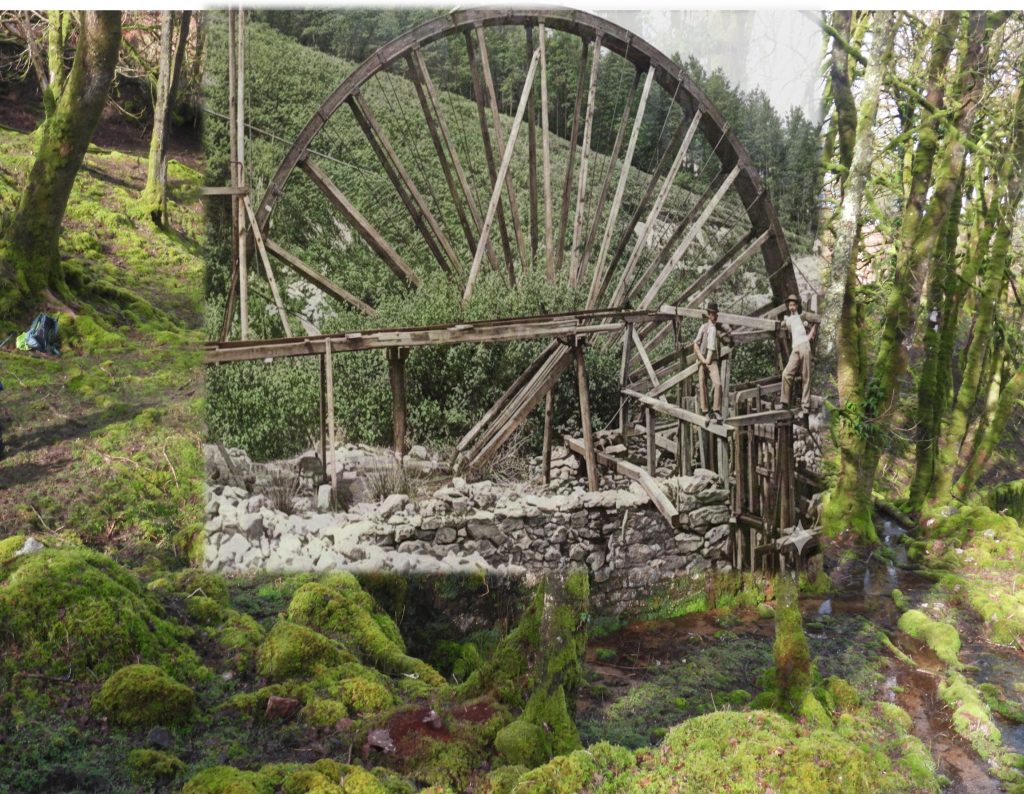
This annotated map is an interpretation of the mine layout using the OS 1886 map as a guide and from a plan of East Vitifer Mine extracted from The Birch Tor and Vitifer Mining Complex – D.G. Broughton.This wonderful timeline of the 19th century operations of the mine comes from extensive DTRG notes from Stephen Holley provided on a walk in February 2026
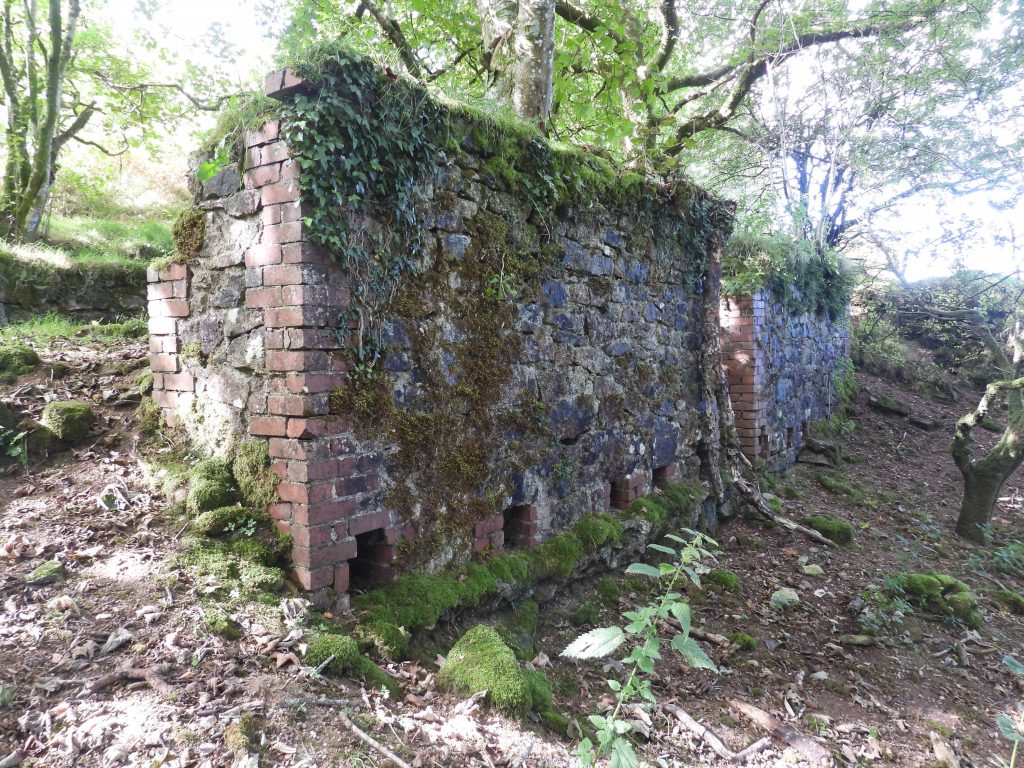
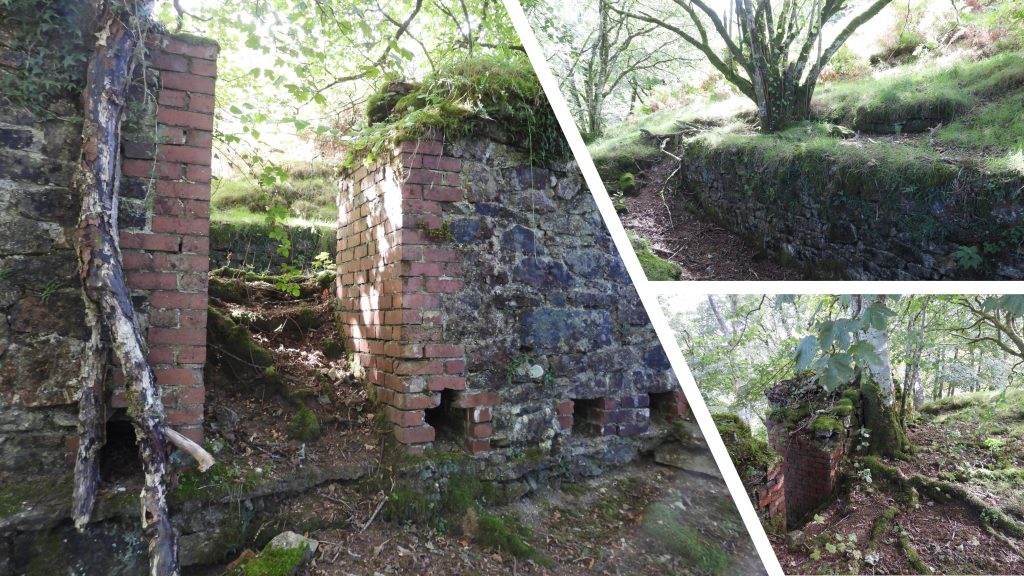
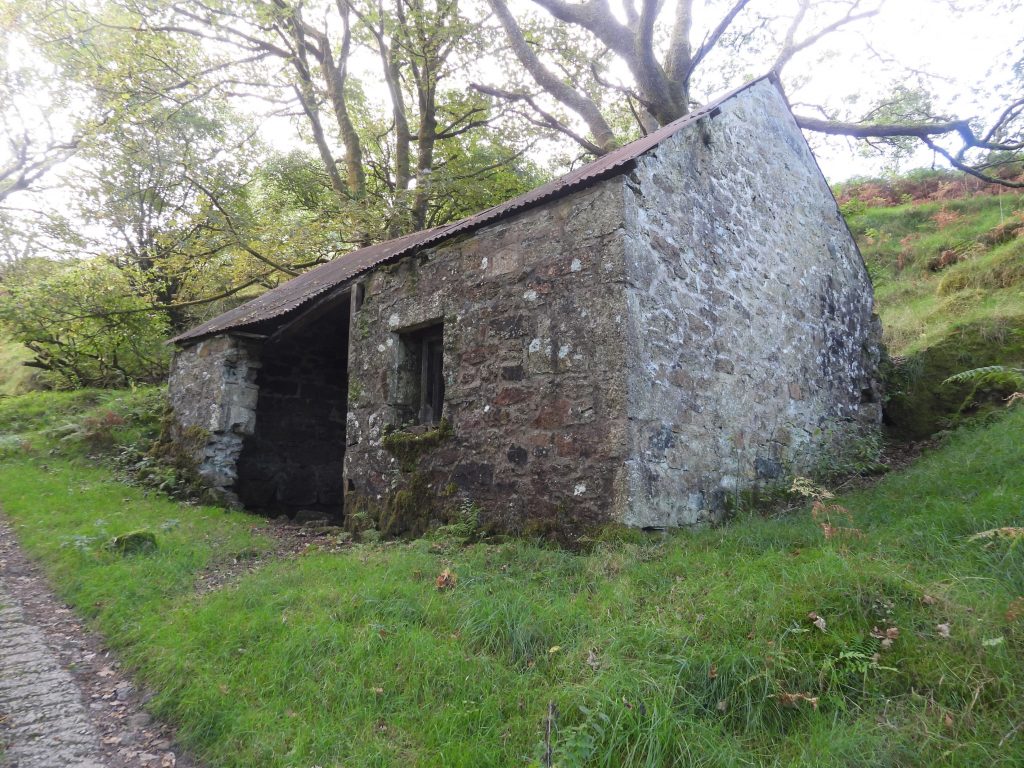
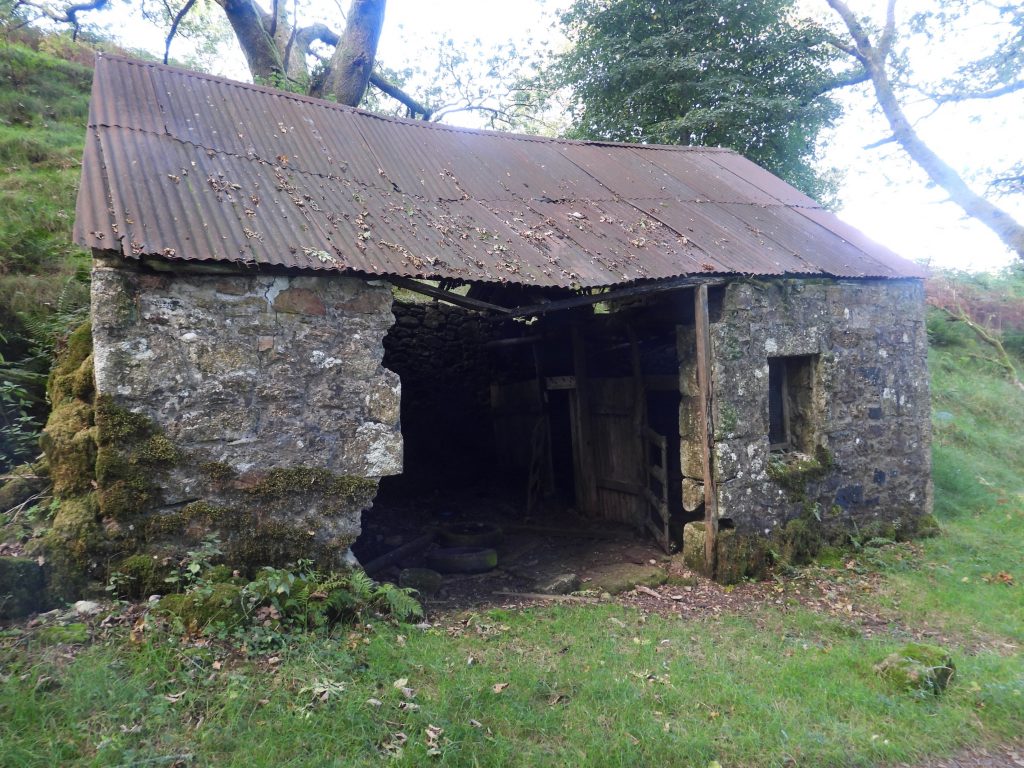
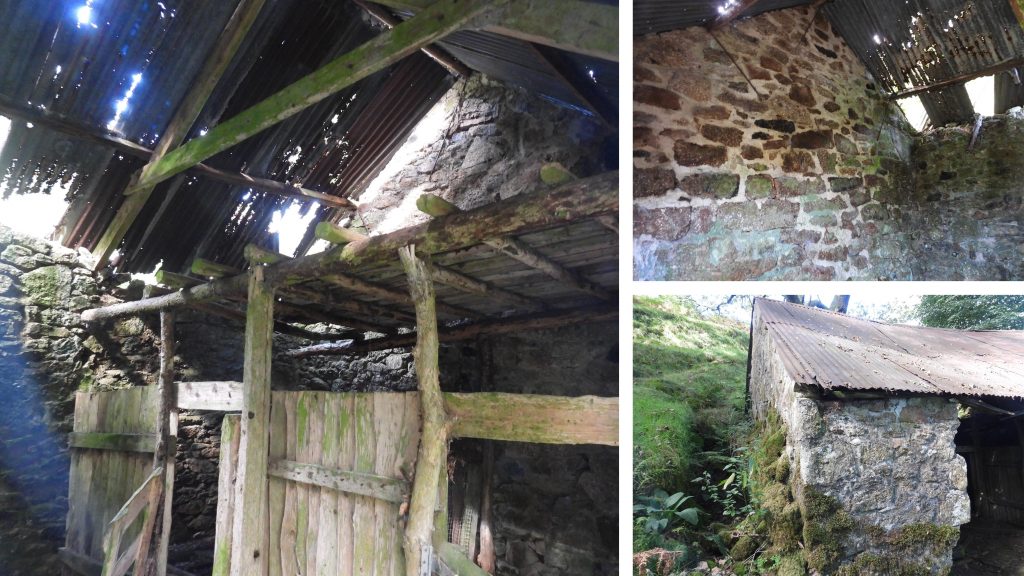
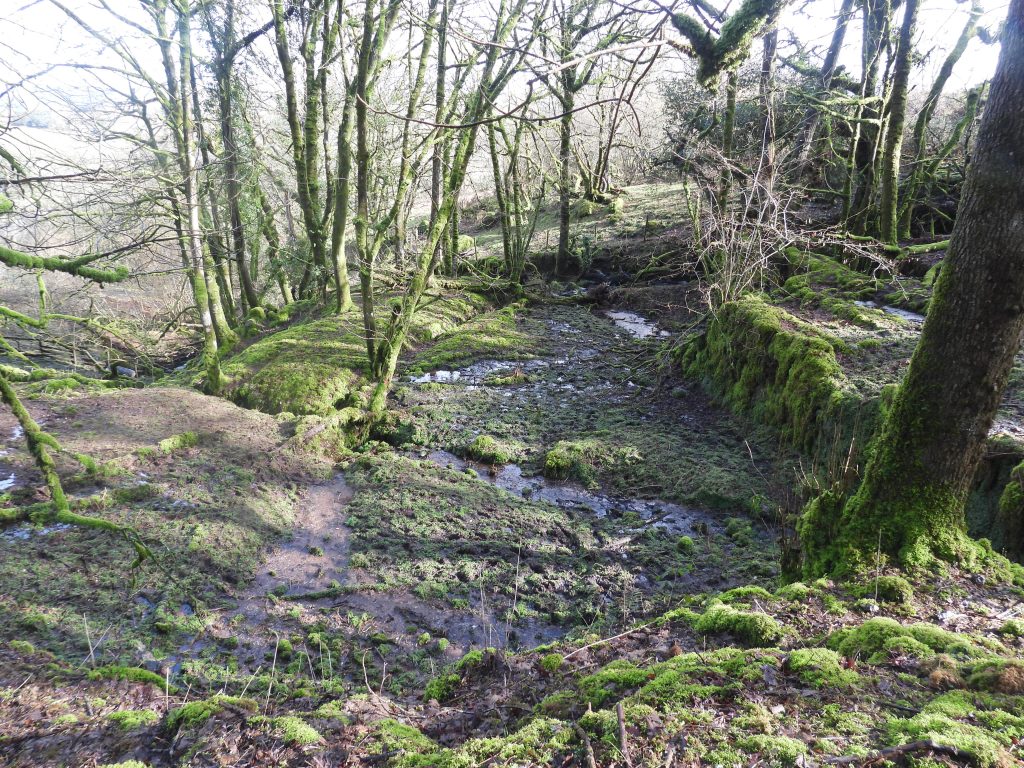
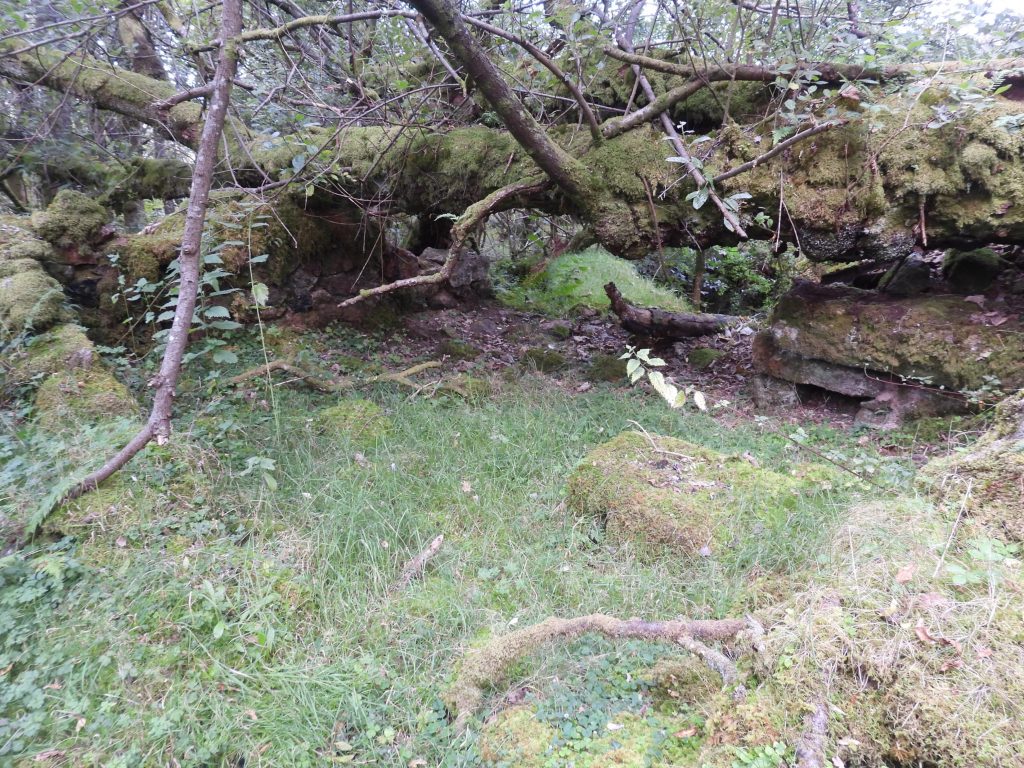
Approaching the mine from West Coombe, the first ruined structure is located on the right hand side of the track. It is possible 20th century mill on the map. The full purpose of the ruined structure is unknown, but was probably part of the mine infrastructure in the early 20th century. It does not appear on the 1886 OS map.
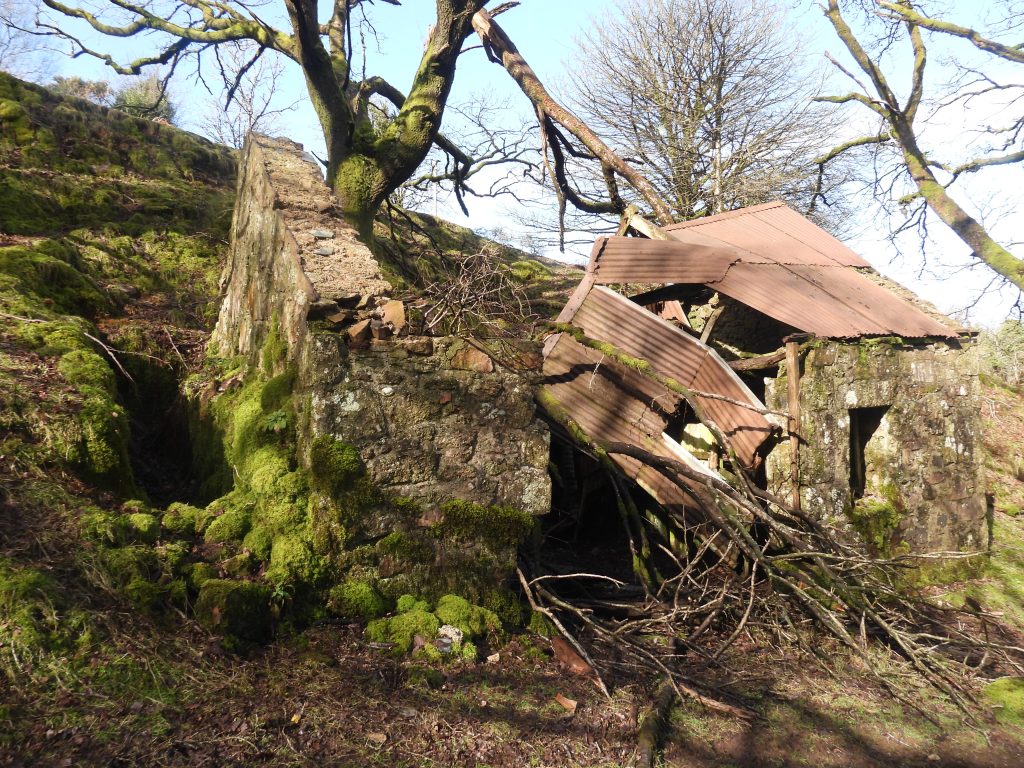
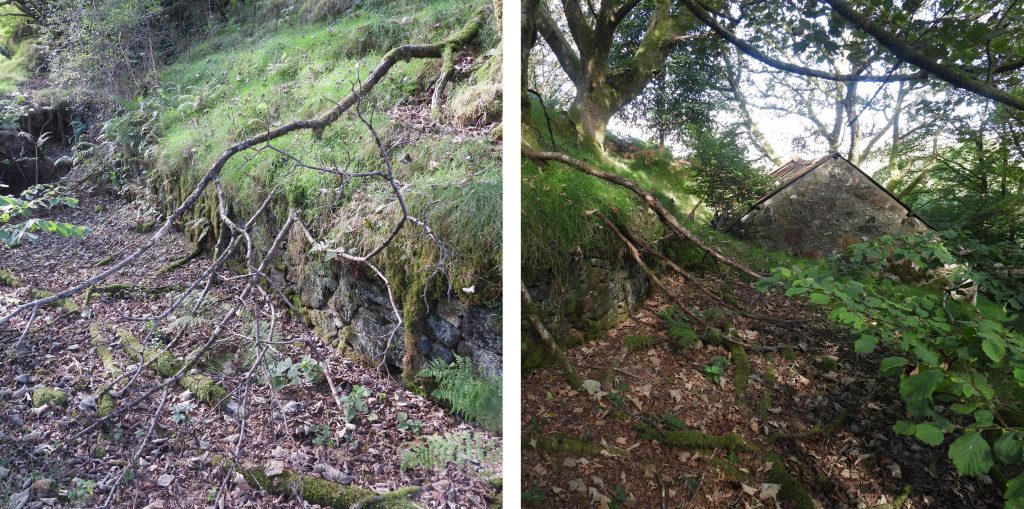
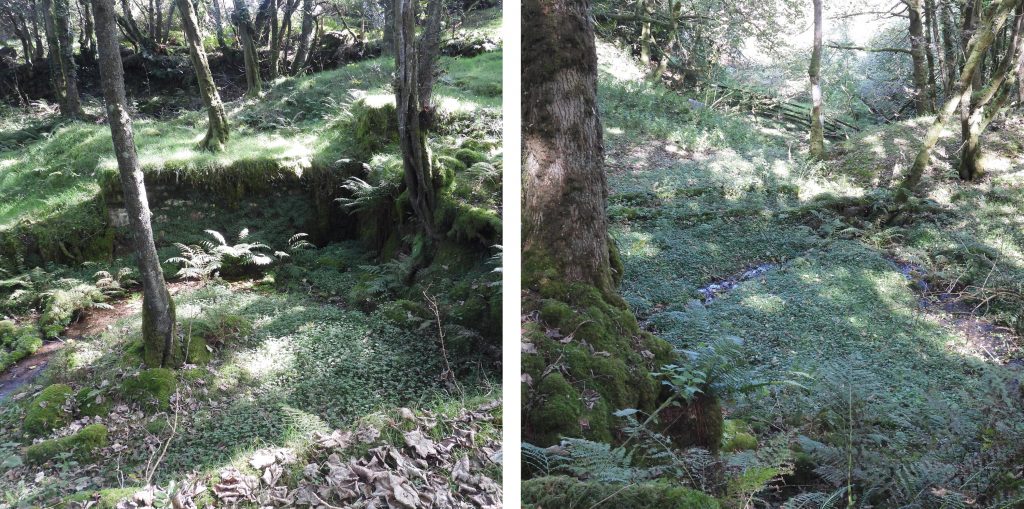
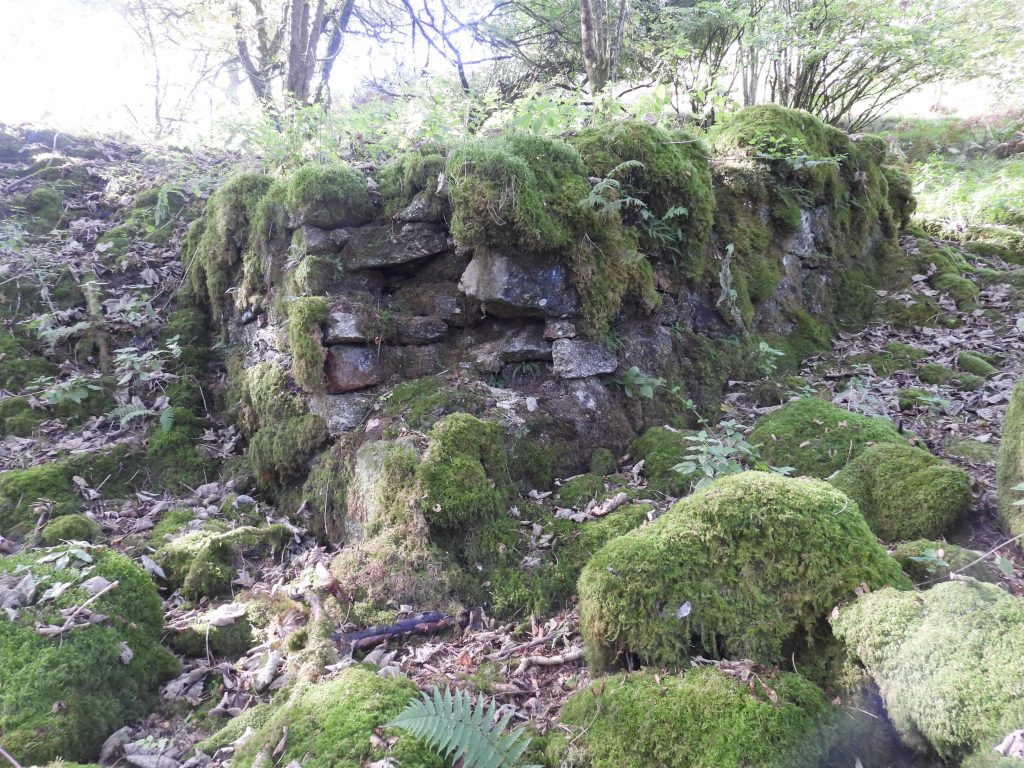
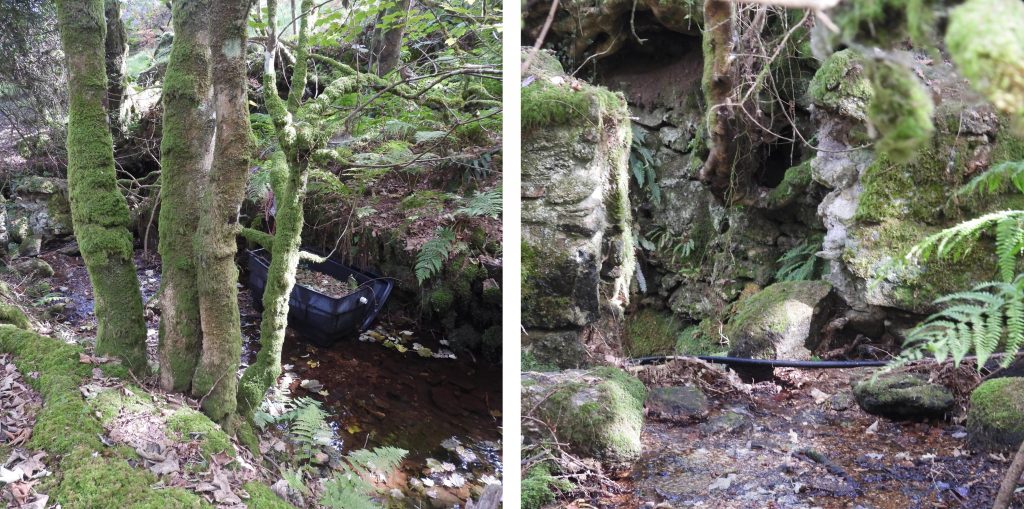
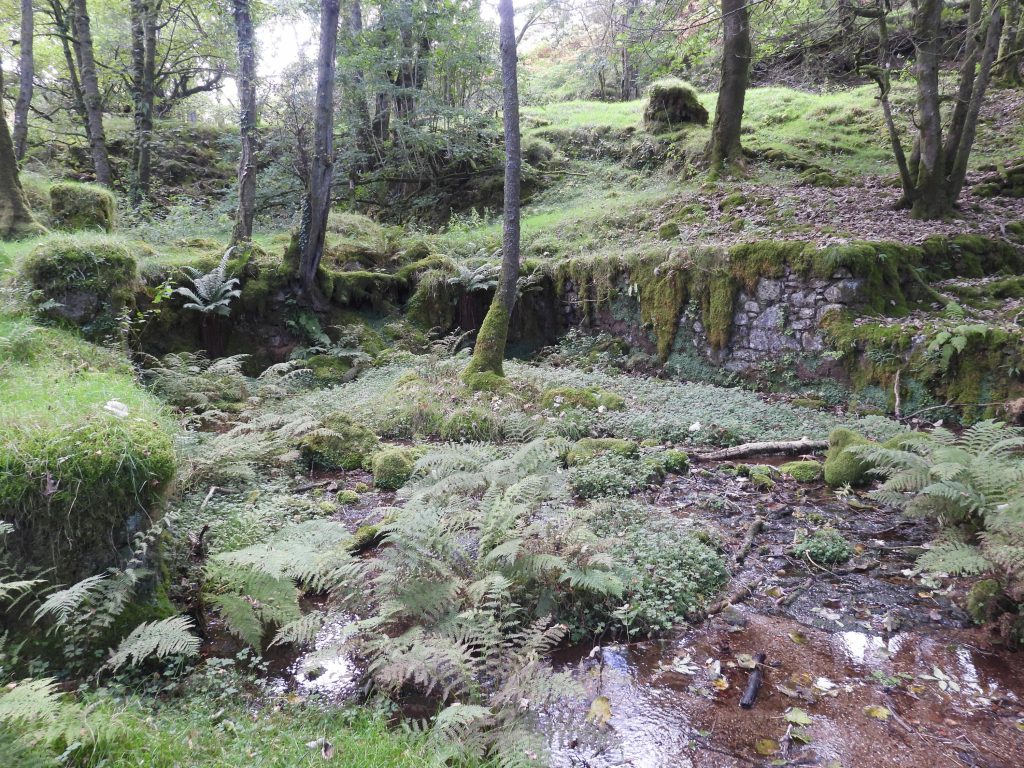
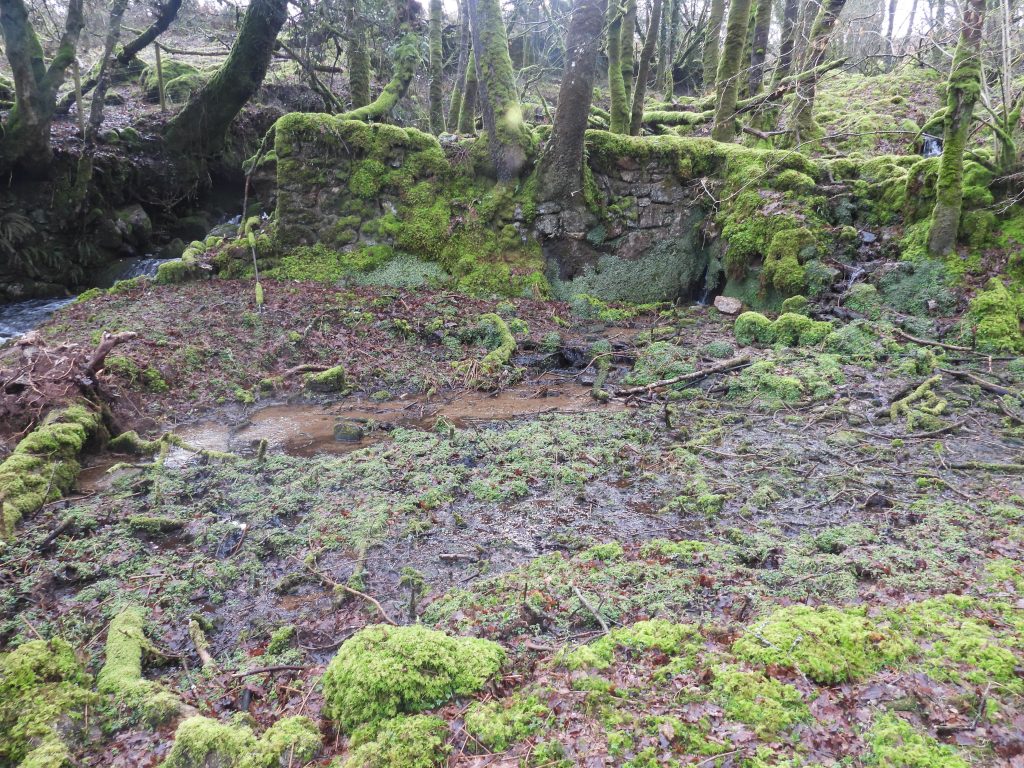
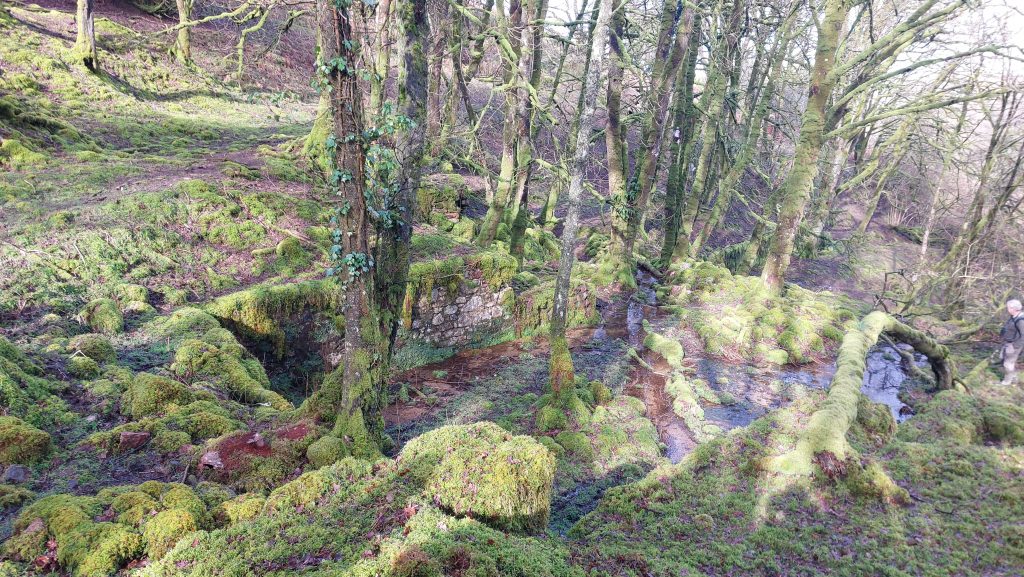
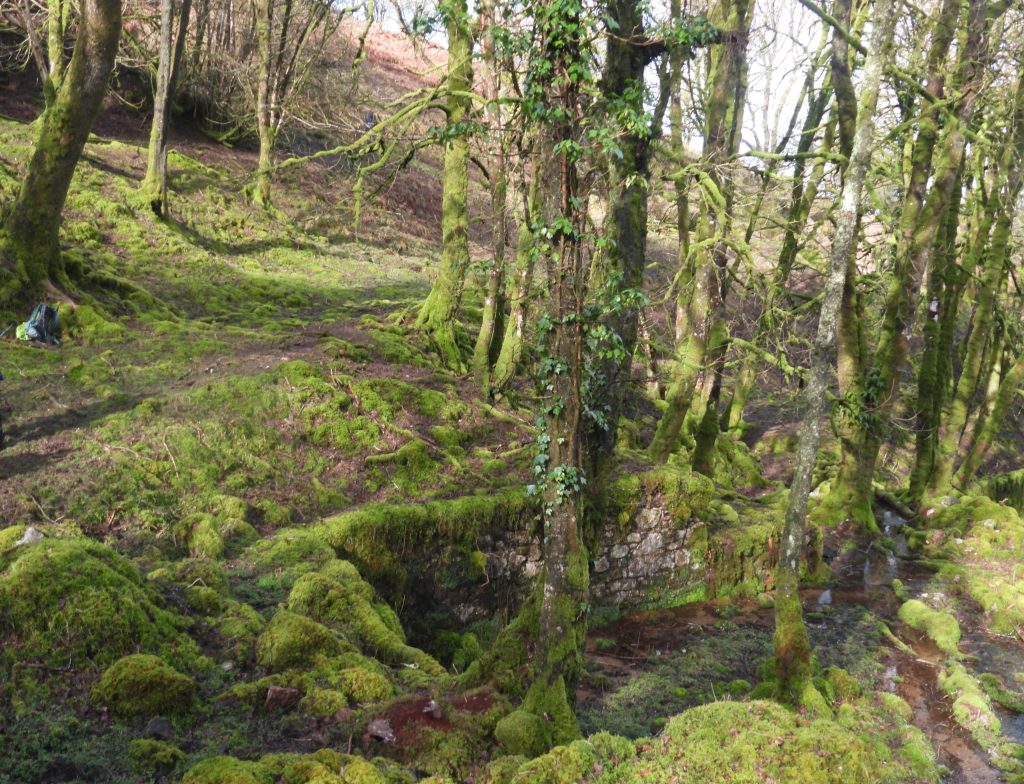
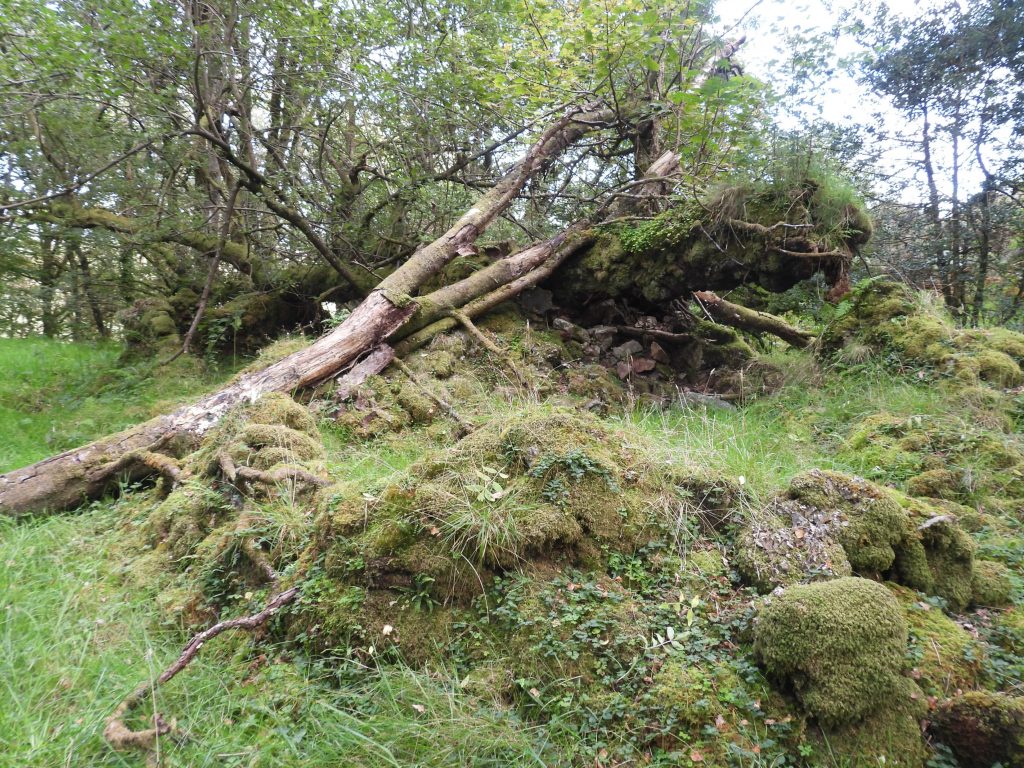
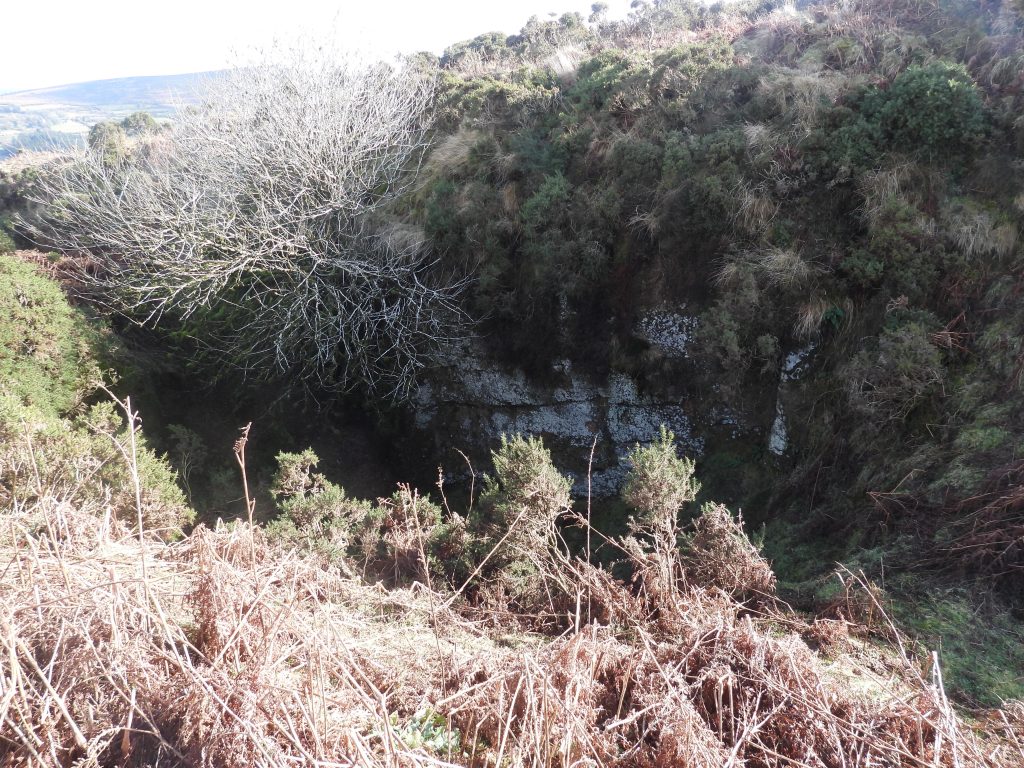
The mysterious structure has a series of apertures in two retaining walls on the downhill side of the slope. There is a gap between the two walls, which look like steps, beyond which lies a levelled area. At the back of the levelled area is a retaining wall built into the upward slope. The structure can be located at SX70871 82451. The possible 20th century mill. It is known that at the when mine effects were sold by auction in February 1915, they included a Ransome’s steam engine and two vertical boilers by Tangye and Barrett. It might be possible that some of these were used in the 20th century and were located here.On the OS 1886 map, a smithy is marked. The author hasn’t managed to find any further information about this building but assumes it was associated with the mine.The “smithy” can be found at SX70840 82386. Inside the “smithy”. The author has been told a story, from around 60 years ago, when the children of West Coombe observed bullocks using this as a shelter and in which the children used to sit up in the hayloft.The ‘smithy’ in February 2026 now with a collapsed roof. There is a gap to the west of the building which potentially may have been a wheelpit. The ‘smithy’ has been measured at 25ft wideA few metres further up the track from the smithy are the foundations simply labelled a ‘building’ on the annotated map. The building foundations above the smithy can be found at SX70838 82380.Opposite the smithy and unknown building foundations (to the east), the mine ore crushing and dressing floor can be found. Tramways brought the ore from the two adits on the two lodesThe picture shows a “levelled area”, located around SX70868 82326. where the ore from the two lodes (Birch Tor and East Vitifer) would have been delivered by tramway. After crushing this would lead to directly to the dressing floors belowThe structure in the picture was recorded at SX70862 82346. This is the north east end of the wheel house which would have housed a 60ft waterwheel. Edge of wheel house. In August / September 1873 the 60ft wheels and stamps of East Bottle Hill Mine were to be dismantled. One was to be re-erected at the works of East Vitifer Mining Co Ltd and tenders were invited (Robinson). Exit lobby from the Waterwheel, which can be found at SX70861 82349An intrepid adventurer from DTRG exploring the Waterwheel exit lobby
Inside the Waterwheel exit lobby – picture courtesy of Matthew Johnson
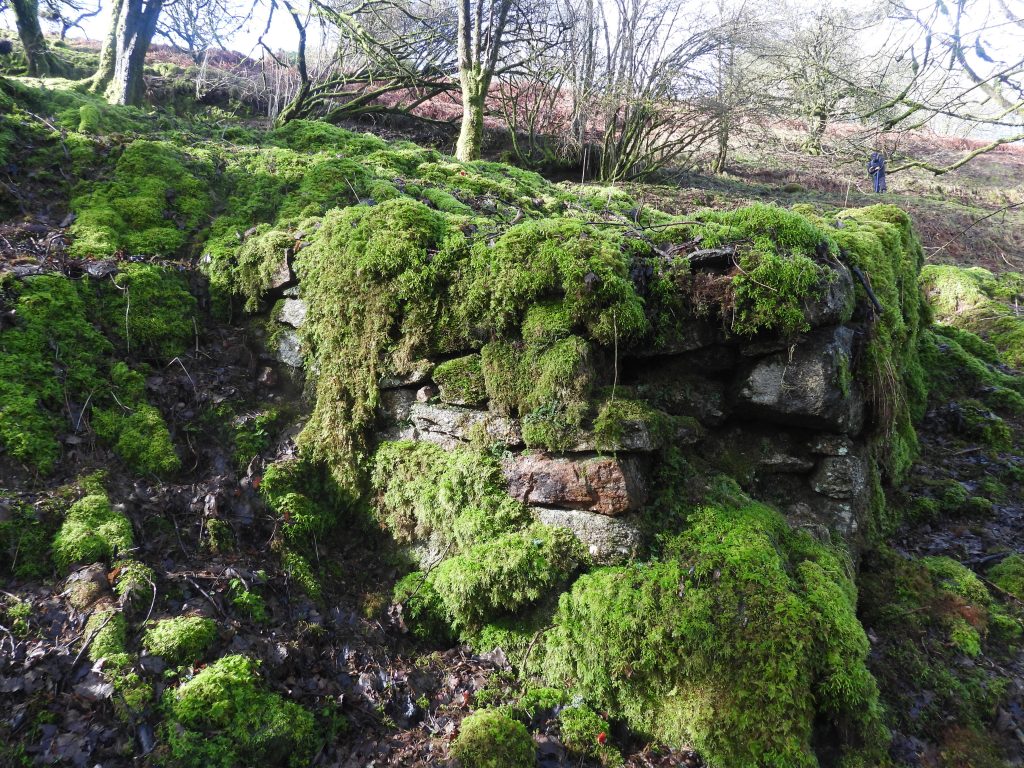
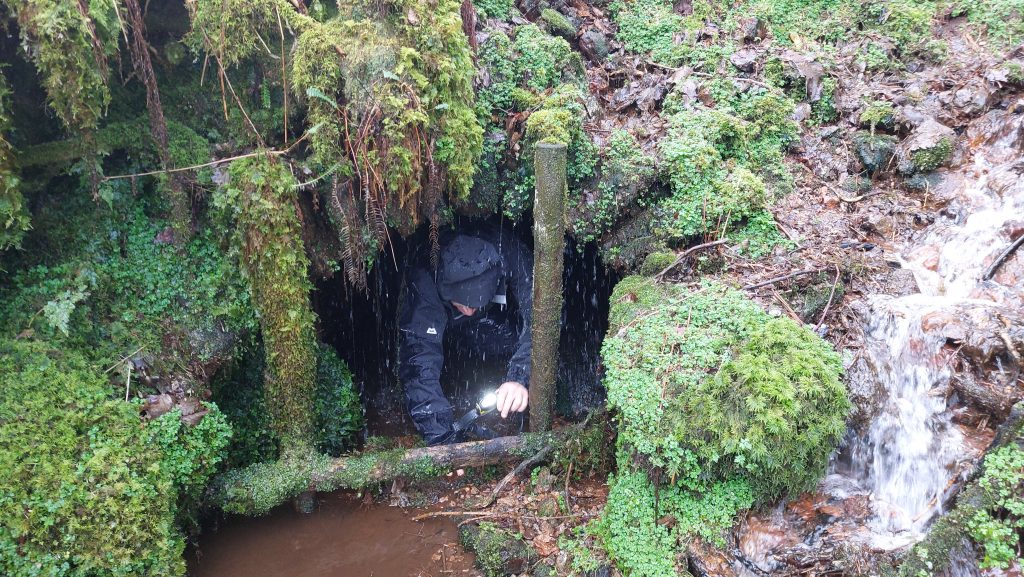
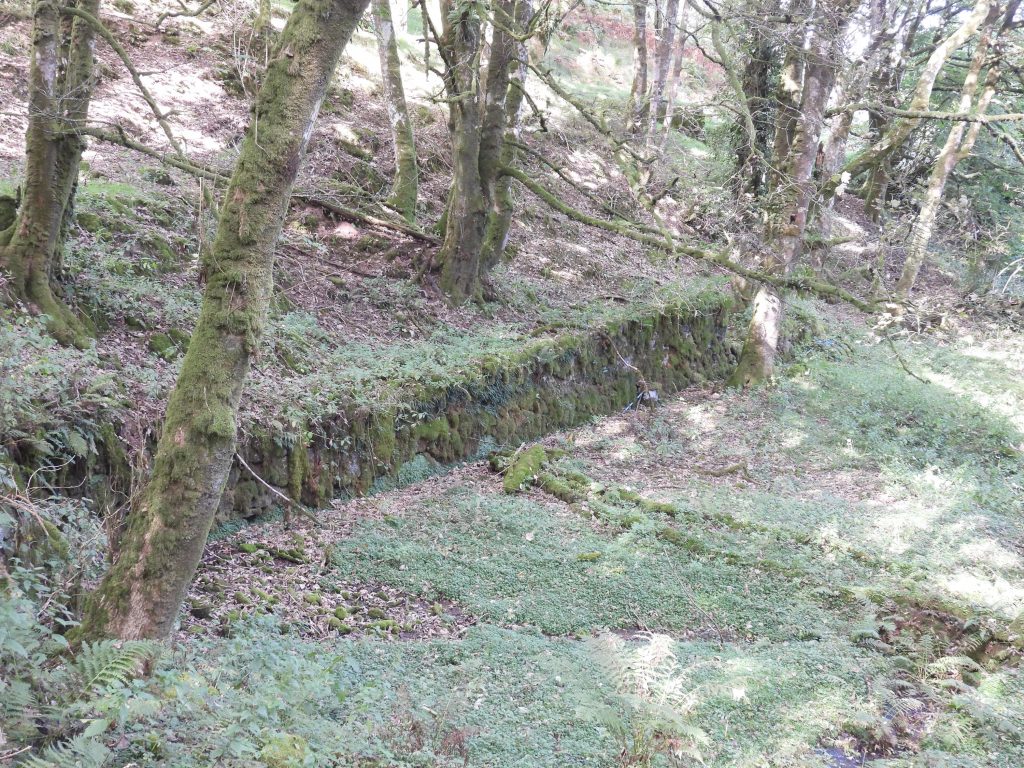
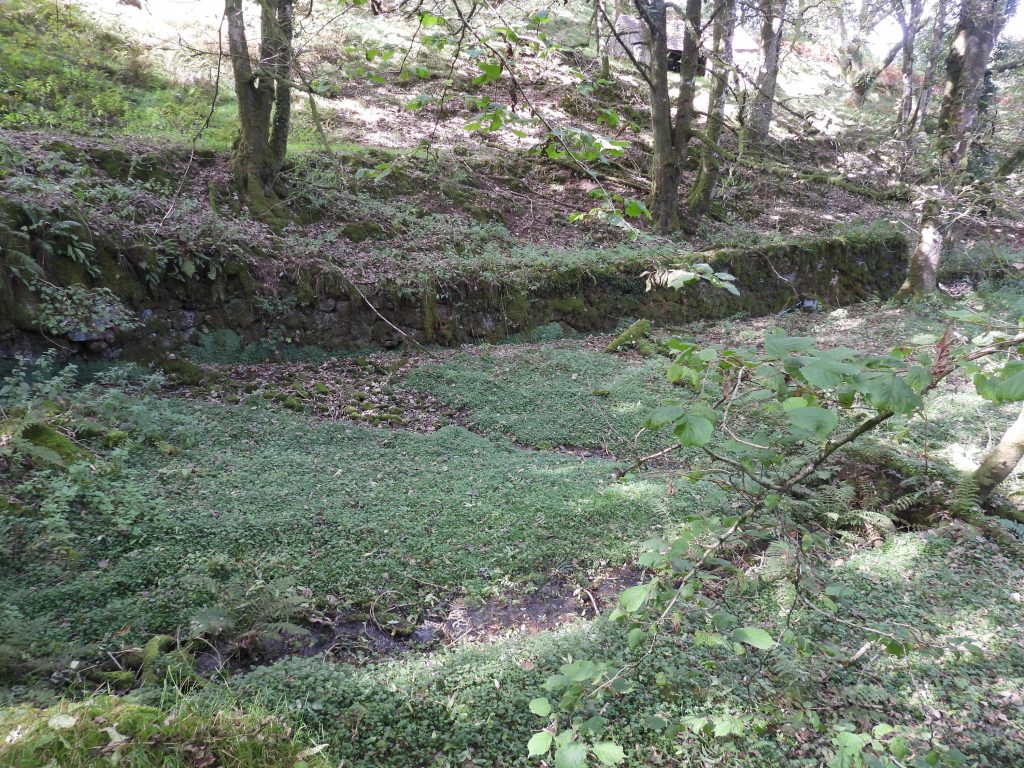
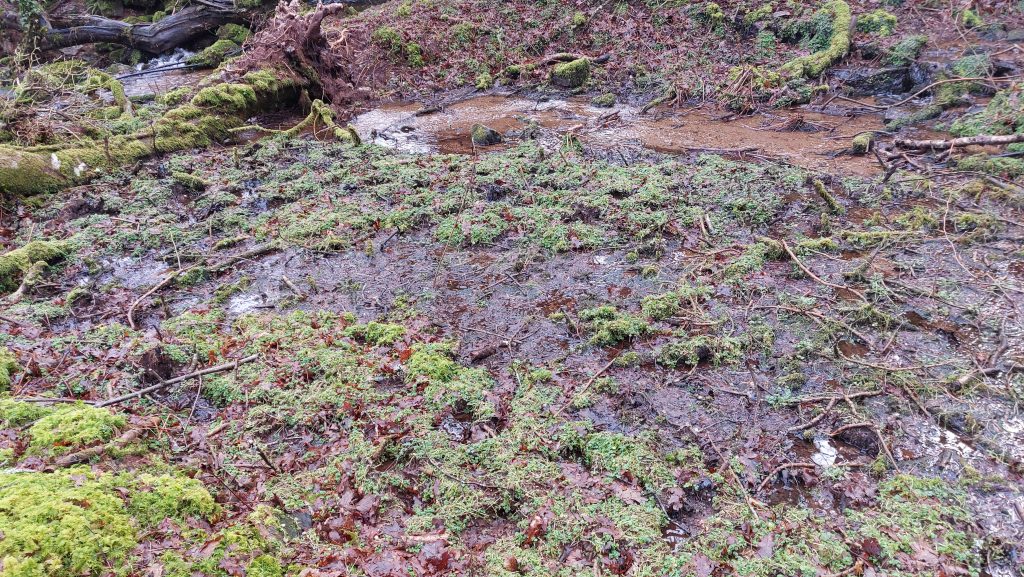
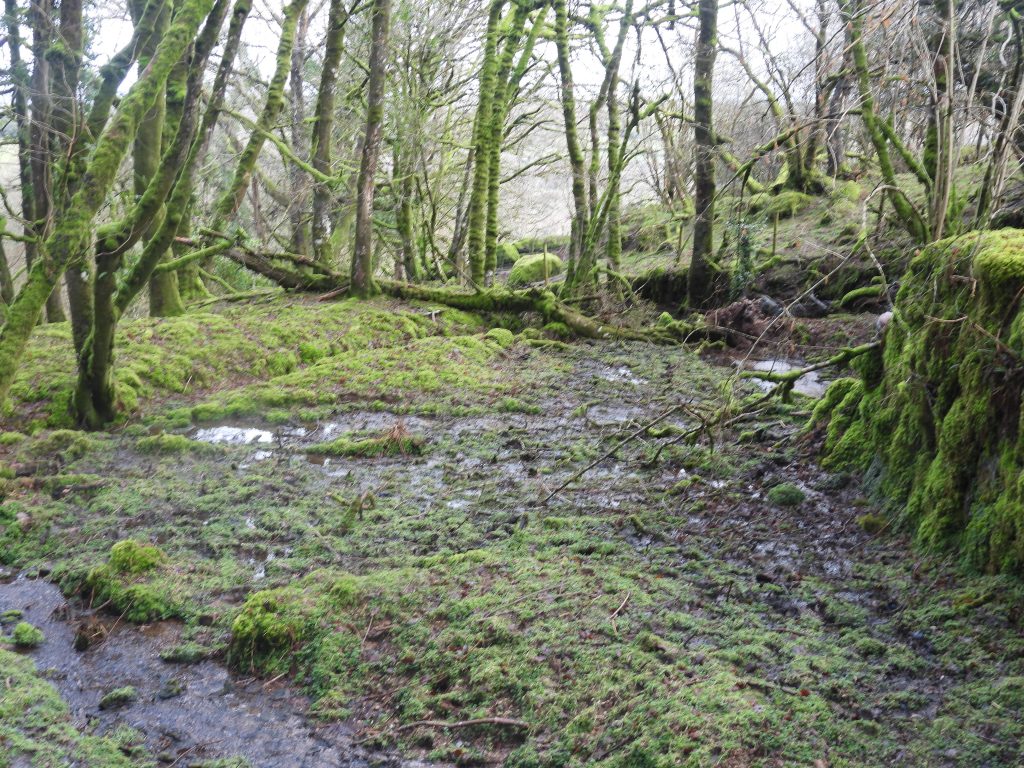
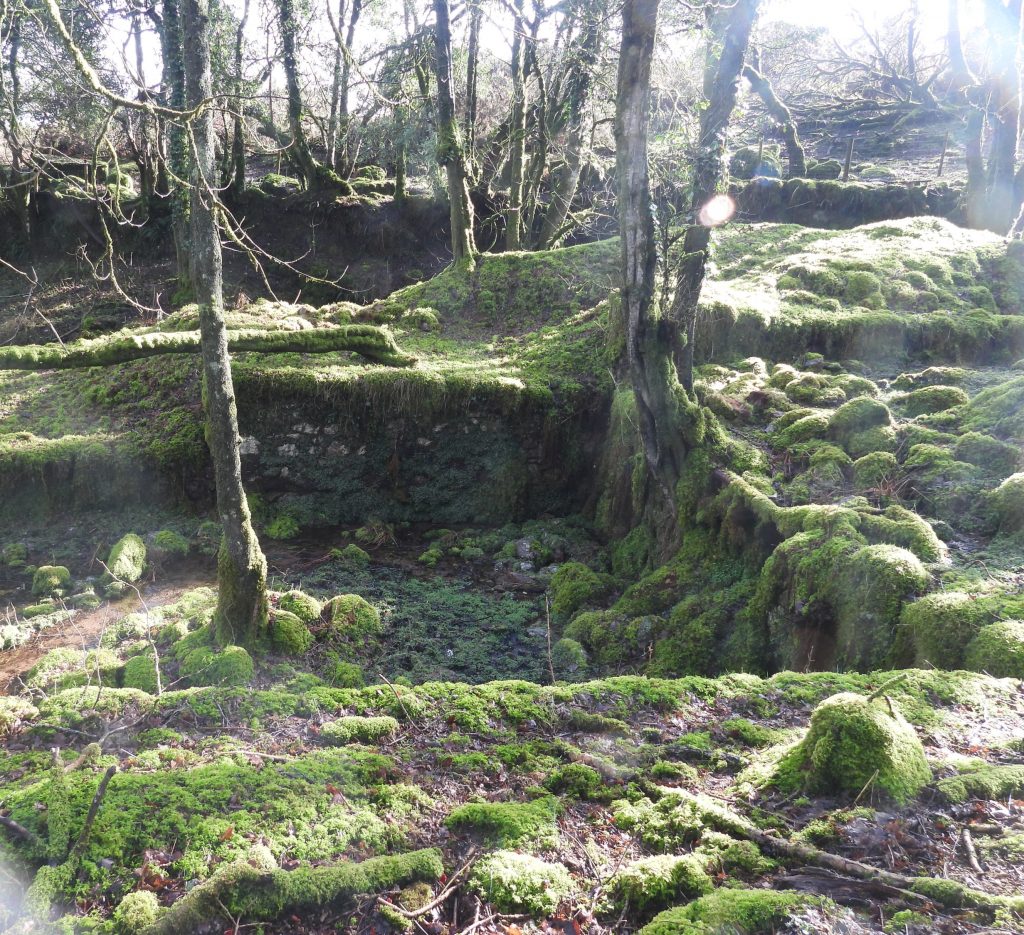
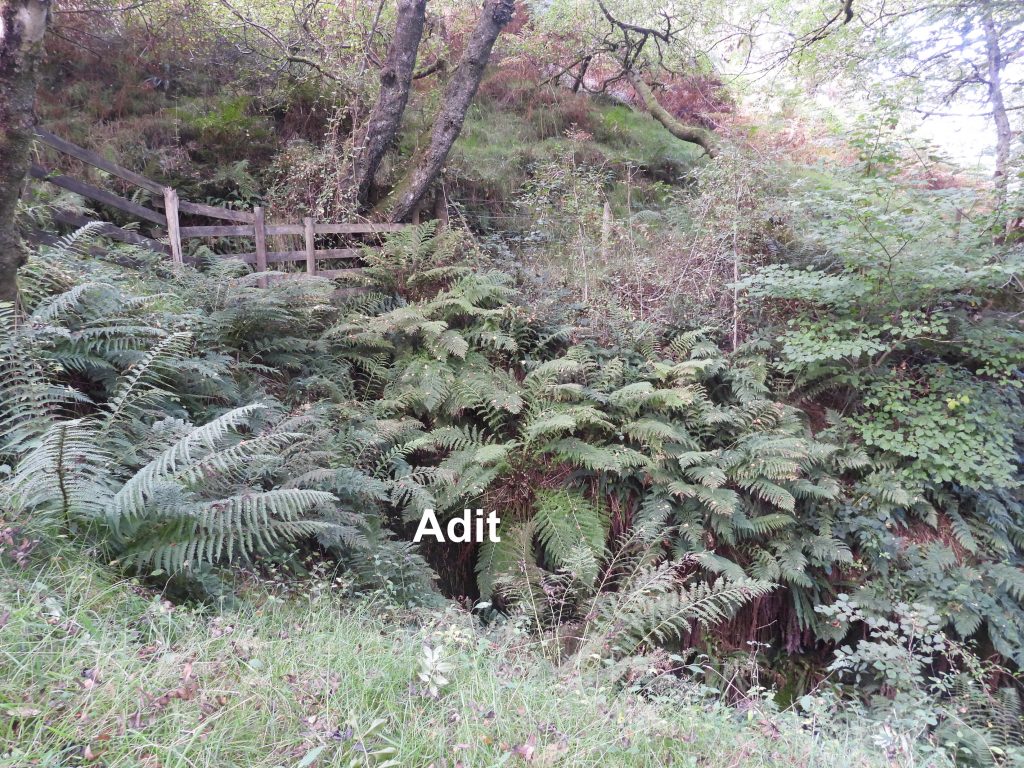
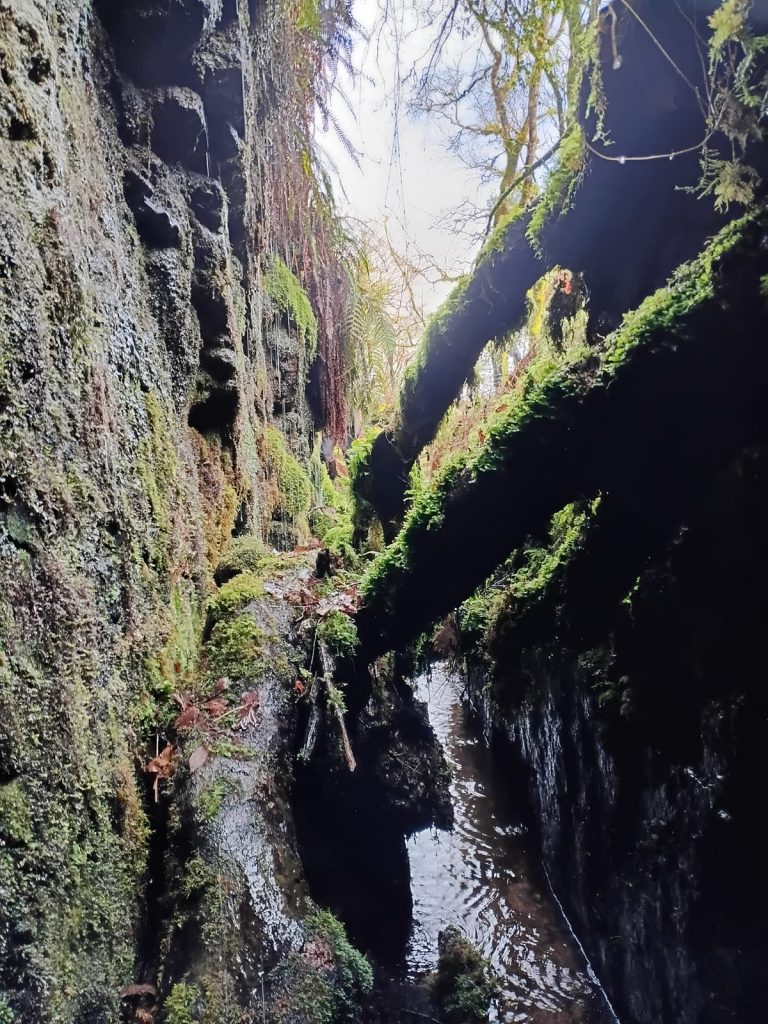
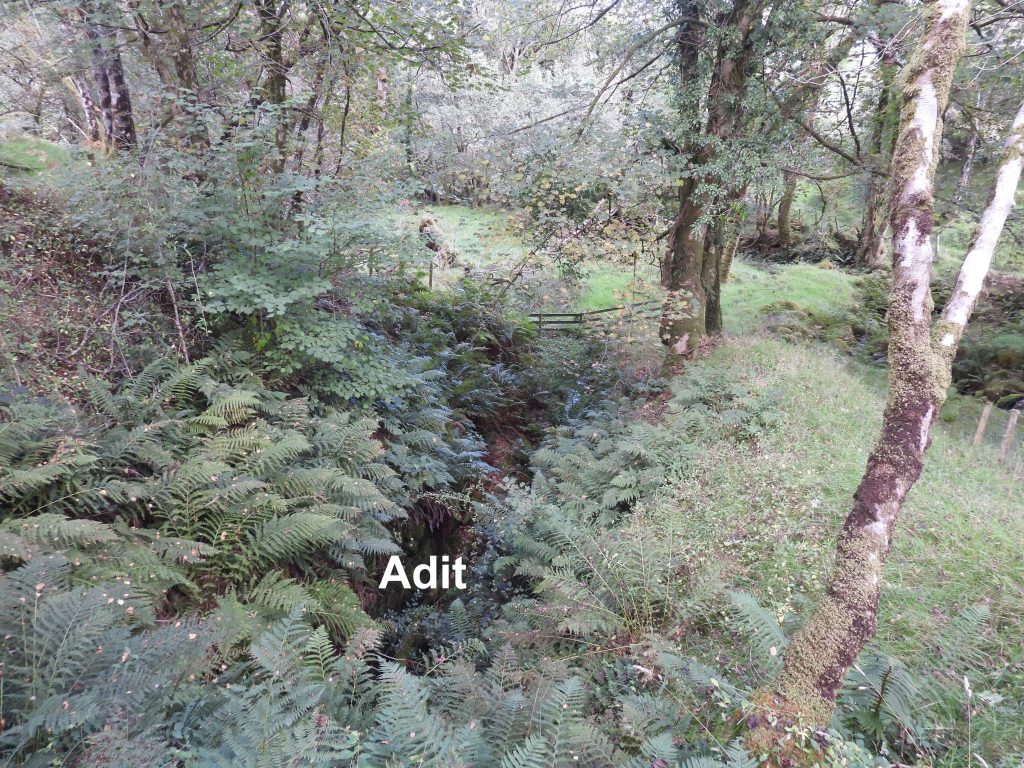
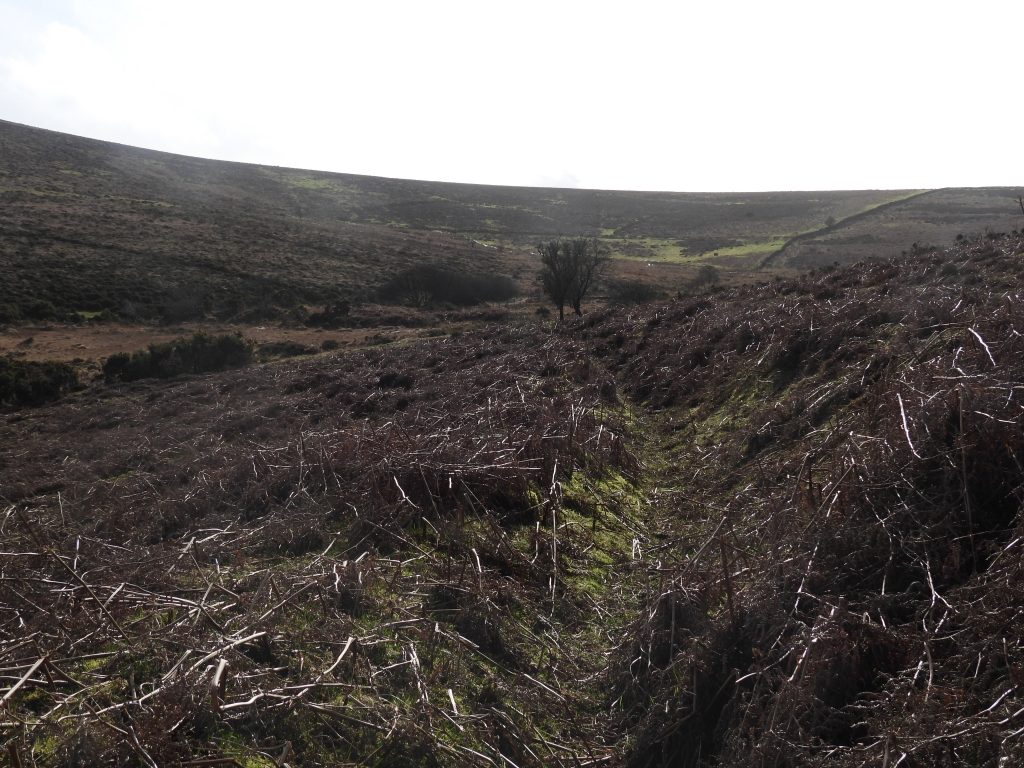
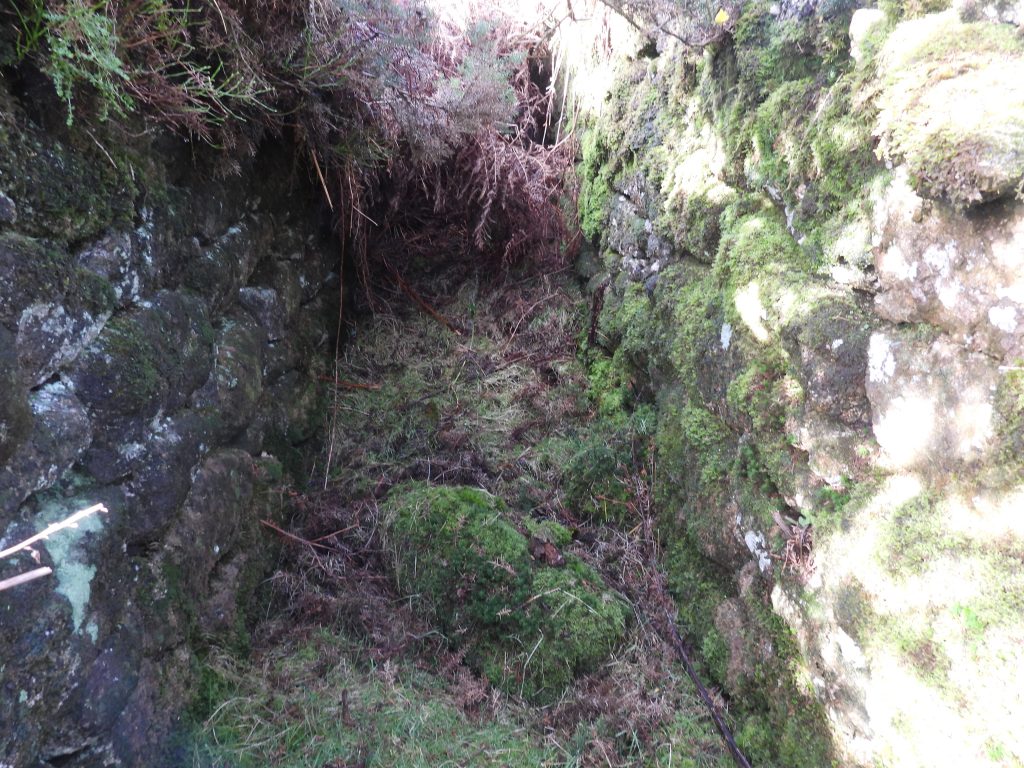
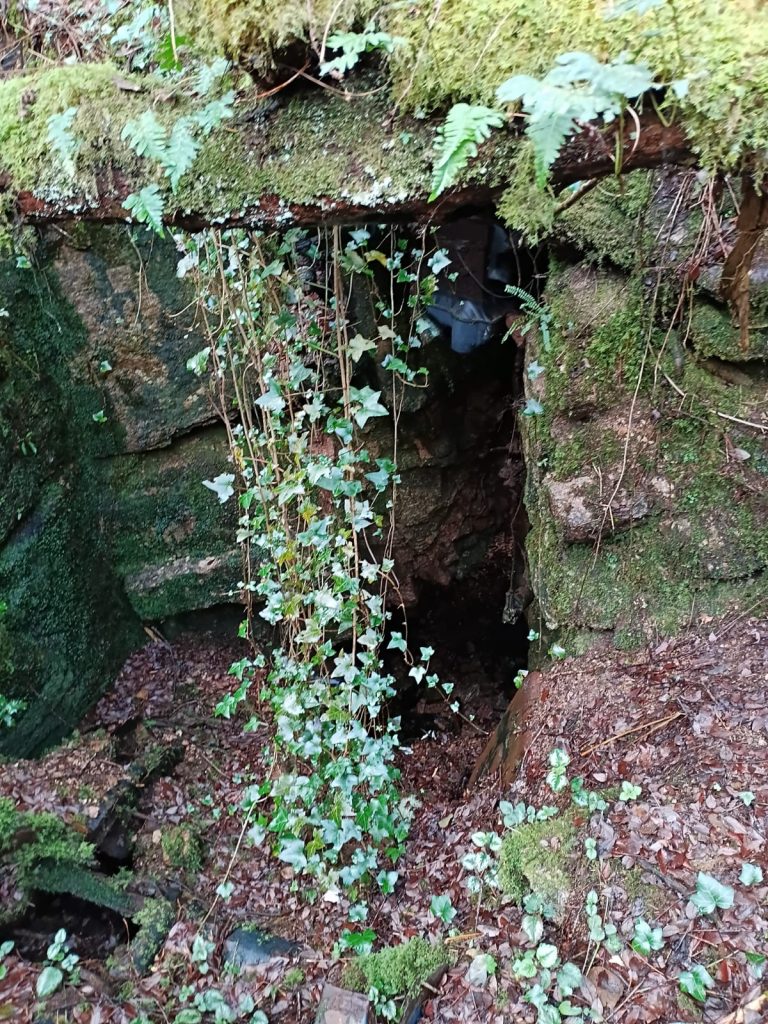
The area in front of the Waterwheel exit lobbyRetaining walls of the dressing floors More retaining walls of the dressing floors. The edge of these dressing floors was recorded at SX70876 82349.North end of the dressing floor at SX70880 82344. Another levelled area just below the wheel houseFaint outline of a circular buddle at SX70880 82358Buddles with retaining wall beyondFaint outline of two BuddlesView from on top of retaining wall overlooking the dressing floorAt the point of the wall collapse in this picture, there once was a set of steps which allowed access between the ore crushing area and the dressing floorOverlooking the location of the waterwheel from on top of a finger dumpColourised picture of the waterwheel, which is assumed was taken very late 1880s or 1890s when it had stopped being operational – note the vegetation in the wheelhouse / wheelpit. The wheel was centre shot. Note the apex of a building to the right of the wheel, which is the (now demolished) building at SX70838 82380This view is from where the waterwheel was located looking east across the area where ore was delivered, beyond which is a finger dump. All these features are shown on the annotated map of the areaLooking west towards the location of the waterwheelSuperimposed 1880s / 1890s picture onto a 2026 backdropThe waterwheel was located to the left of this photographic composition. The levelled area with retaining walls is where it is assumed ore was delivered prior to stamping (crushing)Ruined building, which looks to be divided into two rooms can be found at SX70857 82295Another view of the ruined building. It is annotated on the OS 1886 mapThe stonework to the right of the fencing is where the tramway came down an incline. Ore from the Birch Tor Lode was delivered down this slope to the combined tramway. To the left (by lower fencing) is where ore from the East Vitifer lode (via and adit) was delivered to the combined tramwayCordoned off adit which lead to the shafts on the main (East Vitifer) lode.View of the adit from the side. The link to a You Tube video shows an exploration of this adit. The video can be seen here: https://www.youtube.com/watch?v=x3OWNtwDl9cEast Vitifer Lode ore was once trammed along this channel from the aditWider angle view of the adit exit channel. By 1880 the Vitifer adit had been driven 924ftView of the top of the adit, taken at SX70826 82275. Winter viewInside East Vitifer lode adit – picture courtesy of Matthew Johnson
East Vitifer lode adit exit- picture courtesy of Matthew Johnson
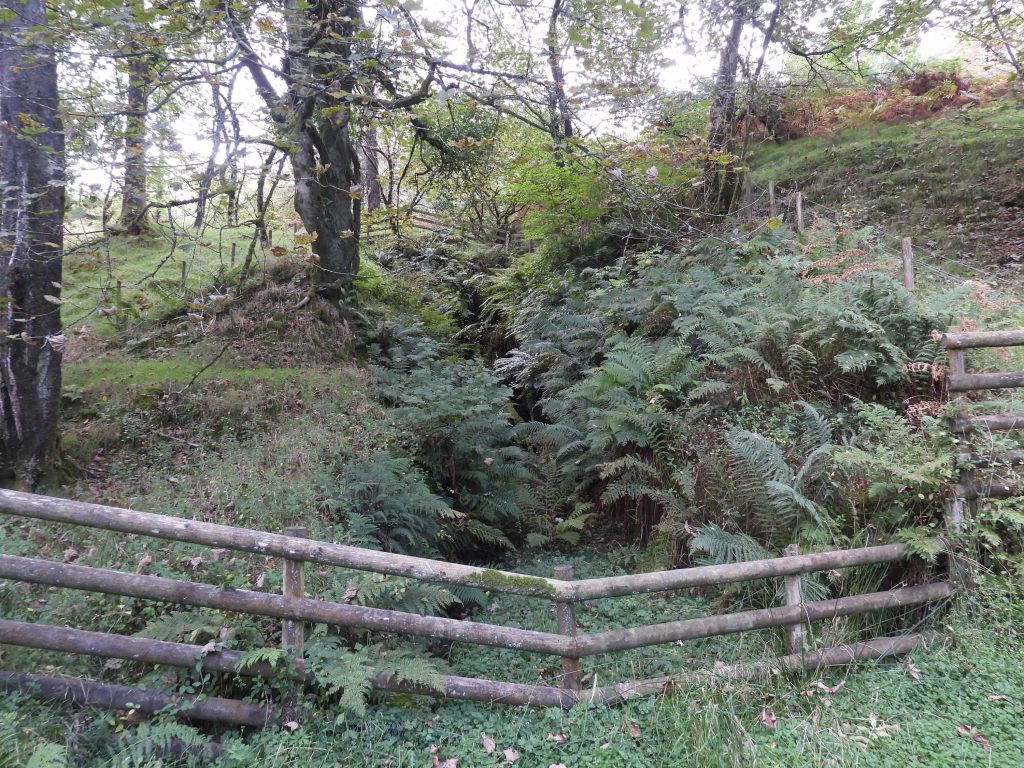
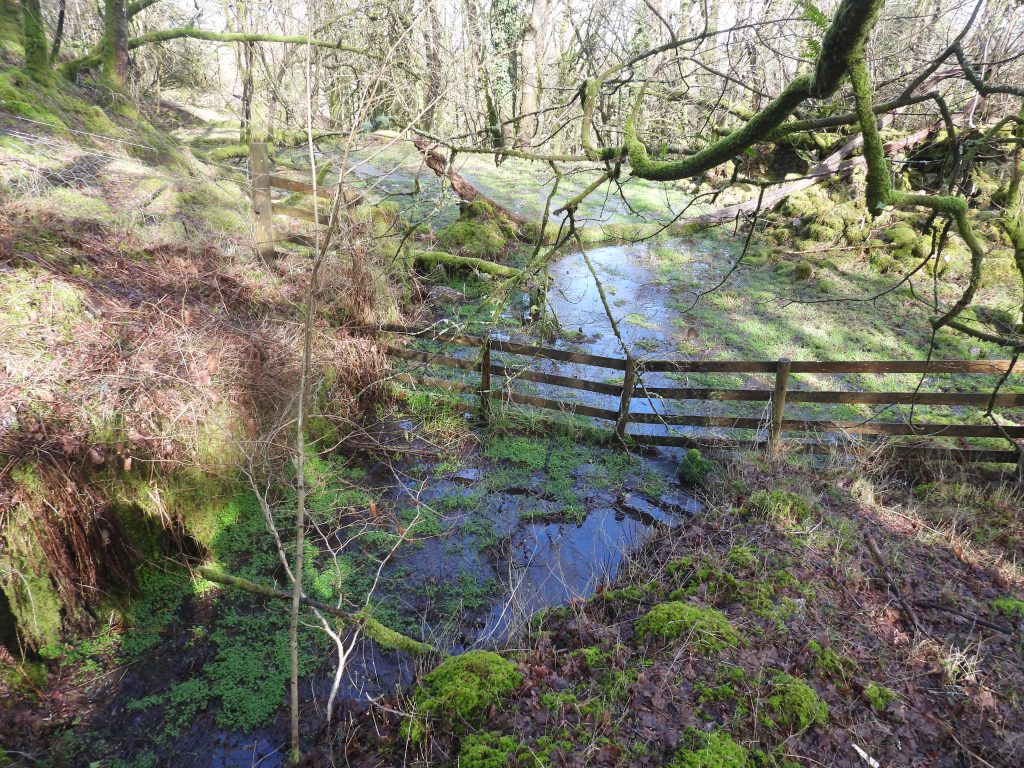
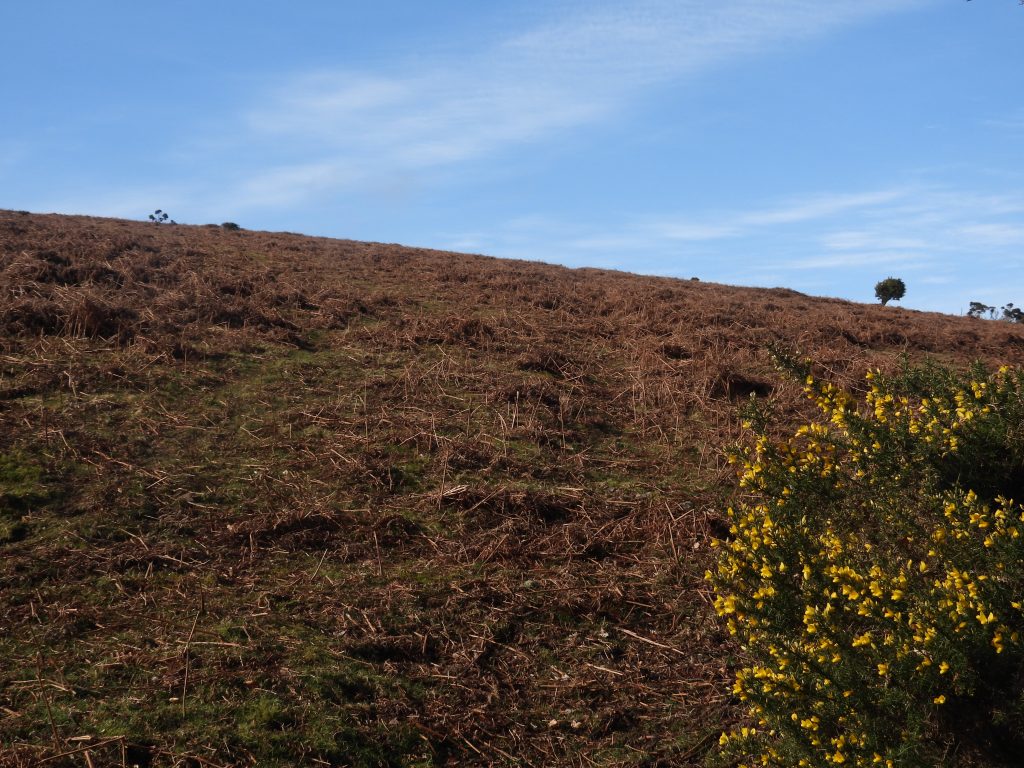
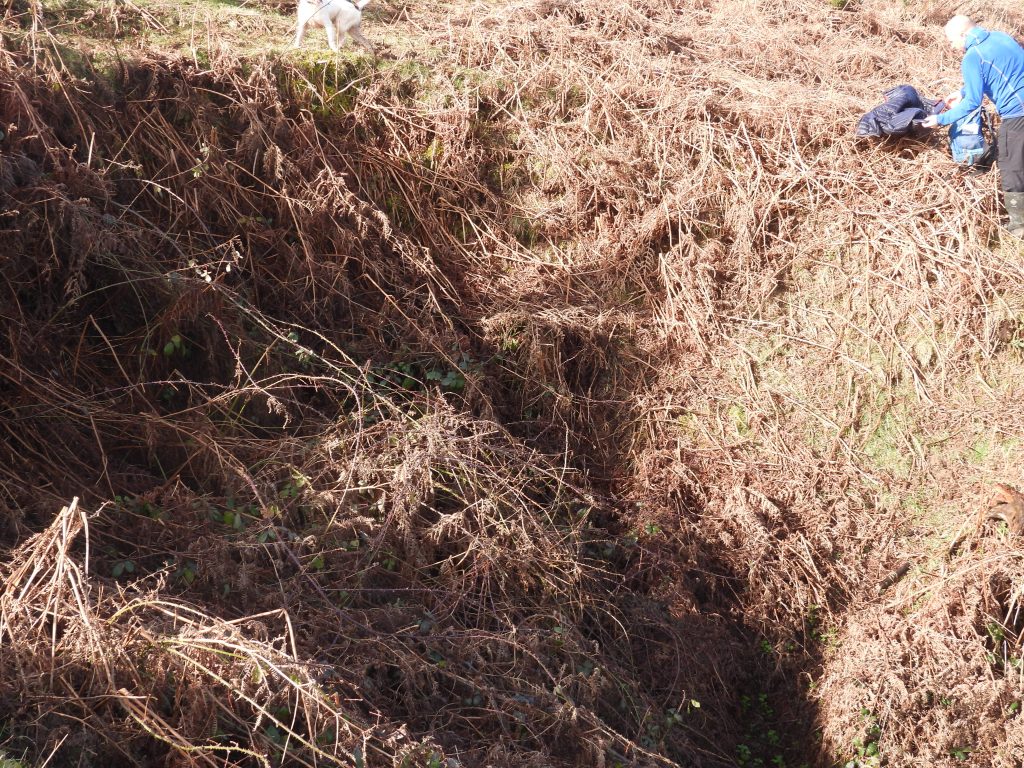
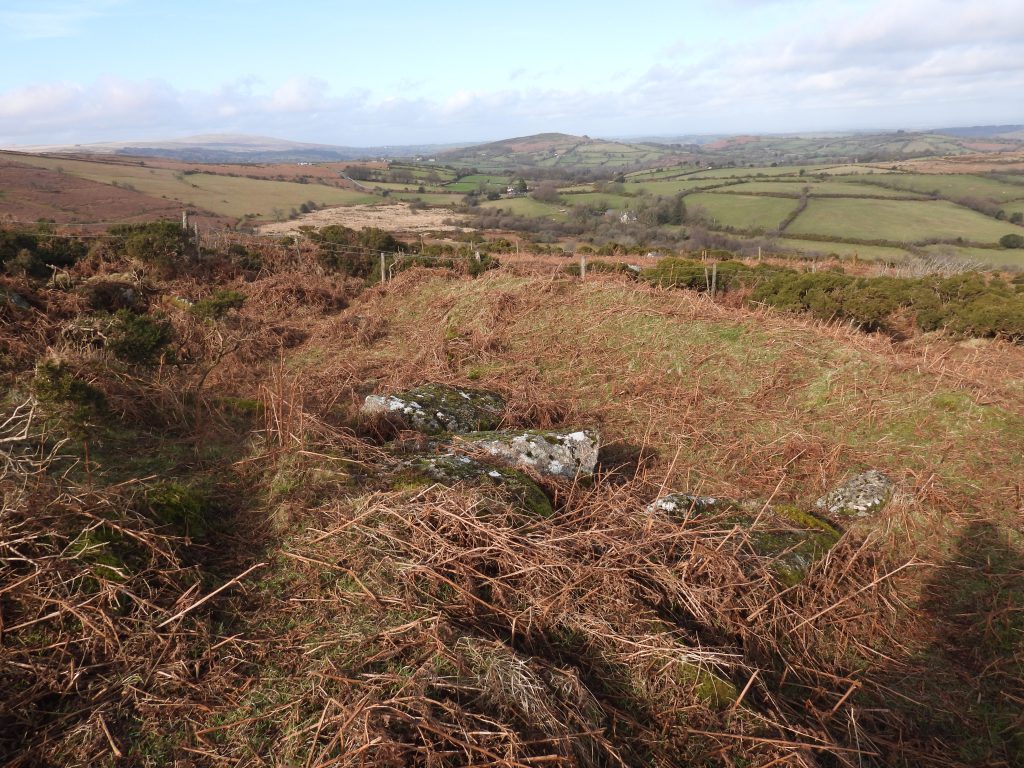
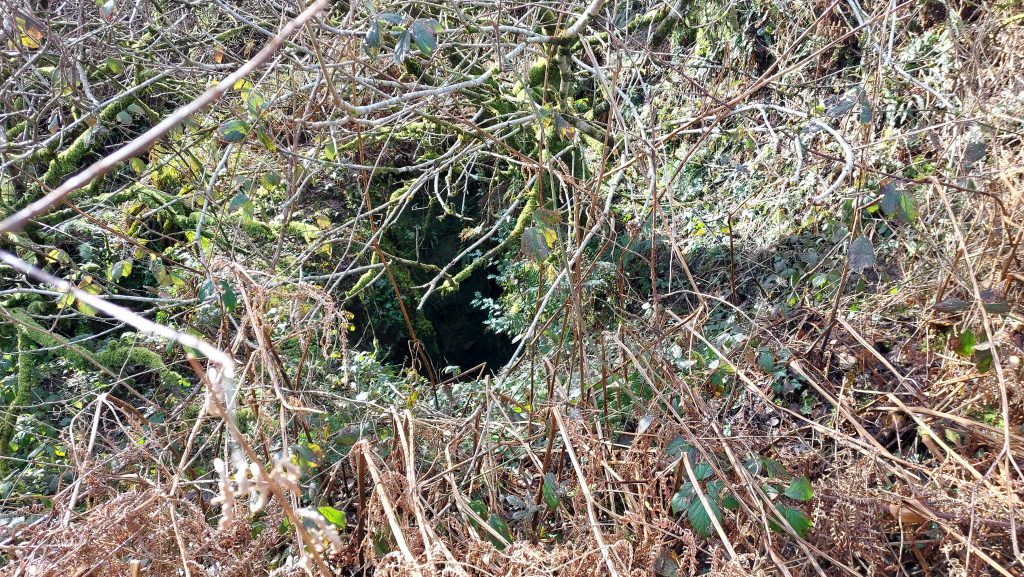
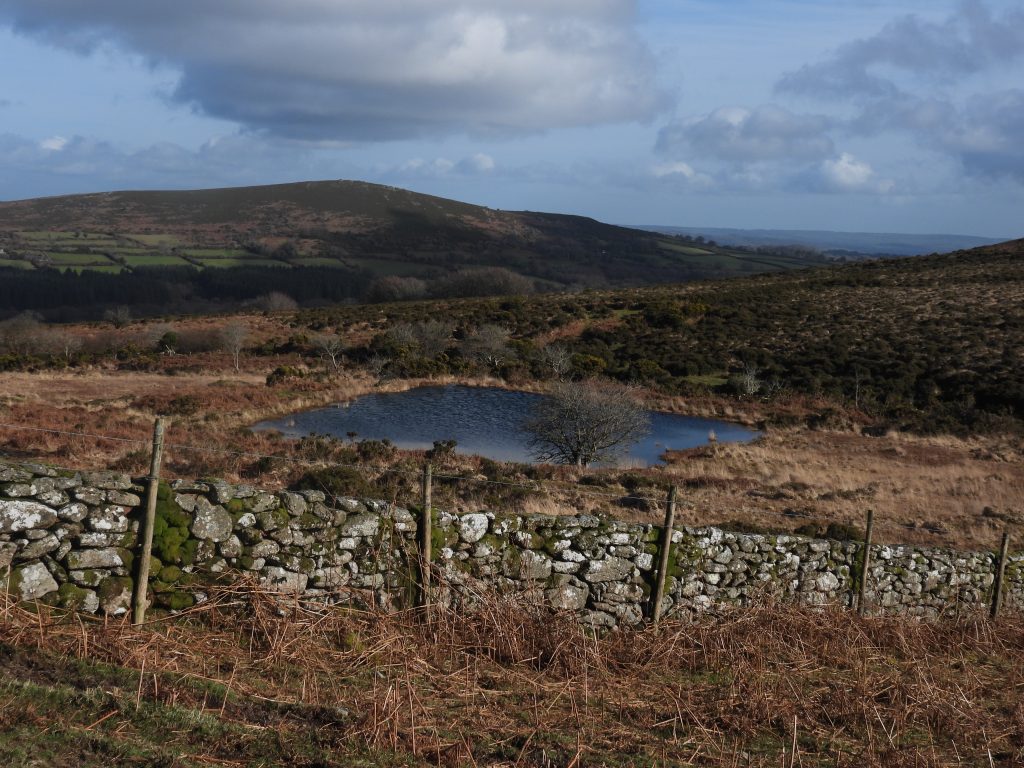
East Vitifer lode adit exit- picture courtesy of Matthew JohnsonView of the top of the adit, Summer viewThe flooded area beyond the fence is where the two tramways would have joinedKings Barrow at top of the lane just before the open moor.Kings Barrow was once the home of the mine manager. Clearly it has been extended since the 19th centuryKings Barrow from the tramway leading to the adit on the Birch Tor lodeTramway leading to the adit on the Birch Tor lodeFaint traces of the tramway which lead to New Engine shaft on the Birch Tor lodeAdit on the Birch Tor lode DTRG member looking into the Birch Tor lode adit. By 1880, the adit had been driven 936ftThe Birch Tor lode adit is located at SX70602 82507Birch Tor lode openworksNew Engine shaft on Birch Tor lodeNew Engine shaft on Birch Tor lode. This picture was taken at SX70461 82458To the south east of the Birch Tor lode open works there are two Medieval Tinners Reservoirs. The above photograph shows a sluice openingThis Medieval Tinners Reservoir is located at SX70431 82411Wider view of the Medieval Tinners Reservoir. Shapley Common is on the horizonThe second Medieval Tinners Reservoir is located at SX70464 82426Tramway and Medieval leat leading to Birch Tor lodeDTRG members by the tramway leading down the hill towards the dressing floorThe mine Powder HouseThe Powder House is located at SX70558 82317Top of Engine Shaft (by trees on the left)The Engine shaft on the East Vitifer lode is extremely overgrown in summer with shoulder high bracken.Leat coming in from the reservoir to the south leading to Engine Shaft and its adjacent wheelpit on the main (East Vitifer) lodeWheelpit by Engine Shaft, no doubt used for pumping. It is located at SX70642 82191Granite anchor point on side of the wheelpit for the waterwheelThe second granite anchor point on side of the wheelpit for the waterwheelInside the wheelpit. Engine ShaftEngine Shaft is located at SX70645 82212. East Vitifer lode openworksFootway Shaft from behind a safety fenceFootway Shaft taken from SX70722 82247Footway Shaft – picture courtesy of Matthew Johnson
Footway Shaft – picture courtesy of Matthew Johnson
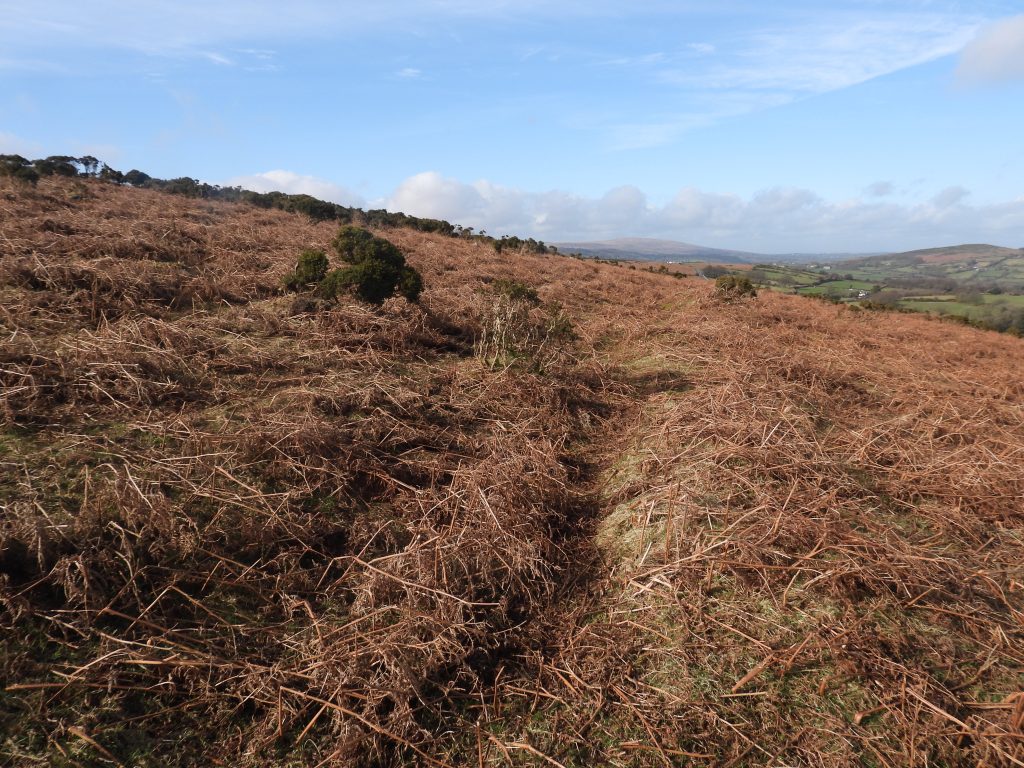
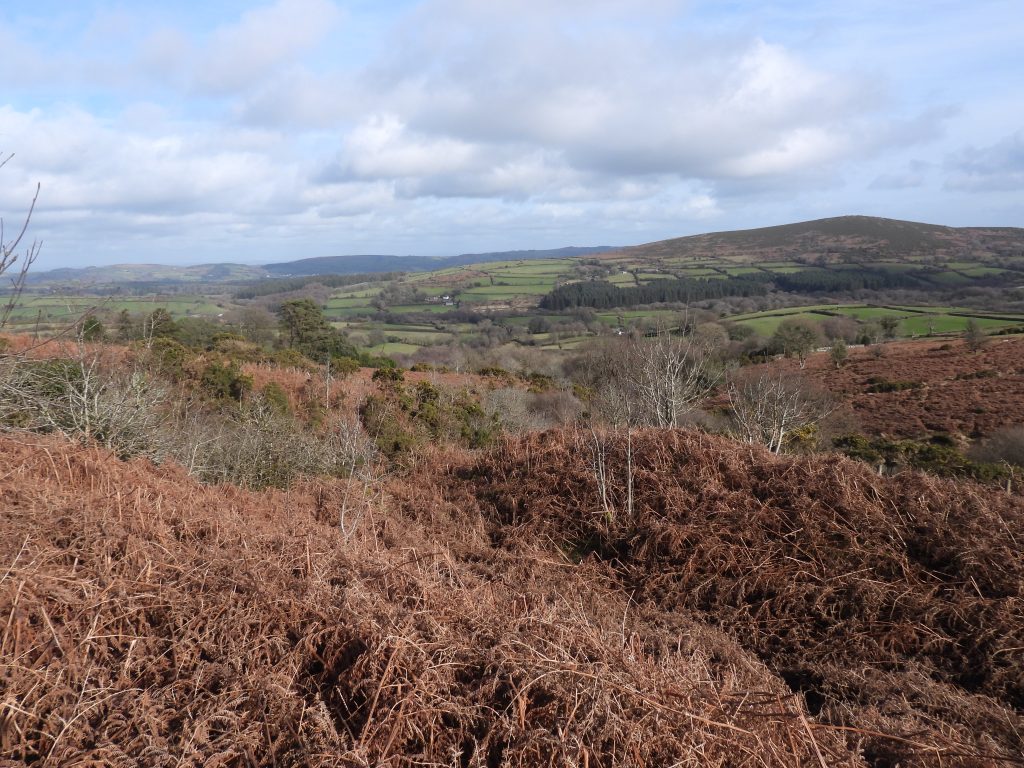
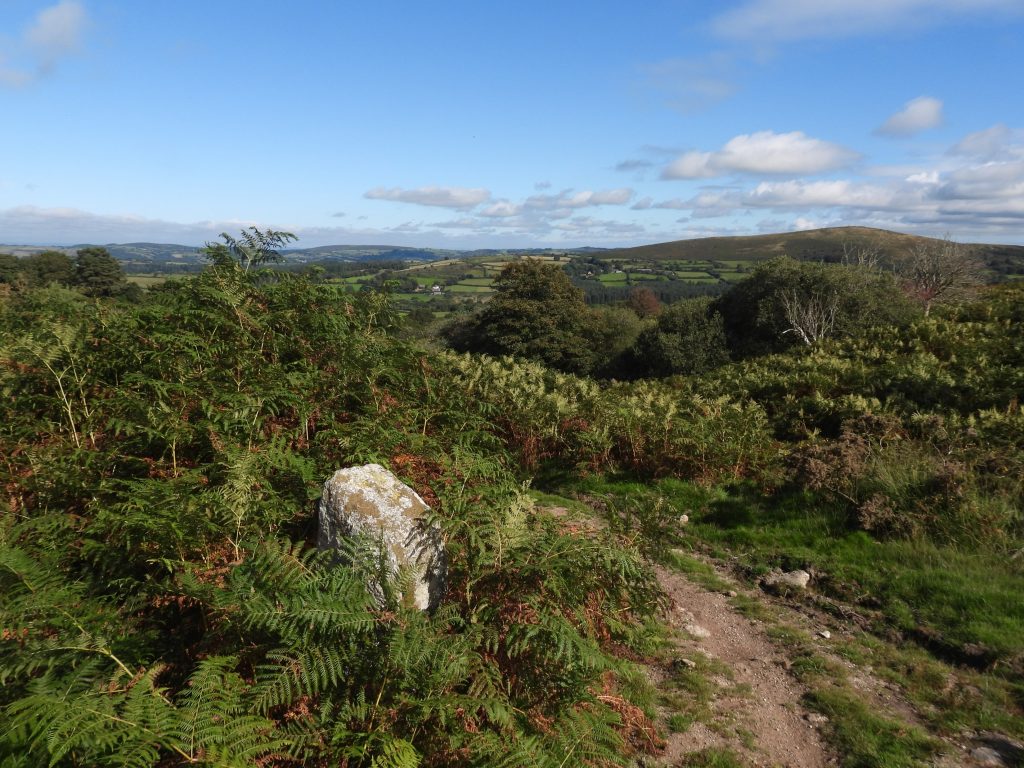
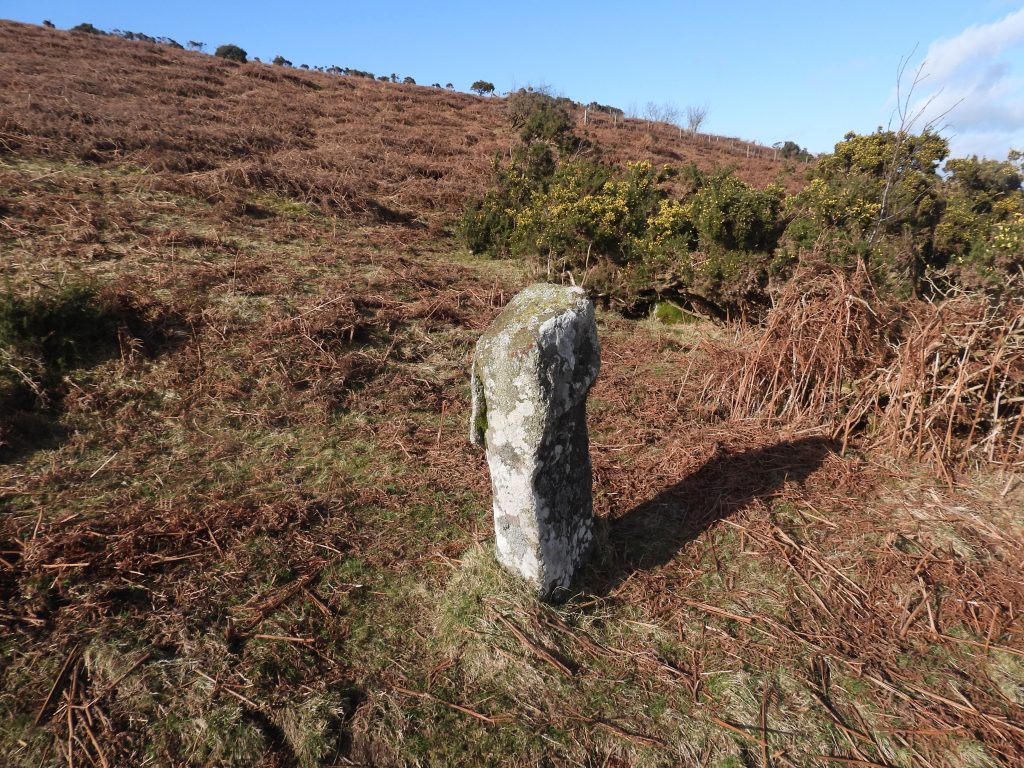
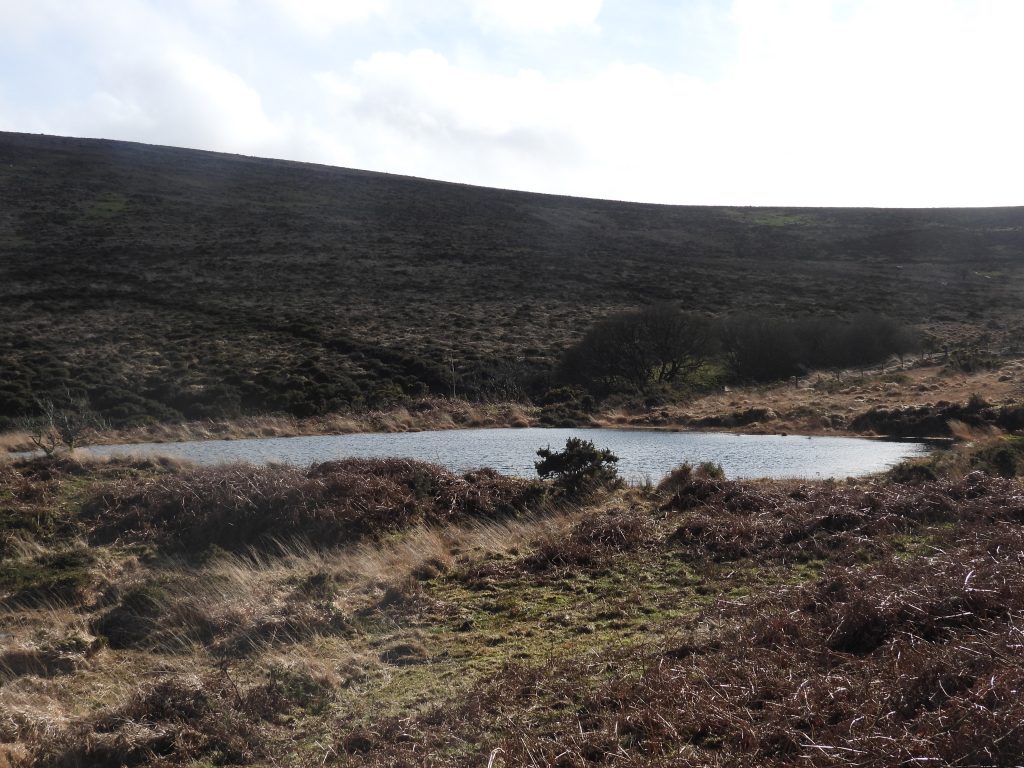
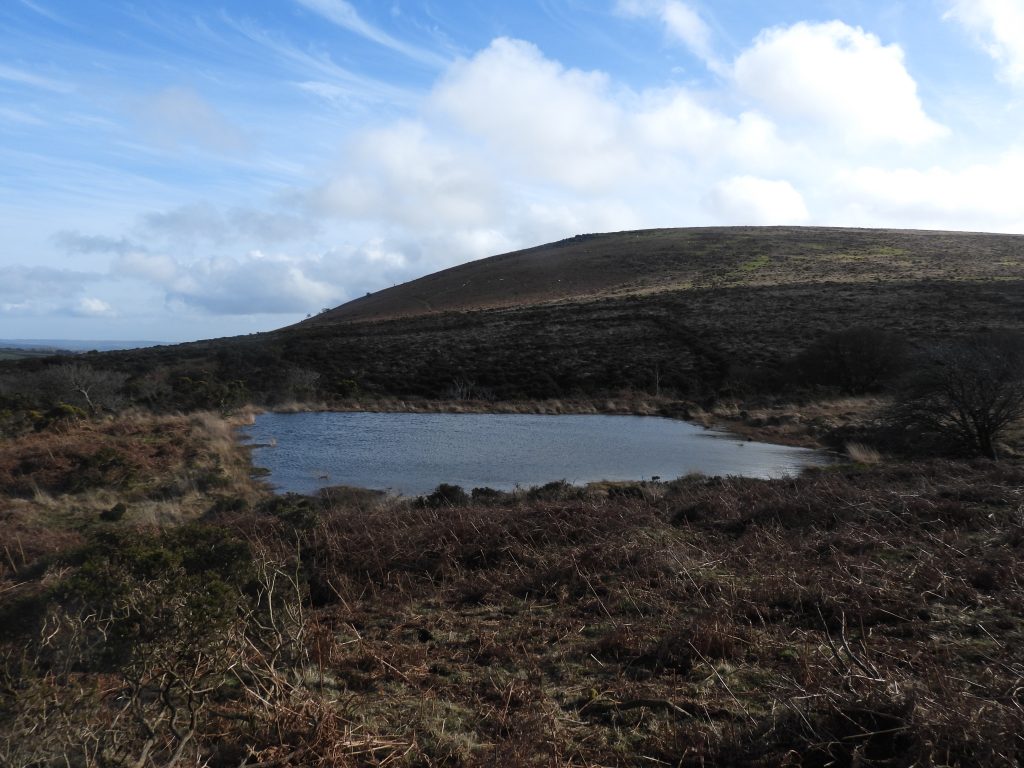
On the open moor, just below the Engine Shaft is what look like a Boundary Marker. Easdon Down can be seen to the top right of this photograph.The same upright (Boundary Marker) in winter. Was this associated with the mine? It can be located at SX70645 82127. A short distance uphill from the upright next to the path (Two Moors Way) the faint traces of a leat which lead to the East Vitifer lode Engine Shaft and associated Wheelpit can be foundThis very large pond below King Tor was tinners’ reservoir which is fed from West Coombe Brook. This reservoir fed the water wheel at the Engine Shaft of the main (East Vitifer) lode.The Reservoir is located at SX70582 82032The Reservoir with Easdon Hill on the horizonThis wonderful timeline of the ‘final knockings’ of the mine in the late 19th century and into the early 20th century comes from the extensive DTRG notes from Stephen Holley provided on a walk in February 2026
Thank you so much for this astonishing resource for mine explorers. I only wish someone would do the same for the Cornish side of the Tamar. Nothing of any real note since Acton and Brown sadly.
Do you have plans to visit Wheal Betsy? I should love to have that particular site shown at this level of detail.
Many thanks for you kind comments about East Vitifer Mine.
Regards to Wheal Betsy, the last time I was there the National Trust were erecting scaffolding on the Engine House at Job’s Shaft as part of the process to secure the structure. There are at least 12 shafts in the area (some now on private land). I will most probably return to the site and construct a post before too long.
Hello Steve another excellent survey and of great interest to me as I love the industrial work on Dartmoor and do my own surveys similar to you. An interesting point about the upper shaft, I was in the fire service for many years and one evening we had a call to report of a person trapped in a mineshaft, we could not get the appliance anywhere near so the local farmer took our equipment to the site. A young man was picking blackberries and got too near the edge which gave away, he fell about 80 feet into the shaft, he was not too badly injured and we lowered one of our and an ambulance man to stabilise him and hoist him to the surface,. This was the second time we entered that shaft as a few years earlier a dog was rescued from the same shaft. Keep up the good work
There was water cascading into the shaft and someone had pushed a couple of VW vans into the cut that we had to abseil around and under. We got about 30-40M down onto a ledge that felt more like material suspended and lodged rather than the bottom. We could see some kind of very precarious shaft going further down with water cascading into it but we couldn’t risk disconnecting from our 50M ropes to look any further so sadly that’s as far as we got. I’d love to see further down and really explore the place but it’s too risky for my skill level and kit.
I went back to the shaft a couple of years ago, it’s still fenced off but is now very very overgrown and I couldn’t make out where the edge of the very fatal drop was at all so I left. I wouldn’t dare go over the fence in the condition it’s in now without being roped off.
If anyone is able to explore further I’d love to hear from them.


Kevin Knight March 29, 2023
Thank you so much for this astonishing resource for mine explorers. I only wish someone would do the same for the Cornish side of the Tamar. Nothing of any real note since Acton and Brown sadly.
Do you have plans to visit Wheal Betsy? I should love to have that particular site shown at this level of detail.
SteveGriggDartmoor March 30, 2023 — Post author
Dear Kevin,
Many thanks for you kind comments about East Vitifer Mine.
Regards to Wheal Betsy, the last time I was there the National Trust were erecting scaffolding on the Engine House at Job’s Shaft as part of the process to secure the structure. There are at least 12 shafts in the area (some now on private land). I will most probably return to the site and construct a post before too long.
Kind Regards,
Dartmoor Explorations (Steve)
Mike Jeffery February 13, 2024
Hello Steve another excellent survey and of great interest to me as I love the industrial work on Dartmoor and do my own surveys similar to you. An interesting point about the upper shaft, I was in the fire service for many years and one evening we had a call to report of a person trapped in a mineshaft, we could not get the appliance anywhere near so the local farmer took our equipment to the site. A young man was picking blackberries and got too near the edge which gave away, he fell about 80 feet into the shaft, he was not too badly injured and we lowered one of our and an ambulance man to stabilise him and hoist him to the surface,. This was the second time we entered that shaft as a few years earlier a dog was rescued from the same shaft. Keep up the good work
SteveGriggDartmoor February 13, 2024 — Post author
Hi Mike,
Thanks for sharing your lovely story.
We might meet one day on the moor.
Kind Regards,
Steve
Rob J October 23, 2024
Hi,
Thanks my YouTube video you linked. I can confirm it is the adit you’ve shown in your pictures.
About 20 years ago my friend and I abseiled down the open cut/shaft further up the hill here:
https://maps.app.goo.gl/nMjyrYg4dLpcz3Rn6
There was water cascading into the shaft and someone had pushed a couple of VW vans into the cut that we had to abseil around and under. We got about 30-40M down onto a ledge that felt more like material suspended and lodged rather than the bottom. We could see some kind of very precarious shaft going further down with water cascading into it but we couldn’t risk disconnecting from our 50M ropes to look any further so sadly that’s as far as we got. I’d love to see further down and really explore the place but it’s too risky for my skill level and kit.
I went back to the shaft a couple of years ago, it’s still fenced off but is now very very overgrown and I couldn’t make out where the edge of the very fatal drop was at all so I left. I wouldn’t dare go over the fence in the condition it’s in now without being roped off.
If anyone is able to explore further I’d love to hear from them.
Thanks,
Rob
SteveGriggDartmoor October 23, 2024 — Post author
Hi Rob,
Thank you for sharing your exploits at East Vitifer Mine. I am very pleased that I correctly identified your YouTube video as being from this mine.
Kind Regards,
Steve (Dartmoor Explorations)